A hip bone tattoo can stay clean for years, but only if you give the lines enough room and follow your body’s flow. I’ve watched people force a tiny Pinterest screenshot onto a moving, curved spot, then wonder why it healed fuzzy. Start with placement. Your skin does the rest.
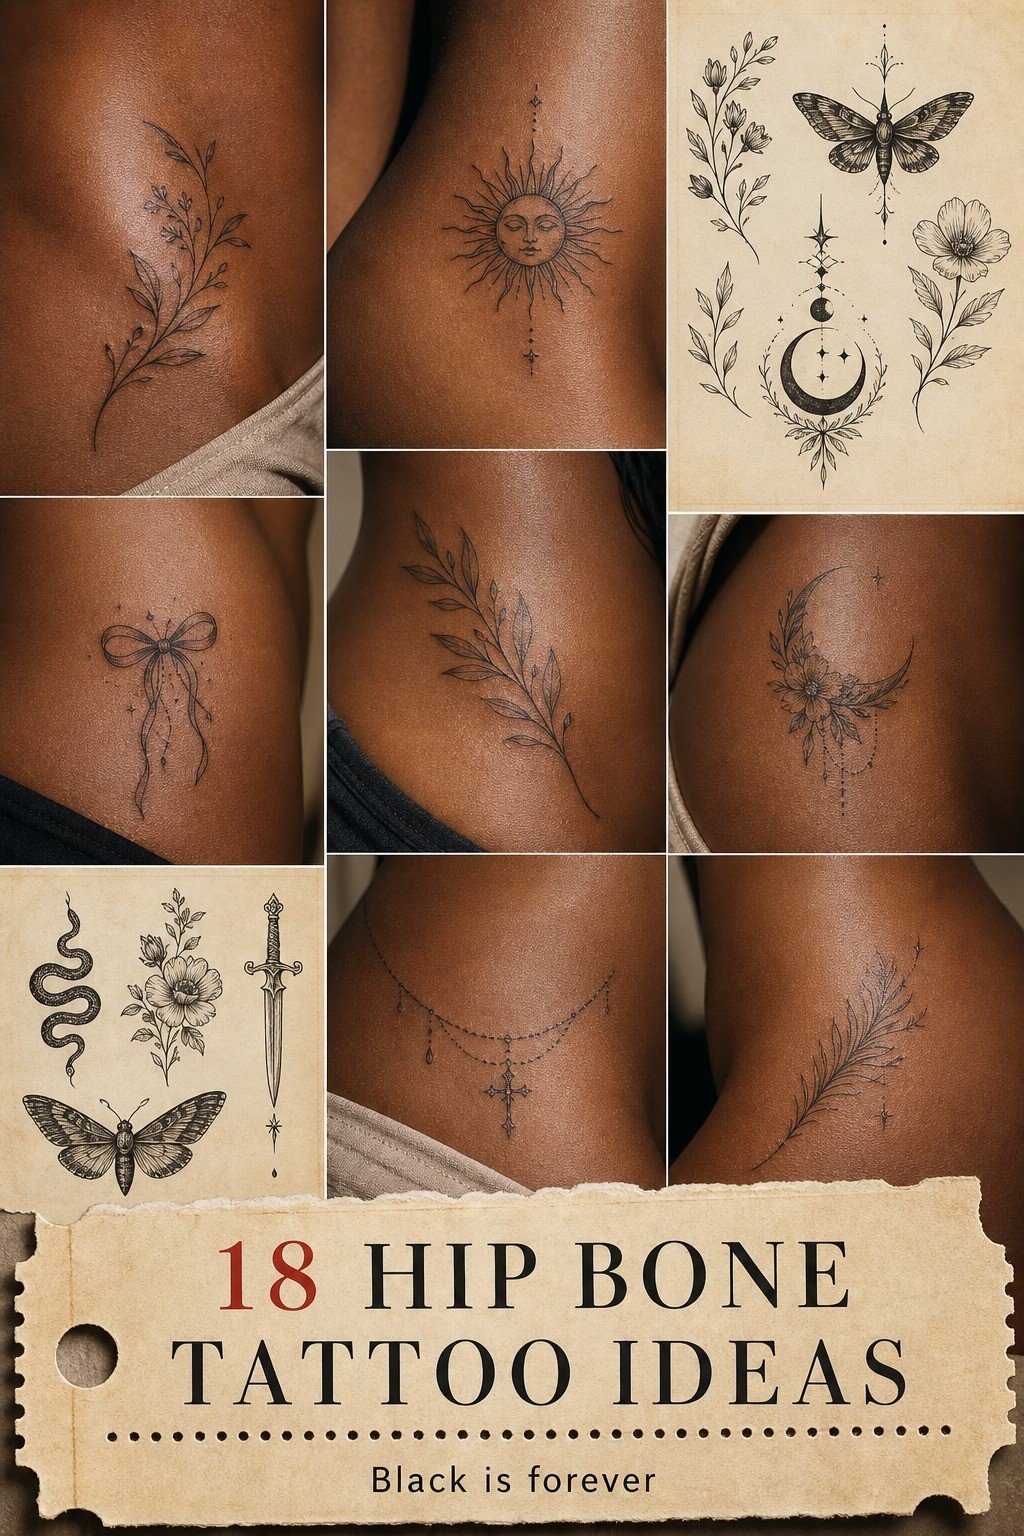
- Start With A Fine Line Hip Bone Tattoo
- Pick A Botanical Side Of Hip Tattoo
- Place A Crescent Along The Hip Bone
- Choose A Small Meaningful Tummy Tattoo
- Map A Floral Hip Tattoo To Your Curves
- Plan A Black And Grey Hip Bone Tattoo
- Keep Lettering Aligned With The Hip Bone
- Match Angel Numbers To Your Hip Placement
- Choose Red Ink For A Subtle Hip Tattoo
- Place A Snake Along The Side Of Your Hip
- Plan A Hip Bone Tattoo Around Stretch Marks
- Pick A Watercolor Bloom With Strong Linework
- Keep A Minimalist Hip Tattoo Visually Balanced
- Start With A Custom Hip Tattoo Sketch
- Choose A Symmetrical Tummy Tattoo Composition
- Plan Pain Relief For Hip Tattoo Sessions
- Keep Your Hip Bone Tattoo Clean While Healing
- Book An Artist Skilled In Hip Placement
1Start With A Fine Line Hip Bone Tattoo
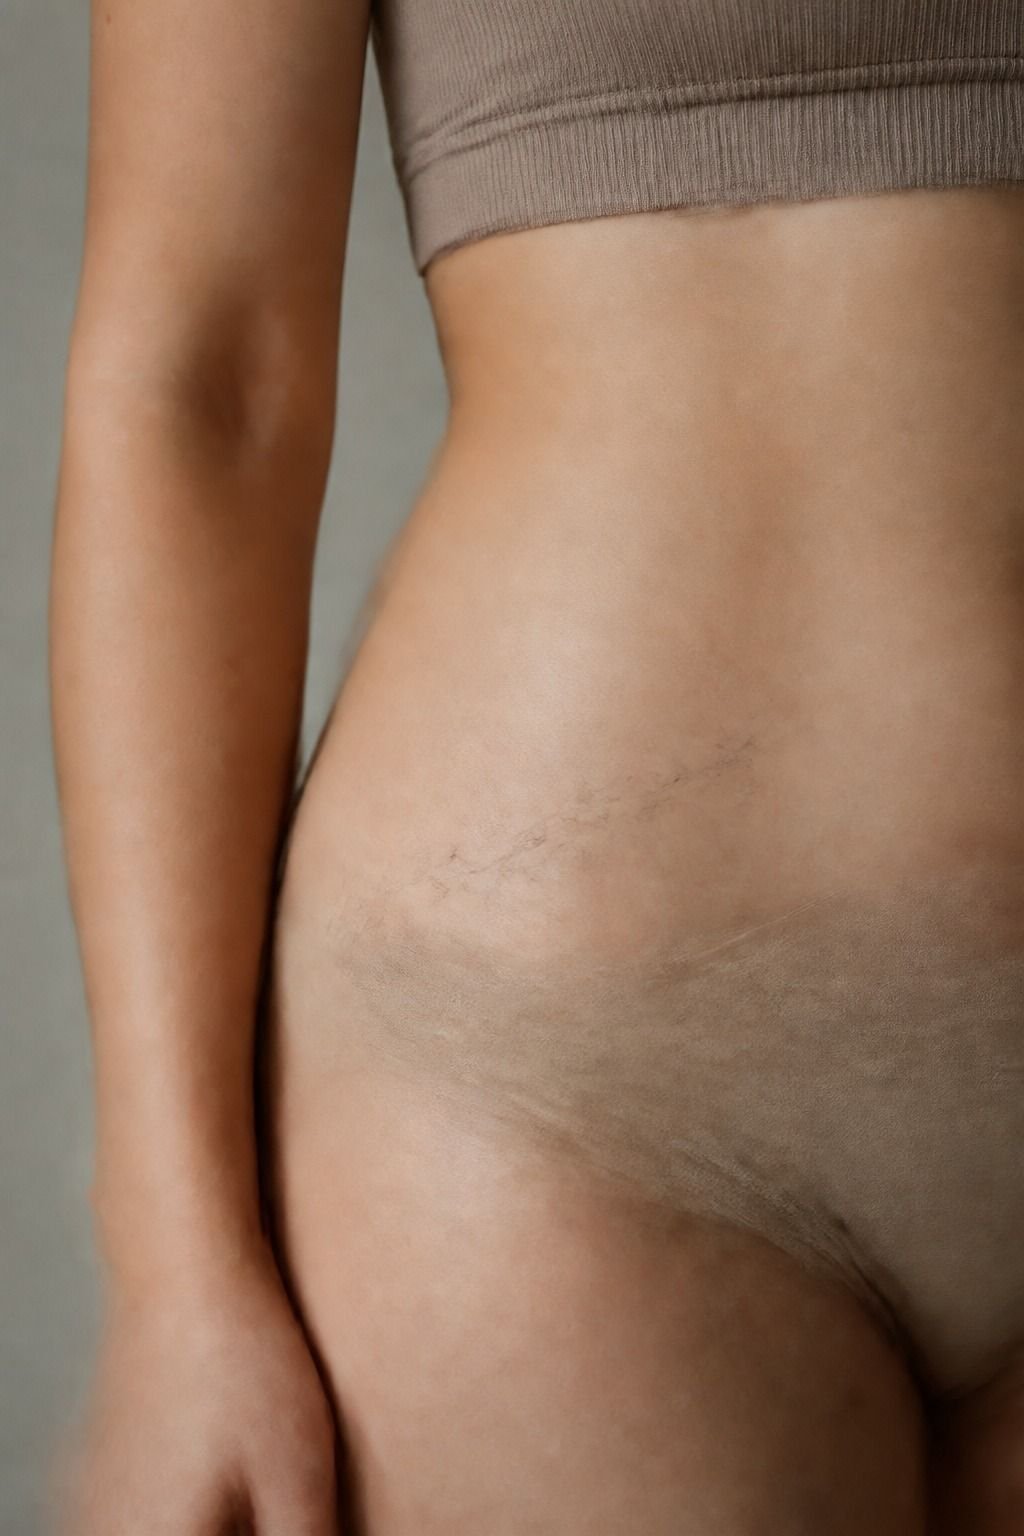
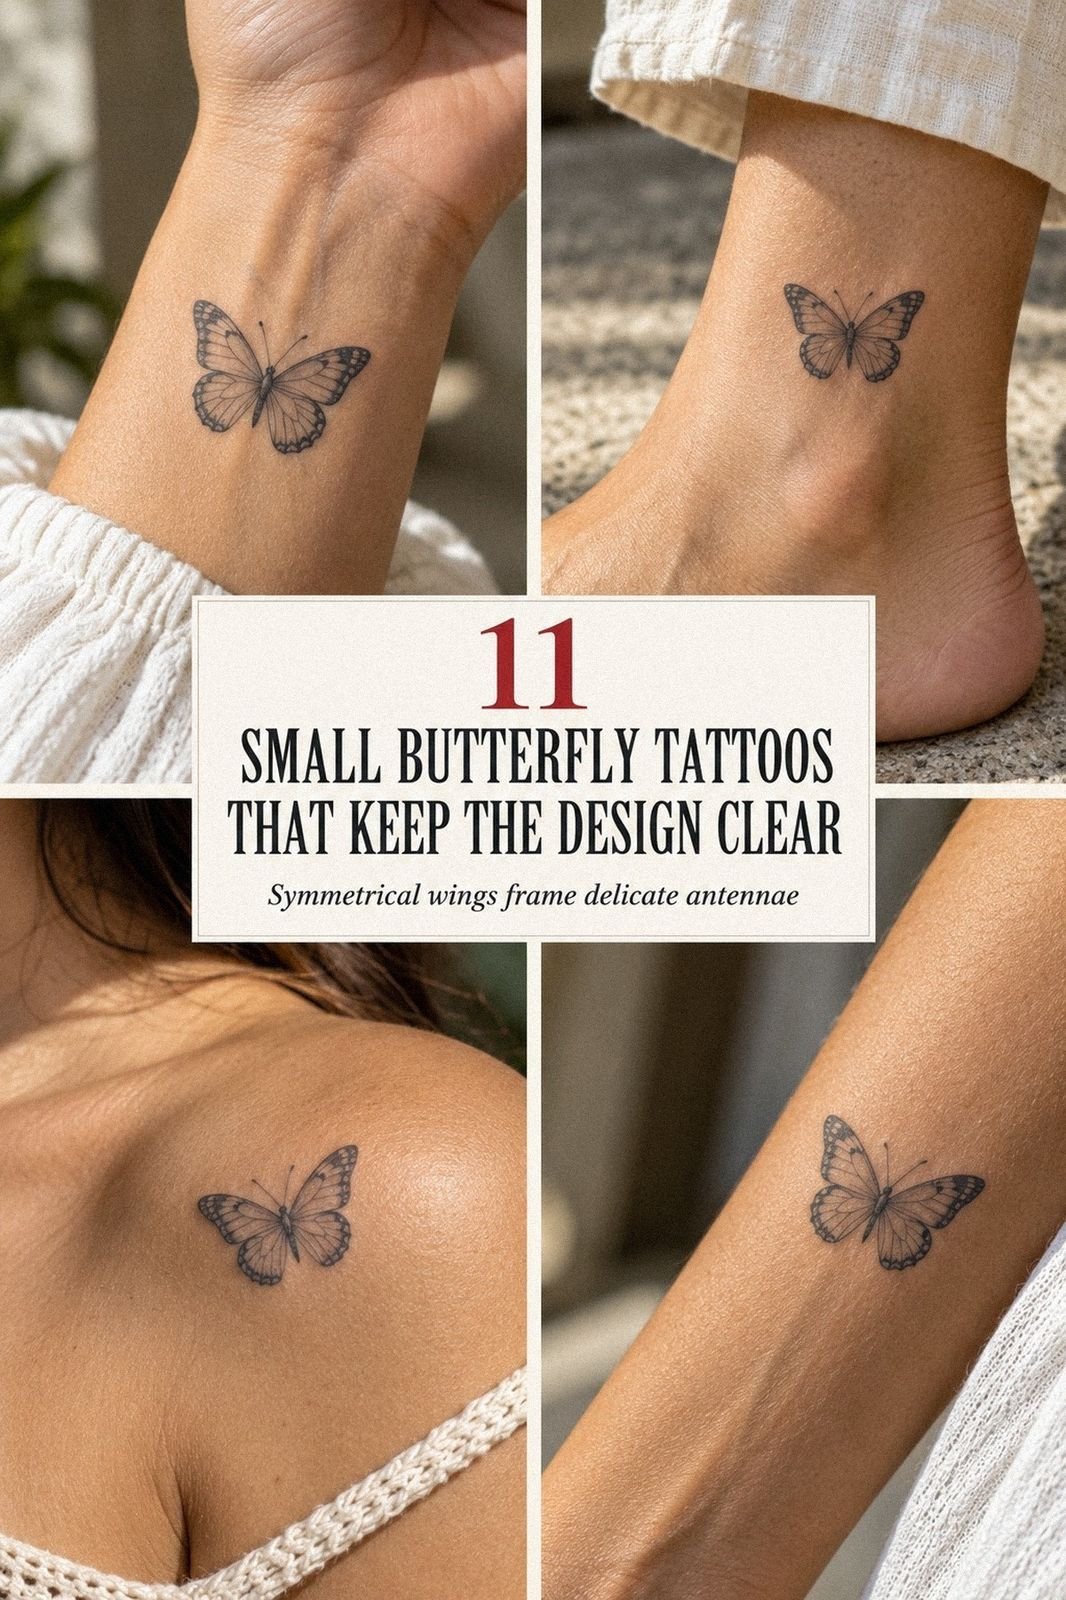
Start with a fine line design that has breathing room between every stem, petal, or curve. Your hip is mobile skin, so you need single-needle black ink with confident spacing, not a dense little drawing that turns to soup.
Ask your artist to place the stencil while you’re standing, sitting, and twisting. You’ll see fast whether the design follows your hip or gets chewed up when you move. A soft 3 to 4 inch piece usually gives fine line enough room to age cute on you.
2Pick A Botanical Side Of Hip Tattoo
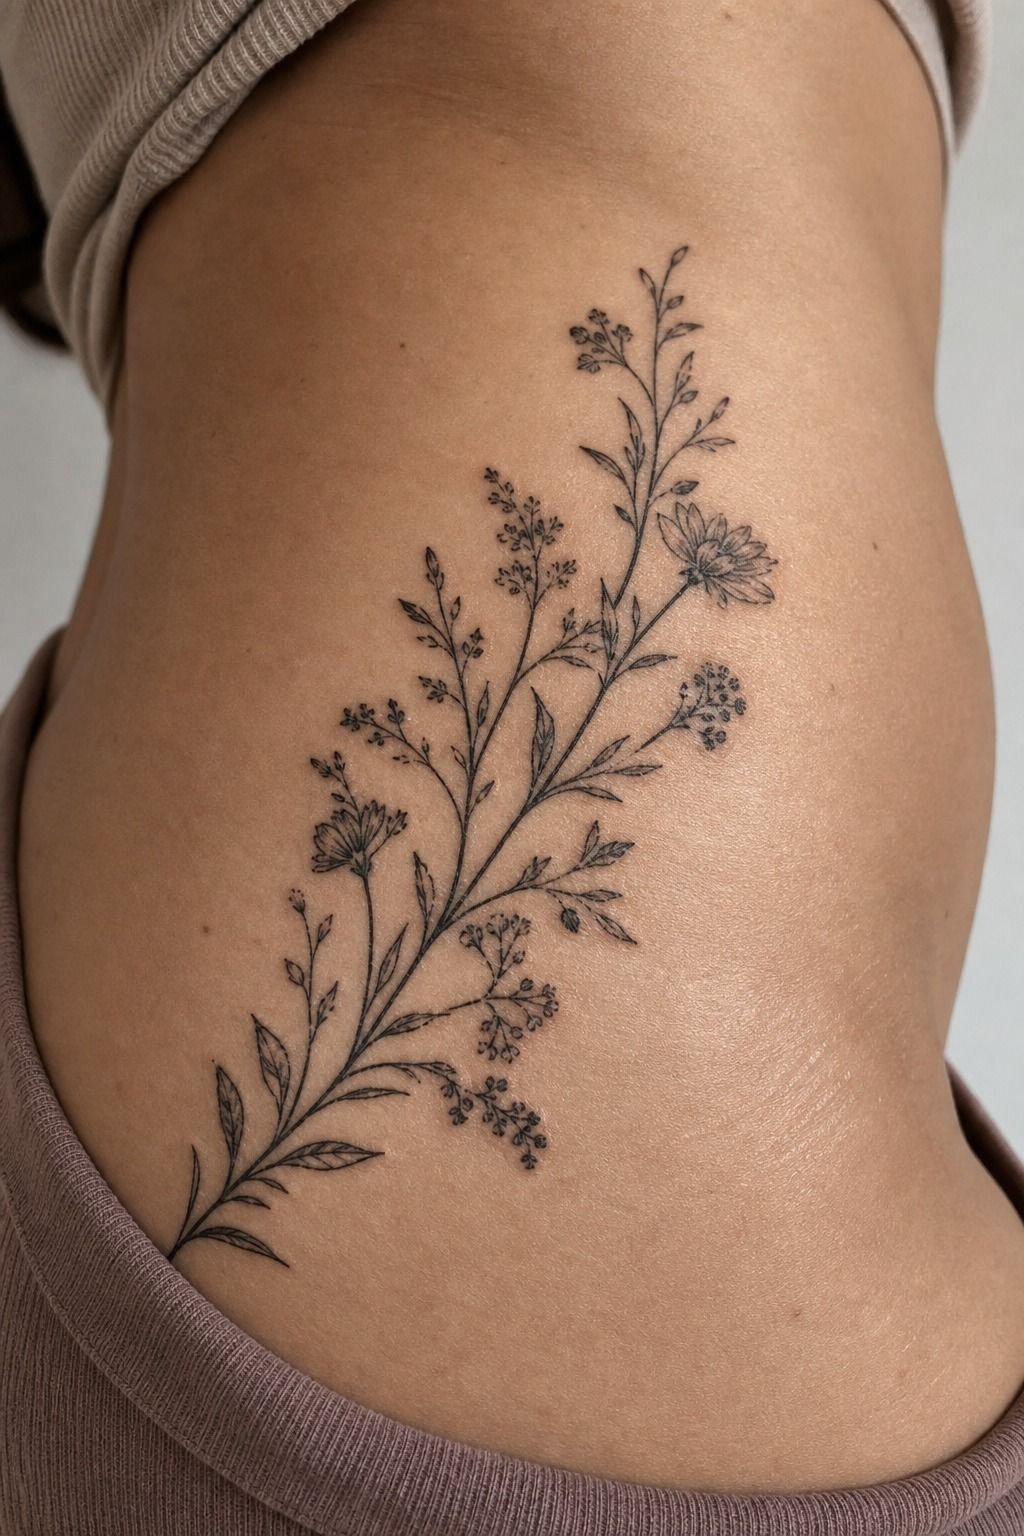
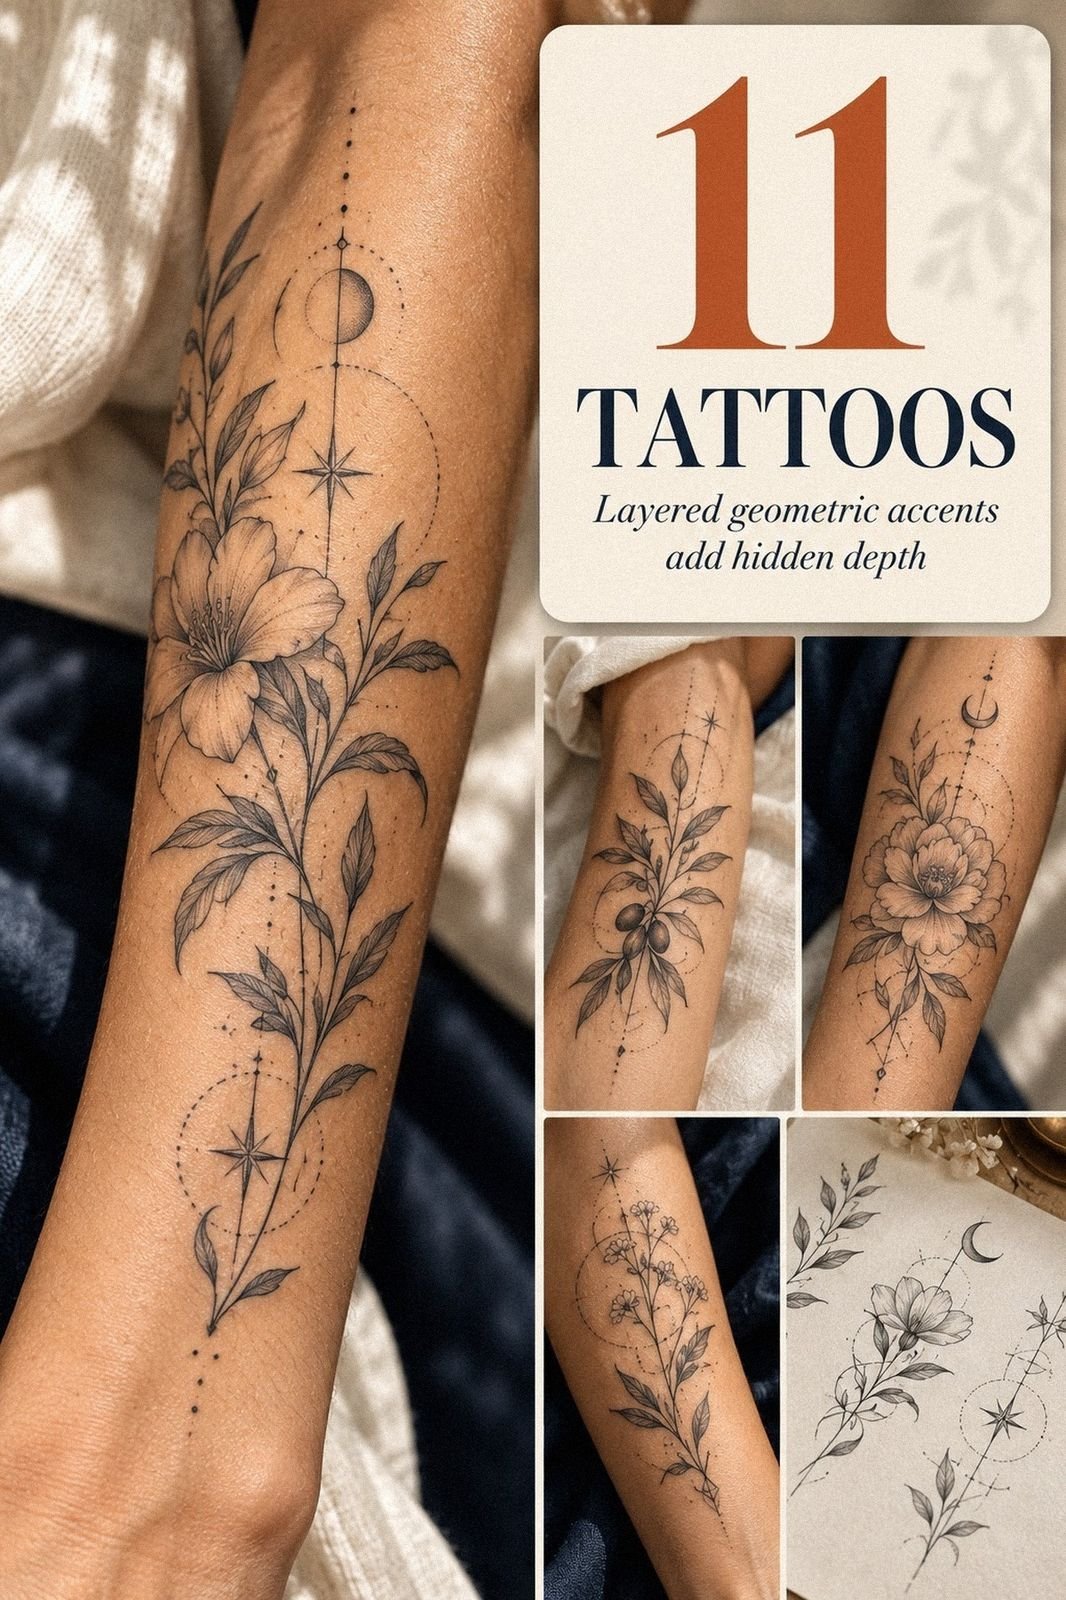
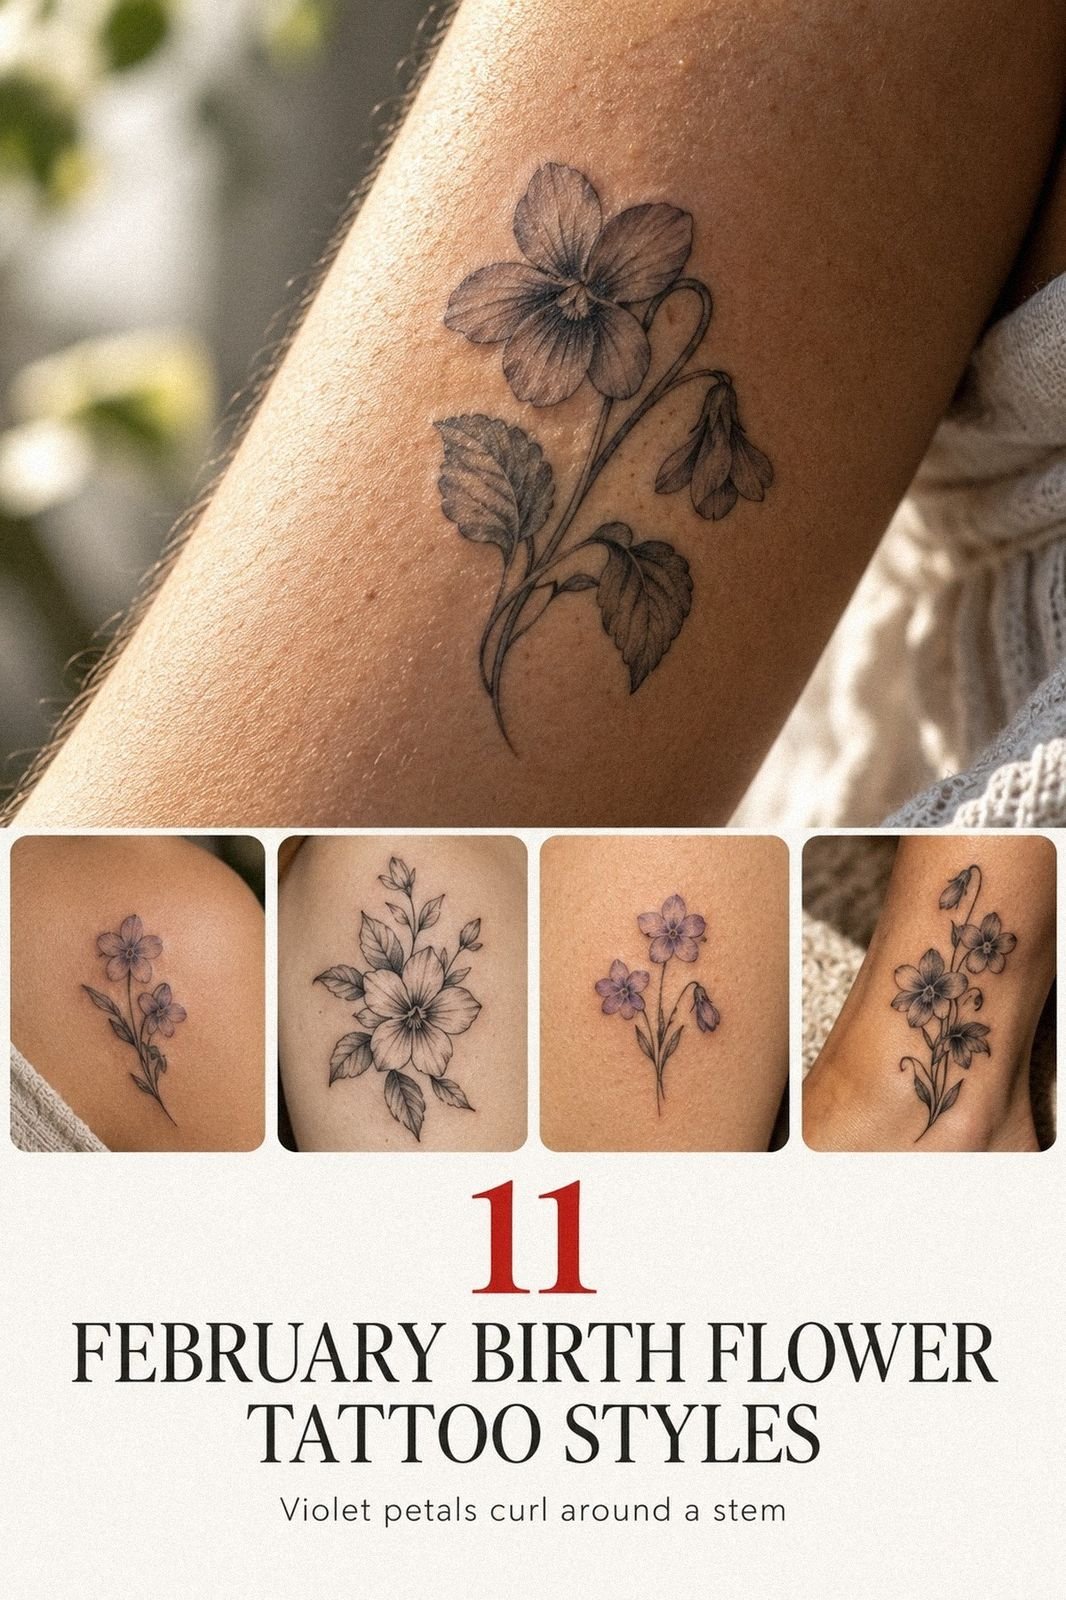
Pick a botanical side of hip tattoo with one clear plant shape.
3Place A Crescent Along The Hip Bone
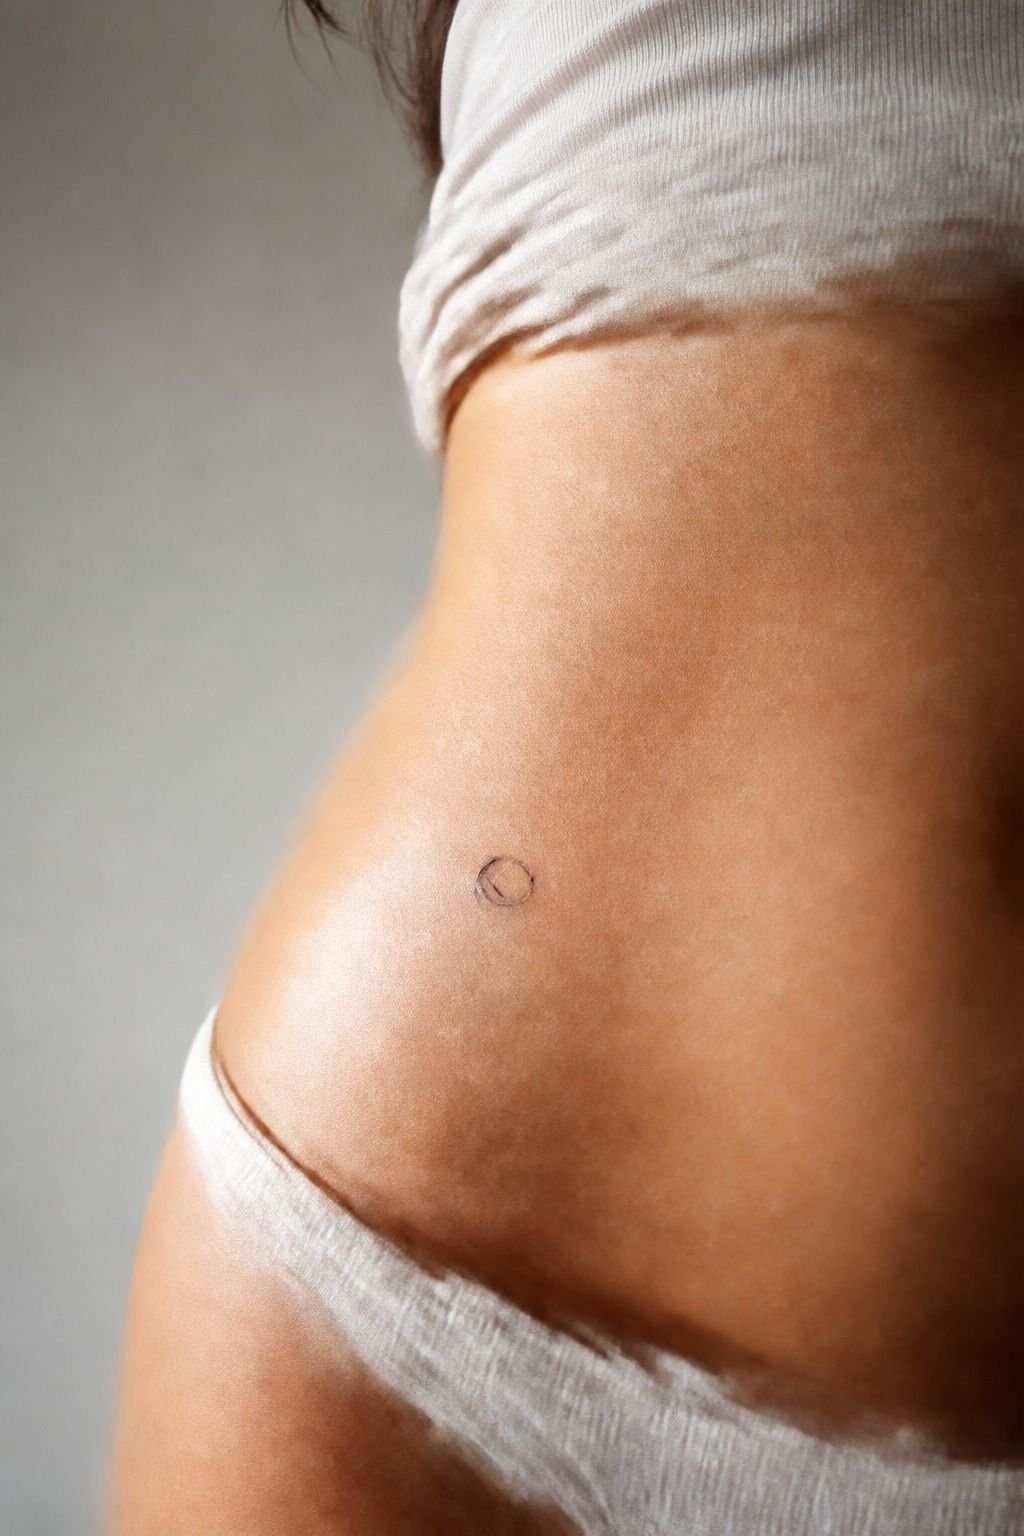
Place a crescent slightly above or below the sharpest point of your hip bone, not directly on top of it. The little pocket between your lower waist and upper hip gives a fine line crescent moon a more calming, settled look.
You’ll want the open side of the crescent facing toward your stomach or back, depending on where your body’s curve pulls. Test it with a marker first. But don’t shrink it too hard: a 2-inch moon with micro-stars inside is likely to mush out later.
4Choose A Small Meaningful Tummy Tattoo
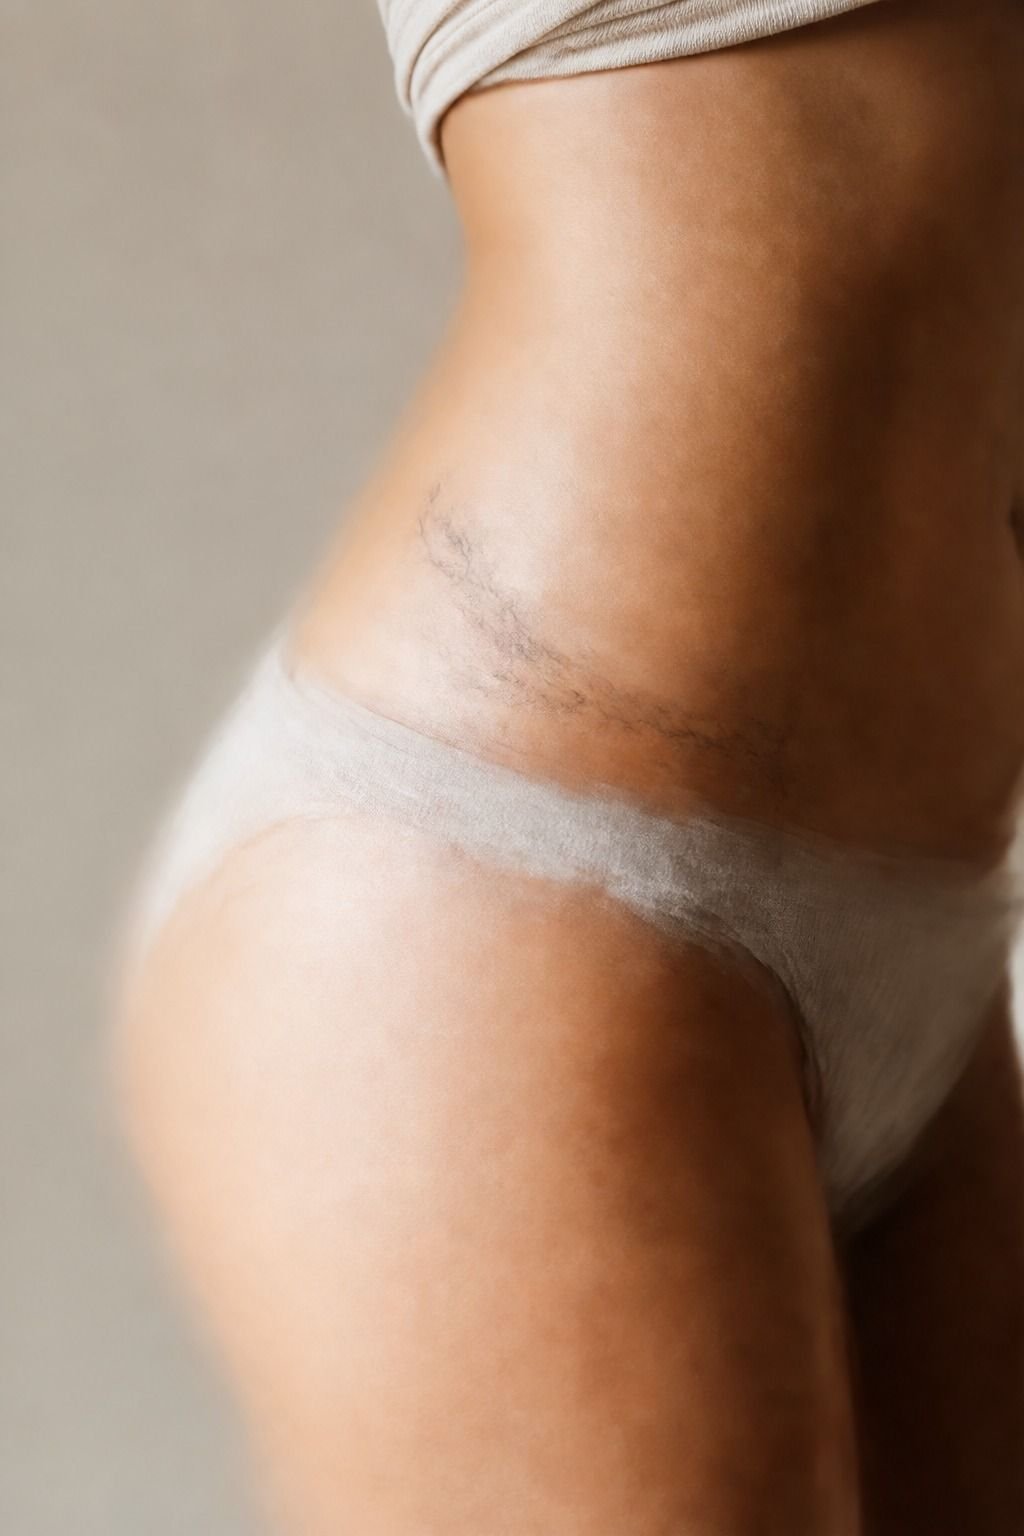
Choose a small meaningful tummy tattoo only after you decide how visible you want it to be in swimwear, low-rise jeans, and mirrors. A tiny black ink symbol set an inch or two inward from the hip bone feels intimate without sitting in a high-wear waistband zone.
Your best move is simple symbolism: a date, initial, star, or one small flower. If you’re pulled toward a balanced symbol, read our guide to yin yang tattoo meaning before committing. You don’t need to explain it to anyone, but you should know why it’s on your skin.
5Map A Floral Hip Tattoo To Your Curves
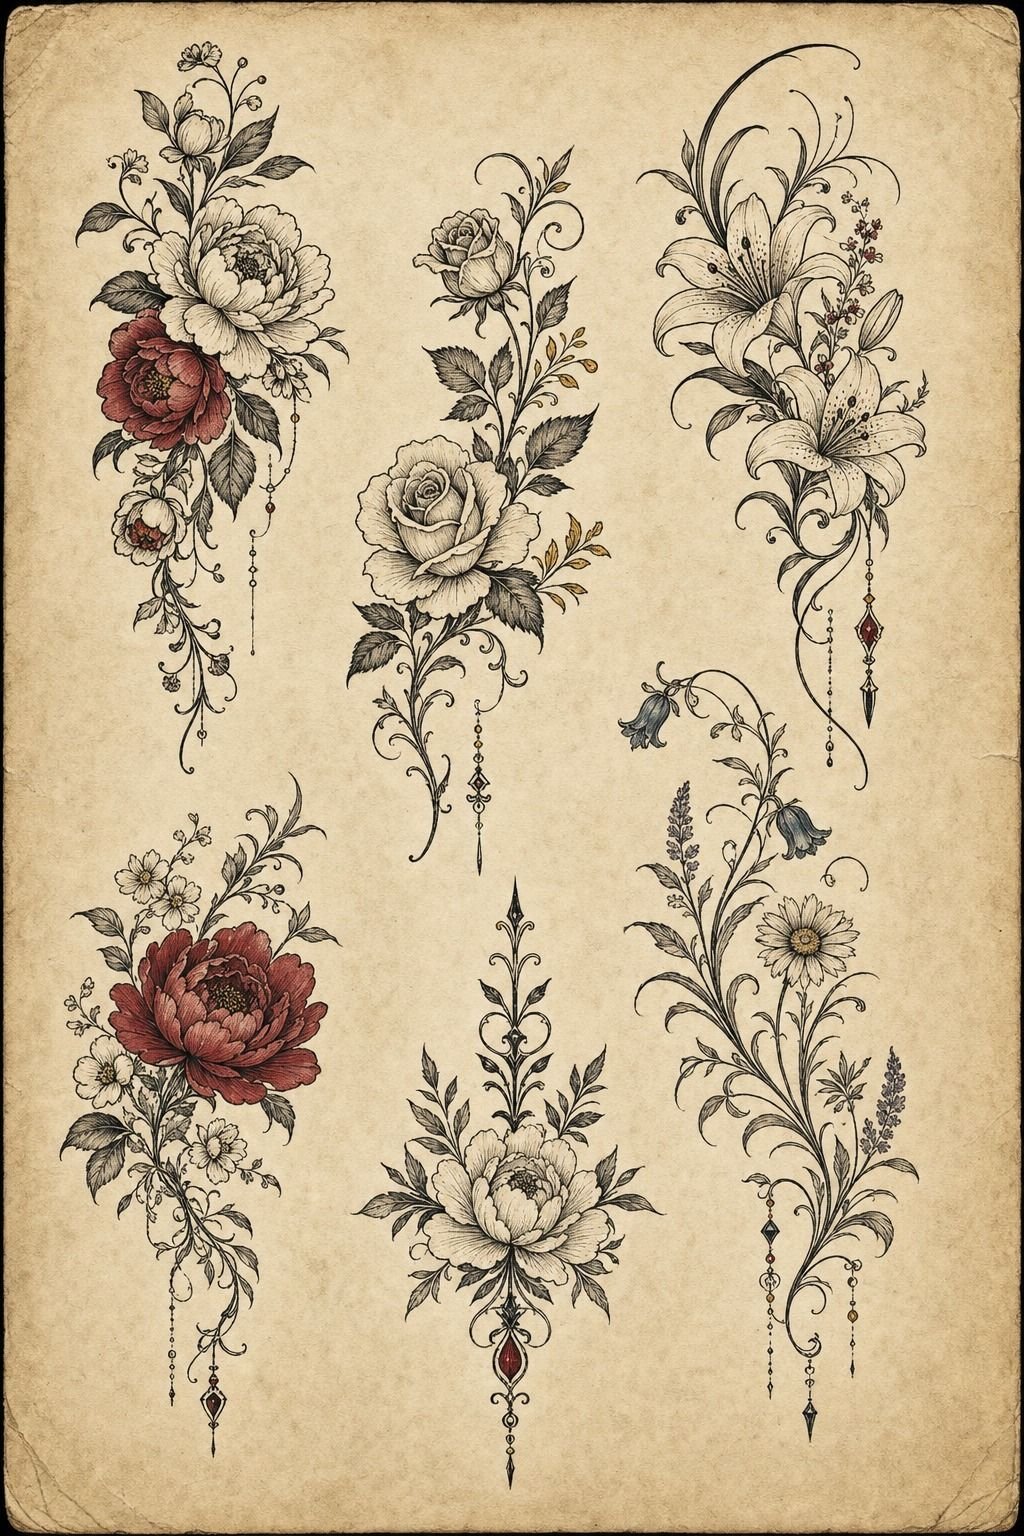
Map your floral hip tattoo with a flash sheet first, then turn the strongest shape into custom placement.
6Plan A Black And Grey Hip Bone Tattoo
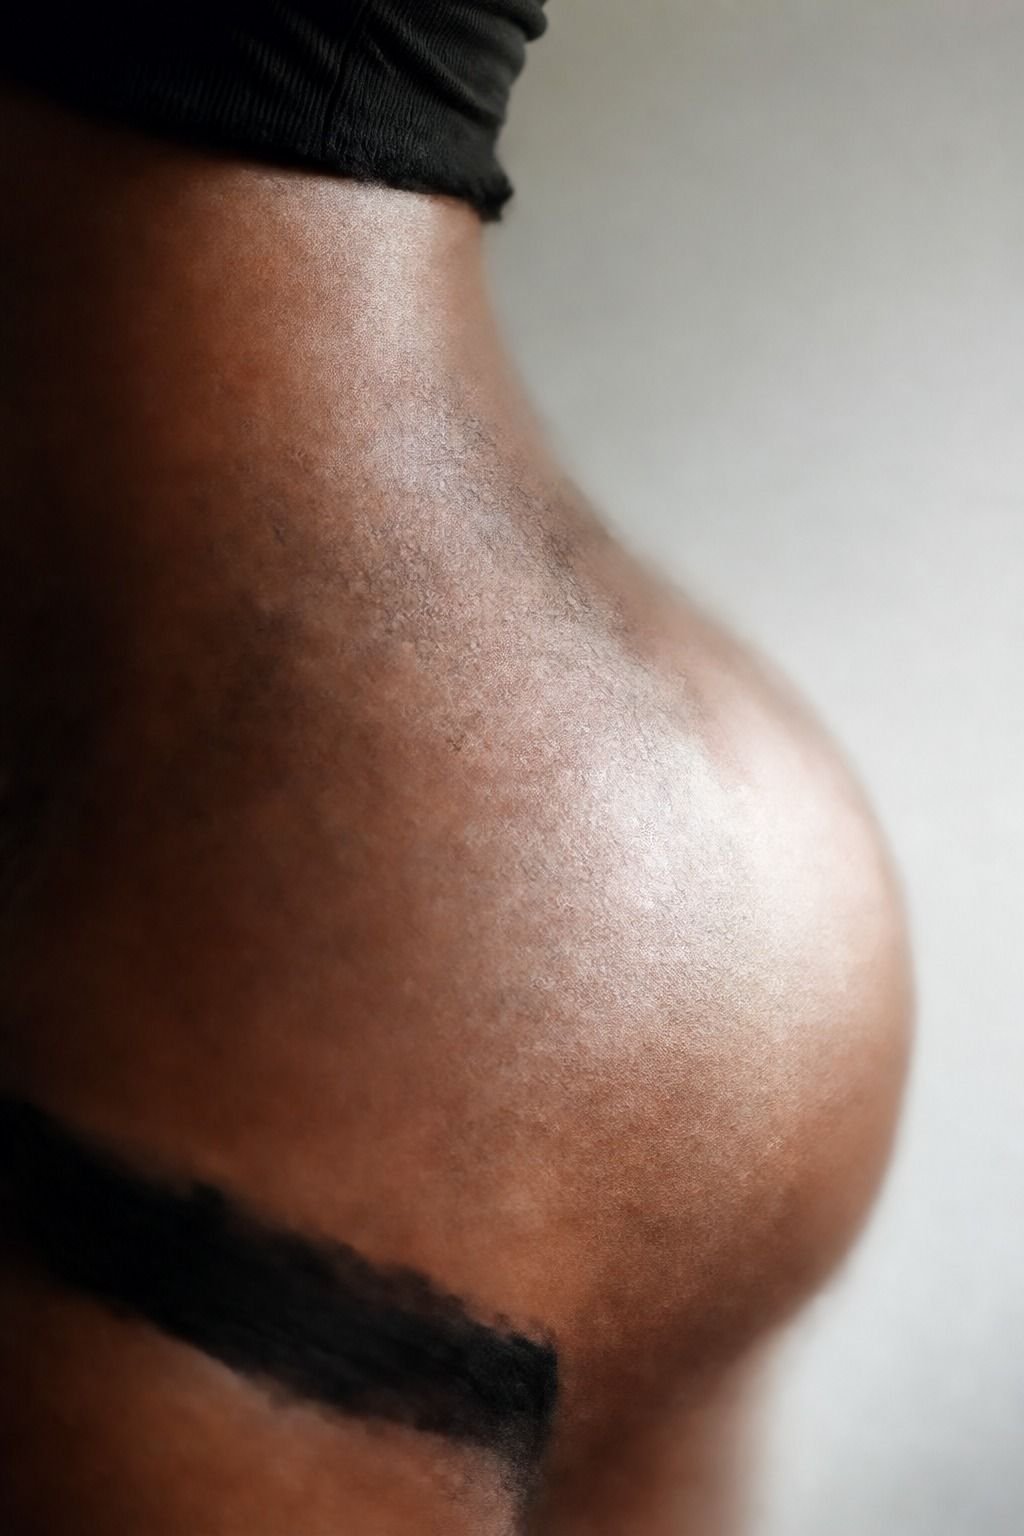
Plan a black and grey hip bone tattoo around contrast, especially on deep skin tones. Grey wash shading can look soft and refined, but it needs enough black structure underneath or it may heal flat.
Your artist should push the darkest details into leaf veins, petal centers, or the outer edge of a crescent. Black is your best friend for longevity, and grey is the gentle layer that gives it dimension. For more placement inspiration, save these hip tattoo ideas and notice which pieces still read from across the room.
7Keep Lettering Aligned With The Hip Bone
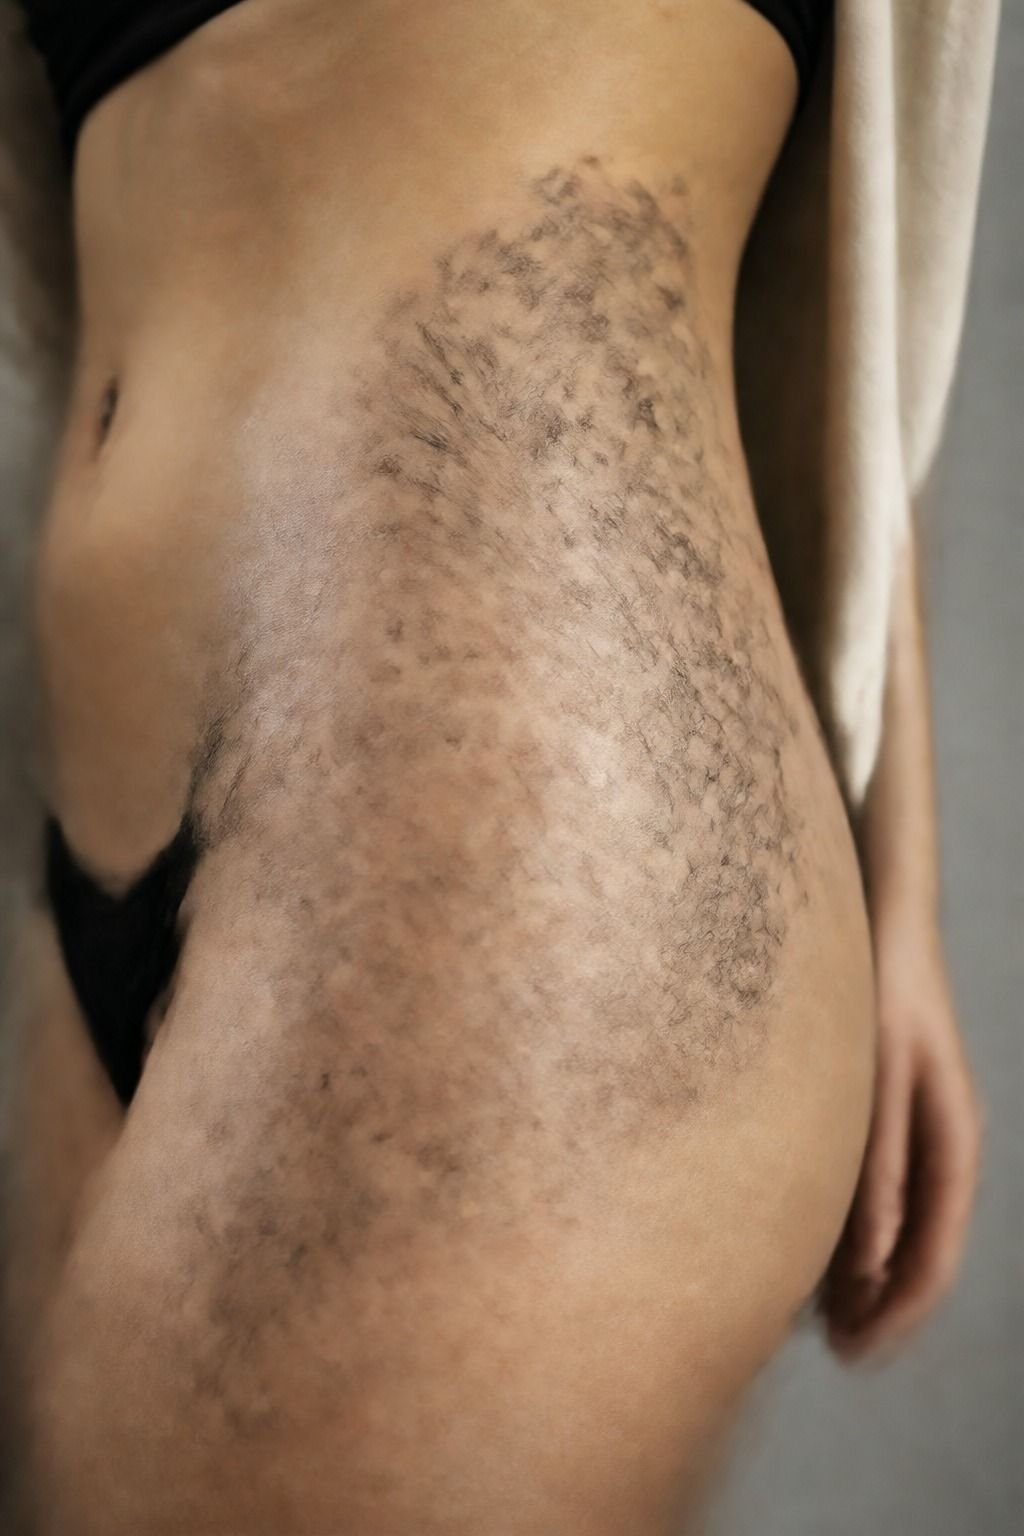
Keep lettering aligned with the hip bone by treating it like a clean pull, not a bracelet.
8Match Angel Numbers To Your Hip Placement
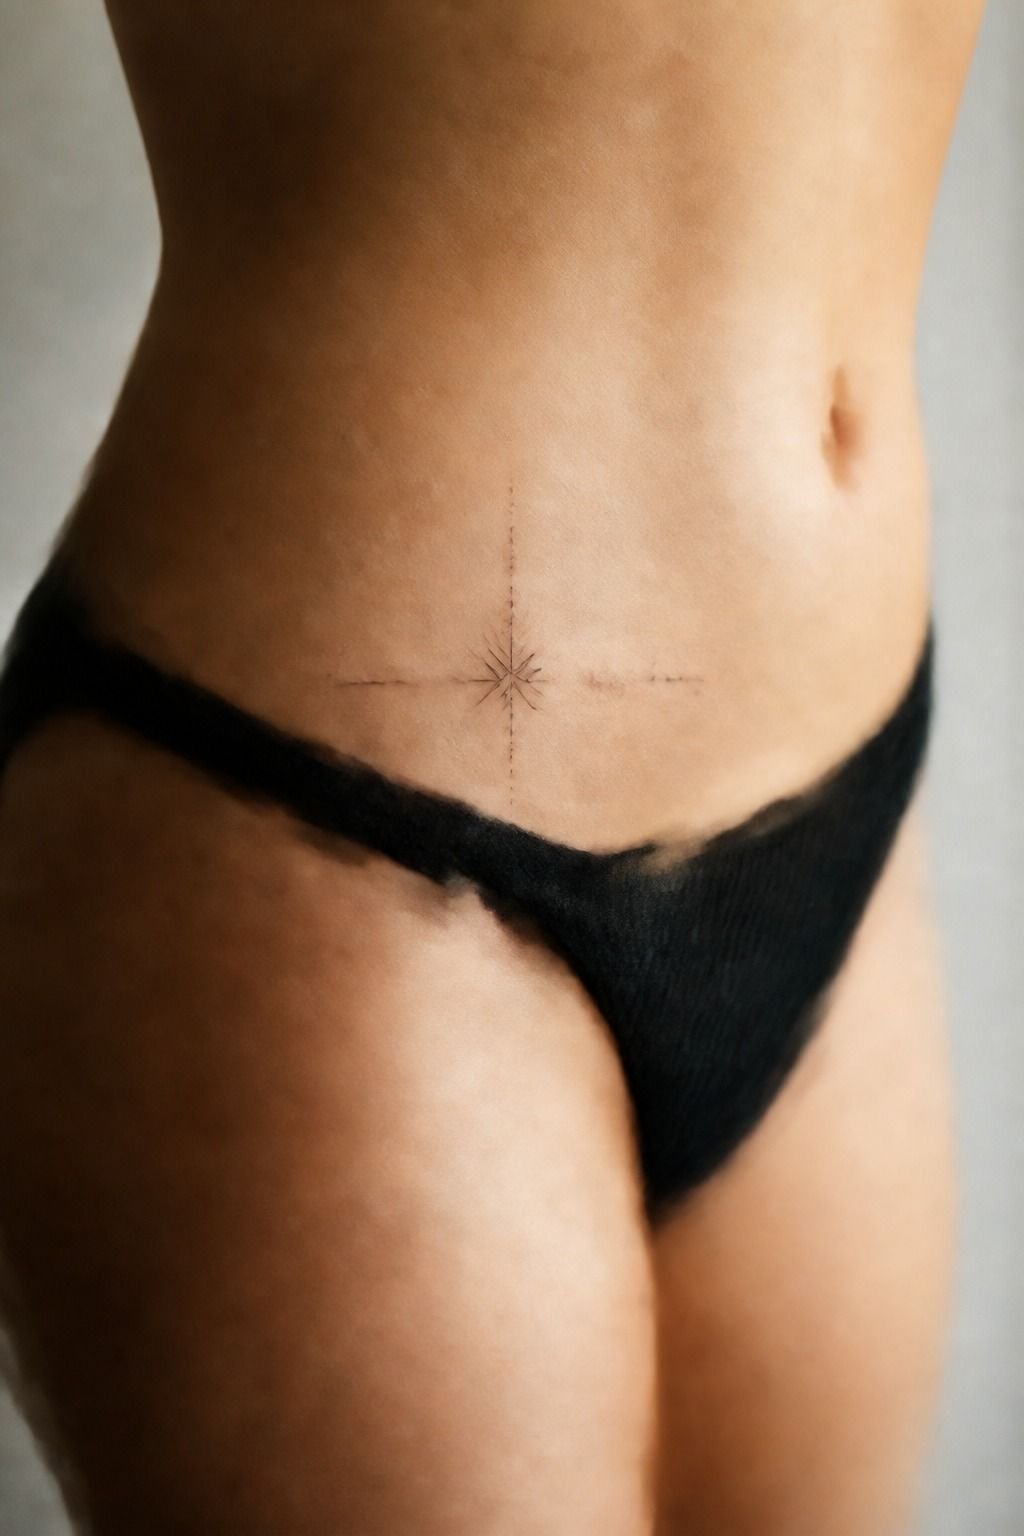
Match angel numbers to your hip placement by choosing whether you want them centered, tucked inward, or following the side curve. 111, 222, and 444 work best when the figures have clean, even spacing and a simple typeface.
Your hip placement can make a small number tattoo feel private or bold. Centered near the front reads more intentional; a side placement feels quieter.
Don’t add sparkles, wings, and tiny stars just because the number seems plain. The number is the point. Keep it elegant, saturated in black, and easy to touch up if you ever need it.
9Choose Red Ink For A Subtle Hip Tattoo
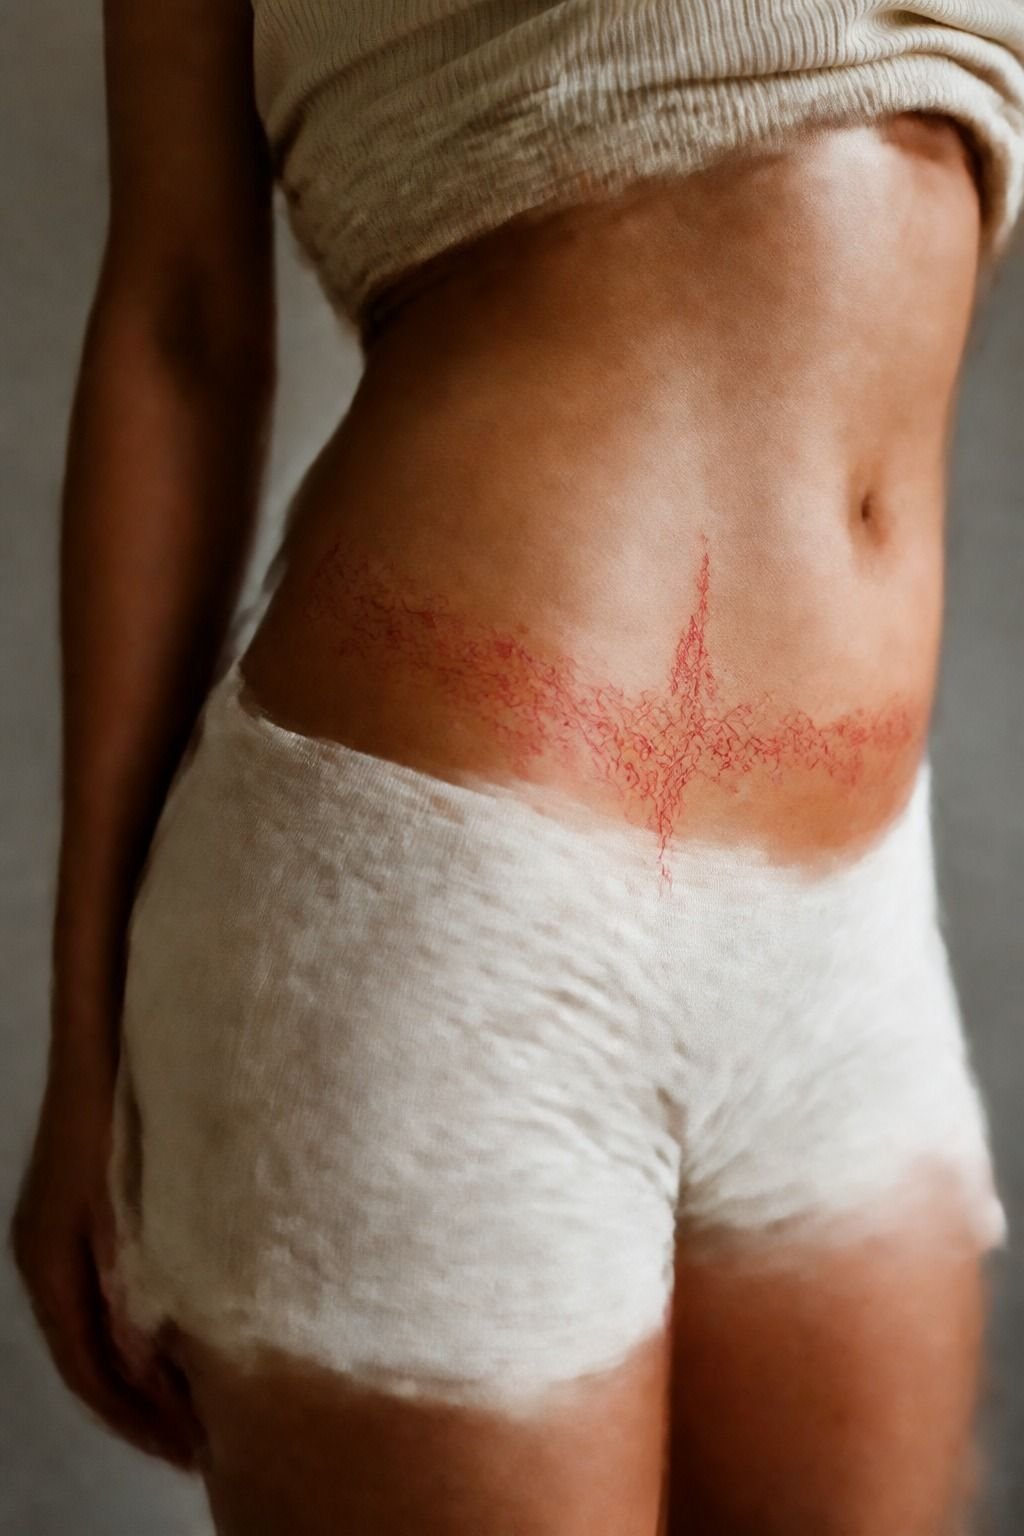
Choose red ink for a subtle hip tattoo if you like the look of a warm, delicate mark but understand that color needs care.
10Place A Snake Along The Side Of Your Hip
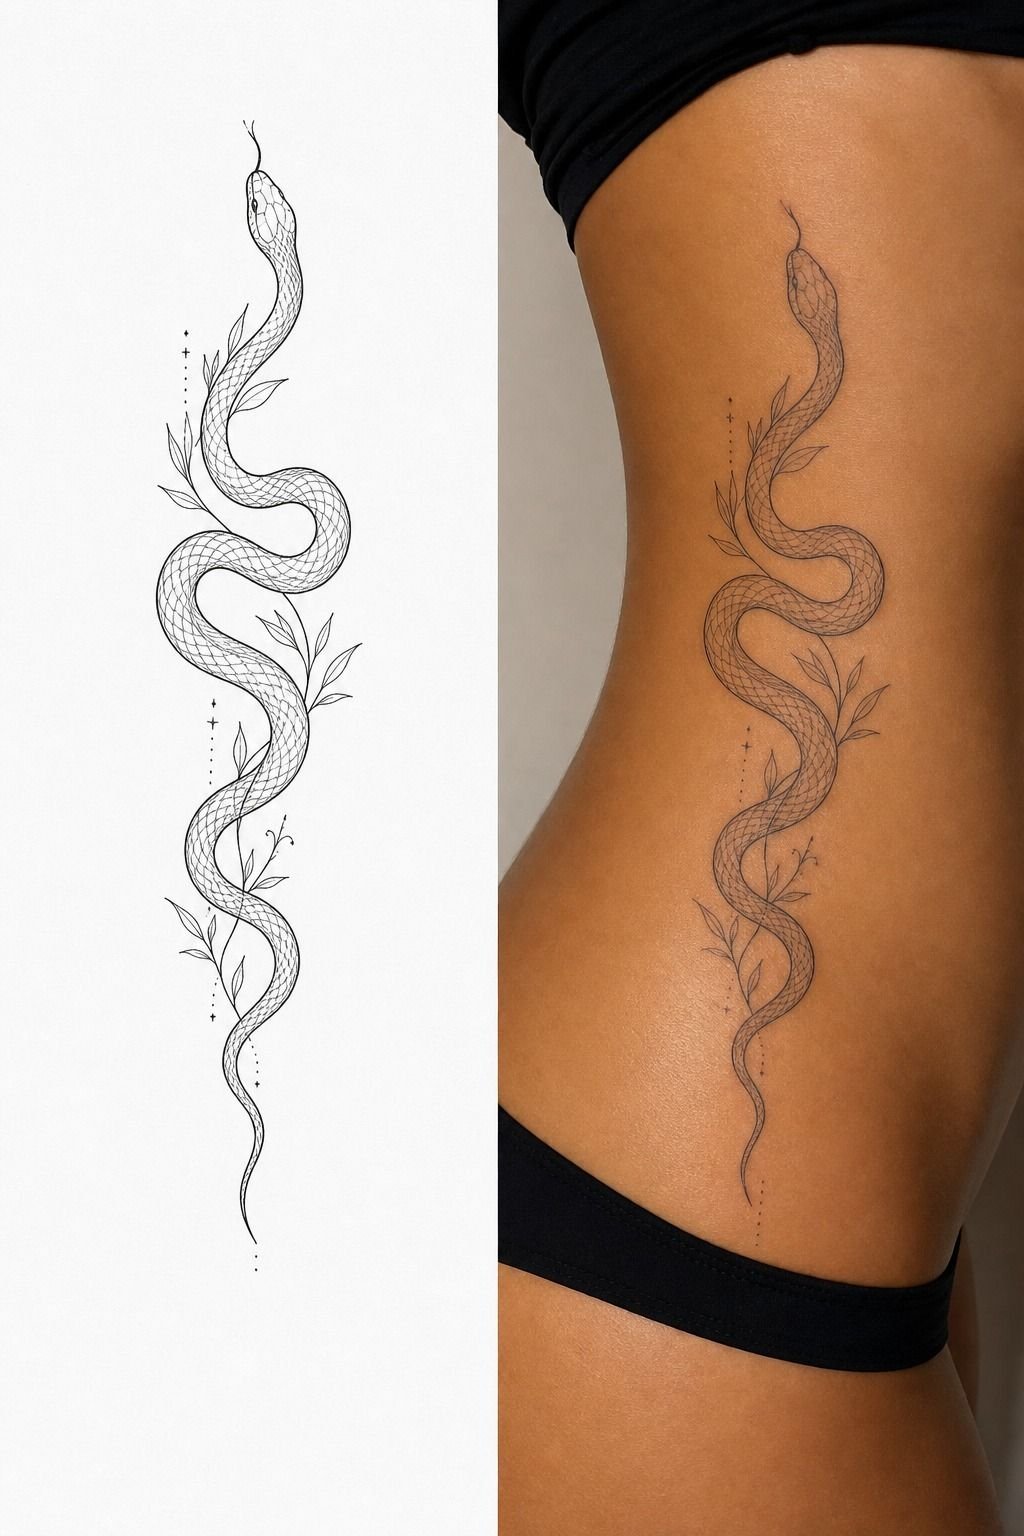
Place a snake along the side of your hip so the body has room to bend with you. A fine line snake stencil should curve from the lower waist toward the outer hip, with the head and tail clearly separated.
The stencil-to-healed comparison matters here. You’ll see whether the artist built enough negative space between scales, bends, and facial details.
I’d skip micro-realistic scales on a 3-inch snake. They won’t stay crispy. A bold outline with a few intentional scale marks will hold better and still look dramatic.
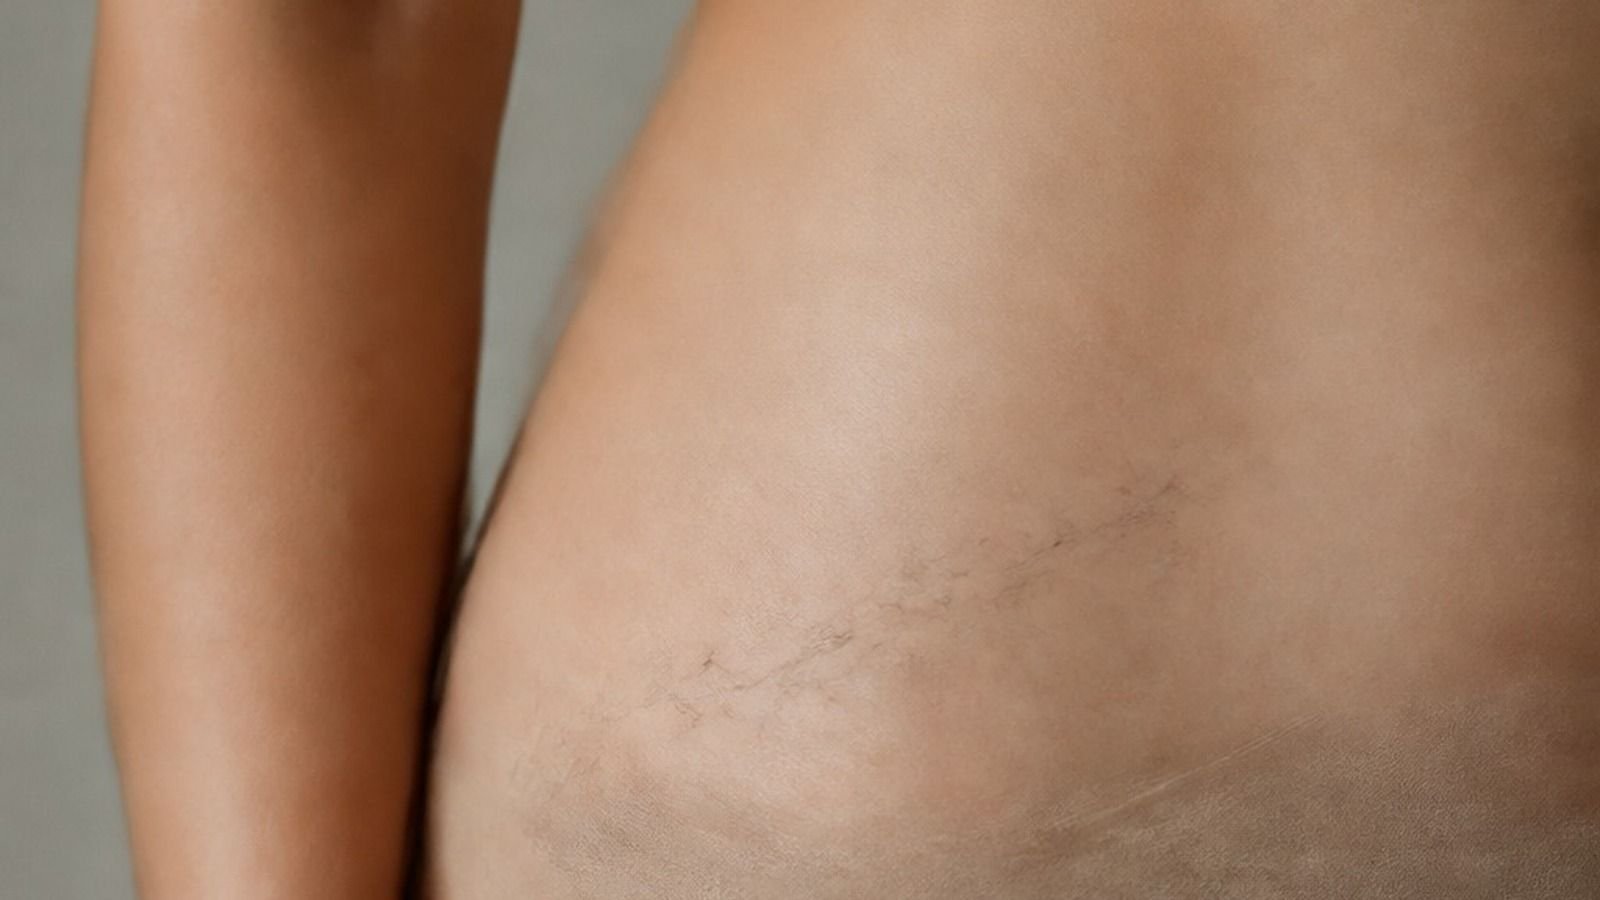
11Plan A Hip Bone Tattoo Around Stretch Marks
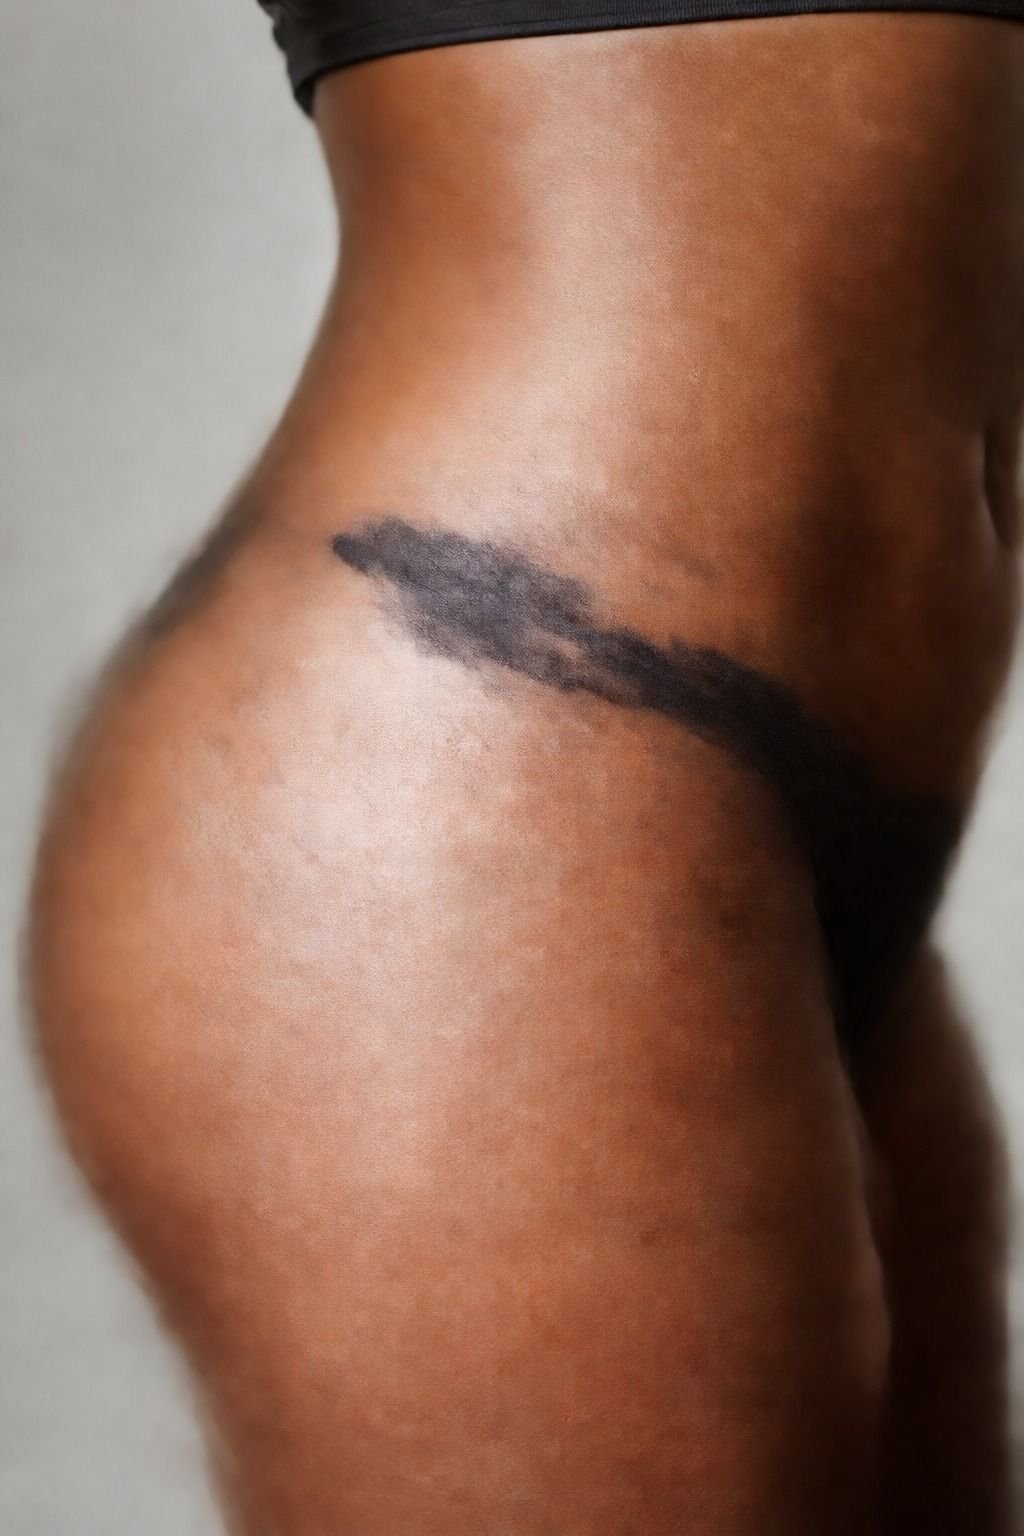
Plan a hip bone tattoo around stretch marks with an artist who knows how to assess healed texture.
12Pick A Watercolor Bloom With Strong Linework
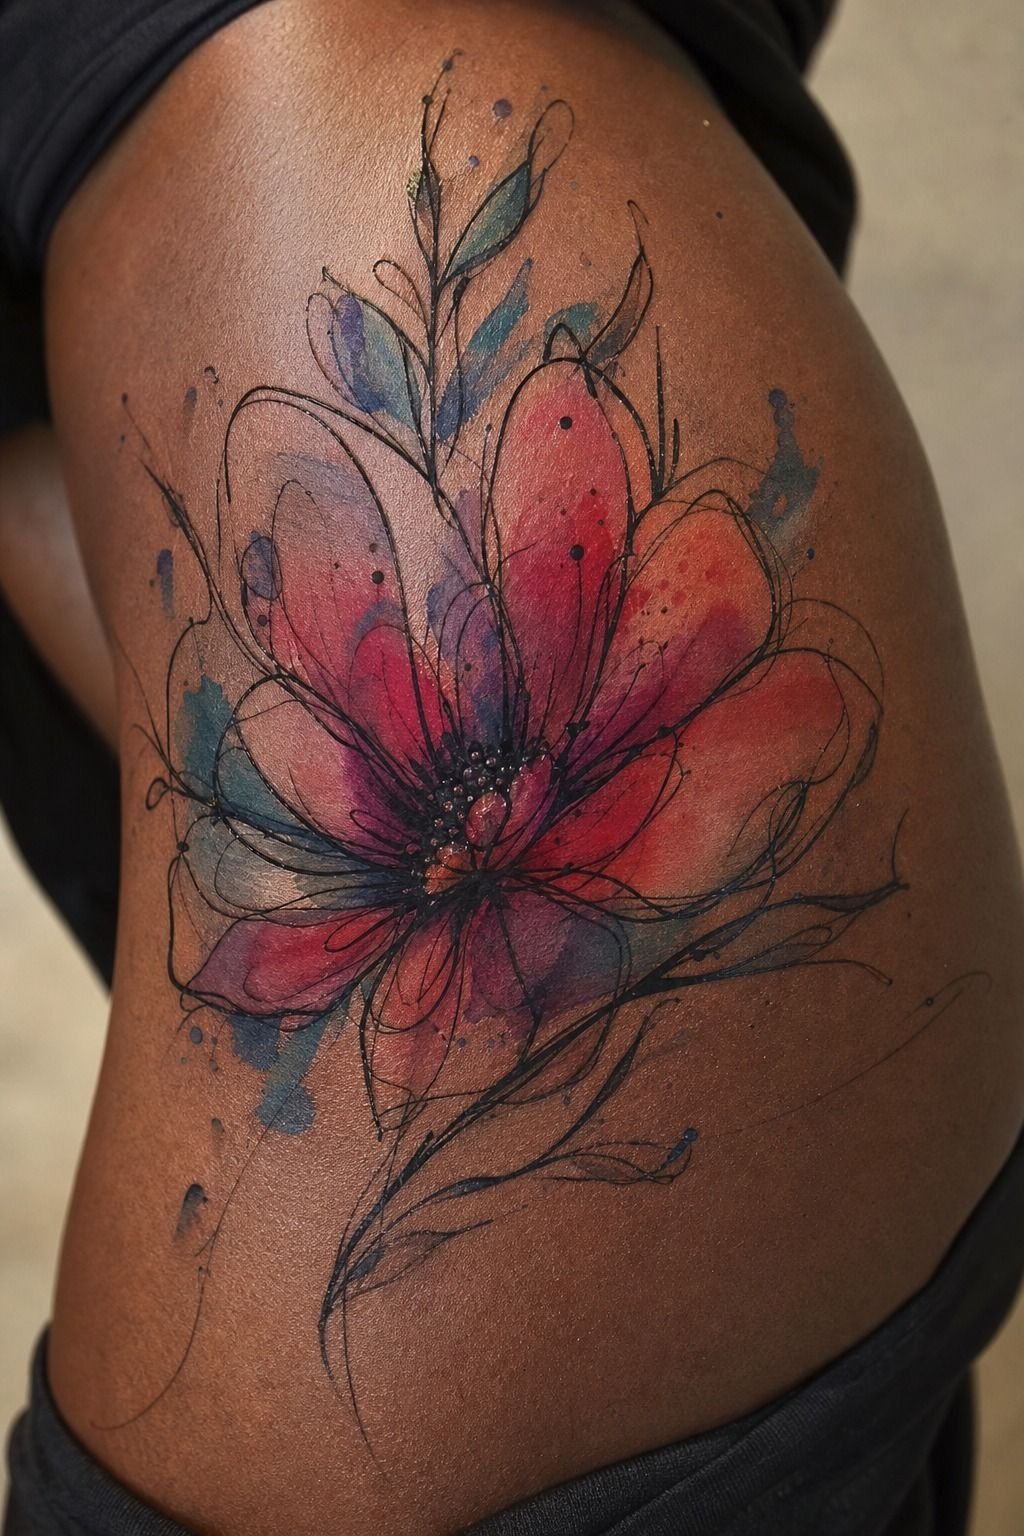
Pick a watercolor bloom with strong linework underneath. Watercolor without an anchor can fade into a soft blur, especially where your hip gets sun, friction, and movement. Black botanical outlines keep the color from floating away.
You’ll get the best result from one or two pigment tones, not a whole rainbow crammed into a small bloom. Think muted red with black stems, or blue-violet petals with a dark center. The color packing is the spiciest part of the session, so take breaks if you need them.
Tap out for five rather than pass out on me!
13Keep A Minimalist Hip Tattoo Visually Balanced
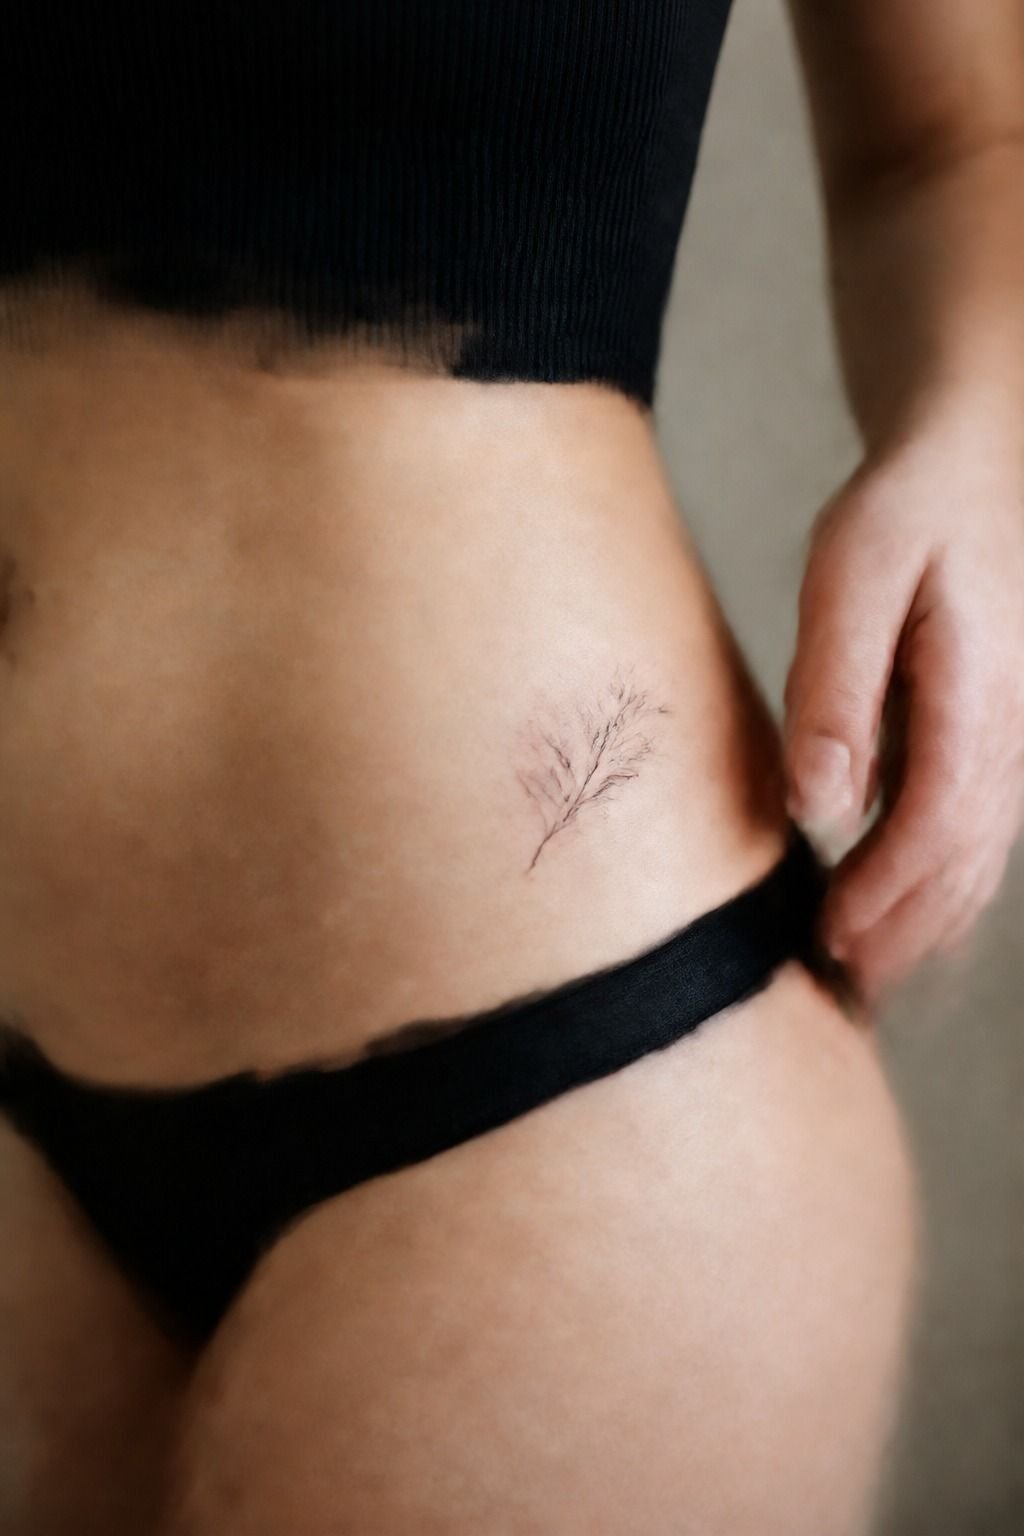
Keep a minimalist hip tattoo visually balanced by deciding what it should answer on your body: the hip point, the lower stomach, or the side waist. Minimal black linework gets powerful when it has one job.
You can place a tiny star just inside the bone, a curved vine along the side, or one abstract mark under the waistband. Don’t scatter three unrelated symbols across the same area.
They’ll compete. One clean image gives your eye somewhere to land, and it’ll look more timeless when you change clothes, gain muscle, or simply get older.
14Start With A Custom Hip Tattoo Sketch
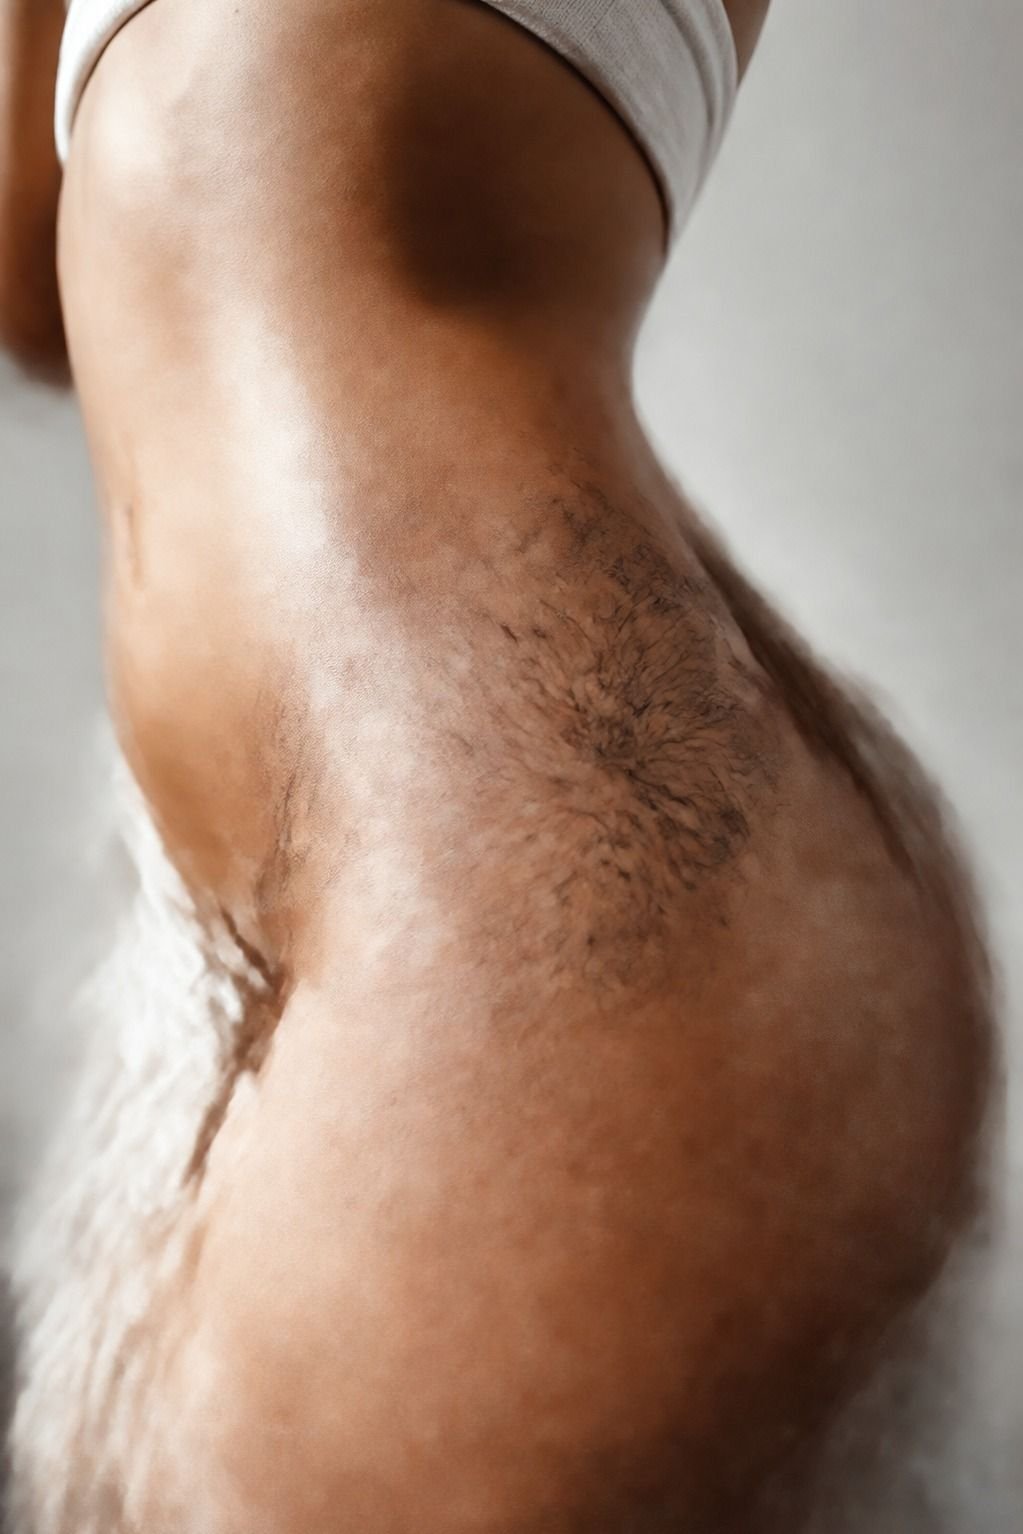
Start with a custom hip tattoo sketch if your reference images all have one thing you love and three things you don’t. Bring screenshots for line weight, placement, and mood, then let the artist build a design for your anatomy.
Your sketch should show what goes near the hip point, what wraps toward the tummy, and where the empty skin stays empty. That empty skin matters.
For a tree-inspired custom piece, our breakdown of Yggdrasil tattoo meaning can help you choose symbolism before you lock the drawing. References are for vibe only.
Your tattoo needs to be yours.
15Choose A Symmetrical Tummy Tattoo Composition
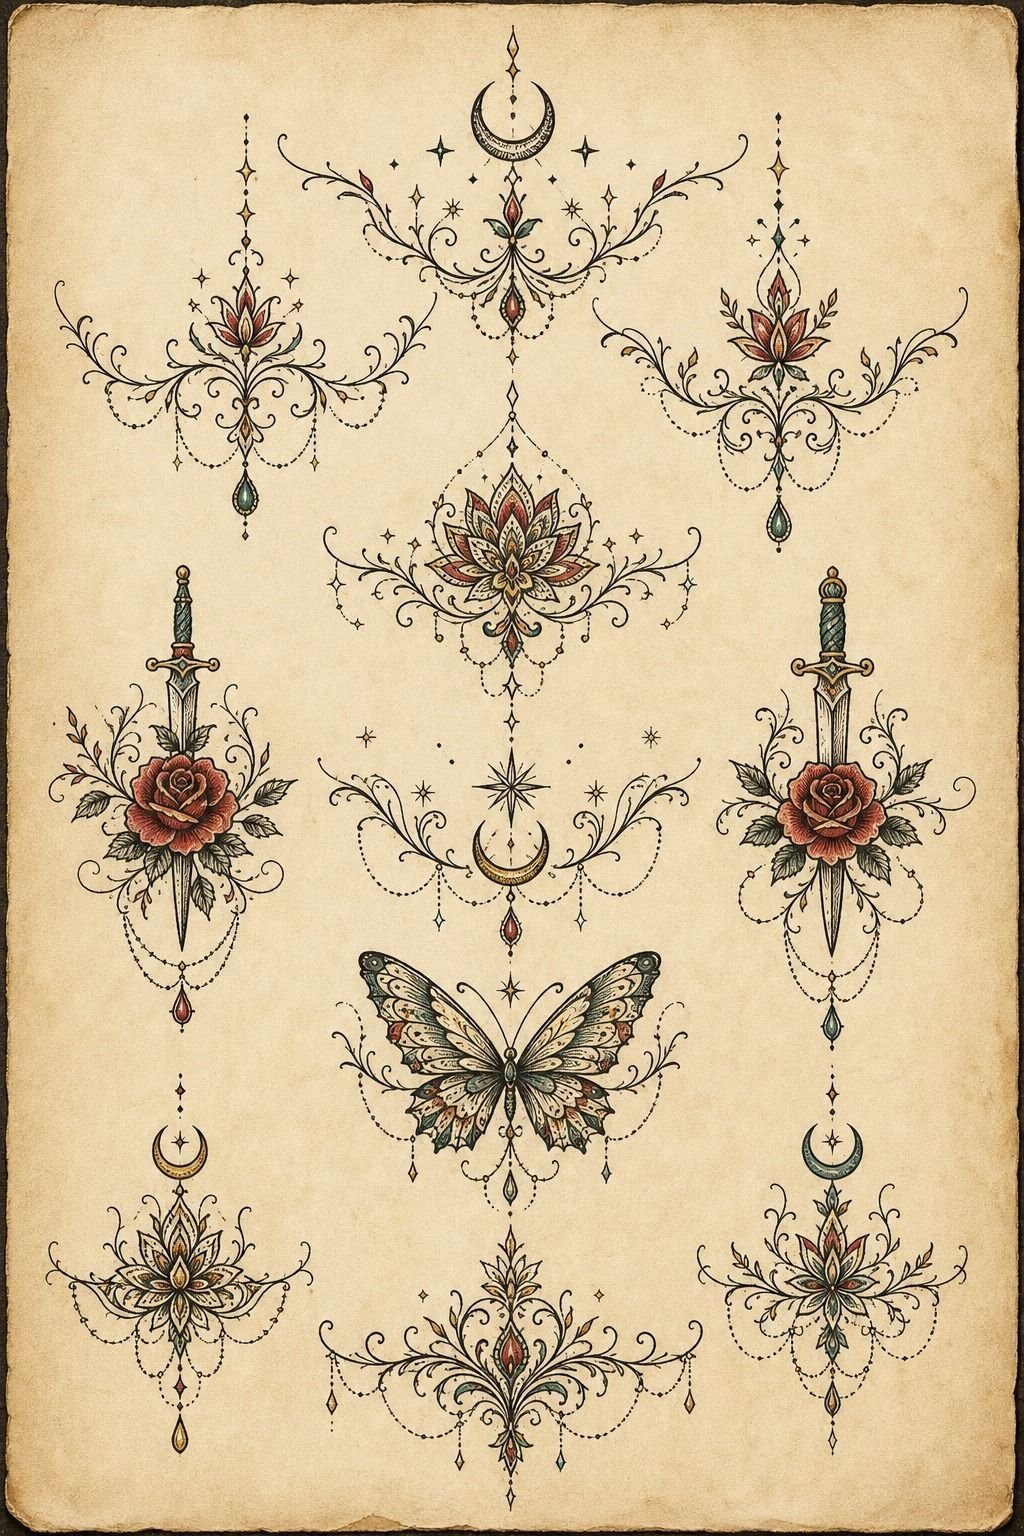
Choose a symmetrical tummy tattoo composition only if your body and your idea both benefit from a centerline. Twin botanical motifs or mirrored celestial shapes can look captivating across the lower stomach, but they need careful stencil work.
You’ll want to stand naturally while the artist checks the middle. Nobody’s body is perfectly symmetrical, and that’s normal. Don’t chase ruler-straight anatomy at the expense of how the tattoo looks when you breathe.
A slightly adjusted custom design often looks more harmonious on real skin than a rigid copied flash sheet.
16Plan Pain Relief For Hip Tattoo Sessions
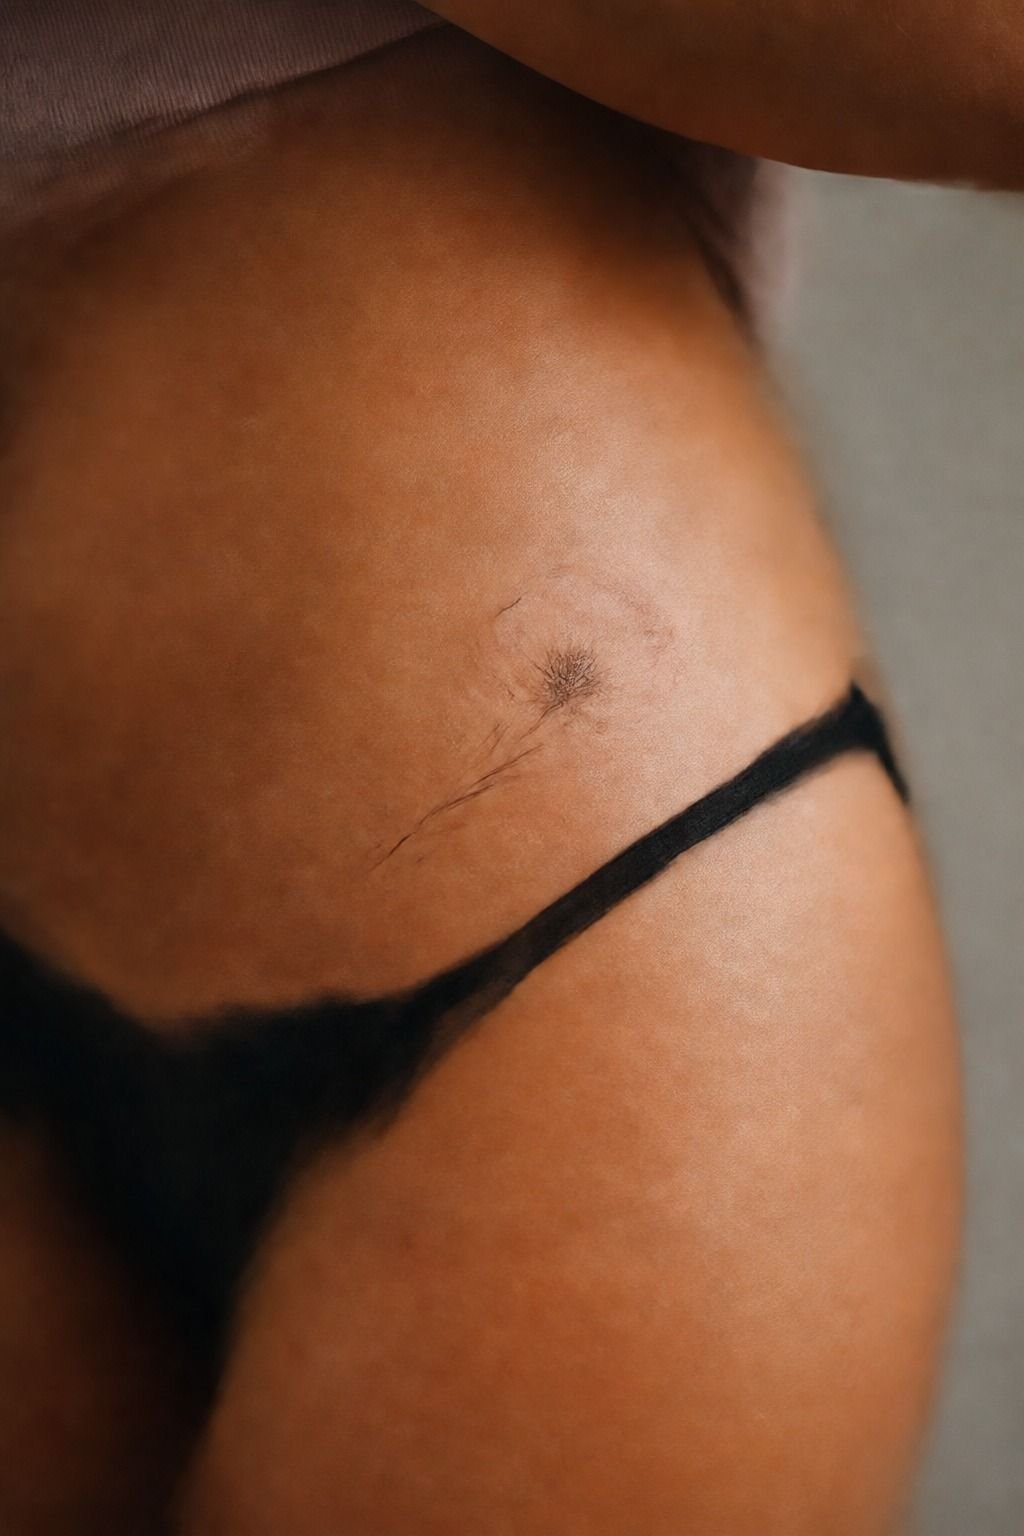
Plan pain relief for hip tattoo sessions before you arrive. Lines feel sharper, shading feels like a dull burn, and color packing is usually the spiciest part. The hip can be pretty tolerable, but the closer you get to bone, ribs, and lower stomach, the more you’ll notice it.
Bring water, a snack, loose cotton clothing, and a phone charger. Your artist may charge a shop minimum of about $50 to $100, while typical U.S. hourly rates run roughly $100 to $250 depending on the artist and city. Here’s the practical breakdown:
17Keep Your Hip Bone Tattoo Clean While Healing
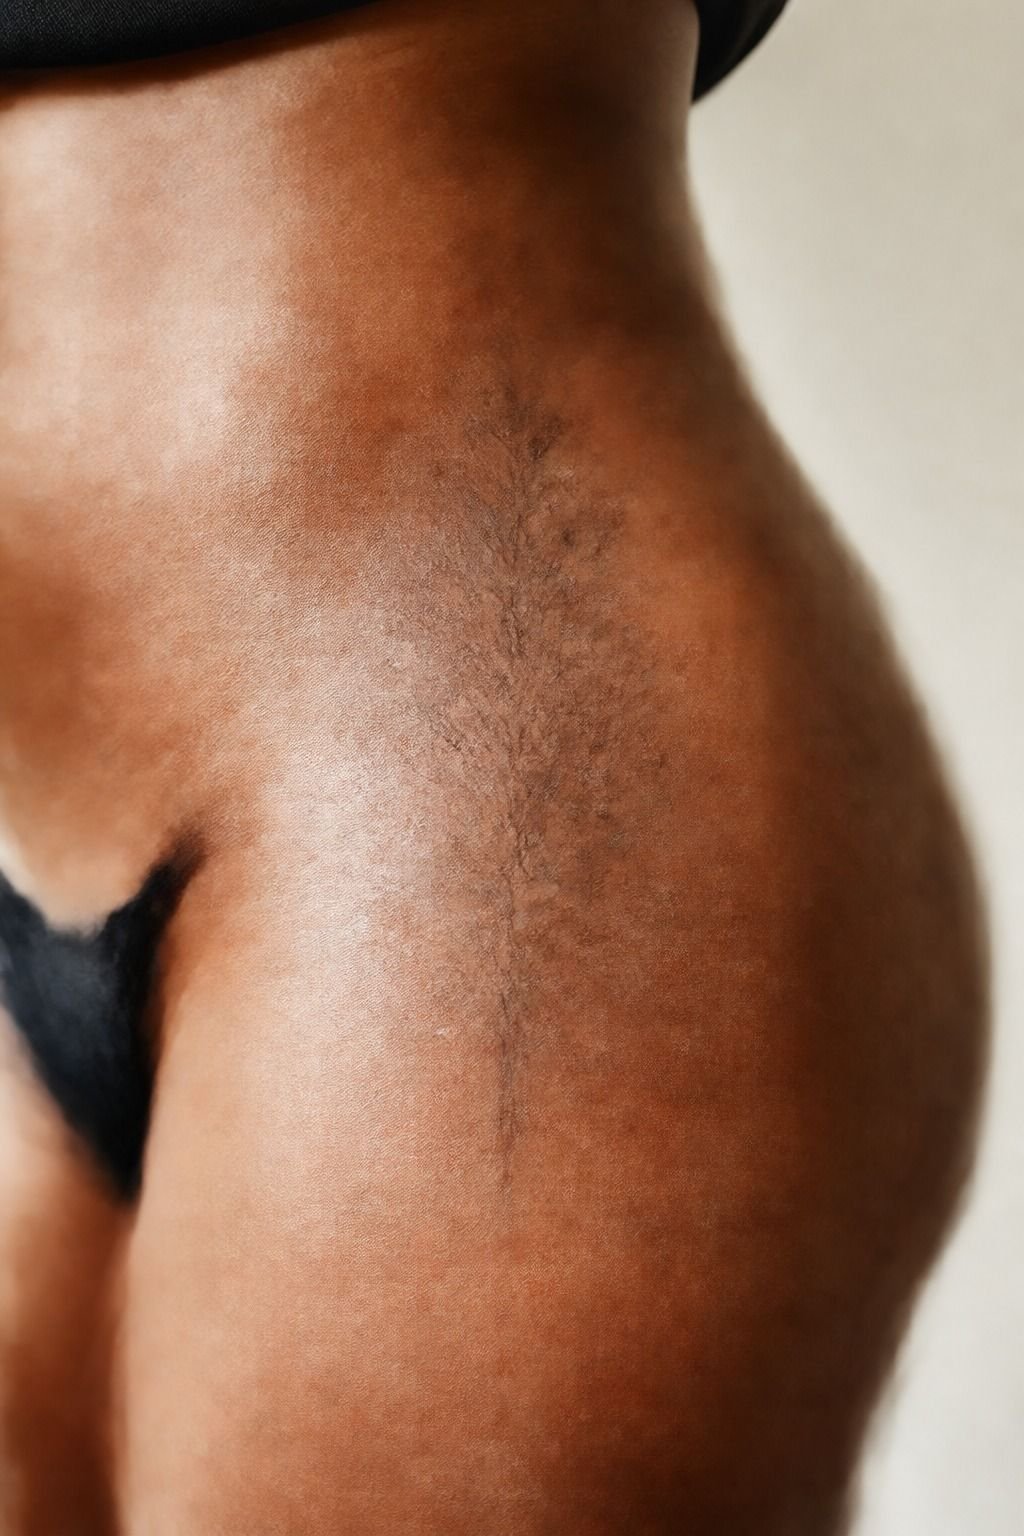
Keep your hip bone tattoo clean while healing because, for the first few days, it’s an open wound. Wash with gentle unscented soap, pat dry with a clean paper towel, and use a thin layer of Aquaphor Healing Ointment or the aftercare your artist recommends.
You don’t need to suffocate it under lotion. It’ll peel like a sunburn, and you can’t pick those flakes without risking patchy color or line loss.
Skip pools, hot tubs, direct sun, and tight waistbands while it heals. And yes, gym friction can mess with it too. Soft underwear, loose pants, clean sheets.
Boring but important!
18Book An Artist Skilled In Hip Placement
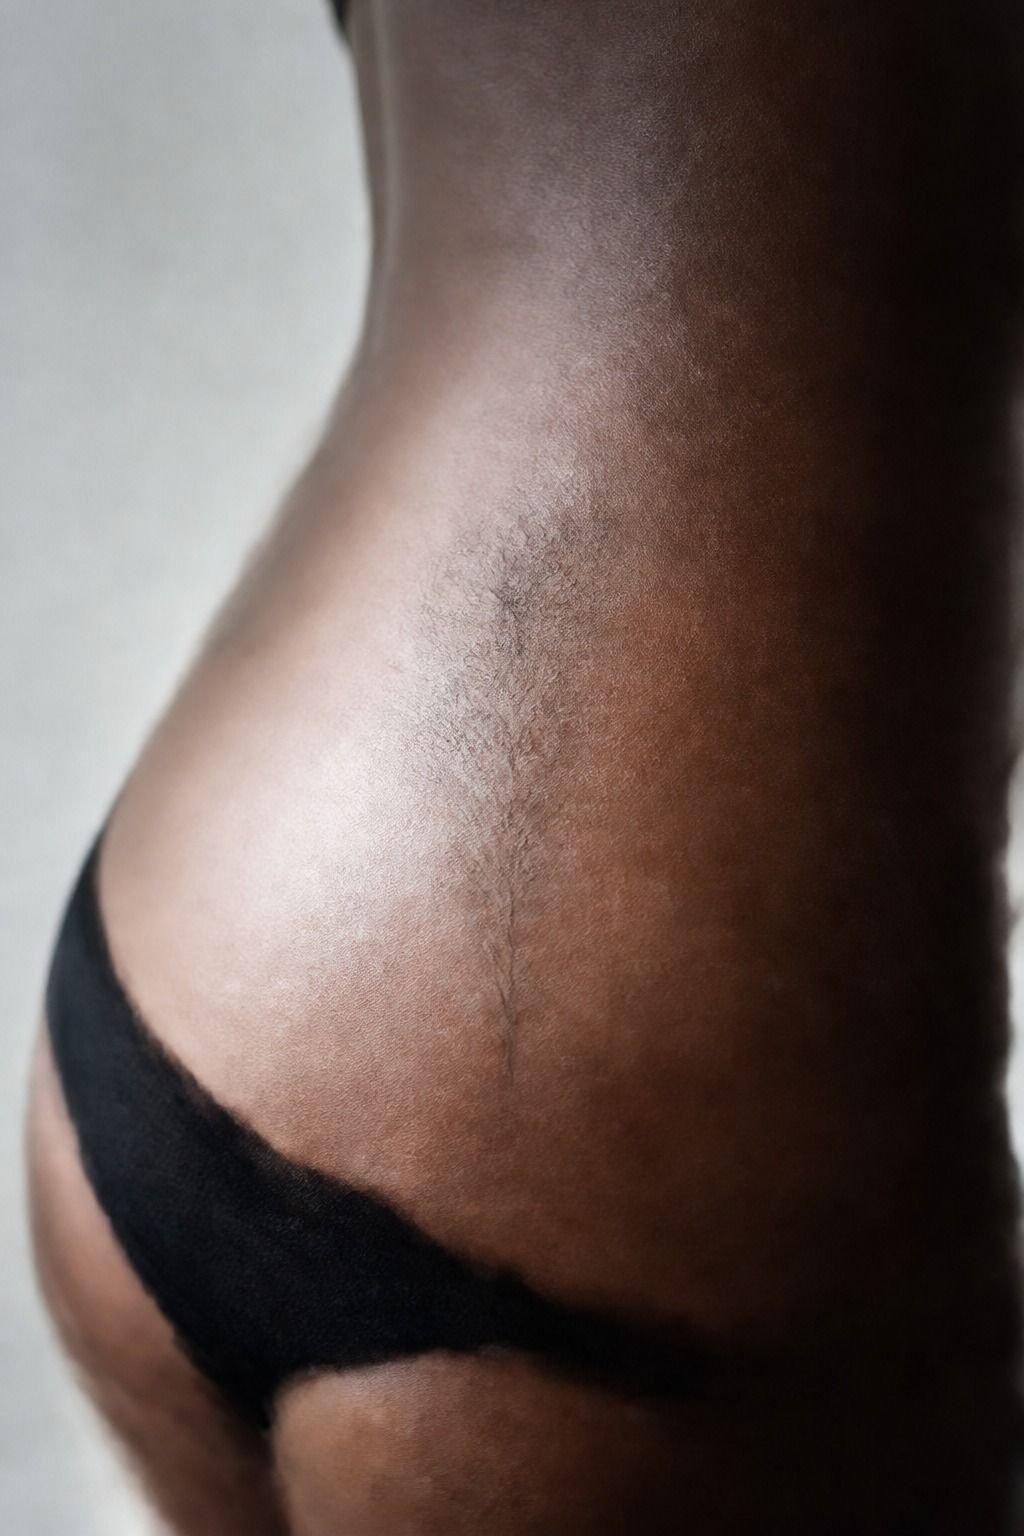
Book an artist skilled in hip placement by looking past fresh tattoos on their feed.
The Hip Flow Rule I Use Before Every Stencil
I’ve learned that the hip is less about picking the coolest image and more about picking the right direction. People arrive with a flat screenshot and a firm plan, then they see it taped to their body and everything changes.
The design can be good. It can even be a great drawing.
But if the curve points against your waist, the tattoo will always feel a little pasted on.
My rule is simple: follow the body before you follow the reference. A botanical stem can rise toward the ribs.
A snake can travel toward the outer hip. Lettering can sit just above the bone rather than cutting through it.
Those choices make the tattoo look like it belongs there instead of looking like it lost a fight with your underwear line.
I also think people overvalue tiny details and undervalue negative space. Fine line doesn’t mean microscopic. It means controlled.
You need room around the marks so your skin can move, heal, tan, and age without swallowing the whole design. That’s why I’ll usually recommend a 3 to 4 inch floral over a 1-inch mini bouquet with every petal rendered. The larger piece has a better chance of staying soft and clear.
And be honest with yourself about maintenance. Hip tattoos are lower wear than fingers and feet, which is great, but they still see sun and waistband friction.
If you want delicate red ink, protect it. If you want a tattoo that stays bold for a long time, black linework wins. No drama.
Just physics.
The Questions Worth Answering First
How much does a Hip Bone Tattoo usually cost?
A hip bone tattoo usually costs about $100 to $300 for a small-to-medium design, though custom work can run higher. Clear pricing starts with size and time.
– Shop minimums, about $50 to $100 – Hourly rates, about $100 to $250 – Custom stencil time, often part of the appointment
Are Hip Bone Tattoo a good idea for a first tattoo?
Yes, a hip bone tattoo can be a good first tattoo if you choose a clean, simple design. The placement gives you privacy and decent longevity.
– Outer hip, generally more tolerable – Fine line flower, easier to size well – Simple black ink, easier to maintain
How do I choose a tattoo artist for Hip Bone Tattoo?
Choose an artist whose healed work matches the style you want. Healed photos show whether their lines remain clean.
– Fresh and healed portfolio shots – Consistent line weight – Licensed, clean studio – Placement work on real bodies
How much do Hip Bone Tattoo hurt?
Hip bone tattoos can be moderately spicy, especially close to the sharp bone or lower ribs. The outer hip is usually easier than ribs, feet, hands, or sternum.
– Outer hip, often manageable – Bone edge, sharper sensation – Shading, dull burn – Color packing, strongest sting
How long does a Hip Bone Tattoo take to heal?
Surface healing usually takes about 2 to 3 weeks, while full settling can take 2 to 3 months. Gentle aftercare protects your linework.
– Unscented soap – Thin ointment layer – No pools or direct sun – No picking flakes
What’s the best placement for Hip Bone Tattoo?
The best placement is usually just above the hip bone or along the outer side curve. Those spots give your design room to breathe and age nicer.
– Front hip, intimate and visible – Outer side hip, longer botanical flow – Slightly above waistband, less rubbing – Away from the sharpest bone point
Where I’d Start First
If I had to pick one step, I’d start with a custom stencil that follows your actual hip curve. A copied flat design can look stiff the second you twist.
Get the flow right first, then choose the details. Pin your favorite placement and bring it to a solid artist.