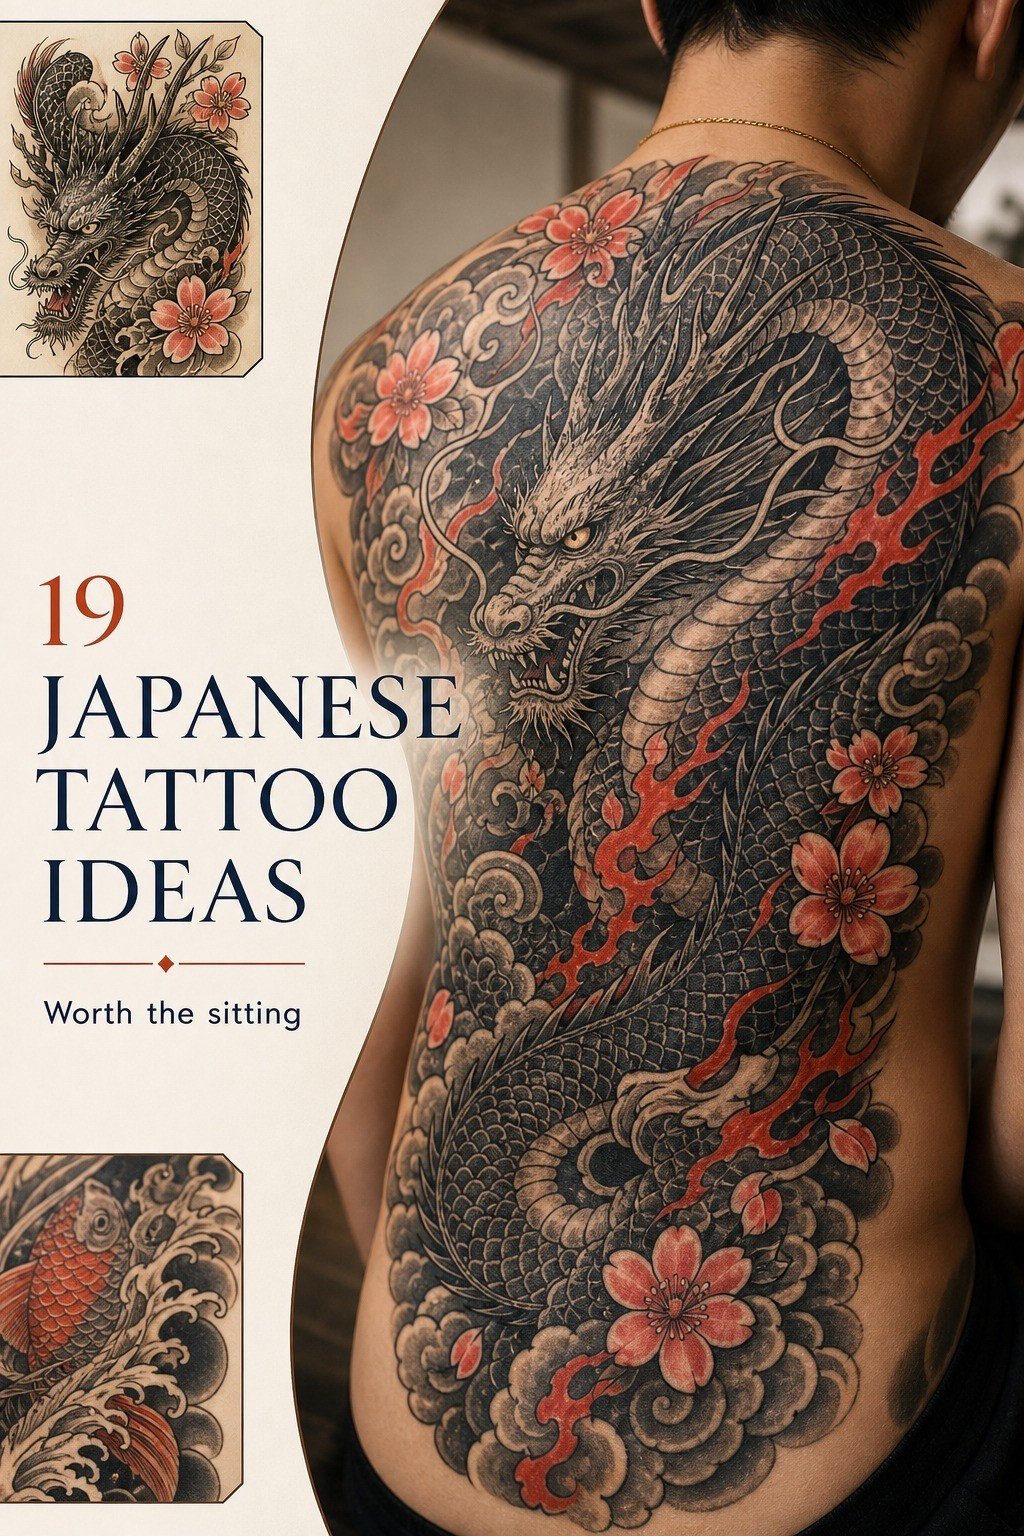
Japanese tattoo ideas need room to breathe if you want them to age clean. I got my first large Japanese-inspired piece after years of watching tiny details turn soft, and I chose a bold back composition instead. Years later, the dragon still reads from across the room. That was the point.
- I Chose a Blackwork Japanese Dragon Back Piece
- I Compared Traditional Japanese Tattoo Sleeve Compositions
- I Sketched Koi Flowing Against My Forearm
- I Researched Oni Masks Before Choosing My Design
- I Matched Peonies With a Fierce Oni
- I Planned a Samurai Tattoo Around My Calf
- I Tested Japanese Waves Behind My Koi
- I Used Maple Leaves to Balance the Composition
- I Considered a Mythical Kirin for My Shoulder
- I Chose a Phoenix With Controlled Color
- I Asked About Tebori Versus Machine Technique
- I Checked Pain Levels Across My Placement
- I Simplified a Japanese Tattoo for Smaller Skin
- I Connected Hannya Imagery With Personal Meaning
- I Built a Black and Grey Irezumi Sleeve
- I Studied Mystical Japanese Symbols Before Committing
- I Protected Negative Space Around the Main Motif
- I Budgeted Carefully for a Full Japanese Sleeve
- I Followed Proper Aftercare Through Every Healing Stage
1I Chose a Blackwork Japanese Dragon Back Piece
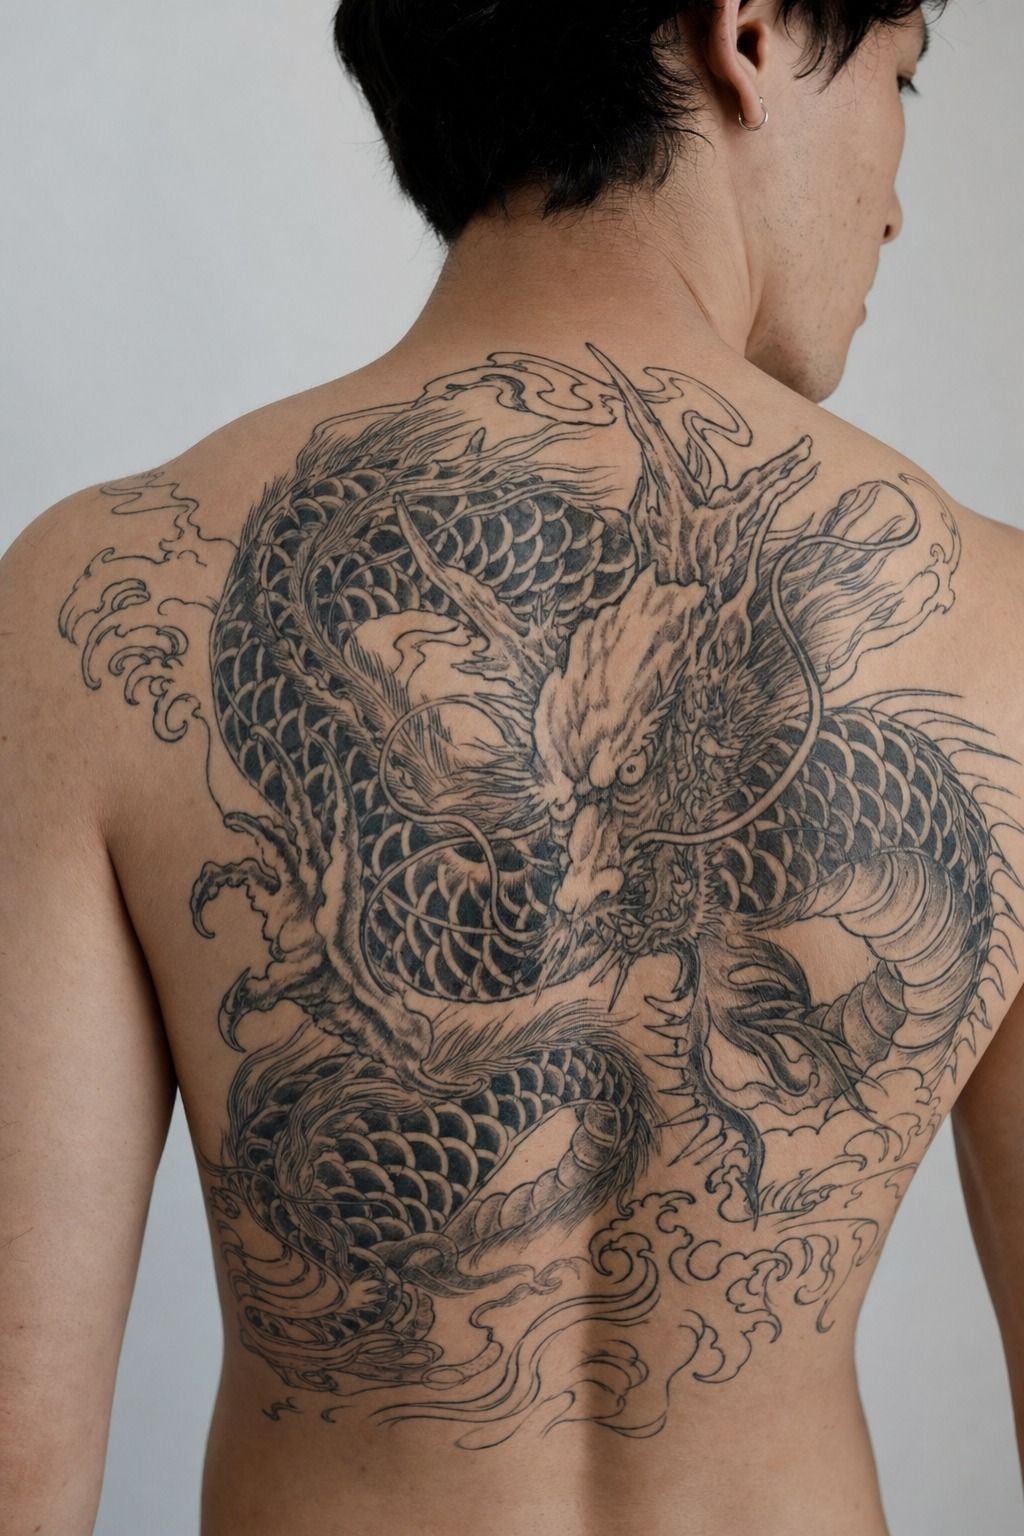
I went with a blackwork dragon across my upper back because the skin gave it enough uninterrupted ground. You need that for a dragon. Its body needs to turn, the claws need contrast, and the background needs to push everything forward without chewing up the main motif.
My artist used Dynamic Black for the solid areas and a soft grey wash through the scales. I asked for fewer scales than the reference had.
Good call. If you pack every inch with tiny texture, your tattoo can turn to soup later.
Your upper back is a low-wear placement, so it’s one of the smarter places for a big Japanese tattoo. You’ll sit through a few long sessions, but you won’t spend ten years fighting hand fade or constant friction.
2I Compared Traditional Japanese Tattoo Sleeve Compositions
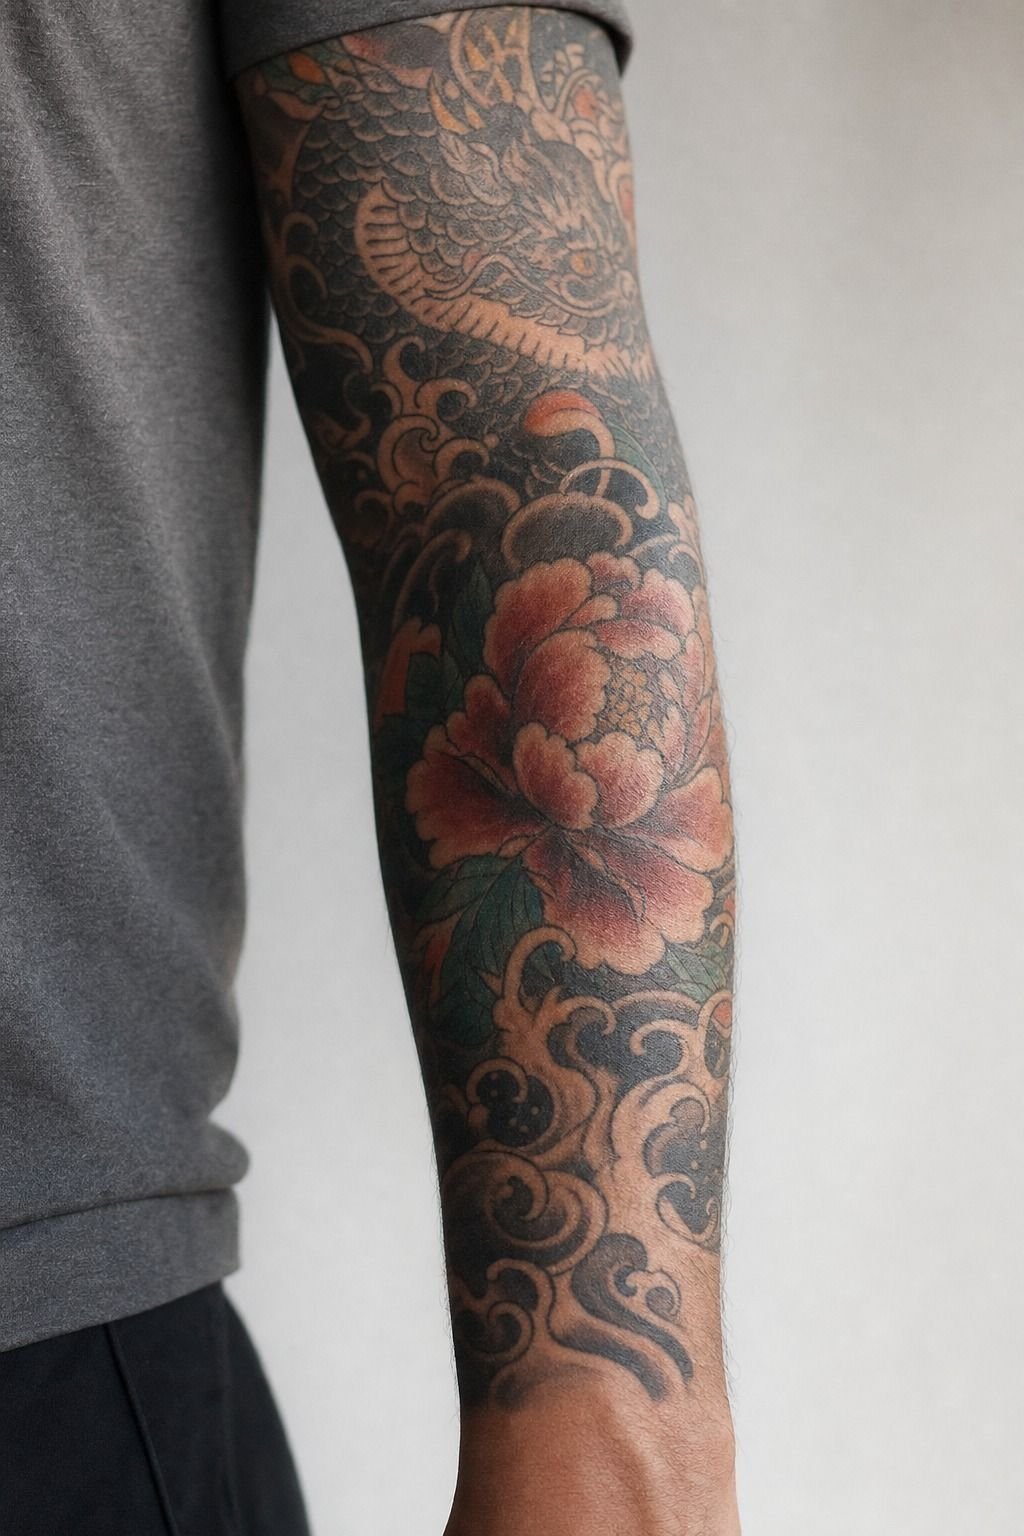
A sleeve isn’t a stack of stickers. I compared full traditional Japanese tattoo compositions before I committed, because a koi on the forearm and an oni on the bicep can look disconnected if the wind bars, clouds, and flowers don’t carry your eye through.
I’d skip copying five separate Pinterest references onto one arm. Bring references for mood, then let an artist who understands flow draw the whole thing. My traditional Japanese tattoo artists guide is where I’d start if you’re still hunting for the right portfolio.
The best sleeves feel bold and intentional from wrist to shoulder. Yours should wrap with your arm, not sit flat on top of it.
3I Sketched Koi Flowing Against My Forearm
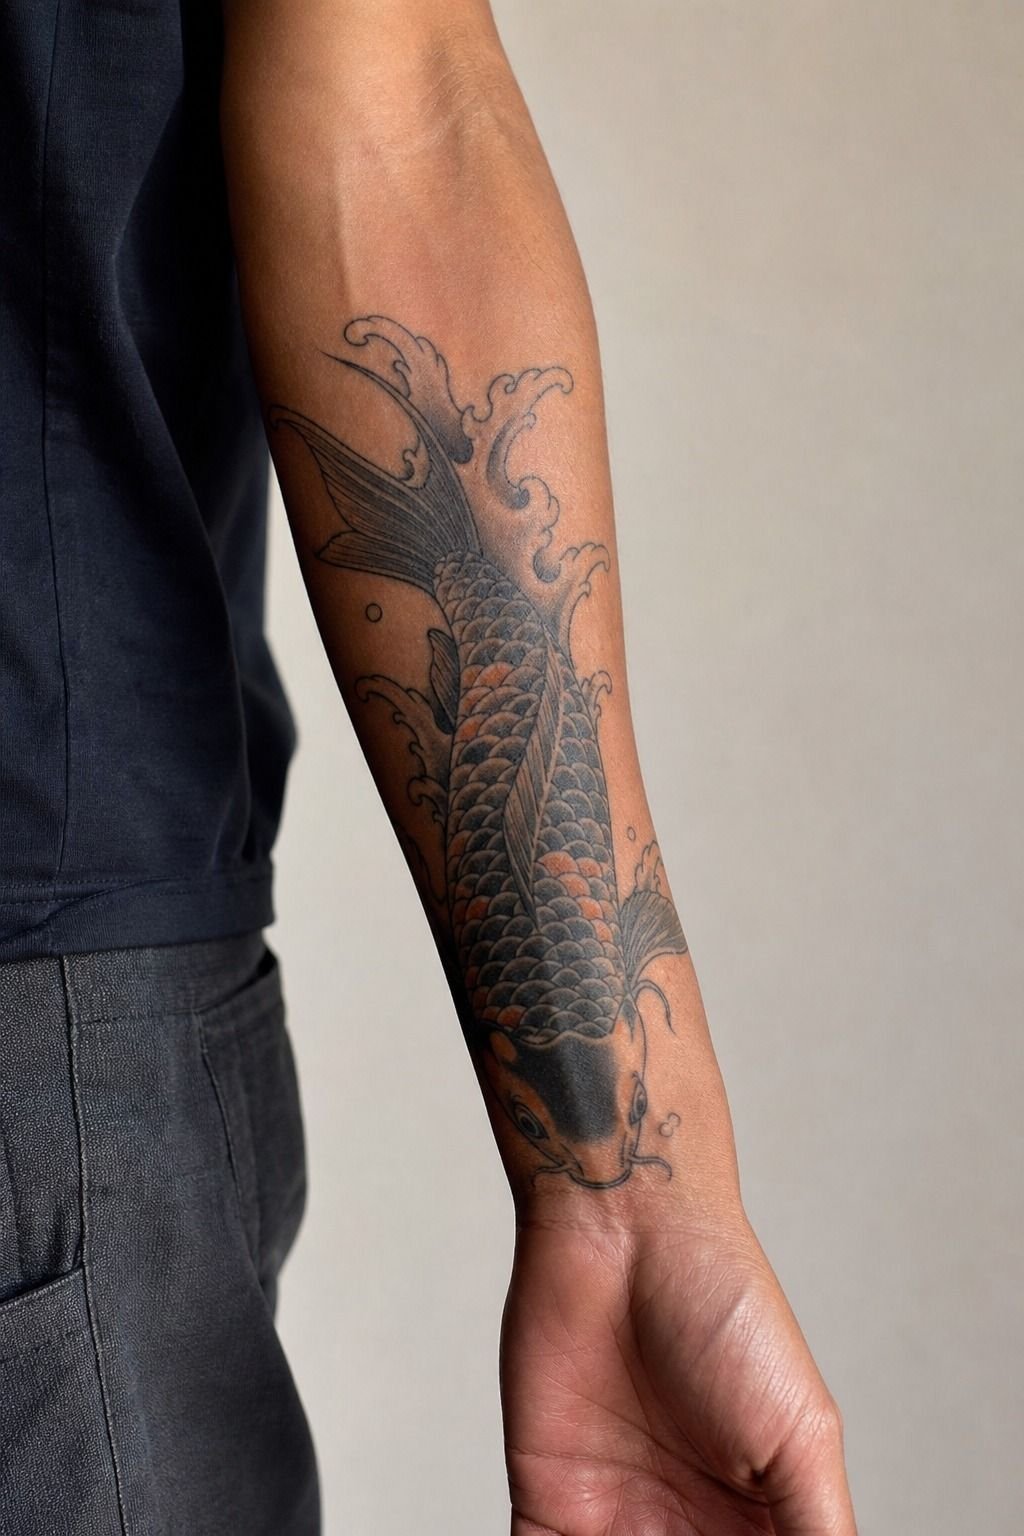
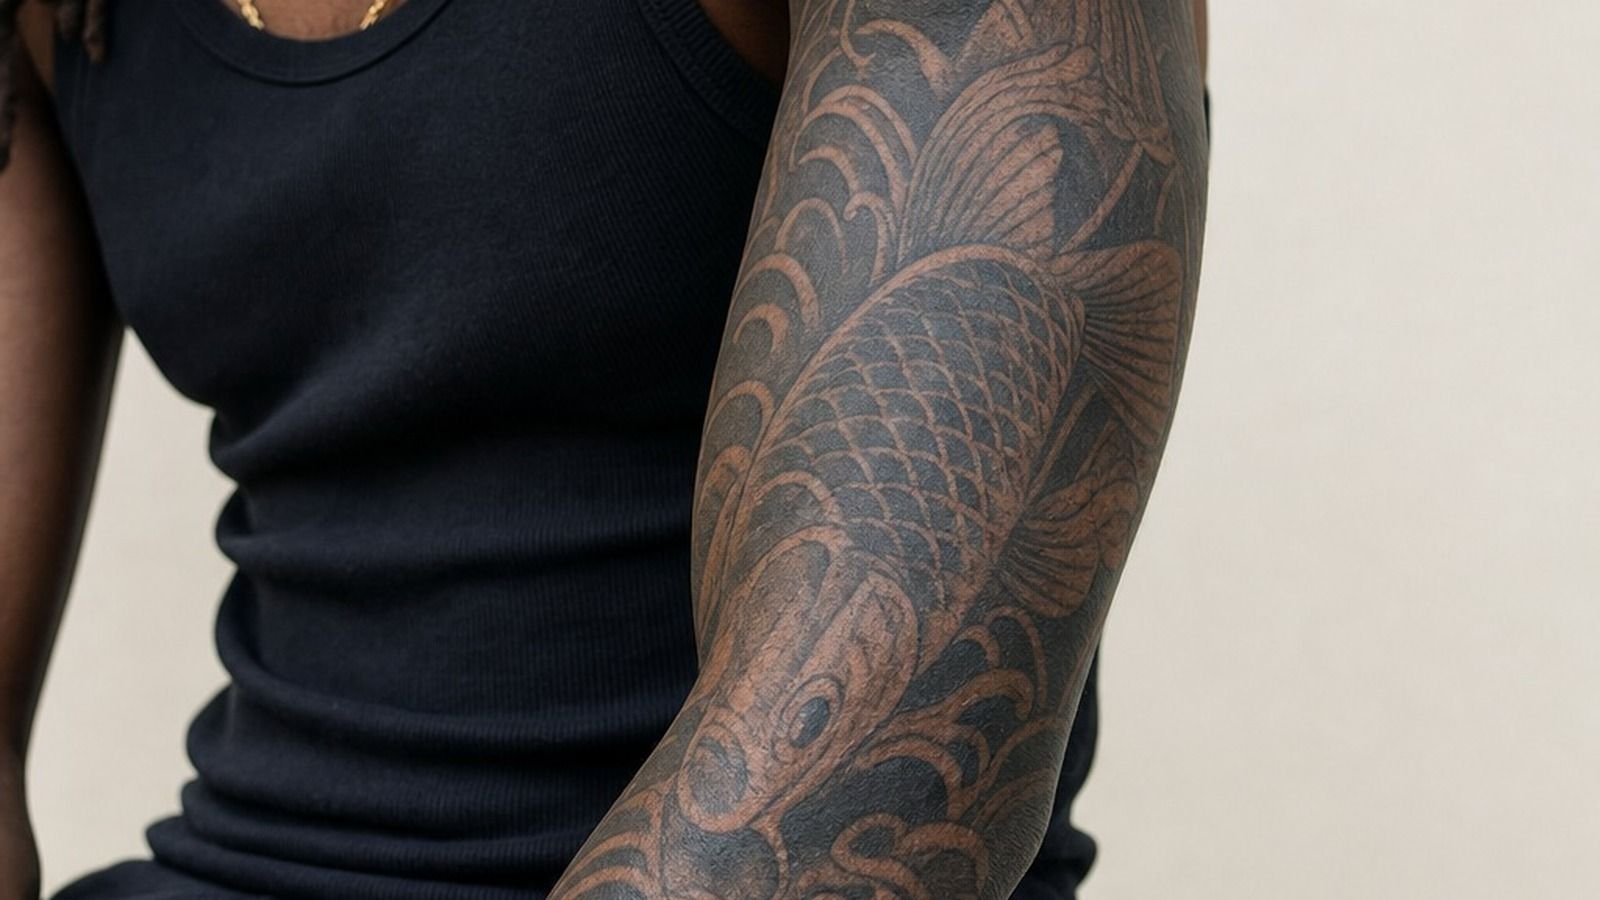
For my forearm sketch, I placed the koi swimming upward toward the elbow. That direction made the fish feel like it was moving with my arm instead of fighting it. A downward koi can work too, but you need a reason for the direction beyond “the photo looked cool.”
I left the fins broad, used Eternal Ink black for the outline, and kept the whiskers thick enough to survive healing. Your forearm is pretty chill compared with ribs or sternum, and it gives you a clean sightline every time you turn your palm.
But don’t squeeze a full koi scene into a narrow wrist band. Bump it up the forearm so it breathes and ages nicer.
4I Researched Oni Masks Before Choosing My Design
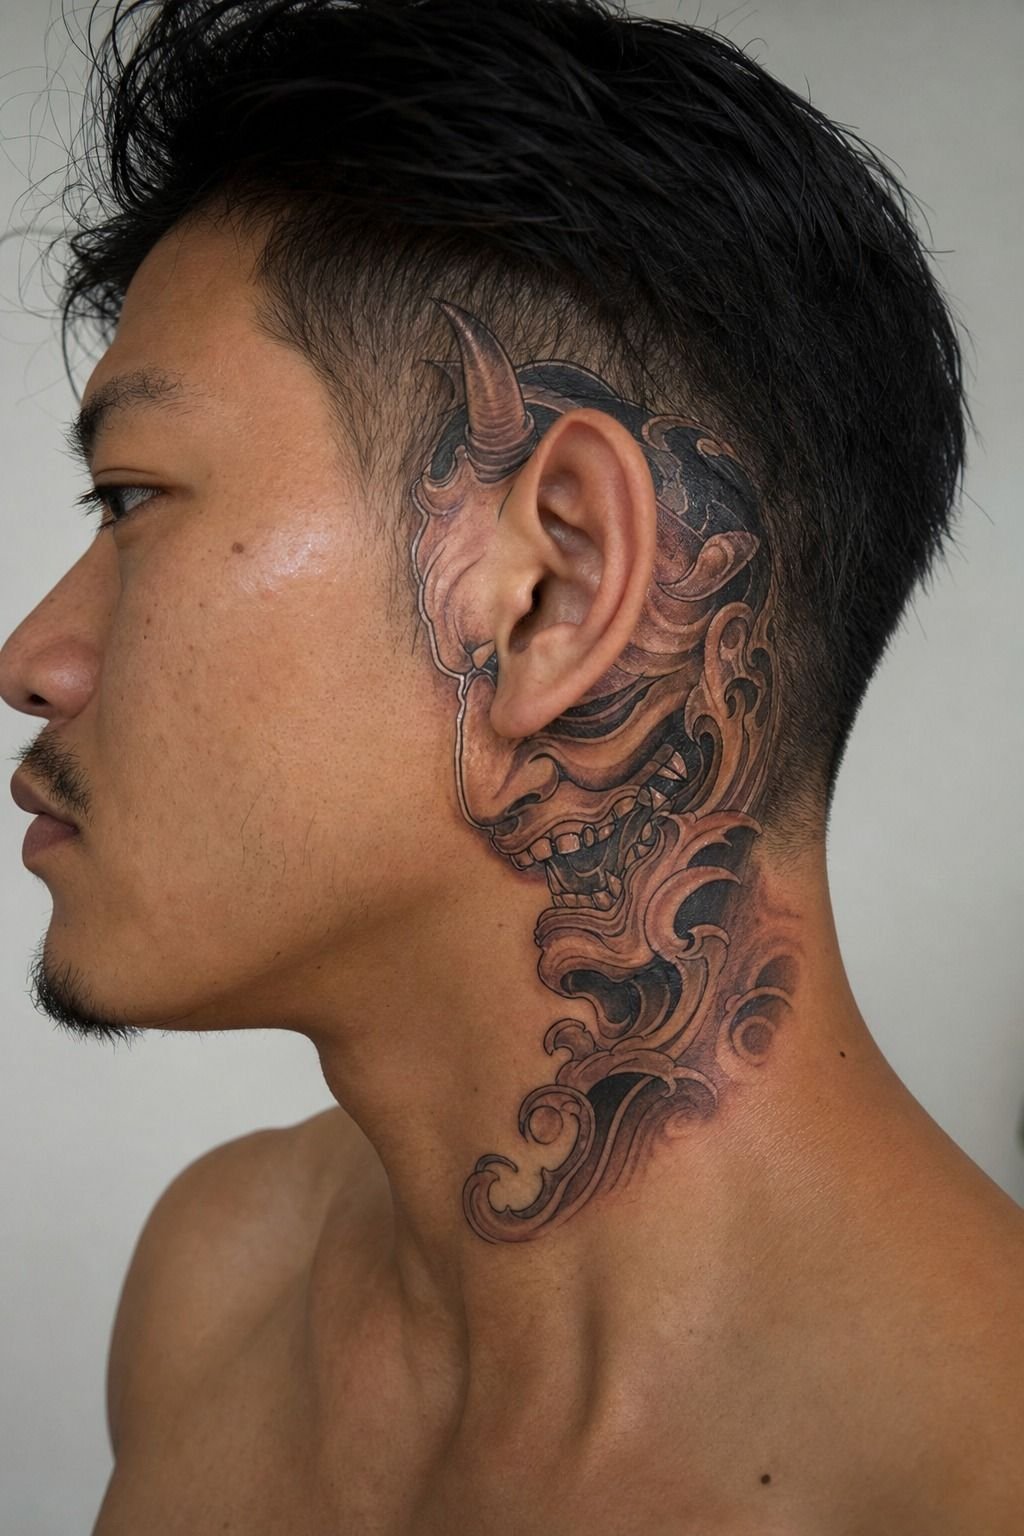
An oni tattoo isn’t just an angry face with horns. I spent time researching the mood I wanted before I chose mine: protective, intimidating, theatrical, or more sorrowful. That decision changes the eyes, teeth, color, and how your artist handles the expression.
Behind the ear looked tempting, but I passed. It’s a high-wear zone and there wasn’t enough skin for the crisp negative space I wanted. You can make a small oni work there, but simplify the horns and drop the tiny ornamental marks.
I went larger because I wanted the mask to stay dramatic rather than become a fuzzy dark patch. Your design deserves that much respect.
5I Matched Peonies With a Fierce Oni
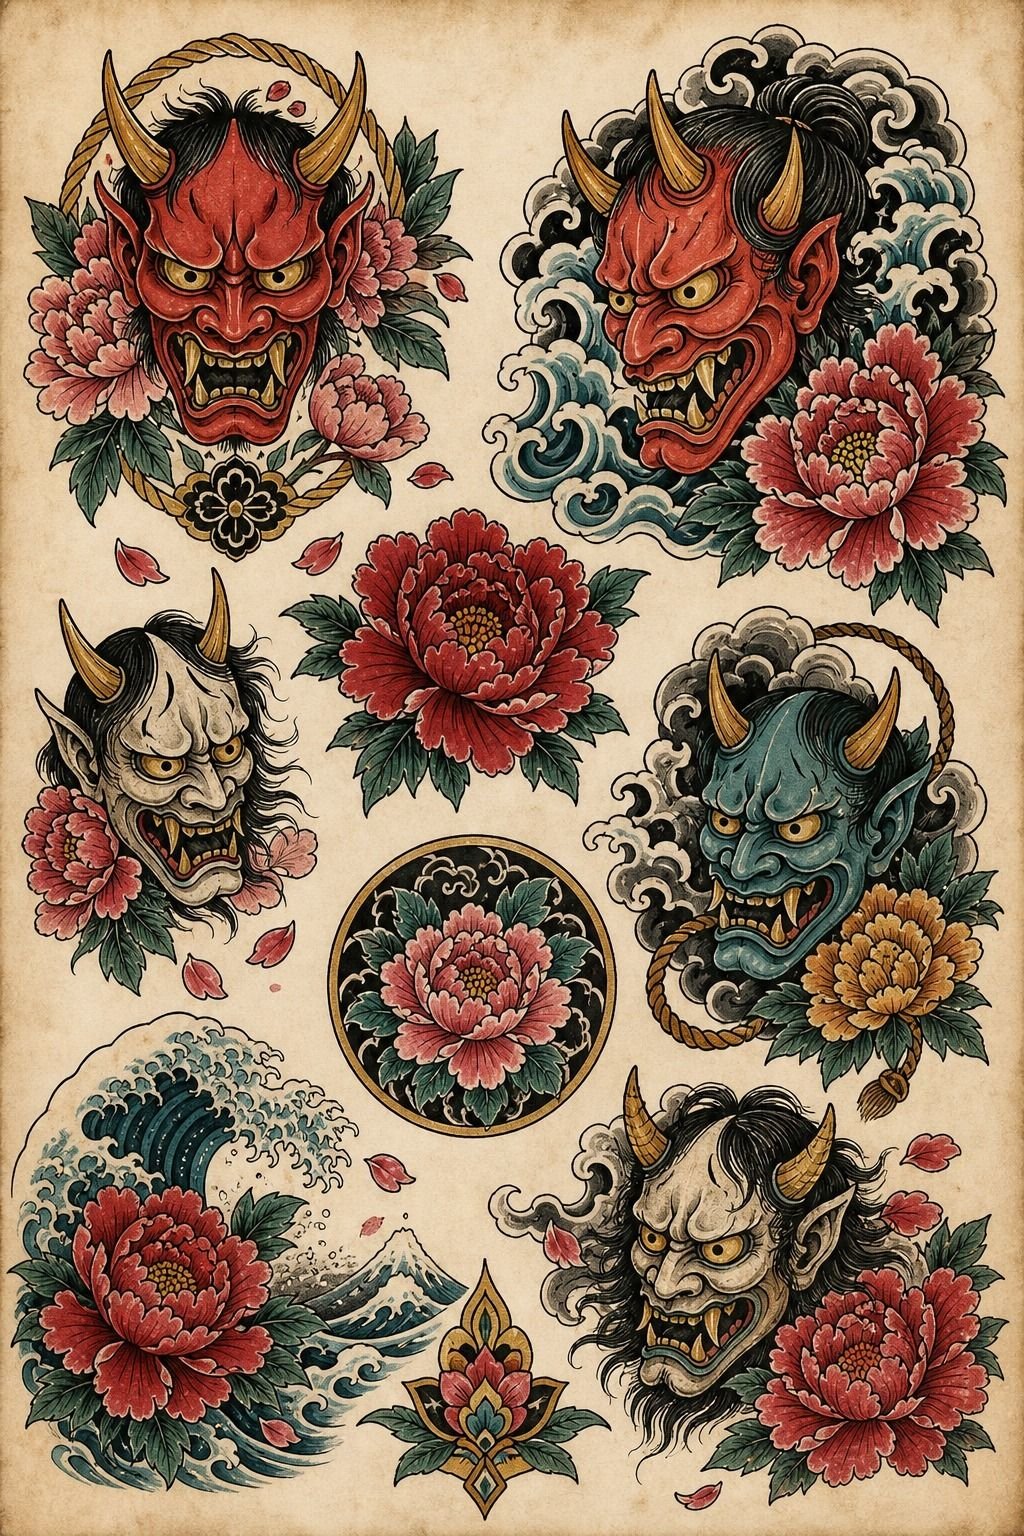
The flash sheet that sold me showed a fierce oni framed by peonies, not buried under them.
6I Planned a Samurai Tattoo Around My Calf
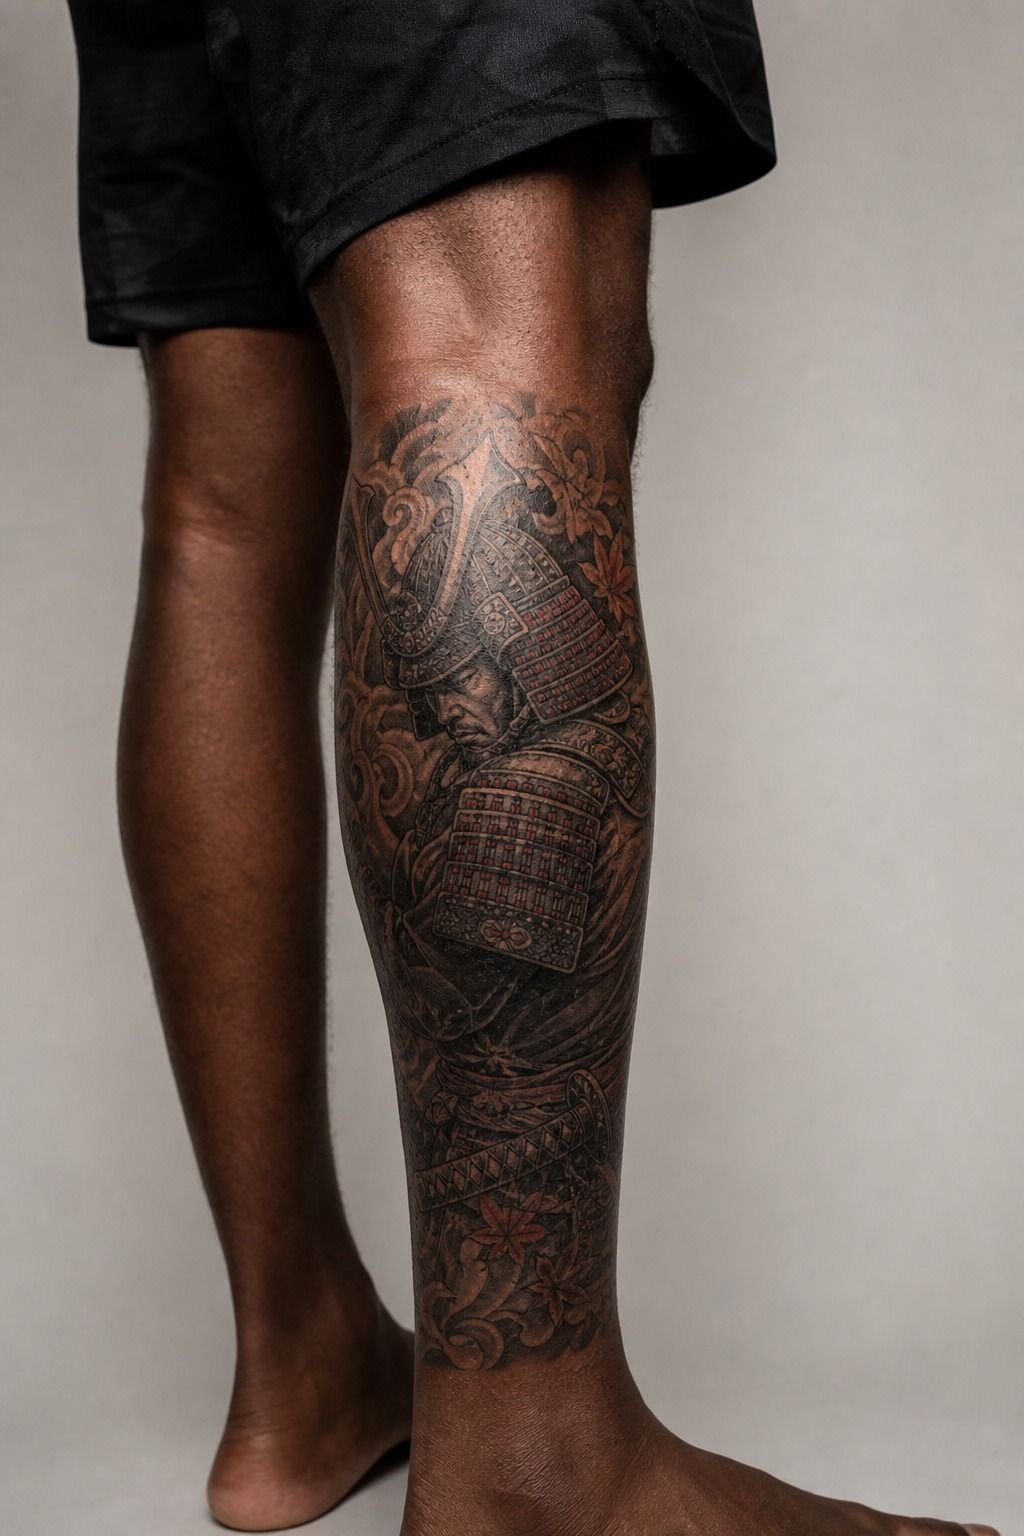
A samurai belongs on a larger area, and my calf gave the armor, sword, and silhouette enough room to read. On deep skin, I’d push contrast harder than you might expect. Soft midtones can disappear once healed if the blacks aren’t solid.
My artist built the figure with Kuro Sumi black and broad grey wash, then held back skin breaks around the armor plates. That controlled contrast is why the tattoo still feels captivating instead of flat.
Your calf is usually manageable pain-wise, though the back of the knee gets spicy fast. Take a break before you get shaky. Tap out for five rather than pass out on me!
7I Tested Japanese Waves Behind My Koi
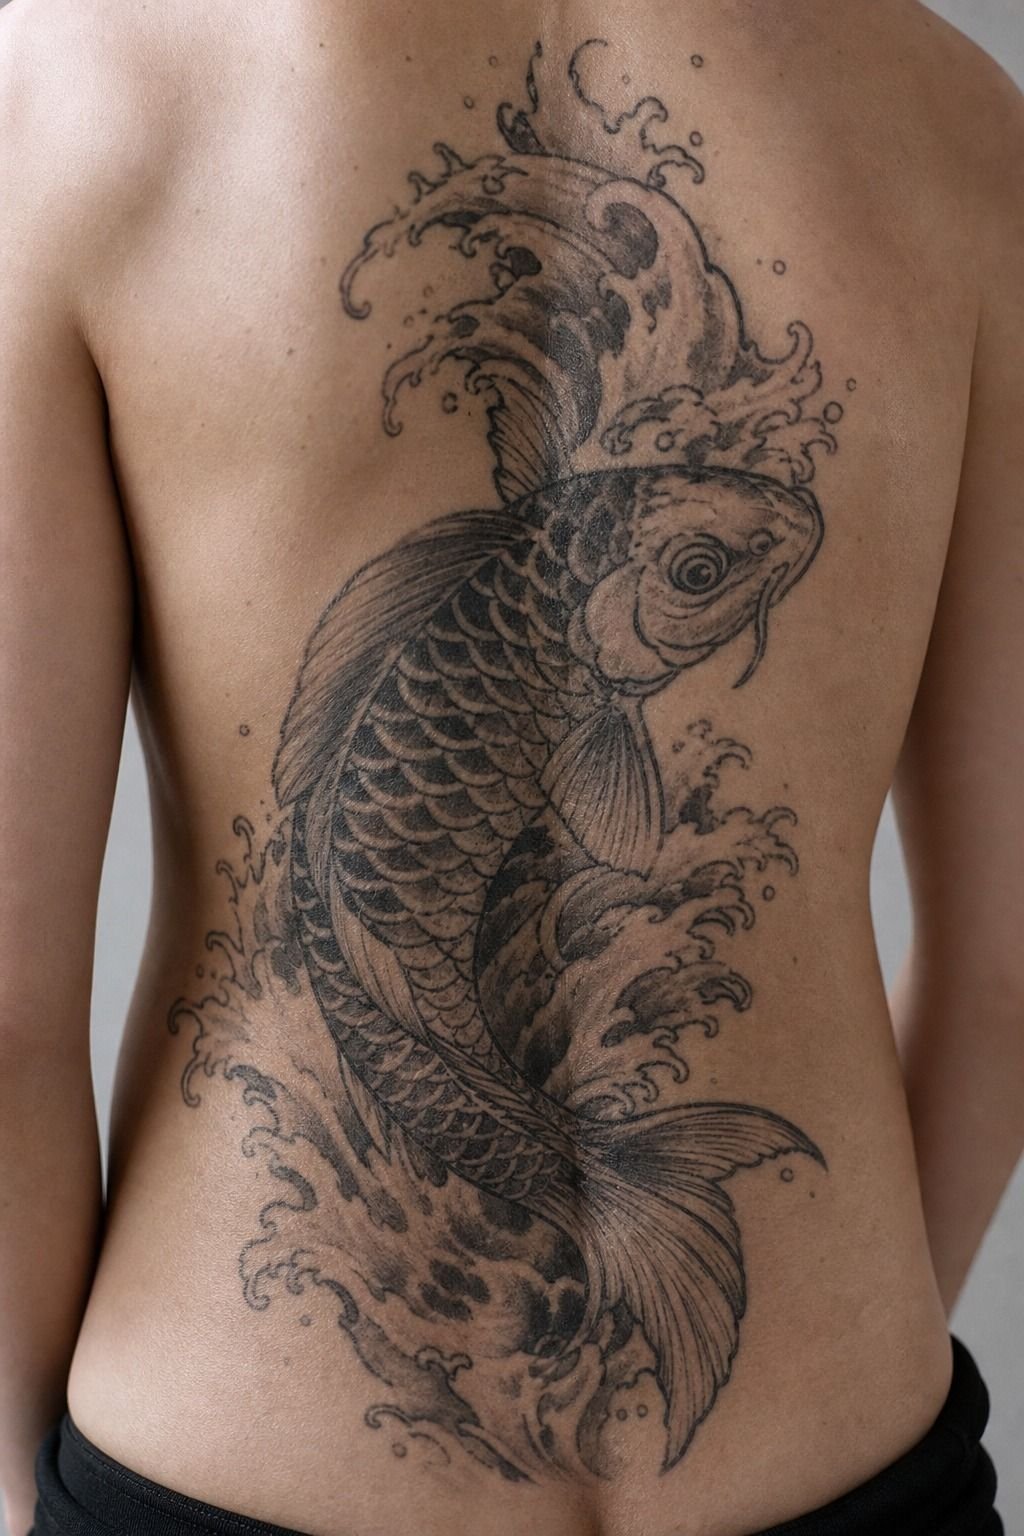
Waves are background, but they’re not filler. I tested Japanese waves behind my koi by asking for fewer crests and wider black pockets. The water needed to frame the fish, not compete with it.
If you’re planning clouds too, read the symbolism first in this traditional Japanese cloud tattoo meaning guide. You don’t need every motif to carry a heavy personal meaning, but you should know what you’re putting on your skin.
My rule was simple: every wave had to point back toward the koi. That made the whole forearm feel fluid, soft, and connected.
8I Used Maple Leaves to Balance the Composition
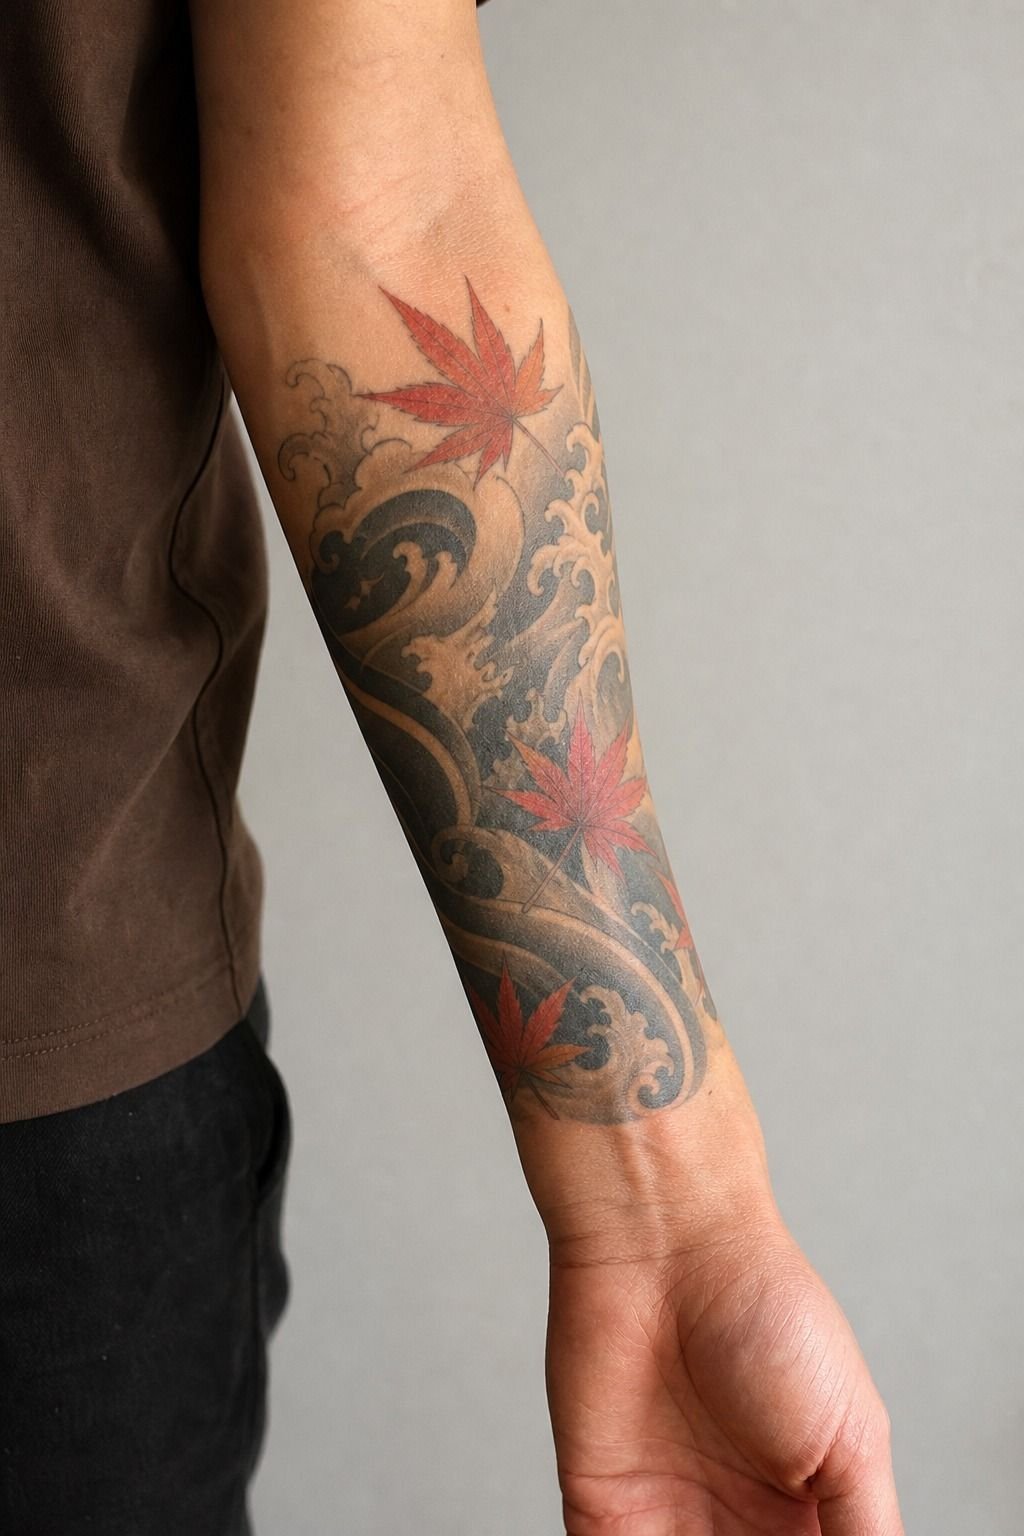
Maple leaves gave my composition a seasonal break between the heavy black sections. They also gave the eye a place to land. A few bold leaves work better than dozens of tiny ones, especially if your tattoo has blackwork waves nearby.
I used broad leaf shapes and visible veins, then asked my artist to leave clean skin between them. Your leaves should look airy after healing, not like loose scribbles around the main subject.
But don’t add maple leaves just because they’re traditional. If they don’t balance a gap or support the flow, skip them. Empty skin can be the smarter choice.
9I Considered a Mythical Kirin for My Shoulder
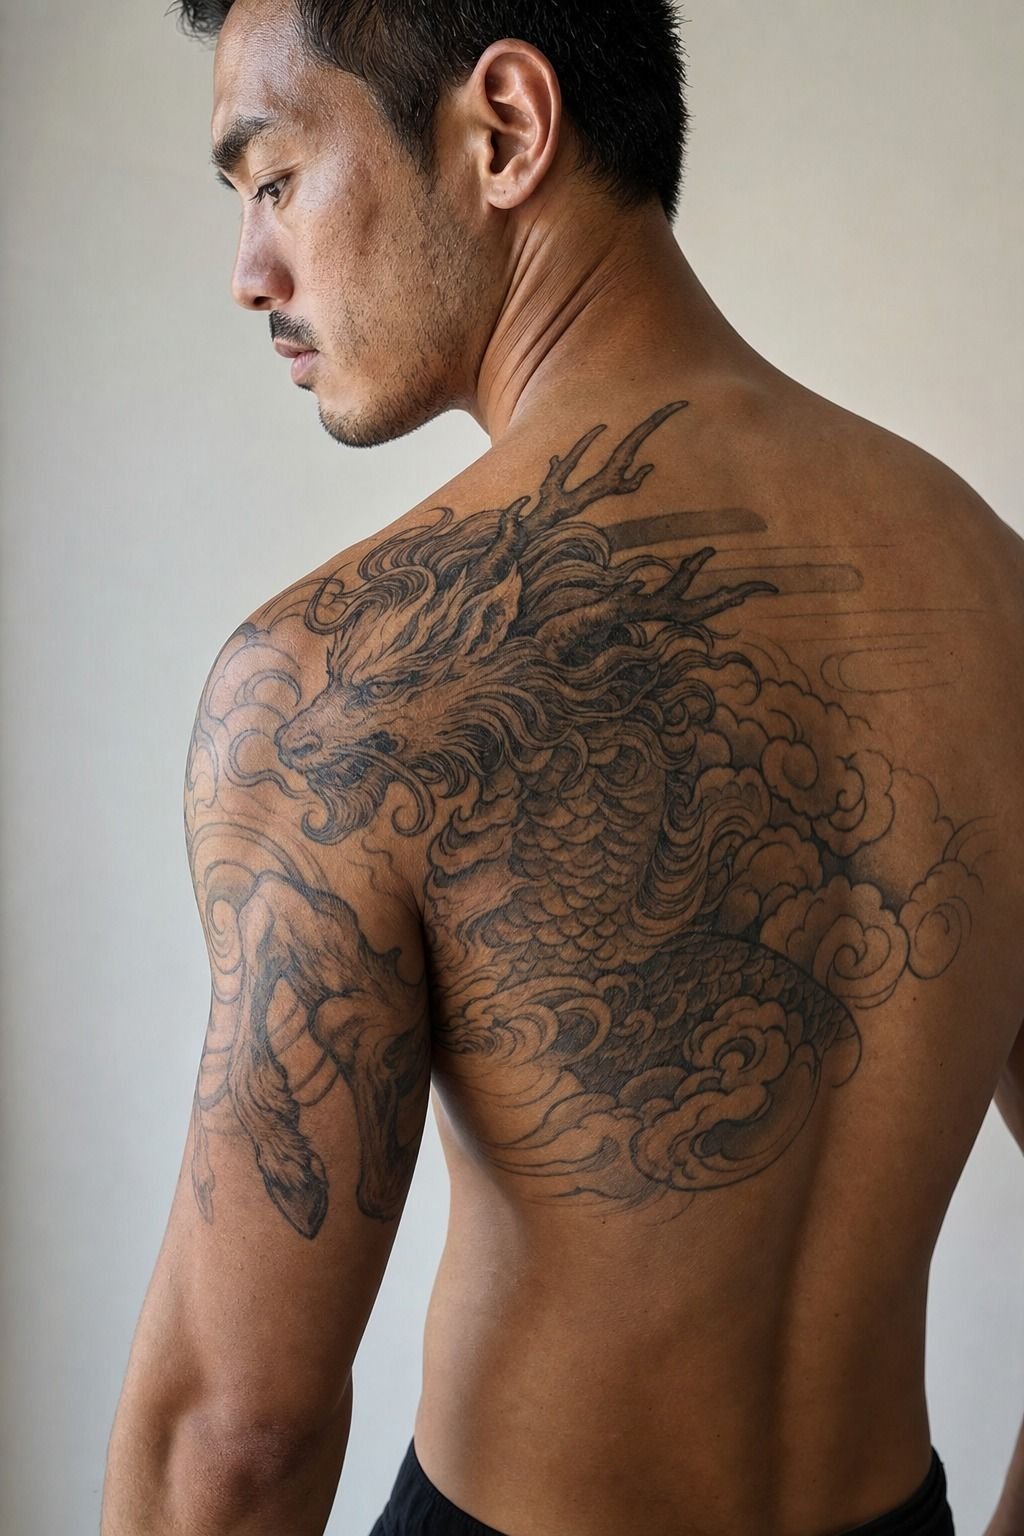
A kirin was my shoulder option because its long body could follow the deltoid and spill slightly toward the upper arm.
10I Chose a Phoenix With Controlled Color
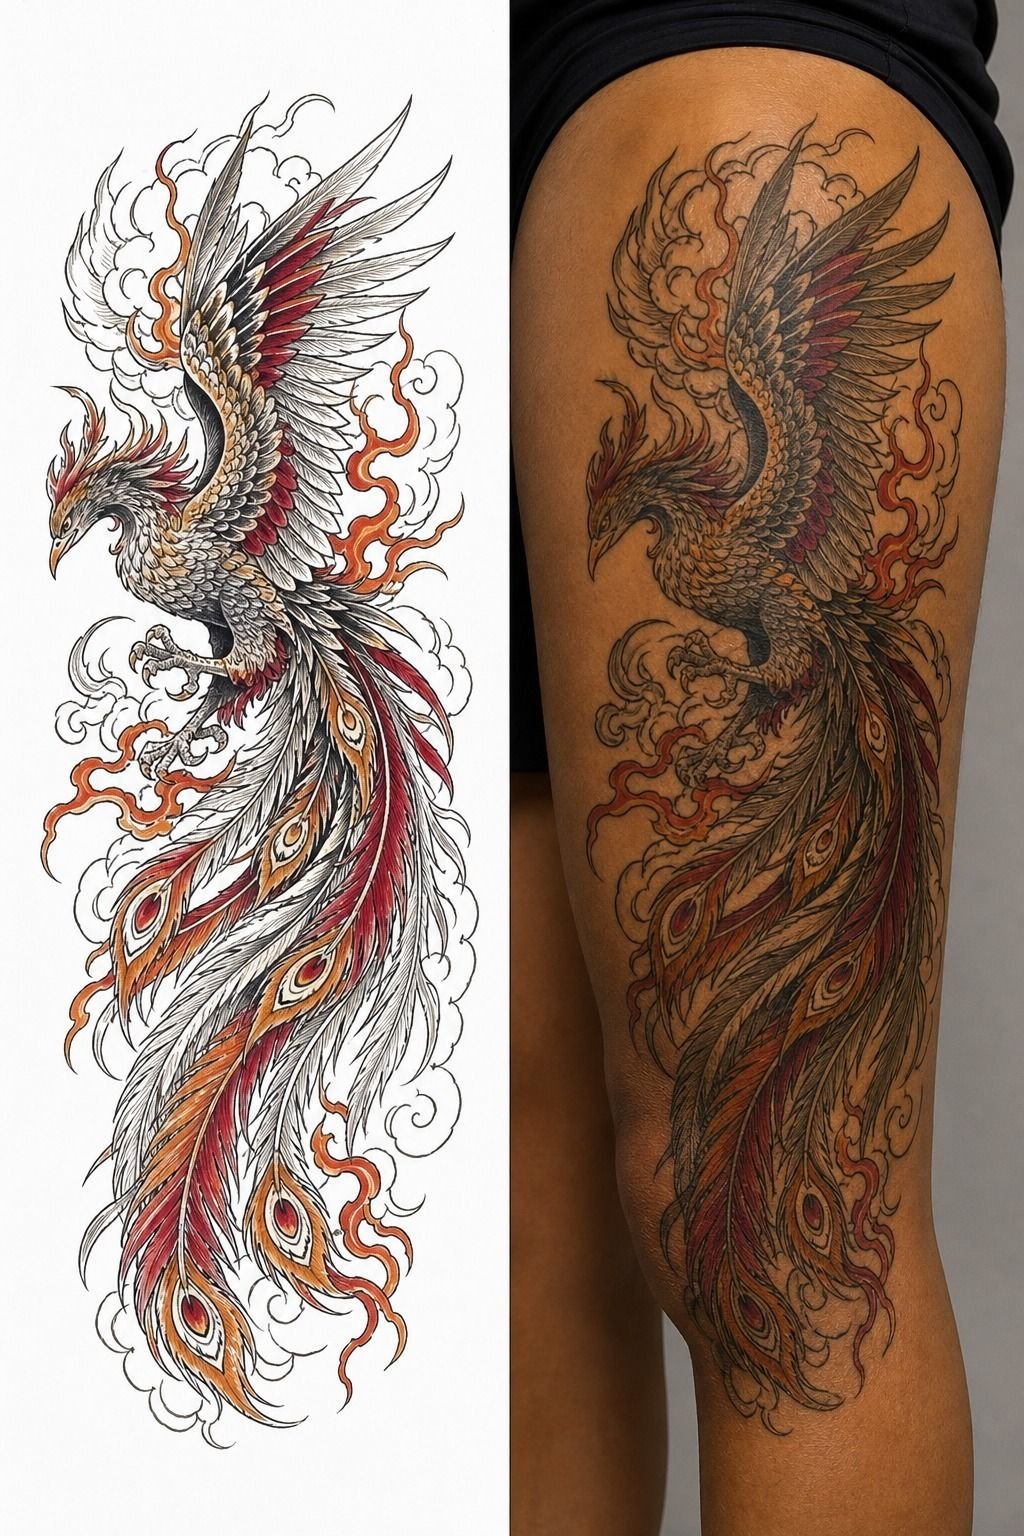
For the phoenix, I wanted the stencil and healed result to match in structure, not shade-for-shade. Fresh color always looks louder than healed color. Your artist should explain that before the machine even turns on.
I kept the body black and grey, then used Solid Ink orange-red through selected feathers. That let the color stay bright without making the whole thigh look busy. A phoenix with every feather fully packed can become visually exhausting.
And the thigh is generous skin. You can go bigger, use softer transitions, and sit more comfortably than you would on ribs. It’s one of the best placements if you want a warm, controlled color piece.
11I Asked About Tebori Versus Machine Technique
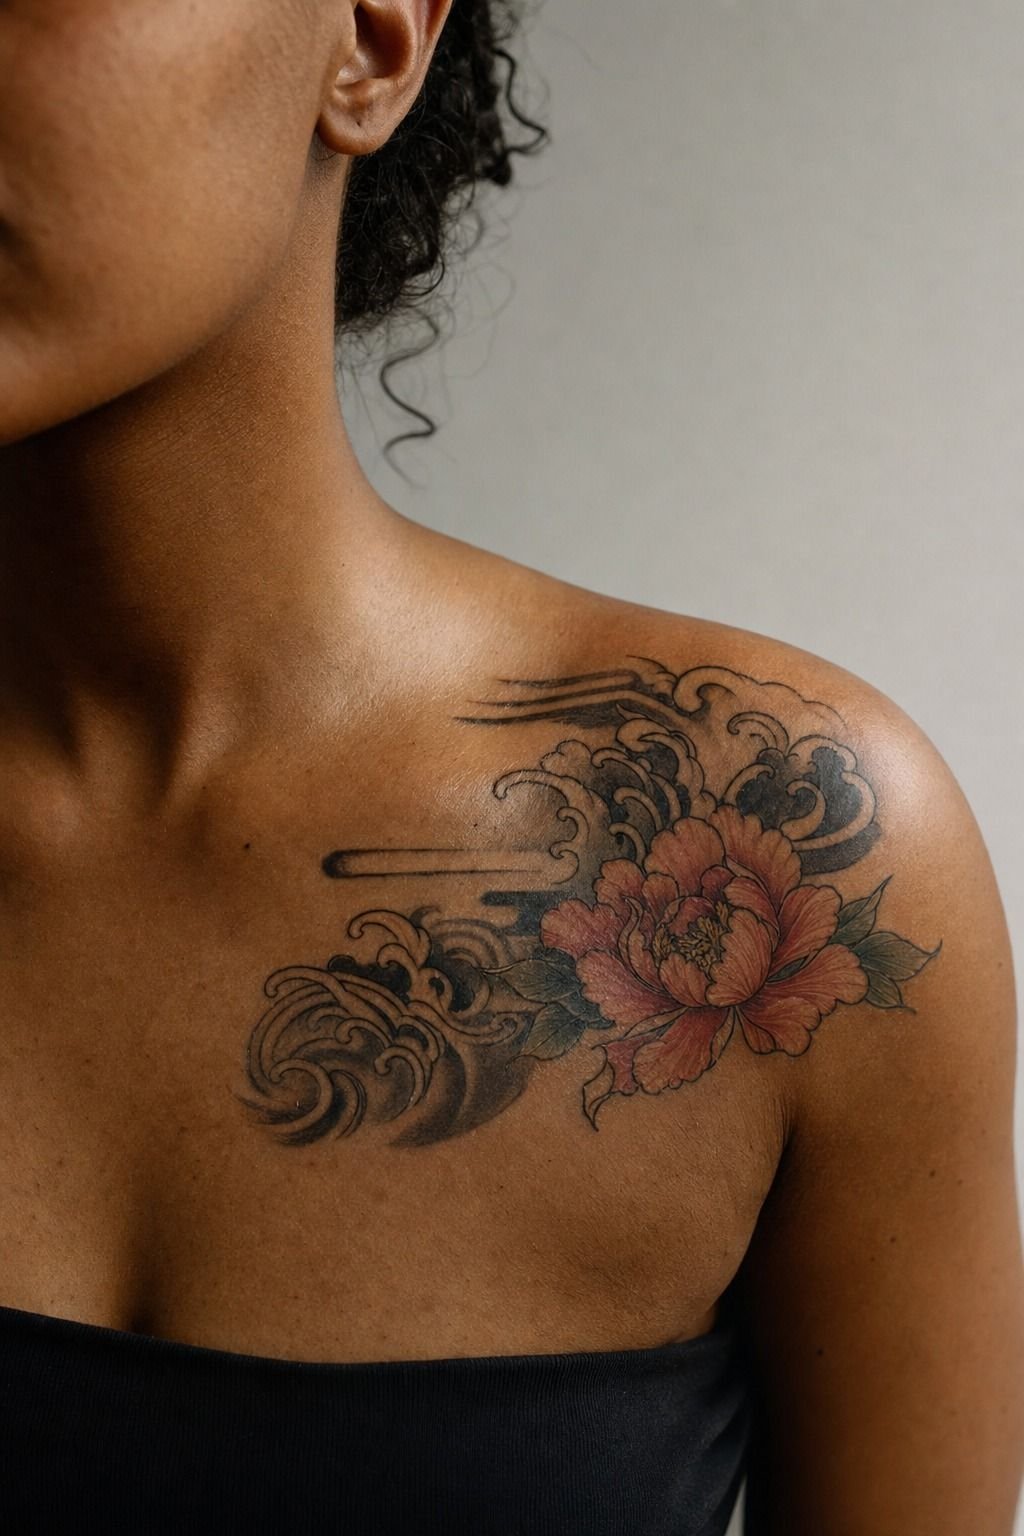
I asked about tebori versus machine work because the process matters, but I didn’t treat it like a purity test. Tebori can create a distinct hand-poked texture and rhythm. Machine work can deliver clean saturation, sharp linework, and consistent large-scale black fields.
You should choose the artist first, then discuss technique. An artist with years of Japanese composition experience beats someone using tebori as a marketing label. See the practical side in this Japanese tattoo shops in Japan guide.
My collarbone area got machine linework. It was spicy, no question, but the lines stayed clean because we didn’t rush the pulls.
12I Checked Pain Levels Across My Placement
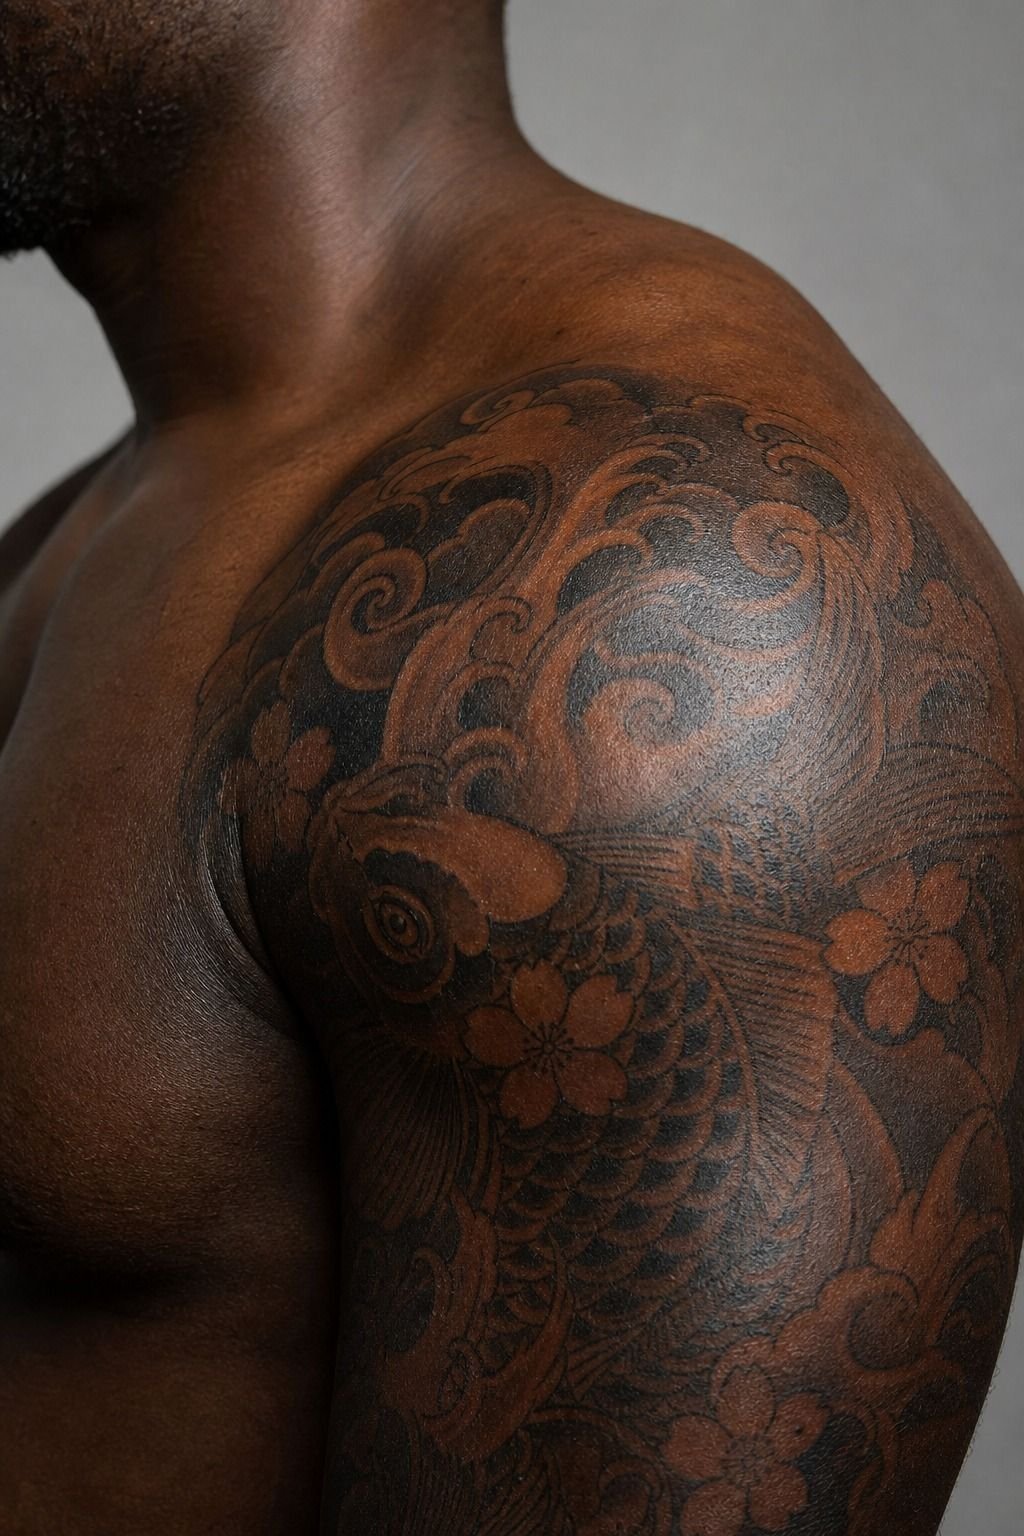
Pain changes by placement, not bravery. Lines feel sharper, shading is a dull burn, and color packing is usually the spiciest part. My shoulder was tolerable; the section close to bone made me reconsider every decision I’d made that morning.
Your experience won’t match mine exactly, but don’t book a rib piece as your first test of pain tolerance. Start somewhere you can sit still and breathe through.
13I Simplified a Japanese Tattoo for Smaller Skin
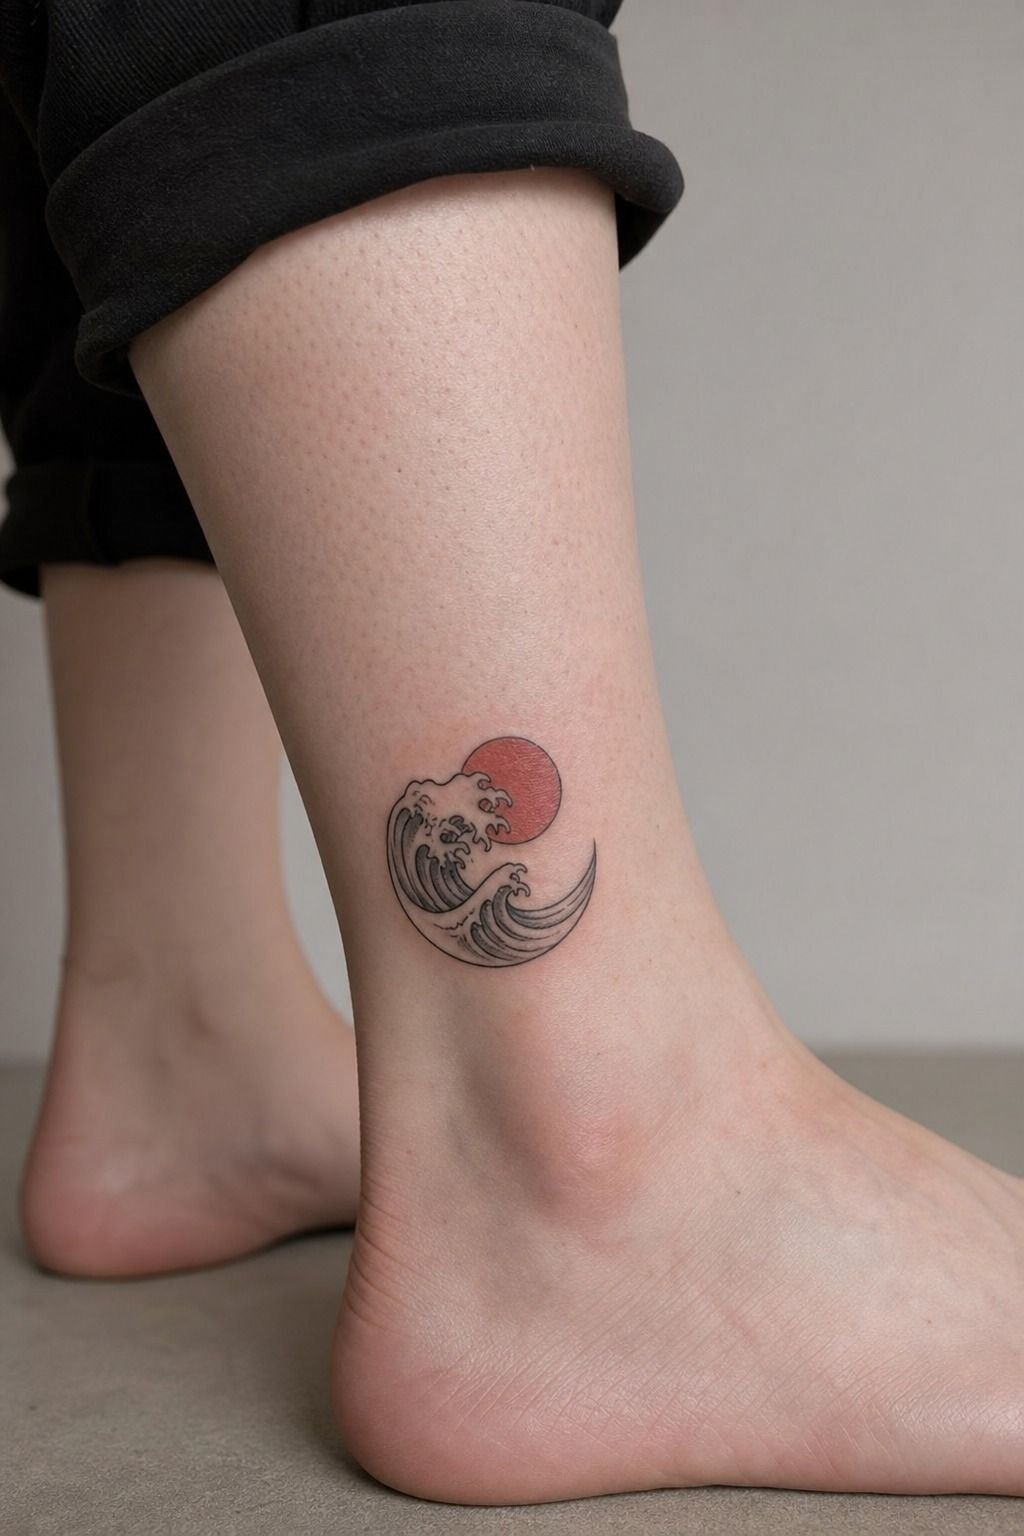
A small Japanese tattoo can work, but you have to simplify it aggressively. I saw an ankle design with a koi, temple, peonies, clouds, waves, and lettering crammed into a few inches. It looked chewed up before it had even healed.
For smaller skin, I’d choose one main motif: a maple leaf, simplified oni mask, or a single wave. Keep the outline in Dynamic Triple Black and leave clear skin around it. Your ankle will fade faster than an upper arm, so bold will hold.
That size on an ankle needs simple shapes. You’re buying legibility, not a miniature mural.
14I Connected Hannya Imagery With Personal Meaning
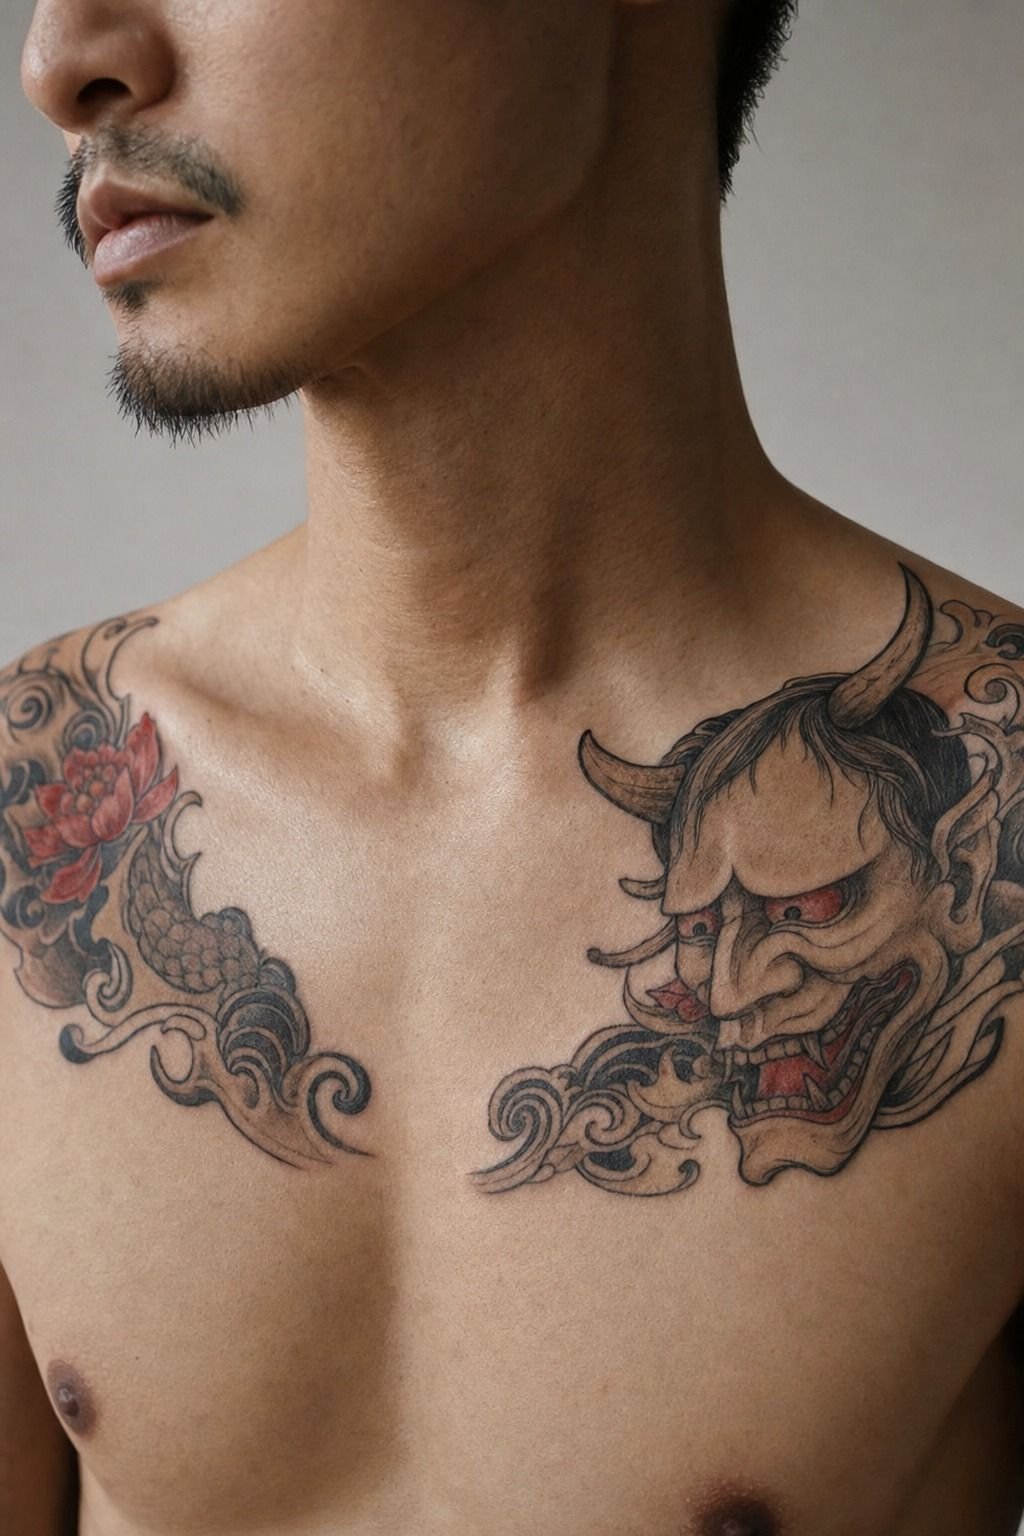
A hannya can carry a lot of emotional weight, so I didn’t pick it because the mask looked cool. I connected it to a personal turning point, then asked for an expression that felt more protective than vicious. Your reason doesn’t need to be public, but it should be yours.
The collarbone placement made the mask feel intimate and visible without putting every detail in a high-friction spot. I kept the teeth clean and the hair sections broad. Fine teeth often blur first.
Want a deeper look at Japanese warrior and mask imagery? This Japanese warrior tattoo guide gives you better reference points than random image boards.
15I Built a Black and Grey Irezumi Sleeve
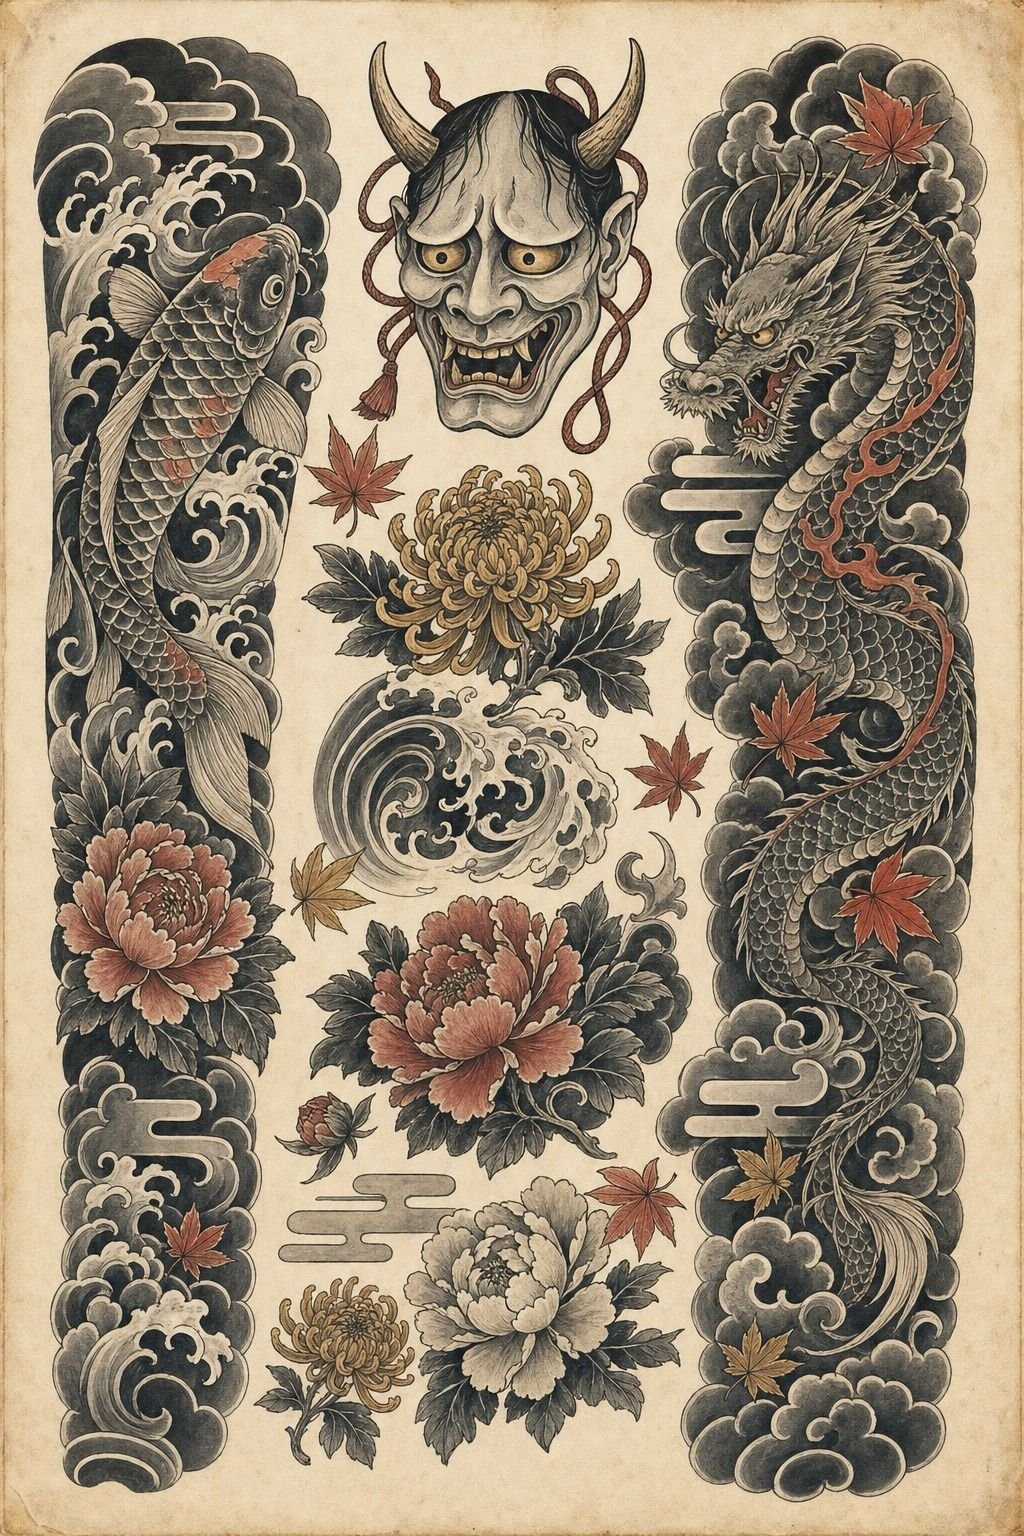
My black and grey irezumi sleeve started with a single anchor, then grew outward.
16I Studied Mystical Japanese Symbols Before Committing
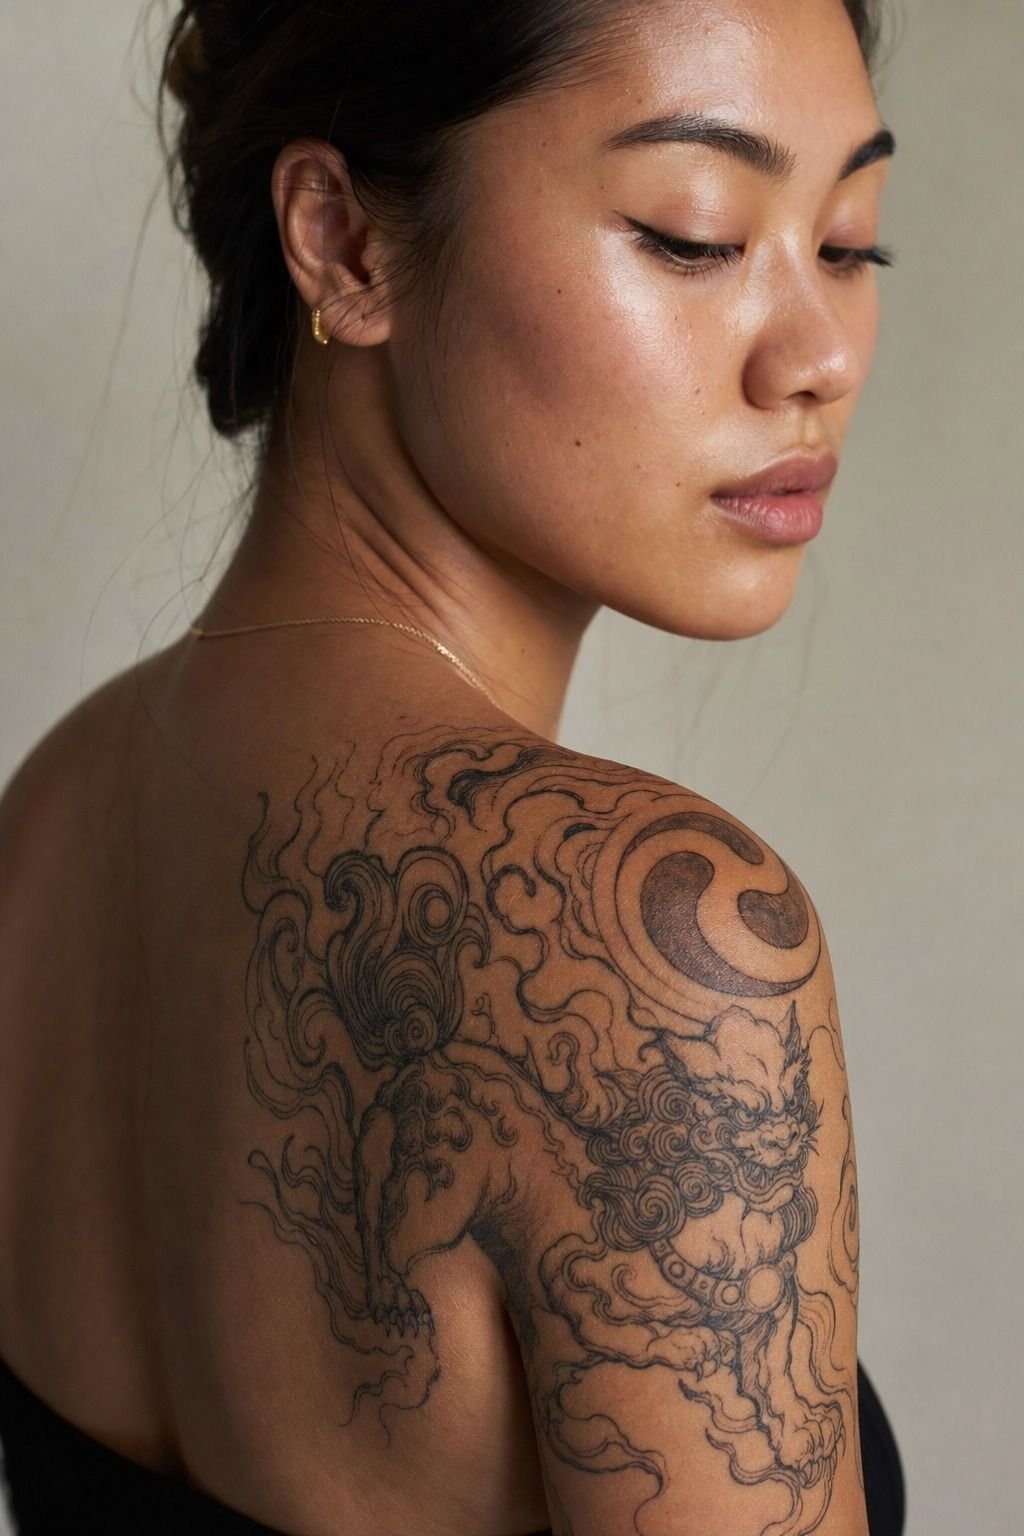
Mystical tattoos can be meaningful without becoming a history lecture on your skin. I studied symbols before committing, especially temple imagery, clouds, and guardian figures. The point was to avoid mixing symbols that looked cool together but had no compositional relationship.
If a temple is your central motif, give it enough calm negative space. You can read more in this Japanese temple tattoo meaning guide. Your artist can then decide whether clouds, maple leaves, or waves make sense around it.
And don’t force realism into every Japanese design. Traditional shapes often age better because they’re built for clear reading, not tiny photographic detail.
17I Protected Negative Space Around the Main Motif
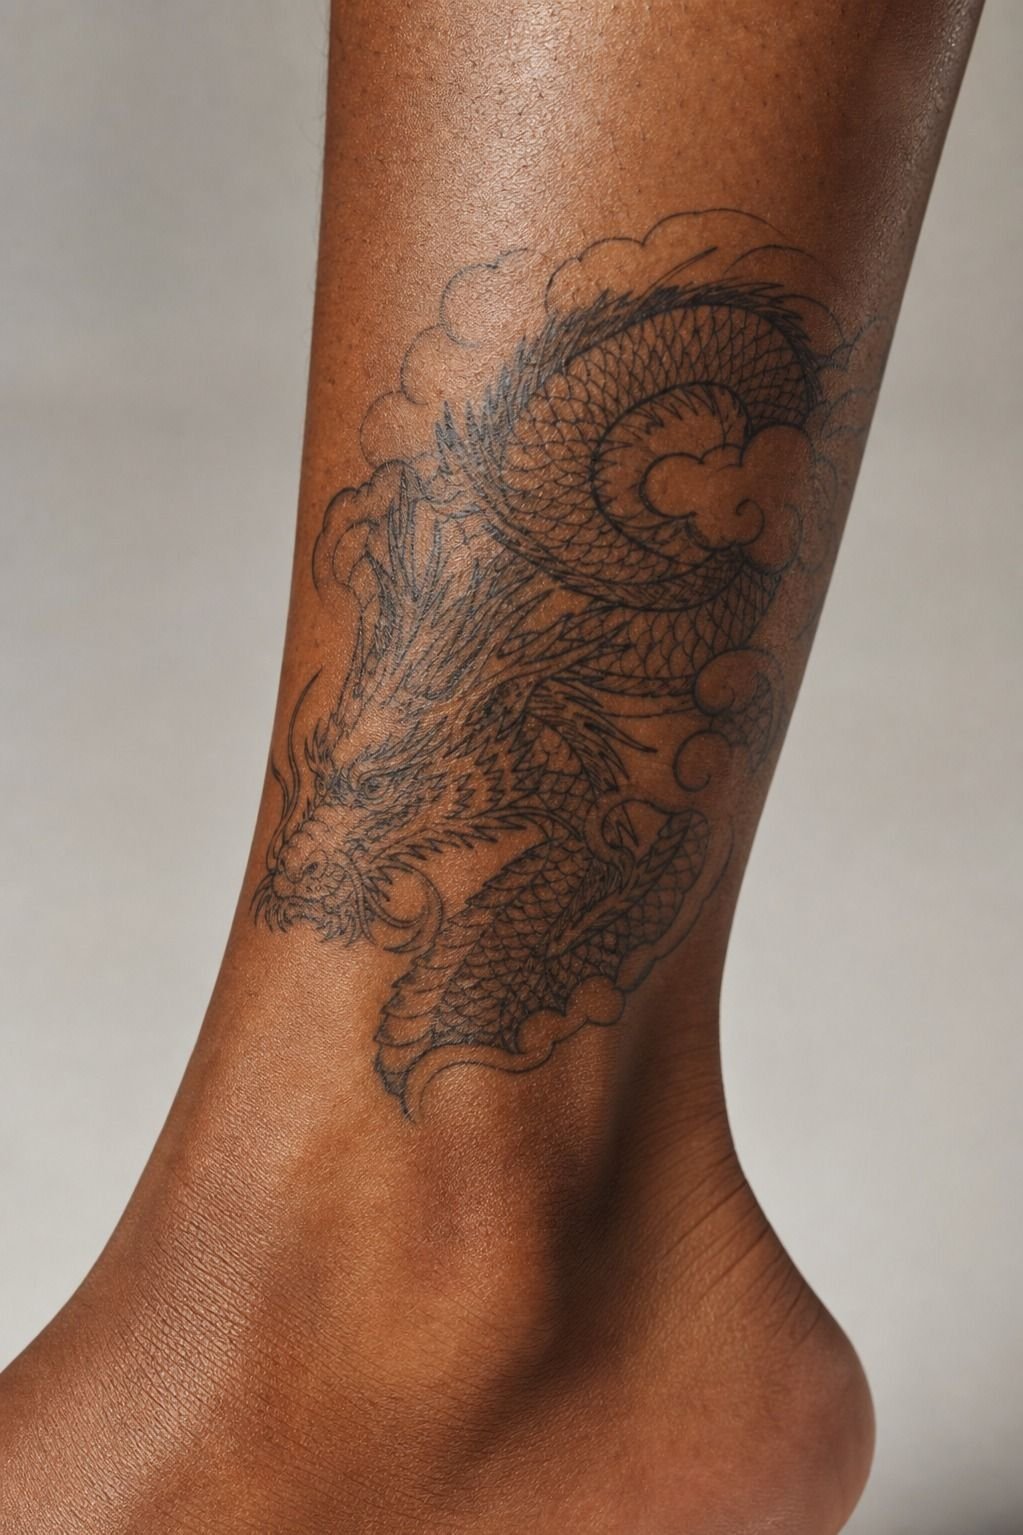
The Negative Space Lock is the part most people want to fill too soon.
18I Budgeted Carefully for a Full Japanese Sleeve
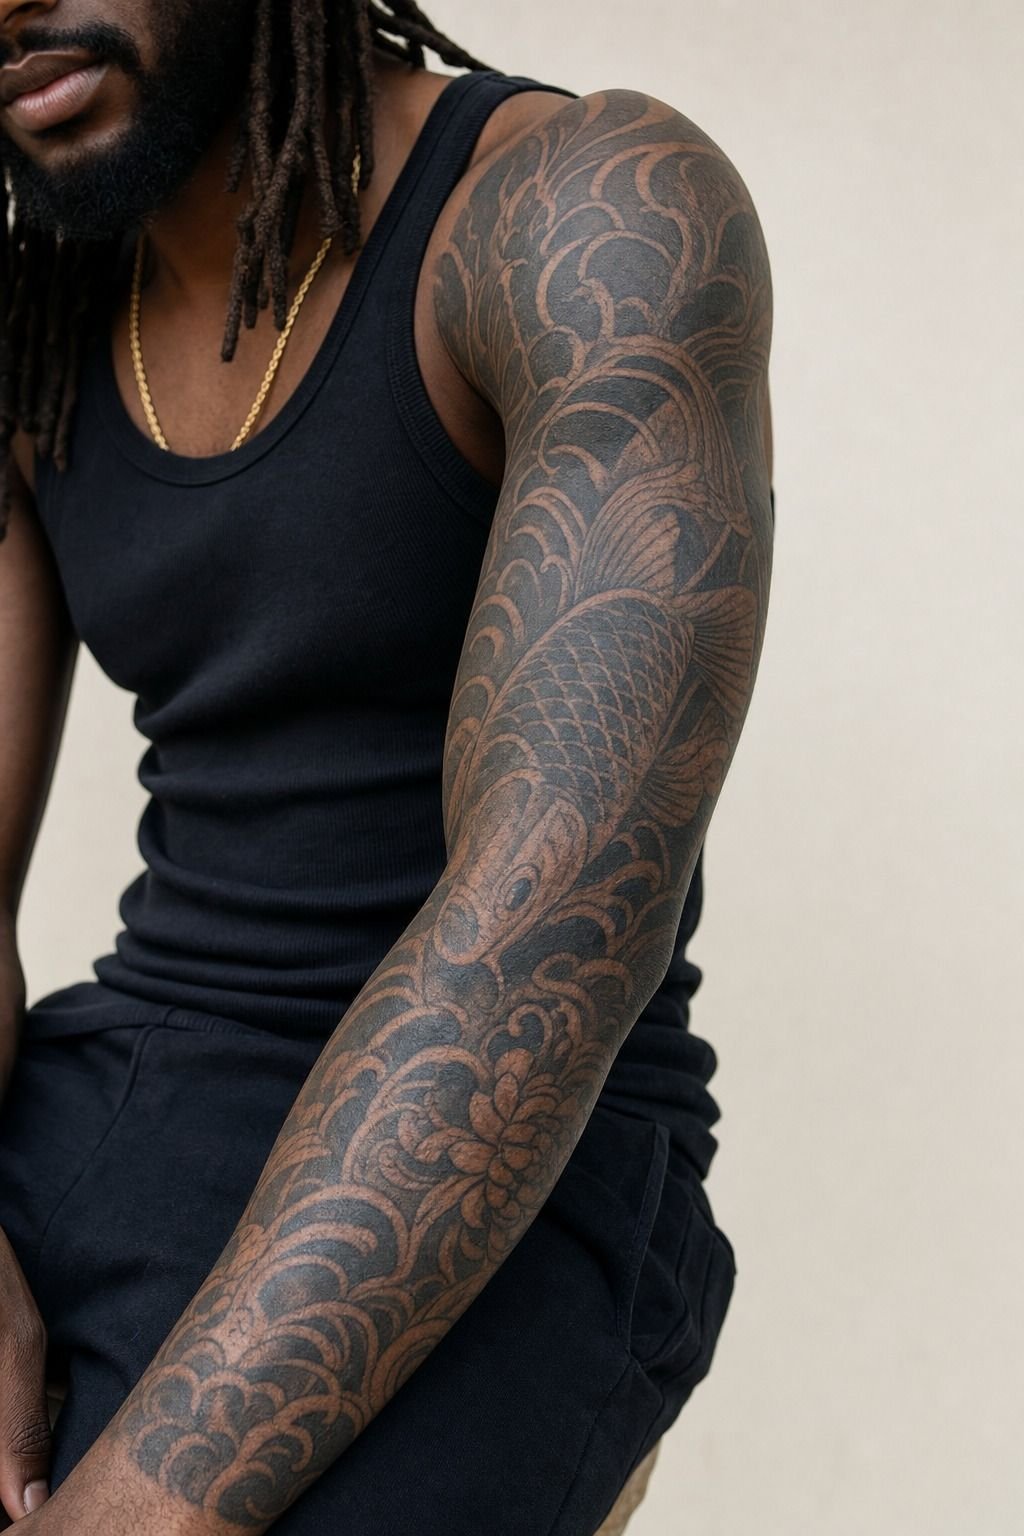
A full Japanese sleeve is a commitment in time and money, so I budgeted by hours rather than pretending it was one appointment. Typical US shop minimums sit around $50 to $100, while experienced artists often charge about $100 to $250 per hour. Your region and artist’s demand change that fast.
I planned for multiple sessions, protected my appointment deposits, and didn’t cheap out on the artist. A realism tattoo artist who doesn’t understand Japanese flow may be talented, but that doesn’t make them the right fit. Use this Japanese tattoo artists guide to compare healed work, not just fresh photos.
A sleeve costs more than a small tattoo because it asks more of the artist. That’s not a place to bargain hunt.
19I Followed Proper Aftercare Through Every Healing Stage
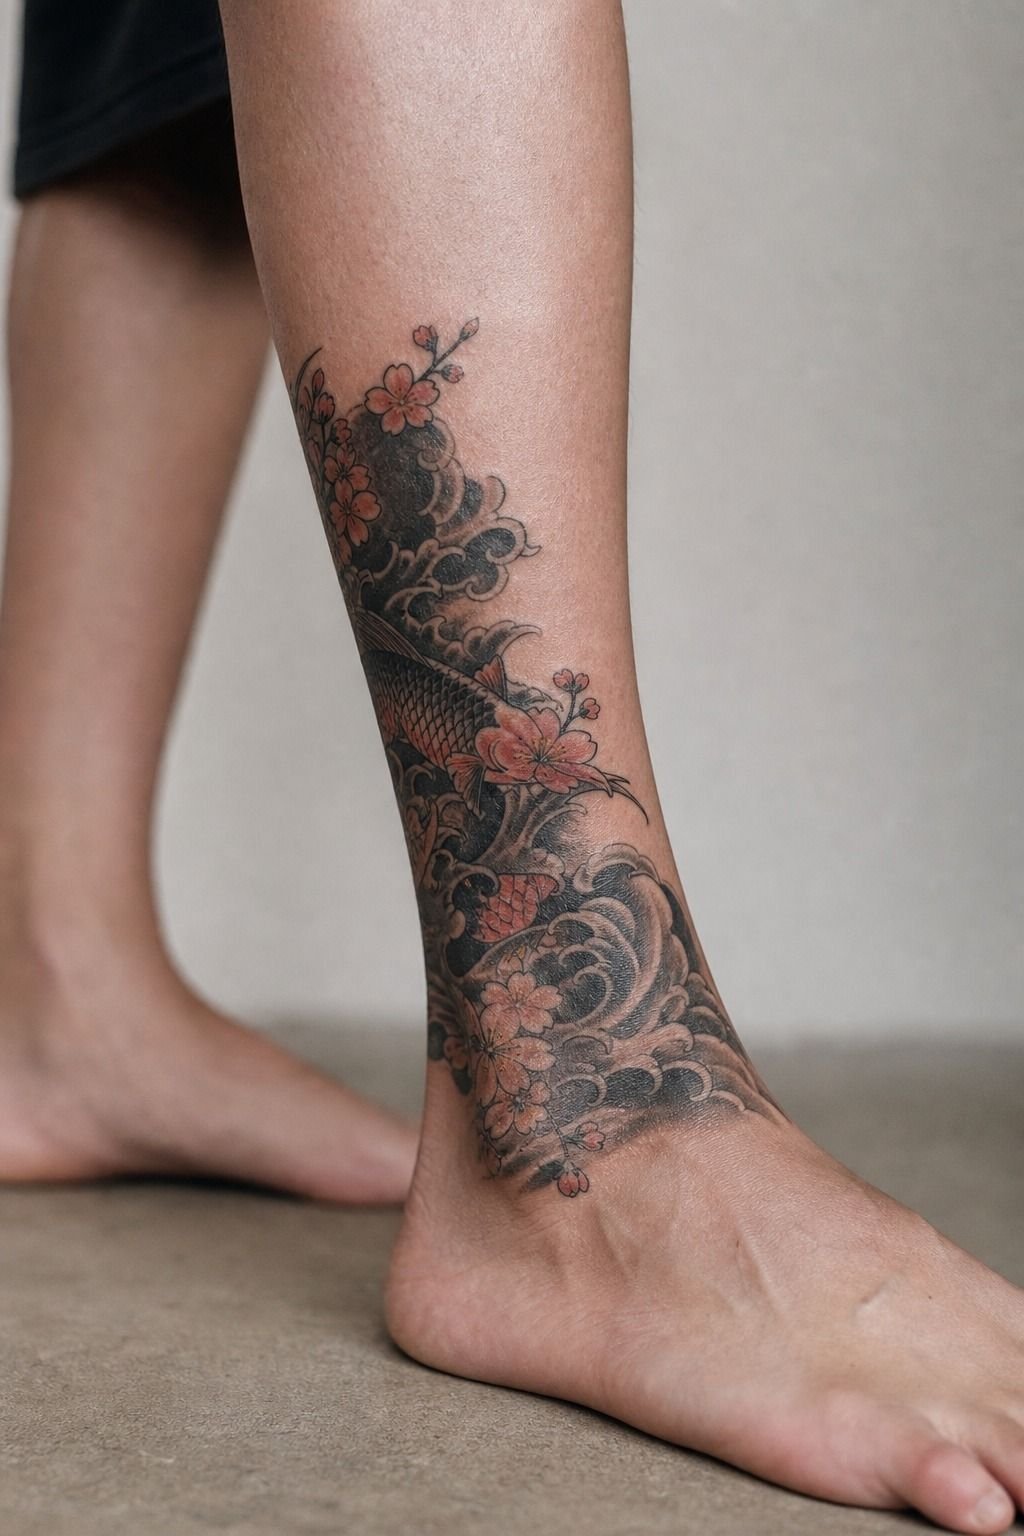
For the first few days, your tattoo is an open wound. Treat it like that.
I washed mine with gentle unscented soap, patted it dry, and used a thin layer of Aquaphor Healing Ointment only when it needed it. Don’t suffocate it.
Surface healing usually takes about 2 to 3 weeks. Full settling can take around 2 to 3 months, depending on your skin and how much ink you received. It’ll peel like a sunburn, and you can’t pick the flakes or you’ll pull color out.
Avoid sun, pools, and gym friction while your skin is healing. The silver-skin stage looks strange, but it passes. Your healed tattoo needs sunscreen long after the bandage is gone.
Why I Still Prefer a Japanese Composition Over Random Motifs
I’ve tattooed and collected enough work to know that a Japanese composition asks more of you than a quick impulse tattoo. You have to think about scale, subject, background, skin tone, and where the body bends.
That’s why it lasts. The visual rules give you something to return to when you’re tempted to add one more unrelated piece beside it.
My biggest mistake early on was treating an arm like a gallery wall. I liked each image separately, but nothing spoke to the next image.
Japanese tattooing taught me to look at the body as a moving surface. A koi should travel. A dragon should coil.
Flowers should soften a hard edge without swallowing it. That’s composition, and it’s the difference between ink that feels collected and ink that feels accidental.
You don’t need to follow every historical rule to make your tattoo valid. Your life is your own.
But you do need an artist who’ll tell you when a detail is too small, a placement is too tight, or a background is going to flatten the whole piece. That honesty is comforting. It saves you from paying for a design that looked good only on a phone screen.
How much it cost
My planning numbers were based on typical US studio pricing, not a bargain-bin promise. A Japanese sleeve can take multiple sessions, and a detailed back piece can take far longer depending on the artist, scale, and density.
I’d rather see you save longer for an artist whose healed work looks solid than rush into a cheap appointment. Your skin keeps the receipt.
What People Always Want to Know
How much does a Japanese Tattoo Ideas usually cost?
A Japanese tattoo usually costs about $100 to $300 for a small design, while larger work is commonly priced at $100 to $250 per hour. Budget for the artist’s time, not just the finished image.
– Shop minimums, about $50 to $100 – Multi-session sleeves – Placement-dependent detail
Are Japanese Tattoo Ideas a good idea for a first tattoo?
Yes, if you choose a simpler design and a tolerable placement like the outer arm, forearm, or thigh. Bold linework ages well when you don’t overcrowd it with micro-details.
– One clear motif – Clean black outline – Low-wear placement
How do I choose a tattoo artist for Japanese Tattoo Ideas?
Choose an artist with healed Japanese work, clean composition, and consistent line quality. A focused portfolio matters more than a huge follower count. You want solid blacks, readable backgrounds, and proper studio hygiene.
– Healed portfolio photos – Traditional or neo-trad specialization – Clean, licensed studio
How much do Japanese Tattoo Ideas hurt?
Pain depends on placement. Ribs, feet, hands, and sternum usually feel more painful, while the forearm, thigh, and shoulder are more tolerable. Placement control helps you get through a longer session.
– Outer arm, more chill – Ribs, sharply spicy – Thigh, broad and manageable
How long does a Japanese Tattoo Ideas take to heal?
Surface healing usually takes around 2 to 3 weeks, while full recovery can take 2 to 3 months. Gentle aftercare protects color while your skin closes and settles.
– Unscented soap – Thin ointment layer – No pools or direct sun
What’s the best placement for Japanese Tattoo Ideas?
The outer arm, thigh, calf, upper back, and forearm are strong choices because they give your design room and tend to age well. More usable skin means cleaner flow for dragons, koi, and masks.
– Upper back, large composition – Forearm, visible movement – Thigh, softer color work
Where I’d Start First
If I had to pick one, I’d start with a koi on the forearm. It follows your body’s natural direction, gives the artist room for clean waves, and won’t turn into cramped soup. Pin that idea, then compare healed portfolios before you book.