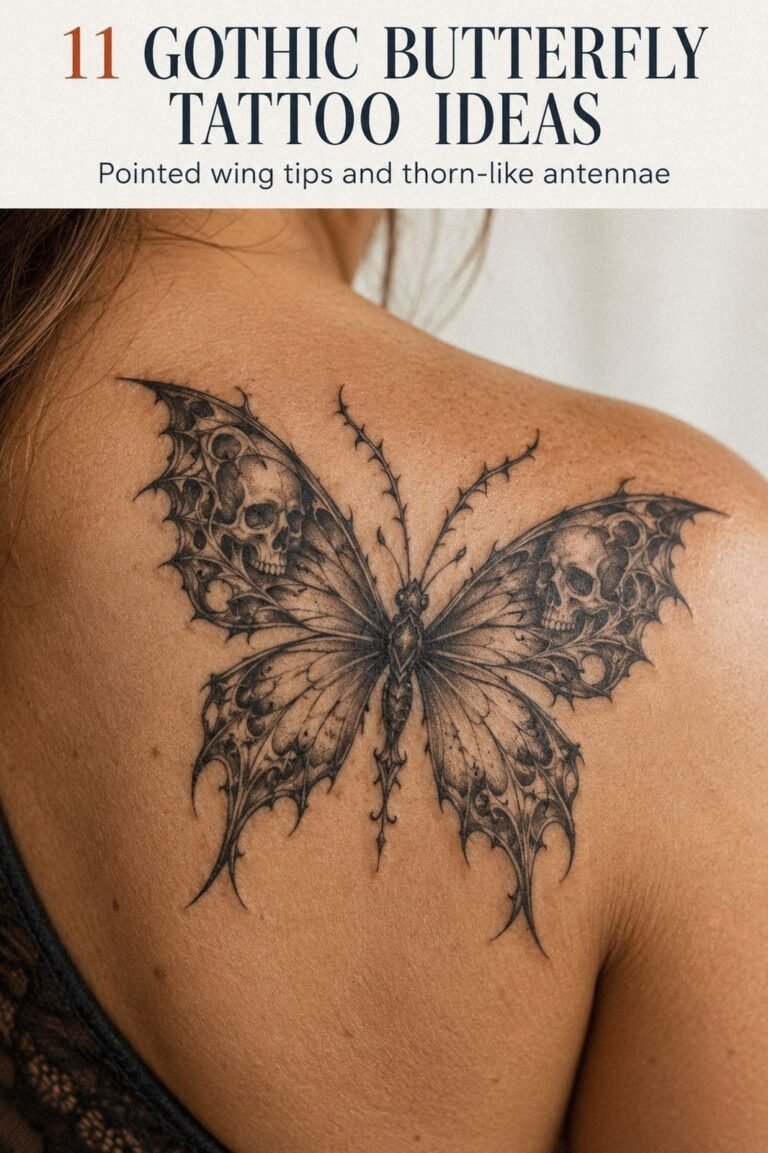
Ladybug tattoo stencil designs can stay crisp for years when line weight, placement, and aftercare work together. I learned that after choosing delicate details for a high-friction spot. You’ll find striking ideas here, from minimal linework to symbolic dotwork, plus realistic healing and cost guidance. Small choices matter!
My one rule is simple: keep the silhouette readable before adding decoration. A ladybug tattoo stencil should look personal, expressive, and complete while it’s still only a transfer on skin.
- Minimal Ladybug Tattoo Stencil Linework
- Can Intricate Wings Stay Readable?
- Dainty Ladybug Tattoo Stencil Behind Ear
- Black-and-White Ladybug Tattoo Stencil
- Ladybird Tattoo Stencil With Botanical Details
- Bold Ladybug Tattoo Stencil Forearm Design
- Why Choose a Playful Ladybug Tattoo on the Ankle?
- Symbolic Ladybug Tattoo Stencil With Lucky Marks
- Vintage Ladybug Tattoo Stencil Dotwork
- Fierce Ladybug Tattoo Stencil Shoulder Emblem
- Delicate Ladybug Tattoo Stencil Finger Design
1Minimal Ladybug Tattoo Stencil Linework
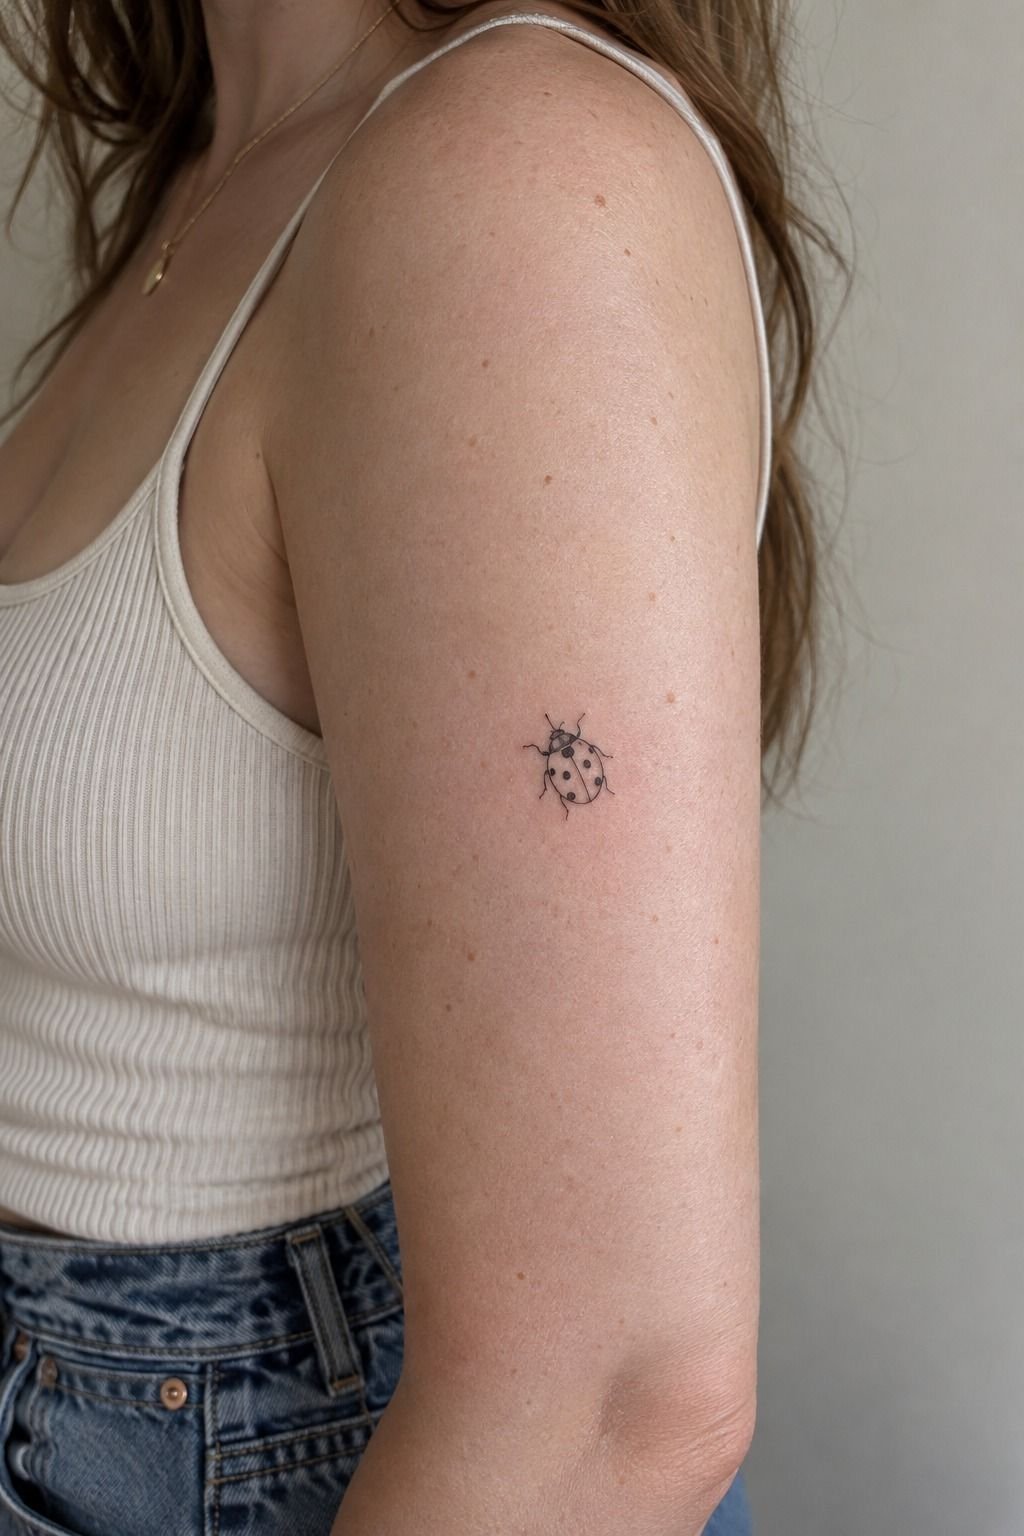
Minimal ladybug linework works well when you want a personal tattoo with a clean silhouette. Choose an oval body, six visible legs, and a few sharply placed spots.
Your artist can keep the outline expressive while leaving enough skin breaks for the design to breathe. I’d choose this understated approach over crowded detail for a first piece.
A fine-line tattoo needs careful stencil placement before the needle touches skin. Ask your artist to check the shape while your arm is relaxed and again while it’s naturally bent. Single-needle black ink can look crisp on fair, cool-pink skin.
You’ll want space between the wings and spots so they don’t blur together over time.
For a related outline approach, compare this with a tattoo outline drawing stencil design. The strongest templates use fewer lines, not more.
A fine-line transfer stencil should show every leg and wing seam without turning the insect into a dark blob. Crisp and personal!
An upper-arm placement gives you a forgiving area with moderate visibility. The skin there won’t flex as much as a finger or hand.
The design can stay delicate without disappearing into a busy contour. I’d skip tiny lettering beside it, because the ladybug already carries the visual meaning.
2Can Intricate Wings Stay Readable?
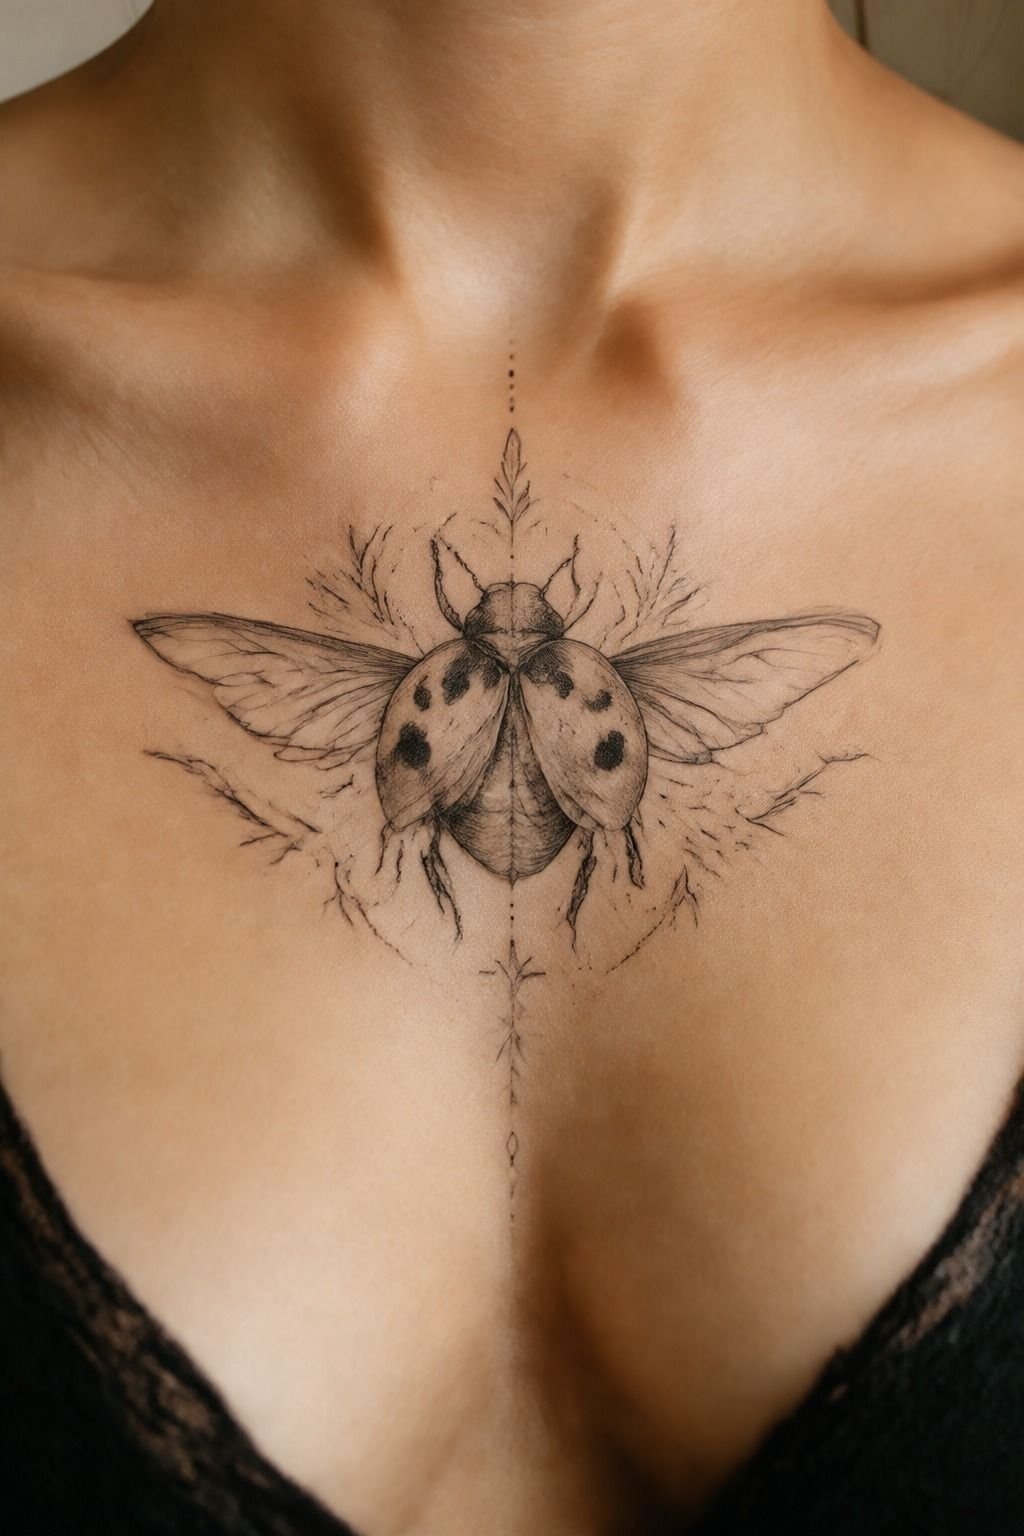
Intricate wings give your ladybug tattoo an ornate and expressive mood, especially across the sternum. Use curved wing veins, controlled stippling, and carefully spaced dots instead of filling every opening.
Your artist should let the centerline stay sharp. Symmetry makes this placement feel polished rather than crowded.
The sternum is a meaningful location, but it can be more uncomfortable than the upper arm because the skin sits close to bone. Black-and-grey ink gives you tonal depth without forcing the artist to pack the design with solid black. I’d choose a restrained shadow under the shell and leave most wing interiors open.
You’ll want the stencil checked while you’re standing, not only while you’re lying down. Your chest changes shape when you breathe. A design that looks centered on a flat surface can shift when your posture changes.
I’ve made that mistake with a symmetrical sketch. It looked right until I stood up.
If you’re building the concept from scratch, browse this ladybug tattoo design guide. Look for a wing shape that feels intricate but remains readable from a short distance. A few intentional imperfections can make the insect feel raw and organic, while identical micro-lines may look mechanical.
3Dainty Ladybug Tattoo Stencil Behind Ear
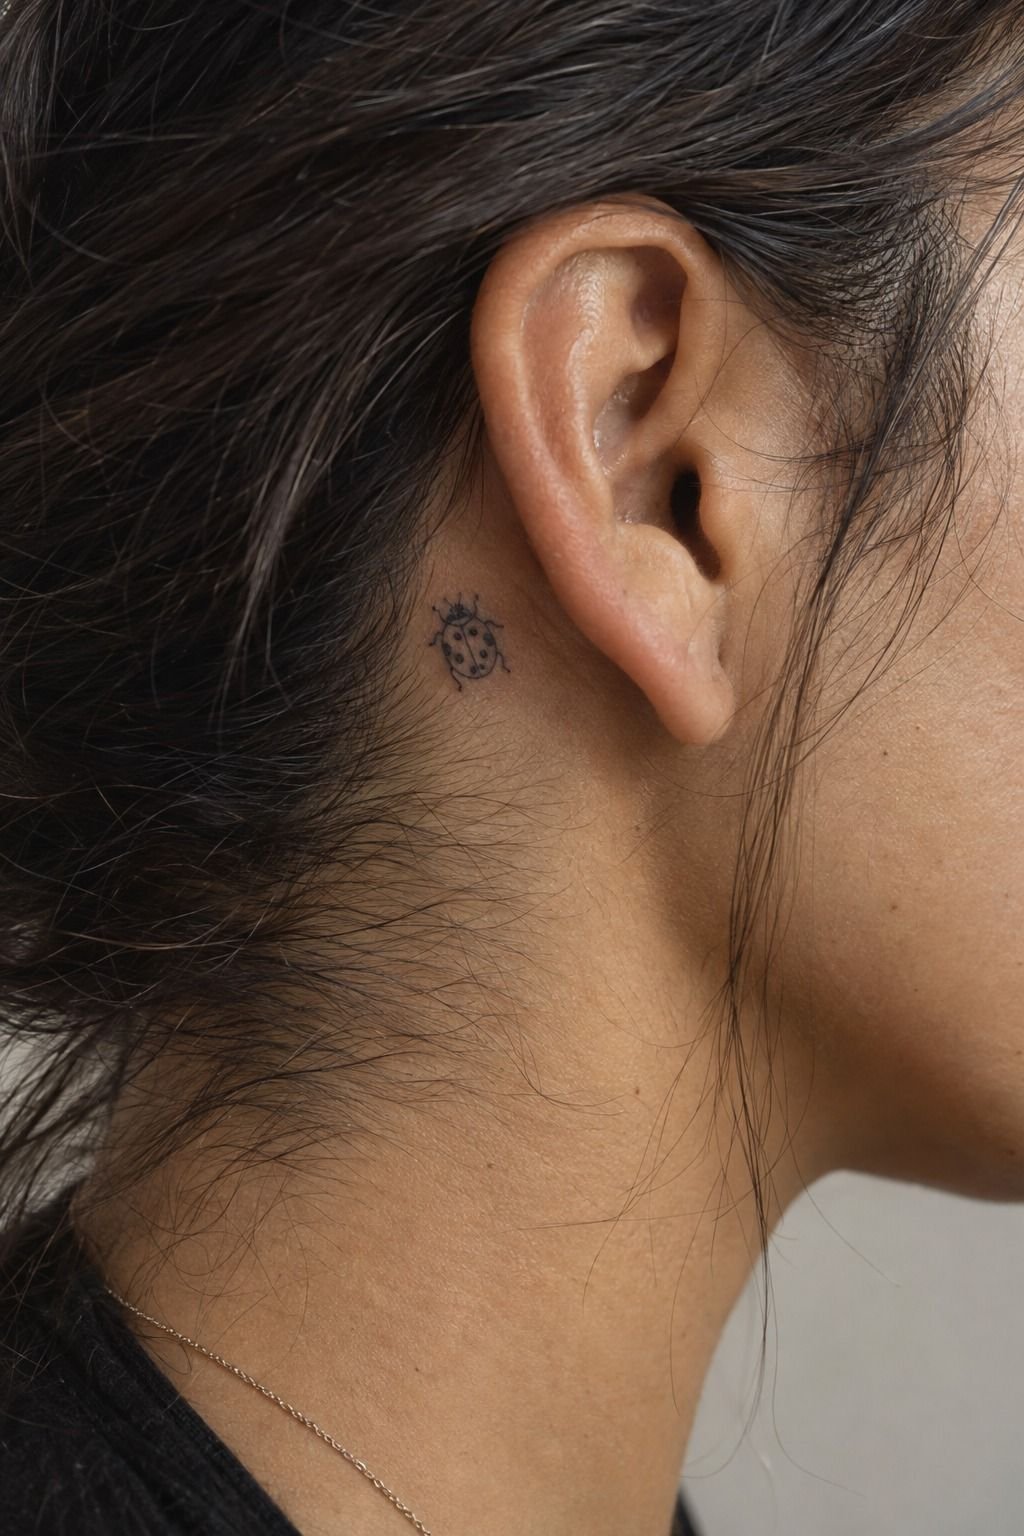
A behind-ear ladybug is dainty, discreet, and surprisingly personal. Its small scale makes the stencil simple, but that doesn’t mean the placement is easy.
Ask for a sleek body shape with fewer spots and shorter legs. Fine-line black ink can suit this area, but your artist should avoid details that will merge as the tattoo ages. You’ll also need to consider hair, headphones, glasses, and regular friction.
A tiny tattoo can still feel stylish when the silhouette is strong. Compare this option with another tattoo outline drawing stencil design before choosing the final shape. The best version will be recognizable without relying on miniature decoration.

4Black-and-White Ladybug Tattoo Stencil
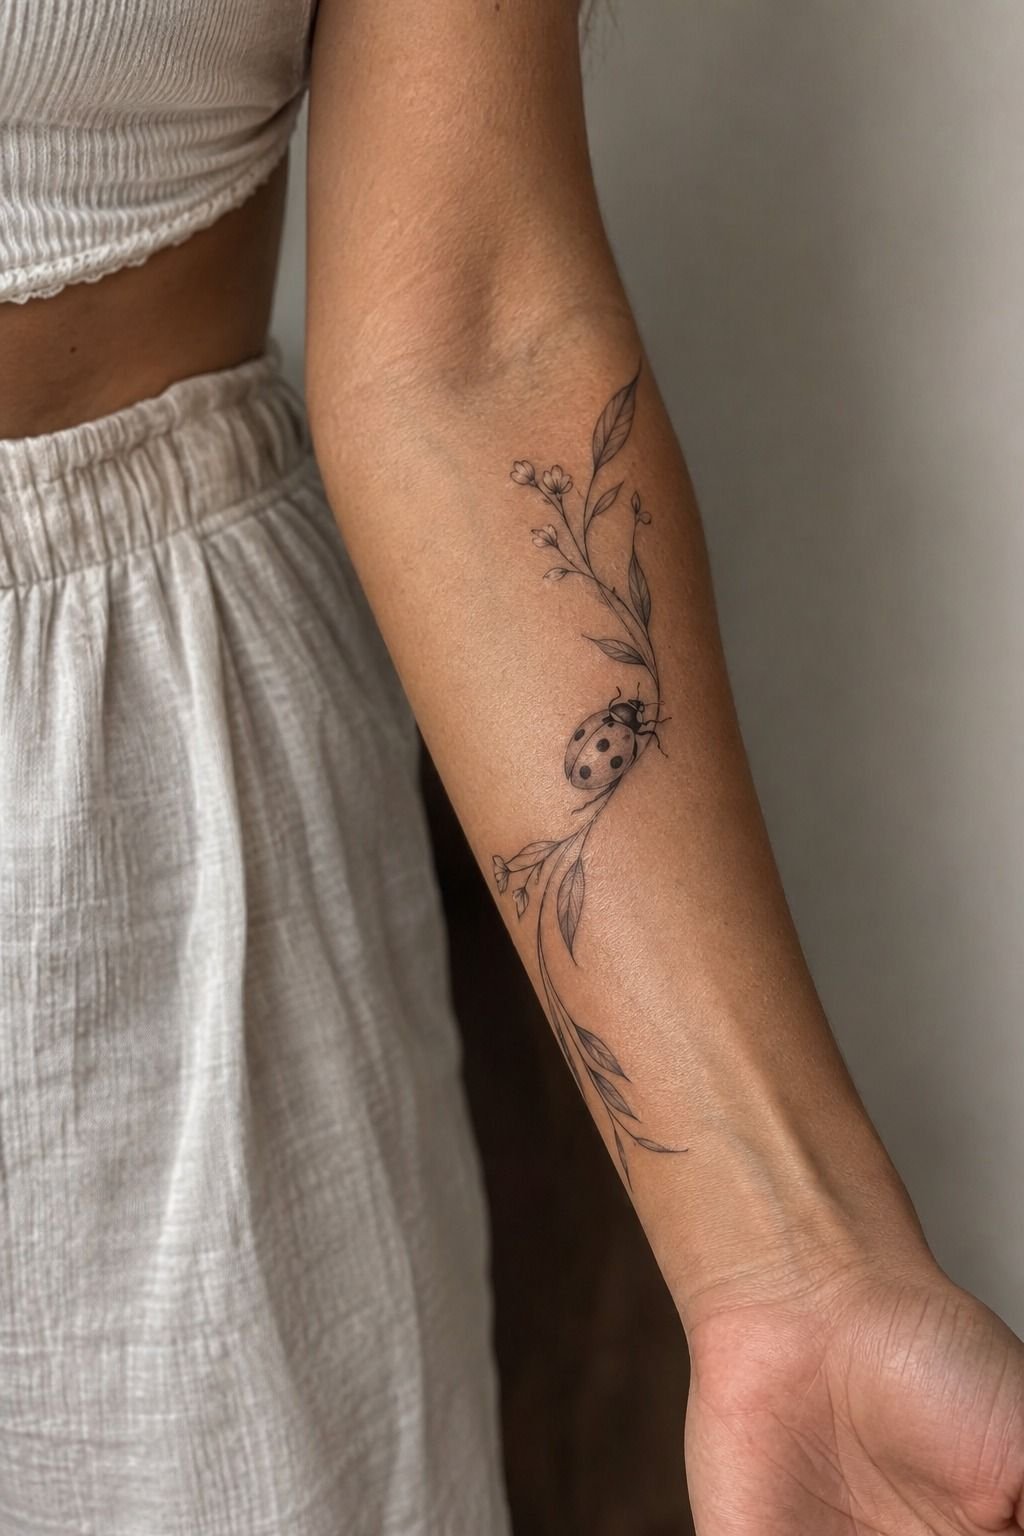
Black-and-white ladybug tattoos create a bold, timeless contrast without relying on color.
5Ladybird Tattoo Stencil With Botanical Details
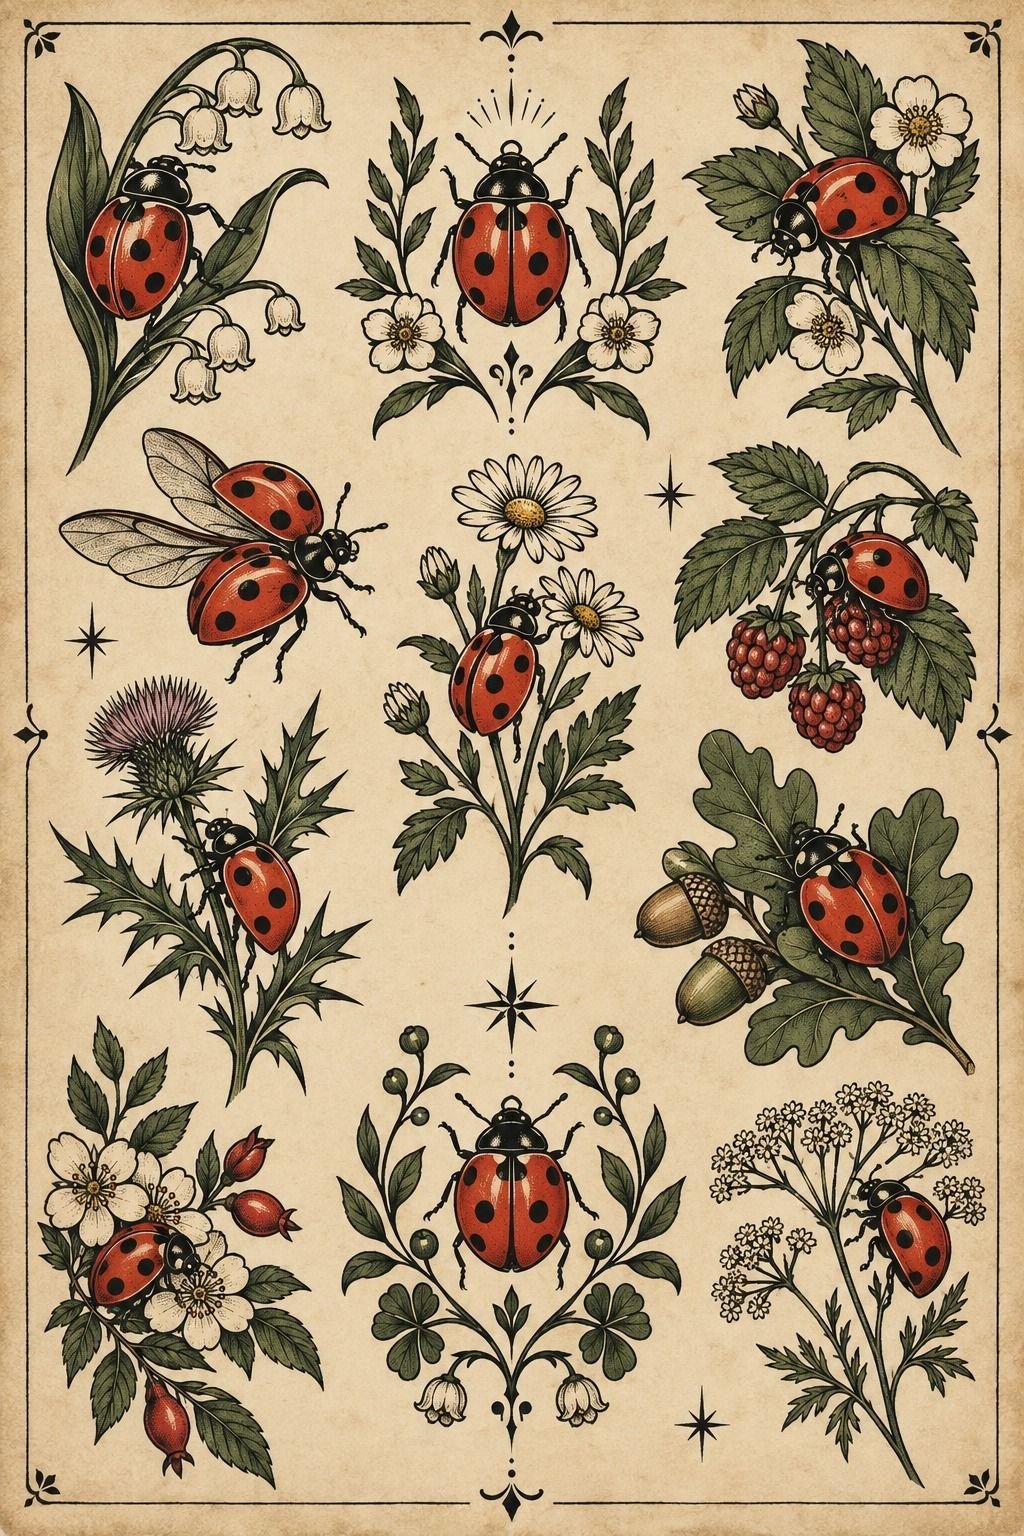
A ladybird tattoo with botanical details feels symbolic without becoming overly literal. Add one curved stem, two narrow leaves, or a small wildflower beneath the insect.
Your artist can use flowing lines to connect the elements while keeping the ladybird recognizable. I’d choose one plant species rather than a crowded bouquet.
The strongest version uses a ladybird, one stem, and a deliberate gap between the body and leaf. That space keeps the design elegant and readable. It also lets the insect remain the subject instead of becoming lost in extra decoration.
For more source material, review this ladybird tattoo design collection. You’ll find that fine-line botanical ink needs room around each leaf. I’d avoid placing a leaf directly behind every leg, since overlapping lines can make the stencil harder to read.
A botanical detail can carry meaningful symbolism. A clover may suggest luck, while a poppy or wildflower can carry a personal memory.
Don’t let symbolism force you into a complicated composition. The most classic version may be the simplest one.
6Bold Ladybug Tattoo Stencil Forearm Design
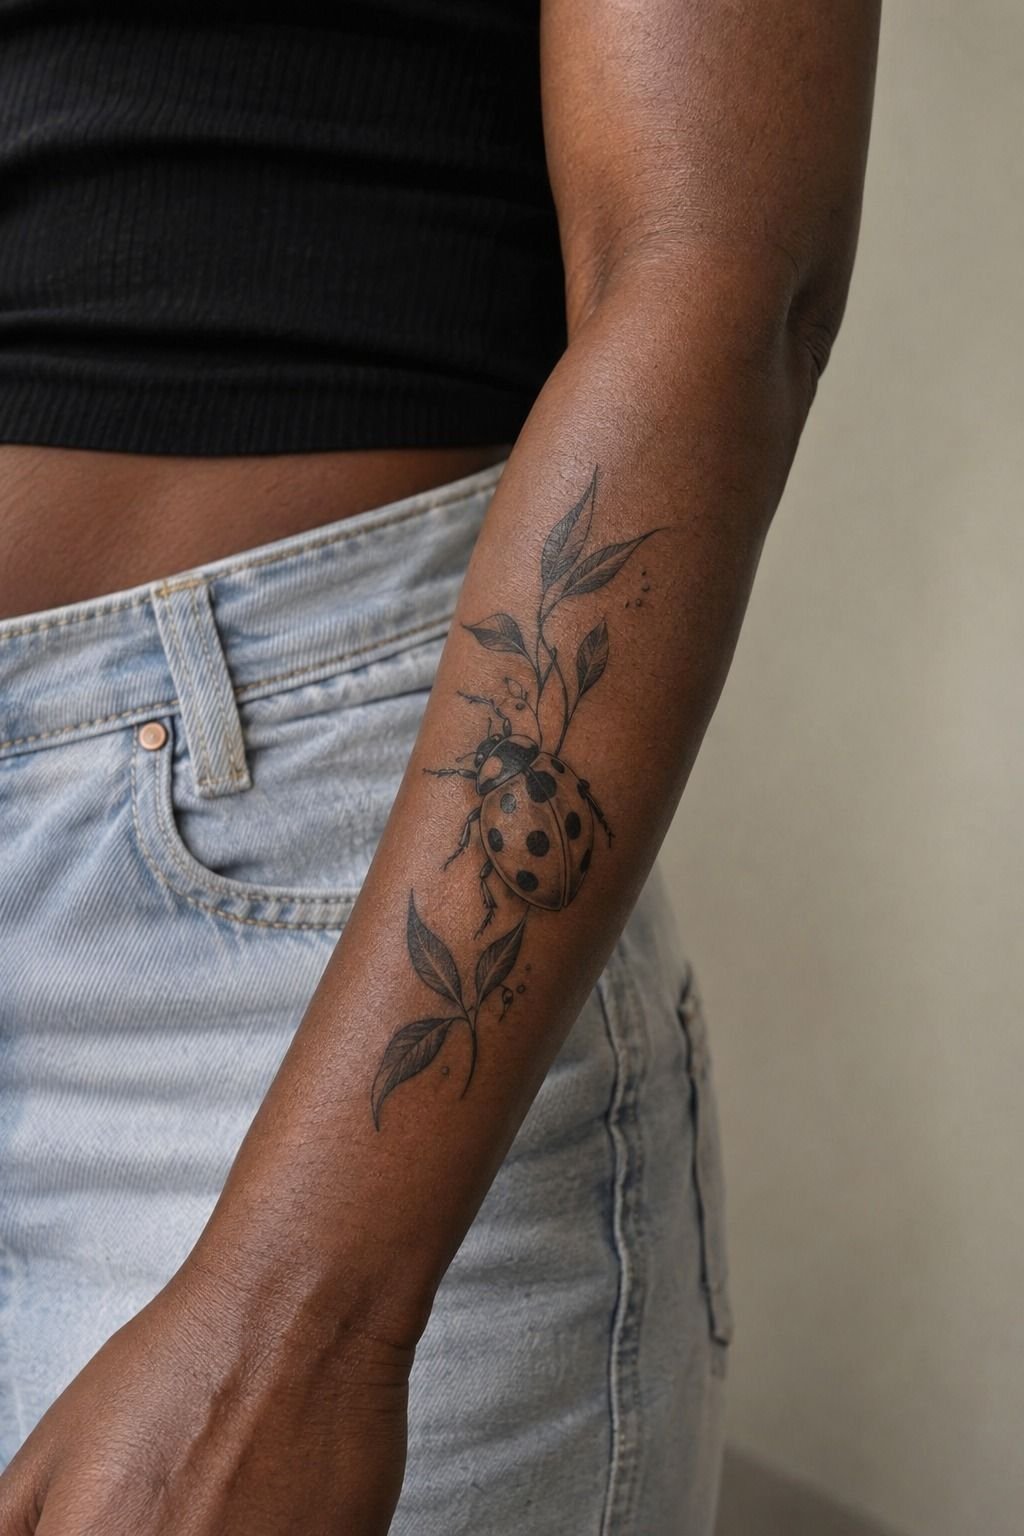
A bold forearm ladybug can carry stronger outlines and deeper black areas while still looking refined. This powerful approach works when you want the tattoo to remain visible from a distance.
Keep the shell large enough for its spots to stay separate. Heavy black lining can help the design hold its shape, but too much ink may make the body look flat. Ask your artist where open skin will improve contrast.
A forearm placement also gives you good value for a medium-size piece. You’ll see the tattoo often, and the area offers enough length for a vertical or slightly angled design. If you’re weighing the cost, ask how much extra detail changes the quote.
For another starting point, browse this ladybug tattoo design guide. A strong stencil should still look complete before shading begins. You don’t need every mark to make the concept feel finished.
7Why Choose a Playful Ladybug Tattoo on the Ankle?
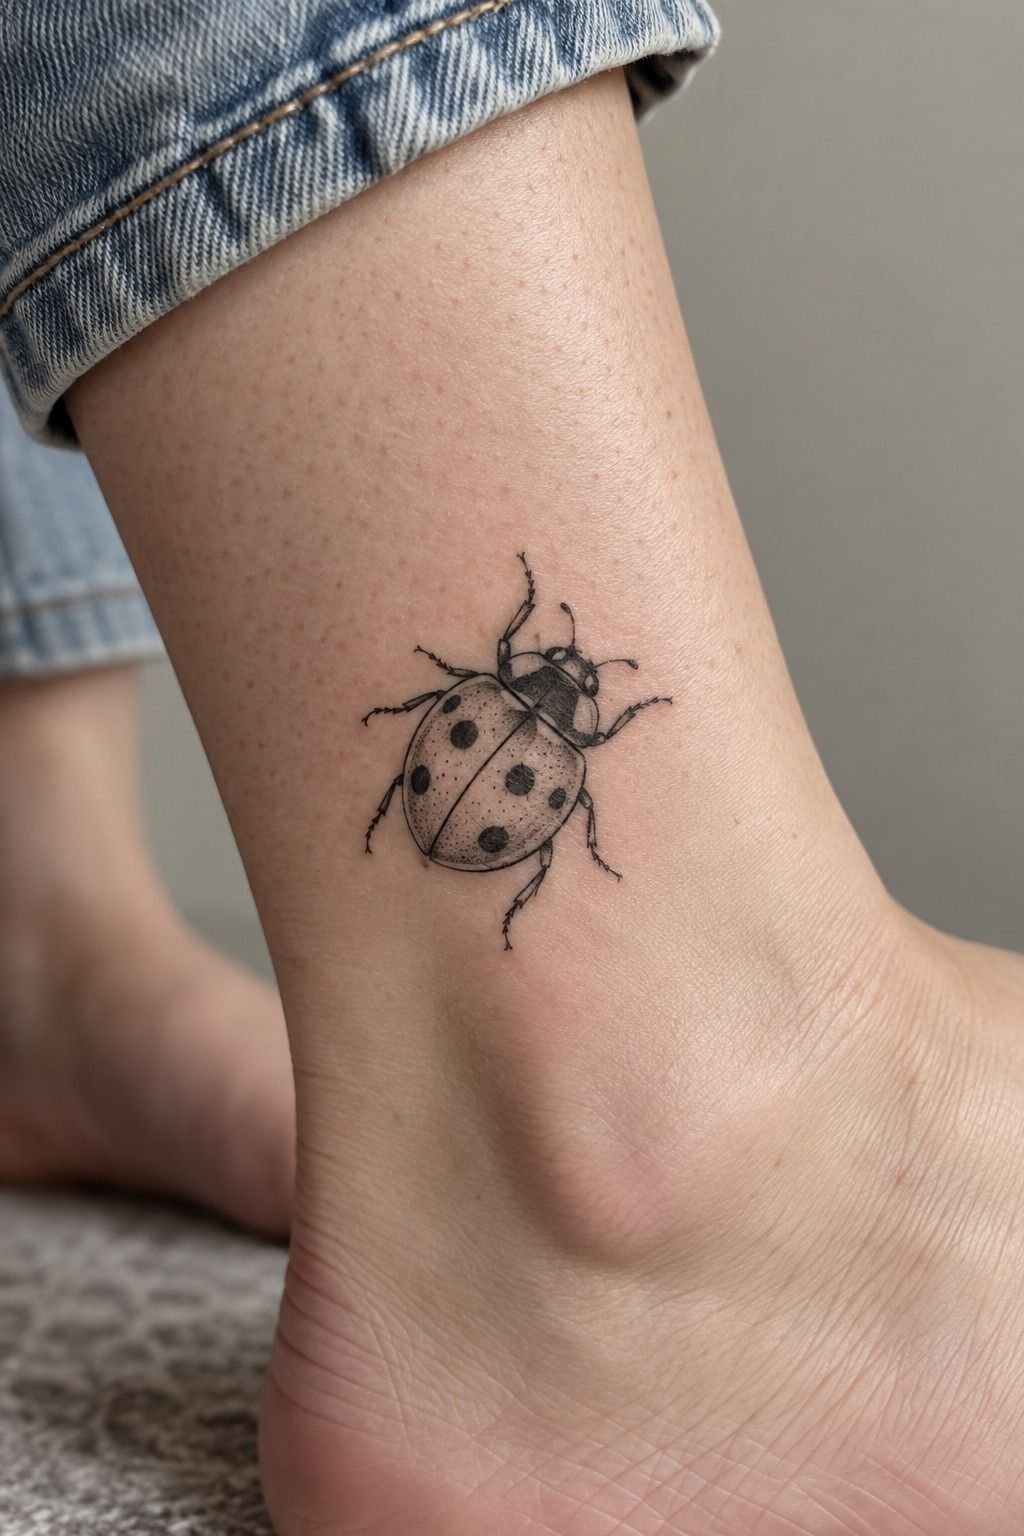
An ankle ladybug can feel playful and whimsical when the body tilts slightly instead of sitting rigidly upright. Let one antenna curve toward the foot. Keep the legs short enough to follow the narrow placement.
Your artist can add two expressive spots without making the design childish.
Ankle skin moves and rubs against socks and shoes, so you’ll want a stencil that avoids unnecessary micro-detail. Clean black linework usually gives the design a stronger chance of staying legible than several pale tones. I’d schedule the appointment when you can wear loose footwear.
Feet and ankles can feel more intense than the forearm or shoulder because of bone and thinner skin. Your comfort plan matters. Bring water, eat beforehand, and ask your artist about breaks if you’re nervous.
You don’t need to prove anything by sitting silently through discomfort.
For another placement comparison, see how to remove tattoo stencil. A fresh stencil mark should be removed gently after the artist confirms the position.
Don’t scrub it away in a hurry. The antenna, shell, and foot curve should work as one shape.
8Symbolic Ladybug Tattoo Stencil With Lucky Marks
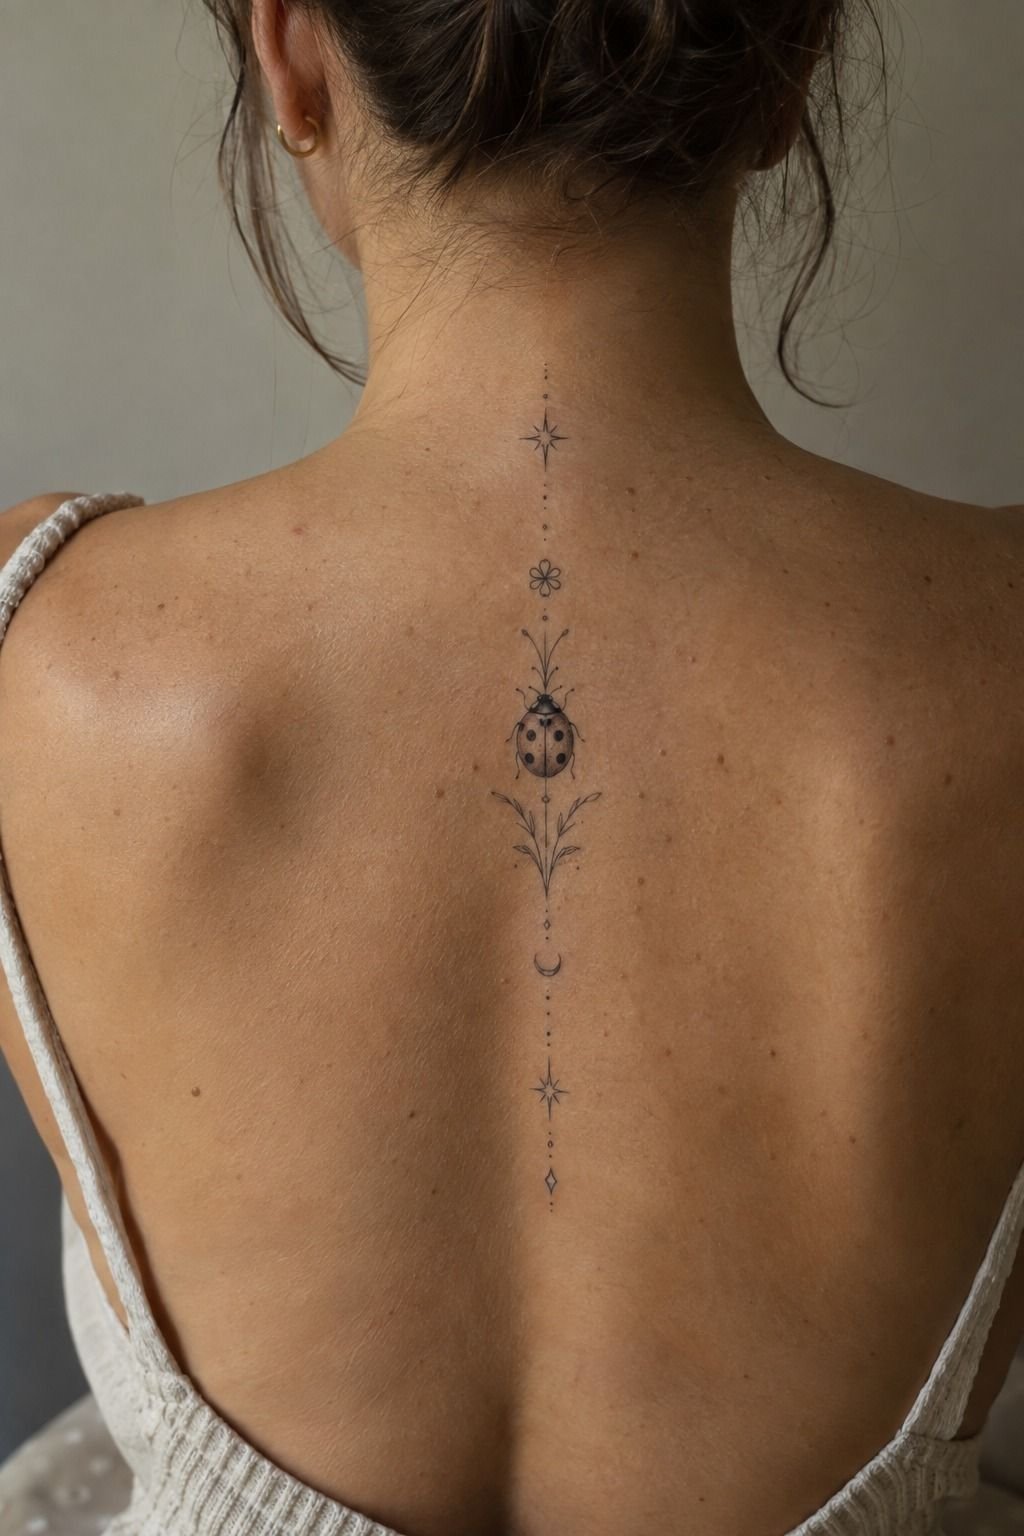
A symbolic ladybug design can use lucky marks without relying on a generic charm. Consider a small star, one clover leaf, or a meaningful number worked into the surrounding linework. Your artist can keep the symbol understated so the ladybug remains central.
The spine can create a graceful vertical composition. Black fine-line ink can follow the center of your back, but your artist should account for the natural curve and movement of the skin. A healed tattoo may soften slightly, so avoid microscopic lettering and tightly grouped dots.
You’ll want to discuss visibility before choosing this location. A spine tattoo can feel private, while a low-back or shoulder design may show more often.
The symbolic meaning should match how you expect to live with the piece. That’s a personal decision.
If your concept needs a cleaner starting point, look through these ladybug tattoo stencil ideas. A symbolic stencil sketch should show the main body, lucky mark, and spacing clearly. Keep the composition graceful and meaningful.
9Vintage Ladybug Tattoo Stencil Dotwork
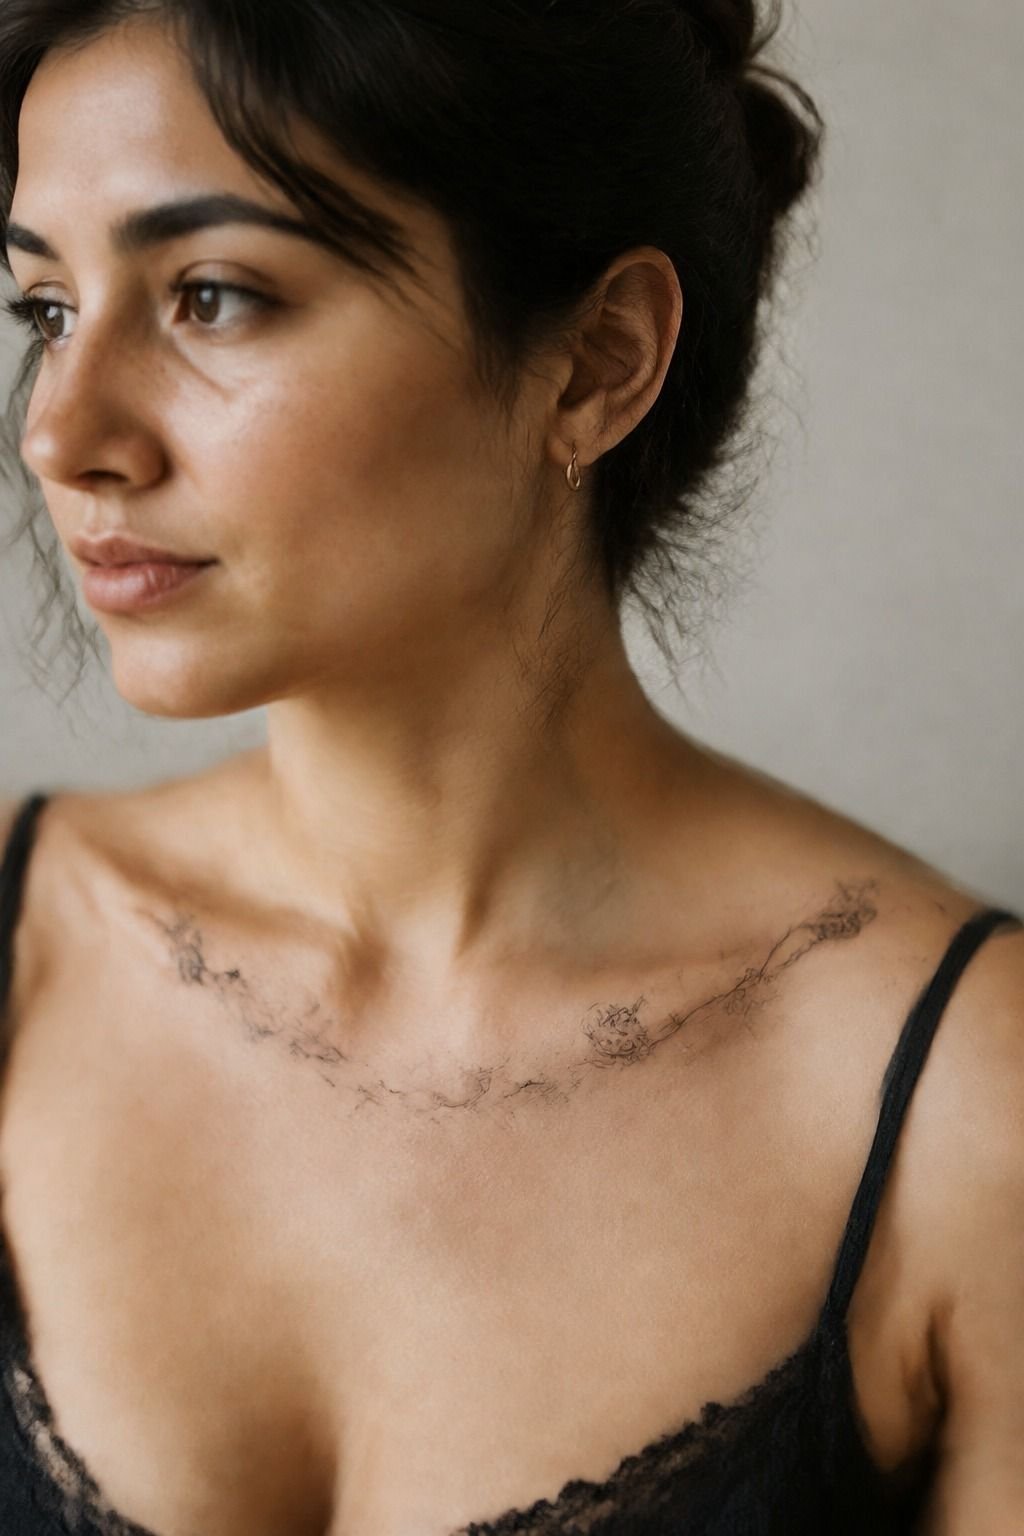
Vintage dotwork gives the ladybug a classic, slightly haunting character.
10Fierce Ladybug Tattoo Stencil Shoulder Emblem
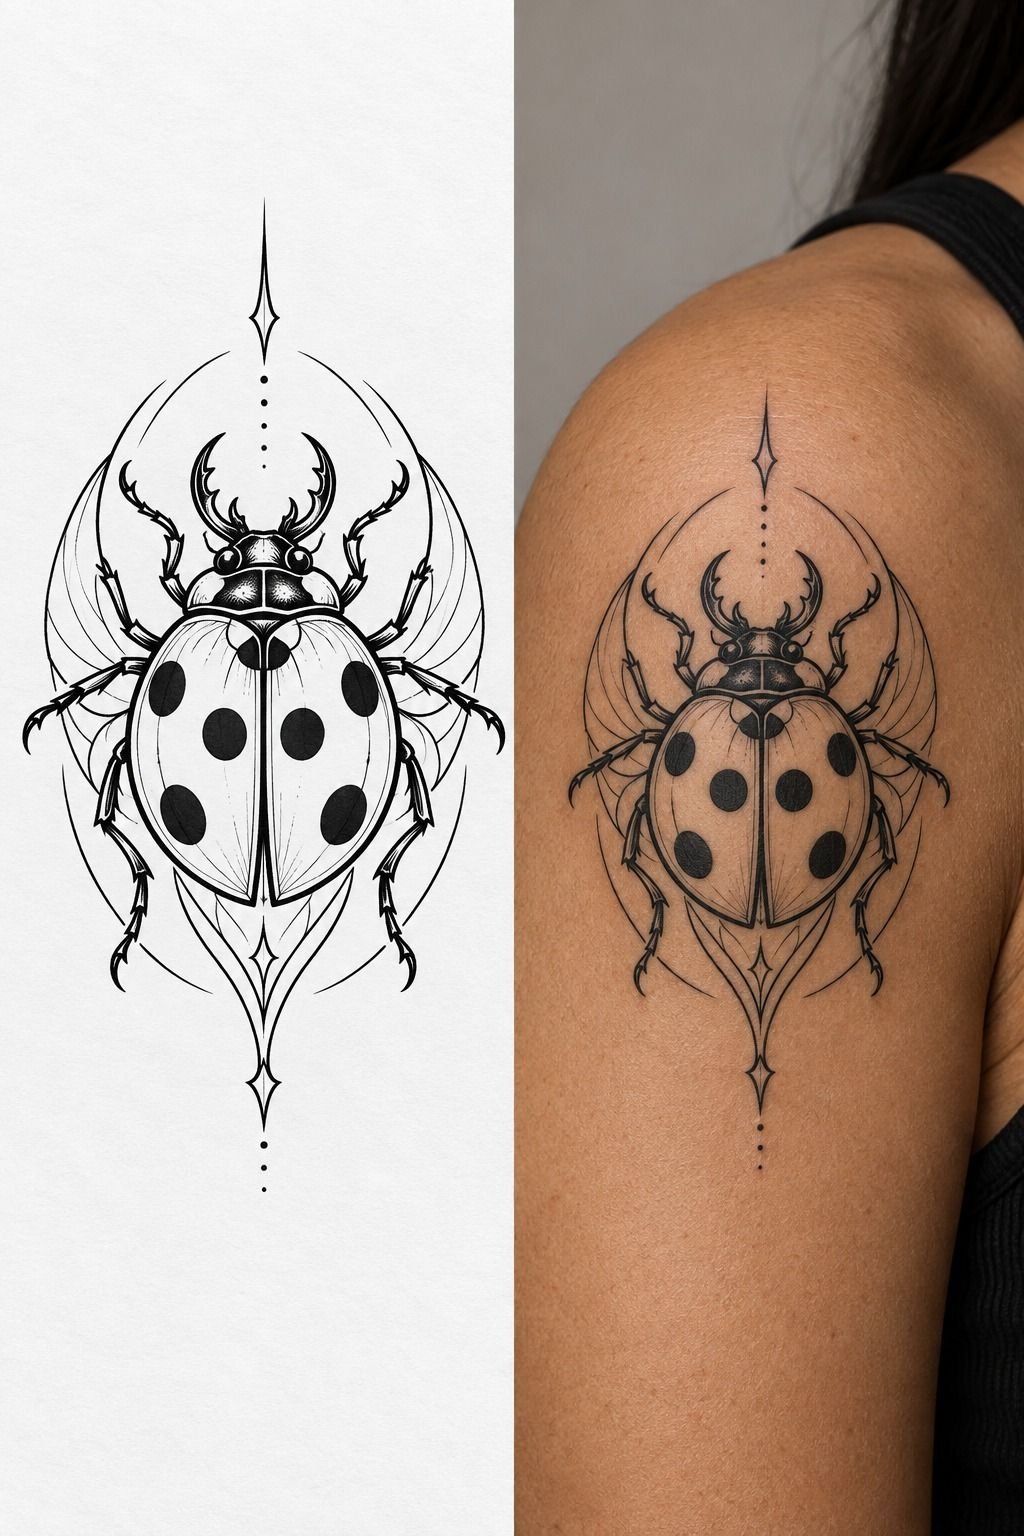
A shoulder emblem gives the ladybug a fierce, iconic presence. Keep the body compact, the shell symmetrical, and the outer legs slightly stronger than the interior marks. The result can feel powerful without becoming oversized.
Healed tattoo ink often looks softer than fresh ink. Your stencil shouldn’t depend on hair-thin lines for the entire image. I’d choose a crisp outline with restrained dotwork instead of a dense gray background.
The shoulder is generally more tolerable than ribs, feet, hands, or sternum, but your personal experience may differ. You’ll want to ask about placement rotation if the emblem should face forward, backward, or toward your own view. Direction changes the attitude of the ladybug.
Before your appointment, compare this emblem with get tattoo stencil off skin. Stencil solution should leave a clear guide without irritating your skin. A fierce emblem doesn’t need excessive size or shading.
Strong structure and a confident silhouette will carry it.
11Delicate Ladybug Tattoo Stencil Finger Design
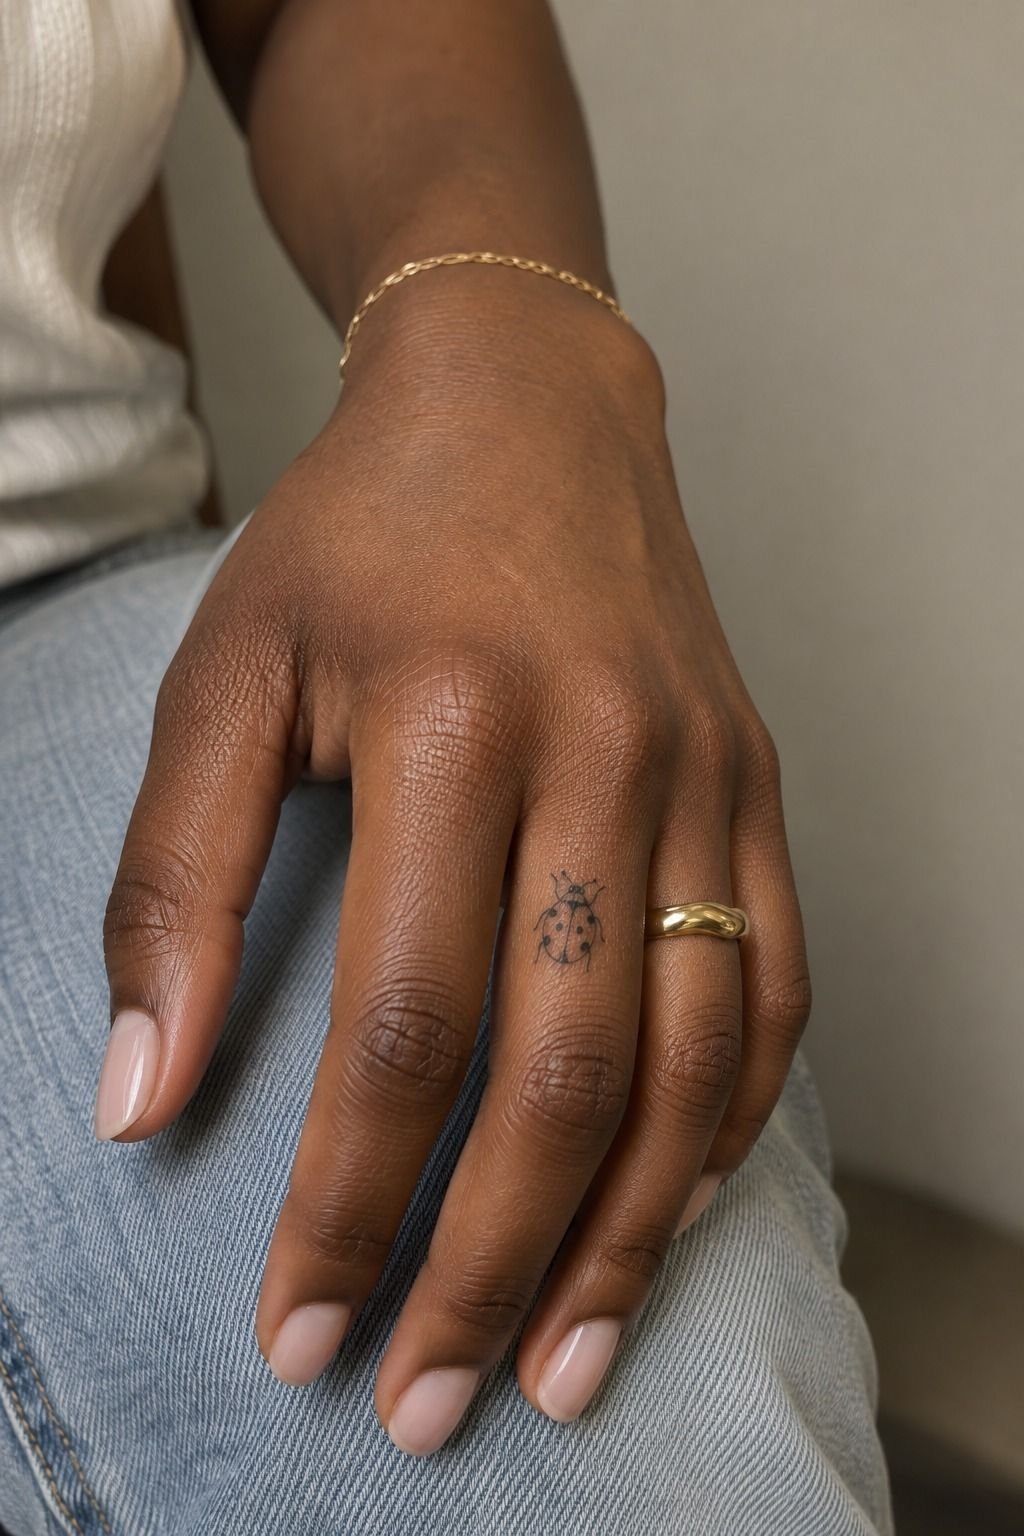
A finger ladybug is delicate, visible, and more demanding than it looks.
Placement That Ages Well
Placement changes the value of every design decision. Fingers, hands, feet, and ankles face more friction. The upper arm, shoulder, and forearm usually give fine lines more room to settle.
High-friction placement doesn’t automatically make a tattoo a bad choice. It simply changes the maintenance plan. You may need stronger lines, fewer tiny marks, and a realistic touch-up budget.
Think about how often you’ll see the tattoo. A visible placement can feel empowering, while a hidden one may feel sacred and private.
Neither option is more meaningful. The right answer depends on your daily life.
For another comparison, review this tattoo outline drawing stencil design and notice how the same silhouette changes when it’s simplified. The most graceful version is usually the one that respects the skin’s movement.
How Much Detail Is Worth the Cost?
The right level of detail depends on your skin, placement, artist, and budget. A simple design may offer better long-term value than an elaborate stencil that relies on fragile lines.
Ask for a written tattoo quote before the appointment. Check whether it includes the consultation, stencil changes, session time, and a possible touch-up. The lowest price isn’t always the best deal.
Here’s a practical cost guide for a small or medium ladybug tattoo in the United States:
Prices vary by region, artist, hygiene standards, and appointment length. Custom tattoo pricing should be explained clearly before you commit.
A polished result often comes from editing. Remove one leaf, widen one gap, or simplify one wing. You’re paying for a tattoo you’ll live with for years, so choose details that earn their place.
If you’re considering a softer color treatment, compare this watercolor tattoo design before deciding. A vibrant accent can be beautiful, but black structure should still carry the design.
What Makes a Stencil Transfer Crisp?
A crisp transfer starts with a readable drawing. The body, spots, legs, and wing breaks should remain clear before the artist begins.
Stencil transfer paper needs clean contact with the skin. Lotion, sweat, and rushed placement can weaken the guide. Your artist should clean and position the area carefully before making the first mark.
Ask to see the stencil while your body is relaxed. A design can look balanced when your arm is straight, then shift when your elbow bends. Small adjustments at this stage can protect the final result.
For transfer-removal basics, keep get tattoo stencil off skin available before your appointment. You’ll want the artist to remove excess marks without scrubbing or irritating the placement.
Aftercare That Protects Fine Lines
Fresh ink needs gentle care while the skin settles. Follow the instructions your artist gives you, since products and healing responses can differ.
Gentle tattoo aftercare usually means mild washing, careful drying, and artist-approved moisture. Don’t pick flakes. Don’t soak the area during early healing.
Avoid direct sun until the skin has recovered.
The surface may look healed before deeper skin has settled. That’s why patience matters. Judge the final color later, not during the first few days.
If the transfer left residue, use the method in how to remove tattoo stencil only after the artist says the stencil is no longer needed. A clean start makes the whole appointment feel more controlled.
Consultation Checklist
Bring a clear reference and explain what matters most. Maybe it’s the shell shape.
Maybe it’s the symbolism. Maybe it’s keeping the design tiny.
Ask about healed portfolio photos, line weight, placement, pain, and touch-ups. An artist who answers clearly can help you make a sharper decision.
Discuss whether the tattoo is worth the investment for your current budget. You can always reduce detail or choose a different placement. A meaningful design should also be practical.
Before booking, compare your idea with this ladybug tattoo design guide and write down the three details you refuse to lose. Everything else can be flexible.
The Crisp-Line Decision Rule
I’ve learned that the best ladybug tattoo isn’t the one with the most detail. It’s the one whose details still make sense after the skin has healed, softened, and lived through ordinary days. That means your artist needs to think about line weight, spacing, movement, and sun exposure before the appointment begins.
For a delicate design, I’d prioritize placement before style. The upper arm, forearm, and shoulder generally give you more forgiving areas than fingers, feet, hands, ribs, or sternum.
That doesn’t mean you can’t choose a more sensitive location. It means you should understand the tradeoff.
I also think healed portfolio photos matter more than fresh studio pictures. Fresh ink can look crisp, dark, and polished on every skin tone.
Healed work tells you how the artist handles real skin over time. Ask to see similar linework after healing, then listen to how the artist discusses touch-ups.
My own rule is simple: choose one visual anchor, one supporting detail, and enough open skin for both to remain readable. Maybe that’s a bold shell with one leaf.
Maybe it’s an ornate wing with restrained dotwork. You don’t need to force every meaningful symbol into one design.
Restraint is often the daring choice!
For a compact starting point, save these dainty ladybug tattoo ideas and compare them with your preferred placement. The strongest concept should still feel personal when you remove half the decoration.
The Questions Worth Answering First
How much does a Ladybug Tattoo Stencil usually cost?
A Ladybug Tattoo Stencil usually costs about $100 to $300 in the US. The final tattoo price depends on the artist, region, size, placement, and detail. Some studios charge a shop minimum of $50 to $100, while hourly rates often fall near $100 to $250.
Your quote should come from the studio after reviewing the design and placement. Don’t choose only by price. Clean linework, safe practice, and healed results can offer better value over time.
Are Ladybug Tattoo Stencil designs a good idea for a first tattoo?
Yes, a ladybug can be a meaningful first tattoo when you choose a tolerable placement and a readable design. Simple black ink gives you a clear starting point, while the upper arm, forearm, or shoulder may feel more manageable than a hand or sternum.
You’ll still want a consultation, especially if your idea includes tiny wings or lettering. Your artist can explain what will age well and what should be simplified before the stencil is applied.
How do I choose a tattoo artist for Ladybug Tattoo Stencil work?
Choose an artist whose portfolio shows clean linework, healed tattoos, and work on skin tones similar to yours. Artist portfolio quality matters more than a polished social-media post, so ask directly for healed examples during your consultation.
Look for fine-line or dotwork experience, clear hygiene practices, and consistent stencil placement. You should feel comfortable asking about needles, aftercare, touch-ups, and anatomy.
How much do Ladybug Tattoo Stencil designs hurt?
Pain varies, but ribs, feet, hands, and sternum are often more sensitive than the forearm, thigh, or shoulder. Sensitive placement doesn’t guarantee a bad experience. Your artist can suggest breaks and positioning.
You’ll usually manage the appointment better if you eat beforehand, drink water, and arrive rested. Your comfort matters. You don’t need to rush through the process.
How long does a Ladybug Tattoo Stencil take to heal?
The surface usually heals in about two to three weeks, while complete healing can take about two to three months. Healing time depends on placement, skin response, tattoo size, and aftercare.
You shouldn’t pick flakes or judge the final color too soon. Follow your artist’s instructions, since products and healing responses can differ.
What’s the best placement for Ladybug Tattoo Stencil work?
The forearm and upper arm are strong choices because they offer visibility, relatively tolerable sessions, and enough surface for crisp linework. Upper-arm placement also gives you more flexibility if you want delicate wings or botanical details.
You’ll want to consider friction, sun exposure, and how often you want to see the design. A placement that fits your daily life will feel more personal over time. For another idea, browse this ladybug tattoo stencil collection.
Where I’d Start First
If I had to pick one, I’d start with the minimal upper-arm ladybug. Its open spacing gives fine lines room to age without losing the spots or legs. Pin that design for later, then compare it with this ladybug tattoo design guide before booking your artist.
The final choice should fit your skin, schedule, budget, and tolerance for touch-ups. A personal tattoo doesn’t need endless detail.
It needs a clear idea, a skilled artist, and enough space for the design to stay legible. Trust the restraint!