Leave Saniderm on for 3 to 6 days for most tattoos. That’s the sweet spot. Leave it too short and you lose the protection; too long and you risk trapping bacteria in pooled fluid. Your artist put it on for a reason, they trust this stuff, but timing matters. Some pieces need the full six, others start peeling at day three and beg for air. Below, we’ll break down exactly how to read your own healing, what the fluid buildup means, and how to transition off the bandage without wrecking your fresh ink.
What Saniderm Actually Does Under There
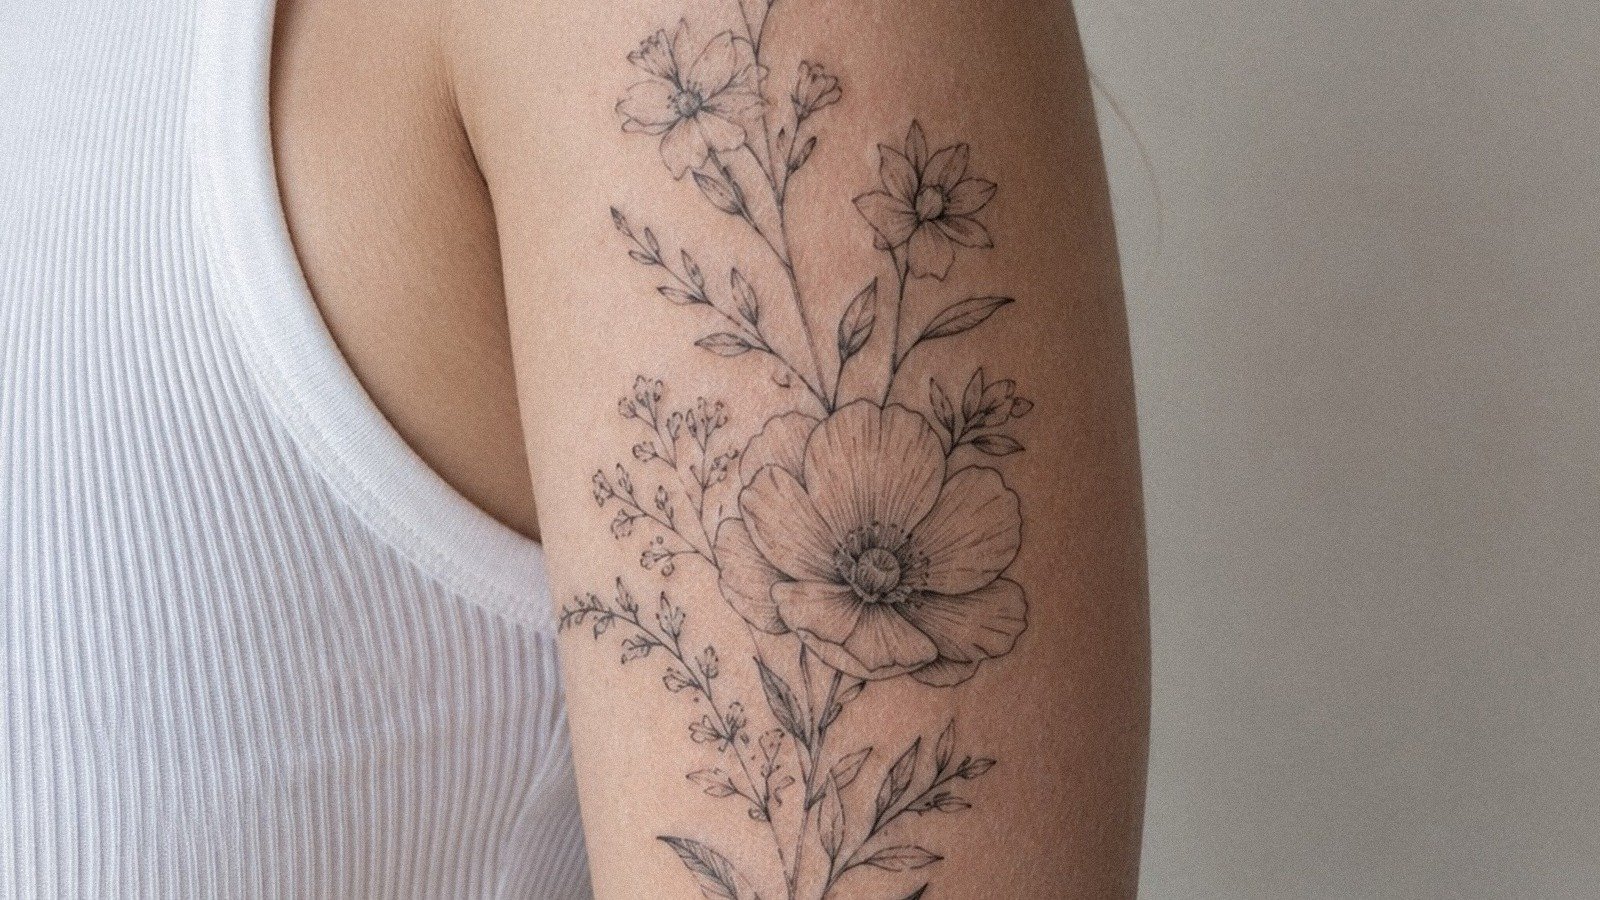
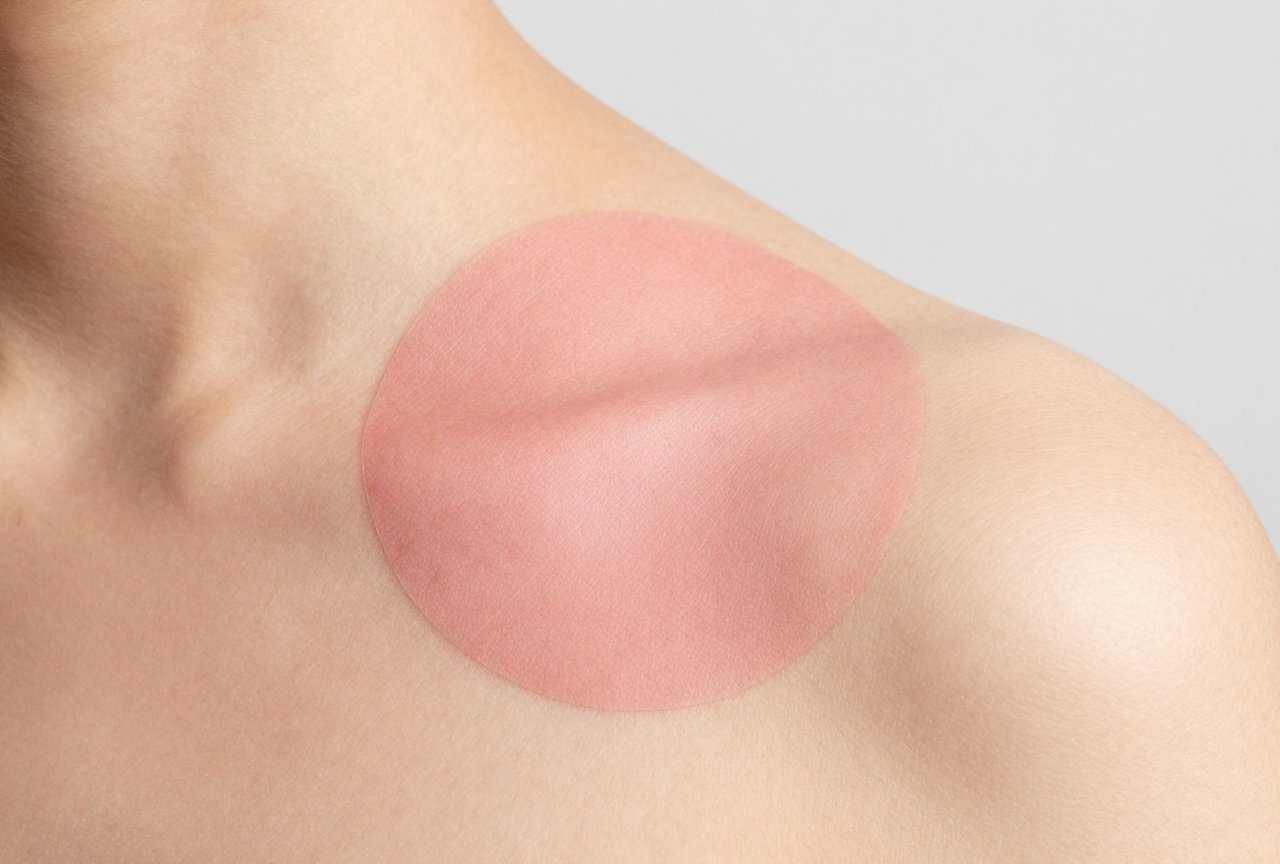
Saniderm is a medical-grade adhesive bandage, breathable but waterproof. It sticks to clean skin and creates a sealed environment so your tattoo can weep and flake without scabbing over like cracked mud. The plasma and excess ink stay contained, the skin stays hydrated, and you skip that horrible crusty phase where sheets stick to your arm at 3 AM.
But here’s the thing: it’s not magic. It’s a tool. And like any tool, you have to know when to set it down.
The Fluid You See Is Normal (Mostly)
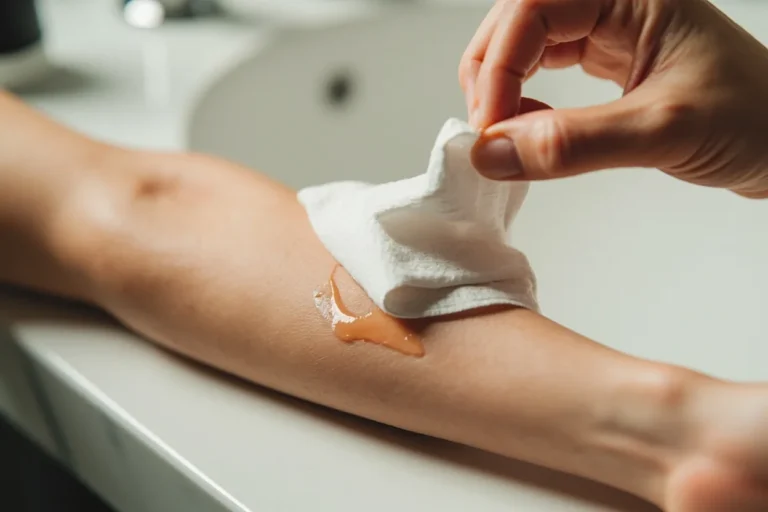
First 24 hours, you’ll see pooling, clear plasma, maybe some ink tint, sometimes a little blood. That’s your body doing its job. The bandage keeps it from drying into thick scabs that pull color out when they finally drop off. By day two or three, that fluid should start looking less dramatic. If it’s still gushing or getting murky, that’s your cue something’s off.
- Clear or light pink fluid: normal plasma weeping
- Dark ink tint: normal, especially with heavy blackwork
- Cloudy, yellow, or green: possible infection, call your artist
- Thick, foul-smelling: remove the bandage and get it checked
Why Artists Love It (And Sometimes Hate It)
Most artists switched to Saniderm-style bandages because clients used to absolutely butcher their aftercare. Too much lotion, too little, picking at scabs, soaking in hot tubs, Saniderm removes a lot of user error. But some old-schoolers still swear by dry healing or simple plastic wrap for the first night only. There’s no universal law here. Your artist’s specific instructions override anything you read online, including this guide. They did your piece. They know how deep they went, how much trauma the skin took, what their clients typically need.
Day-by-Day: When to Pull It Off
Here’s the honest breakdown from shop floors I’ve worked on and healed under myself.
Days 1-2: Leave It Alone
The bandage went on clean, ideally right after the tattoo was wiped down. Don’t peel corners to “check.” Every time you break that seal, you invite bacteria in and adhesive residue gets harder to clean. Sleep on clean sheets, avoid pets rubbing against it, and don’t let shower spray blast directly at the edge. Water under the bandage is bad news.
If your artist used a second piece, some swap the first bandage after 24 hours because that initial weeping soaks through, you’ll get fresh protection for the remaining days. Not everyone does this. Ask during your session if you’re unsure.
Days 3-4: The Decision Window
This is where most people remove. The fluid has slowed or stopped. The edges of the bandage might start lifting from normal movement, inner bicep tattoos are notorious for this, ditto anything near joints. If the seal is compromised, bacteria can creep in, and the bandage becomes a liability. Peel it slowly, in the shower if possible, letting warm water loosen the adhesive. Don’t rip it like a Band-Aid off a knee scab. Your fresh tattoo skin will thank you.
Days 5-6: The Extended Stay
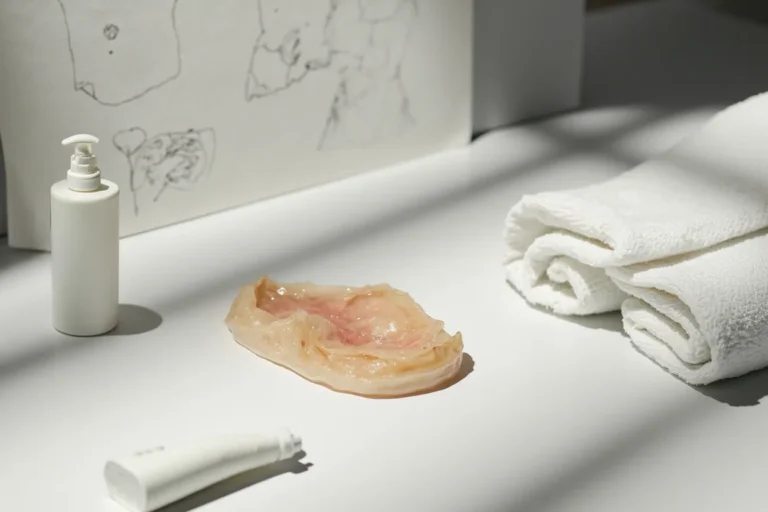
Some artists, especially for large pieces with heavy saturation, recommend the full six days. Color packing, solid black fills, or anything with significant skin trauma benefits from longer protection. But, and this matters, you need to check that the bandage isn’t trapping old fluid against the skin. Sniff test. Visual check through transparent edges. If anything smells off or looks angry, get it off early and switch to traditional aftercare.
- Small, simple linework: often fine at 3 days
- Medium color pieces with moderate saturation: 4-5 days typical
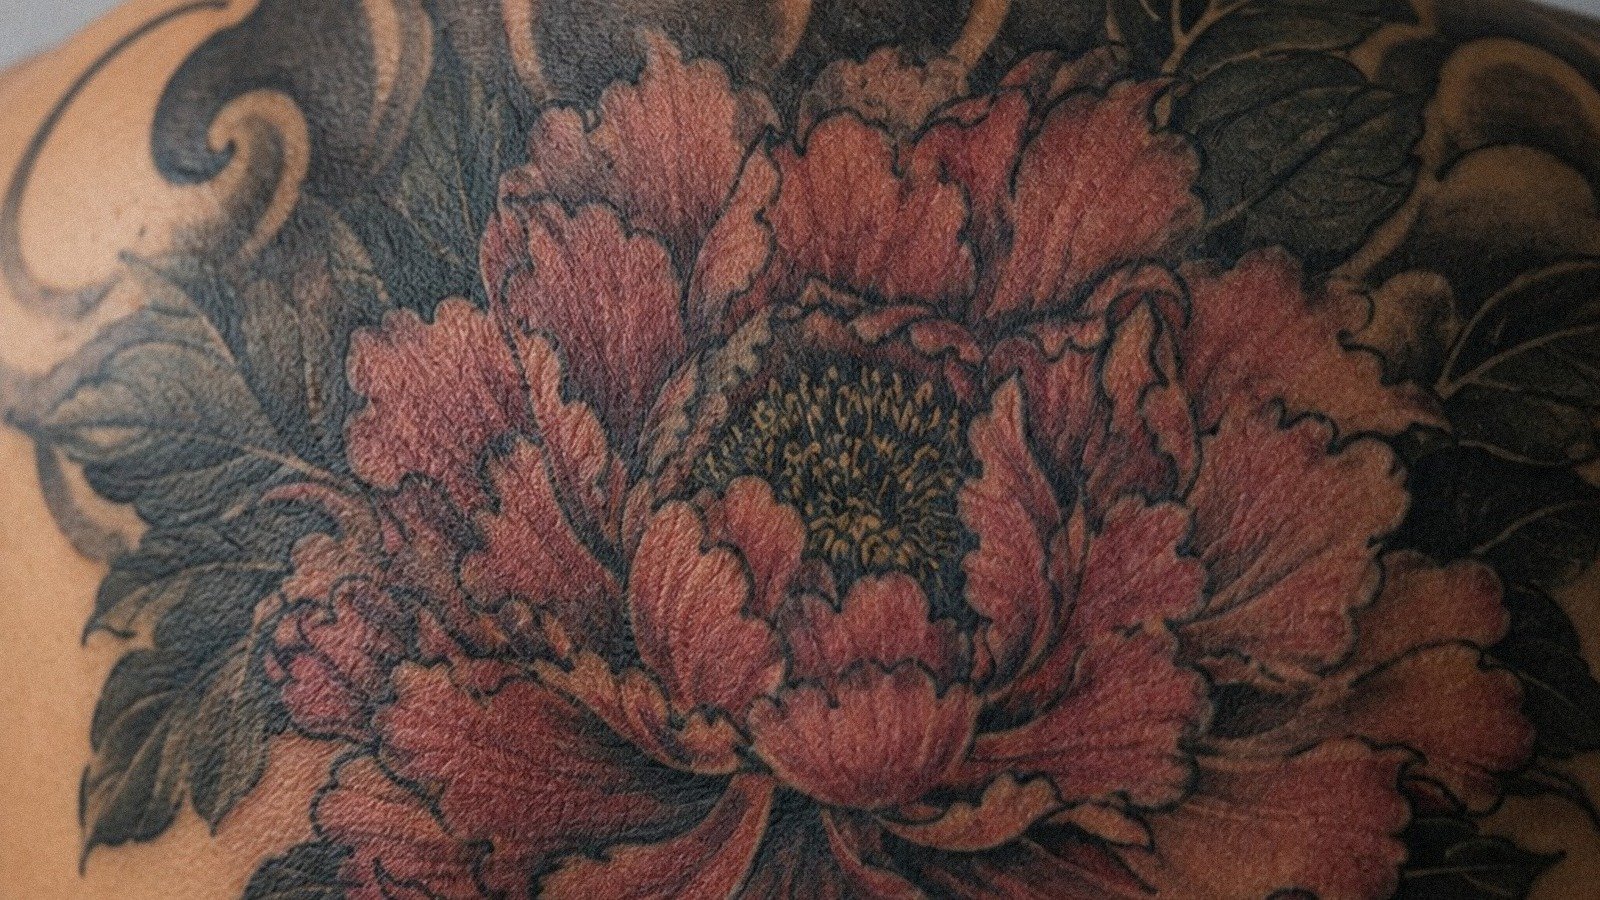
- Heavy black and grey, large scale, or dense color packing: 5-6 days
- Compromised seal at any point: remove immediately, don’t wait
How to Remove It Without Damaging Your Tattoo
I’ve seen people tear fresh color out because they yanked dry adhesive off dry skin. Don’t be that person.
Get in the shower. Let warm water run over the bandage for several minutes. Not hot, hot water opens pores and can push bacteria around, plus it stings like hell on fresh work. Warm is enough. Start peeling from a corner, slowly, keeping the skin taut with your other hand. If resistance happens, more water. If adhesive residue stays behind, a gentle, fragrance-free soap helps. Pat dry with a clean paper towel, never rub.
After removal, your tattoo will look a little dull, maybe slightly wrinkled. That’s normal. It just spent days in a humid little greenhouse. Let it air out for an hour before applying any aftercare product if your artist recommends lotion. Some prefer you wait until the next day. Again, artist instructions first.
What Happens If You Leave It Too Long
Seven days, eight days, “I forgot about it”, I’ve heard it all. The bandage isn’t meant to be a second skin permanently. Extended wear risks:
- Maceration: skin gets waterlogged, soft, fragile
- Trapped bacteria in old fluid with no escape route
- Adhesive irritation or allergic reaction from prolonged contact
- Delayed peeling phase because the skin didn’t breathe
I’ve had clients come back with perfect tattoos under five-day Saniderm, and others with irritated, blotchy healing from ten-day wear. The bandage didn’t fail. The timing did.
After Removal: The Next Phase
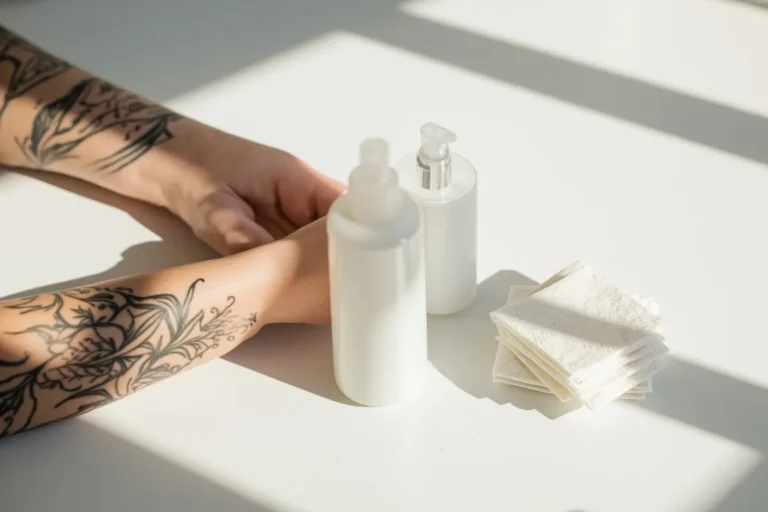
Once Saniderm is off, you’re not done. You’re just done with the easy part. The tattoo will likely start flaking within a day or two. Light, unscented lotion, think plain Lubriderm, nothing with fragrance or fancy additives, applied thinly, 2-3 times daily. Your artist might recommend a specific balm. Use that if they do.
No soaking. No swimming. No gym friction against the fresh piece. That means no bench pressing with a fresh chest piece, no yoga mats rubbing your new back work. I’ve watched people lose hours of detail because they couldn’t skip leg day for two weeks. The gym will be there. Your crisp lines won’t be, if you abuse them early.
Key Takeaways
- 3-6 days is the standard range; most remove at 3-4
- Remove early if the seal breaks, fluid looks wrong, or you smell something off
- Shower removal, slow peeling, warm water, never dry yanking
- Your artist’s specific instructions beat any general guide
- After removal: thin lotion, no soaking, protect from friction and sun
- Saniderm is protection, not a miracle, timing and attention still matter
Healing a tattoo is mostly boring patience punctuated by moments of wanting to scratch. Saniderm makes the boring part easier, but only if you respect the timeline. Trust what you see, trust what you smell, and when in doubt, send your artist a photo. They’d rather answer a quick text than fix a botched heal six months later.
Related Tattoo Guides
- How to Apply Temporary Tattoos That Actually Look Real
- How to Draw Temporary Tattoos That Actually Look Real
- How to Get Started as a Tattoo Artist: A Real Guide
- Explore more
Frequently Asked Questions
How long should I leave Saniderm on my new tattoo for the first time?
Leave the first Saniderm application on for 24 hours. If your artist used a second piece, that can stay on for up to 6 days.
Can I leave Saniderm on for more than a week?
No, you should not exceed 7 days total. Leaving it on too long can trap bacteria and cause infection.
Should I remove Saniderm if my tattoo bleeds or oozes a lot underneath?
Yes, remove it early if excessive fluid pools under the film. Clean the tattoo and apply a new piece, or switch to traditional aftercare.
Can I shower with Saniderm on?
Yes, Saniderm is waterproof and designed to be worn while showering. Avoid soaking in baths, pools, or hot tubs until the tattoo is fully healed.