Short answer: you shouldn’t use a cheap Amazon tattoo gun on human skin until you’ve put in serious hours on practice skin, fruit, or pig skin, learned bloodborne pathogen safety, and understand that these machines are starter tools with real limitations. I’ve watched too many eager beginners rush from unboxing to skin and leave scars, blown lines, or infections. This guide covers how to actually use that machine you bought, safely, realistically, and with respect for the craft.
What You’re Actually Holding
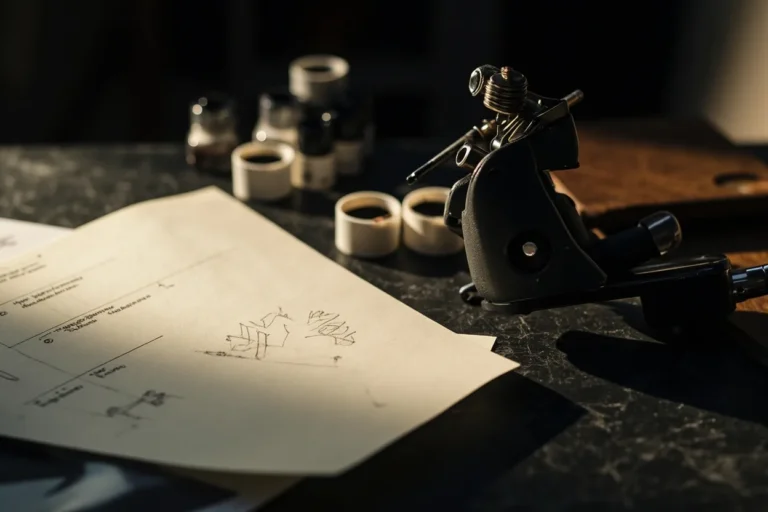
Most Amazon tattoo “guns” are rotary machines or cheap coil kits running $30 to $150. They’re mass-produced, often with inconsistent motors, wobbly needle bars, and power supplies that fluctuate. I’ve had apprentices show up with these. Some can learn basic fundamentals; others vibrate so badly they blur lines before the needle even touches skin.
Rotary vs. Coil on a Budget
Rotary machines are quieter, lighter, and easier for beginners to handle. They run on a single moving part, an electric motor spinning a cam that pushes the needle. Cheap coils use electromagnetic circuits to hammer the needle down. Coils hit harder, which can help with lining but also chew skin if your hand speed is off. Most Amazon kits are rotary now, which is honestly better for learning. The weight won’t cramp your hand as fast.
What’s in the Box (and What’s Missing)
- Machine and grip (often plastic or cheap aluminum)
- Power supply with foot pedal and clip cord
- Assorted needles, usually in mixed sizes with questionable sterility
- Ink bottles that may or may not be legitimate brands
- Practice skin (thin rubbery sheets, not great but usable)
- Gloves, sometimes, check the expiration date
What’s missing: an autoclave, proper barrier film, real stencil paper, quality ink from known manufacturers, and most critically, the knowledge that these needles should be pre-sterilized with EO gas and in intact pouches. I’ve opened kits where the “sterile” needles were loose in a bag. That’s not sterile.
Setting Up Without Ruining Someone
First, clear a clean workspace. Not your kitchen table where you eat. Not a bathroom. I set up on a surface I can wipe down with disinfectant, with nothing else on it. Cover everything in barrier film, your power supply, your ink bottles, anything you might touch mid-tattoo.
Needle Depth: The Make-or-Break Number
Your needle should extend about 1.5 to 2 millimeters from the tube tip. That’s roughly the thickness of a nickel. Too shallow and the ink falls out during healing. Too deep and you blow out the line into a fuzzy mess, or worse, damage tissue. I tell every apprentice: start shallow, check your work, adjust. On practice skin, you’ll see the needle dragging pigment. On real skin, you feel a slight resistance, like scratching sunburn. If you see blood pooling immediately, you’re too deep or too slow.
Voltage and Hand Speed
Start around 6 to 8 volts for lining. The machine should buzz steadily, not sputter or scream. Your hand moves at a consistent pace, too fast and the needle skips, leaving gaps; too slow and it overworks the skin, causing scabbing and ink loss. I practice straight lines on practice skin until my hand moves at the same rhythm as the machine’s hit rate. It’s like learning to dance with a partner who never changes tempo.
Practicing Before You Touch Skin
This is non-negotiable. I don’t care how artistic you are with a pencil. Tattooing is mechanical, physical, and unforgiving. I spent my first three months on pig skin from the butcher, then grapefruit, then synthetic practice skin. Pig skin is closest to human, it’s thick, has some give, and you can see how ink sits. Grapefruit teaches you about needle depth because the skin is thin and tears easily.
What to Practice First
- Straight lines: parallel, consistent, no wobble
- Circles and ovals: smooth curves without hesitation marks
- Parallel shading: whip shading, pendulum shading, building tone gradually
- Lettering: the ultimate test of consistency
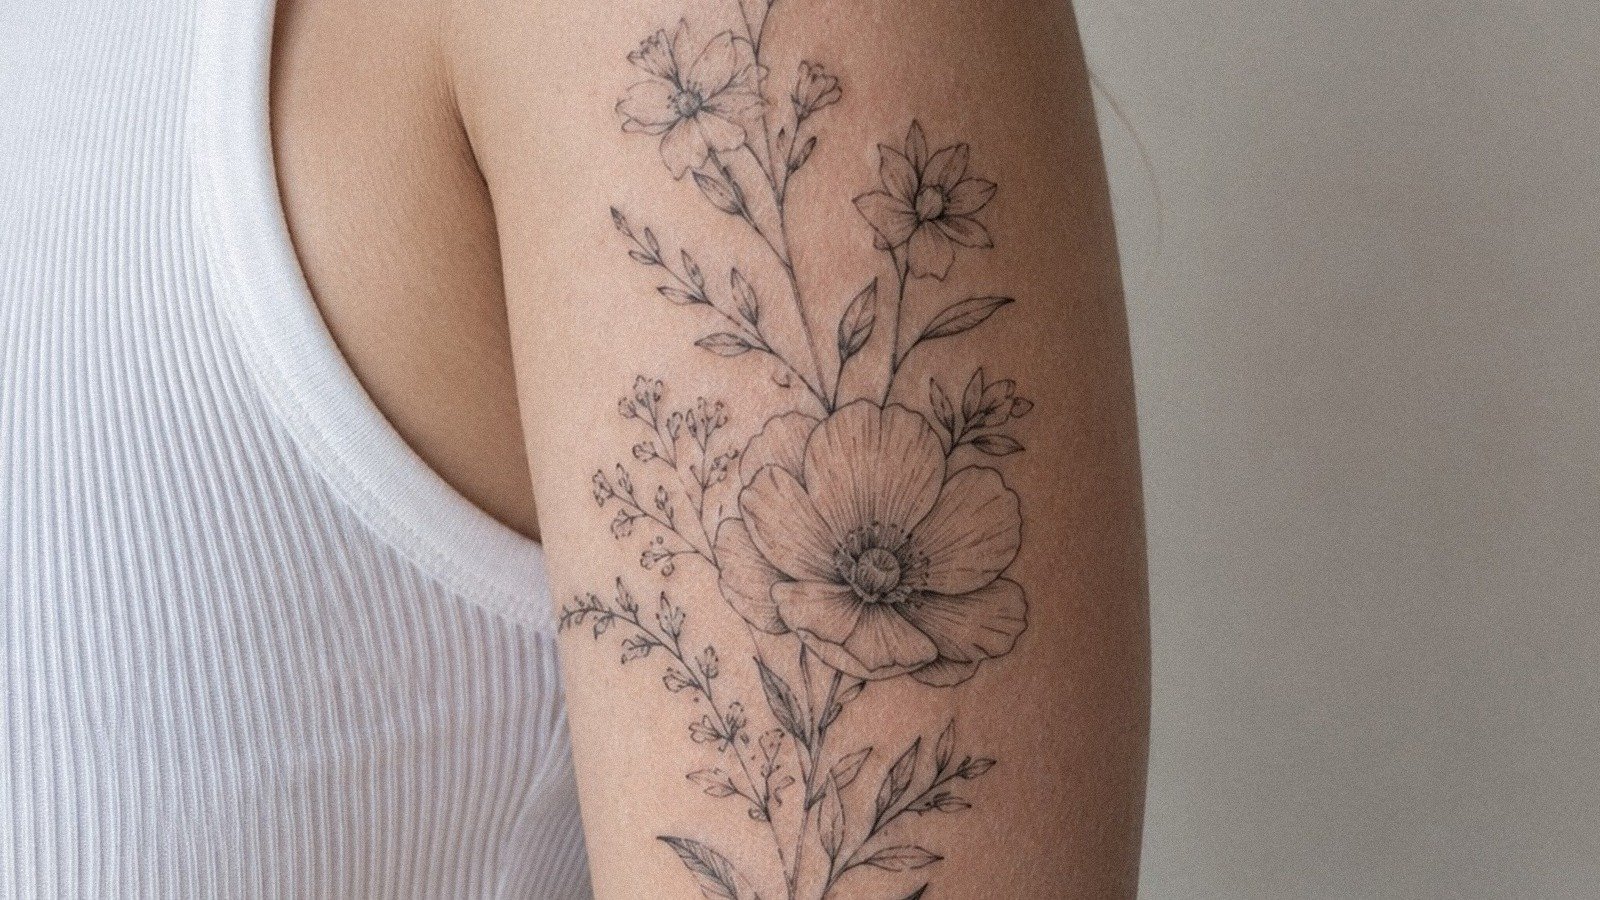
Most people quit here. The ones who don’t quit are the ones who should eventually tattoo humans. There’s no shortcut. I’ve seen portfolios of 50 “practice tattoos” on friends that look worse than my first month on fruit. Be honest with yourself.
The Real Talk on Safety
I’m not a doctor, but I’ve been in shops where artists got hepatitis, and I’ve seen infections that required hospital visits. Cross-contamination is invisible until it’s not. Assume everything is contaminated. Your phone, your drink, the doorknob. Wash hands, glove up, work, then break down your barrier and disinfect.
Needle Safety
Never, ever reuse a needle. Not on yourself, not on practice skin then a human. Needles go in a sharps container immediately after use. If your kit didn’t come with one, buy a proper biohazard container. I’ve watched people toss used needles in trash bags where they poke through and stick housemates. That’s how diseases spread.
Ink and Skin Reactions
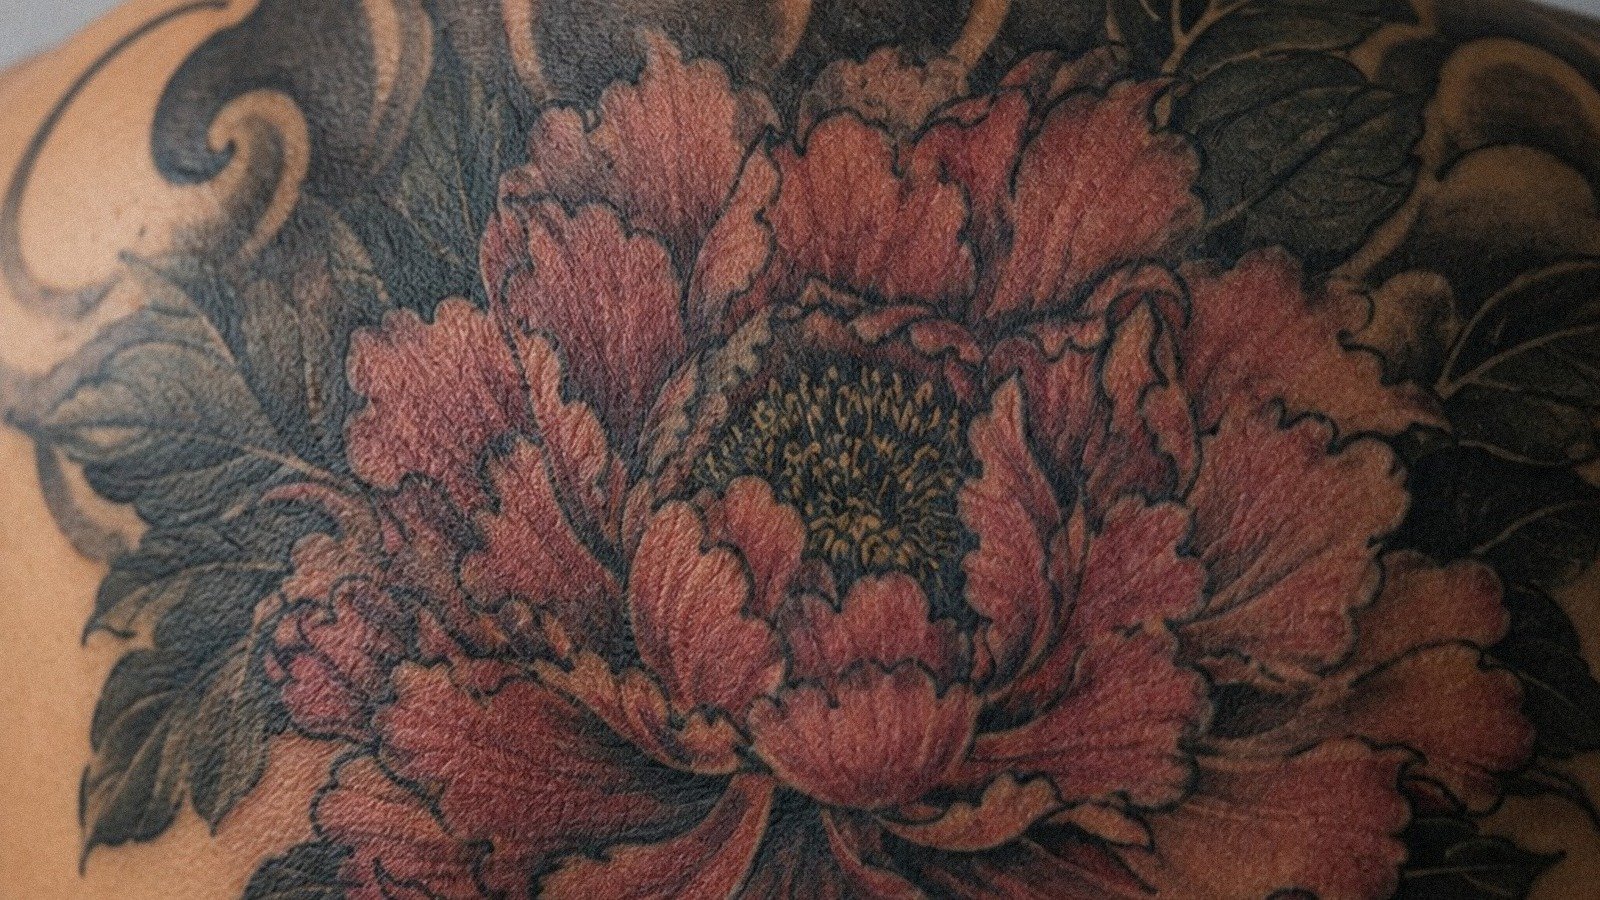
Budget ink can be unpredictable. Some Amazon kit inks are counterfeit or unregulated. I’ve seen allergic reactions, raised scars, and ink that just disappears in weeks. If you’re practicing on yourself or others, use known brands, Eternal, Intenze, Fusion, Dynamic. They cost more because they’re actually tested. That $5 bottle with no brand name? I wouldn’t put it in my enemy.
Understanding the Limitations
Here’s what nobody selling these kits admits: you will not produce professional work with a $50 machine. Period. I’ve been tattooing fifteen years, and I can’t make a cheap Amazon rotary do what my $900 custom coil machine does. The difference is in motor consistency, needle stability, and how the machine responds to skin resistance.
What you can do: learn fundamentals. Build hand speed. Understand how ink flows into skin. Develop an eye for clean lines. Then, when you upgrade equipment, your skill transfers. I’ve watched apprentices struggle for months on cheap machines, switch to quality gear, and improve dramatically in weeks because they weren’t fighting their tools anymore.
When to Stop and Get Proper Training
If you’re serious about tattooing, find an apprenticeship. Real shops don’t teach you technique from YouTube; they teach you sanitation, client interaction, how to fix mistakes, and how to build a career. Most states require apprenticeships for licensing anyway. The Amazon kit is a curiosity, maybe a very preliminary step. It’s not a substitute for structured learning. I’ve had to cover up too many “my friend bought a kit” tattoos to pretend otherwise.
Healing and Aftercare Basics
If you do tattoo someone, legally, with proper training, aftercare determines whether your work lives or dies. I give every client the same instructions: wash gently with unscented soap, pat dry, thin layer of recommended ointment or plain lotion, no soaking, no sun, no picking scabs. The first three days are critical. A tattoo can look perfect out of the chair and heal terribly if the client sleeps on it dirty or goes to the gym and sweats into fresh wounds.
With cheap Amazon ink and heavy-handed work, healing is worse. Overworked skin scabs thick, peels in chunks, and loses ink. I’ve seen tattoos that needed complete rework because the artist went too deep, too slow, with poor ink. Your machine matters, but your technique matters more.
Key Takeaways
Your Amazon tattoo gun is a starting point, not a destination. Learn on practice materials until your lines are clean and your shading is smooth. Prioritize safety over speed, sterile needles, barrier protection, and proper disposal aren’t optional. Understand that budget equipment has hard limits; upgrade when your skill outpaces your tools. And seriously consider formal apprenticeship if tattooing humans is your goal. The craft deserves respect, and so does every person who sits in your chair.
Frequently Asked Questions
How long should I practice before tattooing real people?
Most apprentices need 3-6 months of consistent practice on non-human skin before touching people. I worked on pig skin daily for four months before my mentor let me do a small tattoo on a willing friend. Your lines should be consistently straight and your shading even before human skin becomes an option.
Why does my Amazon tattoo gun keep skipping or sticking?
Cheap machines often have inconsistent motors or bent needle bars. Check that your needle is seated properly in the tube, that the rubber bands or O-rings aren’t worn, and that your voltage is steady. Sometimes the issue is simply the machine’s quality ceiling, no adjustment fixes a failing motor.
Can I use regular drawing ink or pen ink in a tattoo gun?
Absolutely not. Drawing ink and pen ink contain chemicals and pigments not designed for subcutaneous use. They can cause severe allergic reactions, infections, and permanent scarring. Only use professional tattoo pigments from established manufacturers.
What’s the difference between lining and shading needles on these kits?
Lining needles are grouped tightly in a round configuration, usually 3, 5, 7, or 9 needles soldered together. Shading needles are often flat or magnum configurations, spread wider to cover area. The kit’s paperwork should indicate which is which, but when in doubt, look at the tip: tight round for lines, wider spread for shading.