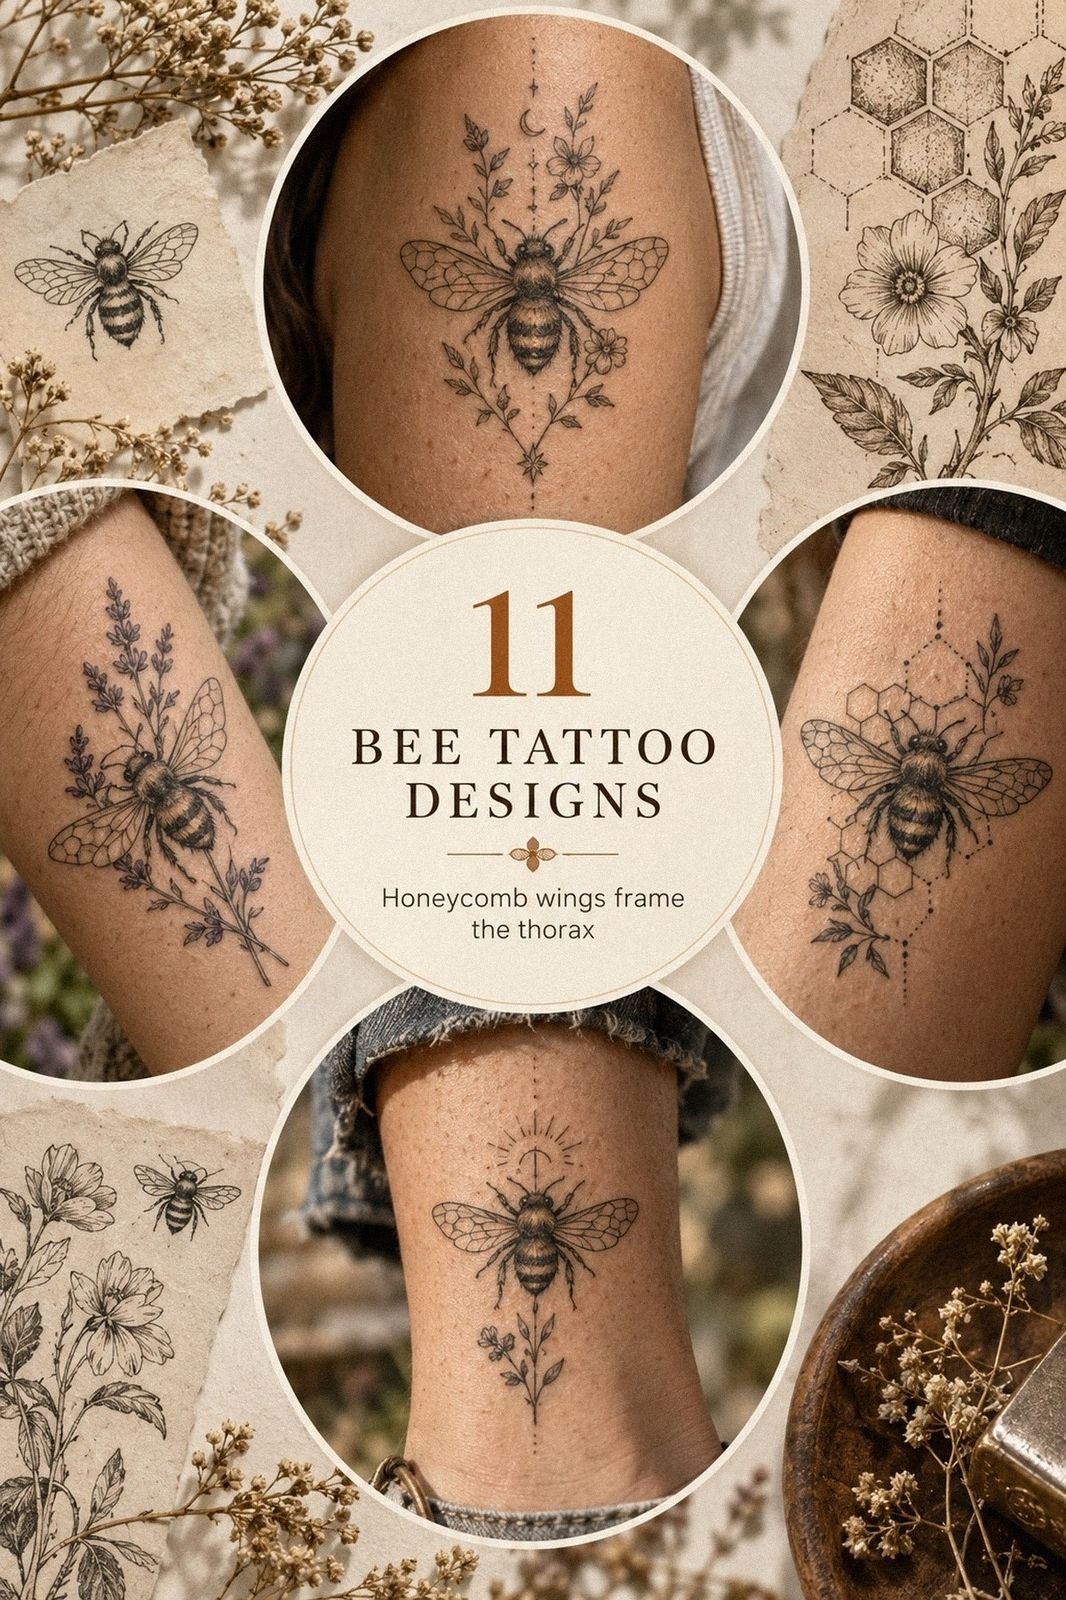
Bee tattoo design works best when you plan the symbol, line weight, placement, and healing before you book. I’ve seen delicate ideas lose their crisp shape because the design was too small or the placement fought the body. This guide gives you 11 practical steps, from the first sketch to healed aftercare. A clear plan makes the appointment feel worth the cost. Start with meaning!
- Start with a Symbolic Bumblebee Tattoo Concept: The Meaning Anchor
- Pick Fine Line Bee Tattoo Details
- Place Floral Bee Tattoo Along Your Forearm
- Choose Bold Stripes for a Bumblebee
- Plan a Graceful Bee Sleeve Tattoo
- Keep Honeycomb Geometry Crisp and Sharp: The Hexagon Rhythm
- Match Wing Linework to Your Style
- Add Meaningful Wildflowers Around the Bee
- Balance Dainty Details with Strong Contrast
- Consider Pain Levels Before Choosing Placement: The Pain-Placement Matrix
- Protect Intricate Ink During Tattoo Healing
1Start with a Symbolic Bumblebee Tattoo Concept: The Meaning Anchor
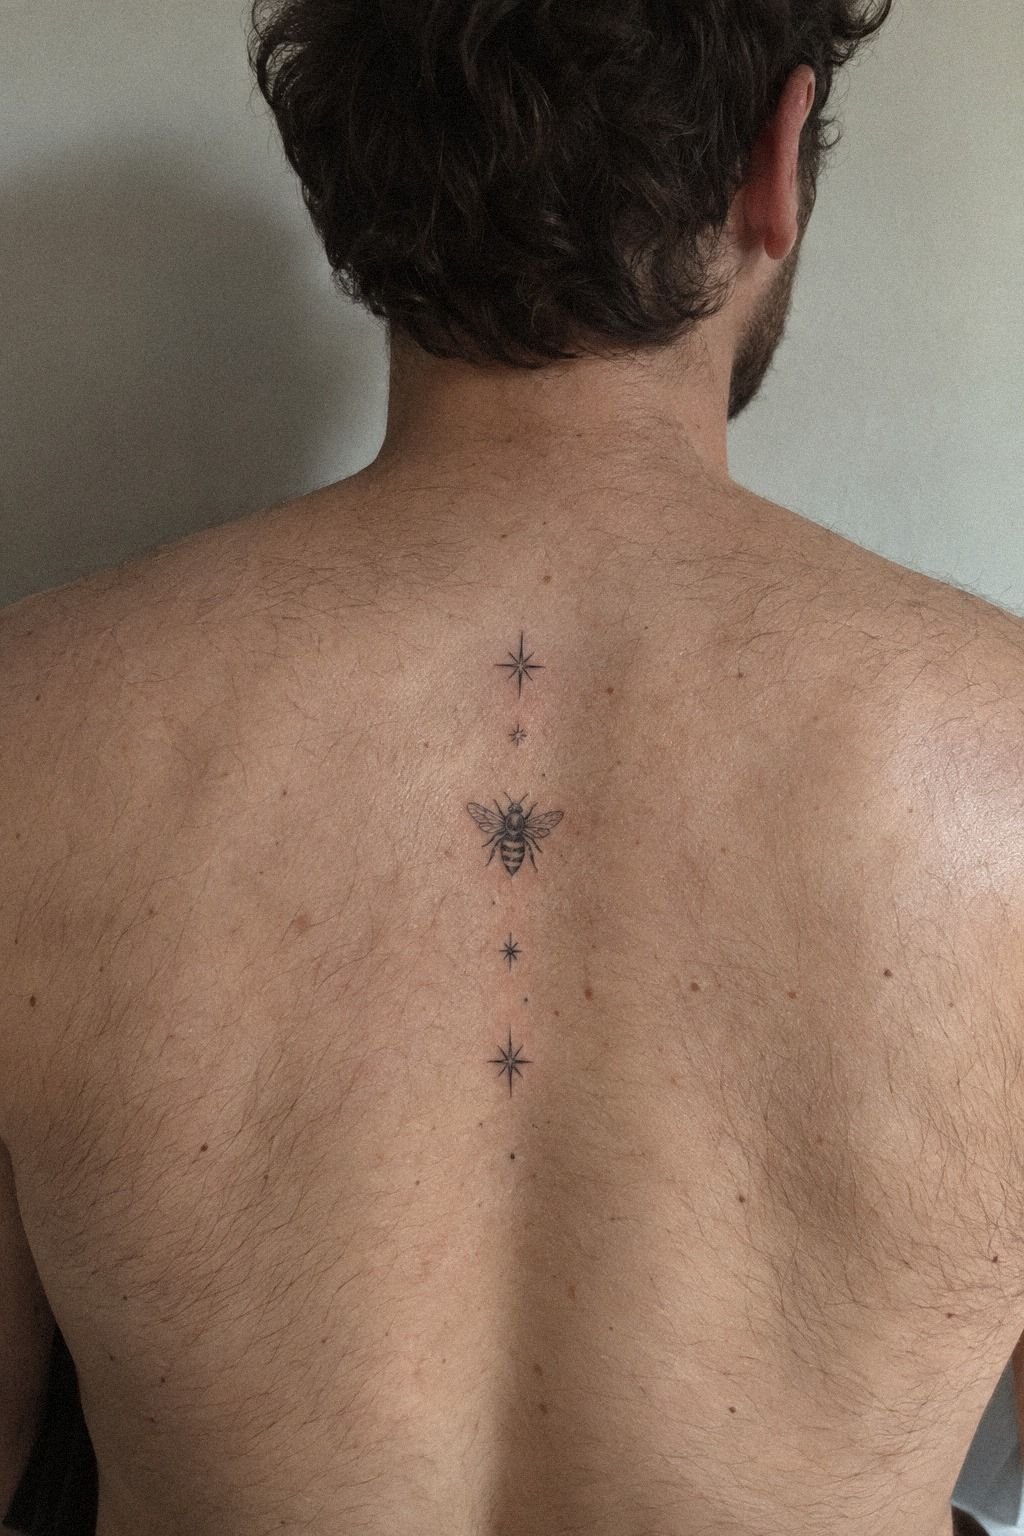
Begin with the feeling you want your bee tattoo to carry. A bee can suggest community, effort, resilience, devotion, or a personal connection to nature. You’ll make better design choices when you know whether your idea should feel symbolic and personal or more decorative and whimsical.
For a spine placement, small stars around the design can create a quiet constellation effect. I’d keep those stars crisp and varied in size, with one central bee mark and enough open skin between each point. Your design shouldn’t become a crowded sticker.
Think about scale before your artist redraws it. A tiny bee with several wing veins may blur as it ages, while a slightly larger outline can stay sharp and readable. You’ll want your artist to show you the stencil on your body first.
I’d skip adding five unrelated symbols just because they look ornate on paper. The stars already give the concept movement. If you add initials, dates, or flowers, you’re asking your tattoo to tell too many stories at once.
For more visual planning, compare your idea with these unique tattoo design drawings and save the references that still feel meaningful after a few days. That pause matters. Your bee should feel personal, not borrowed.
Trust that pause!
2Pick Fine Line Bee Tattoo Details
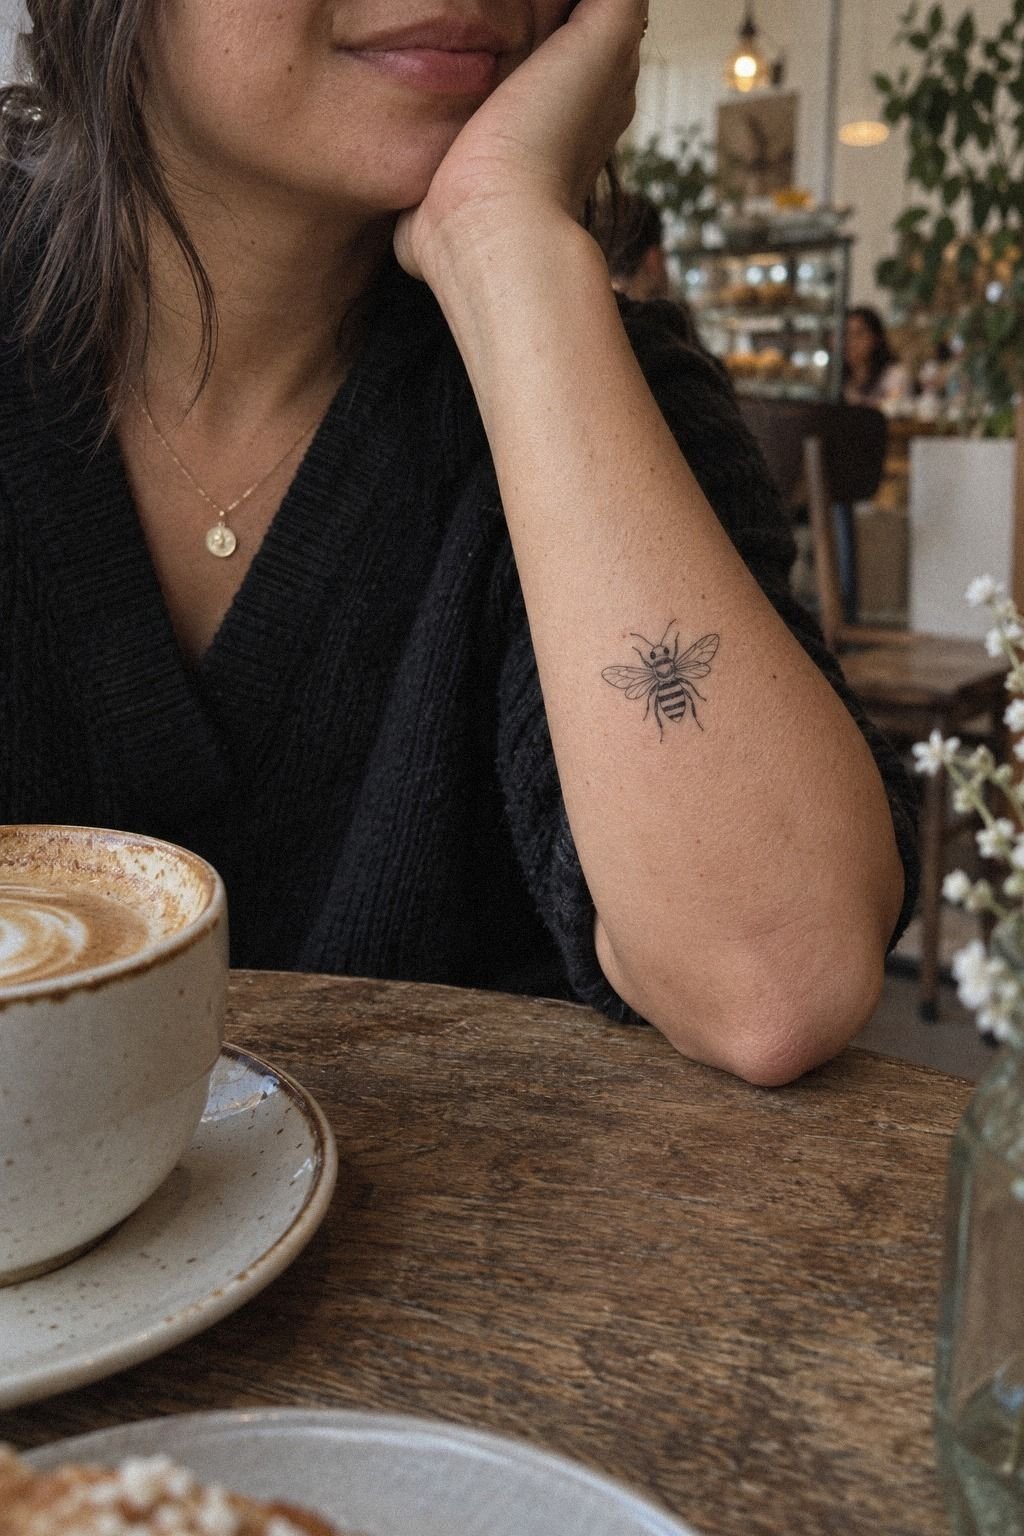
For the inner forearm, choose hair-thin single-needle lines that describe the bee without filling every space. The design should use a clean single-needle linework approach, so your wings, body, and antennae stay distinct without becoming tangled.
You’ll need to decide which details deserve ink and which should remain skin. I’d keep the abdomen stripes slightly darker than the wings, because that contrast helps your eye identify the bee from a distance. The result can feel delicate without becoming faint.
Ask your artist to show you the smallest planned detail at the size it will be tattooed. A wing with six tiny interior marks may look intricate on a tablet but become muddy on skin. I made that mistake once with a small botanical tattoo, and the extra lines gave the piece less clarity.
Your artist’s portfolio should include healed examples, not only fresh photographs. Look for clean spacing, even curves, and edges that still feel polished after the skin has settled. You can also browse a tattoo outline drawing stencil design for sketch references before your consultation.
If you’re choosing a fine line bee because you want something understated, say that plainly. Your artist can remove unnecessary marks instead of guessing. A restrained design often offers better value than one packed with details you’ll barely see later.
3Place Floral Bee Tattoo Along Your Forearm
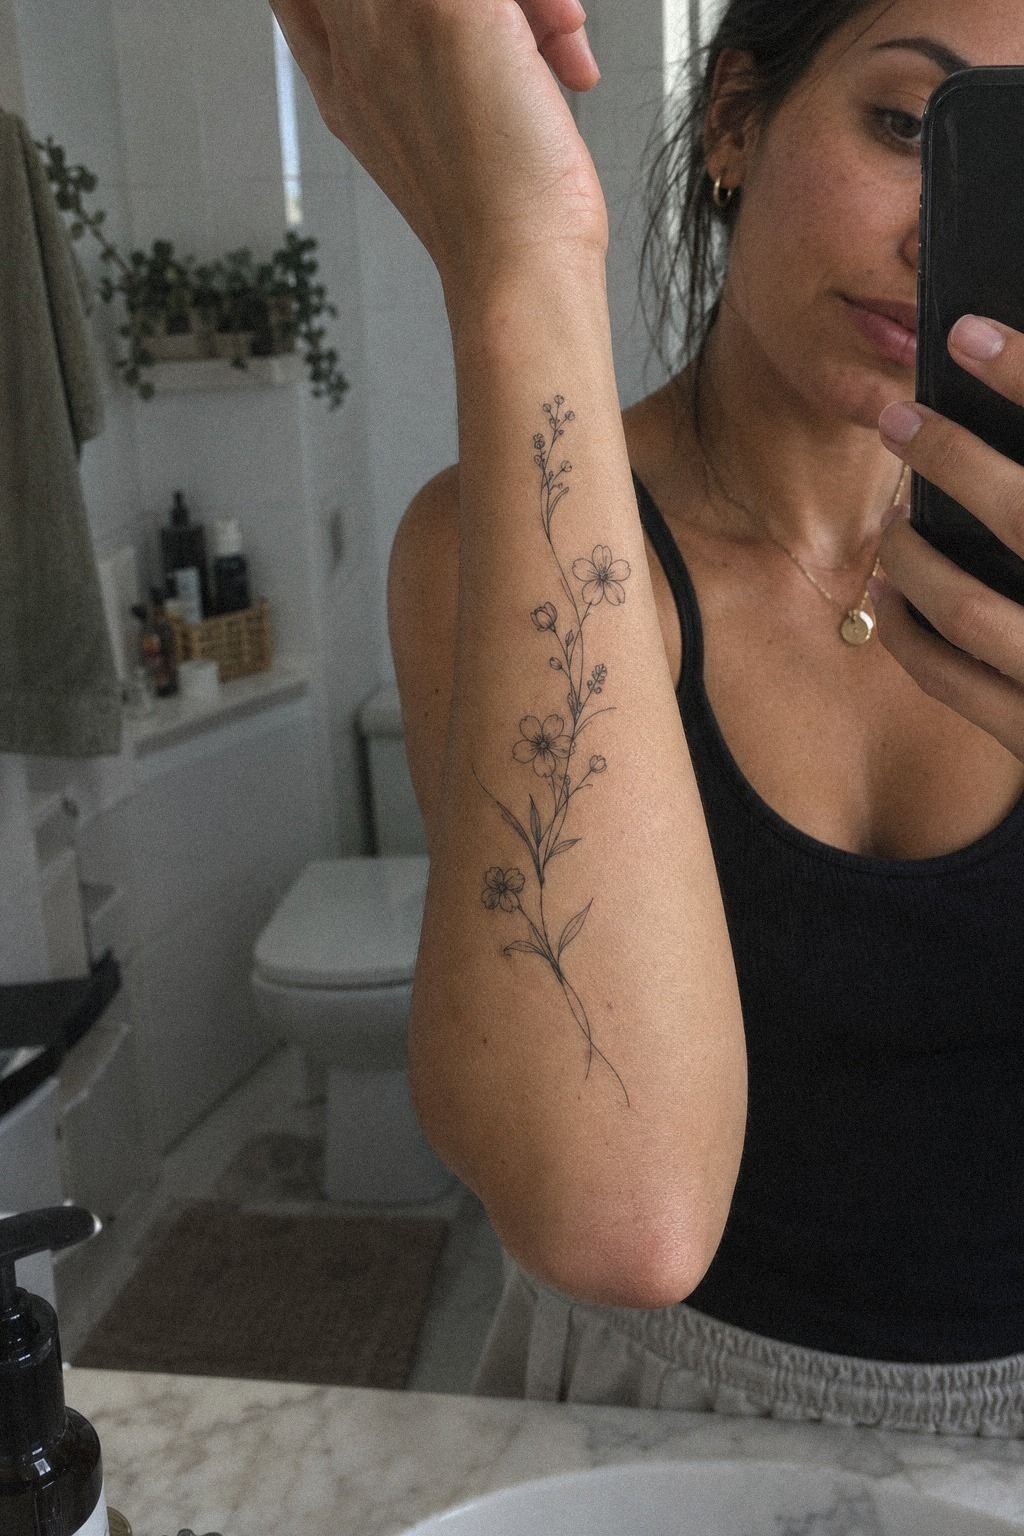
Use the forearm’s natural length to guide the floral bee tattoo.
4Choose Bold Stripes for a Bumblebee
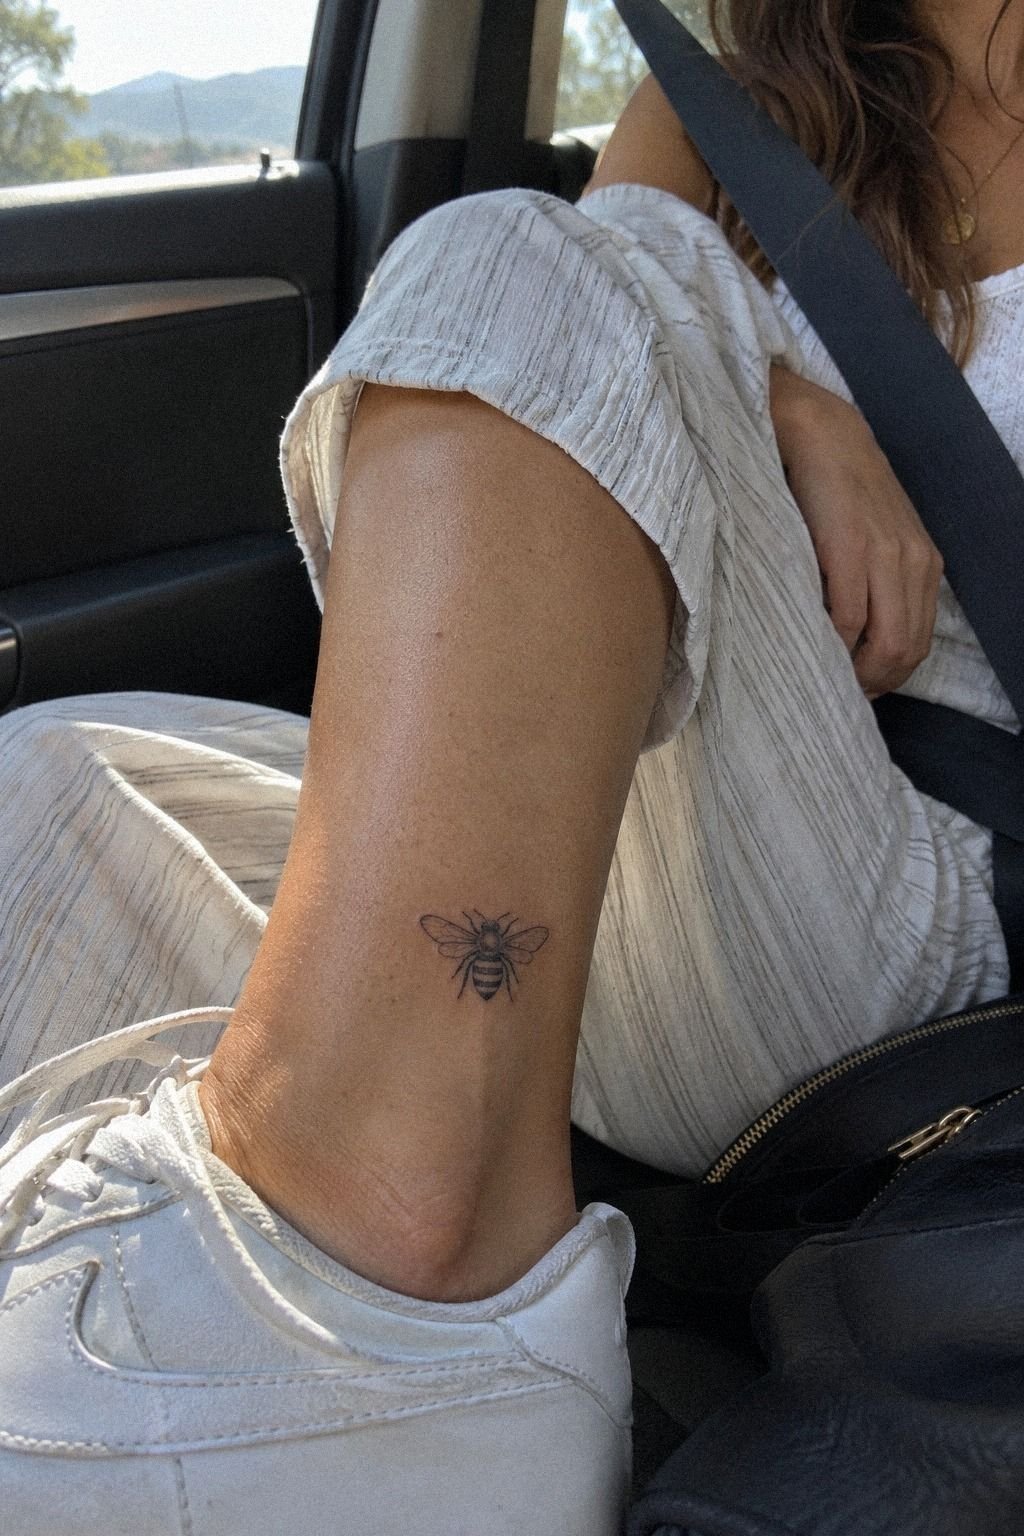
To make your bumblebee readable, give the abdomen two or three confident stripe areas rather than sketching every hair. Your contrast should feel bold, not crowded.
I’d use black ink for the body and leave the wings open. That combination gives you a striking silhouette while preserving the lightness of the design. A filled body also tends to read more clearly from a few steps away.
Placement matters because the ankle bends, rubs against socks, and sees frequent movement. You’ll want the stencil positioned above the strongest crease rather than directly inside it. Ask your artist how the design will sit when your foot is relaxed.
For a little more character, your artist can make one stripe slightly narrower or angle the wings outward. Keep the changes controlled. A bumblebee can look fierce with only a few strong marks, while extra embellishment may make it feel edgy in a way you didn’t intend.
You can compare this approach with a queen bee tattoo if you want a more emblematic direction. I’d still choose the simpler ankle version for a first small piece.
It’s easier for your eye to read, and your artist can place it with more precision. Ask about the total price before booking. Keep it readable!
5Plan a Graceful Bee Sleeve Tattoo
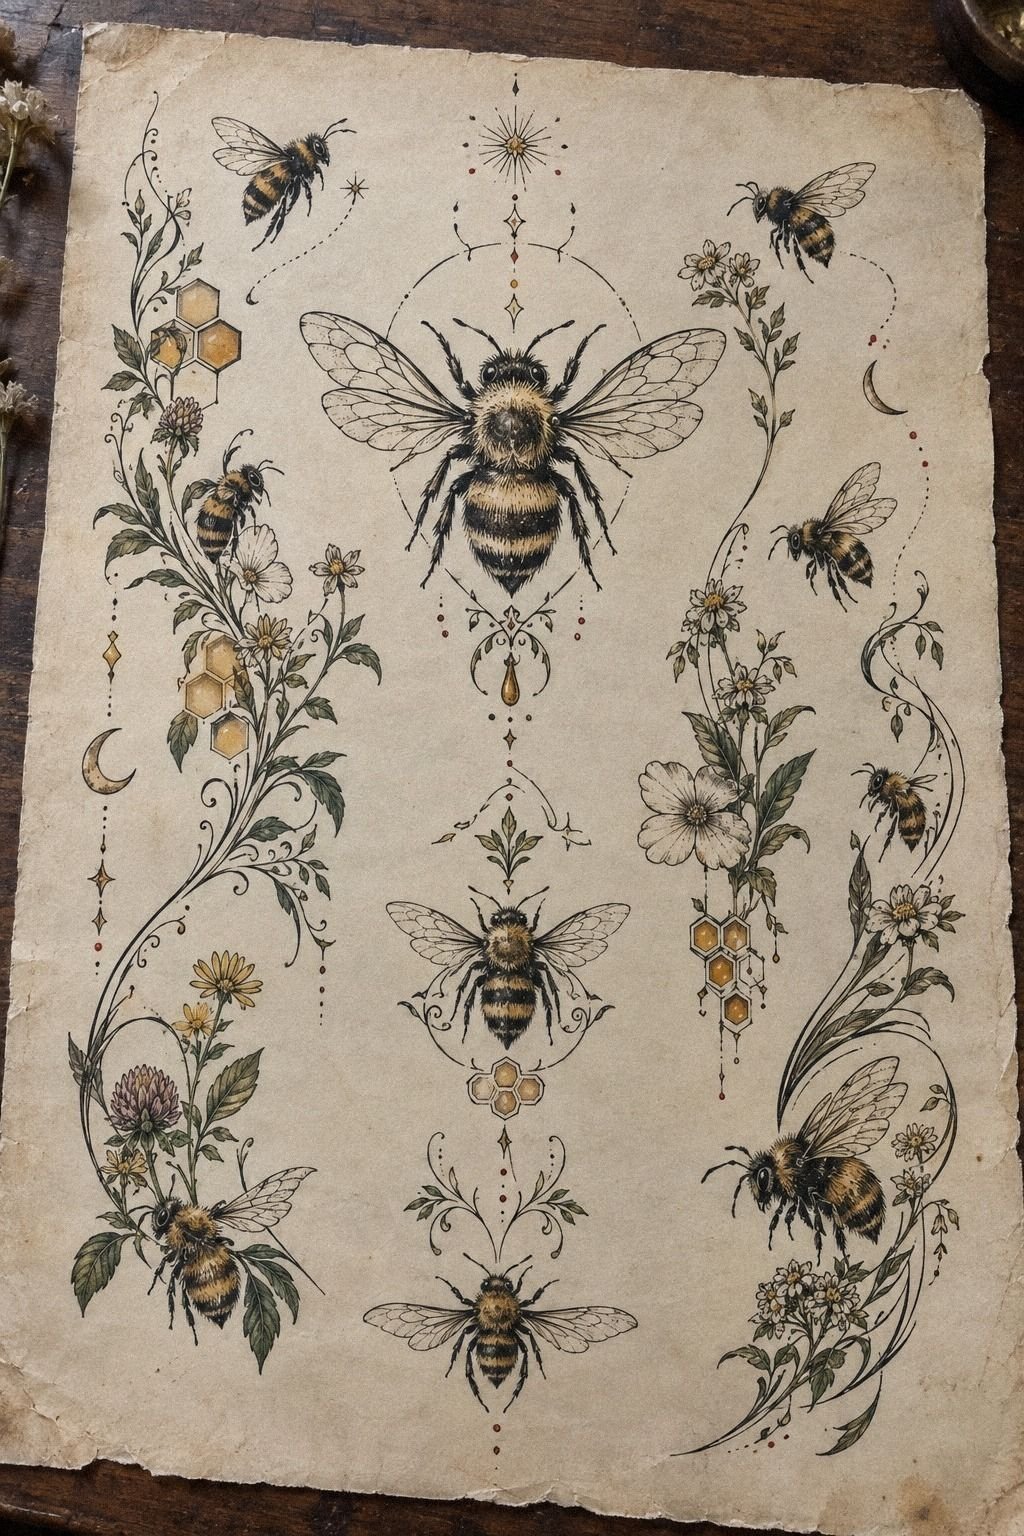
A sleeve needs a sequence, not eleven unrelated bee sketches.
6Keep Honeycomb Geometry Crisp and Sharp: The Hexagon Rhythm
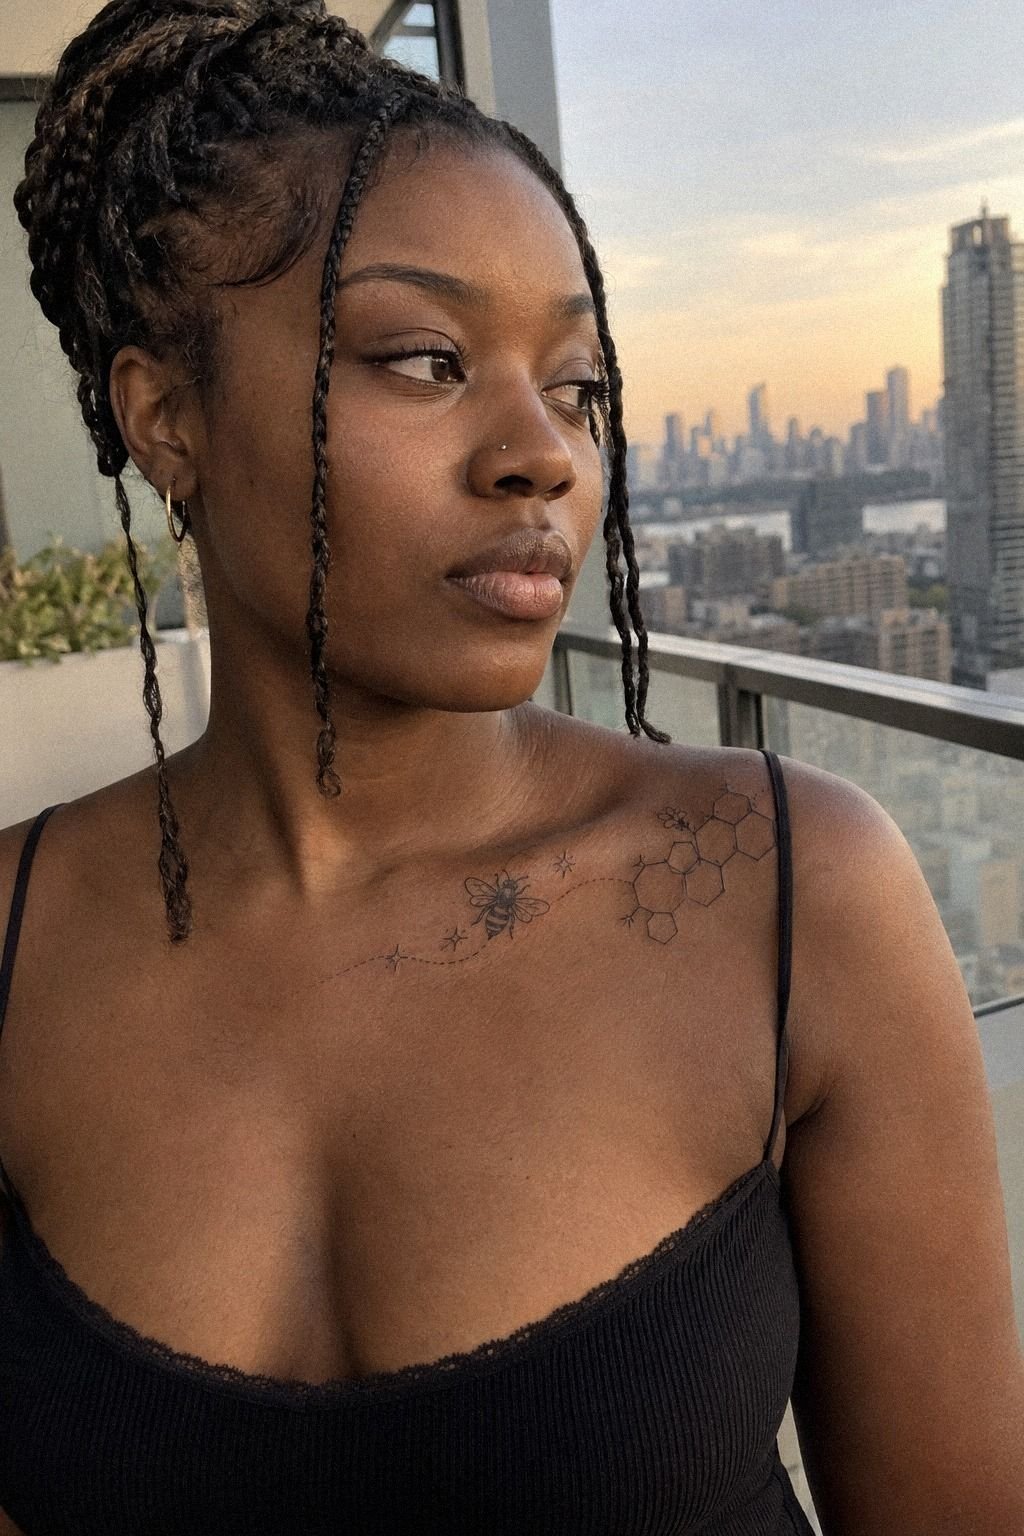
Honeycomb geometry can frame a bee beautifully, especially across the collarbone. Your artist should treat each cell as a measured shape, not a loose collection of hexagons. The geometry needs to feel crisp and deliberate.
I’d use only a few honeycomb cells around the bee, with some shapes complete and others fading into open skin. That uneven edge feels more organic than a perfect block, and it gives the collarbone movement. You’ll want the bee to remain the subject.
Your artist may need to adjust the cell spacing for the curve of your body. A design that looks balanced on paper can compress across the collarbone. Ask to see the stencil from straight on and from the side before you approve it.
The strongest option is usually black outlines with selective solid accents. Too much fill can make the geometry feel heavy, while too little contrast may cause the cells to disappear. I’d skip tiny dots inside every hexagon because they don’t add enough meaning to justify the visual noise.
If you like structured motifs, compare this layout with a snake tattoo design and notice how curved subjects interact with repeating shapes. Your bee can feel sophisticated without becoming rigid. Ask whether the added geometry is worth the cost before expanding the stencil.
7Match Wing Linework to Your Style
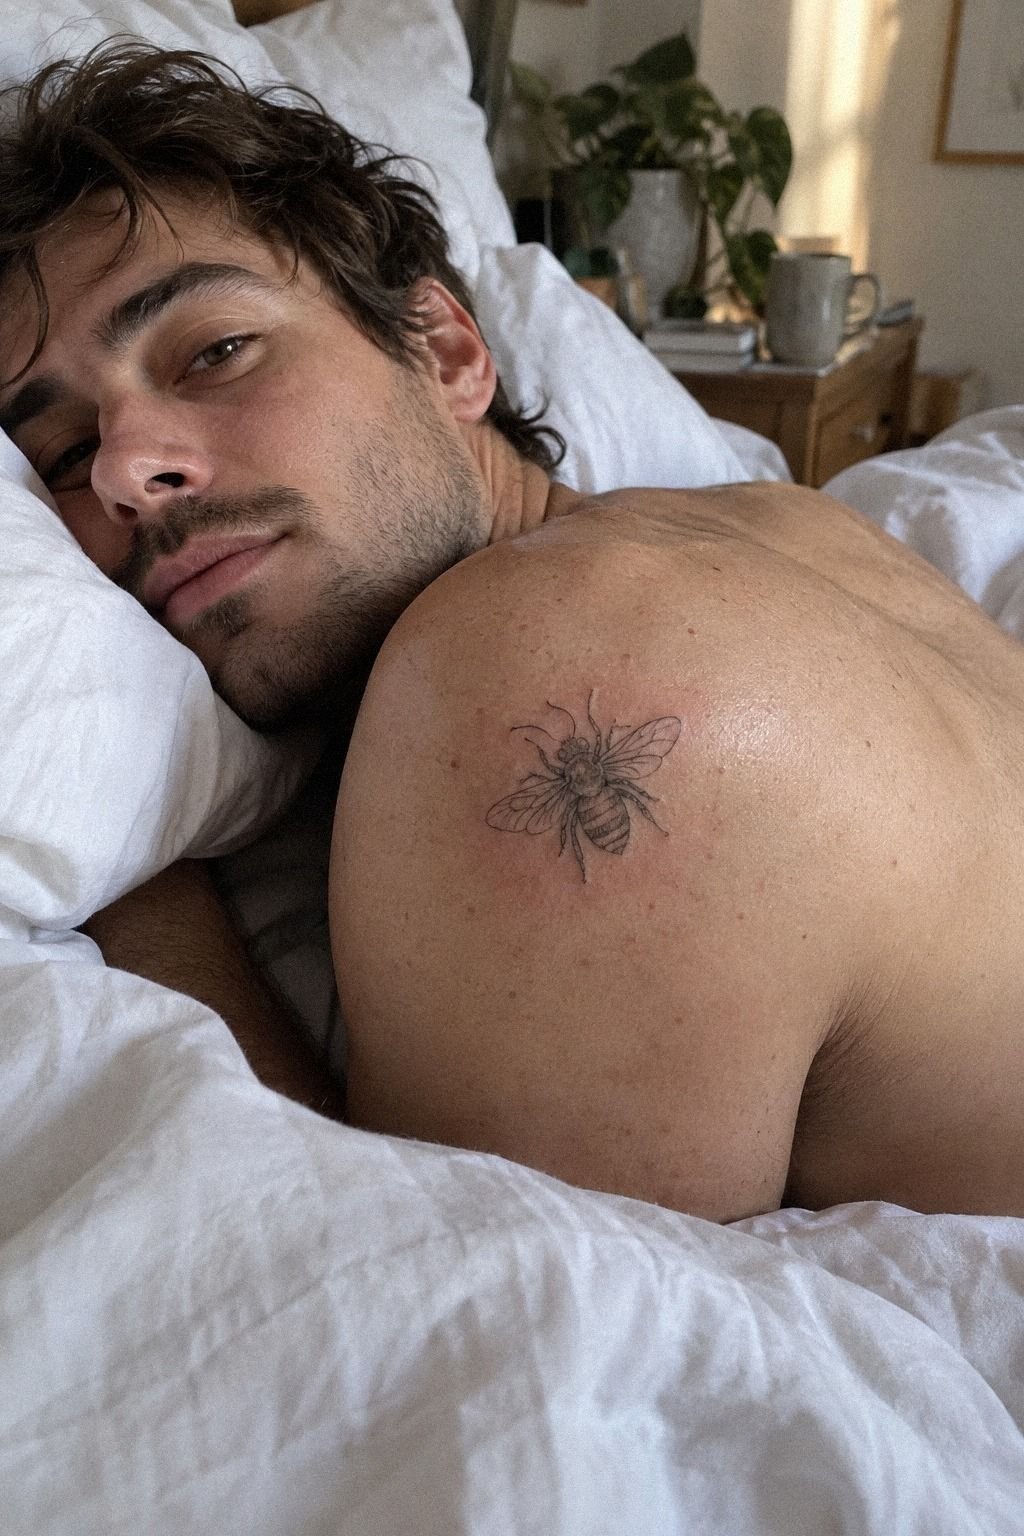
Begin with the wings, because they set the personality of the whole design. Rounded wings can feel soft, while longer angled wings create a more daring silhouette.
You’ll want to choose between open wings, lightly patterned wings, and solid wing sections. I’d choose open skin for a dainty bee on the shoulder, especially if your other tattoos already have strong black areas. The contrast keeps the design from competing with your existing work.
Ask your artist to show you two versions at the same size. One can use only outer contours, and the other can include a few interior veins. What looks expressive on screen may not be the best choice on your skin, especially if you prefer a clean healed result.
Your shoulder also gives you flexibility with visibility. You can keep the bee private under a sleeve or let it appear with a tank top. If you’re building a larger collection, these tattoo design website ideas may help you organize visual references for your consultation.
If your style is more raw than polished, don’t force perfect symmetry. A slight hand-drawn quality can make the bee feel alive. You’re choosing a permanent mark, so spend your budget on the artist whose healed work matches your taste.
8Add Meaningful Wildflowers Around the Bee
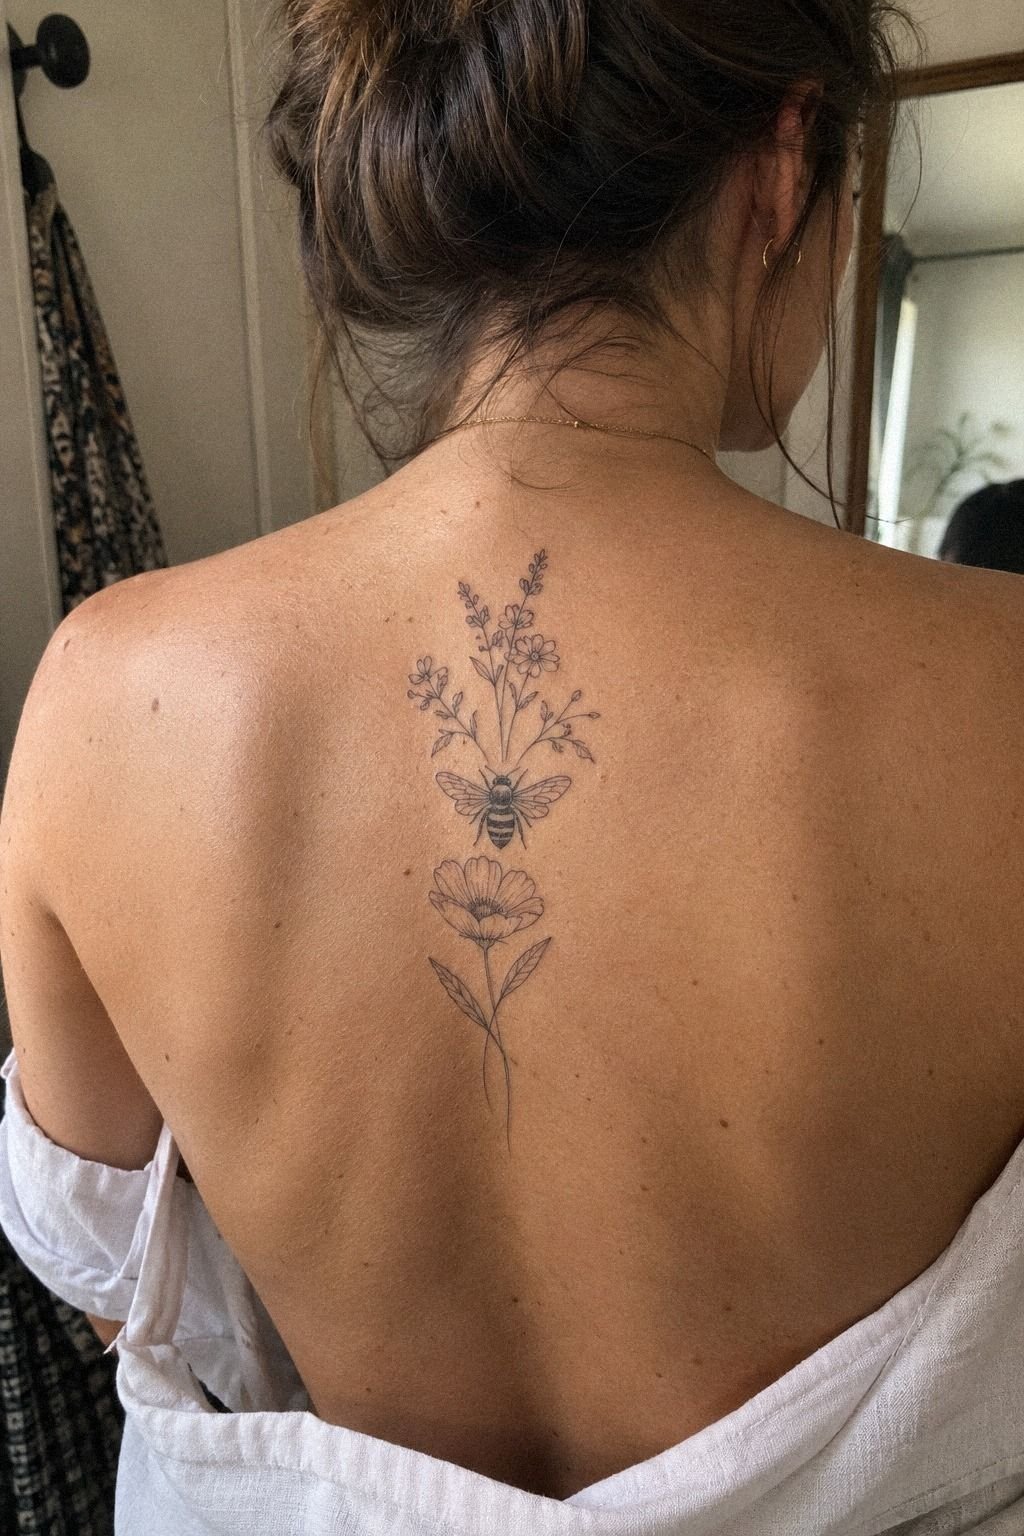
Choose your flower for a reason, then let its shape support the insect. Your design can be meaningful without explaining every symbol to everyone who sees it.
A narrow stem gives the bee room to breathe. You might choose one botanical stem with two leaves, a small bloom, and a bee hovering near the upper curve. I’d skip a full bouquet unless you’re planning a larger back piece, because the single flower feels more understated.
Think about line weight before adding petals. The bee may need slightly stronger contours than the flower so your eye knows where to land. You’ll want the floral elements to frame the subject rather than flatten the hierarchy.
If the flower carries a family or seasonal connection, tell your artist. They can adjust the bloom’s shape without turning it into a literal illustration. I like this approach because it leaves room for your interpretation, which can feel more sacred and intimate.
If you’re unsure whether to choose a flower, compare the composition with other tato design tattoo ideas. Your final piece can stay organic, elegant, and quiet.
The best addition is the one that gives the bee more meaning instead of simply taking up skin. That restraint protects the tattoo’s value.
9Balance Dainty Details with Strong Contrast
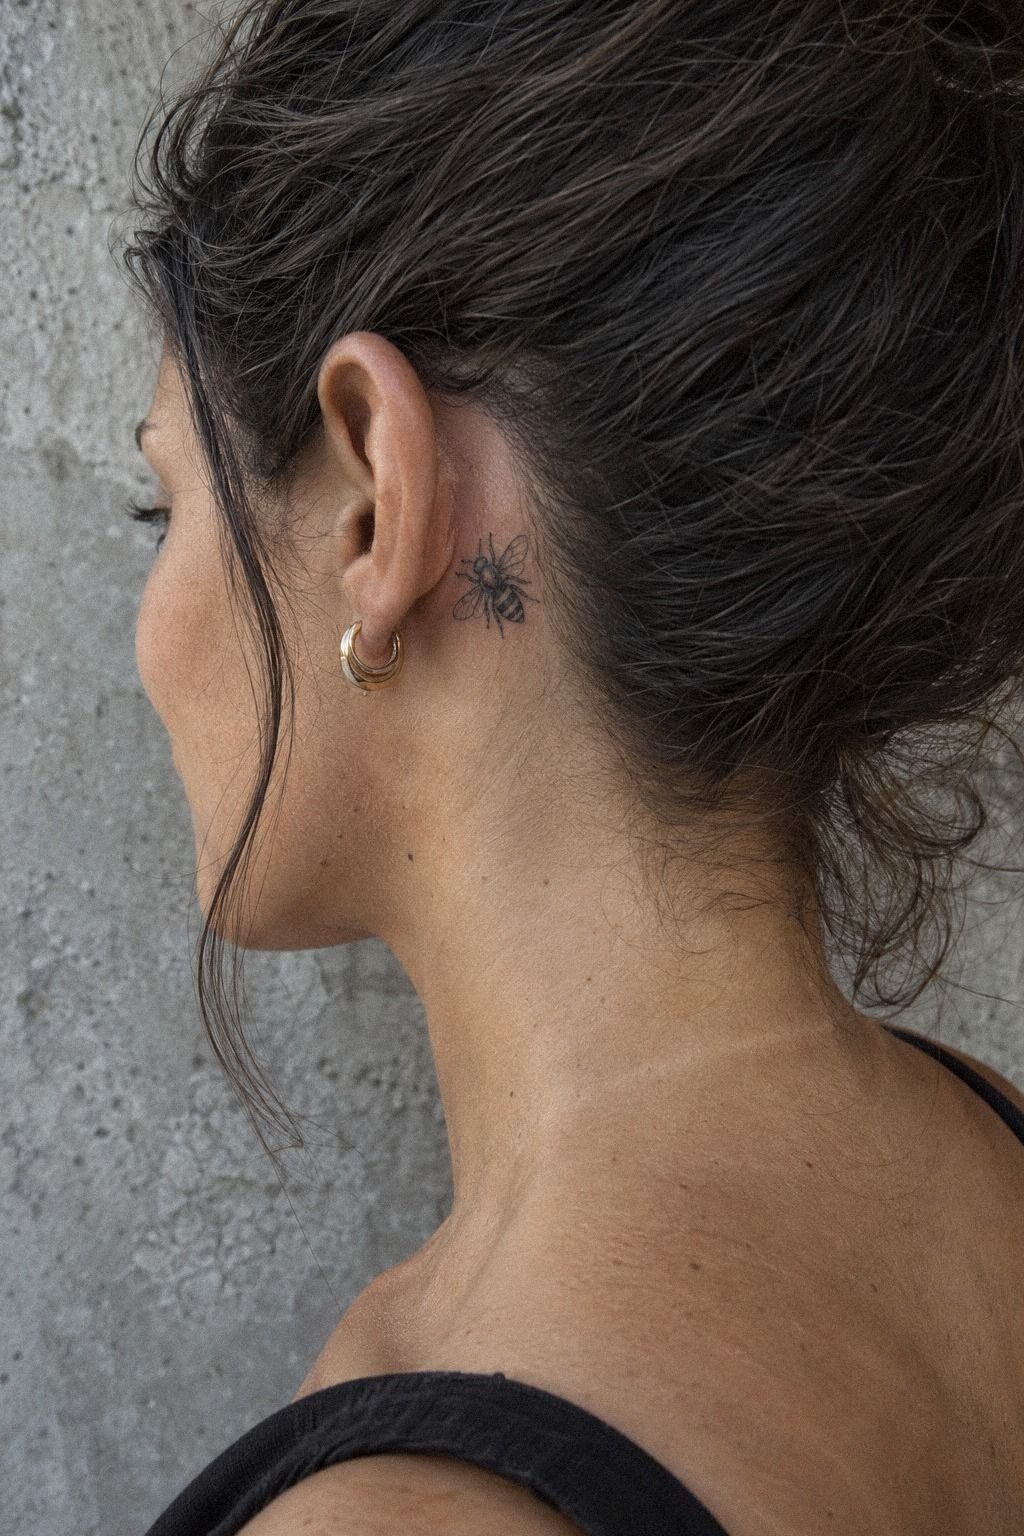
Behind the ear is a small, visible placement, so your design needs a clear silhouette. You’ll want fewer details here than you might choose for an upper arm.
Start with the outer shape, then select one or two interior details. A small bee outline with a darker abdomen can remain readable while still feeling dainty. I’d avoid tiny flowers, lettering, and multiple wing patterns in this location.
The skin behind your ear moves and receives friction from hair, glasses, masks, and clothing. Your artist can help you choose a position that avoids the deepest fold. Ask to see the stencil while your head is upright and turned slightly.
Strong contrast doesn’t mean a large filled area. It can come from open wings beside a dark body, or from a clean outline against untouched skin. That balance makes the tattoo feel sleek and iconic without demanding attention all day.
If you’re worried about visibility, discuss your hair and work routine before booking. You’re allowed to choose a personal design that remains discreet. A small bee can still feel powerful when every mark has a job, and that makes the investment easier to justify.
For more small-scale comparisons, revisit these unique tattoo design drawings before you approve the final stencil.
10Consider Pain Levels Before Choosing Placement: The Pain-Placement Matrix
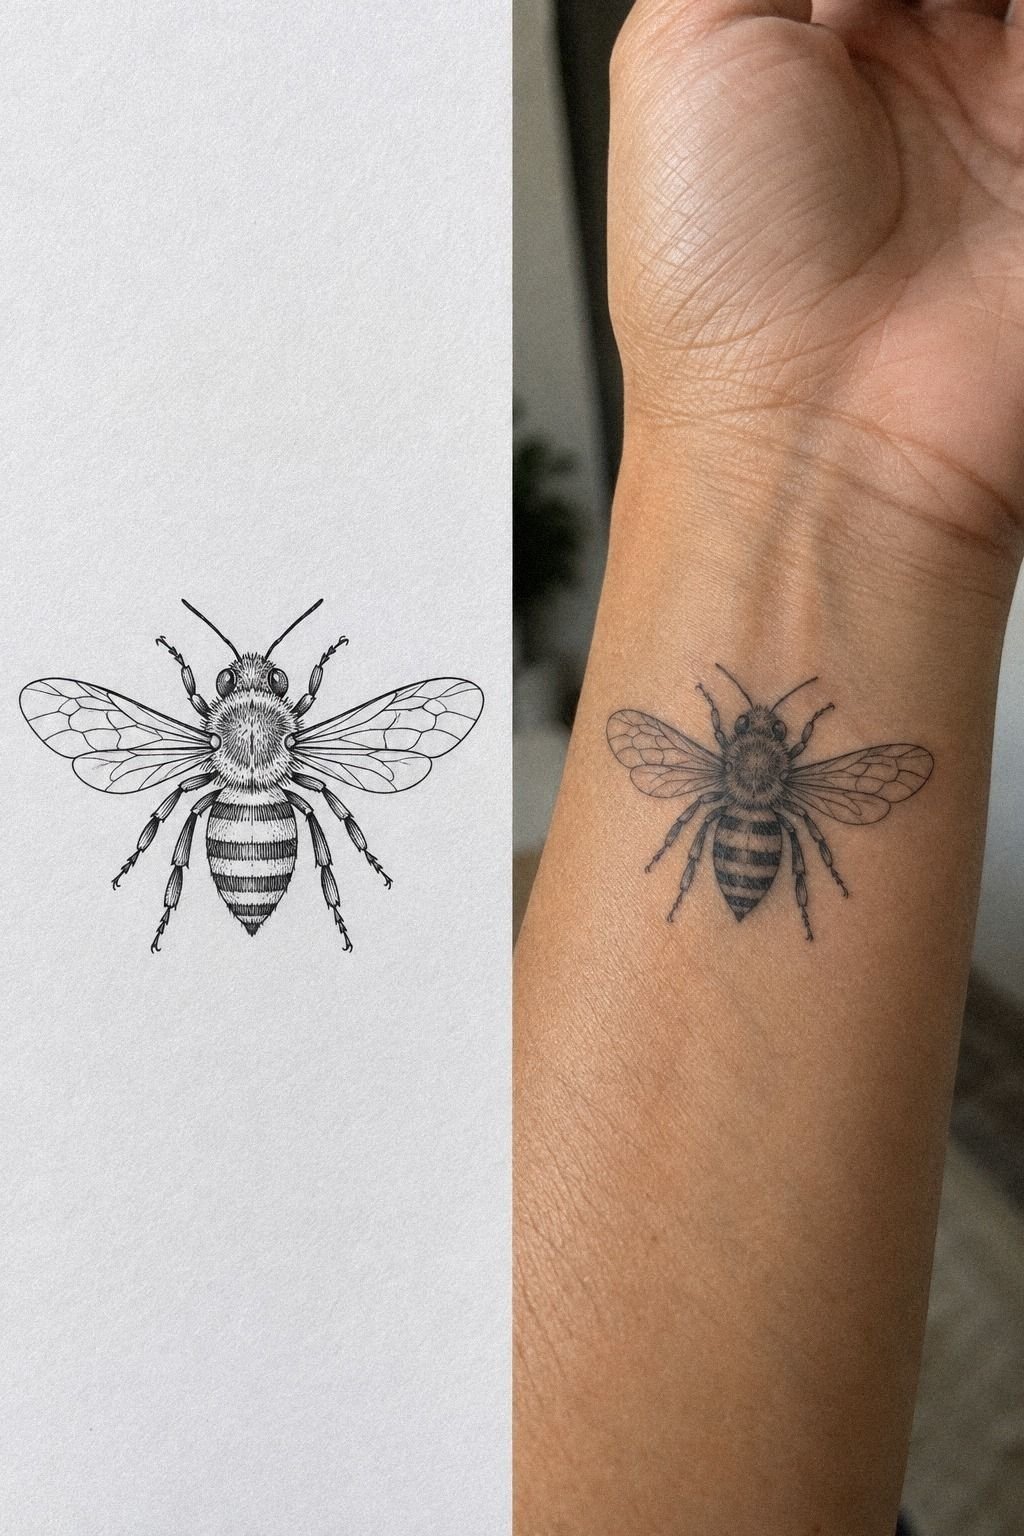
Pain varies by person, but placement gives you useful guidance. Ribs, feet, hands, and sternum tend to feel more intense, while the forearm, thigh, and shoulder are often more tolerable. You’ll make a calmer decision when you compare placement with your own comfort.
For a first bee, I’d choose the forearm or shoulder over the ribs if you want a more comforting appointment. You can still select a meaningful placement without treating pain as a test of commitment. Your artist should explain what your chosen area may feel like.
If your design includes a stencil comparison, remember that paper cannot show how skin moves. Ask your artist to place the tattoo stencil at the intended angle, then look at it while standing and sitting. You’ll catch balance issues before the session begins.
What matters more to you, visibility or comfort? That question can narrow your options quickly.
A visible forearm piece may feel confident and accessible, while a rib tattoo can feel private and intimate. Neither choice is morally better.
If you’re budgeting, ask for an estimate before your appointment. You don’t need an exact promise, because artists price differently, but you should understand the likely range. Clear planning keeps the experience refined instead of rushed.
For more placement ideas, compare the queen bee tattoo page with the simpler tattoo outline drawing stencil design approach. Both can help you judge whether the final budget matches the design you actually want.
11Protect Intricate Ink During Tattoo Healing
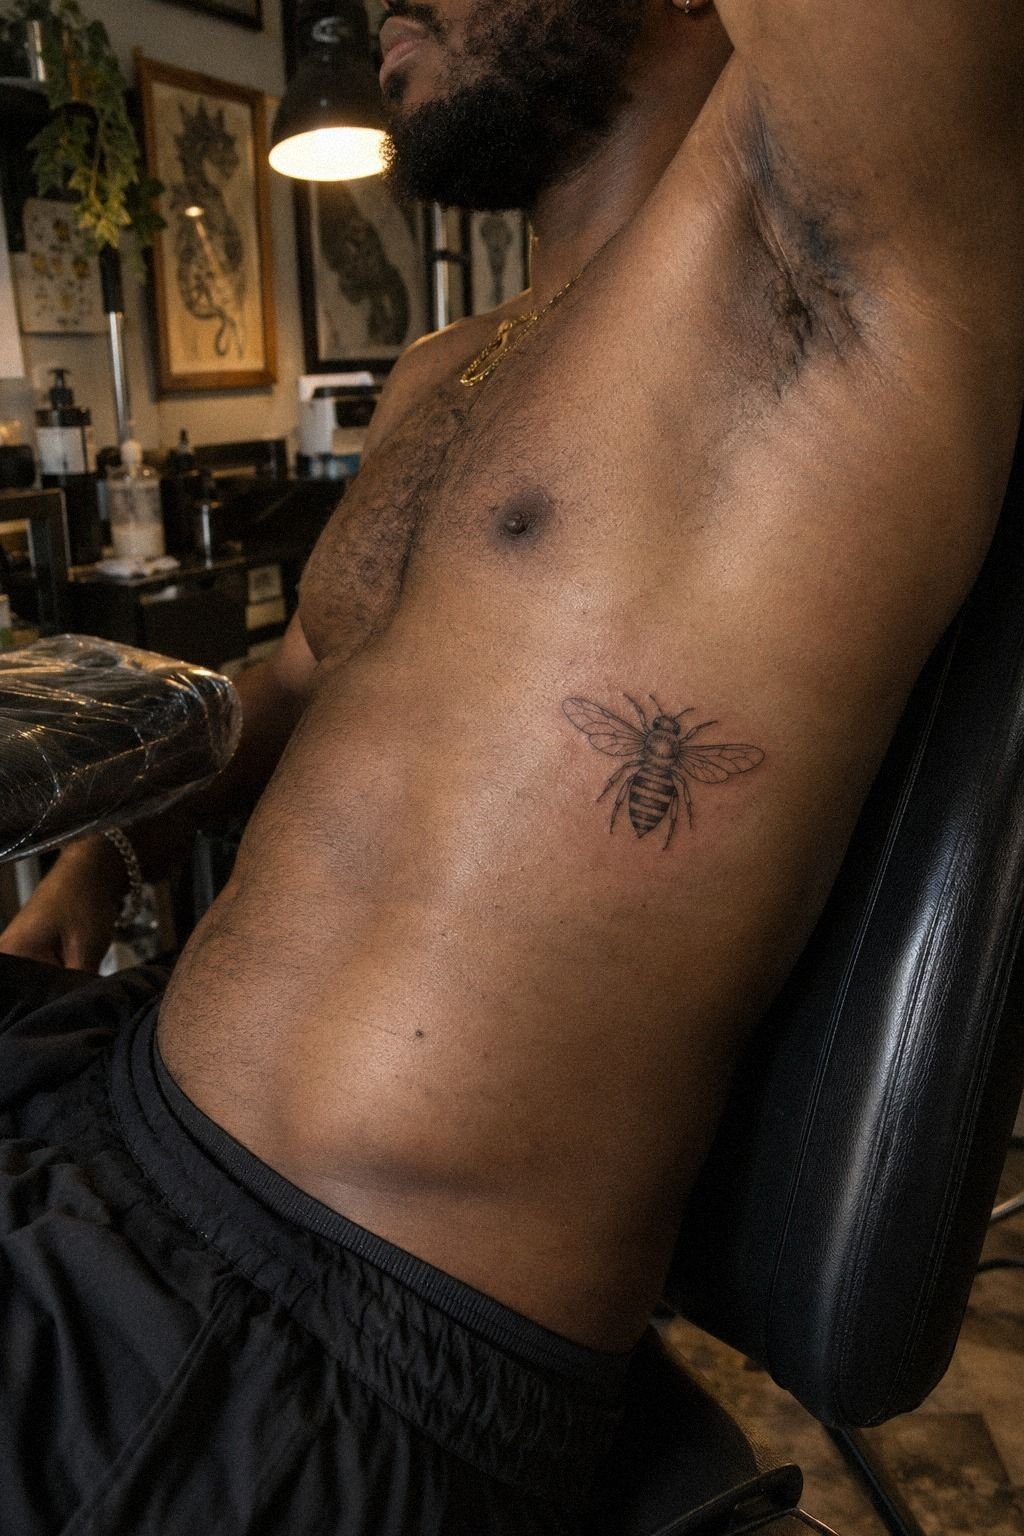
After your session, follow the artist’s specific instructions for washing, moisturizing, sun exposure, and swimming. Your surface layer may look healed in about 2 to 3 weeks, but complete healing can take about 2 to 3 months.
Use a gentle, fragrance-free cleanser and a thin layer of the product your artist recommends. You’ll want the skin clean without scrubbing, soaking, or picking. A fragrance-free cleanser supports a simple routine while the area settles.
Avoid swimming and direct sun during the early healing period. Once fully healed, protect the tattoo from UV exposure because sunlight can soften fine lines and reduce contrast. I’d treat sunscreen as part of keeping your black ink readable, not as an optional extra.
If the tattoo feels itchy, let it be. Don’t peel flakes or pull at the surface, even if the design looks uneven for a few days. That temporary stage can feel haunting, but it doesn’t predict the finished result.
Your skin needs time to settle.
And if something seems unusual, contact your artist or a medical professional rather than guessing. A clean healing routine protects the intricate linework you paid for. Patience is the most timeless part of aftercare!
For a second planning check, compare your artist’s instructions with the clean spacing shown in snake tattoo design examples. The subject changes, but the reminder is the same: readable marks need breathing room.
Which Step Changes the Outcome? The Three-Anchor Rule
I’ve learned that a bee tattoo rarely fails because the idea is weak. It fails because the design, placement, and line weight were chosen separately. When those three decisions agree, even a small bee can feel iconic and complete.
The first anchor is meaning. Your bee might represent family, labor, survival, sweetness, or a private memory.
You don’t need a dramatic explanation, but you do need a reason that will still matter when the trend moves on. That personal anchor keeps the design from feeling disposable.
The second anchor is body placement. Your skin isn’t flat paper, and the same bee can read differently on an ankle, forearm, collarbone, or ribs. I prefer choosing the placement before refining the details, because the body’s curve should guide the composition.
The third anchor is aging. Fine lines can spread, especially when a design is too small, packed with detail, or exposed to regular UV.
I’d rather remove three decorative marks today than regret their blur later. That choice may feel minimal, but it gives the tattoo more strength over time.
I don’t think “more detail” automatically means more artistry. Sometimes the most striking result is a clear black body, open wings, and one flower with enough skin around it. You’ll notice the design faster because your eye isn’t searching through clutter.
If you’re still undecided, make two versions and live with them for a week. Print one clean outline and one more ornate sketch.
Look at both in daylight, then ask which one still feels personal. That answer is usually more useful than a trend board.
For another comparison point, save the strongest tato design tattoo ideas and delete anything you wouldn’t still choose six months from now.
The Questions Worth Answering First
How much does a Bee Tattoo Design usually cost?
A Bee Tattoo Design often costs about $100 to $300 in the US, depending on size, placement, artist, and region. Some studios have a minimum of about $50 to $100, while hourly rates may run about $100 to $250. Ask for an estimate before booking so the clear pricing fits your budget.
A portfolio review and confirmed design plan will help you avoid surprises.
Are Bee Tattoo Design a good idea for a first tattoo?
Yes, a bee can be a strong first tattoo when you choose a manageable placement and clear linework. The forearm, thigh, and shoulder are often more tolerable than ribs, feet, hands, or sternum. A simple bee outline can also remain readable as it ages.
Choose a design that feels meaningful, not merely popular.
How do I choose a tattoo artist for Bee Tattoo Design?
Look for an artist with clean linework, healed photos, and experience with the style you want. Review healed tattoo photos, ask about hygiene, and confirm that the artist can create the scale and contrast your bee needs.
Your consultation should feel clear, respectful, and professional.
How much do Bee Tattoo Design hurt?
Pain depends on your body and the placement. Ribs, feet, hands, and sternum often feel more intense, while the forearm, thigh, and shoulder are usually more tolerable. A forearm placement may be a practical starting point if you’re nervous.
You can ask your artist what to expect before the appointment.
How long does a Bee Tattoo Design take to heal?
The surface usually heals in about 2 to 3 weeks, while complete healing can take about 2 to 3 months. Follow your artist’s aftercare, wash gently, moisturize as directed, and avoid sun and swimming during early healing.
That routine protects clean linework and supports a lasting result.
What’s the best placement for Bee Tattoo Design?
The forearm, shoulder, and thigh offer comfortable, readable options, while the ribs, feet, hands, and sternum tend to be more painful. Your placement choice should balance visibility, skin movement, and how much detail the bee needs.
Choose the area that fits your life, not someone else’s trend.
Where I’d Start First
If I had to pick one step, I’d start with the placement. Your forearm gives a small bee enough room to stay readable, usually feels manageable, and lets you judge the linework in daily life. Save your reference, ask for a stencil, and give the design one quiet week before booking.
Then review the artist’s healed work, confirm the price, and protect room in your budget for quality. A thoughtful tattoo plan doesn’t need to be complicated.
It needs to feel meaningful, readable, and right for your body. Book when it feels right!