The short answer: anywhere with a thick layer of fat or muscle between the needle and your bone. Think outer upper arm, outer thigh, calf, or the fleshy part of your forearm. I’ve tattooed hundreds of people, and the ones who grin through their first piece usually picked one of those spots. The ones who white-knuckle the armrest? Often they went for ribs, spine, or collarbone right out the gate. Pain is personal, but placement is physics. Skin thickness, nerve density, and proximity to bone all matter more than your pain tolerance on day one.
Why Some Spots Hurt Less Than Others
Your skin isn’t uniform. It’s thinner over bone, packed with nerves near joints, and stretches tight over tendons. When my needle hits fat and muscle, that tissue absorbs vibration and dulls the sting. Bone doesn’t absorb anything. It reflects it back into the nerve endings sitting right on top.
Fat and Muscle Are Your Friends
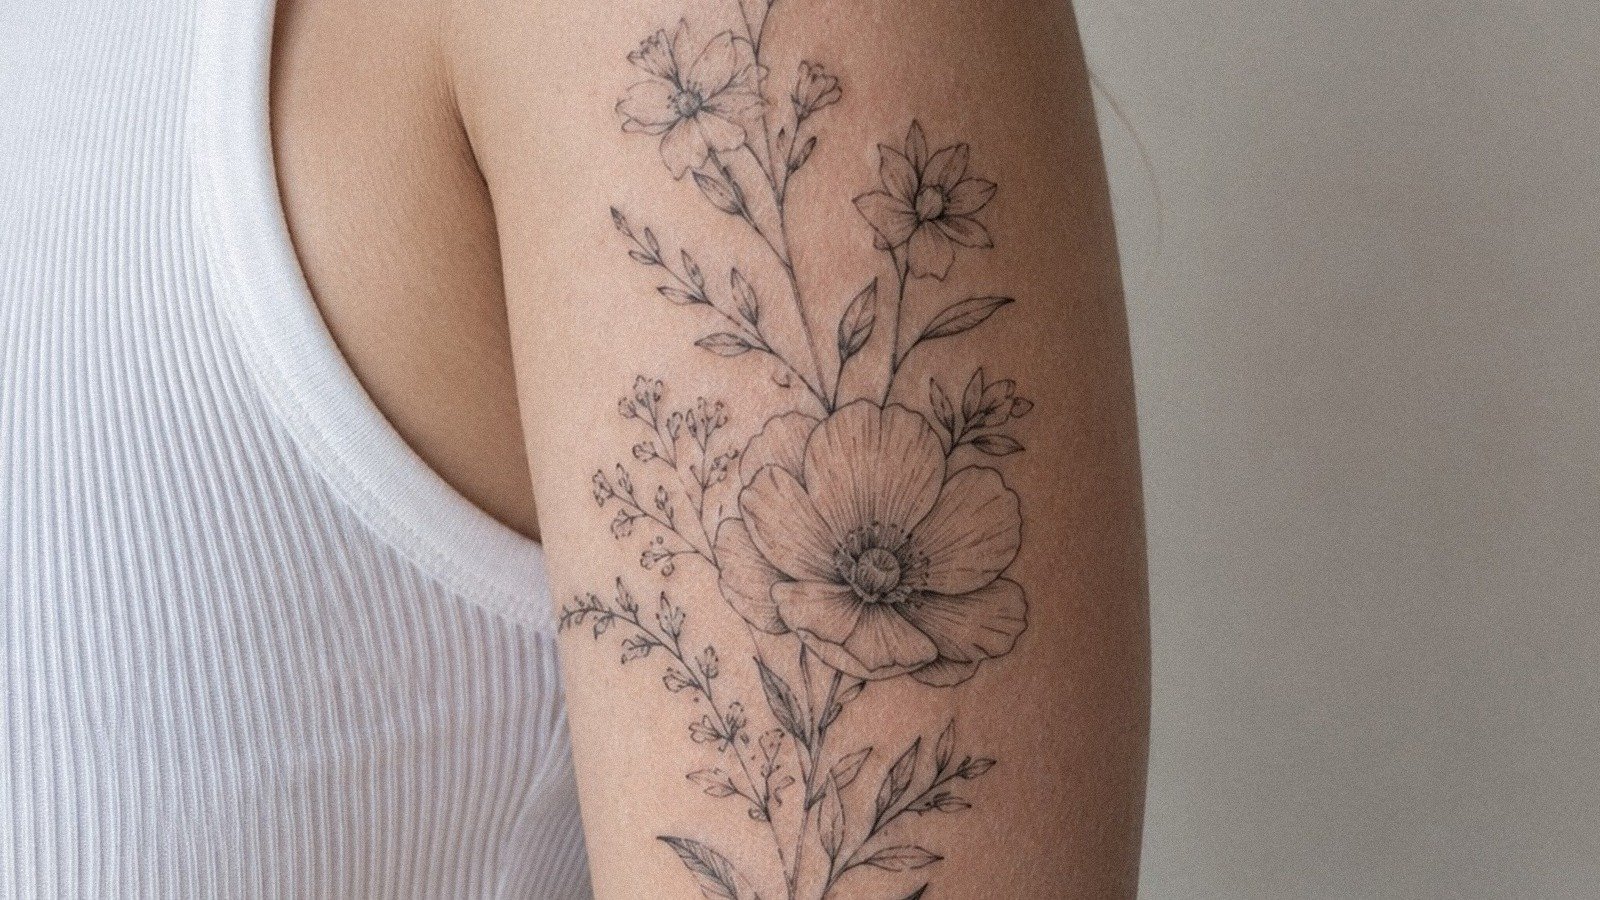
The outer upper arm, what we call the “meat”, is basically nature’s shock absorber. Same for the outer thigh. I did a solid black traditional rose on a guy’s thigh last month. He watched a movie on his phone. Meanwhile, his buddy getting a sternum piece was doing breathing exercises like he was in Lamaze class. The difference wasn’t toughness. It was padding.
Bone and Nerve Hotspots to Avoid First
Ribs, spine, kneecaps, ankles, collarbones, and the top of the foot. These spots have minimal cushioning and dense nerve populations. The tattoo won’t necessarily look better there. It’ll just hurt more. I always tell first-timers: prove you can sit for something manageable before you chase the painful placements.
The Most Tolerable Placements for Beginners
These are the spots I steer nervous clients toward. They’ve got good real estate for most designs, heal relatively easily, and won’t make you question your life choices.
- Outer upper arm (bicep/deltoid): The classic first tattoo spot. Plenty of room, easy to show off or hide, and the outer side has enough meat to keep things civil. Inner arm hurts more, save that for later.
- Outer thigh: Huge canvas, great for bigger pieces, and you can wear loose pants while it heals. I’ve seen people fall asleep during thigh work. Not kidding.
- Calf (outer side): The gastrocnemius muscle is thick and forgiving. Stay away from the shin bone and the back of the knee.
- Forearm (outer, fleshy part): Popular for a reason. The outer forearm has decent padding and heals fast because it’s easy to keep clean and moisturized without rubbing.
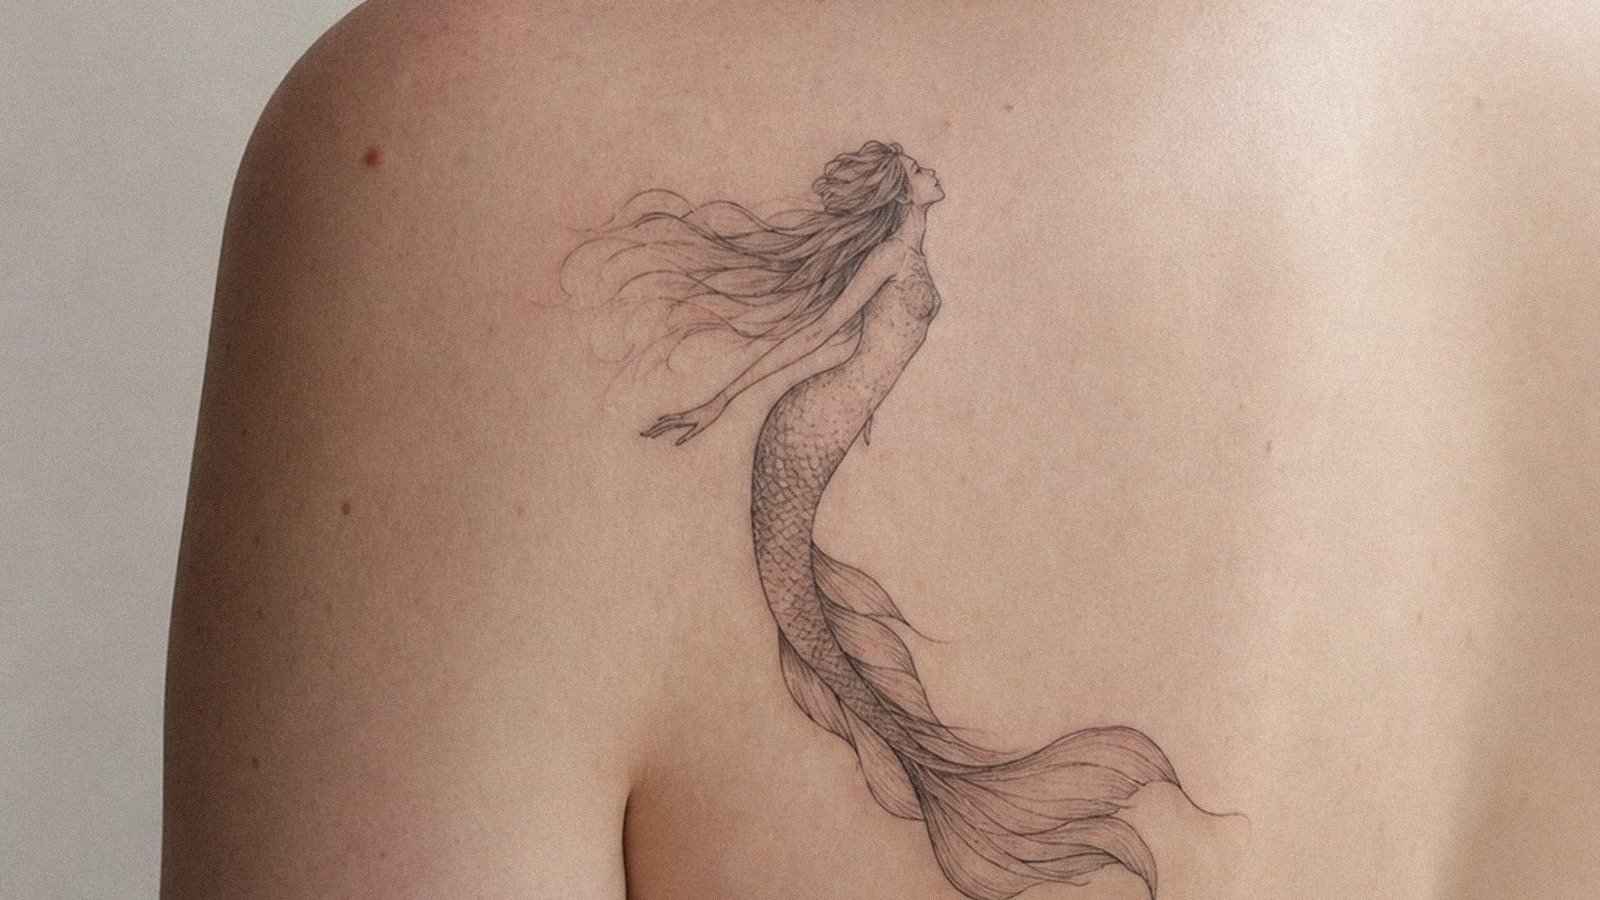
- Upper back (below shoulder blades, off the spine): The trapezius and latissimus areas are surprisingly manageable. Stay central and low, away from the spine and shoulder bone.
What Actually Happens During the Tattoo
People imagine one continuous drag of pain. It’s not. Tattoo machines buzz at roughly 50 to 3,000 needle insertions per minute depending on the stroke. Some of that is lining, sharp, focused, quick. Some is shading or color packing, duller, more of a burn. On fleshy spots, the vibration becomes background noise after a few minutes. Your body dumps endorphins. On bony spots, there’s no hiding from it. Every buzz rattles the bone underneath.
Lining vs. Shading: Different Feels
Lines are precise. The needle group is tight, the speed is controlled, and it feels like a cat scratch repeated fast. Shading uses more needles, softer edges, and a rubbing motion. On padded areas, shading can actually feel easier. On bone, it spreads the vibration wider. I adjust my technique based on placement, but I can’t change your anatomy.
How Size and Session Length Change the Game
A small palm-sized tattoo on your thigh? You’ll be fine. A full sleeve in one sitting? Even on the “easy” spots, your skin gets angry after a few hours. The area swells, becomes hypersensitive, and your adrenaline crashes. I cap most sessions at three to four hours for this reason. Better to come back fresh than push through misery and get sloppy work.
First-timers should think small to medium. A 2-3 hour piece lets you learn how your body reacts without committing to a marathon. You can always add more. Laser removal is expensive and imperfect.
Healing Reality: Easy Spots Stay Easy
Pain doesn’t end when you leave the shop. The first night is sore, tight, and hot. Days 2-4 it gets itchy and flaky. By day 7-10 you’re peeling like a sunburn. Here’s where placement matters again.
- Arms and thighs: Easy to keep clean, easy to apply thin layers of aftercare without touching everything, and clothing doesn’t rub constantly.
- Hands, feet, inner mouth: Constant use, friction, and bacteria exposure. They heal poorly and hurt longer.
- Back: Tricky if you sleep on it. I tell clients to sleep on their side for a week. Some listen. Some learn the hard way.
Moisture is your friend for the first few days, then scale back. Too much ointment suffocates the skin. Too little and it cracks. You’ll figure out your balance. Every artist has a preferred aftercare routine, follow the one who actually did your piece, not random internet advice.
Cost and Commitment: Don’t Cheap Out
Good tattoos aren’t cheap. Cheap tattoos aren’t good. In most US shops, you’re looking at $150-250 per hour for experienced artists, with minimums around $100-150 even for small work. A $40 tattoo from a kitchen magician will cost ten times that to fix or remove. I’ve covered up too many disasters. The client always says the same thing: “I was trying to save money.”
Book a consultation. Look at healed photos, not just fresh Instagram shots. Fresh tattoos look bolder. Healed ones tell the truth about line quality and aging.
Talking to Your Artist About Pain
We’re not judging your pain tolerance. We’ve all been tattooed. We know it sucks. What helps is honesty. Tell me it’s your first piece. Tell me you’re nervous. I can adjust the design placement slightly, break the session into chunks, or recommend numbing options some shops offer. I can’t make it painless, but I can make it survivable.
Some artists hate numbing cream because it changes skin texture. Others use it strategically. Ask. Don’t just show up slathered in over-the-counter lidocaine without mentioning it, that can mess with how ink settles.
Key Takeaways
Start fat and muscular: outer arm, outer thigh, calf, or forearm. Avoid bone, joints, and nerve-dense areas for your first piece. Keep the session reasonable, two to four hours max. Plan for healing: easy placement means easier aftercare. Spend real money on a real artist with a real portfolio. Talk to your artist like a human being. The least painful tattoo isn’t about being tough; it’s about being smart with where you put it and who you trust to put it there.
Frequently Asked Questions
Does numbing cream actually work for tattoos?
It takes the edge off for the first 30-60 minutes, but most tattoos outlast it. Some artists won’t work on numbed skin because it changes texture and can make lining harder. Always ask your artist before using anything.
Will a tattoo on my thigh stretch if I gain or lose muscle?
Moderate changes won’t ruin a thigh piece, it’s one of the most stable areas. Extreme weight fluctuation or bodybuilding transformations can distort any tattoo, but the outer thigh handles normal life better than stomach or upper arm.
Can I get a detailed design on a low-pain spot, or does detail require bone?
Detail depends on artist skill and skin quality, not bone proximity. I’ve done photorealistic portraits on thighs and simple lettering on ribs. Placement affects pain, not what your artist can technically execute.
How do I know if I’m too sensitive for tattoos at all?
Most people who worry about this do fine. If you can handle a blood draw or a bad scrape, you can handle a tattoo on a fleshy spot. True needle phobias or nerve conditions are different, talk to your artist beforehand, not the internet.