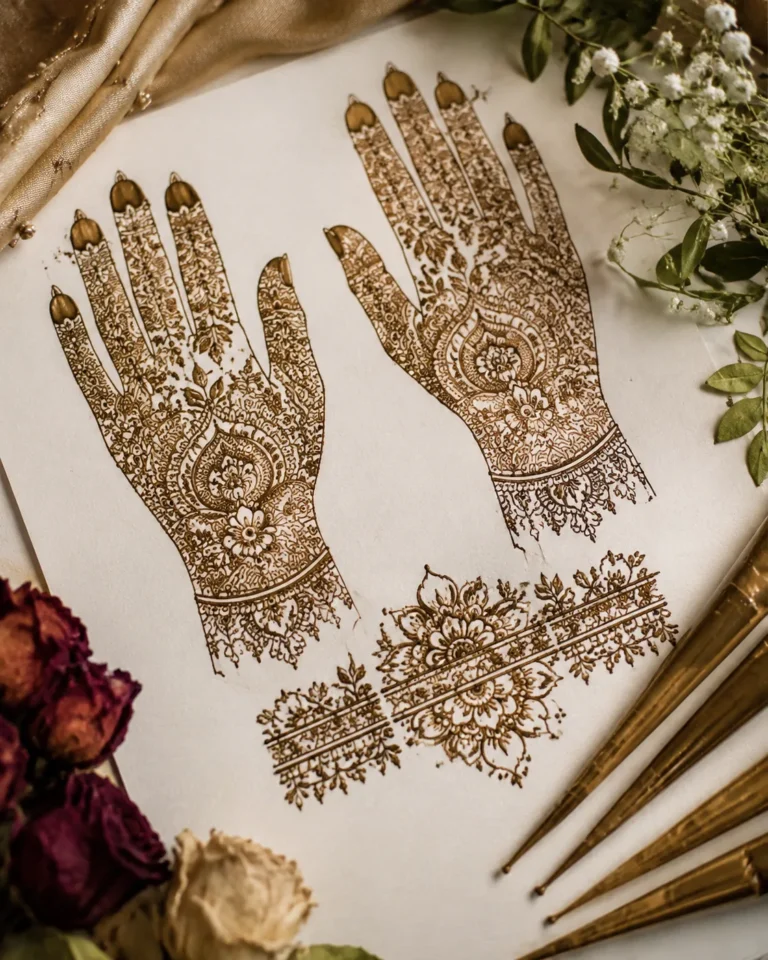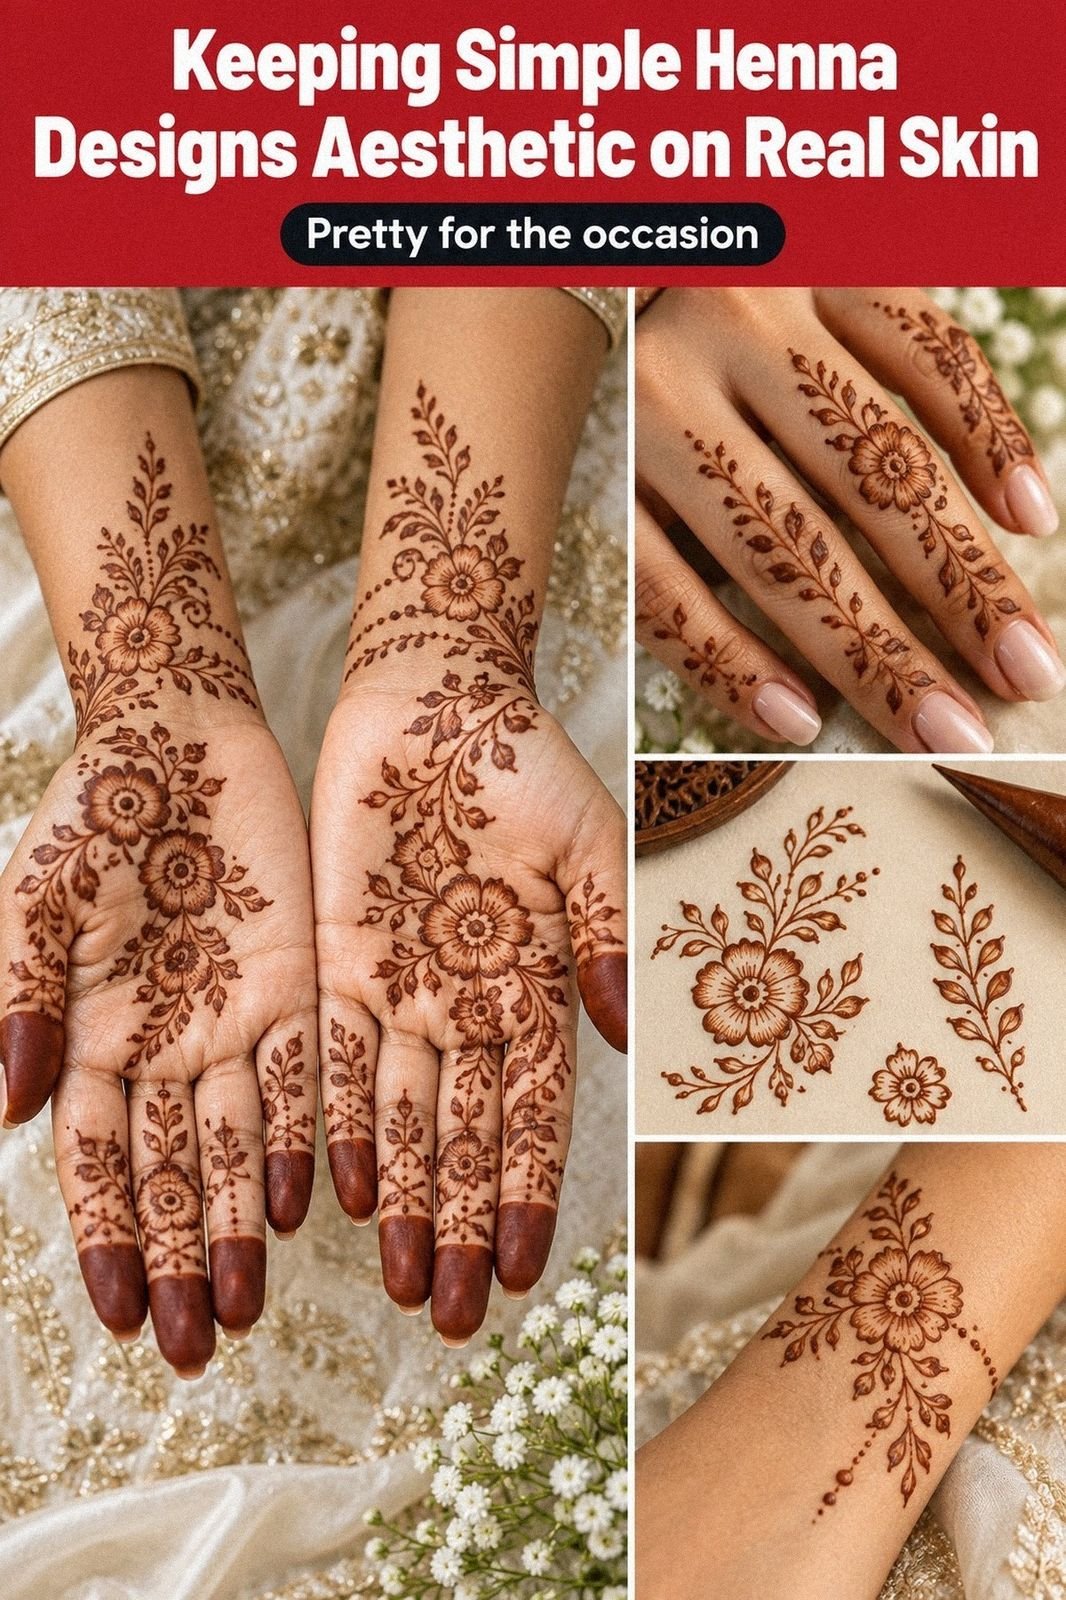
Aesthetic Henna Simple usually costs about $10 to $35 in the US for a small design, depending on the mehndi artist, region, placement, and detail. The harder part is choosing a pattern that still feels personal after the stain fades. I’ve made that mistake. Henna is not a tattoo; it is a temporary design made with natural henna paste, a crisp, symbolic process with graceful details and realistic stain expectations.
Before You Start: The Three-Check Henna Method
Start with three things you want the design to communicate: one feeling, one symbol, and one visual quality. You might choose protection, a crescent, and delicate linework. That’s enough direction for a meaningful piece without forcing ten unrelated motifs together.
Decide whether you want a simple temporary design or a more elaborate mehndi application. Natural henna should develop into a reddish-brown stain.
A mehndi artist may use natural henna powder mixed into a smooth paste. Avoid unknown black henna products, especially those containing para-phenylenediamine.
They can cause serious skin reactions!
Save close references of the hand, palm, wrist, ankle, or forearm. Include examples of natural henna paste, open spacing, and line weights you like. If you’re still collecting ideas, browse simple henna designs for beginners before choosing a pattern.
What Does Aesthetic Henna Simple Cost?
A small temporary design may cost about $10 to $35, while bridal or highly detailed mehndi can cost much more. The final price still depends on the artist, location, occasion, and amount of detail.
Ask about the minimum price before you book. That single question protects your budget.
A design can be worth the cost when the artist understands fine lines, placement, and stain development. A cheaper appointment isn’t always good value if the paste is too loose or the composition feels rushed. I’d rather pay for a thoughtful consultation than gamble on a hurried application.
You’ll also want a portfolio that shows fresh paste and developed stains, not only carefully staged photographs. Ask how the artist handles fine-line mehndi, darker skin, and hands or feet. Very simple mehndi designs can help you compare scale before you book.
Temporary Henna Or A Longer-Lasting Design?
Temporary henna is a good way to test placement, scale, and the emotional response you have to a symbol. It lets you notice whether you still like the design after several days. That matters!
Natural henna needs more care during application and drying. Keep the henna paste on the skin for the recommended time, protect the design from water at first, and expect the color to deepen on the second day.
If the design carries a private meaning, you don’t need to explain it to anyone. Keep the symbol visible if you want.
Keep it subtle if that feels more honest. The right choice should feel raw and slightly edgy, not pressured.
- Start With Simple Floral Henna Linework
- Choose Finger And Palm Patterns
- Place Mehendi Along The Wrist
- Why Negative Space Wins Over More Detail
- Plan Aesthetic Henna For Ankle Placement
- Choose Moon And Star Details
- Trace Vines Across The Hand
- Add Accents To Small Designs
- Match Henna Shapes To Your Skin
- Can You Test Clean Lines First?
- Photograph Your Finished Mehendi From Above
1Start With Simple Floral Henna Linework
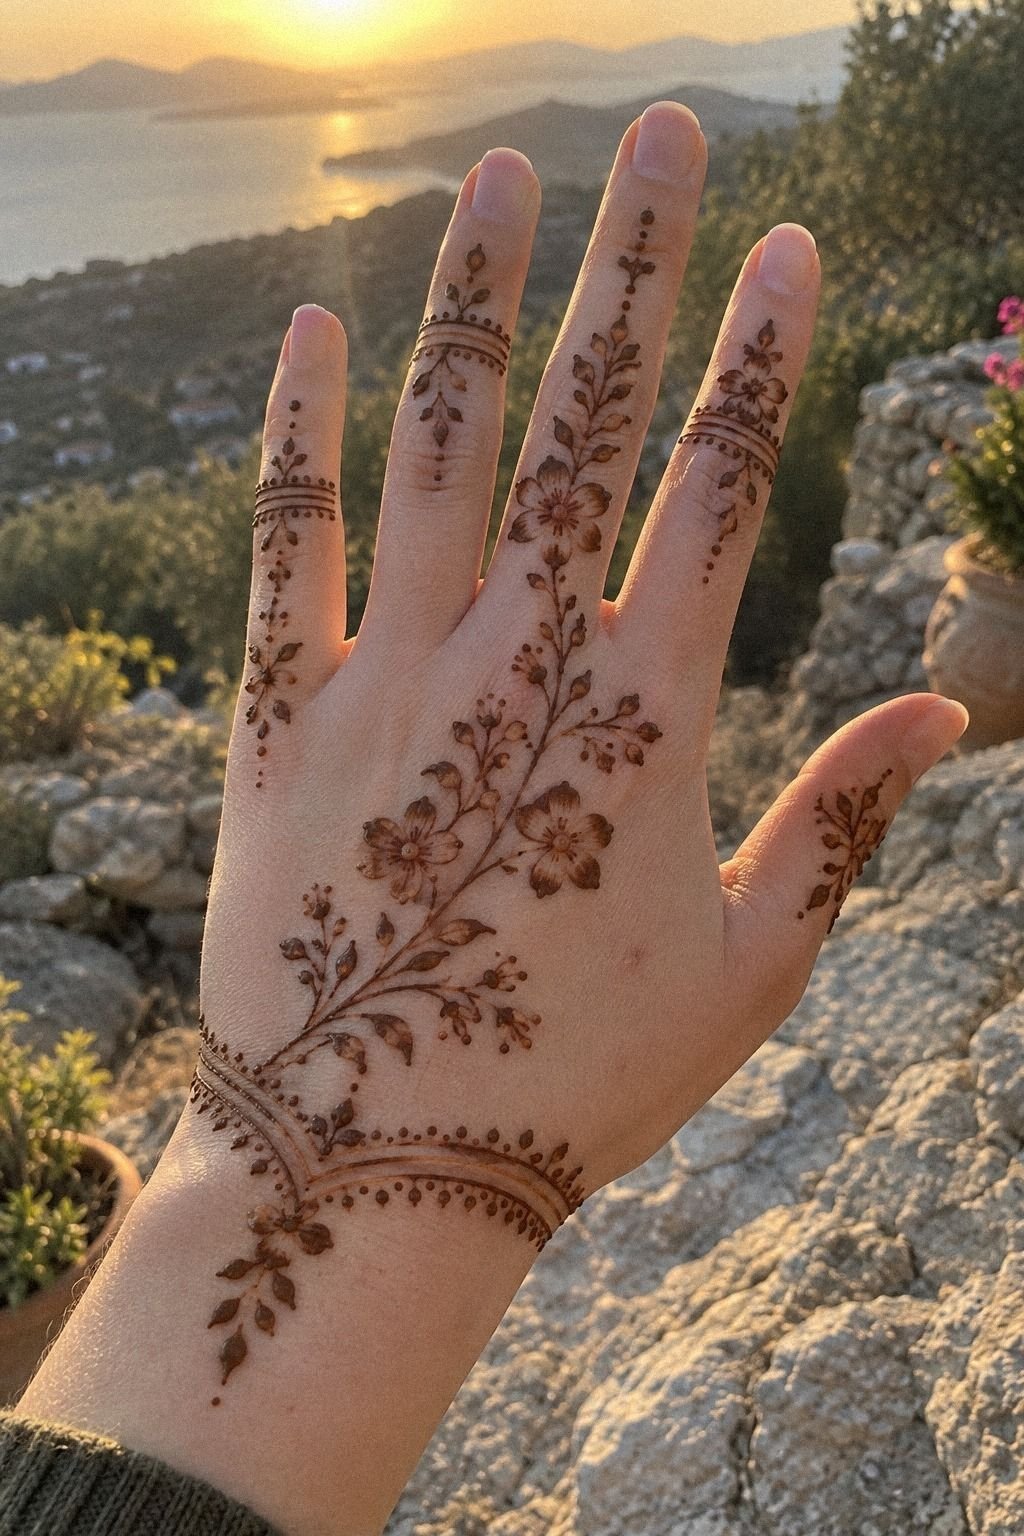
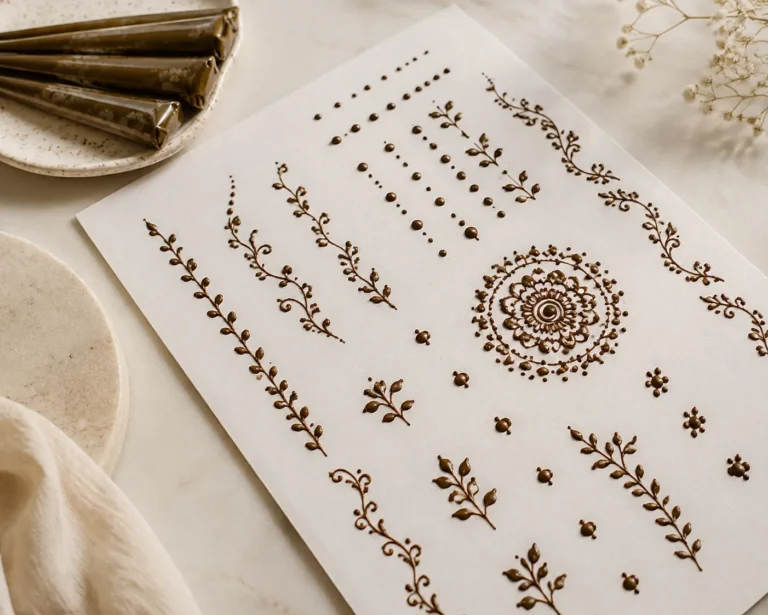
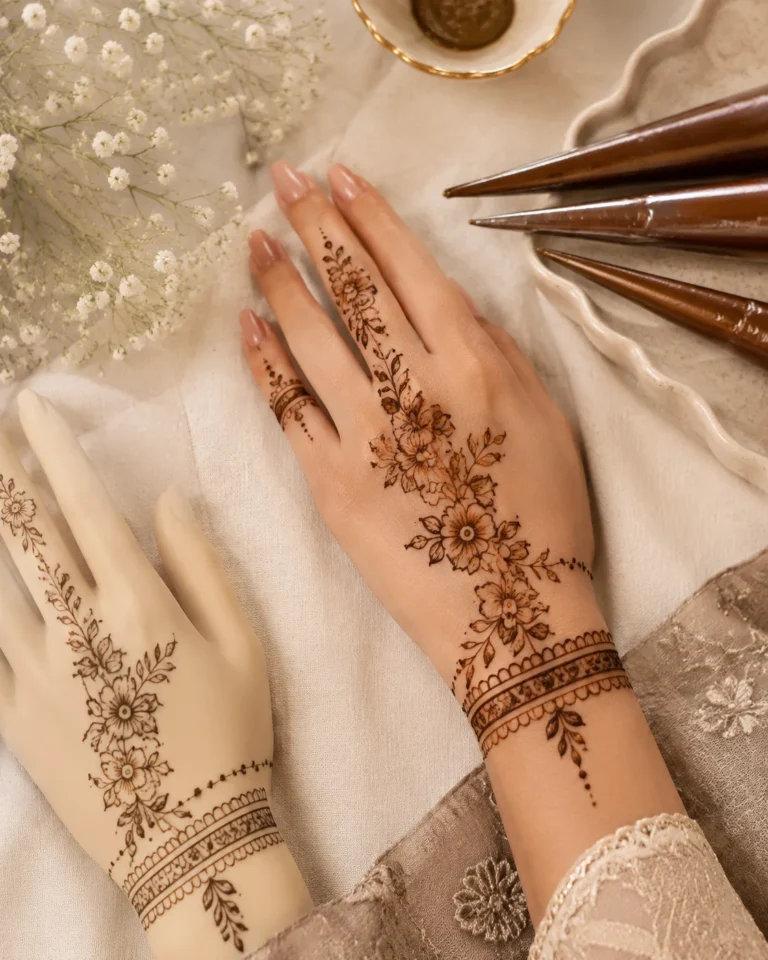
Begin with one central flower on the back of the hand. Let two or three narrow stems travel toward the fingers. The pattern should use intricate reddish-brown paste, with reddish-brown henna paste kept lighter than a dense filled design.
Choose a flower with personal meaning instead of grabbing the first ornate shape you see. A marigold can suggest devotion.
A jasmine-inspired cluster can feel romantic and understated. If you’re drawing on paper first, use a 0.5 mm pen and leave the petals open.
I’ve found that a small floral center holds attention better than a giant bloom with crowded leaves. The best linework has breathing room. If your first sketch looks busy at thumbnail size, remove one leaf before you move forward.
Add a fine tendril across one finger, but don’t force symmetry. Your hand won’t hold still like a page.
A slightly uneven curve can feel more personal. A fine-tip henna cone gives you better control than a wide applicator.
For more placement references, compare simple henna designs hand with small henna designs. You’ll see how a minimal flower can stay striking when the outline is clean and the center remains open.
2Choose Finger And Palm Patterns
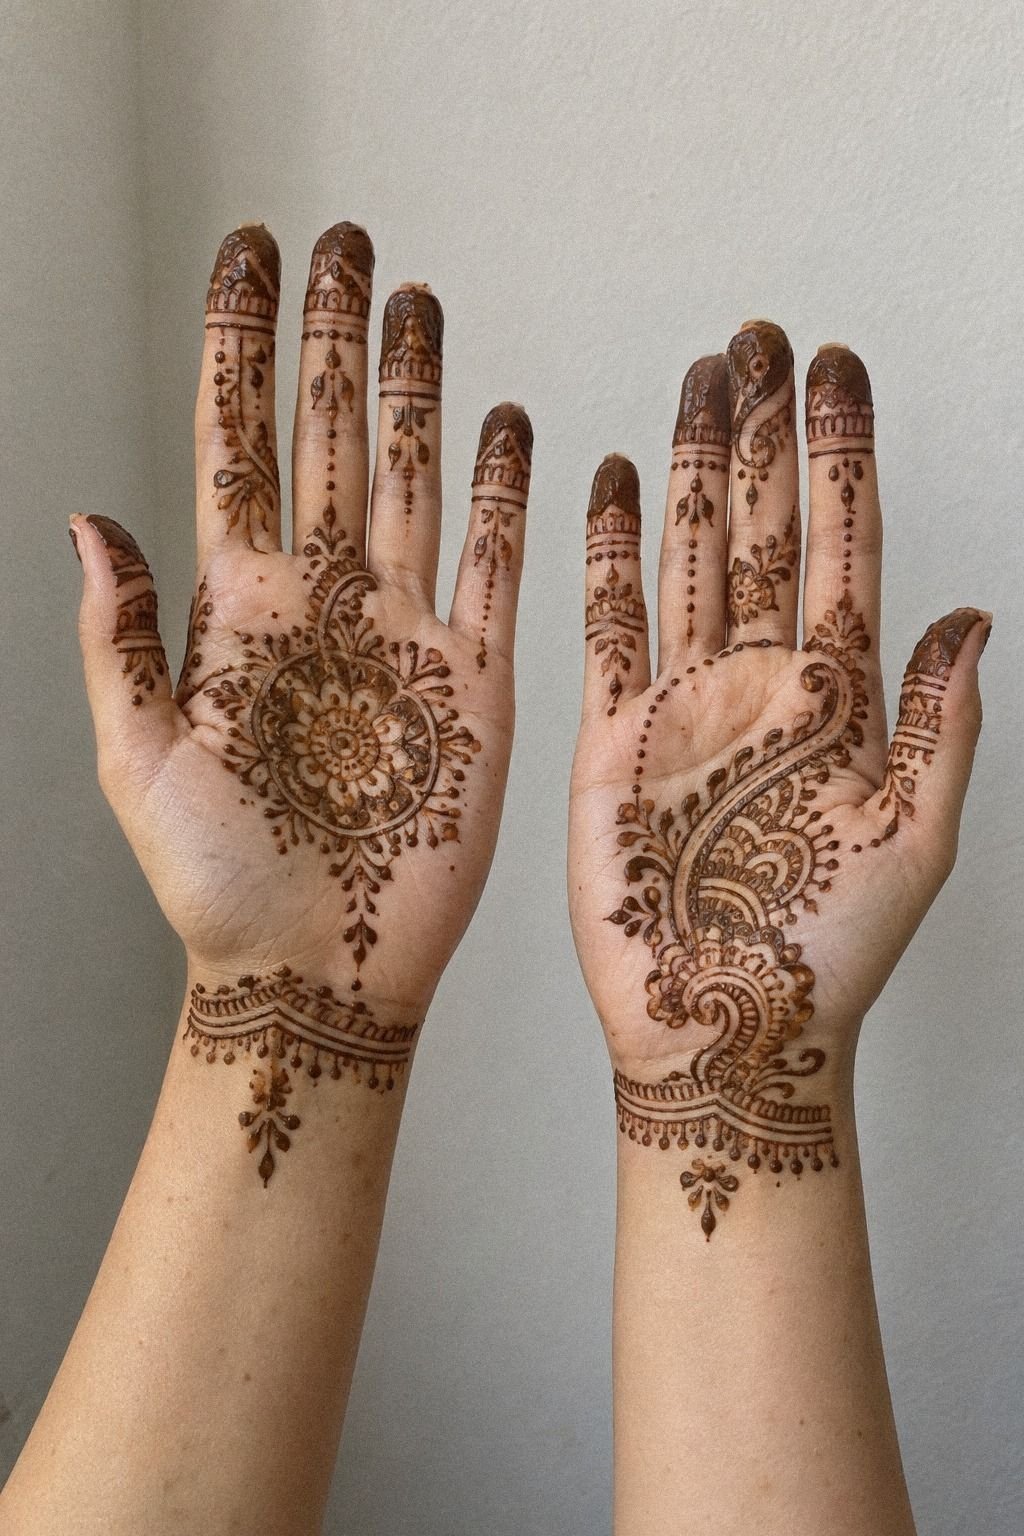
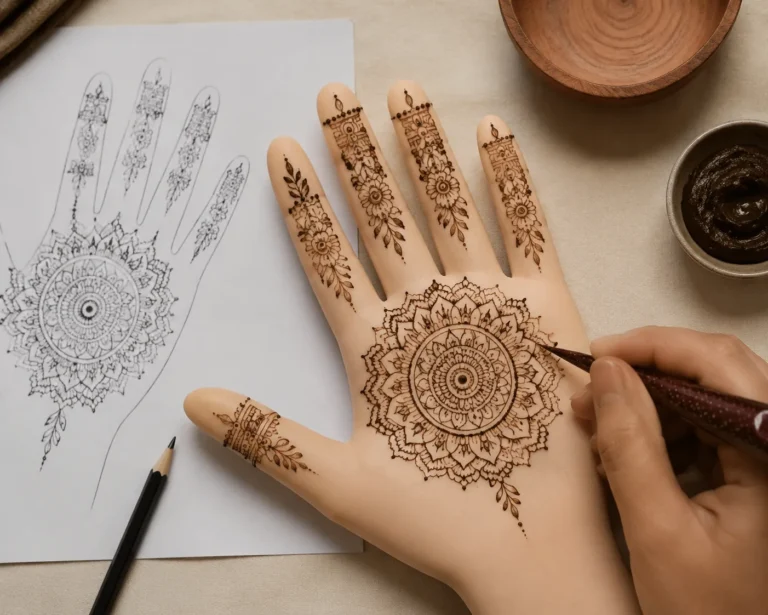
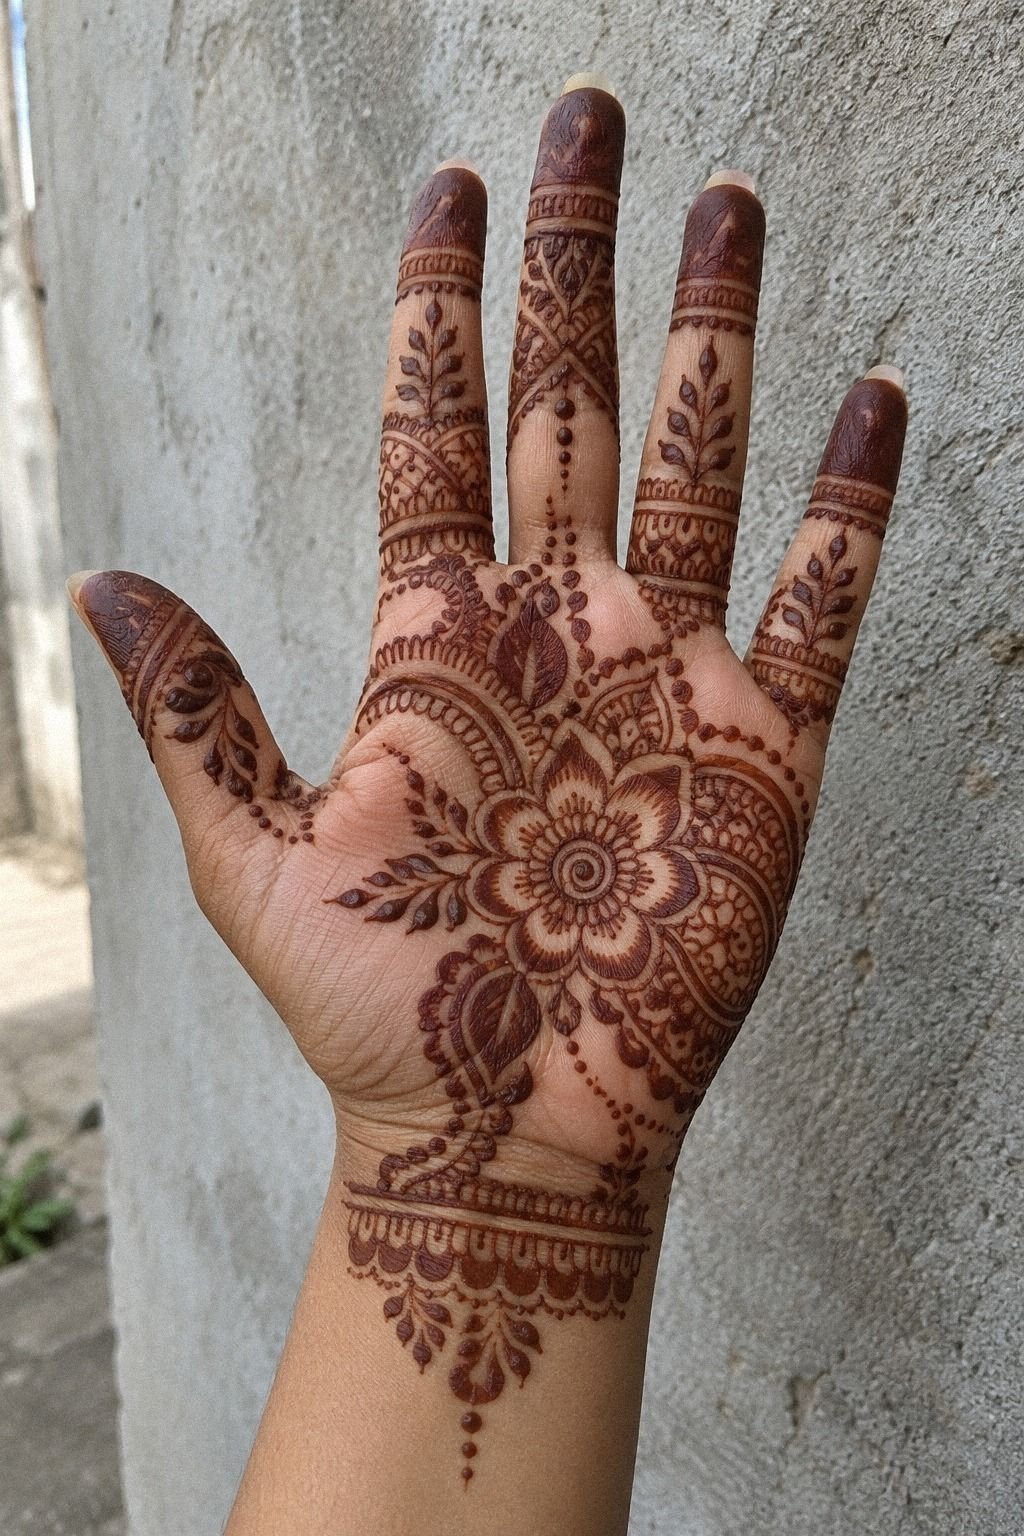
Choose the palm pattern before you decorate the fingers. One palm can carry the main flower, while the other carries a symbolic leaf or moon. That keeps the pair connected without making both hands look copied.
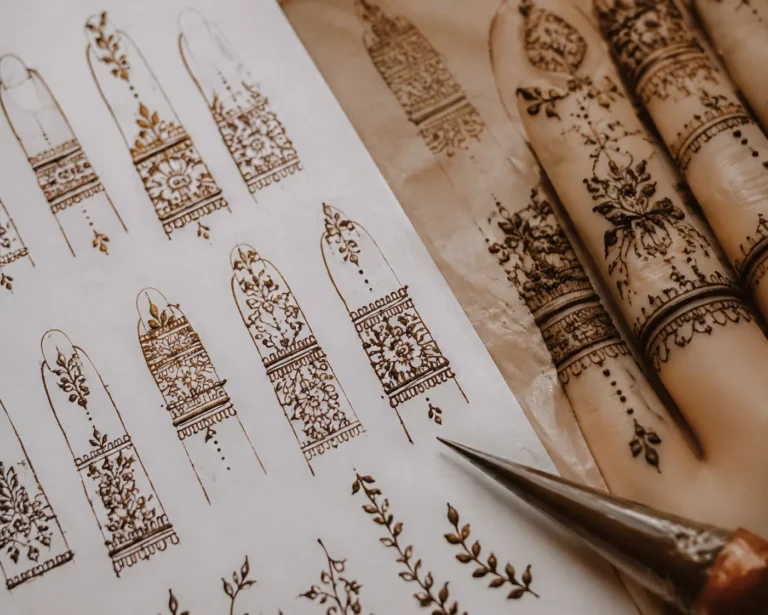
Keep the finger details narrow and repetitive. A row of dots, tiny arches, or short bands will look polished without competing with the palm.
You’re aiming for a delicate rhythm, not a solid glove of paste. I’d skip dense fingertip coverage if you want the design to stay crisp.
For the palm, use a narrow henna cone to draw the central motif. Test the pressure on paper first. If the line spreads immediately, your paste is too loose or your hand is pressing too hard.
Your skin texture matters here. Palms can absorb and shed differently from the back of the hand, so don’t judge the final stain too early. The first color may look orange before it deepens into reddish-brown.
If you’re comparing this layout with another kind of body art, focus on the mehndi version first and ask how the henna stain will develop. Fine details can soften as the color fades. Palm henna designs and modern henna designs offer useful comparisons for a feminine or masculine direction.
3Place Mehendi Along The Wrist
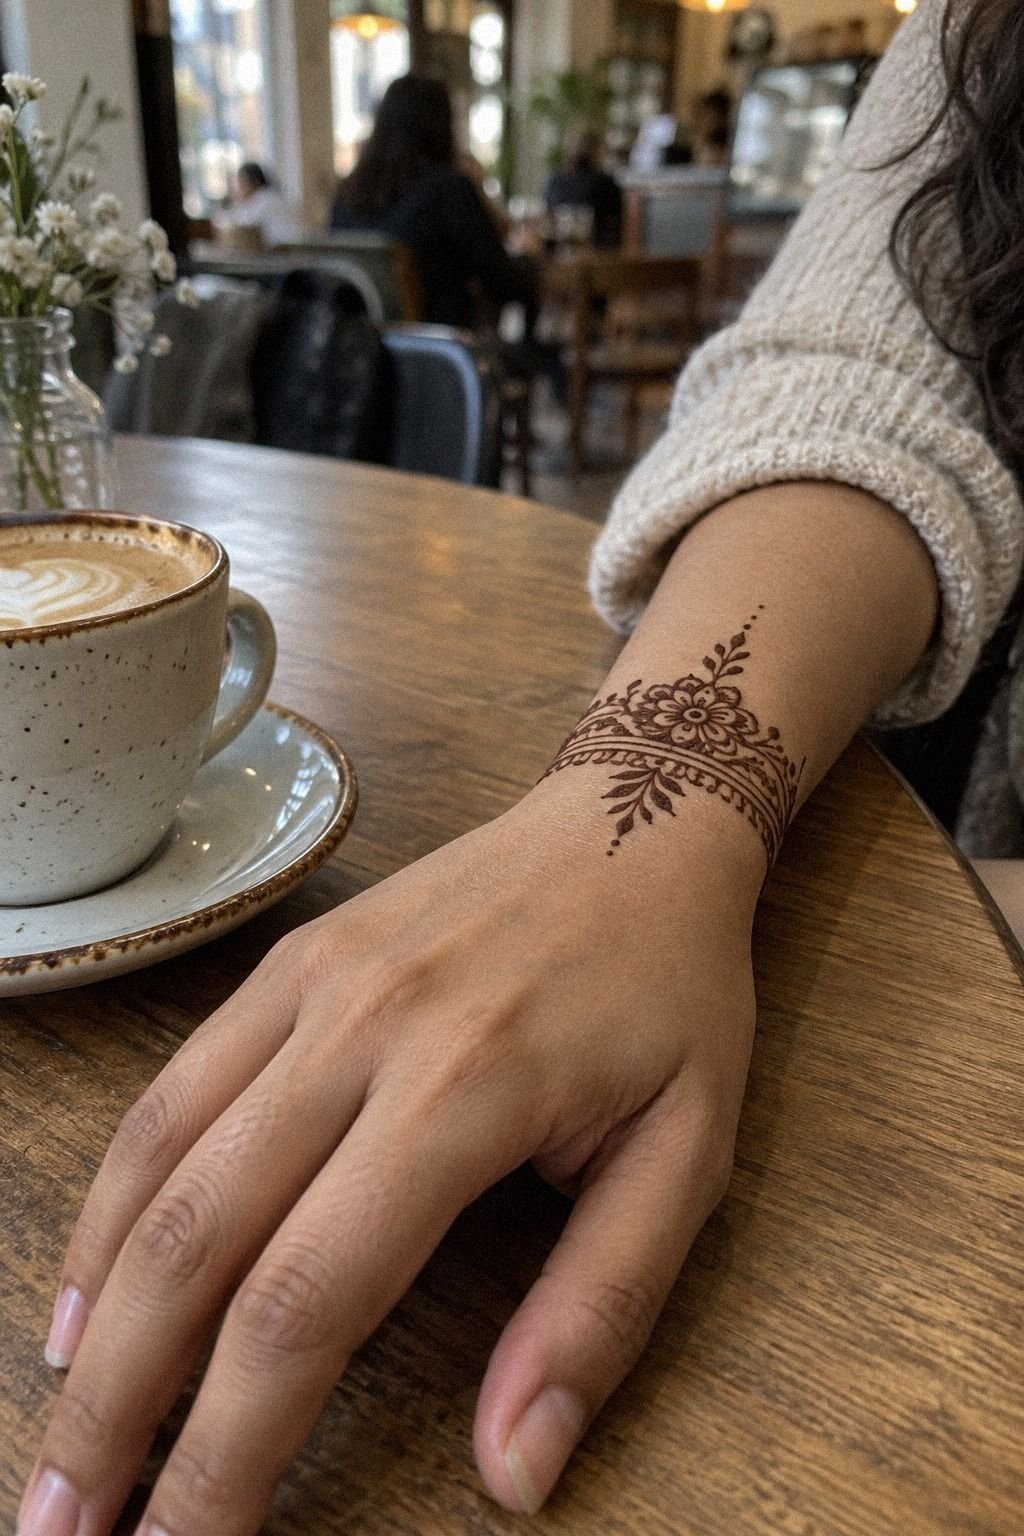
Anchor the design at the wrist with one band. Let a small motif point toward the hand. Keep the pattern visible rather than hiding the skin beneath a solid block.
A narrow chain of leaves can make the wrist feel longer. Three connected dots can suggest a private timeline.
Choose one structure. If you’re using a cotton swab, keep it nearby for cleaning accidental smudges before the paste dries.
I wouldn’t place the most meaningful symbol directly on the wrist crease. Constant bending can distort the shape.
Friction from sleeves or jewelry may affect the result. Place the key image slightly above the crease instead.
The best minimal mehendi designs have one memorable interruption. Add a tiny star, a crescent, or a single open petal instead of another full border. That small detail can make your reference feel polished and quietly edgy.
You can study minimal mehendi designs for spacing, then compare simple mehndi designs front hand easy for wrist-to-palm flow. Let the lines follow your natural movement.
4Why Negative Space Wins Over More Detail
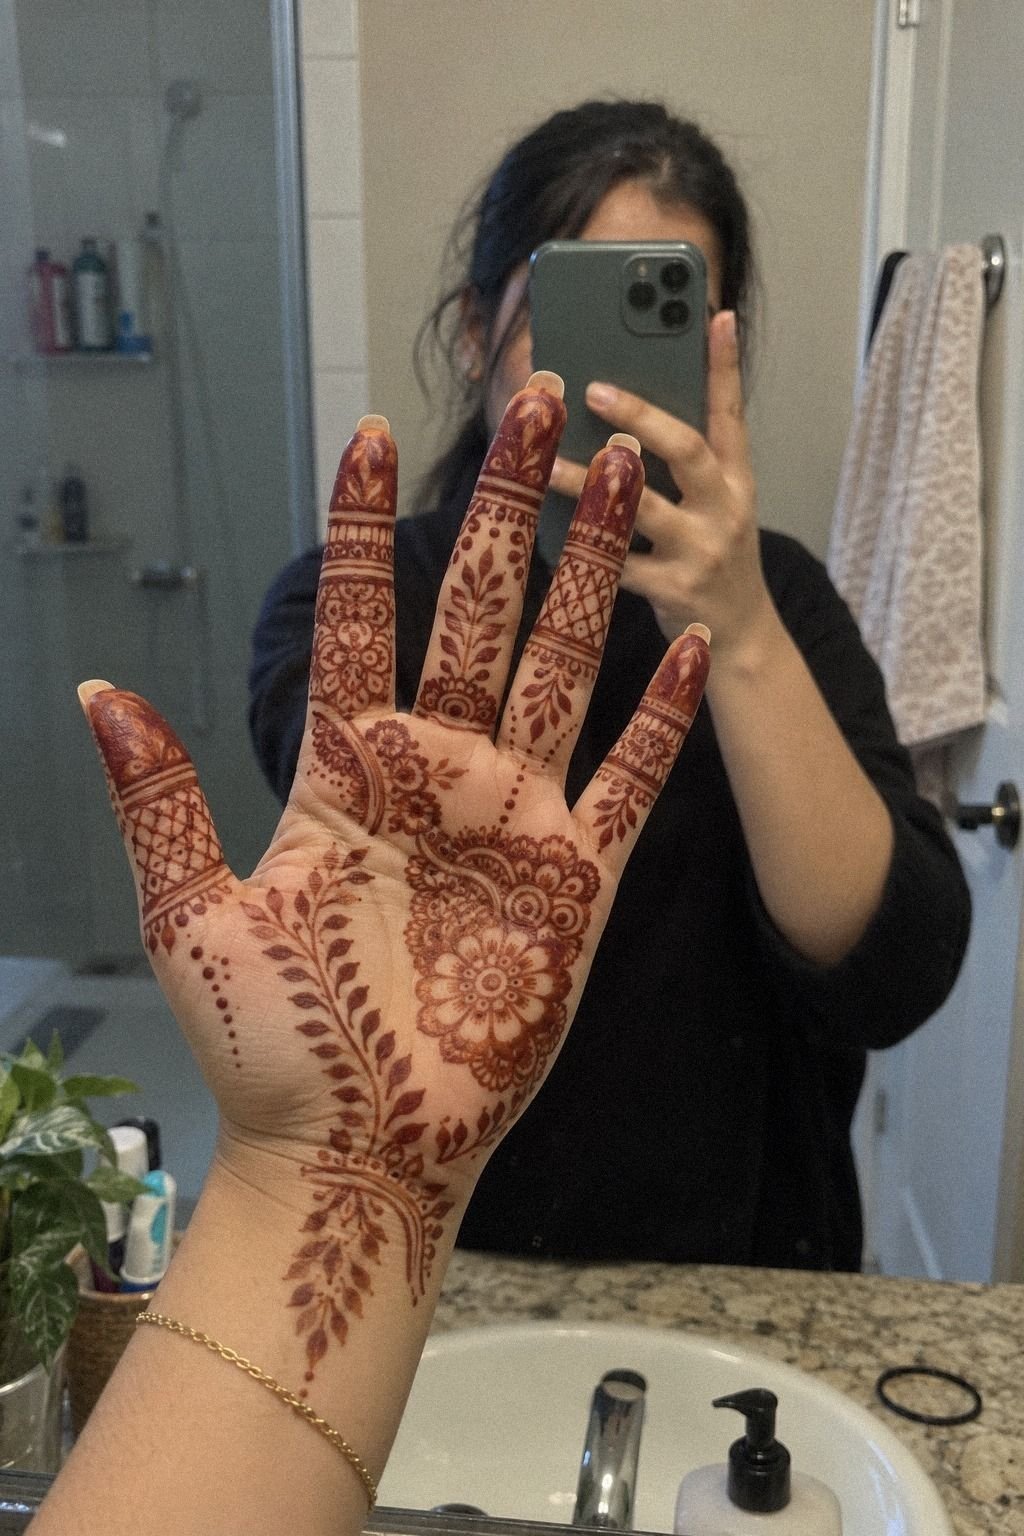
Leave clear skin around every major motif. Negative space gives each symbol a sharper edge. It also makes the design easier to read when the stain begins to fade.
Start with a skin-safe stencil pencil if you’re practicing temporary henna. Mark the central shape, then place small dots around it. Connect those dots with vines or arches once the spacing looks balanced.
Keep the surrounding skin open rather than filling every gap. I’d rather see one expressive flower clearly than six tiny symbols competing for attention. That choice feels bold because it refuses unnecessary detail.
A crisp motif can look striking against deep brown skin, medium olive skin, or fair cool-toned skin when the scale is considered carefully. Your hand doesn’t need to match anyone else’s. Contrast and placement should support your own skin tone.
Before you commit, photograph the sketch from a distance and up close. You’ll notice awkward gaps that weren’t obvious while drawing. 24 simple henna designs to practice before going bold is useful when you need more practice with open spacing.
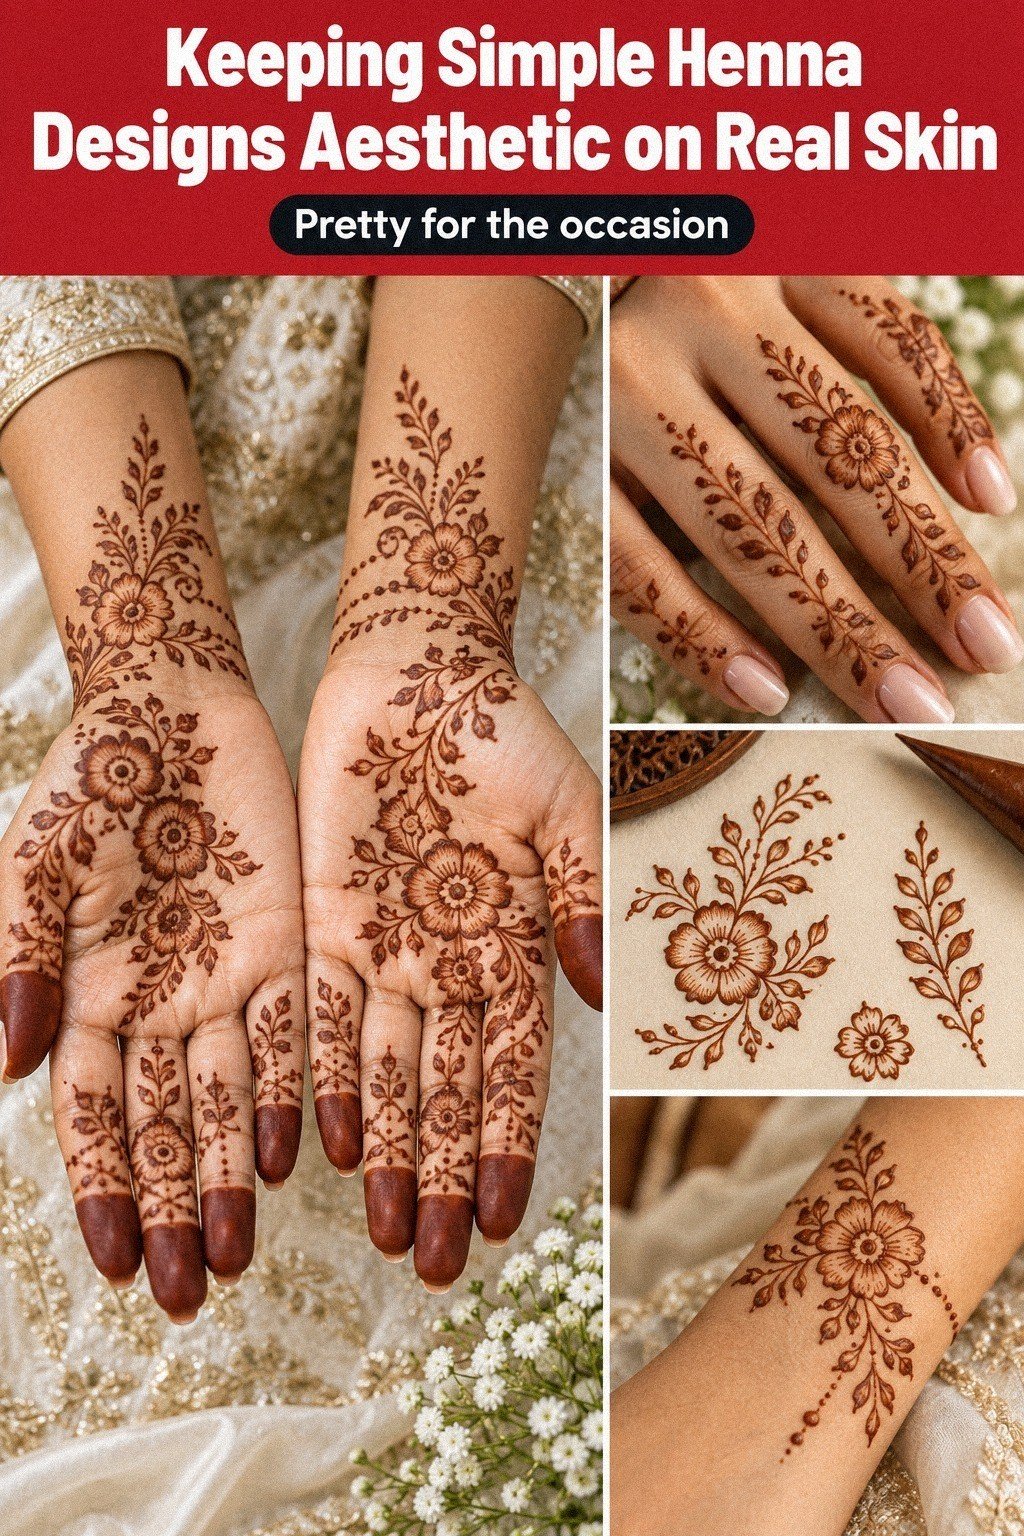
5Plan Aesthetic Henna For Ankle Placement
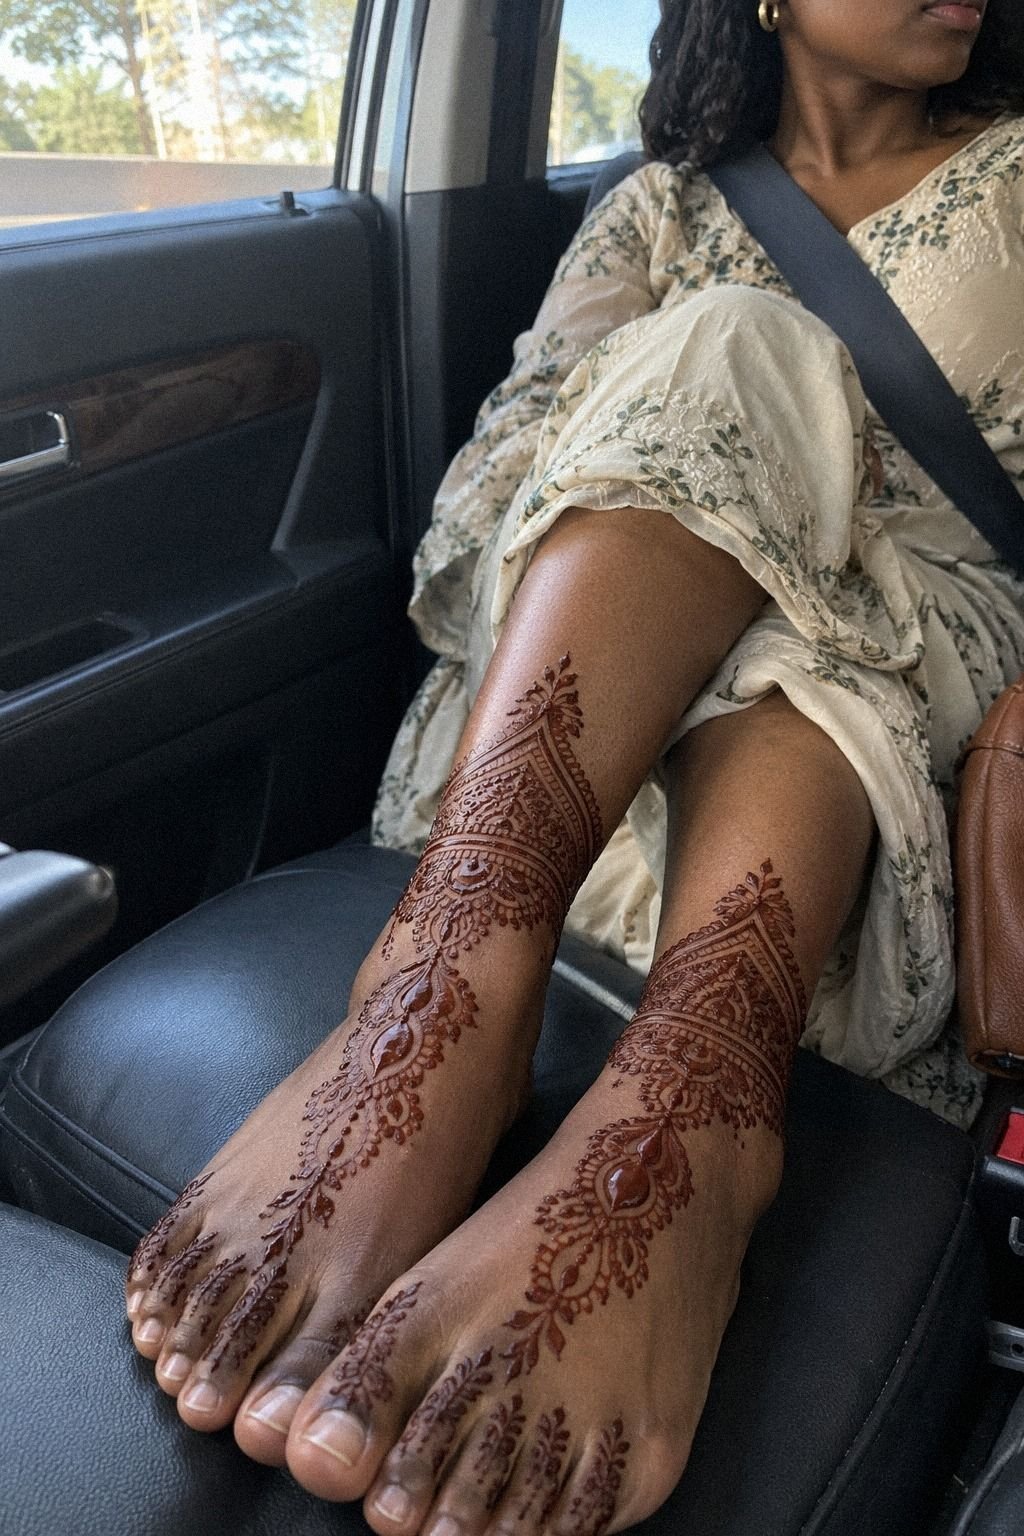
Build the ankle pattern from the side outward. Use a central motif with flowing lines that respect the curve of the ankle. A stiff band can make the placement feel disconnected from the body.
For a temporary design, keep the paste layer even. Allow it to dry fully before walking. A lemon-sugar sealant can help hold the paste in place, but use a light layer so it doesn’t drip into your socks.
Feet and ankles move constantly, so protect the design while the paste is drying. Choose a comfortable time for the application and avoid rubbing the area against straps or rough fabric.
Avoid tiny, fragile details directly under the heel or across a high-friction strap line. Those areas can fade unevenly. A vine along the outer ankle gives the composition more flow.
Your reference can stay ornate without becoming heavy. Pair a reddish-brown stain with open petals, narrow leaves, and a few sharp dots. For more inspiration, browse small henna designs and simple henna designs hand for scale ideas.
6Choose Moon And Star Details
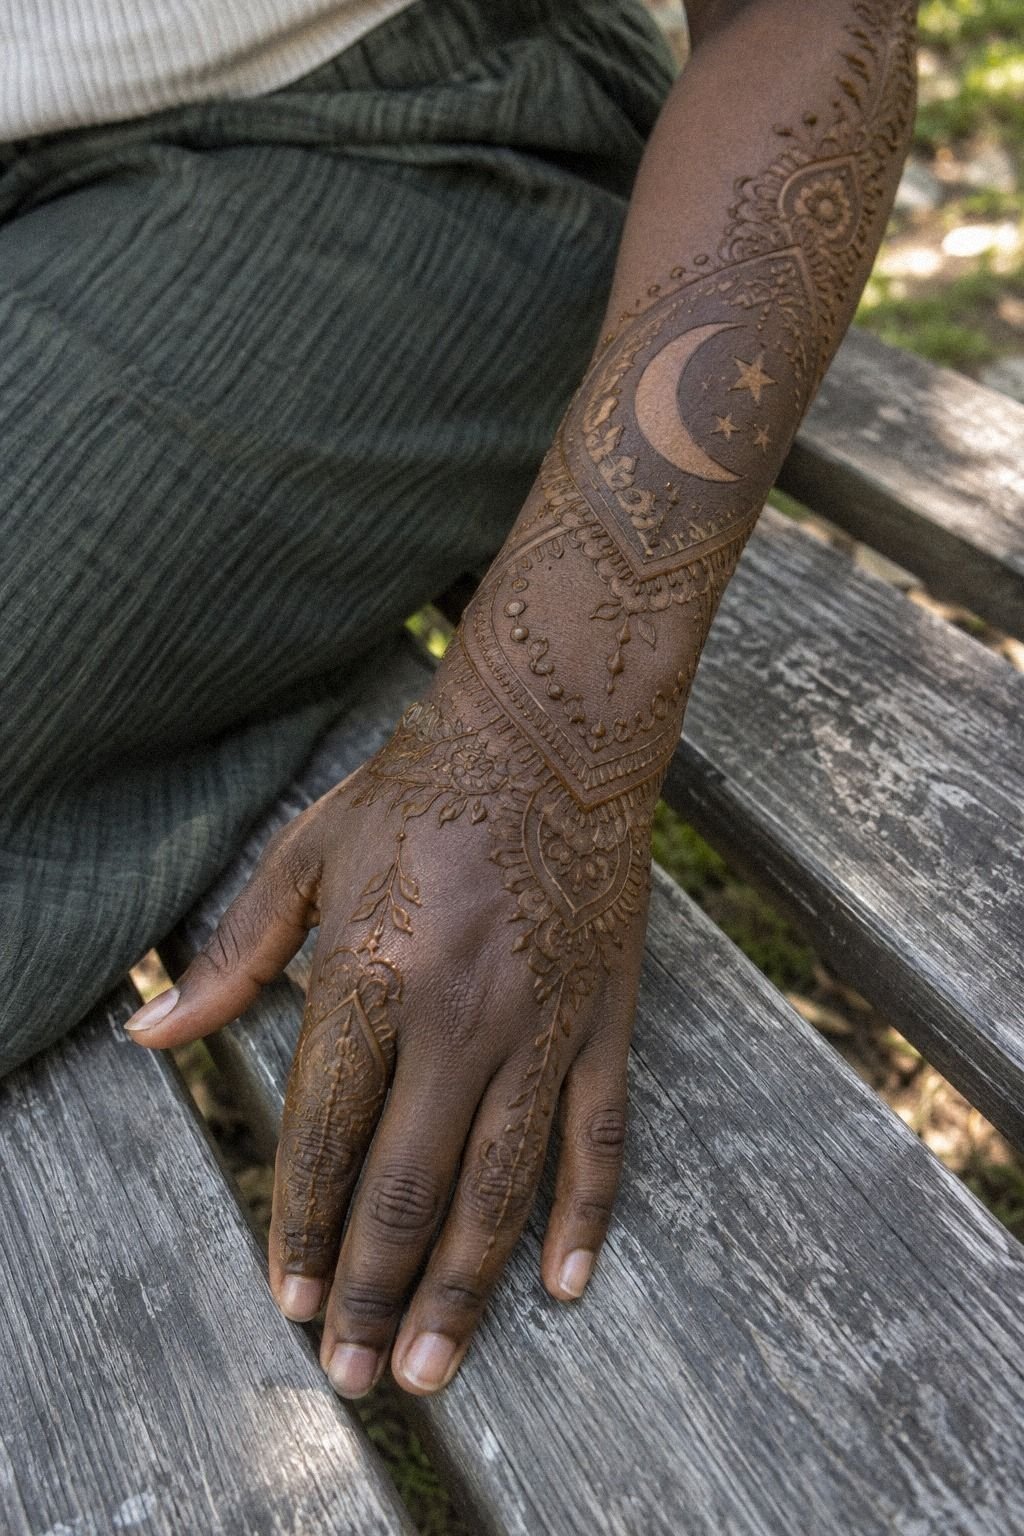
Choose one moon phase and one star arrangement before adding decorative marks. The symbols can stay expressive without heavy filling or excessive outlining.
A crescent can represent change, protection, or a private season of growth. A four-point star can feel iconic.
A cluster of tiny points may look ethereal. Ask yourself what the symbol means when nobody else is looking.
That answer should guide the shape.
Use a metal ruler for practice lines and a soft pencil for the first arrangement. You’ll want the crescent to look intentional, not accidentally lopsided. Once the structure works, add a leaf or dot pattern to connect it to the hand or forearm.
Don’t let symbolism turn into a visual dictionary. One clear moon can say more than a crowded collection of stars, initials, and dates. I’d skip the date unless it has a meaning you’ll still want visible during the stain’s short life.
If you’re combining the moon with floral henna, keep the flower slightly smaller so the symbol remains the visual anchor. Modern henna designs and pretty henna designs simple can help you compare symbolic layouts.
7Trace Vines Across The Hand
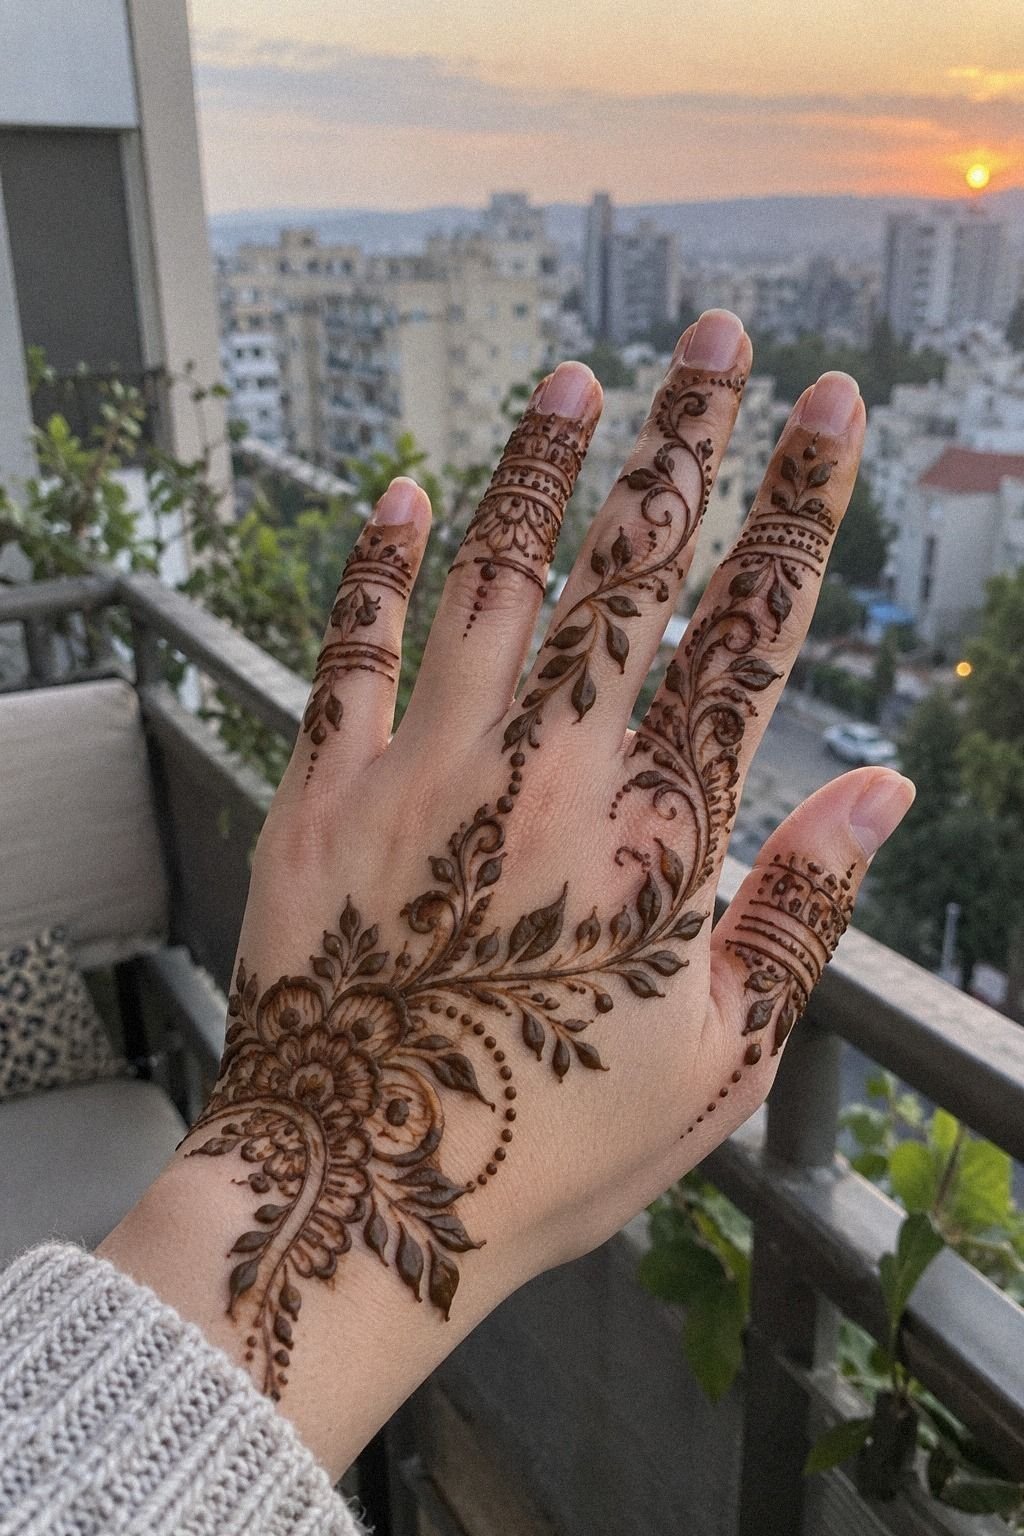
Draw the main vine from the base of the thumb toward the index finger. Follow the natural direction of the hand. The line should remain light, open, and easy to follow.
Start with one curved stem, then add leaves in alternating directions. A fine-point applicator will help you taper the ends instead of leaving blunt marks.
Your vine shouldn’t look like a chain of identical leaves. Change the size slightly so it feels hand-drawn.
I’ve learned that vines look more polished when the curve has a clear destination. Let yours lead toward a flower, moon, or meaningful dot cluster. If you’re unsure where it should end, stop before the finger joint.
The strongest version uses contrast. Pair a central flower with a minimal vine, or pair a simple symbol with a more ornate leaf structure. You don’t need every part to carry the same visual weight.
If the pattern feels too sweet, add one sharp leaf or narrow geometric break. That small edgy detail gives the design personality without making it gritty. Aesthetic mehendi designs can help you study this balance.
8Add Accents To Small Designs
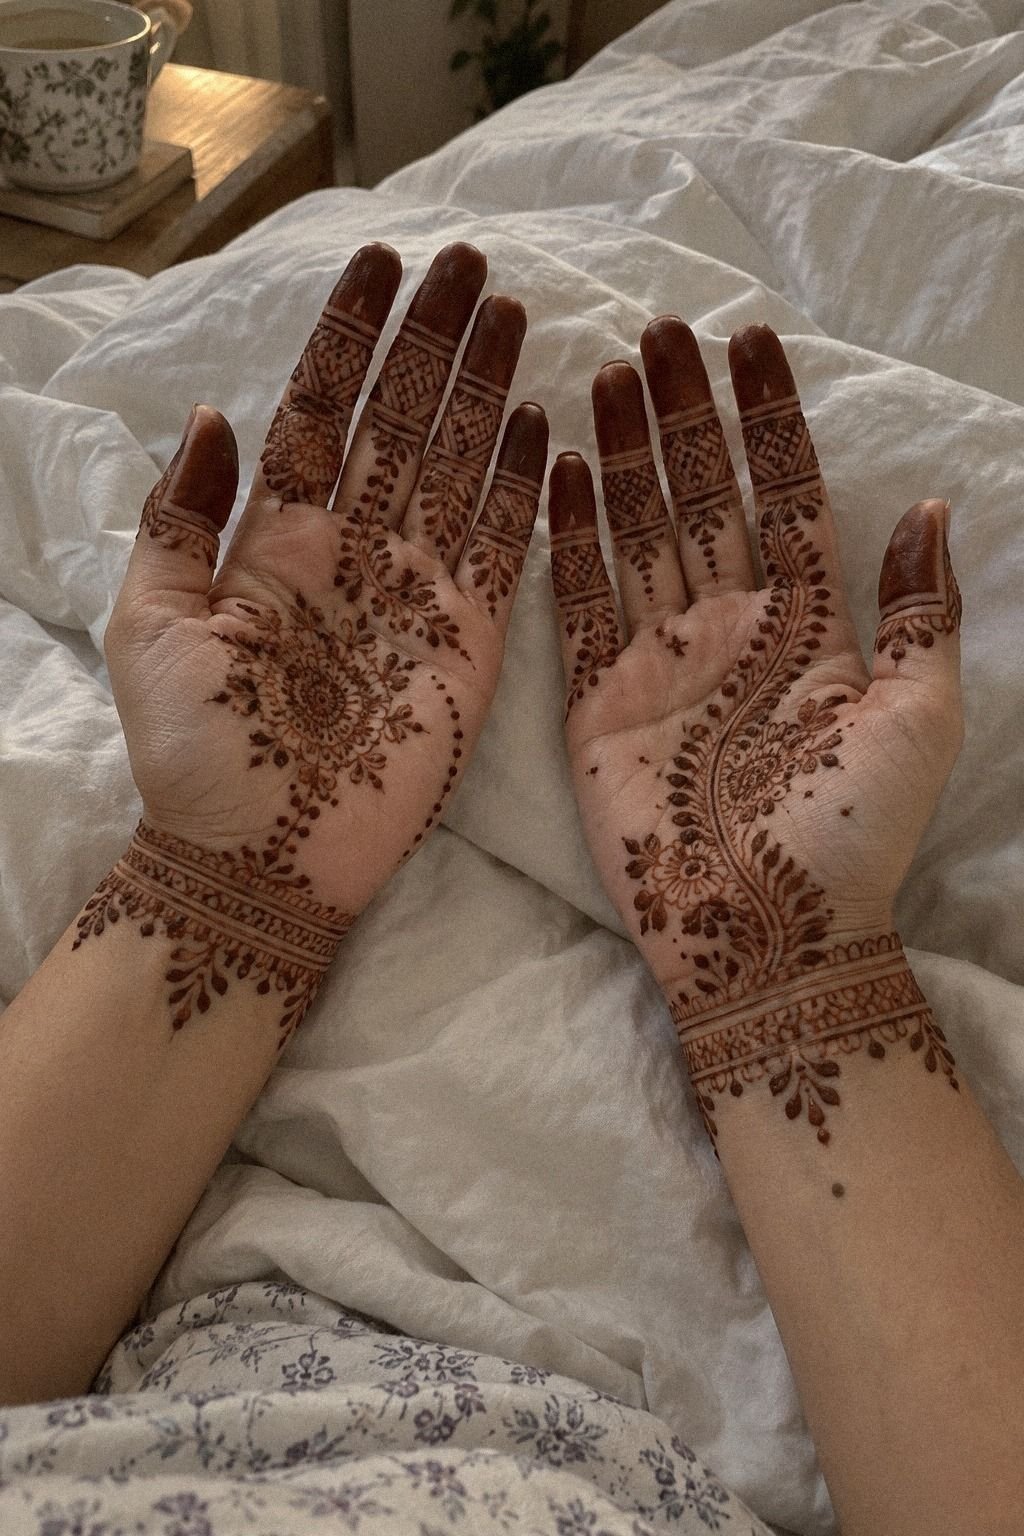
Use one bold accent to give the design a stronger focal point. A single darkened dot near the flower can do more than another border.
Try a tiny crescent, a pointed leaf, or three closely placed dots. Keep the accent connected to the meaning rather than adding it only to fill empty skin.
I like a small, expressive interruption because it makes a simple pattern feel personal. It can be dainty, playful, or unexpectedly fierce.
If the main design already feels complete, stop there. Restraint keeps the result crisp.
9Match Henna Shapes To Your Skin
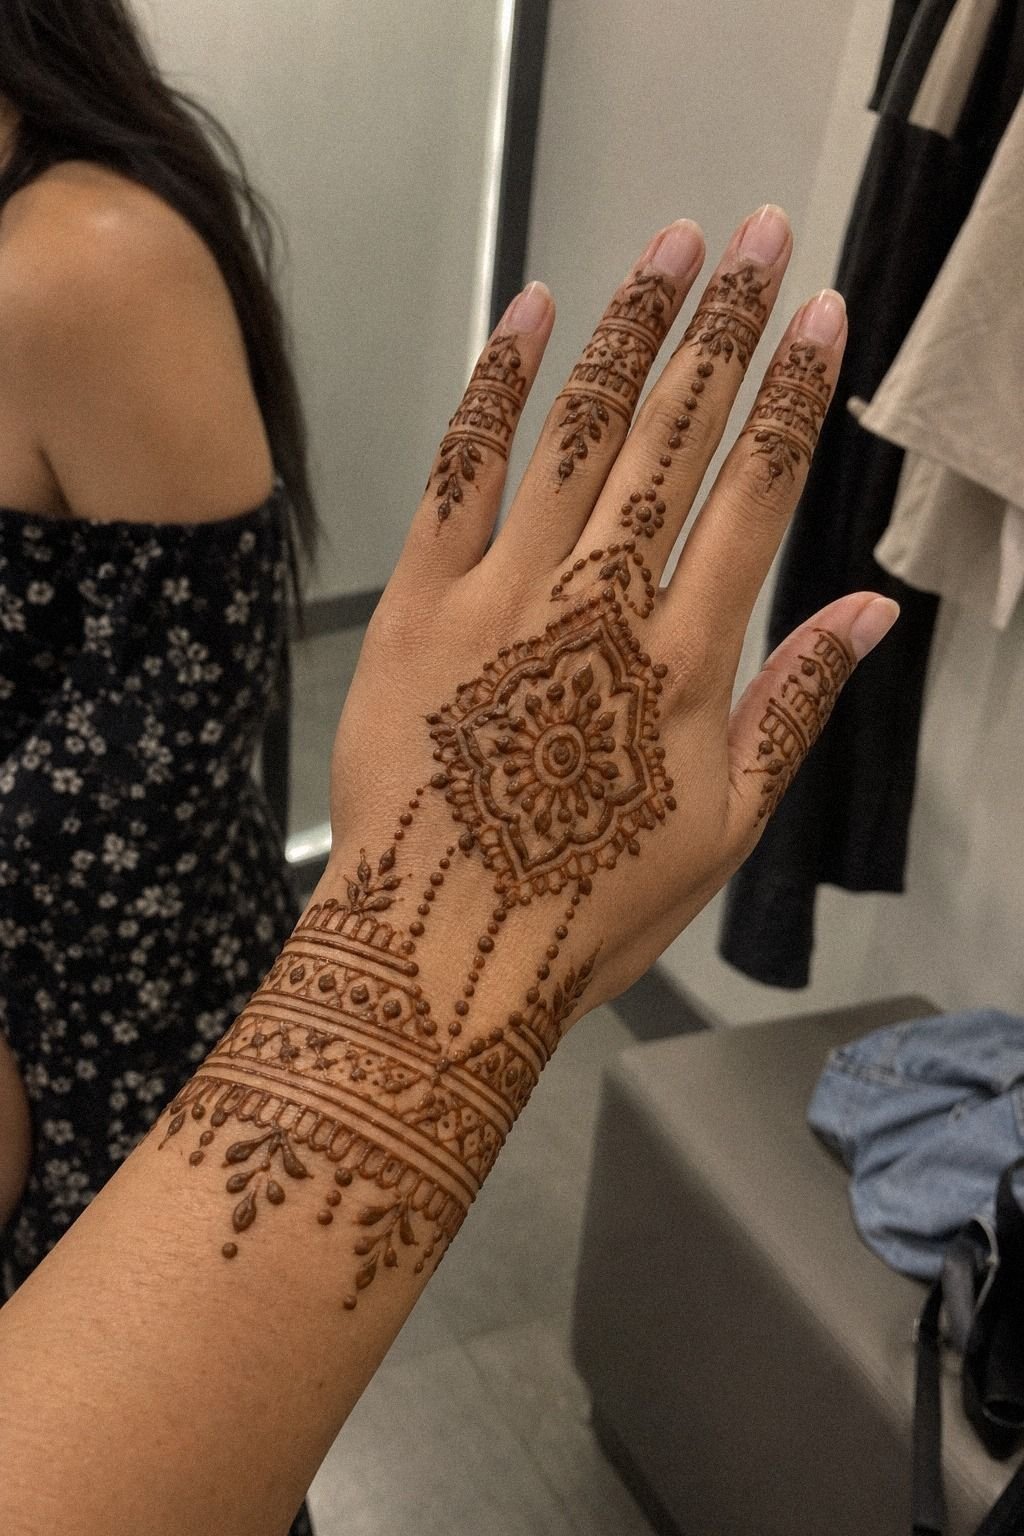
Match the scale and spacing to your own skin, not to a reference model. Your contrast, undertone, and hand proportions may call for different line density.
Take a photo of your hand in natural daylight and draw the design over a printed copy. Use a washable cosmetic pencil to test where the central motif sits. You’ll notice whether the symbol feels too small or too close to a joint.
Skin tone doesn’t limit you to one style. Clean lines can look expressive on deep skin, medium skin, and fair skin when the artist understands contrast and stain development. If you’re booking an appointment, ask for examples on skin close to yours.
Don’t choose an oversized pattern just because you want it to read clearly. A smaller, well-spaced motif can look timeless. I’d choose refined structure over sheer scale every time.
If you’re comparing references, start with simple henna designs hand and aesthetic mehendi designs. You’ll see how one symbolic shape changes across placements and skin tones.
10Can You Test Clean Lines First?
Test every line before applying paste to your hand.
Draw a few practice lines on paper, then try dots, curves, leaves, and fine arches. Check whether the cone pressure feels controlled before you begin the design.
A clean test helps you notice whether the paste is too watery, too dry, or difficult to guide. Adjust the mixture before working on skin.
Take your time! The most striking results usually begin with a calm, deliberate test rather than a rushed first mark.
11Photograph Your Finished Mehendi From Above
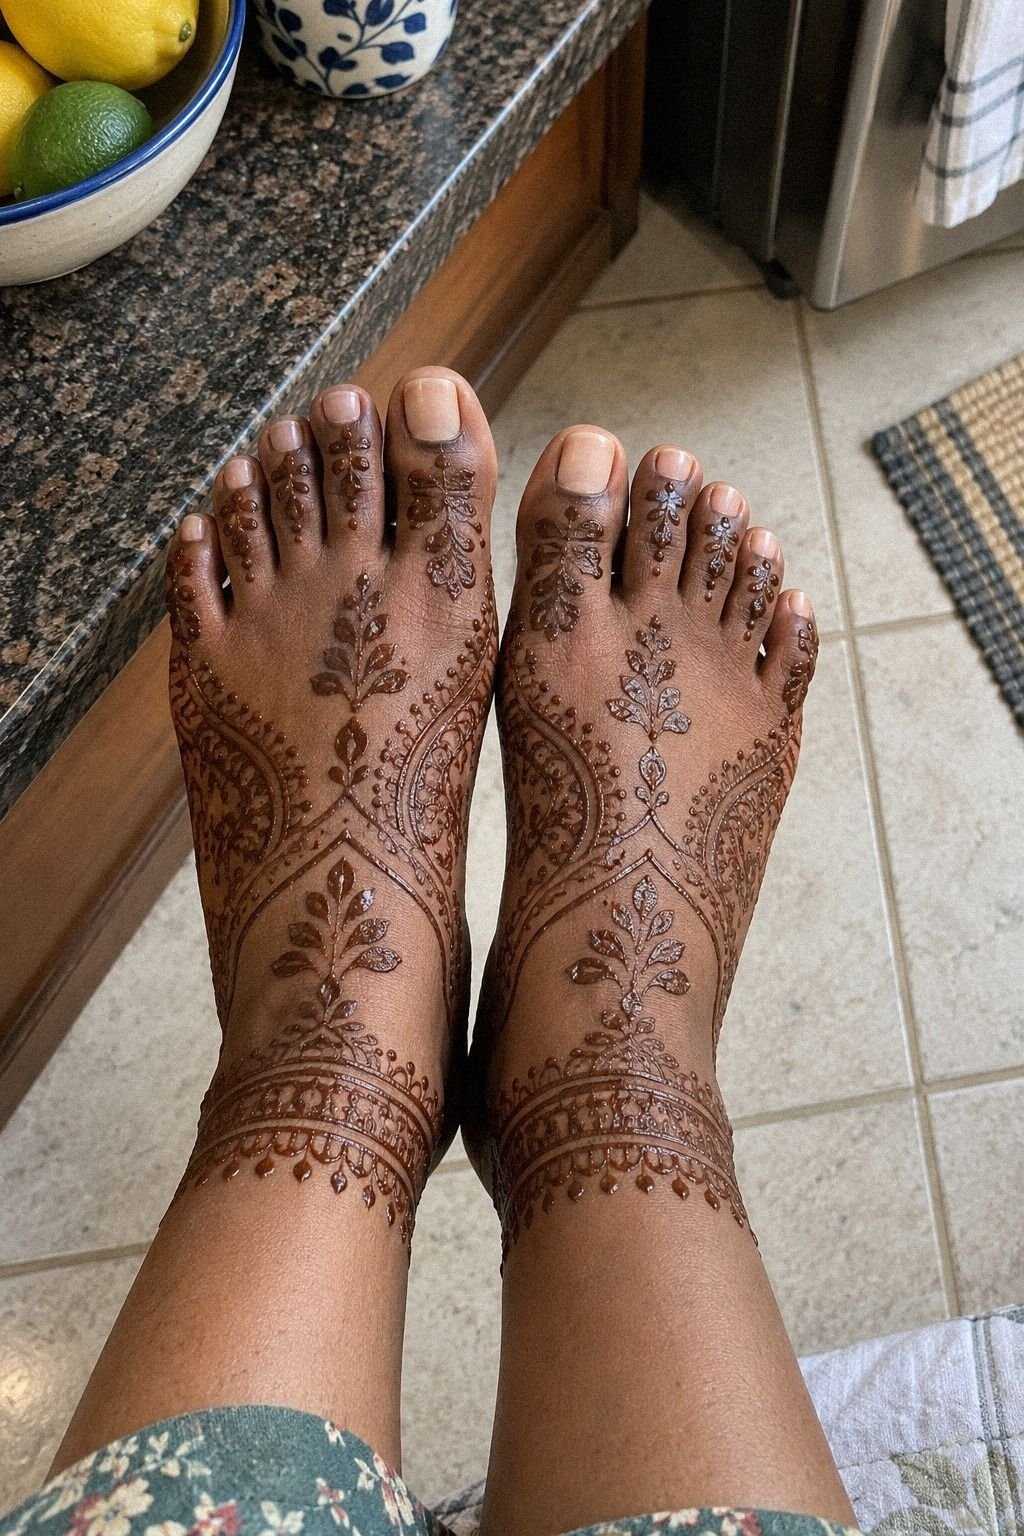
Photograph the finished mehendi from above while your hand or foot is relaxed. Use a neutral background and soft daylight that reveals the actual lines.
Place the lens directly above the design instead of angling from the side. Keep the lens clean, tap the screen to focus, and take one close image plus one wider image showing the full placement. Your phone camera can capture enough detail for a useful record.
For temporary henna, photograph the paste stage, the first stain, and the deeper stain. Natural henna can shift from orange to reddish-brown as it develops. That progression is part of the process, not a flaw.
Wait until the paste has fully dried before photographing the first stage. Then record the developing stain on the first and second days so you can see the color change clearly.
Keep the image personal rather than overly staged. A hand resting naturally can show the line flow better than a rigid pose. Small henna designs and simple mehndi designs front hand easy can give you framing ideas.
The Lineweight Ladder
I use three line weights when I’m refining a henna-inspired design: a hairline for the smallest details, a medium line for leaves and borders, and a darker line for one focal symbol. This creates hierarchy without making the pattern feel flat.
Your smallest lines shouldn’t carry the most important meaning. Put the private symbol in the medium or bold range.
Let the decorative marks support it. That choice keeps the design readable while the stain gradually softens.
A drawing pen is useful for the first draft, but your mehndi artist may translate that appearance differently with a cone. Ask to see examples of both fresh paste and developed stains before approving the final arrangement. The wet line isn’t always the final color.
I’d skip a design where every mark has identical weight. It may look tidy on paper, but it can feel mechanical on skin. A little variation gives the eye somewhere to rest.
You can test this ladder with pretty henna designs simple and modern henna designs. Look for designs where one symbol leads and the smaller marks follow.
The Two-Inch Meaning Map I Trust
The private meaning should come before the decorative decisions. I’ve watched people choose a moon, flower, or vine because it looked beautiful, then realize they couldn’t explain why it belonged to them.
That’s not a failure. It’s a sign to pause before choosing the final henna motif.
I start with a short sentence: “This design reminds me that I can keep moving.” Then I choose one symbol that supports the sentence. A flowing vine can suggest growth.
A star can mark direction. A crescent can represent change.
Your artist can help with composition, but they can’t invent the reason for you. Bring a reference folder with no more than five images, plus one written note about the feeling you want. Too many references create a collage instead of a clear direction.
I prefer quiet symbolism over a literal illustration. A small mark can feel more powerful than a full scene, especially when the design will fade within a few weeks. If your idea needs a paragraph of explanation, reduce it to one visual anchor first.
Private doesn’t mean hidden. Your design can be visible, romantic, or fierce while still carrying a meaning only you understand. Aesthetic mehendi designs and palm henna designs can help you explore that balance.
Natural Henna Notes That Change The Result
Natural henna paste needs time on the skin to develop a deeper stain. Don’t judge the final color while the paste is still wet. The surface can look uneven at first.
Use natural henna powder from a source that clearly lists its ingredients. Avoid products that promise an instant black stain. Unknown additives can irritate skin or create a serious reaction.
Patch testing is sensible, especially if you’ve reacted to dyes or cosmetics before. Apply a small amount according to the product instructions. Stop if you feel burning, swelling, or intense itching.
Your aftercare affects the result. Keep the paste on for the recommended time, remove it gently, and avoid soaking the area immediately. If you’re unsure about a product, ask a qualified henna artist or medical professional before using it.
Let the color deepen naturally on the second day instead of scrubbing for a faster result. A little lemon-sugar sealant can help protect the dried paste, but use only a light layer.
Worth It: Where Detail Earns Its Price
Extra detail is worth the cost when it improves the meaning or the way the design follows your body. It isn’t worth paying more for lines that only make the pattern harder to read.
Spend your budget on the parts people will notice first: composition, placement, clean execution, and an artist who understands your skin. A smaller design with strong structure often offers better value than a larger design packed with fragile marks.
Ask what the quoted price includes. Confirm the consultation, design adjustments, application time, aftercare instructions, and whether a second visit is included. Clear answers make the investment easier to judge.
If the artist dismisses your questions or pushes you toward more detail, pause. A good consultation should leave you informed. You should know what you’re paying for before the application begins!
Questions To Ask Before You Book
Ask whether the artist has worked with natural henna designs before. Then ask to see examples of both fresh paste and developed stains. This shows you how the color changes over the first two days.
Ask how the artist approaches your chosen placement. Hands, feet, fingers, and ankles have different friction levels. A design that works on the forearm may need larger spacing on a finger.
Ask about the drying process and the recommended aftercare. You should also ask how long the stain usually remains visible. Those details belong in the decision, not after it.
Finally, ask whether the artist understands the private meaning behind the design. They don’t need to know every detail. They do need enough context to protect the focal symbol and its scale.
What People Always Want to Know
How much does Aesthetic Henna Simple usually cost?
A typical US design costs about $15 to $150, though a small application may begin around $10 to $25 and bridal or highly detailed work can cost more. Your final price depends on the artist, region, placement, occasion, and detail level.
– Artist portfolio – Placement difficulty – Fine-line detail – Application length
Is Aesthetic Henna Simple a good idea for a first design?
Yes, it can be a good first design when you choose a comfortable placement and a pattern with clear spacing. Simple linework is easy to evaluate before adding detail, and a symbolic motif can feel private without requiring a large commitment.
– Forearm or hand placement – Clean floral structure – Limited paste density – Developed stain examples
How do I choose a mehndi artist for Aesthetic Henna Simple?
Choose an artist who shows clean linework, developed stains, and experience with your skin tone and placement. A strong portfolio matters more than a dramatic fresh photograph. Ask direct questions about ingredients, drying time, aftercare, and stain duration.
– Developed stain photos – Ingredient transparency – Fine-line experience – Clear consultation answers
How much does Aesthetic Henna Simple hurt?
Applying natural henna should not involve needles or deliberate skin injury. You may notice cool paste, mild pulling from dried paste, or slight sensitivity if the skin reacts to a product. Stop immediately if you feel burning, swelling, or intense itching.
– Skin sensitivity – Ingredient check – Comfortable positioning – Artist pacing
How long does Aesthetic Henna Simple take to develop?
The paste usually dries for about 1 to 2 hours, and the stain often deepens during the first two days. With sensible aftercare, the reddish-brown color commonly remains visible for about 1 to 3 weeks before gradually fading.
– Gentle paste removal – Lemon-sugar sealant – No immediate soaking – Reduced friction
What’s the best placement for Aesthetic Henna Simple?
The back of the hand is a strong choice for visibility, while the palm often develops a deeper stain. The ankle offers a more private placement. Your best placement balances meaning, friction, drying time, and how clearly the design will fade.
– Hand visibility – Palm symbolism – Ankle placement – Artist guidance
Where I’d Start First
If I had to pick one step, I’d start with the private meaning map. One symbol gives every vine and dot a reason to exist, so the design won’t feel borrowed after the stain fades.
Bring your mehndi artist one clear sentence and three strong references. Decide your budget before the consultation. Then let the artist help you adjust scale, spacing, and placement.
The best result doesn’t need the most marks. It needs a symbol you still recognize as yours.