Simple henna designs work best when the pattern has rhythm. Beginners usually improve faster with one clean flower, one vine, or one finger pattern than with a full-hand design copied from a bridal photo.
Quick answer: Good beginner henna designs include dots, vines, leaves, small flowers, wrist bands, simple mandalas, finger trails, and tiny paisley shapes. Start with short patterns, use natural henna, and avoid products marketed as black henna.
Beginner Henna Ideas
Start With Single Motifs
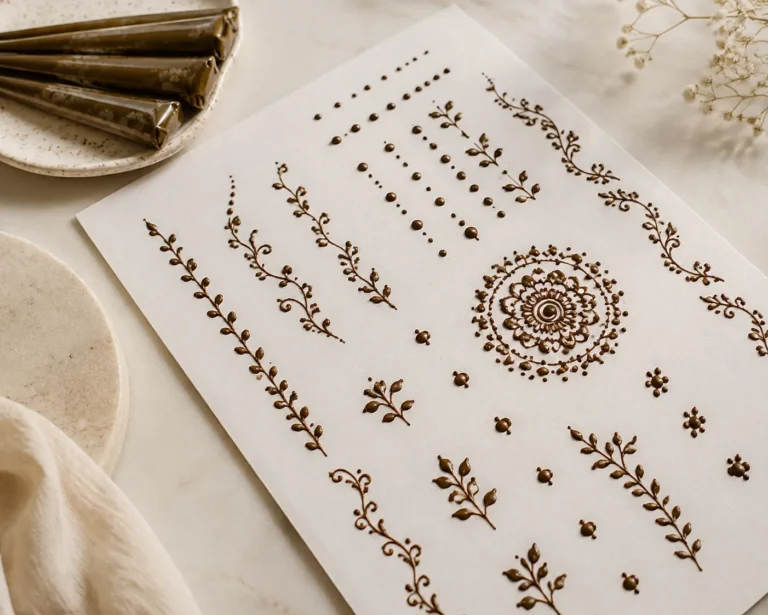
A beginner design should teach pressure, spacing, and flow without covering the whole hand. Start with single-stroke florals, simple paisleys, or a thin vine running along the inner wrist. These shapes stay clean on skin because they do not demand perfect symmetry. A small mandala on the palm center or three stacked lotus petals on the top of the hand are classic starter picks. They read well, they age gracefully, and a beginner applicator can pull them off without losing control of the cone.
| Option | Best use | Keep in mind |
|---|---|---|
| Dot trail | Learning spacing | Keep dots even |
| Leaf vine | Wrist or finger design | Do not crowd leaves |
| Tiny flower | Back hand starter | Petals need symmetry |
| Simple mandala | Palm or back hand center | Start with fewer rings |
| Wrist band | Fast decorative look | Lines should stay parallel |
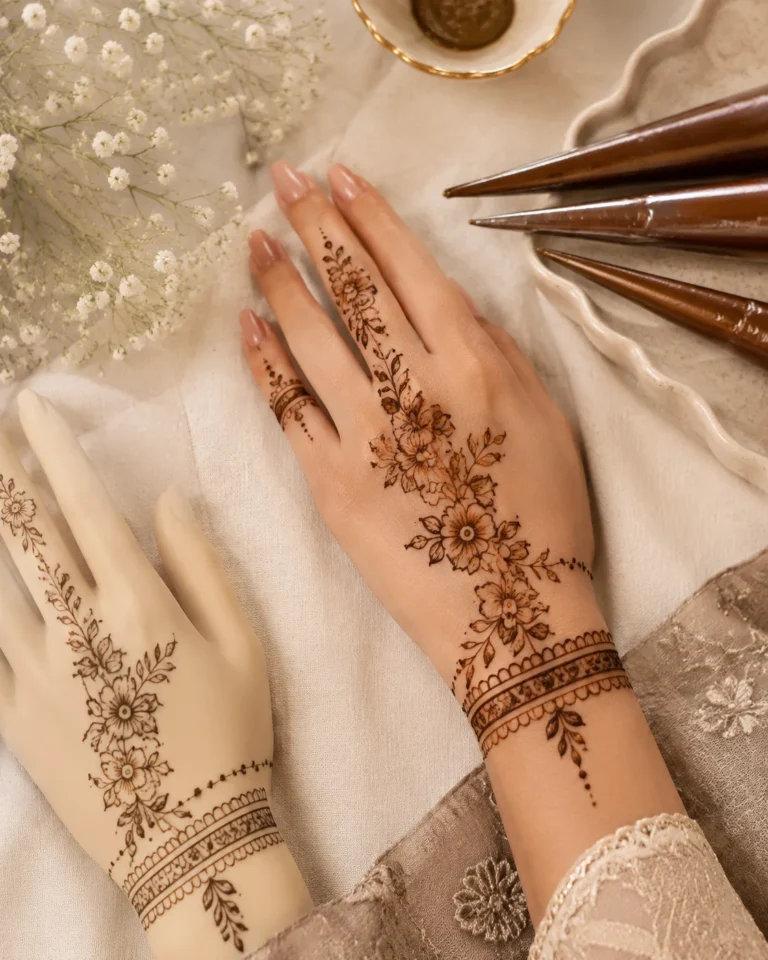
Finger and Forearm Zones
Finger designs work well for beginners, just keep them minimal. A single fine line ring or a small geometric band on the index finger photographs sharp and stays intact longer than dense coverage. The inner forearm is another accessible zone. The skin is flat and stable, and you can see exactly what you are doing the whole time. Stain depth here is mid-range, not as dark as palms, but the visibility makes learning easier.
How Henna Actually Works on Skin
The Science Behind the Stain
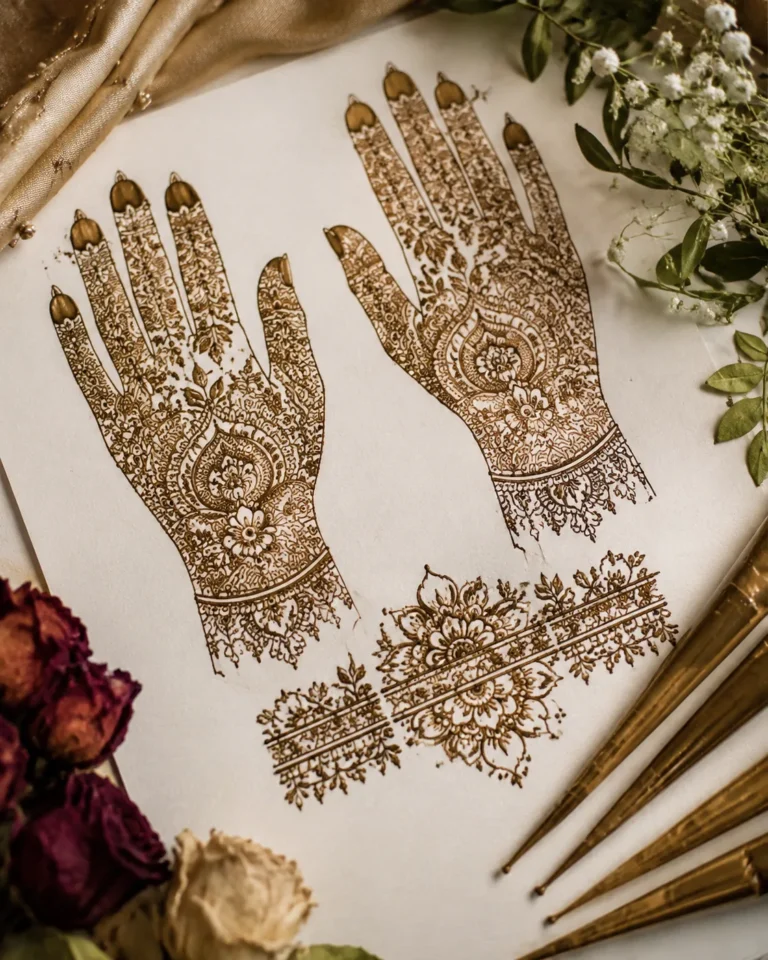
Henna stains because lawsone, the dye molecule in the Lawsonia inermis plant, bonds with keratin in the outer skin layer. Results depend heavily on skin type, body temperature, and moisture. Warmer skin tones and higher body heat often produce darker, more saturated stains. The palms and soles hit deepest orange-to-brown because the keratin layer there is thickest. Fingers and wrists land mid-range. Ankles and feet stain lighter and fade faster.
The paste needs time on skin. Many artists suggest a minimum of two hours, with longer durations up to six or eight hours yielding deeper color. The longer it sits, the more lawsone transfers. Wrapping the dried paste with medical tape or a sugar-lemon sealant keeps it moist and pressed against the skin. Once you peel it off, the initial orange brightens to a reddish-brown over the next 24 to 48 hours. That delayed color is your finished result, not what appears immediately after removal.
Why Clean Lines Matter
A clear beginner pattern stains better because the paste sits in deliberate lines instead of messy clumps. Practice on paper first. Then try a small wrist or back-hand design before attempting dense front-hand mehndi. The muscle memory you build with simple shapes transfers directly to more complex work later.
Application and Safety
What to Buy and What to Avoid
Use safe, fresh henna paste and patch test when possible. Be especially careful with products advertised as black henna.
If you are applying at home, buy a pre-mixed body art quality cone, not a craft store kit. The black paste sold at some markets contains PPD, a chemical that can cause severe contact dermatitis. Natural henna is never black; it is always brown. Check the ingredient list. If you cannot read it or it says “black henna,” skip it. Patch test 24 hours before a full application, especially if you have had hair dye reactions.
- Start with one motif: flower, vine, band, or mandala.
- Leave drying time: smearing ruins beginner work quickly.
- Keep the pattern breathable: open skin makes the design look cleaner.
- Avoid black henna: it can cause serious reactions.
Booking a Professional
If you are booking a professional, ask how long the artist has been working and whether they make their own paste or use store cones. A solid artist controls their formula. Check that the studio space is clean, the cones are sealed, and the artist’s hands are gloved. High-traffic areas like outdoor festivals are fine if the artist is experienced, but ask questions. A two-minute conversation tells you a lot.
Common Beginner Mistakes
Design and Technique Errors
The classic beginner mistake is copying a bridal design too early. Dense mehndi takes hand control and patience that builds over weeks, not hours. Start sparse. Add complexity only after you can lay down a clean five-inch vine without wavering.
Rushing the dry time is another frequent error. Henna paste smears the second it touches anything wet or fabric. Give it at least 30 minutes to fully crust before you start moving normally. Water is problematic for the first 12 hours after removal. No washing, no lotion, no swimming. Moisturizing too early breaks down the stain before it sets. Coconut oil or a light balm applied after those first 12 hours will actually help lock in color and extend wear.
Placement and Expectations
Placing designs on high-wear zones without knowing how fast they will fade leads to disappointment. The sides of the hands, fingertips, and anywhere near jewelry lines wear fastest. If you want a design to last its full potential duration, choose the back of the hand, the wrist, or the inner forearm. These areas see less friction and stay intact longer.
Do not assume darker means better if the product is not natural henna. Safety comes before stain color. A lighter, natural stain from quality paste is always preferable to a dangerous chemical reaction from adulterated product.
Safety source note: This guide keeps safety advice conservative and points readers to primary public-health or dermatology sources.
Related guides:
Before You Decide
Simple henna designs reward patience more than talent. Pick one motif, practice the motion until your hand relaxes, and let the paste rest on skin as long as you can manage. The stain that develops over the next two days is your real result, not the paste you peel away.
If you are deciding between doing it yourself and booking an artist, consider your goal. Self-application teaches you a skill and lets you experiment freely. A professional session gives you clean, confident lines and the chance to study technique up close. Either path works for beginners. The wrong path is reaching for complexity before you have built the fundamentals. One clean vine, well placed, outlasts and outshines a crowded hand of shaky shapes every time.
Frequently Asked Questions
How long should I leave henna paste on for the darkest stain?
Most artists suggest at least two hours, with four to six hours being ideal for deeper color. Some leave paste on overnight for maximum saturation, though results vary by skin type and body temperature.
Why is my henna orange right after I remove the paste?
That orange is normal. The lawsone dye continues oxidizing over 24 to 48 hours, darkening into the final reddish-brown color. What you see immediately after removal is not your finished result.
Can I use black henna for a darker design?
No. Products sold as black henna often contain PPD, a chemical that can cause severe allergic reactions and permanent scarring. Natural henna is never black; it ranges from orange to deep brown.
What is the easiest place to apply henna as a beginner?
The back of the hand or inner wrist offers flat, stable skin and good visibility. These areas also stain reasonably well without the complexity of palm application.