Front hand mehndi designs are judged quickly because the palm and fingers are always in view. The layout needs a center, finger rhythm, and enough negative space to keep the pattern readable.
Quick answer: Strong front hand mehndi designs include palm mandalas, finger trails, Arabic floral sweeps, bracelet bands, diagonal vines, negative-space florals, and bridal-style fills scaled to the occasion.
Front hand mehndi layout ideas
The front hand gives you three zones: fingers, palm, and wrist. The design should connect them.
| Option | Best use | Keep in mind |
|---|---|---|
| Palm mandala | Classic centered look | Needs clean rings |
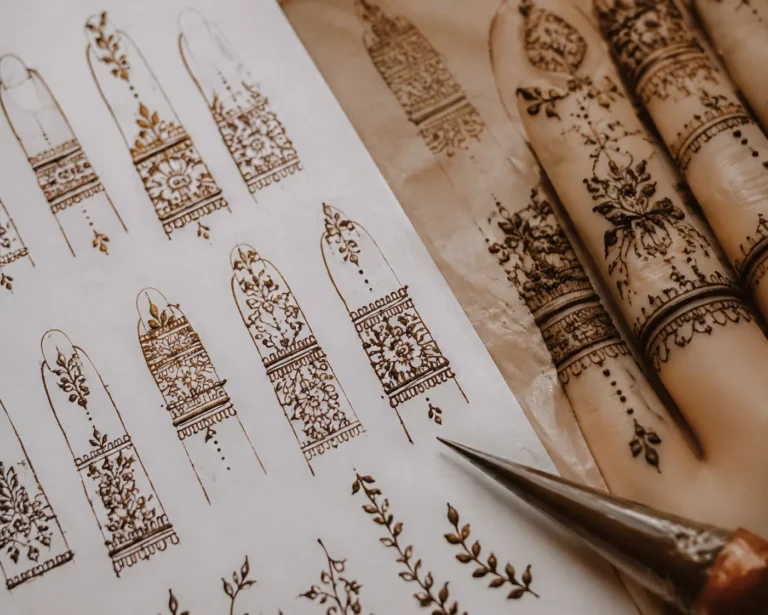
| Finger trails | Elegant finger emphasis | Avoid uneven spacing |
| Arabic sweep | Diagonal floral flow | Do not overfill background |
| Bracelet wrist | Jewelry effect | Lines must stay parallel |
| Negative space floral | Modern breathable design | Open skin should look intentional |
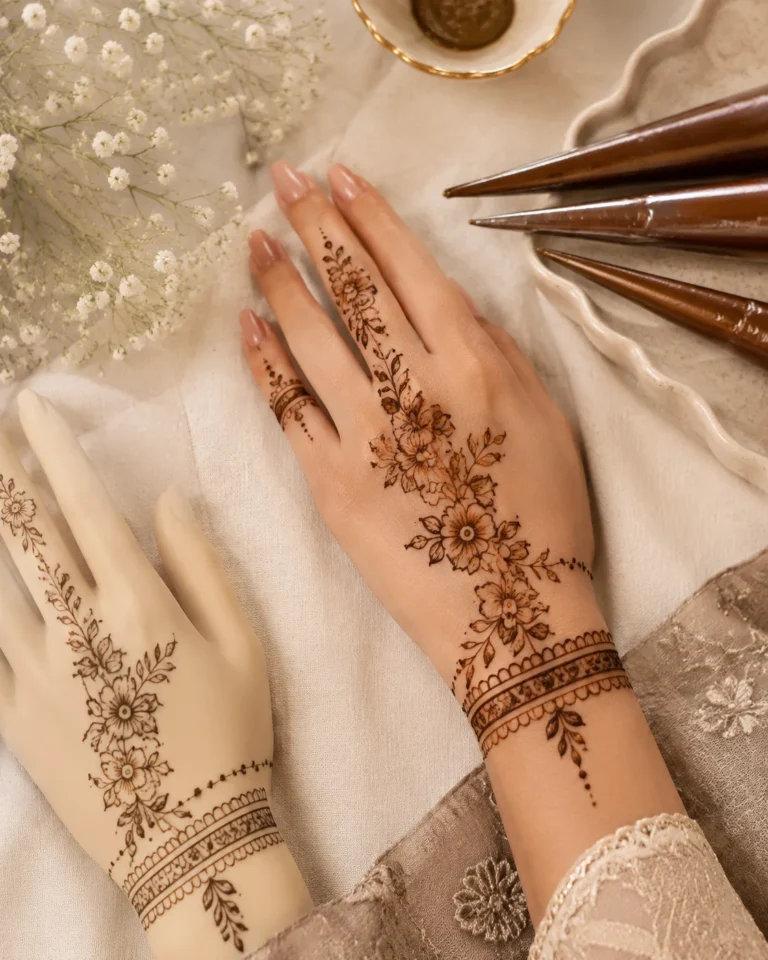
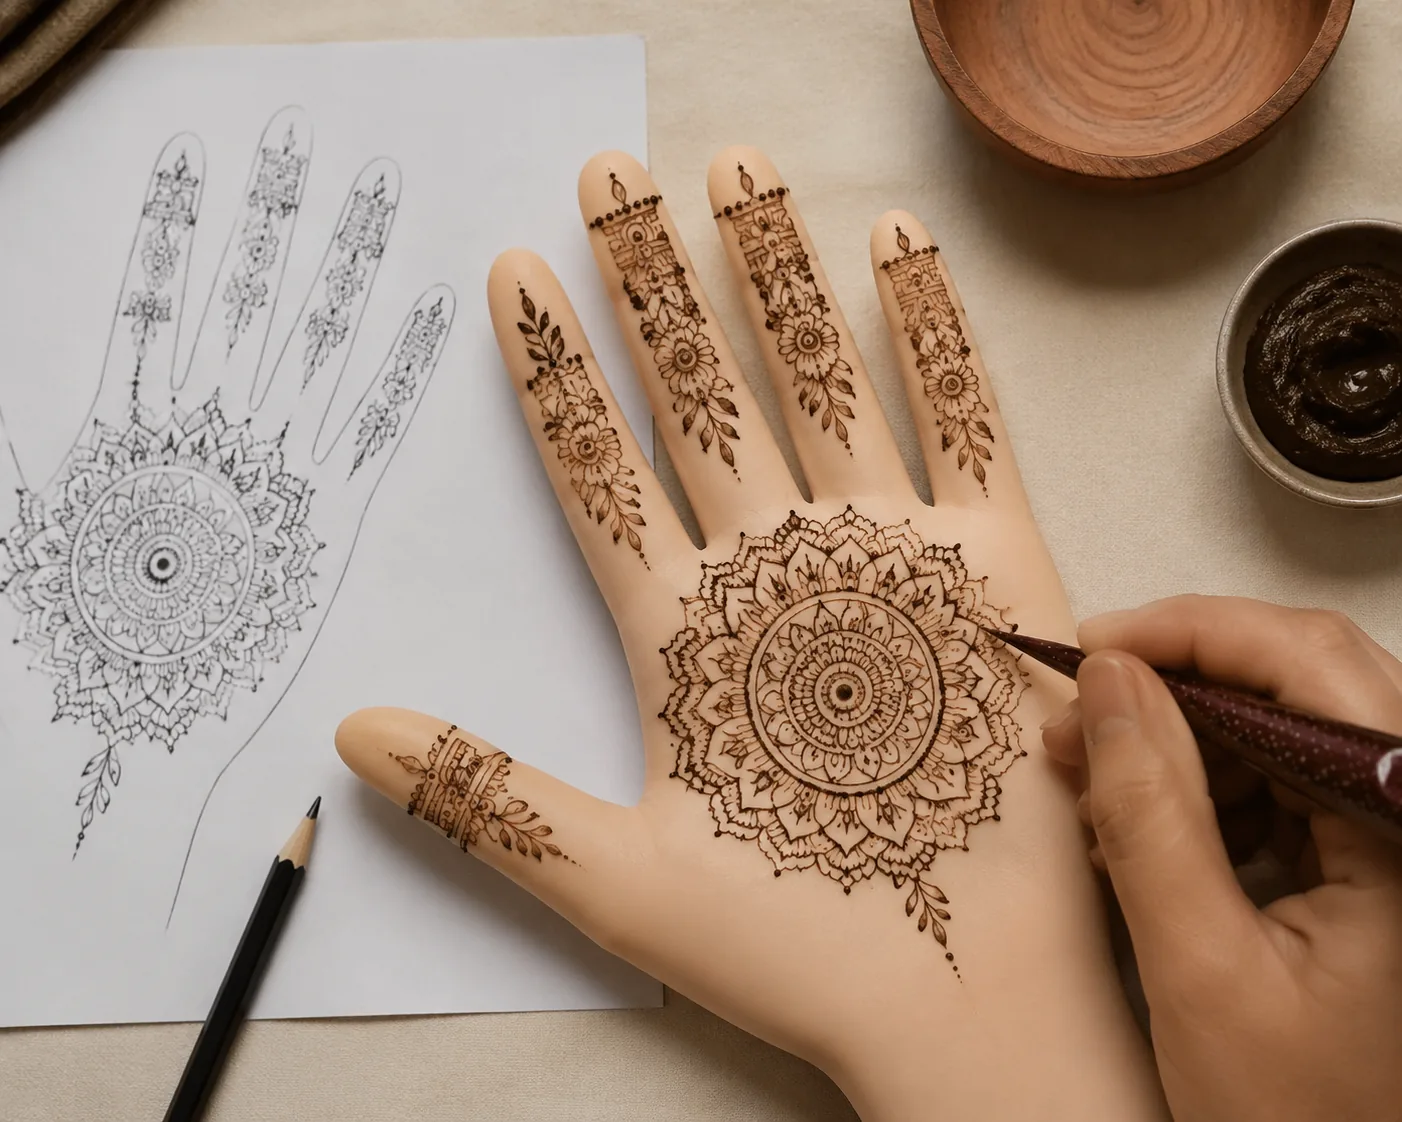
The front of the hand breaks into three natural zones: the back of the hand itself, the fingers, and the wrist transition. A solid layout uses the back of the hand as the focal point, usually a central mandala or dense floral cluster sitting right over the knuckle area, then trails thinner vines or geometric lines down each finger. That finger work reads clean from a distance and photographs well without looking cluttered.
For a bolder, more modern take, a half-mandala anchored at the wrist and blooming outward toward the middle and ring fingers hits different than a traditional centered piece. Negative space is part of the design here. Leaving the pinky and thumb lighter balances the composition and keeps it from looking overworked on smaller hands.
What makes this work on real skin
Front hand mehndi lives where everyone looks, make it count.
Front hand mehndi can look busy fast. Use one main focal point, then let the fingers and wrist echo it instead of competing.
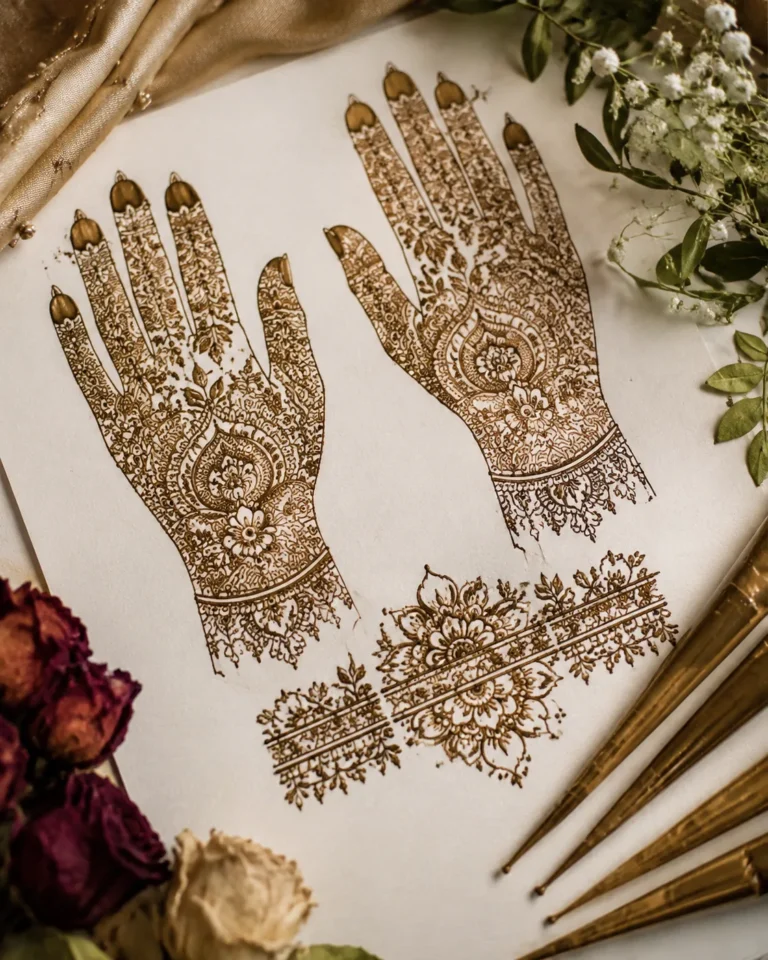
For a casual event, a partial palm and finger design often looks cleaner than trying to imitate full bridal density.
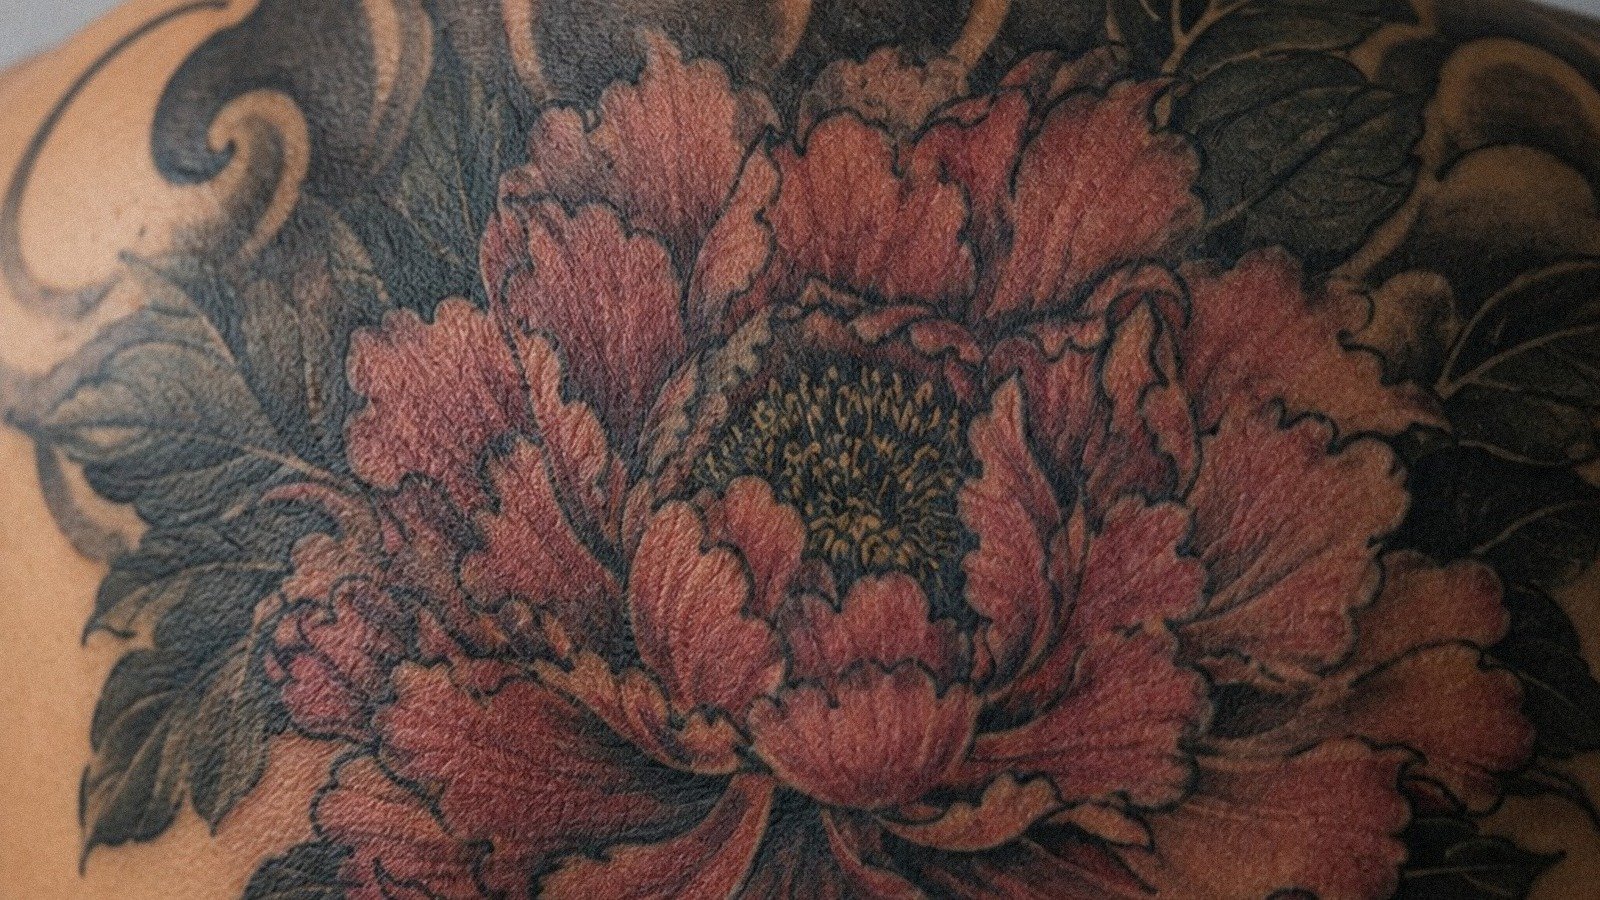
The back of the hand is a high-wear zone with thin skin over tendons and bone. For henna, that texture actually helps, the paste grips and stains deeper in the creases around knuckles. For permanent tattoos in this spot, fine line work fades faster than bold, saturated lines. Anything under 1mm risks blowout or patchiness within a year on hands that wash constantly.
Skin tone matters a lot for how mehndi reads. Fresh henna stains orange first, then darkens to a deep burgundy brown over 24 to 48 hours. On deeper skin tones the contrast is richer and the design pops harder. On lighter skin it can look more subtle, almost amber. Either way, the wrist and inner finger creases stain the darkest because the skin is warmer and thinner there.
Before you book or apply it
Decide how formal the design needs to be and how much palm coverage you actually want.
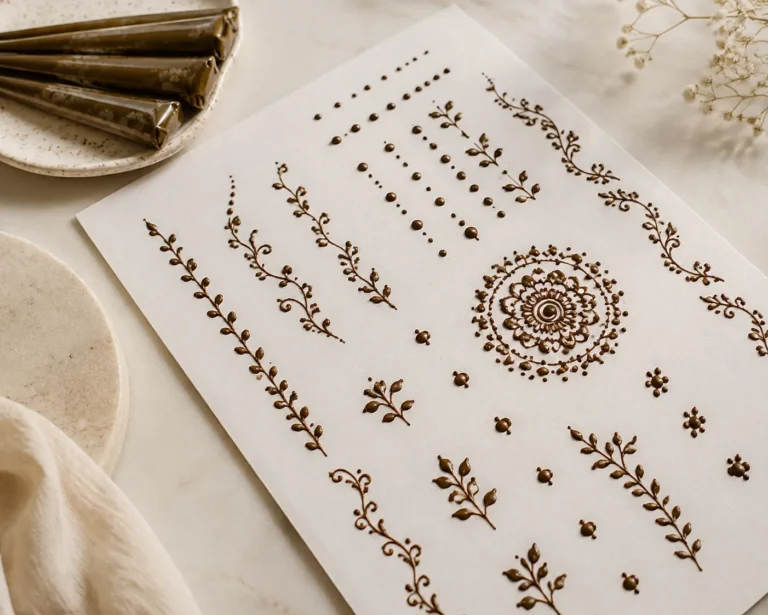
- Choose a clear center: mandala, flower, paisley, or diagonal vine.
- Keep finger patterns related: repetition makes the hand look deliberate.
- Use negative space: empty skin can make mehndi look more expensive.
- Let paste dry fully: front hand designs smear easily.
If you’re doing henna, skip lotion on your hands for at least 12 hours before the application. Dry skin absorbs the dye better and holds the stain longer. If this is a permanent tattoo, know that hands need touch-ups. Most reputable artists will tell you straight up to budget for a free or discounted touch-up session four to eight weeks post-heal because pigment loss in this area is normal, not a sign of bad work.
For either henna or ink, avoid booking right before a beach trip, pool week, or anything that keeps your hands in water. Chlorine, salt water, and constant hand-washing wreck fresh work fast. Give henna designs at least 48 hours before any soaking. For fresh tattoos, two full weeks minimum before submerging, and even then sun exposure on the back of the hand will fade new ink quicker than almost anywhere else on the body.
Mistakes to avoid
Avoid filling every gap just because space exists. Dense filler without structure makes the hand look muddy.
Do not mix five motif families on one palm unless the artist is very experienced.
Safety source note: This guide keeps safety advice conservative and points readers to primary public-health or dermatology sources.
The biggest mistake with front hand mehndi is going too dense with no breathing room. Patterns that are packed solid look muddy once the henna dries and starts to crack off. Thin gaps between motifs define the design. If you can’t see the negative space clearly in the wet paste, the finished stain won’t read clean. Same principle applies to tattoos here. Trying to cram a sleeve’s worth of detail onto the back of a hand never ends well.
Don’t skip the wrist anchor. Designs that float in the middle of the hand with no connection to the wrist or fingers look disconnected and unfinished. Another common error is copying a design meant for South Asian bridal mehndi and scaling it down without simplifying it. Those designs are built for larger canvas areas. Shrinking them without editing the linework makes everything bleed together, especially on the fingers where skin moves constantly and lines have nowhere to settle.