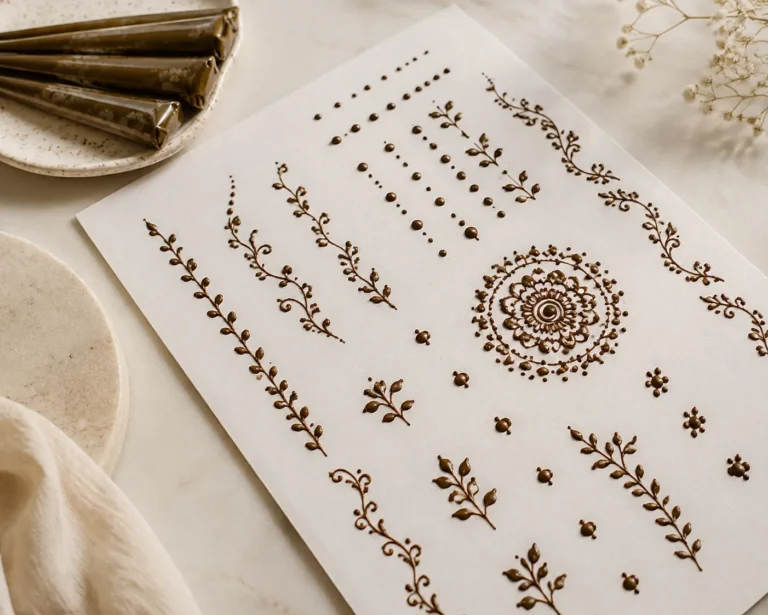
*Easy front hand mehndi designs work best when they read clearly from day one and still look graceful as the stain develops. I almost talked myself into cramming my first palm design with tiny filler, and it would’ve turned muddy fast. Once I started sizing for skin, not Pinterest zoom, the whole idea clicked. If you want front hand mehndi that stays sharp and still feels worth the cost, these are the layouts I’d show your mehndi artist first.
- ✓ Modern Front Hand Mandala Mehndi
- ✓ Stylish Arabic Vine Finger Trail
- ✓ Full Palm Floral Mehndi Design
- Modern Front Hand Mandala Mehndi
- Stylish Arabic Vine Finger Trail
- Full Palm Floral Mehndi Design
- Unique Negative Space Front Hand Mehndi
- Trendy Bracelet Style Henna Pattern
- Fine Line Lotus Palm Mehndi
- Bold Fingertip Mehndi Cap Design
- Jewelry Inspired Front Hand Henna
- Paisley Packed Stylish Mehndi Layout
- Minimal Front Hand Dotwork Mehndi
- Bridal Wrist To Finger Mehndi
- Make the Thumb Side Your Focal Point
- Is White Henna Worth It on Hands?
- Mumbai Lace Motif, Simplified
- Let One Finger Do the Talking
- Bold Centerpiece vs Delicate Border
- Can a Bridal Layout Stay Minimal?
- Save Budget for the Artist, Not More Filler
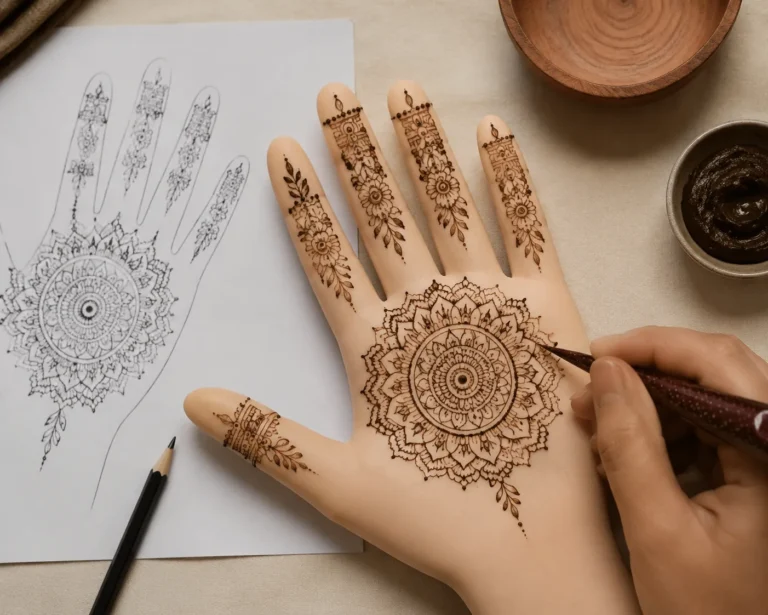
1Modern Front Hand Mandala Mehndi
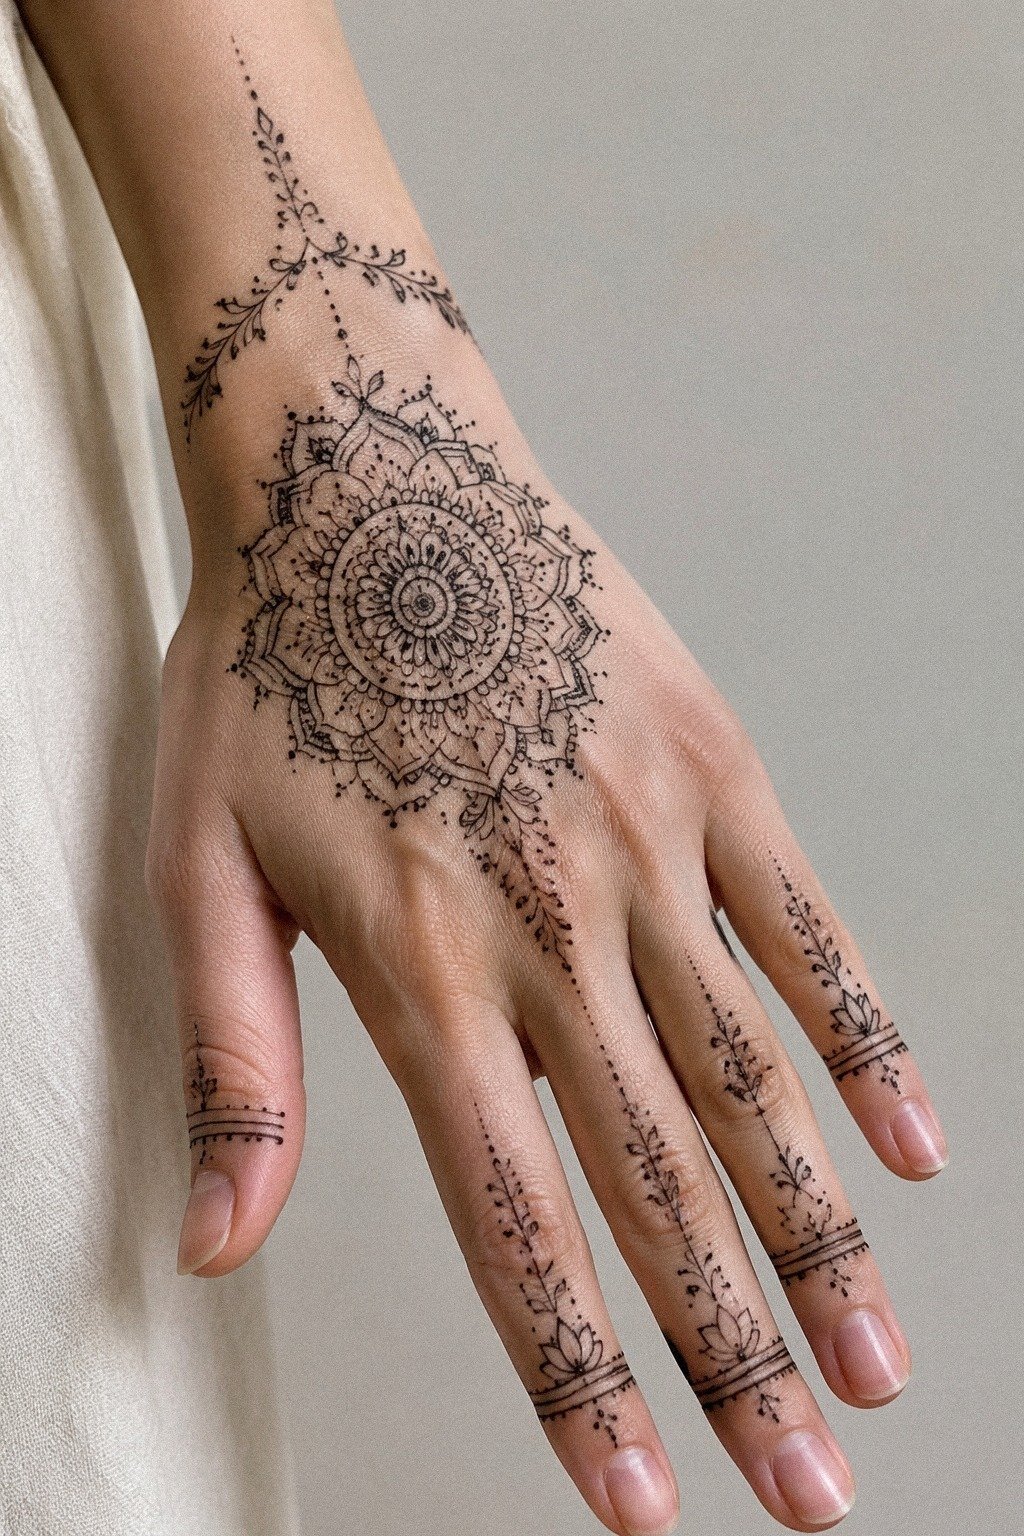
Start with symmetry if you want a geometric mandala that looks intentional the second someone sees it. This kind of striking center sits best when the middle lands over the palm sweet spot, not too low near the wrist and not jammed into the finger bases. On fair cool-pink skin, crisp reddish-brown paste lines create especially clear contrast.
But I’d keep the petals open and the outer ring slightly bolder than the inner detail so the pattern stays readable once the paste dries and the stain settles. A steady cone with a fine tip can pull those spokes in one graceful pass if your mehndi artist’s hand is confident.
If you want more references before you book, look through mandala mehndi designs and compare how much open palm space each one leaves. Too much micro-detail in the center is the mistake here. It looks intricate on day one, then reads muddy once the stain deepens.
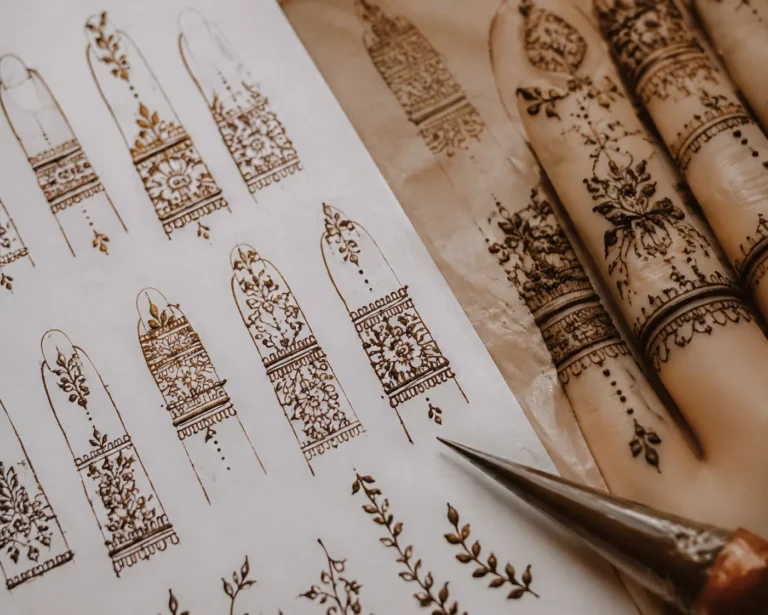
2Stylish Arabic Vine Finger Trail
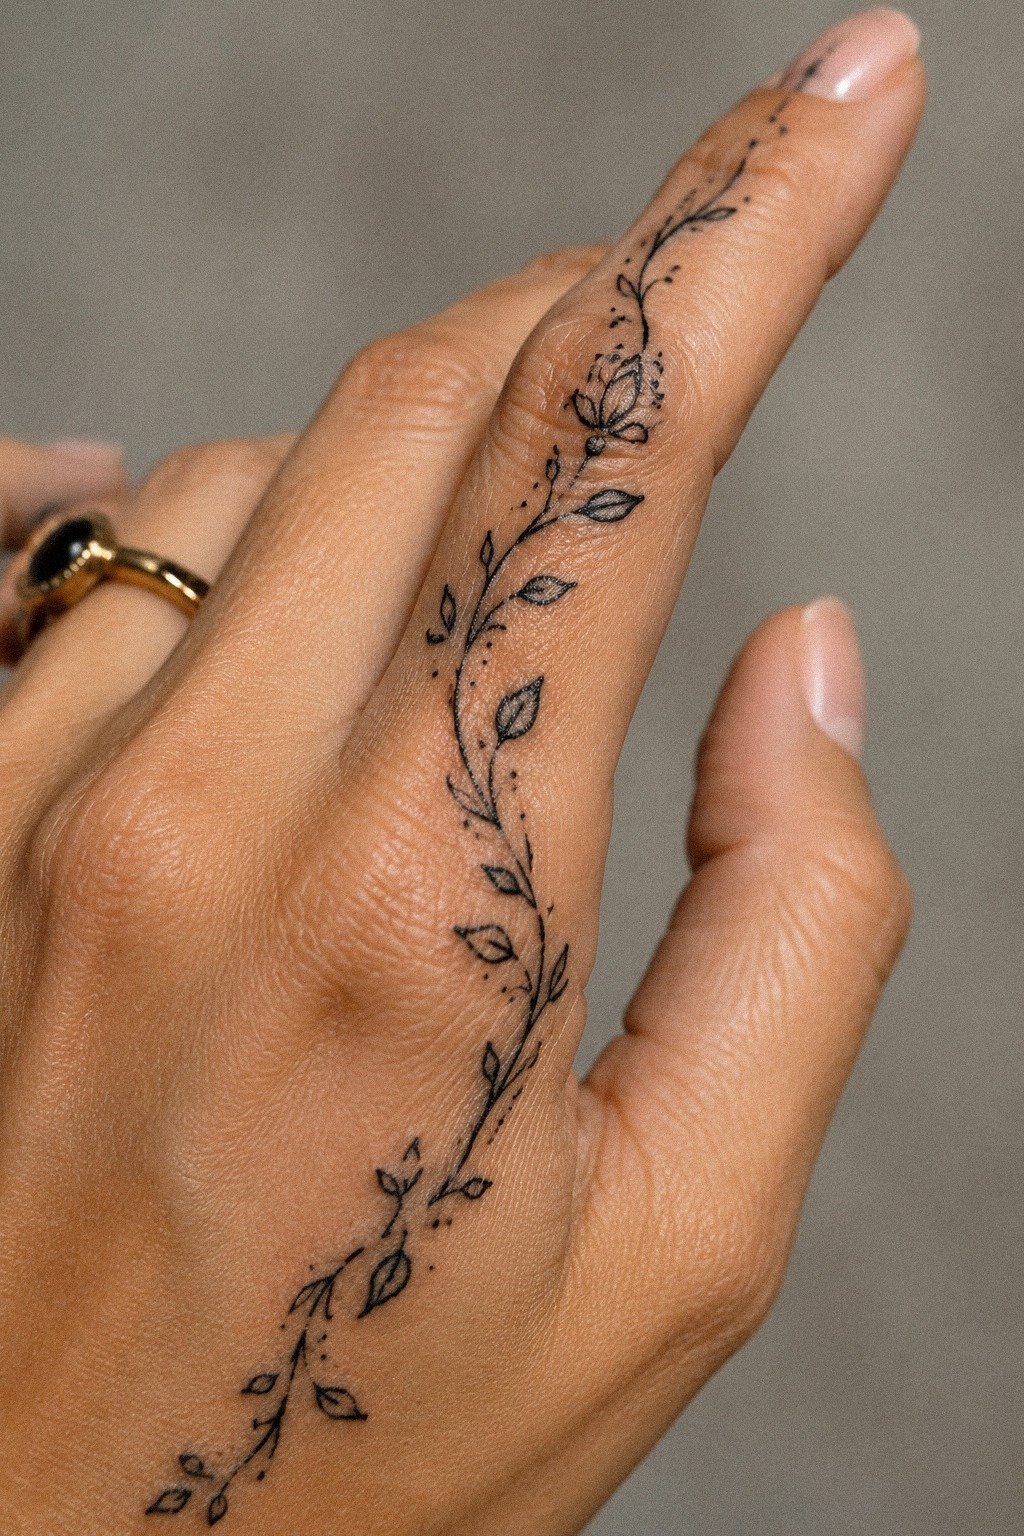
Let the movement do the work here. Arabic vine layouts stay elegant because they travel instead of packing every inch, and that finger trail gives your eye a place to follow from the palm into the digits. In a close photo like this, you can see why expressive vine work either looks polished or scratchy fast.
You want long leaf pulls, soft spacing, and enough empty skin between each bend that the design still breathes after the paste flakes away. I’m picky about this one.
An inexperienced hand may retrace those leaves repeatedly and leave thick edges, while a good mehndi artist will make one clean pull and leave it alone. For more flow ideas, check these front hand mehndi designs and notice how the strongest ones taper as they move toward the fingers. But don’t force every finger to match.
One flowing trail is cleaner than four busy copies, and cleaner wins on hands.
3Full Palm Floral Mehndi Design
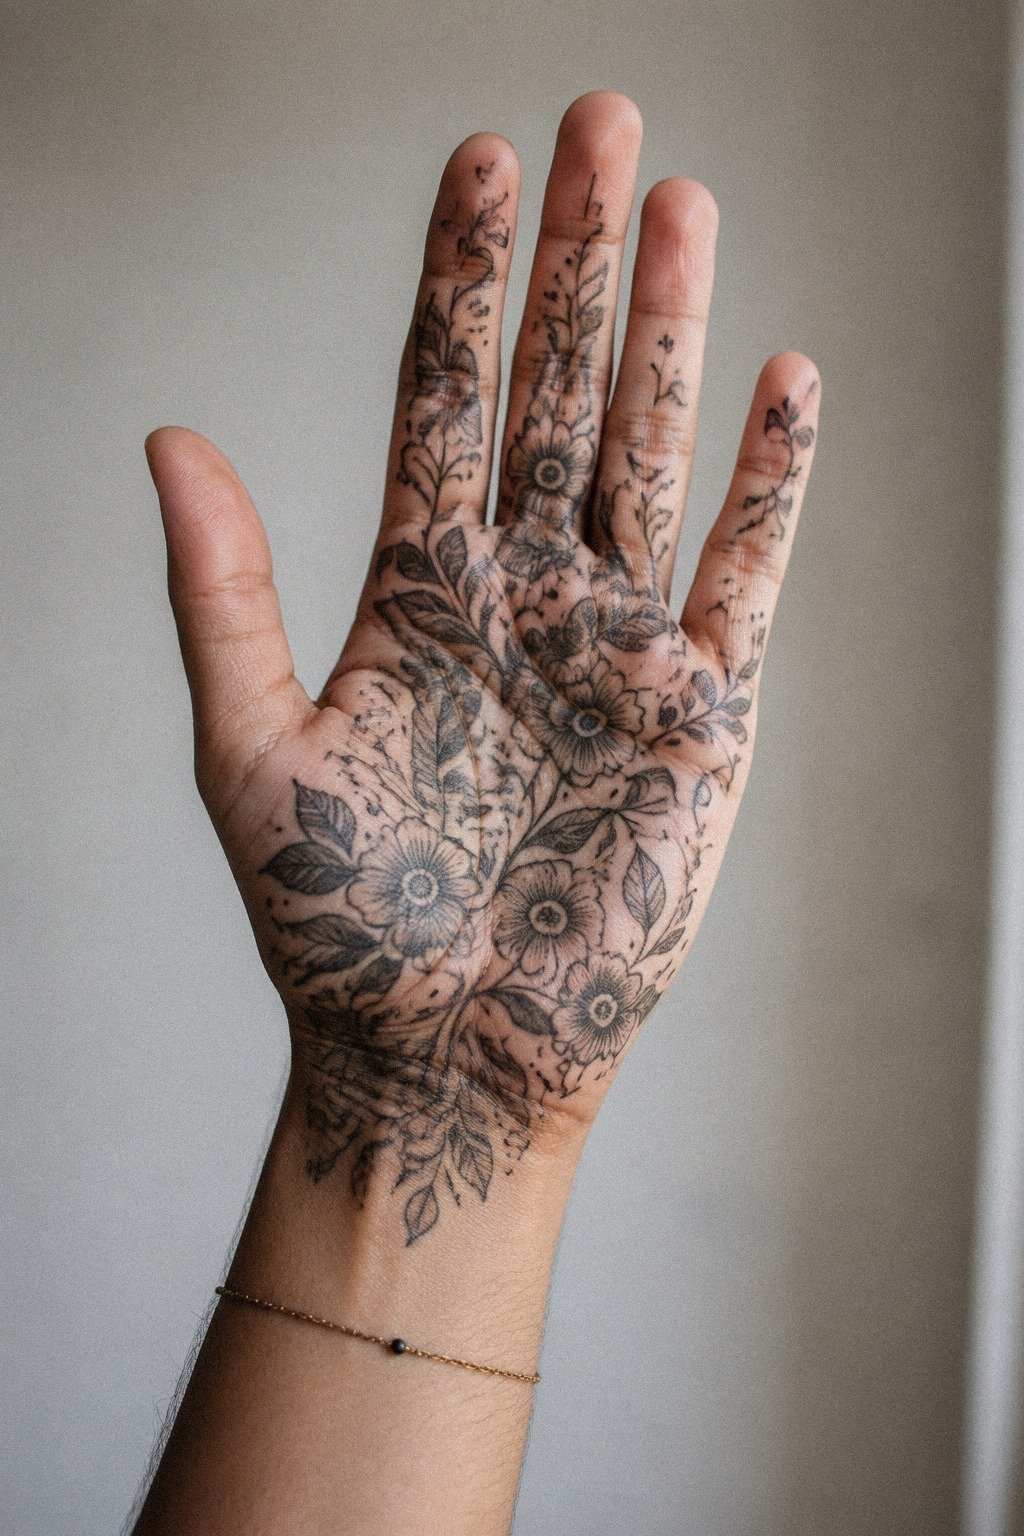
Go floral only if you’re ready to let the shapes get bigger than you first planned. A bold flower with generous petals usually stains more clearly than a delicate cluster of tiny blooms.
4Unique Negative Space Front Hand Mehndi
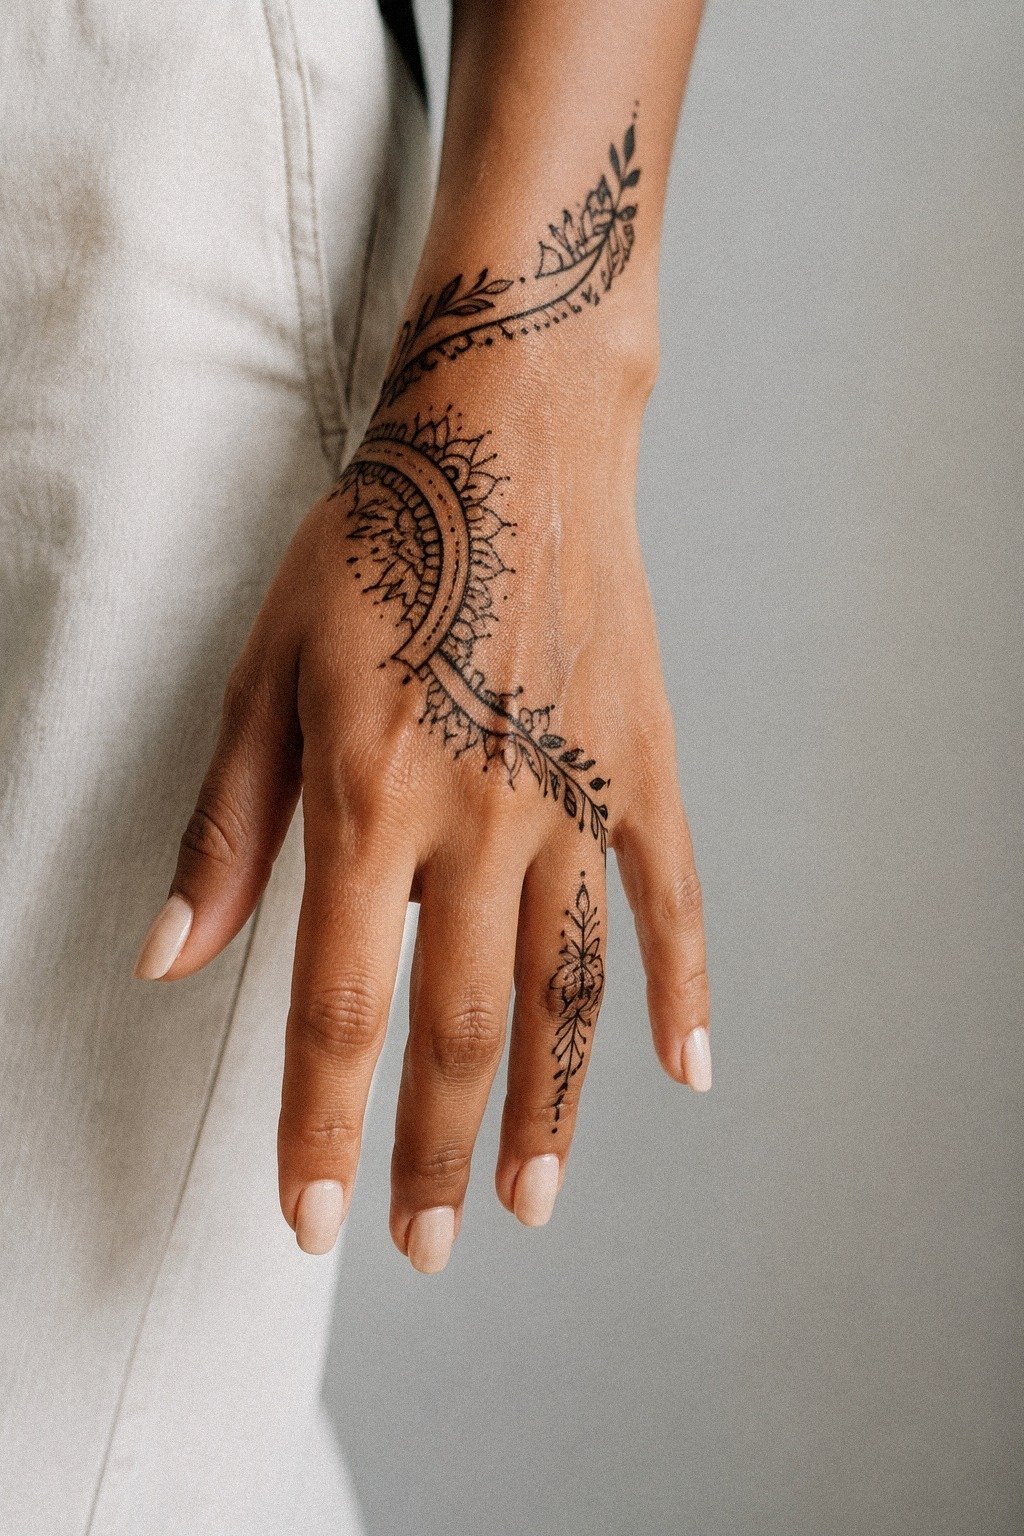
Use empty skin like part of the drawing. That’s what makes negative space mehndi look modern instead of crowded, and it’s why this layout feels sleek across the palm. The smartest version of this design isn’t the busiest one.
It’s the one that knows where to stop.
And I call this The Breathing-Lane Rule, even if I’m explaining it in plain mehndi language. Leave a clear lane between the main motif and the finger break so your eye gets contrast, then let the side sweep follow the hand anatomy instead of fighting it. If you’re comparing styles, modern mehndi designs are useful because the good ones lean on shape rhythm, not filler.
But skip the urge to fill every gap. Negative space is the point, and once you crowd it, you lose the whole reason this layout looks striking and clean.
5Trendy Bracelet Style Henna Pattern

Think of bracelet-style mehndi as a flowing band that wraps, not jewelry you copy line for line. Keep the border minimal, leave small breaks for the stain to breathe, and let one central motif make the pattern feel personal!
6Fine Line Lotus Palm Mehndi
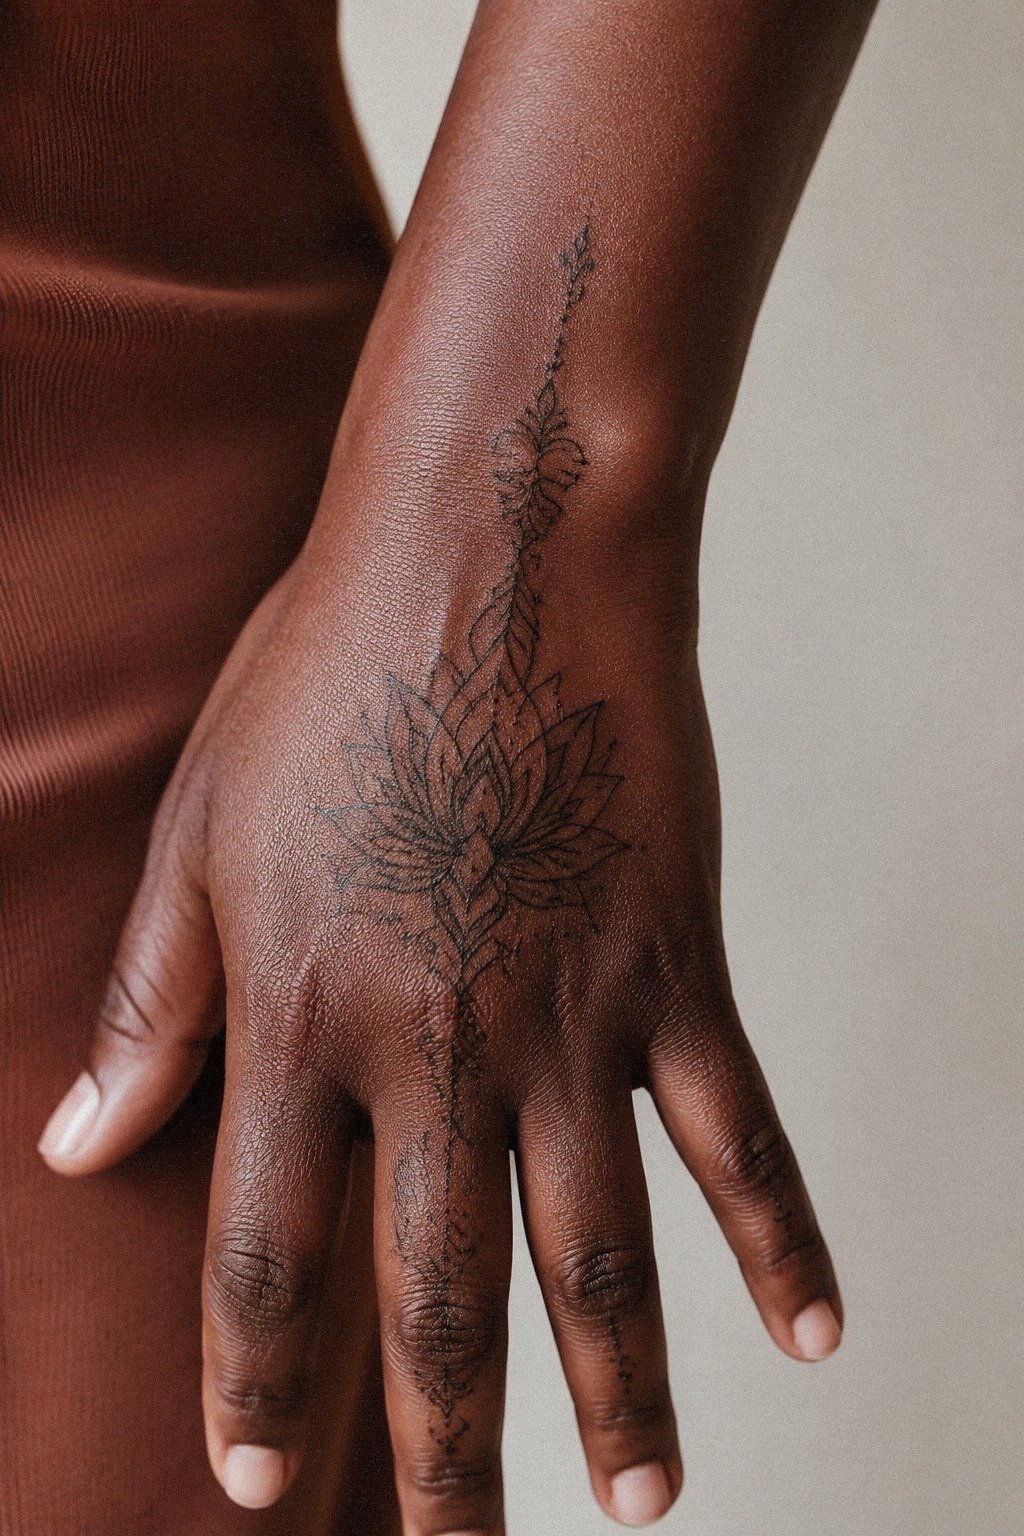
Anchor a lotus with line if you want it to stay readable on deep brown skin. That’s especially true for front hand work, where movement and frequent washing can soften a delicate flower faster than you expect. The photo works because the lotus has a powerful center, balanced petals, and enough paste in the stem work to hold.
I call this The Anchor-and-Open Method. Give the lotus a darker core, keep the outer petals longer instead of fussier, and let the surrounding marks stay soft so the flower stays the boss. A fine cone tip can help the artist switch from crisp petals to smoother support marks without scraping over the same area.
If you want to compare floral balance, 15 stylish mehndi designs for front hand that flow right is worth saving. But don’t ask for pale grey-only lotus petals. Natural henna develops through warm reddish-brown color, and contrast is your best friend for a vibrant result.
7Bold Fingertip Mehndi Cap Design
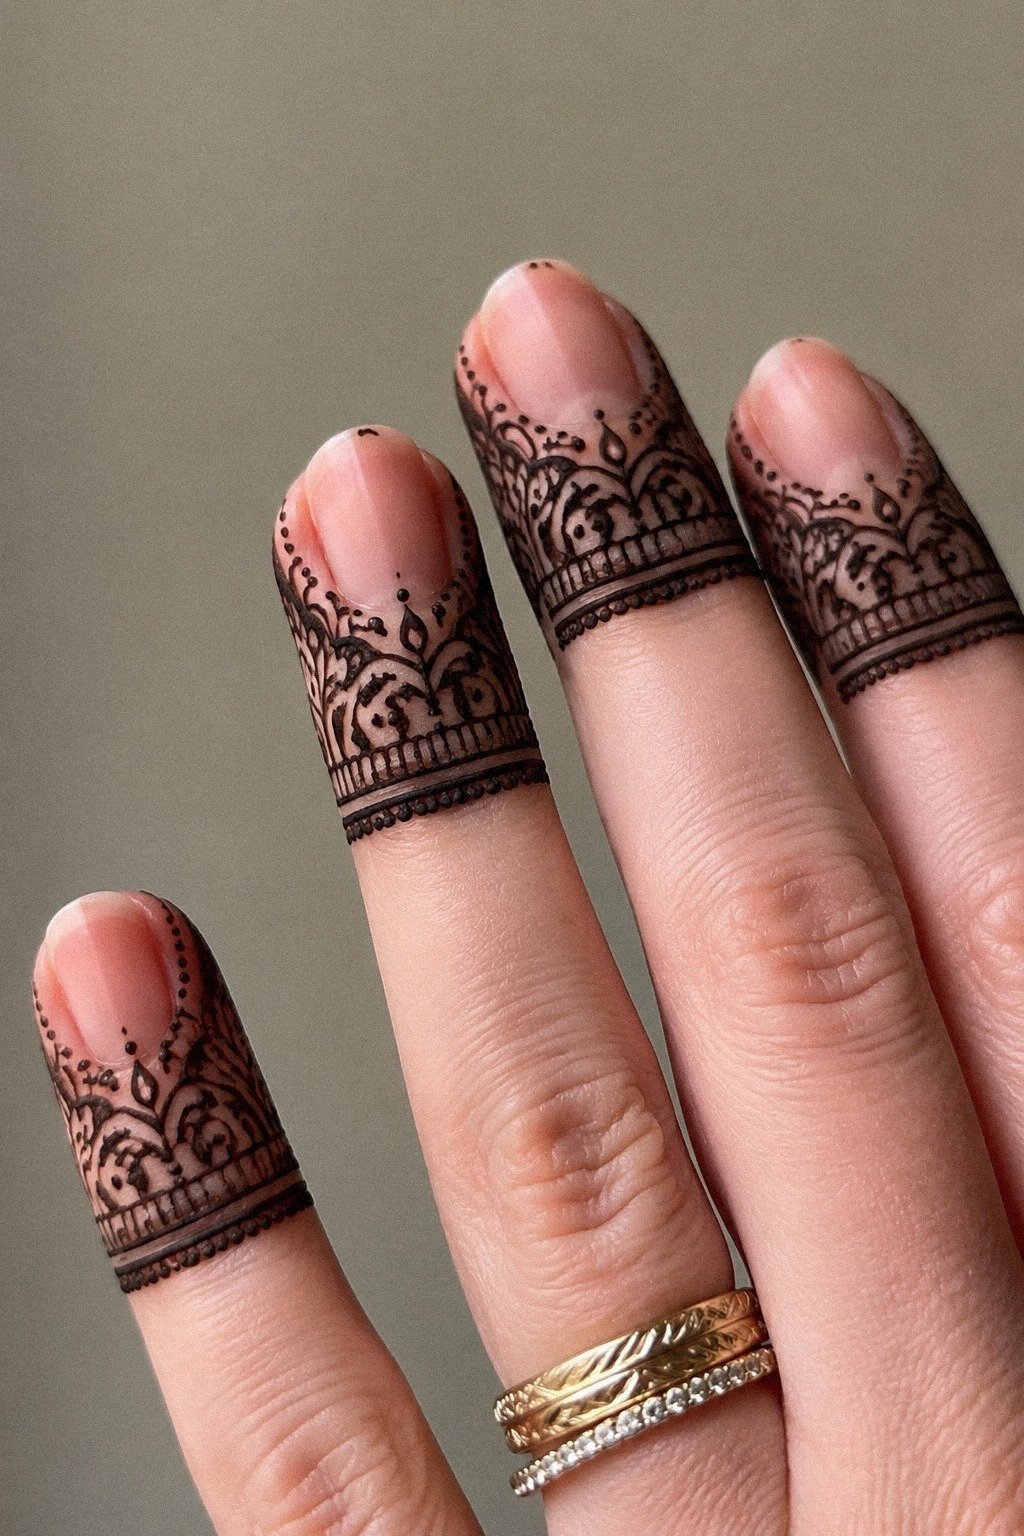
Cap the fingertips only if you’re cool with faster fading. Fingers get washed, rubbed, and handled constantly, but a bold cap can still look playful when the shapes are simple.
8Jewelry Inspired Front Hand Henna
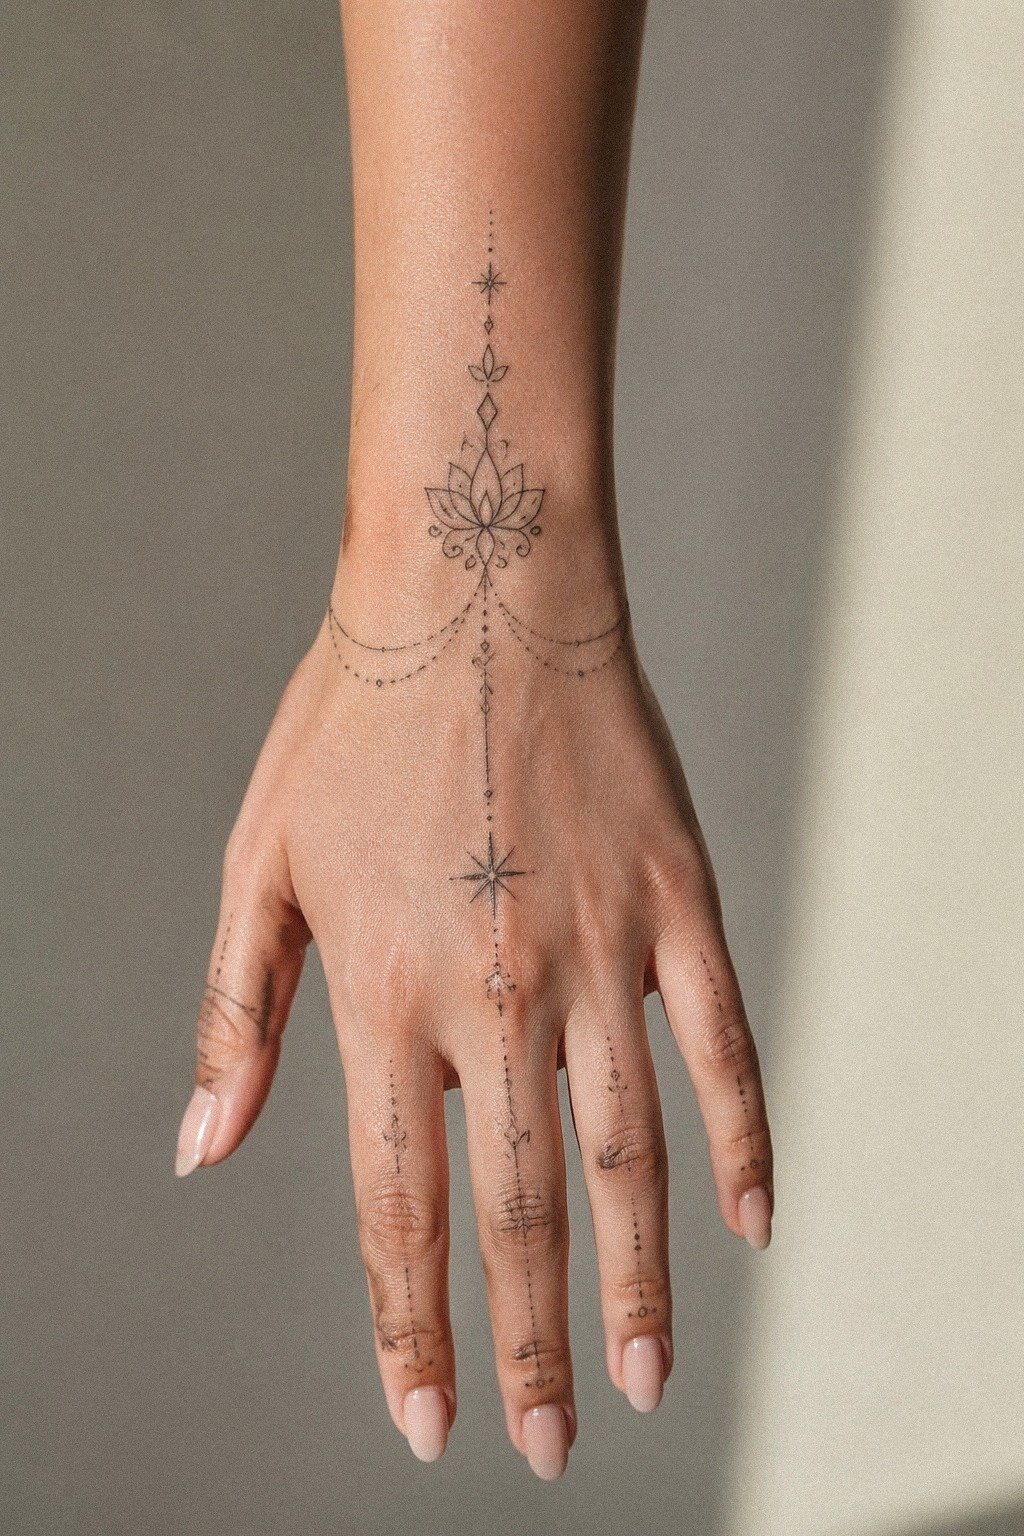
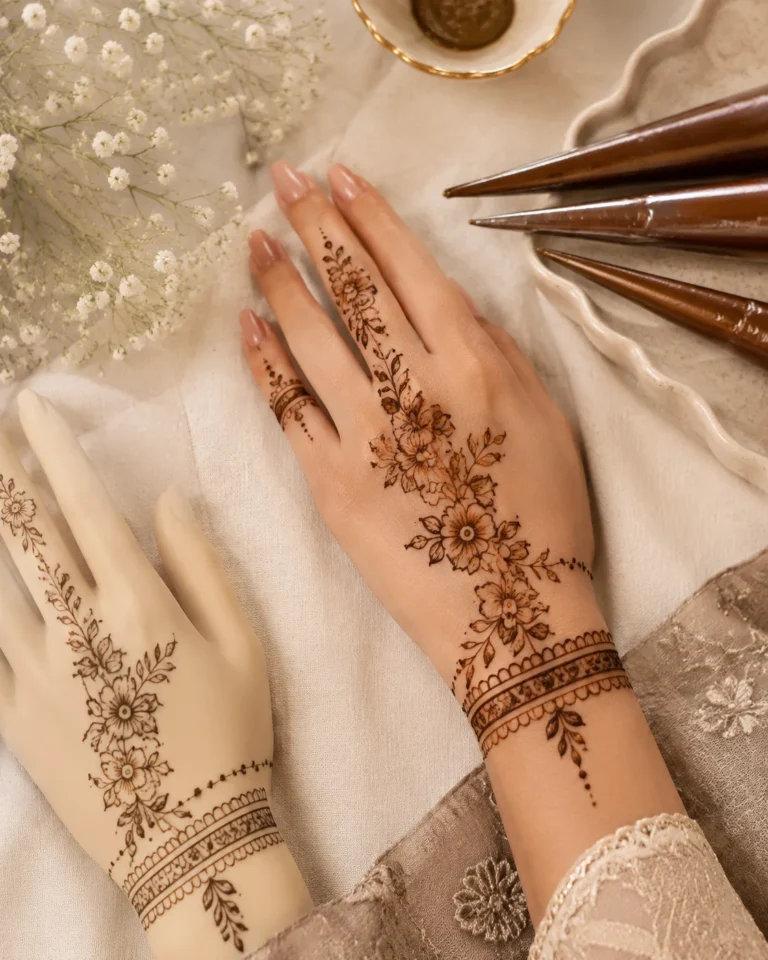
Frame the hand like a chain would, then stop before it gets fussy. Jewelry-inspired mehndi looks best when it mimics drape and connection points, not when it copies every bead or charm one by one. On medium warm ivory skin, a developed stain like this can look soft and lived-in while still reading polished.
You want one main connector from wrist to palm, a controlled centerpiece, and finger details that taper instead of stacking. I tell newcomers this all the time: tiny faux gems and ultra-mini dots feel cute in the sketch, then disappear into visual noise once the paste dries.
If you’re deciding between ornate and minimal, compare the spacing in front hand mehndi designs and modern mehndi designs. And yes, this is a meaningful first mehndi design if you keep the build simple. The paste needs time to dry, even if the application itself feels quick.
9Paisley Packed Stylish Mehndi Layout
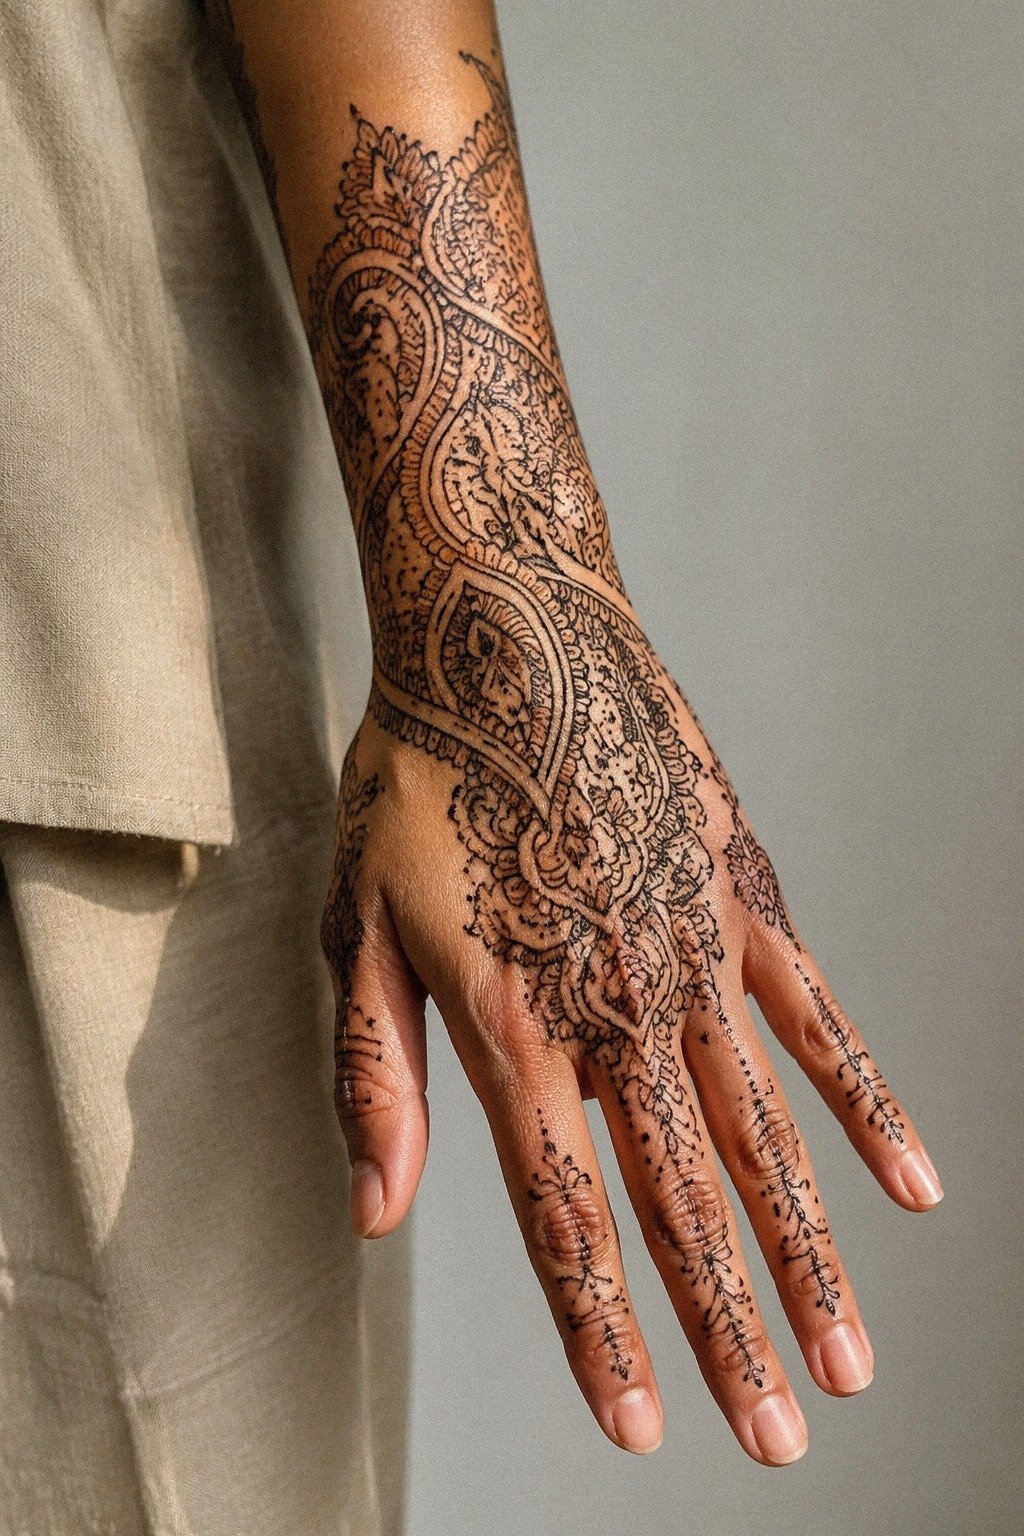
Stack paisleys with intention or skip them altogether. A few ornate paisleys with open centers usually look more polished than a crowded field of identical shapes.
10Minimal Front Hand Dotwork Mehndi
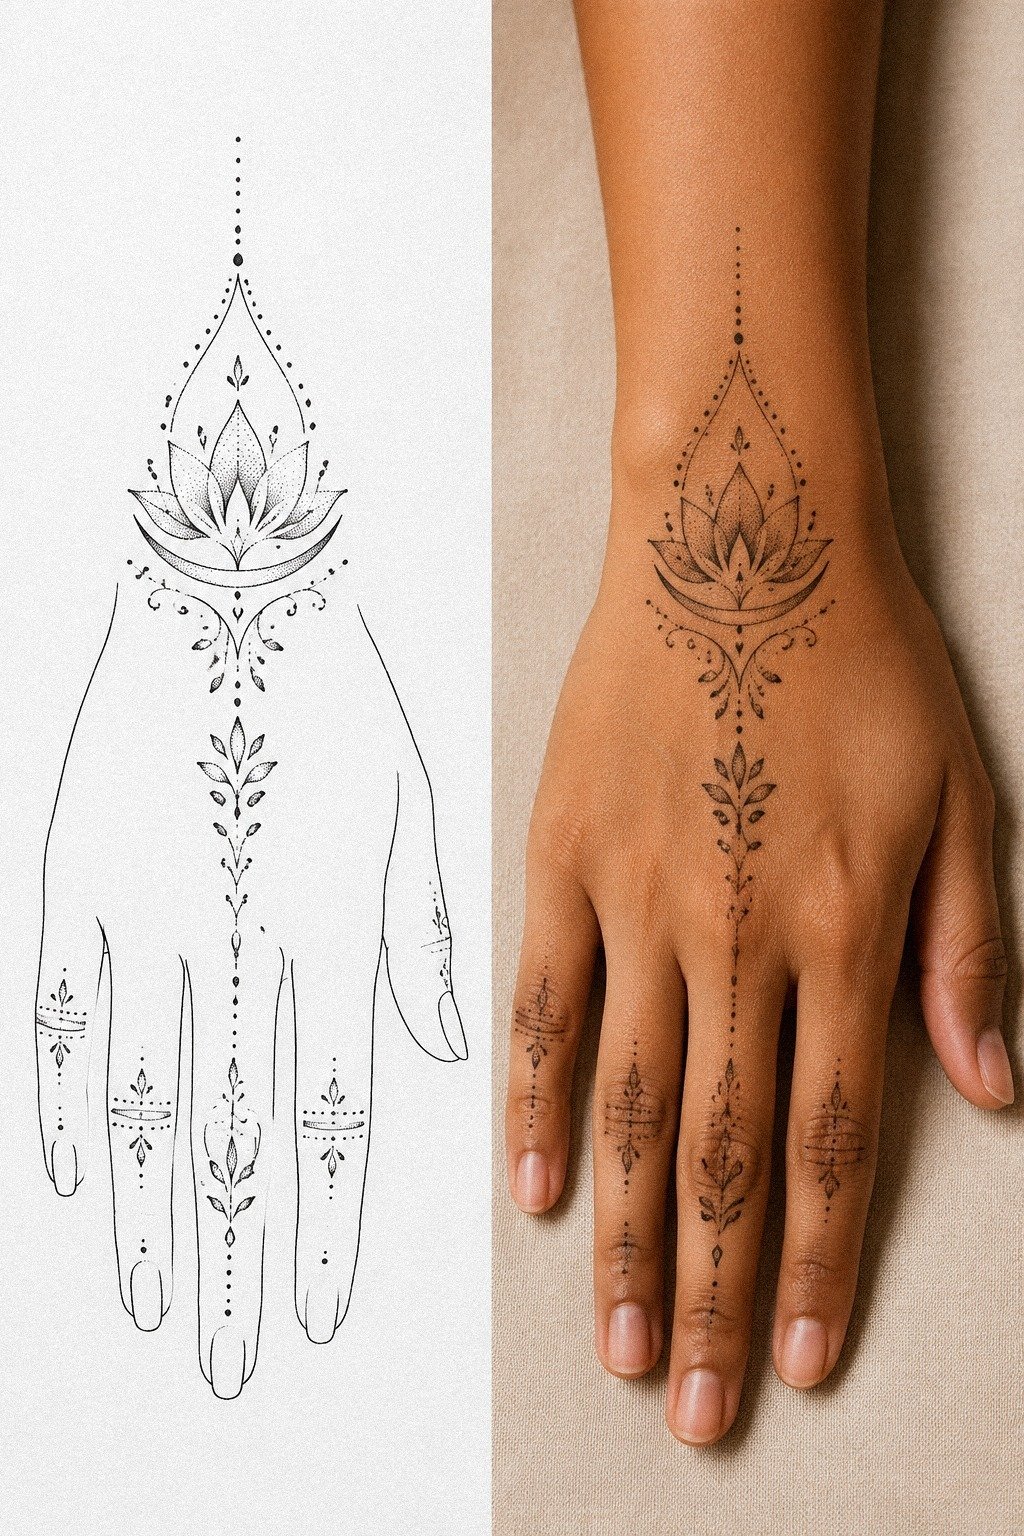
Split the idea into application logic and final stain before you commit. Dotwork looks airy on paper, then much softer once the paste dries and flakes away, so the developed stain matters more than the clean drawing. That contrast in the image is useful because it shows you exactly how a minimalist front hand design settles.
You need enough dots to form a shape, but not so many that they blur into a hazy patch. I’d keep dot clusters larger around the center motif and let the outer dusting fade fast toward the sides. A cone pressed too firmly can deposit too much paste, and then the design dries unevenly instead of looking crisp.
If your taste leans simple, save 18 simple mehndi designs front hand you can copy fast and compare developed examples, not just the drawings. But don’t let anyone sell you invisible dotwork.
Minimal is clean, not faint.
11Bridal Wrist To Finger Mehndi
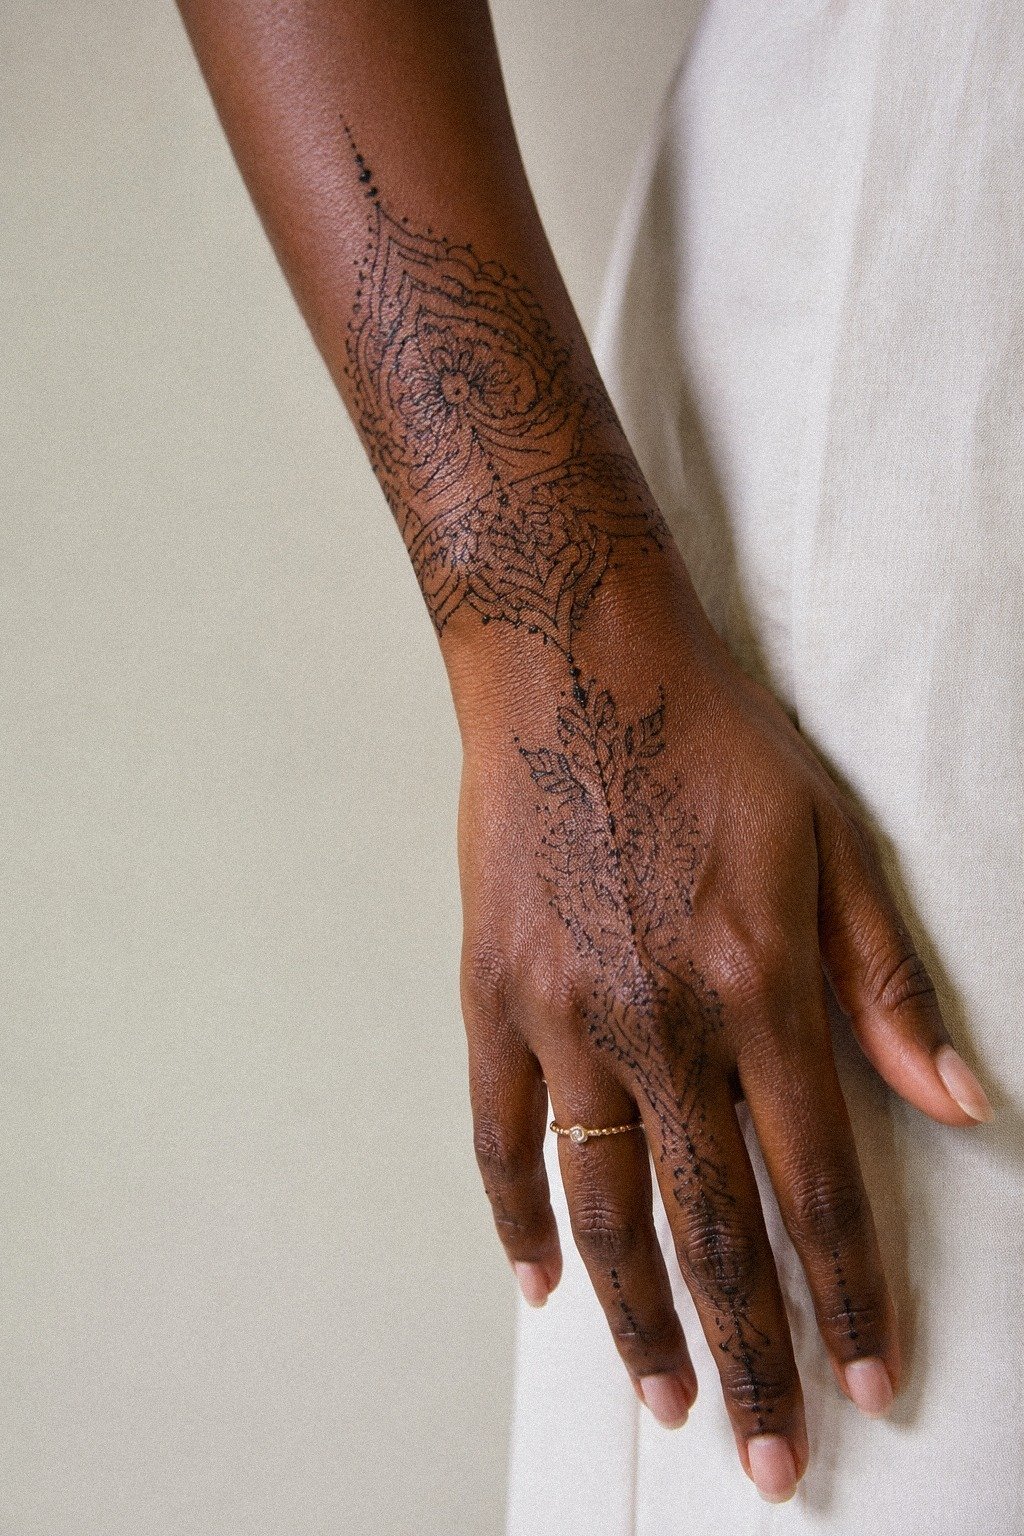
Pull the layout from wrist to finger when you want that dressed-up bridal feel without covering every inch. A sacred pendant shape, graceful trail, and a few open breaks can carry the whole design.
12Make the Thumb Side Your Focal Point
Use the thumb side when you want the design to show in motion. It is an understated spot for a meaningful paisley, a dainty floral sprig, or one expressive peacock feather.
13Is White Henna Worth It on Hands?
Usually, no. White body paint can look soft and pretty fresh, but it is not the same as natural henna and often wears away quickly with washing and friction.
If you want that airy mehndi look, ask for open reddish-brown lines with more untouched skin instead of pale body paint. A seasoned artist using a fine cone can make a delicate design feel light without gambling on weak contrast.
White details can be playful for a short event, sure, but they’re rarely the part I’d spend your budget on for a lasting henna stain. Natural color simply gives you more authenticity.
14Mumbai Lace Motif, Simplified
Borrow the lace rhythm, not every tiny loop. That’s how you keep a mehndi-inspired pattern elegant on skin instead of turning it into a doily-looking mess once the paste dries and the lines soften.
I’d lift the scallop pattern, widen the spacing, and cut half the filler before the cone even touches your hand. A controlled cone helps with steady arches, but application technique can’t save a bad redraw.
If you want inspiration for this vibe, bridal mehndi designs show where the ornament feels rich without getting crowded. Pretty is good. Readable is better!
15Let One Finger Do the Talking
Pick one finger and make it count. A single decorated index or ring finger can pull the whole hand together, and it takes less paste than trying to force detail onto every digit.
I’ve simplified a lot of overbuilt finger layouts. The best revisions usually involve removing visual noise, not adding more.
Use a strong stem, a tiny cap, or two clean leaf bends with natural henna paste placed where you need contrast. If you want a finger-heavy direction, arabic mehndi designs are a better reference set than ultra-micro Pinterest screenshots.
One finger reads intentional. Four often read busy.
16Bold Centerpiece vs Delicate Border
Here’s the real choice with front hand mehndi: do you want the center to hit first, or do you want a lighter frame that whispers from the edges? Both can work, but they don’t carry the same presence once the paste dries.
I’d choose the bold centerpiece almost every time. A strong middle motif still reads when your hand is moving, while an ultra-delicate border can disappear into background texture fast. Border-heavy layouts look romantic in still photos, but they’re rarely worth it if you want the pattern to read from across the room before the stain fades.
17Can a Bridal Layout Stay Minimal?
Yes, if you stop chasing coverage. Minimal bridal front hand work looks best when it keeps one ceremonial cue, like a lace cuff or pendant drop, then lets the rest of the skin breathe.
A tiny center chain, two finger accents, and a restrained cuff are plenty. That’s enough to feel dressed up without spending hours under a cone or covering every inch of skin.
I’d use natural brown henna for this kind of clean bridal read because a rich stain gives even a small design some backbone. If you want low-drama upkeep and a softer budget, minimal bridal is absolutely worth considering!
18Save Budget for the Artist, Not More Filler
If you only remember one thing, remember this: extra filler is not where the value lives. The real money should go toward an artist with developed mehndi work, clean photos, and patterns that stay legible instead of merging into one dark patch.
I’d rather see you spend $75 with someone skilled on a simpler design than chase a cheap appointment packed with pretend detail. A reliable cone won’t make a weak artist strong, but good tools in good hands usually show in the final pattern. Worth it matters on hands because washing, fading, and visibility all affect the result later.
Spend smart now, and you won’t wish you’d chosen a clearer design.
What I tell clients before they book front hand mehndi
Here’s my honest take as Hazel: front hand mehndi can look insanely clean, but only when you design for skin instead of for a zoomed-in pin. I’ve seen people bring me references full of micro petals, chain dots, and lace-thin filler tucked into every gap. On paper, sure, it looks delicate.
On a living hand that flexes, washes, and sees sun every day, that same detail can spread visually once the stain develops.
So I start with three questions. First, how far away do you want this design to read from? Second, are you okay with faster fading if you choose fingertips or heavy finger detail?
Third, do you want the design to feel ornamental, modern, or bridal? Most people think they need to answer with more detail.
Usually you need the opposite.
The part that worked, over and over, is contrast. Open skin. Strong outer lines.
One focal move. Maybe it’s a mandala center.
Maybe it’s a vine trail. Maybe it’s a lotus that anchors the whole hand.
But once you have that main idea, you stop. That restraint is what keeps the design elegant.
And it’s also what helps it stay recognizable as the stain gradually fades.
Hands are high-wear zones. They get sun, soap, sanitizer, gym friction, steering-wheel rub, all of it.
That doesn’t mean you should never wear henna there. It means you should choose shapes that can handle real life.
Bold will hold its visual structure. Super tiny detail usually won’t.
If you size the main motif around 2 to 4 inches, keep the paste spacing generous, and work with an artist who shows developed front hand mehndi in their portfolio, you’re setting yourself up way better than chasing the busiest reference on your board.
And one more thing: do not book hand mehndi just because it’s trending. Book it because you’re good with visibility.
You’ll see it every day. Other people will too.
If that sounds exciting, great. If that makes you hesitate, listen to that. A forearm test run is calmer, easier to cover, and more forgiving.
Real talk, the best mehndi is the one that still feels like you after the trend cools off.
A Few Things Worth Answering
How much does a Stylish Mehndi Designs For Front Hand usually cost?
Usually about $25 to $150 for a small to medium front hand design, though many artists have a $25 to $50 minimum and experienced artists charge more for dense bridal work. Small motif. Clean application.
Hand placement detail. If you add fingertip fill or dense bridal detail, the cost climbs fast.
Are Stylish Mehndi Designs For Front Hand a good idea for a first mehndi design?
Yes, if you keep the design clean and sized right. Simple shapes develop more clearly than fussy micro-detail, and a good layout lets you enjoy visible front hand mehndi without committing to heavy coverage.
Open spacing. Generous paste lines. One clear focal point.
How do I choose a mehndi artist for Stylish Mehndi Designs For Front Hand?
Look for developed mehndi designs, not just freshly applied paste. Clear shapes and even color matter more than fancy reels.
Fine cone technique. Real portfolio close-ups.
Clean working practices. If you need style references, compare portfolios against modern mehndi designs.
How long should I leave front hand mehndi paste on?
Leave the paste undisturbed for about 1 to 2 hours, or longer if your artist recommends it. Once dry, gently flake it away instead of washing it off immediately.
Avoid water for several hours afterward when possible, and expect the stain to deepen through the second day. Patience helps the color develop!
How long does a Stylish Mehndi Designs For Front Hand last?
The stain usually lasts 1 to 3 weeks, with the deepest color appearing around the second day. Wash gently, avoid excessive scrubbing, and remember that fingers and palms often fade sooner because they experience more friction. The color starts warm, deepens, then gradually lightens.
What’s the best placement for Stylish Mehndi Designs For Front Hand?
The center front hand or a wrist-to-finger flow usually works best because you get visibility without cramming detail into every joint. Outer forearm placement can last a little more evenly if you want a lower-friction option, while palms and fingers need more acceptance of fading.
Clear focal point. High-wear reality.
Where I’d Start First
If I had to pick one, I’d start with Modern Front Hand Mandala Mehndi. The symmetry keeps the read clean, and you can scale it without losing the point. Pin that layout for later and compare it against front hand mehndi designs before you book.