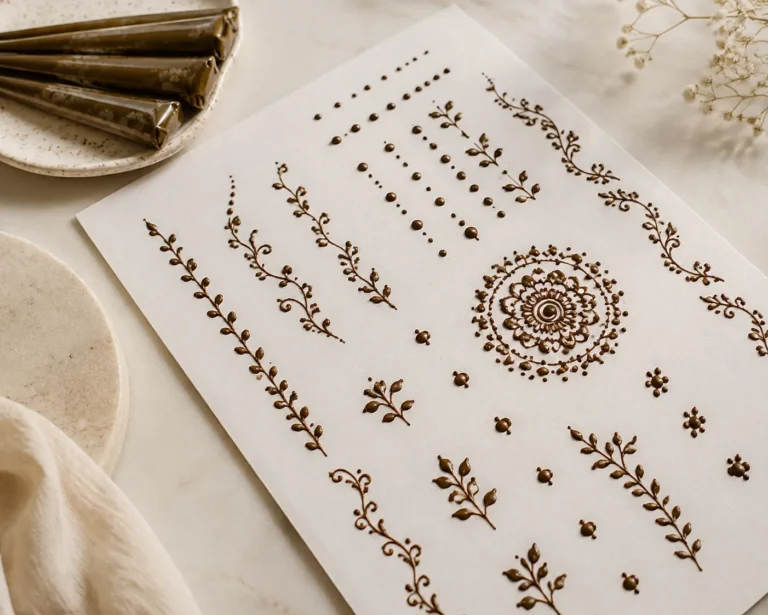
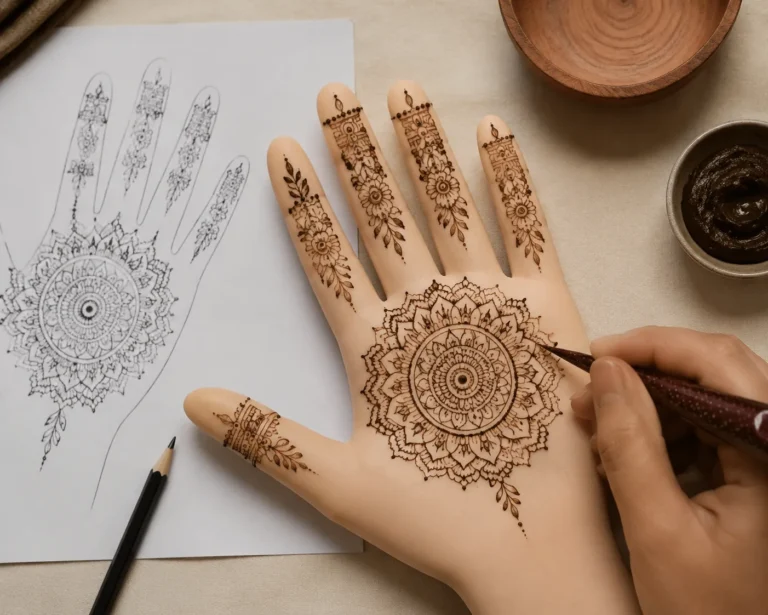
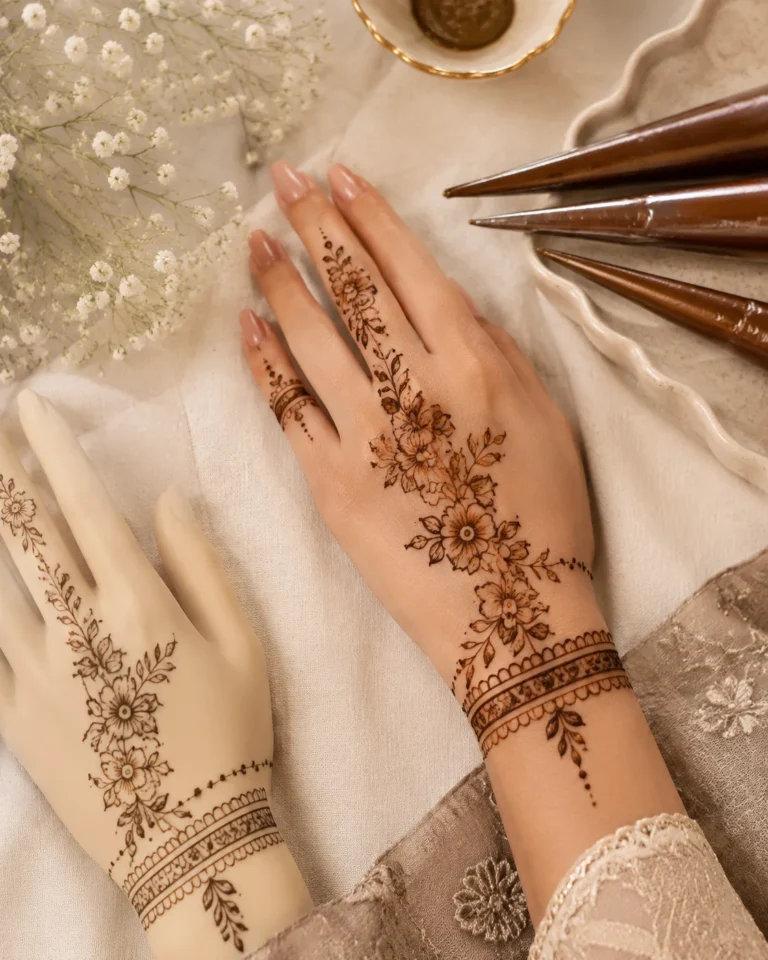
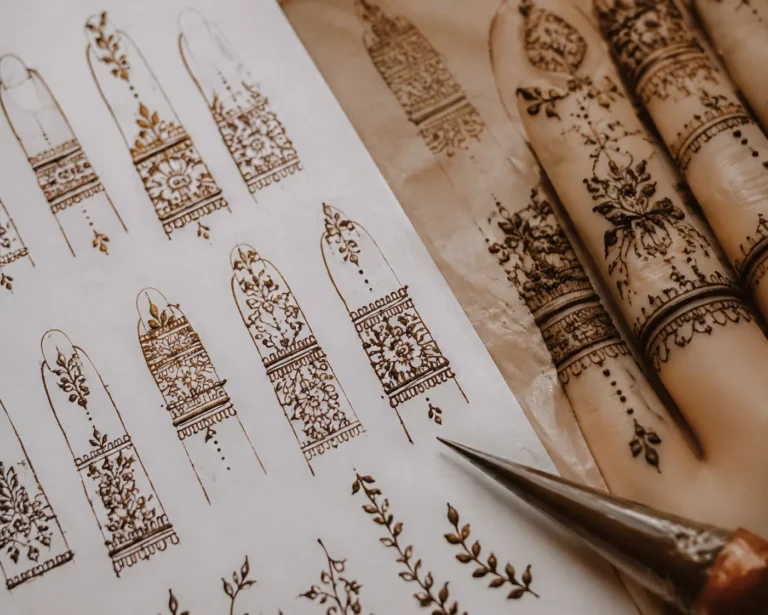
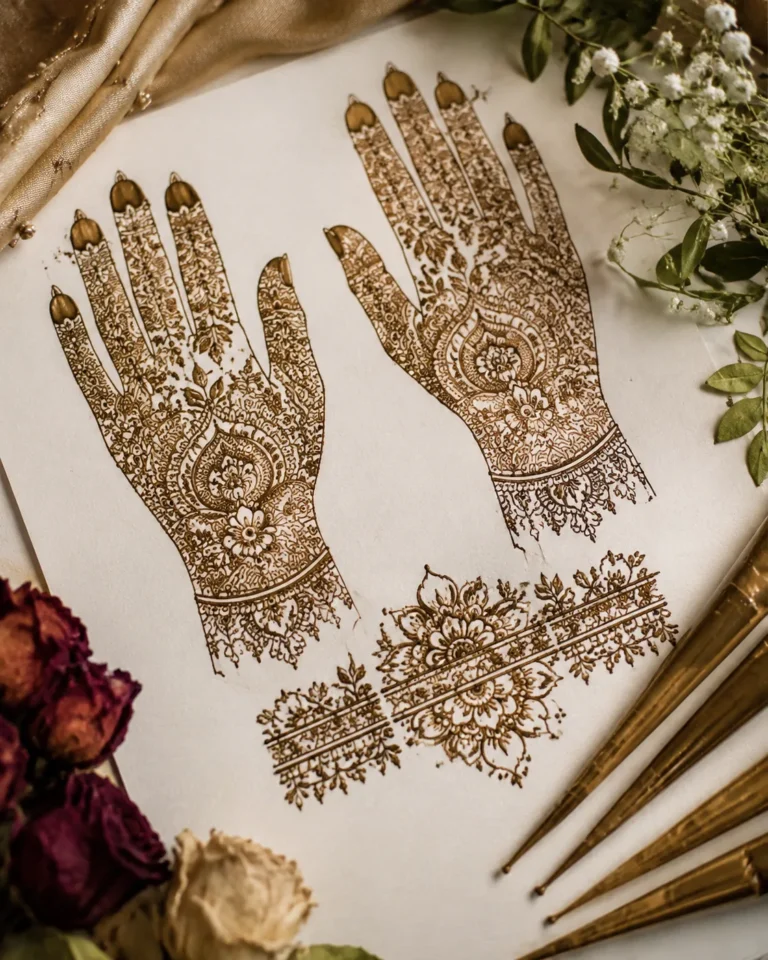
Modern mehndi designs look striking when the linework has breathing distance on skin, not when every inch is packed until it turns to soup. I used to cram too many paisleys into small hands because the reference looked rich. The paste dried unevenly and the stain looked muddy. Now I build the design like a cone-drawn pattern: solid flow, readable shapes, clean negative skin, and enough contrast for your mehndi artist to keep it crisp.
- Stencil an oversized mandala across the upper back
- Trace a slim paisley border down the forearm
- Can the jaali lattice translate into skin?
- The Floral Arch: collarbone-to-sternum without bridal coverage
- Mirror two shoulder motifs with breathing skin between
- Wrap a delicate vine around the wrist and hand
- Concentric medallions for the thigh
- Run a rib-side lattice and pick one hero texture
- Are fingertip dots worth the touch-ups?
- Stack scallops into a wrist cuff
- The Carved Panel: shoulder blades, not sofa art
- Block-print a vine down the outer arm
- Both hands, not both palms: a mehndi stain that fades
1Stencil an oversized mandala across the upper back
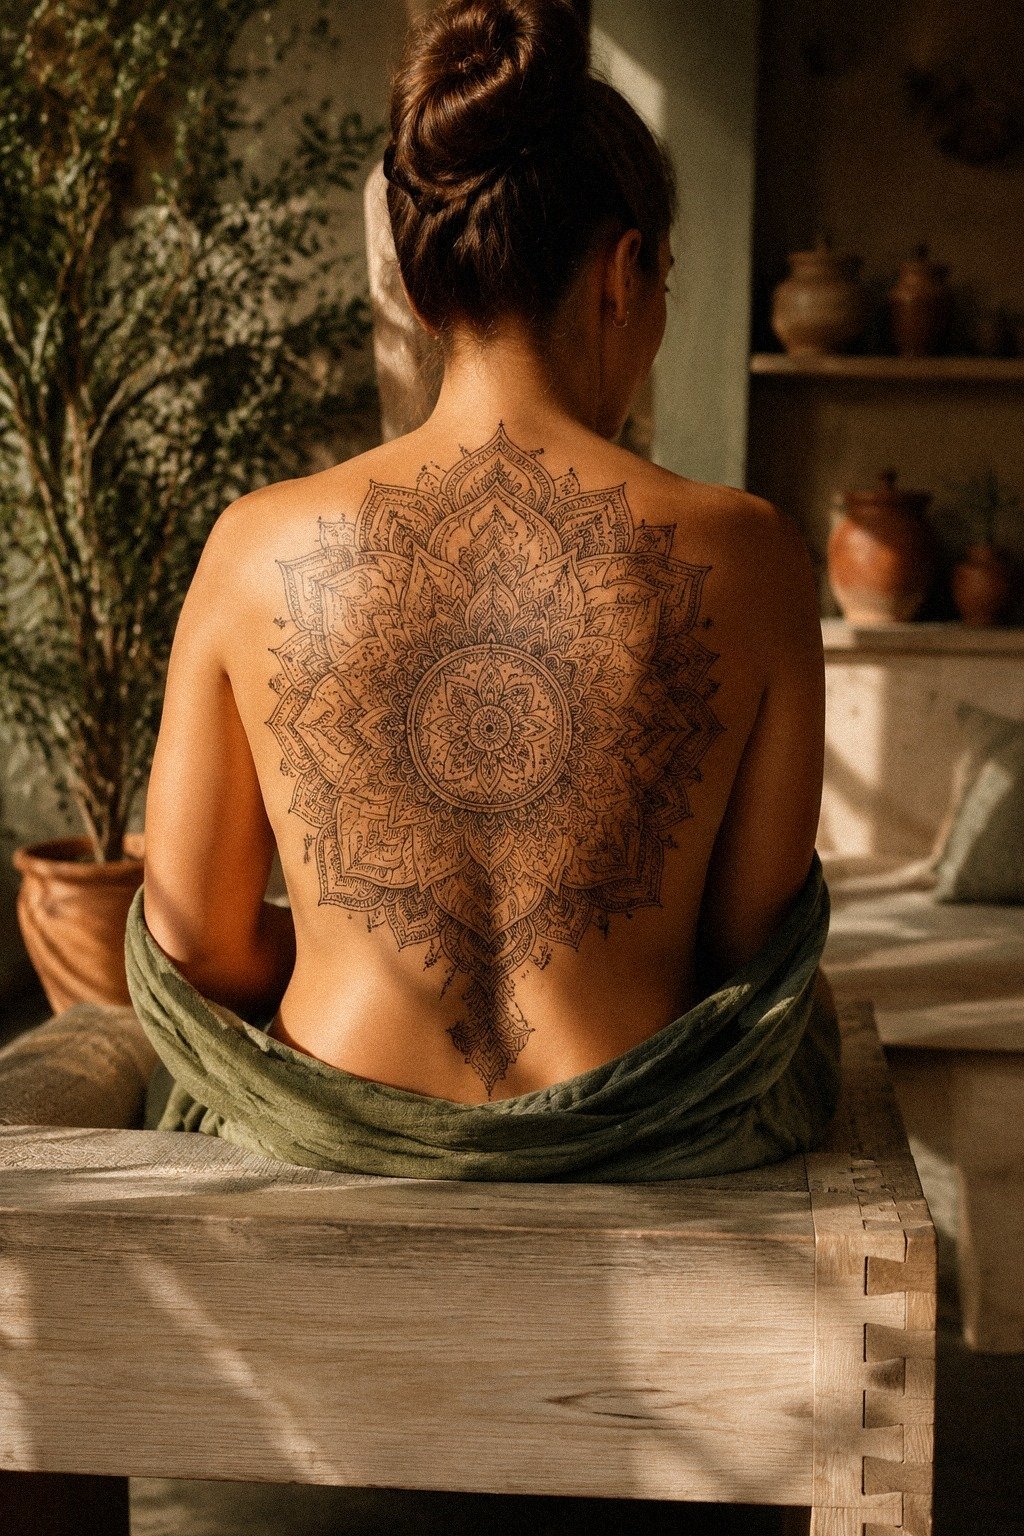
On skin, this means an oversized mandala placed where your body already has a natural centerline: upper back, sternum, thigh, or shoulder cap. The photo shows that big upper-back mandala, centered and symmetrical, and that’s the whole move.
You do not need fifty tiny petals. You need one clean structure that reads from six feet away.
I like this as blackwork ornamental linework with enough negative skin between rings so it does not blur into soup later. Ask your artist for crispy and confident lines, not ten fuzzy passes over the same circle. If you’re saving references, pair this with our guide to modern mehndi designs that translate into skin so you can show the scale you want, not just the vibe.
Placement note: upper back is low-wear and usually ages nicer than fingers or feet. Lines feel sharper there, but it’s not the spiciest spot. You’ll want the mandala at least 5 to 7 inches wide if you want the tiny inner geometry to stay clean.
2Trace a slim paisley border down the forearm
The most striking mehndi design is the one where the artist knew exactly when to stop.
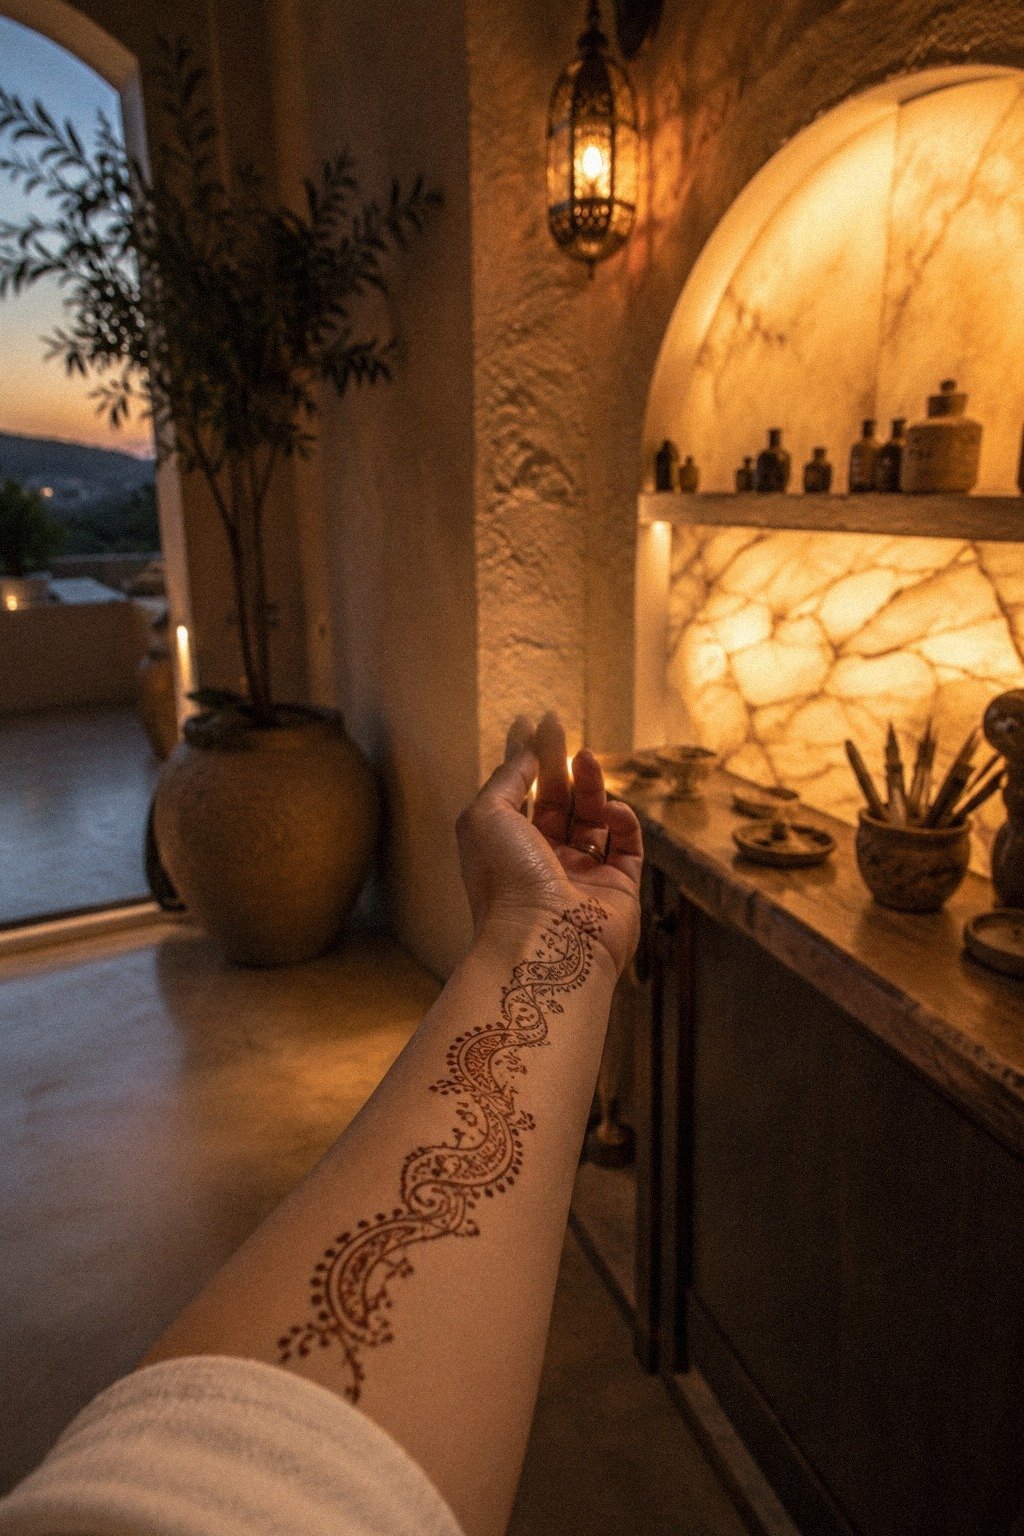
For tattooing, a slim paisley border belongs along a forearm, wrist edge, ankle, or side of the hand, somewhere the pattern can run like trim.
3Can the jaali lattice translate into skin?
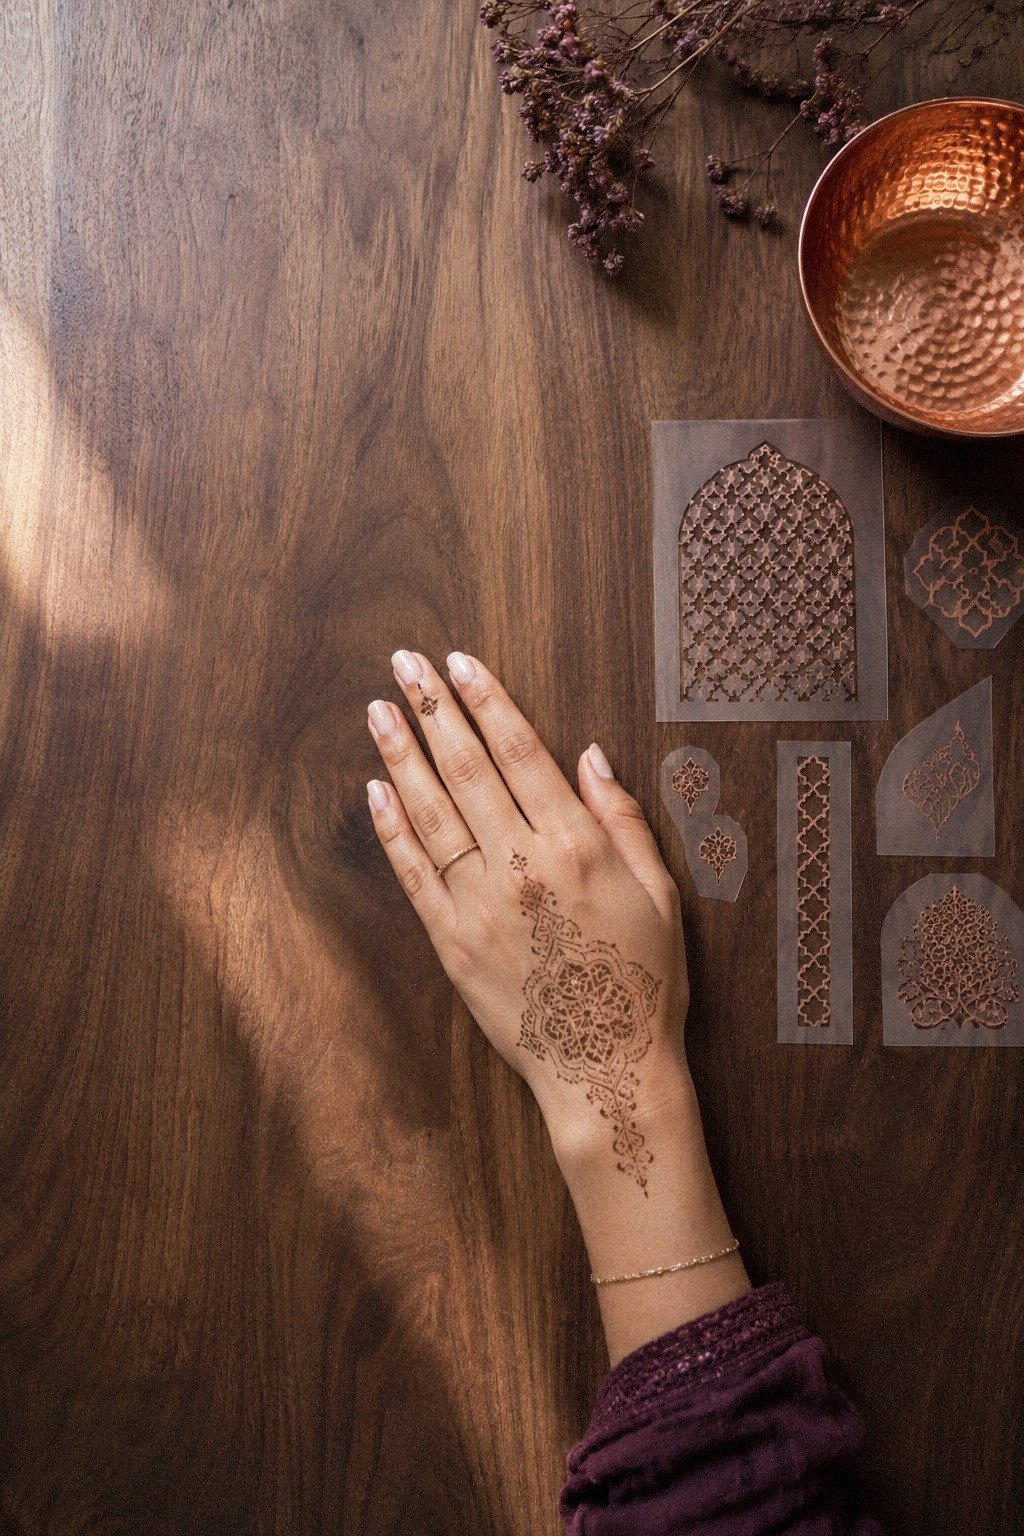
Jaali translates beautifully into mehndi because the geometry already has rhythm. The real call is keeping it on a hand or foot area that lets the grid stay readable.
Rib side, outer thigh, upper back, or forearm when you’ve got the length. Anywhere that bends a lot and the dots will turn into a smear in two years.
I’d ask for geometric blackwork with one hero lattice and just a dot cluster at the corners. Not every cell filled. Not micro flowers inside the diamonds.
That’s how ribs end up looking chewed up by year three. Save modern bridal mehndi designs that hold their linework and edit the density down by half before you walk in.
4The Floral Arch: collarbone-to-sternum without bridal coverage
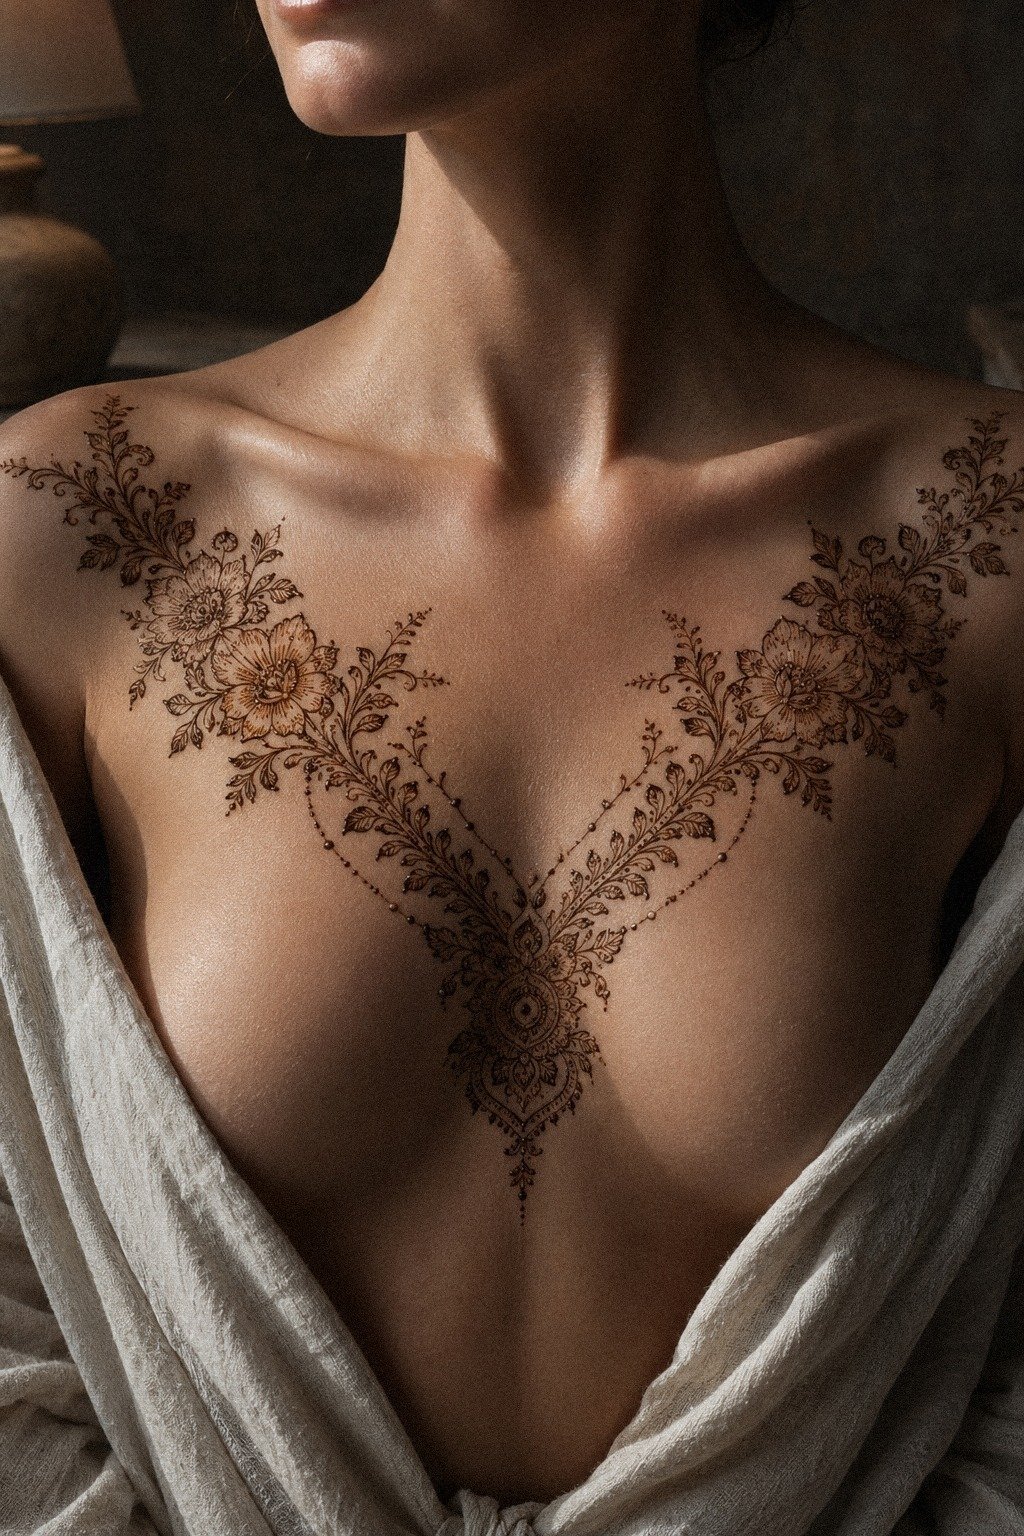
A floral arch around the collarbones and sternum can look expensive because it frames your anatomy instead of sitting on top like a sticker. The photo’s collarbone-to-sternum placement is the right reference. It gives you that mehndi necklace feel without needing full bridal coverage.
I’d build this with ornamental floral linework and soft pepper shading only where you need depth. Heavy grey wash can flatten a delicate arch, especially on the chest. Keep the flowers open, push contrast at the outer curve, and let the center breathe.
Pain check: sternum can be spicy. Collarbone lines feel sharp, and the center chest can feel like a dull burn.
Give the paste time to dry rather than rushing it. For fuller inspiration, compare this with new bridal mehndi designs that cover every inch right and edit it down for a clean, temporary stain.
5Mirror two shoulder motifs with breathing skin between
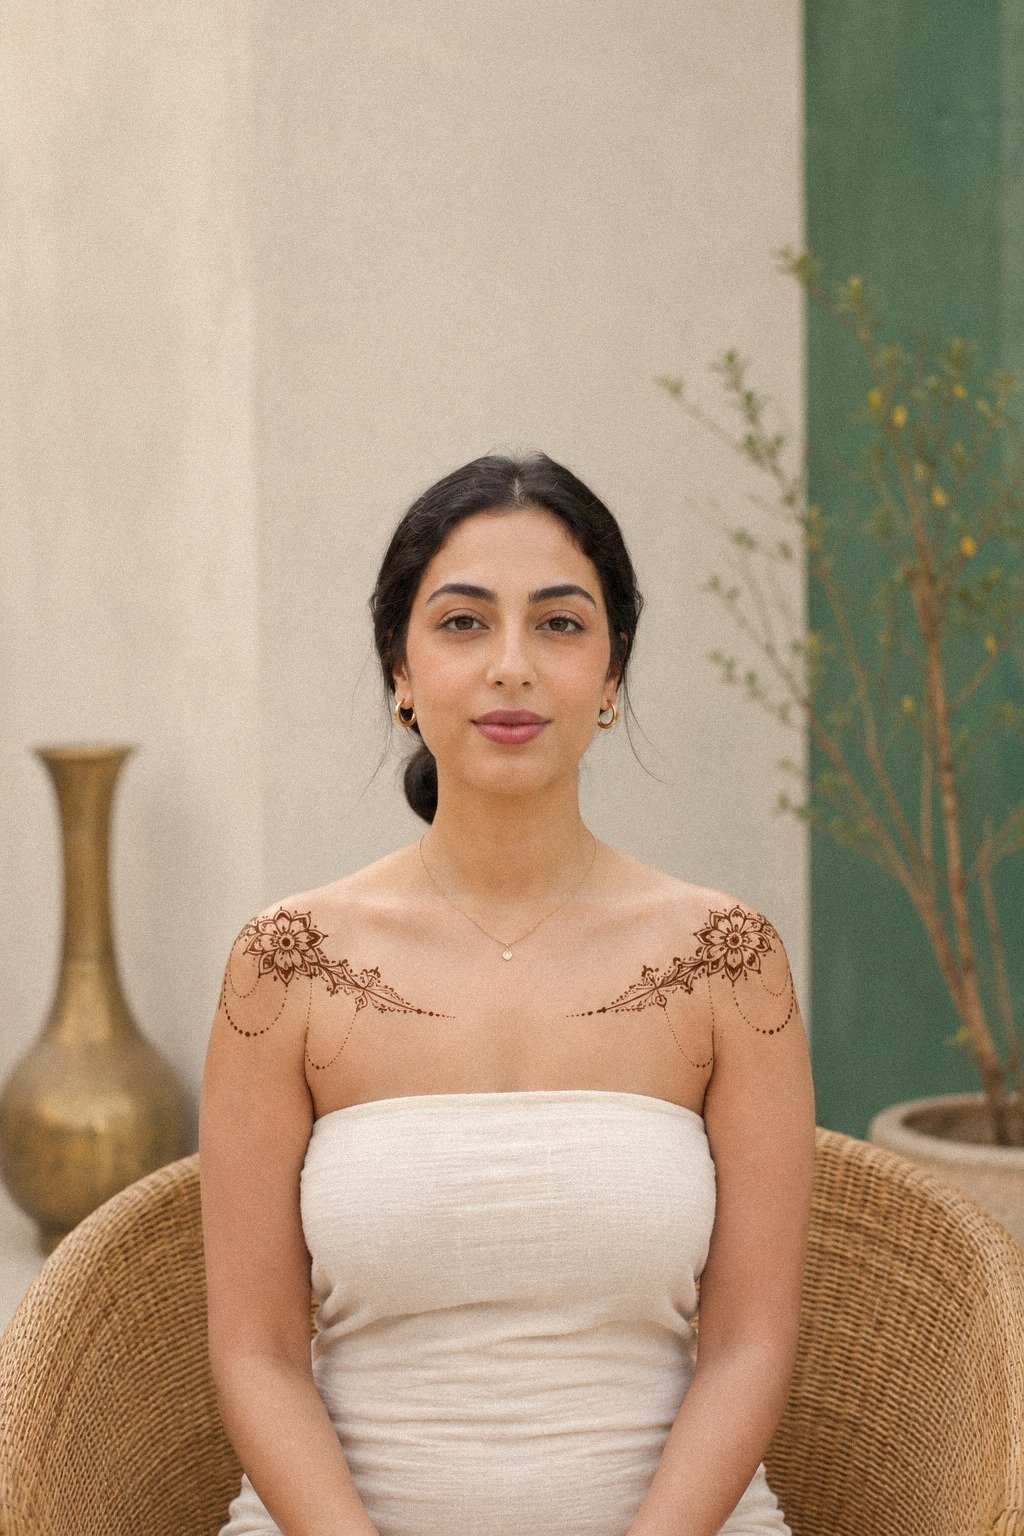
Negative-skin panels work best when your artist treats skin like part of the design. The photo shows mirrored shoulder motifs, and that symmetry is what keeps the idea modern instead of busy.
You get two bold shapes with clean skin between them. Simple, but not plain.
I call this the Breathing Panel Rule: every dense line cluster needs an open zone beside it. That open zone is what makes the mehndi feel refined. It also helps the design stay readable as the color deepens on day two and fades over one to three weeks.
Use fine cone linework only if your mehndi artist is truly good at it. Otherwise, a slightly bolder line is safer.
Scratchy lines on shoulders are obvious because the skin sits flat and catches light. First few days it’s an open wound, treat it like that!
Don’t let bra straps chew it up while it peels.
6Wrap a delicate vine around the wrist and hand
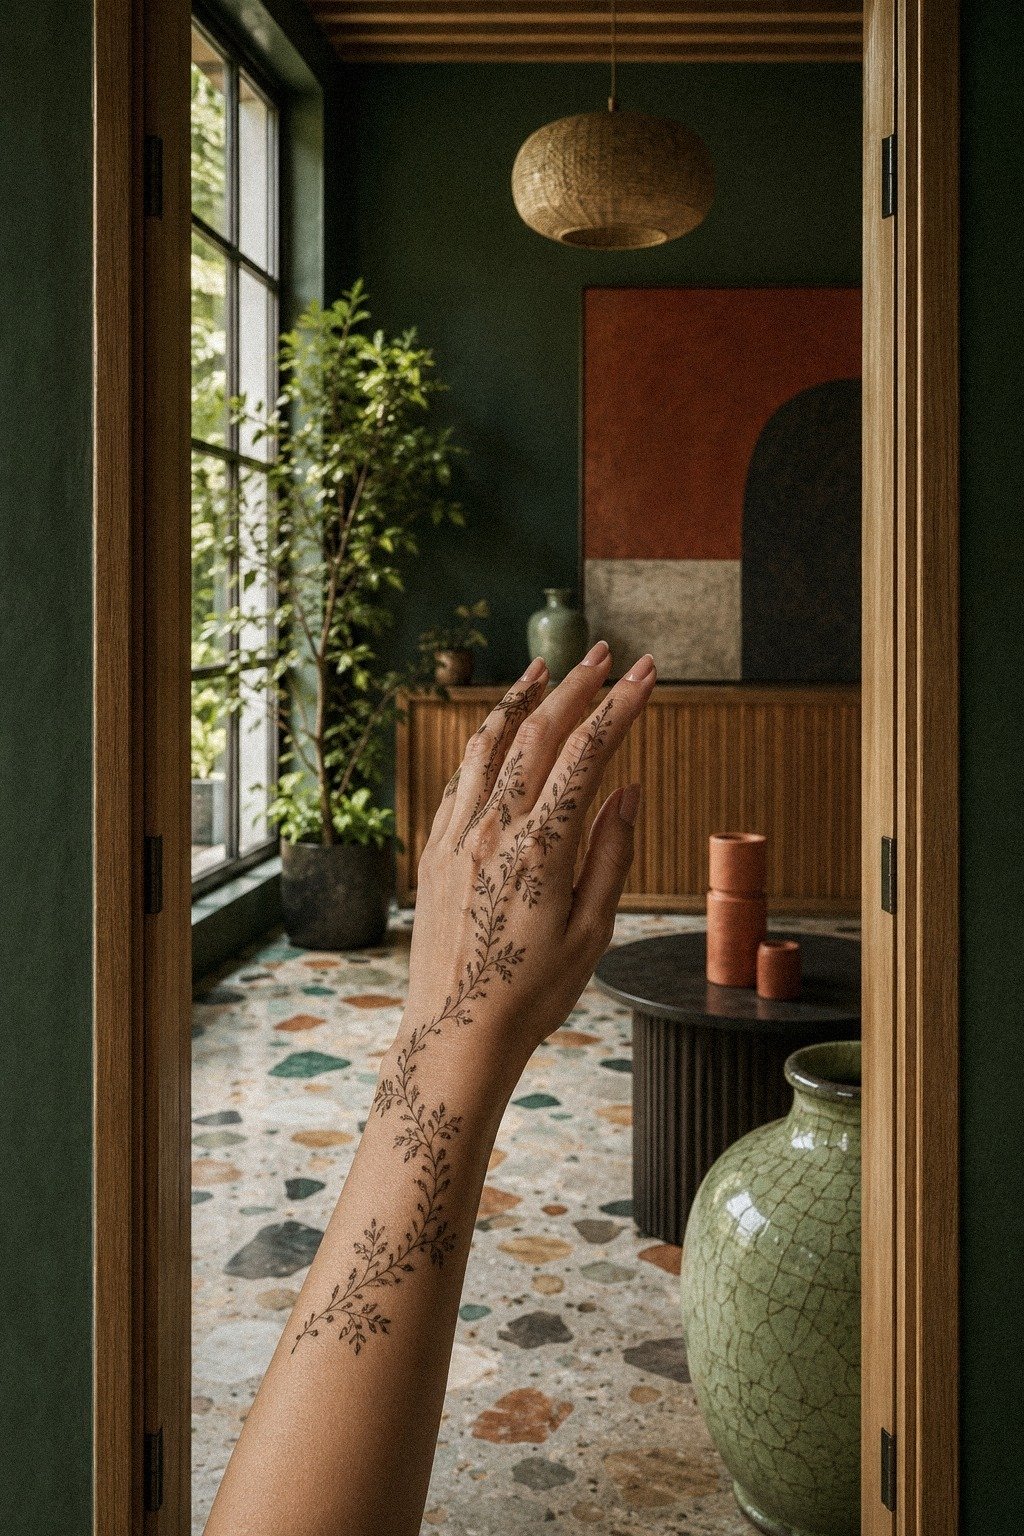
A vine wrap around the wrist and hand is one of the prettiest modern mehndi ideas, but it has to respect movement. Your wrist bends. Your knuckles swell.
Your fingers fade faster than your forearm. So the design needs flow, not a tight little bracelet squeezed into a high-wear zone.
The best version uses delicate vine motifs with slightly bolder stems and softer leaves. Bold will hold, even when the detail is feminine.
I’d avoid micro leaves packed around every joint because hands and fingers need careful drying and aftercare. That is not a threat, just mehndi physics.
And if you want the vine to feel like mehndi instead of random floral, ask for tapered dots at the end of each branch. Not glitter.
Not metallic ink. Just clean black dots, pulled once, with open skin around them.
It should look even after the paste dries, not patchy.

7Concentric medallions for the thigh
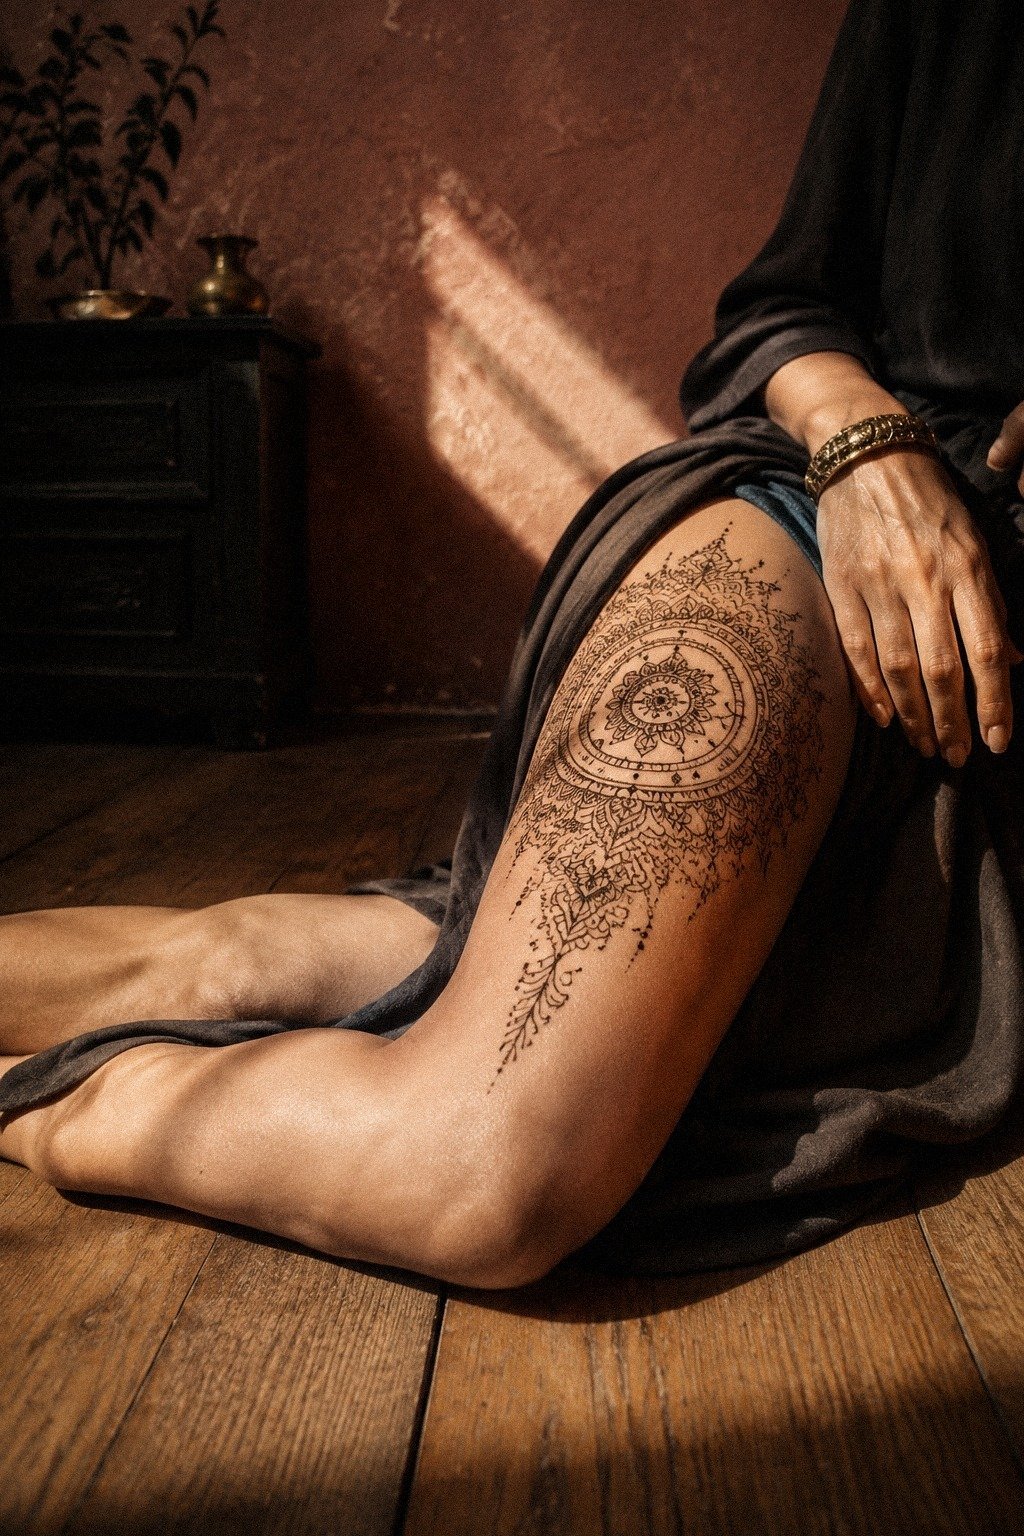
On the thigh, concentric medallions are a killer choice because the placement gives you real estate. You can push the size up to 6 or 8 inches without losing flow, and the inner geometry has room to breathe instead of cramming into a wrist.
I’d keep the outer ring bold paste linework and let the inner rings drop into a softer, finer rhythm. That contrast is what makes it read from across the room while the stain is fresh. Don’t go past four rings; five starts to look like a target, not a motif.
Save Pakistani mehndi designs built for bridal season for the inner motif ideas, then strip the bridal density down. Most of those designs assume a one-night stain, not a ten-year commitment.
8Run a rib-side lattice and pick one hero texture
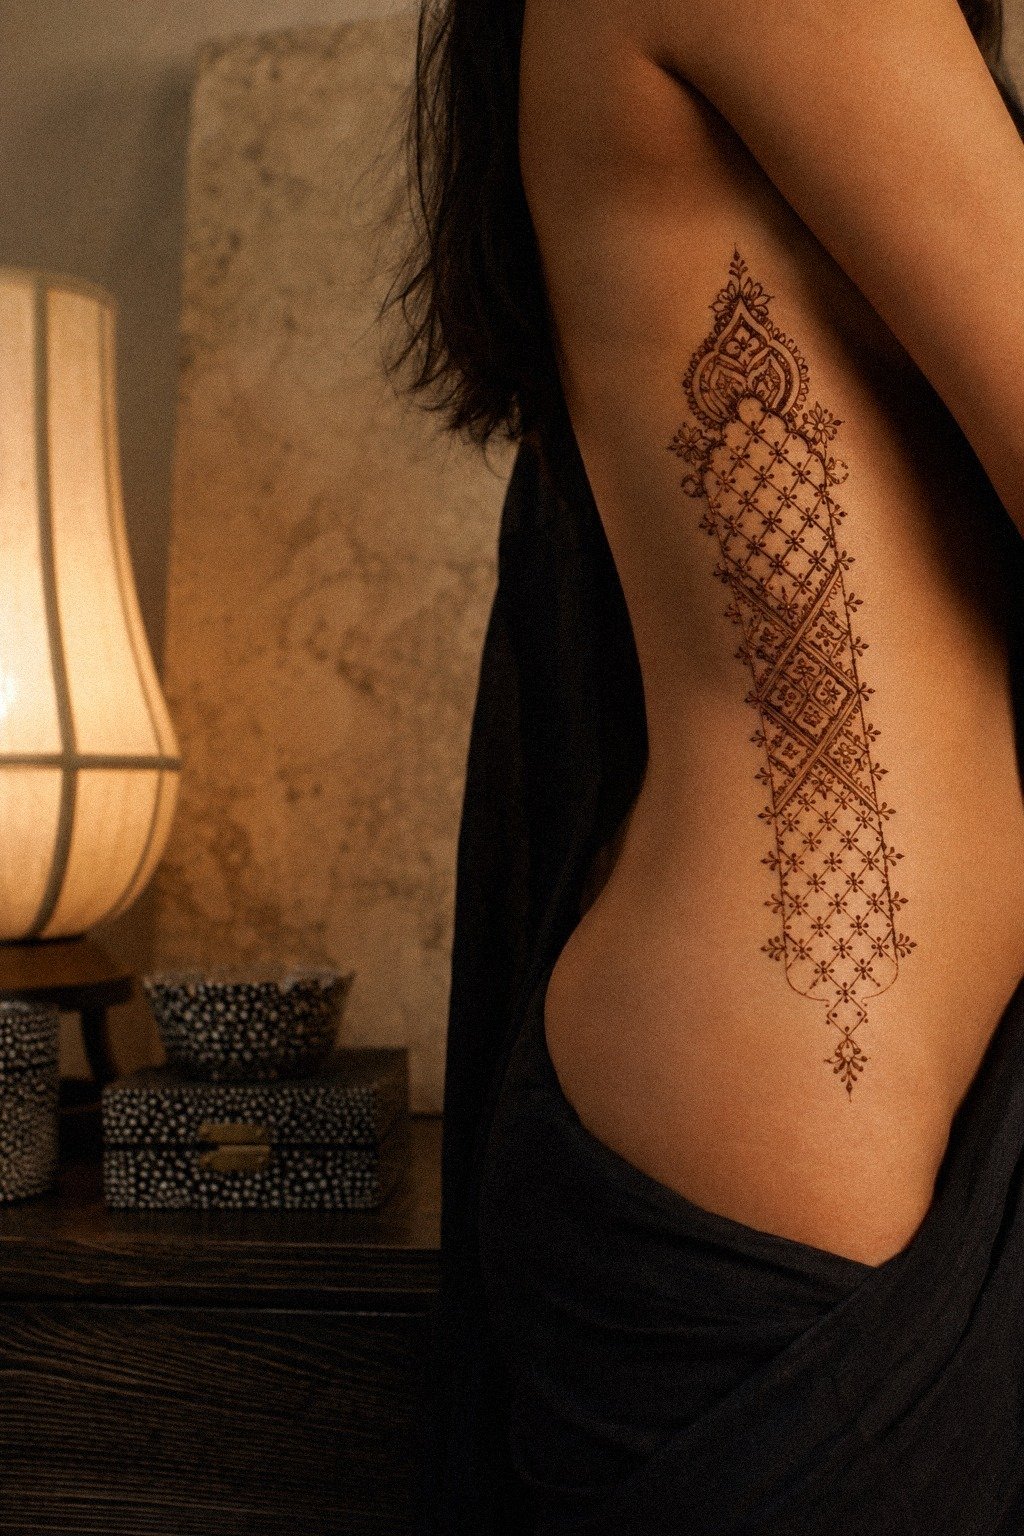
For this placement, I’d want geometric blackwork with a softened edge where the pattern tapers toward the waist.
9Are fingertip dots worth the touch-ups?
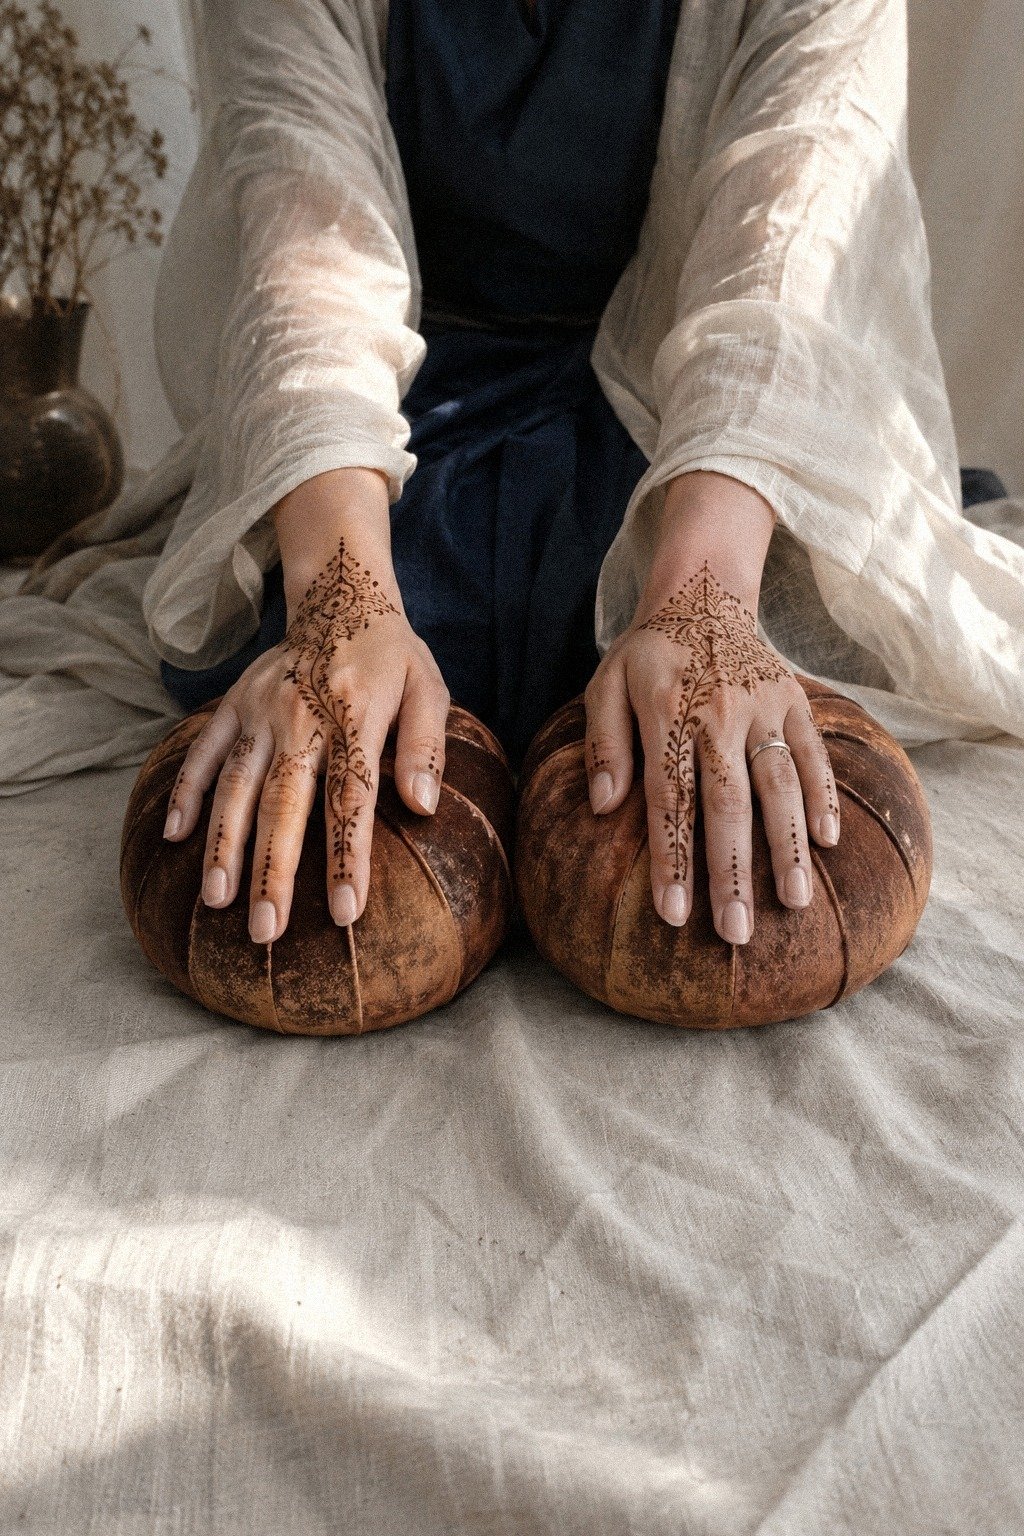
Fingertip dots are classic mehndi language, but fingers are a high-wear placement. Frequent washing can fade them sooner than the rest of the design. If you’re not okay with refreshing the pattern, start somewhere less exposed and save fingertips for round two.
When you do commit, ask for solid dark dots in one careful pass, not a cluster of micro dots that blurs as the paste dries. Bigger dots read better than tiny ones. The mehndi reference can stay, but the cone version needs the discipline of bold shapes.
Skin on the fingers fades differently than the forearm. You’ll see lighter stain sooner, and the dots may look almost orange before the color deepens brown on day two.
Don’t panic. Give it the full four weeks before you judge.
10Stack scallops into a wrist cuff
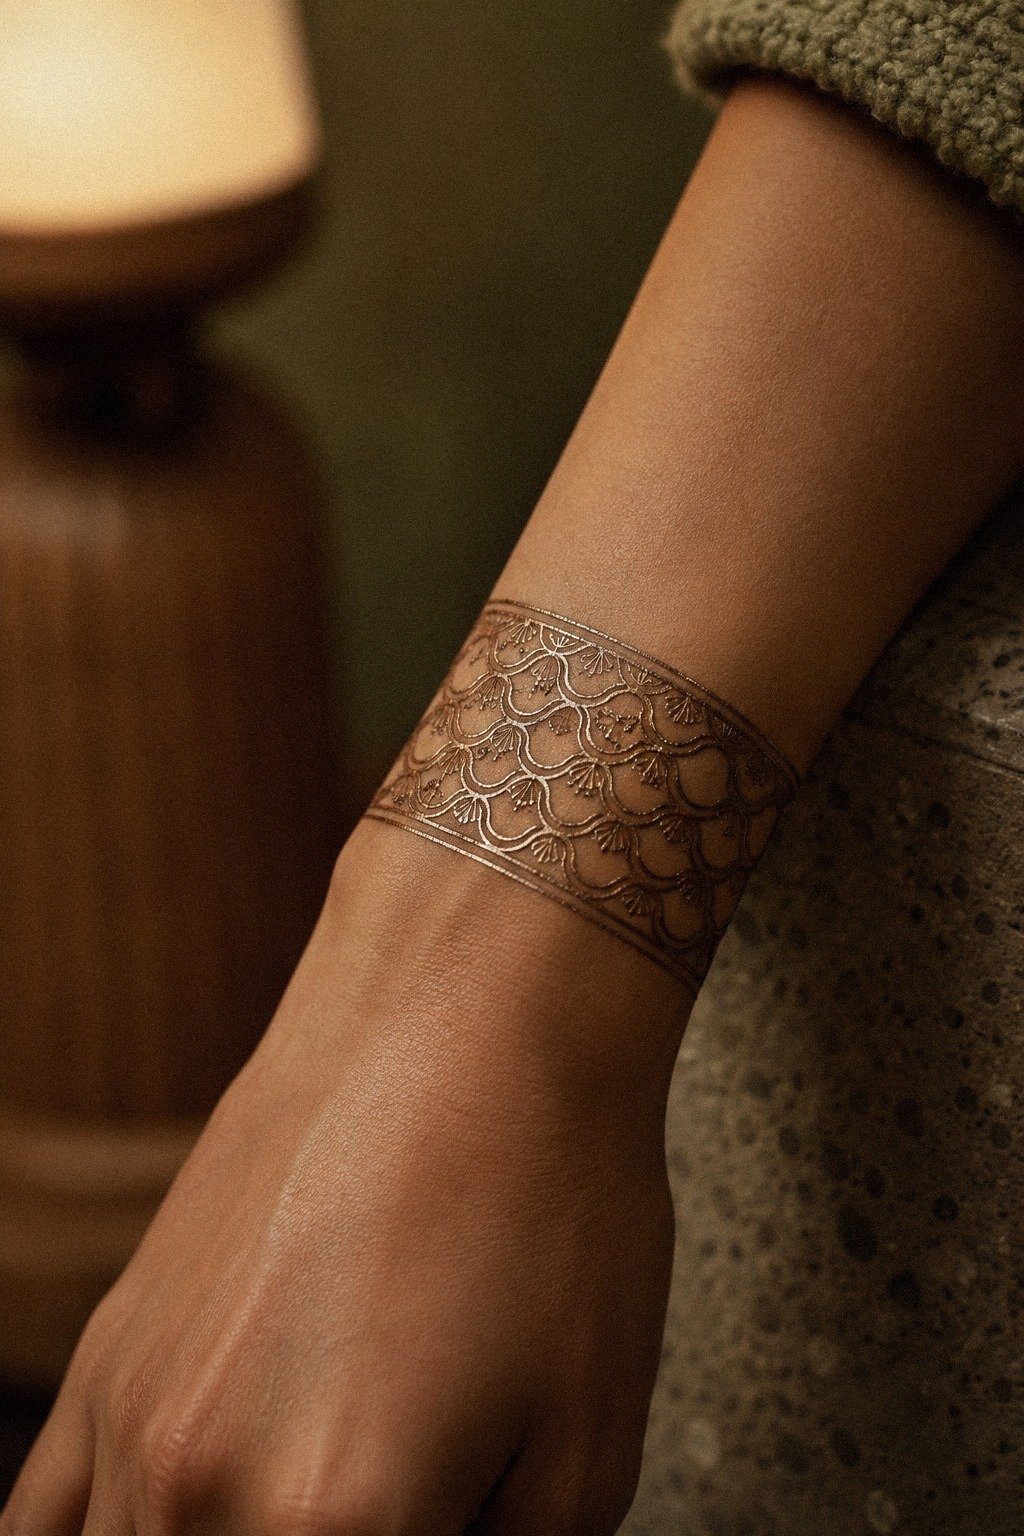
Metallic-looking scallops are better as deep brown paste with smart highlights than as a literal metallic effect. Shimmery mixtures can dry unevenly and distract from the pattern. The macro wrist-cuff photo gives you the better idea: scalloped outlines that catch light because the cone work is clean.
Ask for ornamental cuff linework with alternating thick and thin arcs. The thicker arcs give the pattern backbone.
The thinner inner lines give it that henna jewelry feeling. If every scallop is the same weight, the cuff can look stamped on instead of drawn for you.
Would I put this on the wrist? Yes, if you size it right. A cuff under 1 inch tall can blur.
Around 1.5 to 2 inches gives the pattern enough air. Keep the skin clean while the paste dries, leave it on for 1 to 2 hours, and use a light lemon-sugar seal if your artist recommends it.
11The Carved Panel: shoulder blades, not sofa art
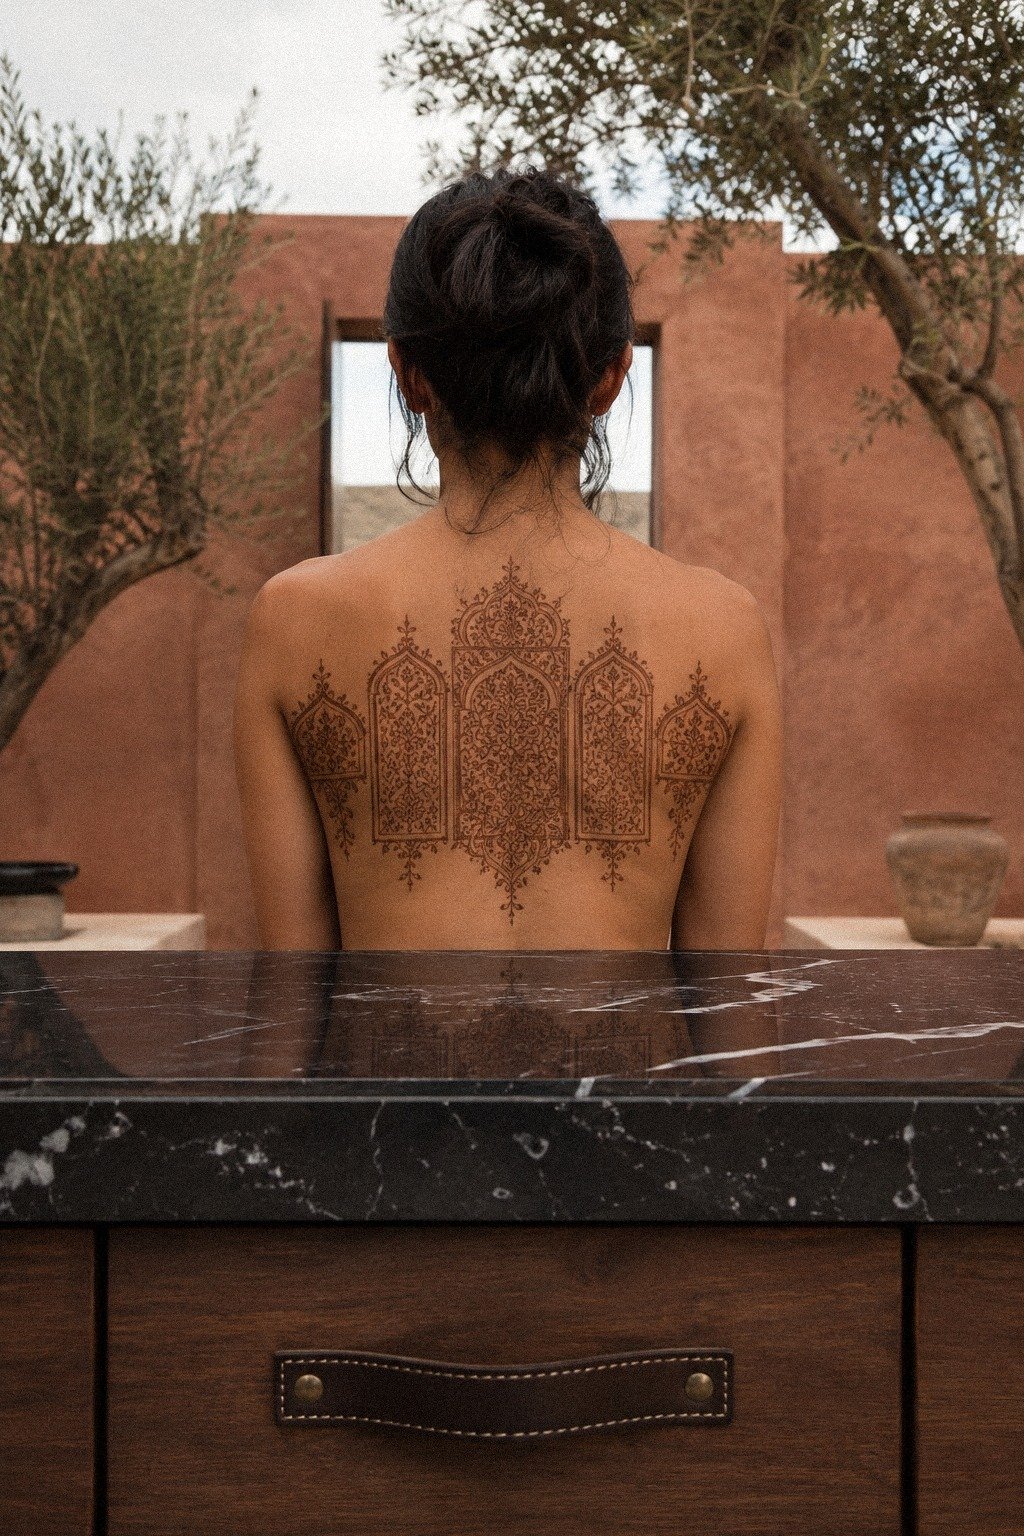
This is where I’d push illustrative ornamental blackwork with carved-panel edges, not a perfect rectangle slapped between your shoulders.
12Block-print a vine down the outer arm
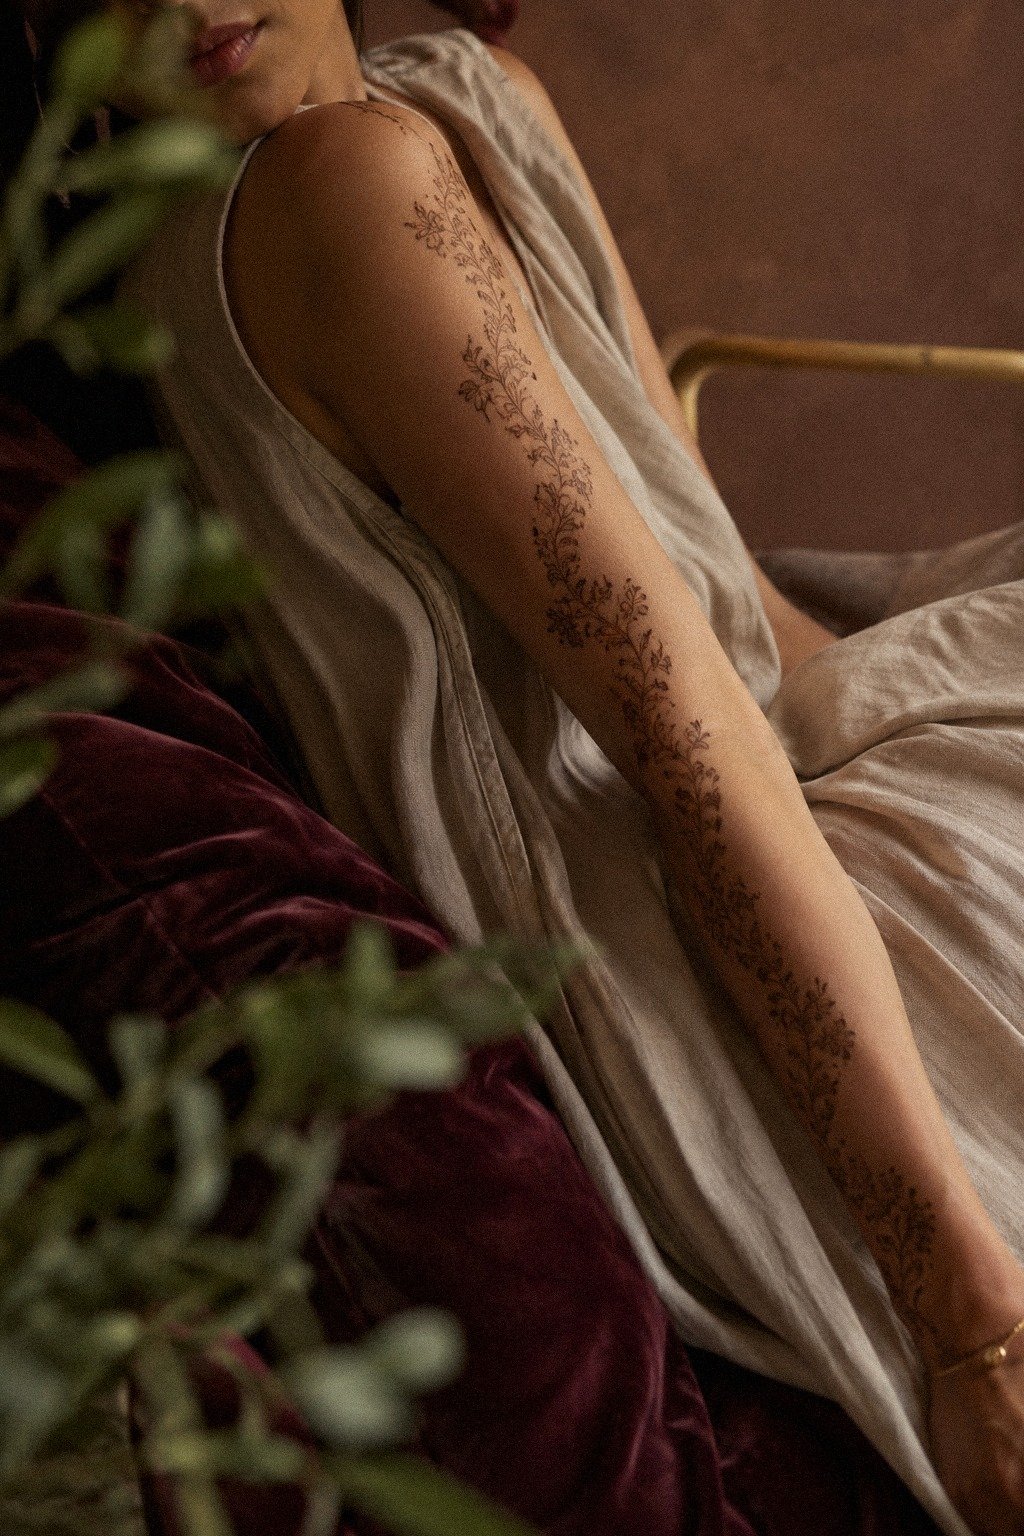
Block-print vines on the outer arm are a sweet middle ground: decorative, readable, and not as high-maintenance as hands. The outer arm is forgiving skin.
It dries evenly, darkens on day two, and doesn’t get the friction that wrists and fingers do. If you’re new to mehndi designs, this is a simple place to start.
I’d keep the bold linework as the spine and let the leaves taper off into thinner side branches. That hierarchy is what makes it read from across the room. Equal-weight vines look busy fast.
Save very simple mehndi designs that look effortlessly intentional for the reference pile, and bring three to five pieces for vibe only. Your artist needs to redraw it for skin, not trace it.
13Both hands, not both palms: a mehndi stain that fades
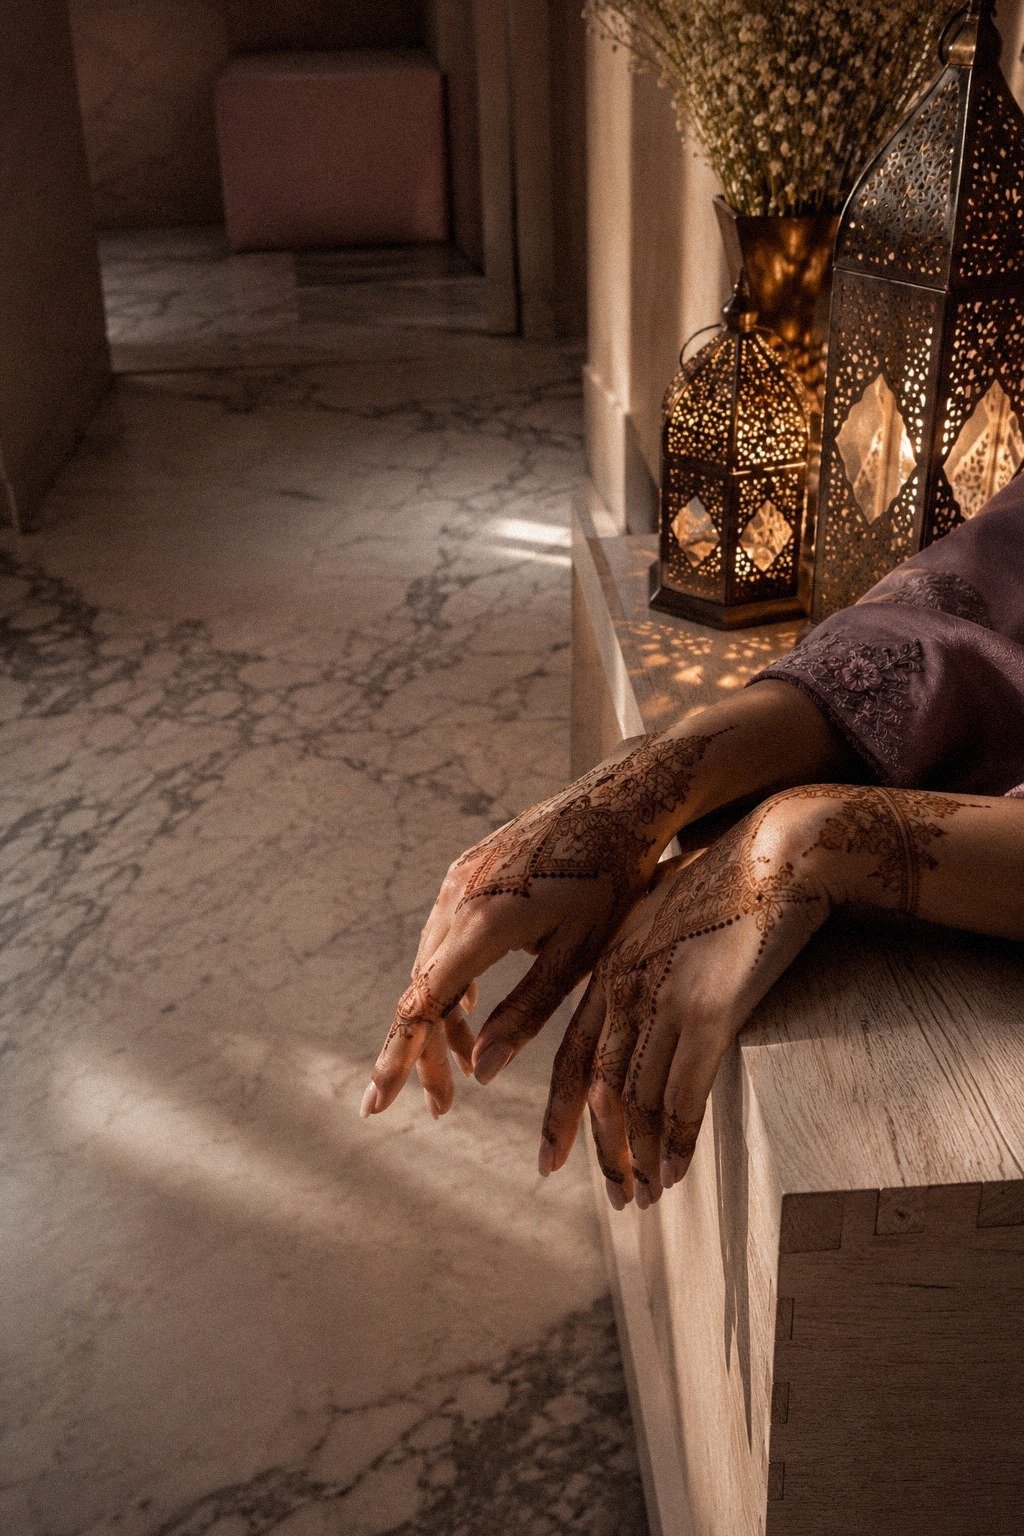
Lantern-lit hand mehndi is the moodiest reference in this set, but the design needs restraint. Both hands covered in glowing pattern can be gorgeous, and it can also mean a longer application with more careful drying.
Hands fade. Palms fade faster. Finger sides are little chaos zones.
If you’re doing this, choose bold hand ornamental work with bigger open-skin shapes at the center of the hand and smaller dots only as accents. Black is longevity.
Color is spice. White highlights may look cute fresh, but they often soften fast, especially on high-wear skin.
Here’s the question I ask clients: do you want the photo for tomorrow, or do you want a stain that deepens on day two and lasts for one to three weeks? If it’s the longer wear, we simplify. We keep the lantern feeling through pattern rhythm, not through microscopic holes everywhere.
Save full hand mehndi designs to show your artist first and let your artist redraw it for wear.
Why I Keep Making Mehndi Designs Bigger Than the Reference
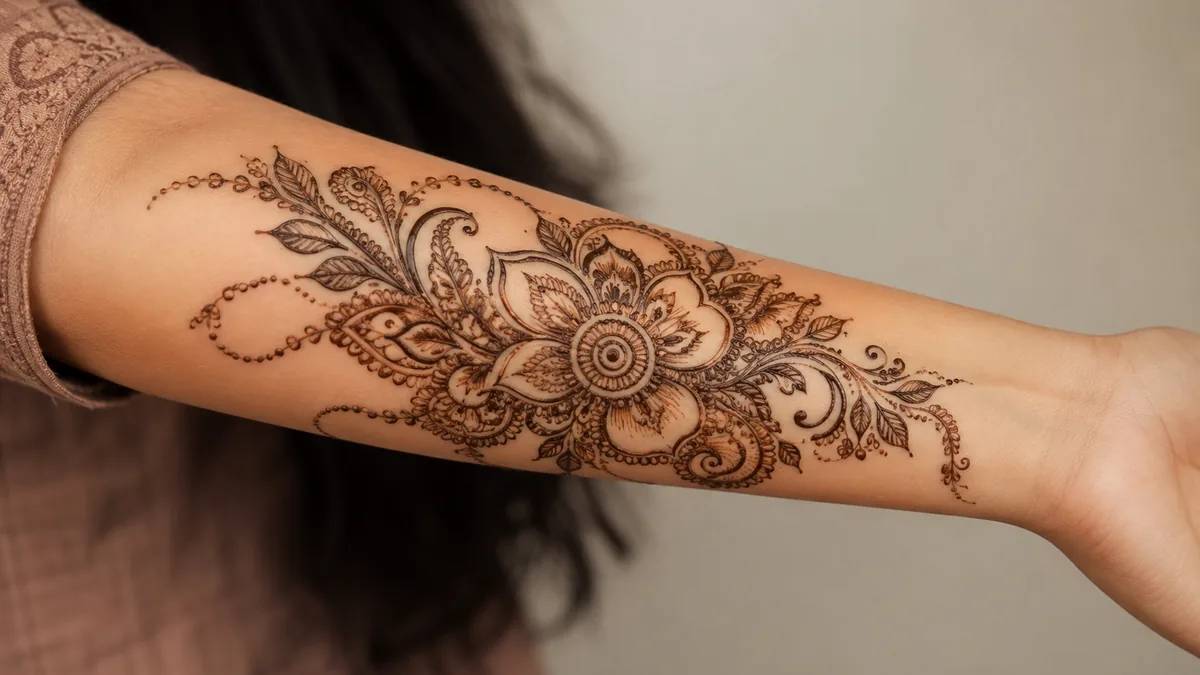
I know the tiny version is tempting. You see a delicate bridal mehndi photo, zoom in on a little paisley, and think, that is the one.
I’ve had that request a hundred times. But fresh henna paste and a finished stain do not behave the same way.
Henna stains the surface and fades out. The color develops as the paste dries, deepens on day two, and gradually lightens as the skin naturally sheds.
That tiny perfect line has to survive all of that.
So I usually push clients a little bigger. Not huge. Just honest.
A wrist motif might need to move up the forearm. A finger lattice might need to become a hand accent. A 2-inch mandala might need to be 5 inches if you want inner petals that still read later. People think I’m killing the delicacy.
I’m not. I am protecting it.
The refined look comes from restraint: fewer motifs, cleaner spacing, stronger anchors, better placement. I’d rather give you one solid medallion that dries evenly than a dozen micro details that look impressive on day one and muddy by the end of the week.
Skin isn’t paper. It’s warm, stretchy, living material, and it deserves a design that respects that.
I also care about the appointment after the appointment: the healed photo. Fresh ink lies a little. Everything is dark, glossy, swollen, and dramatic.
Four weeks later, once the silver skin settles, the truth shows up. Did the lines stay crispy? Did the dots have enough distance?
Did the black anchors keep the pattern readable? That is why I talk clients out of crowded wrists and overbuilt fingers. I want you happy after the peel, not just excited under the ring light.
The Questions Worth Answering First
What is the best modern mehndi design for a small placement?
A slim forearm paisley or wrist vine is the safest small pick because it gives you clean flow without packing too much detail into a high-wear zone. Skip tiny finger lattice for your first one. It fades fast, and you’ll be chasing touch-ups.
Where can I find modern mehndi references on a budget?
Use free reference boards, mehndi artist portfolios, and design sheets. The best budget move is better prep, not cheaper application. Save very simple mehndi designs and bring 3 to 5 references for vibe only.
How much does a modern mehndi appointment cost?
Most custom mehndi applications land around $50 to $150 per hour in the US, with small pieces often priced at the artist’s minimum. Medium forearm or hand pieces can reach $40 to $150. Bigger back panels, full hands, or event work costs more.
Can I create a modern mehndi look on a budget?
Yes, and the cheapest smart move is choosing a cleaner design. Simple linework usually costs less than dense dotwork because it takes fewer hours.
Bigger shapes. Fewer micro details. One low-wear placement.
That’s how you get the look without paying for clutter.
Is modern mehndi worth it for hands and fingers?
Yes, if you accept maintenance. Hands and fingers are high-wear zones, so fading and touch-ups are normal. If you want lower drama, start on the outer forearm, upper arm, calf, or thigh.
Those areas usually dry more evenly and hold fine detail longer.
Is modern mehndi a good first design idea?
It can be, especially if you choose easy-to-care-for placement and clear linework. I wouldn’t start with a dense palm design if you need your hands immediately. Try a forearm border or thigh medallion first so you learn your preferred paste, drying, and aftercare routine.
How do I keep a mehndi design from drying patchy?
Wash with gentle unscented soap, use a thin ointment layer, and don’t pick flakes. Calm aftercare matters more than fancy product. Avoid pools, sun, gym friction, and tight clothing while it peels.
First few days, treat it like an open wound.
Where I’d Start First
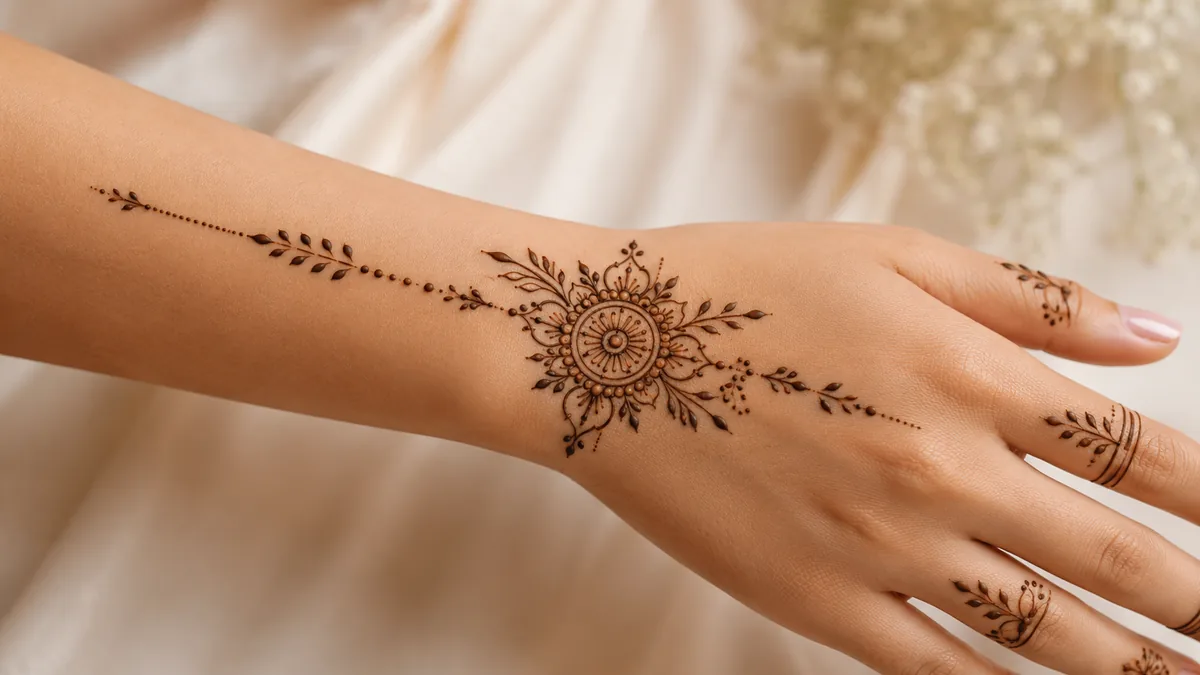
If I had to pick one, I’d start with the upper-back mandala. It gives your artist scale, symmetry, and low-wear skin, so the lines can stay clean instead of fighting fingers or ribs. Pin that reference and book the consult!