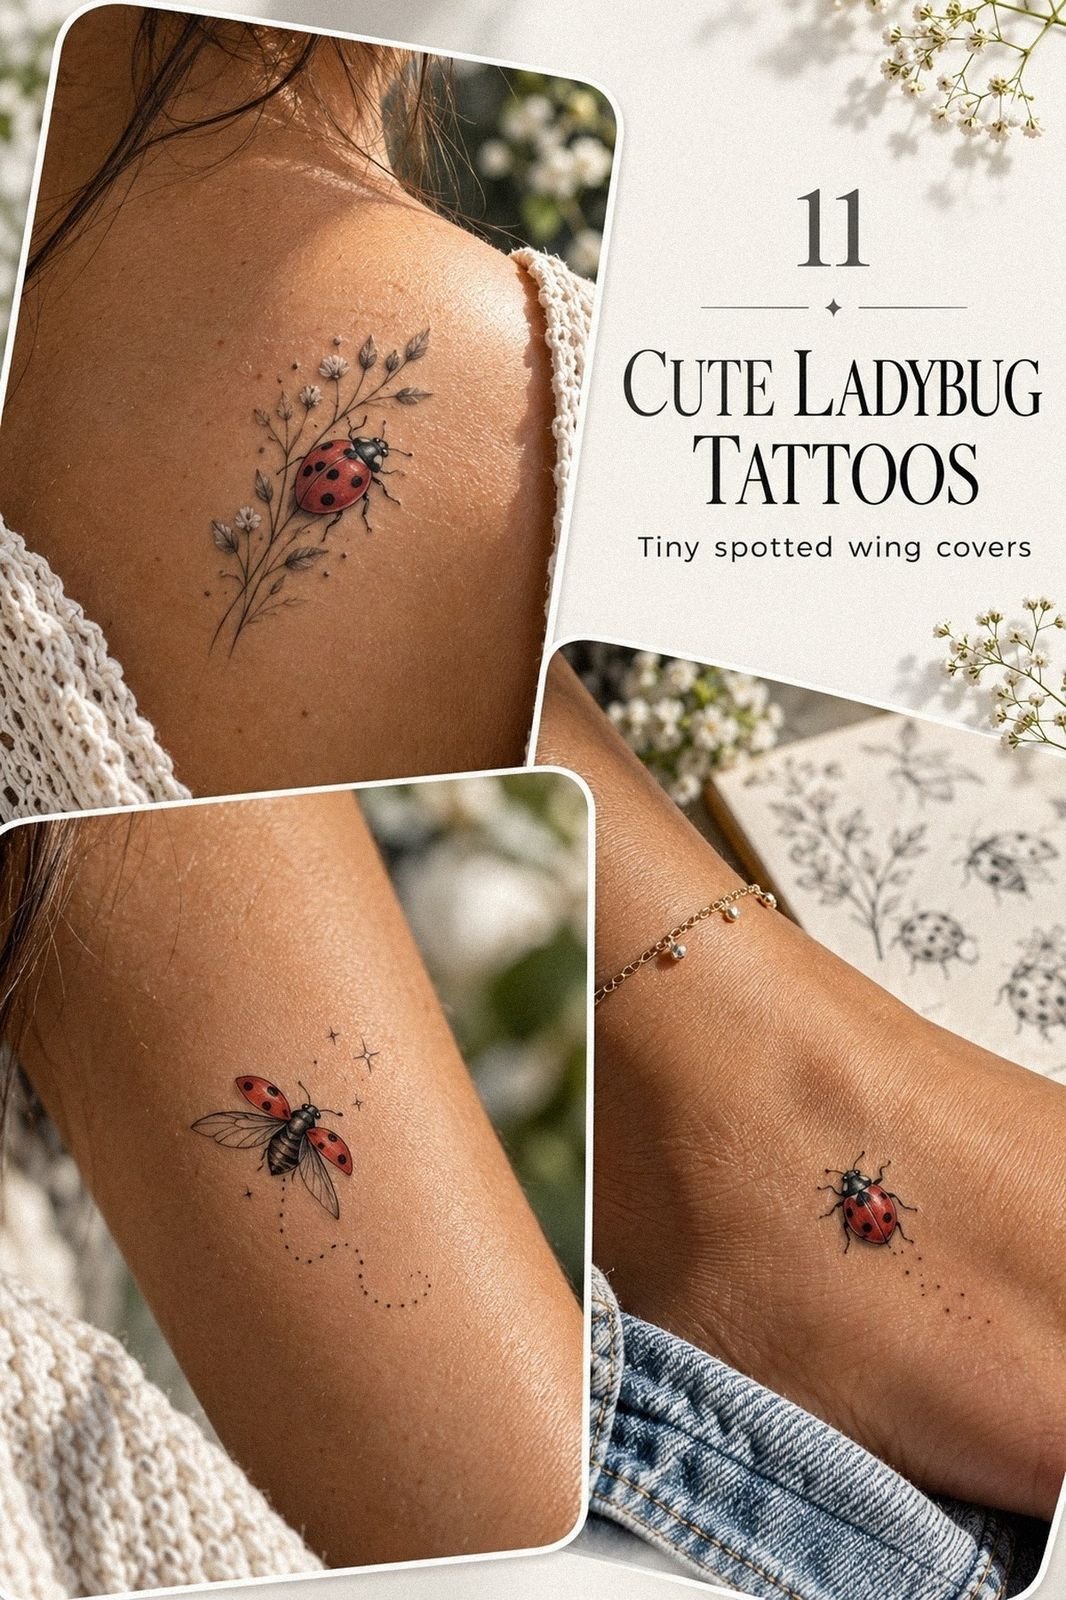
Cute ladybug tattoo ideas can stay delicate without disappearing after a few years. I wanted mine to feel personal, crisp, and easy to cover, so I chose fine lines, a small silhouette, and private placement. The decision took longer than the appointment. Worth it!
Editor’s note: The strongest version isn’t always the most intricate. A meaningful ladybug needs enough open skin, a readable shell, and details that still feel playful after the novelty fades.
- Choosing My Cute Ladybug Tattoo Reference
- Sketching A Ladybug On A Flower
- Testing Dainty Ladybug Linework: The Three-Line Test
- Comparing Black And White Ladybug Designs: Black Over White
- Selecting A Playful Red Shell Detail
- Placing The Ladybug On My Wrist: The Placement Confidence Rule
- Adding Tiny Spots And Curved Legs
- Matching The Tattoo To My Style
- Checking The Design During The Appointment
- Caring For My Fresh Ladybug Ink: The One-Color Pause
- Wearing My Meaningful Ladybug Tattoo Proudly
1Choosing My Cute Ladybug Tattoo Reference
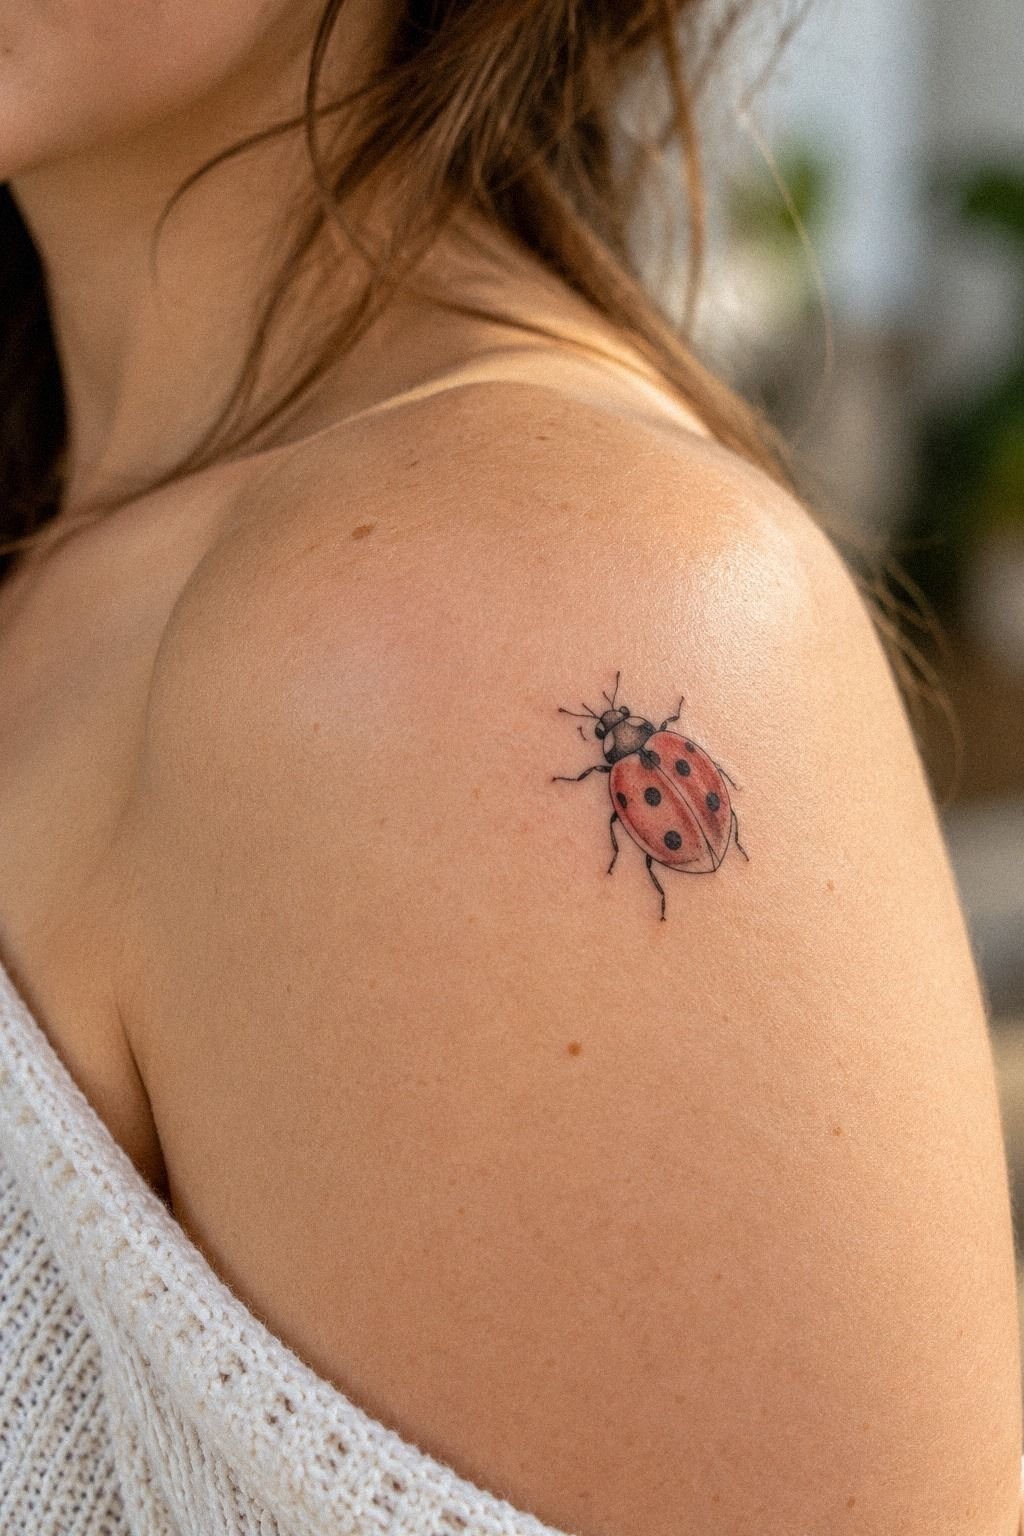
I started with a fine-line ladybug tattoo because the shape reads immediately. The rounded shell, tiny legs, and spots can stay recognizable even when the design is only a little larger than a US quarter.
My first sketch was too ornate. Every tiny curve looked exciting on paper, but the details crowded together when I reduced it to about 1.5 inches.
I chose the cleaner version instead. A personal tattoo should make sense when you see it quickly.
You can compare silhouettes in this ladybug tattoo design collection, but don’t copy a reference without checking scale. Ask whether the shell, head, and legs will remain separate marks. That decision protects the tattoo’s long-term value.
The final sketch felt symbolic, understated, and quietly mine. I didn’t need a flower, quote, or border to explain it. The ladybug already carried the gentle optimism I wanted.
2Sketching A Ladybug On A Flower
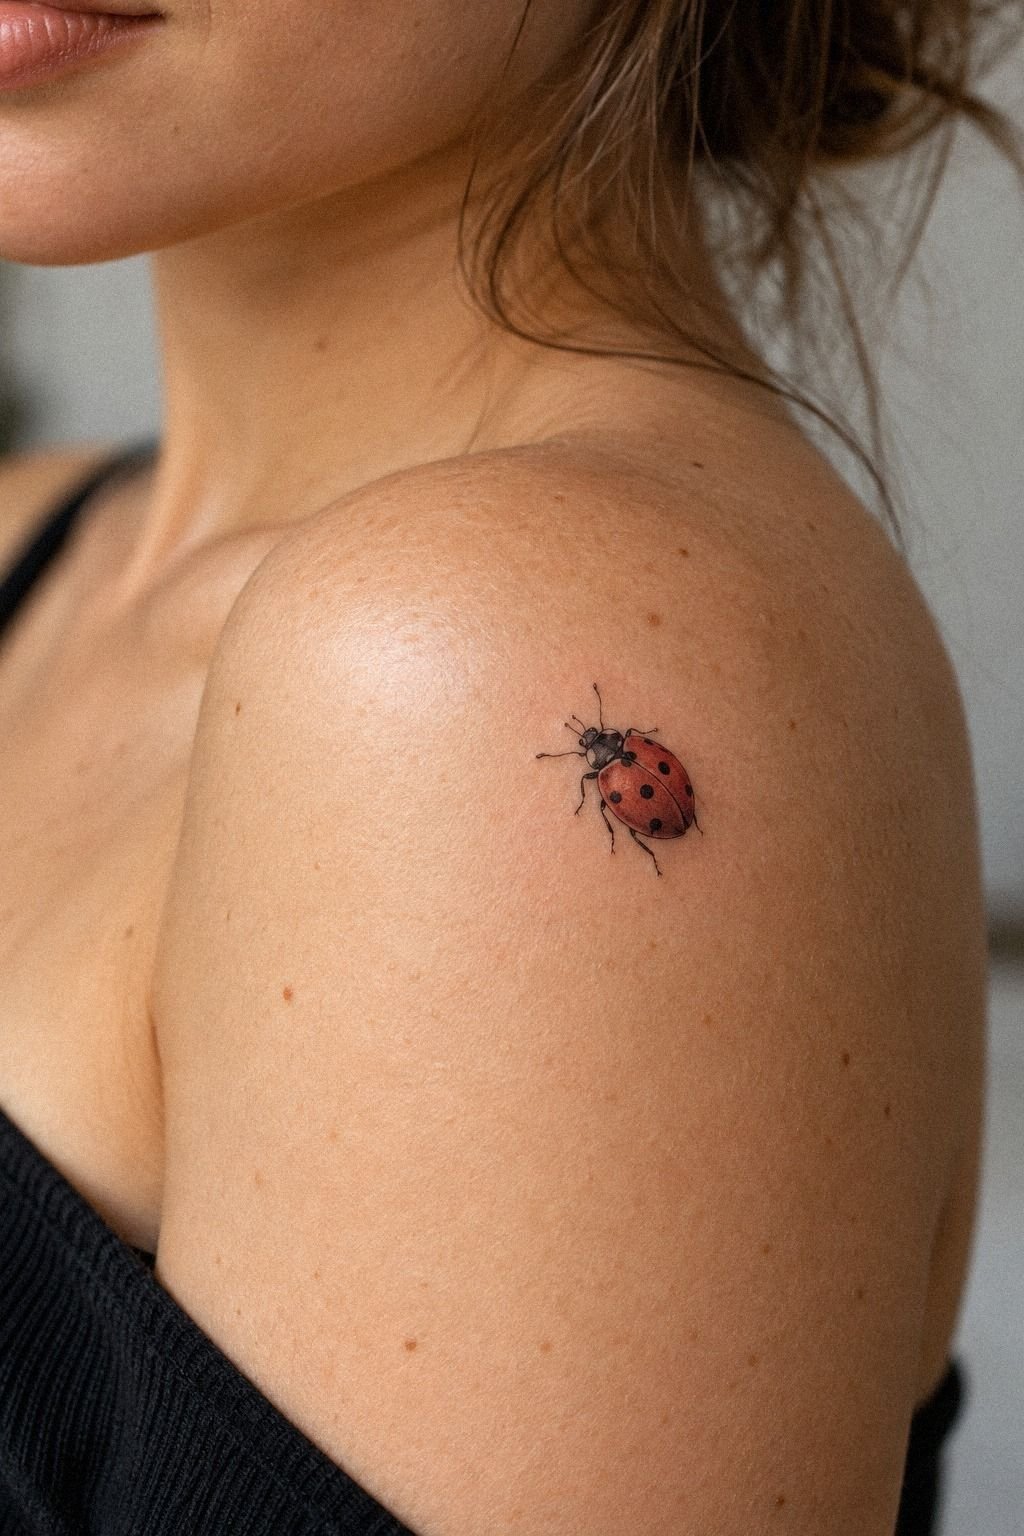
The flower version gave the ladybug a more romantic story. I tested several petal shapes on paper before choosing five uneven petals. Perfect symmetry made the drawing feel stiff, while the irregular version felt more expressive.
Wide petals looked soft. Narrow petals looked sharp and graphic. I preferred the middle ground because the insect remained the focal point instead of getting lost in decoration.
If you’re considering a ladybug-on-flower tattoo, ask for breathing space around the legs. I once squeezed too many marks into a tiny draft, and the center became a dark knot. The revised design looked more elegant because it had fewer lines.
A stem can also change the budget. More structure usually means more drawing time, so ask whether the added detail is worth the cost before you commit. For me, a small flower was worth it, but a full botanical border wasn’t.
3Testing Dainty Ladybug Linework: The Three-Line Test
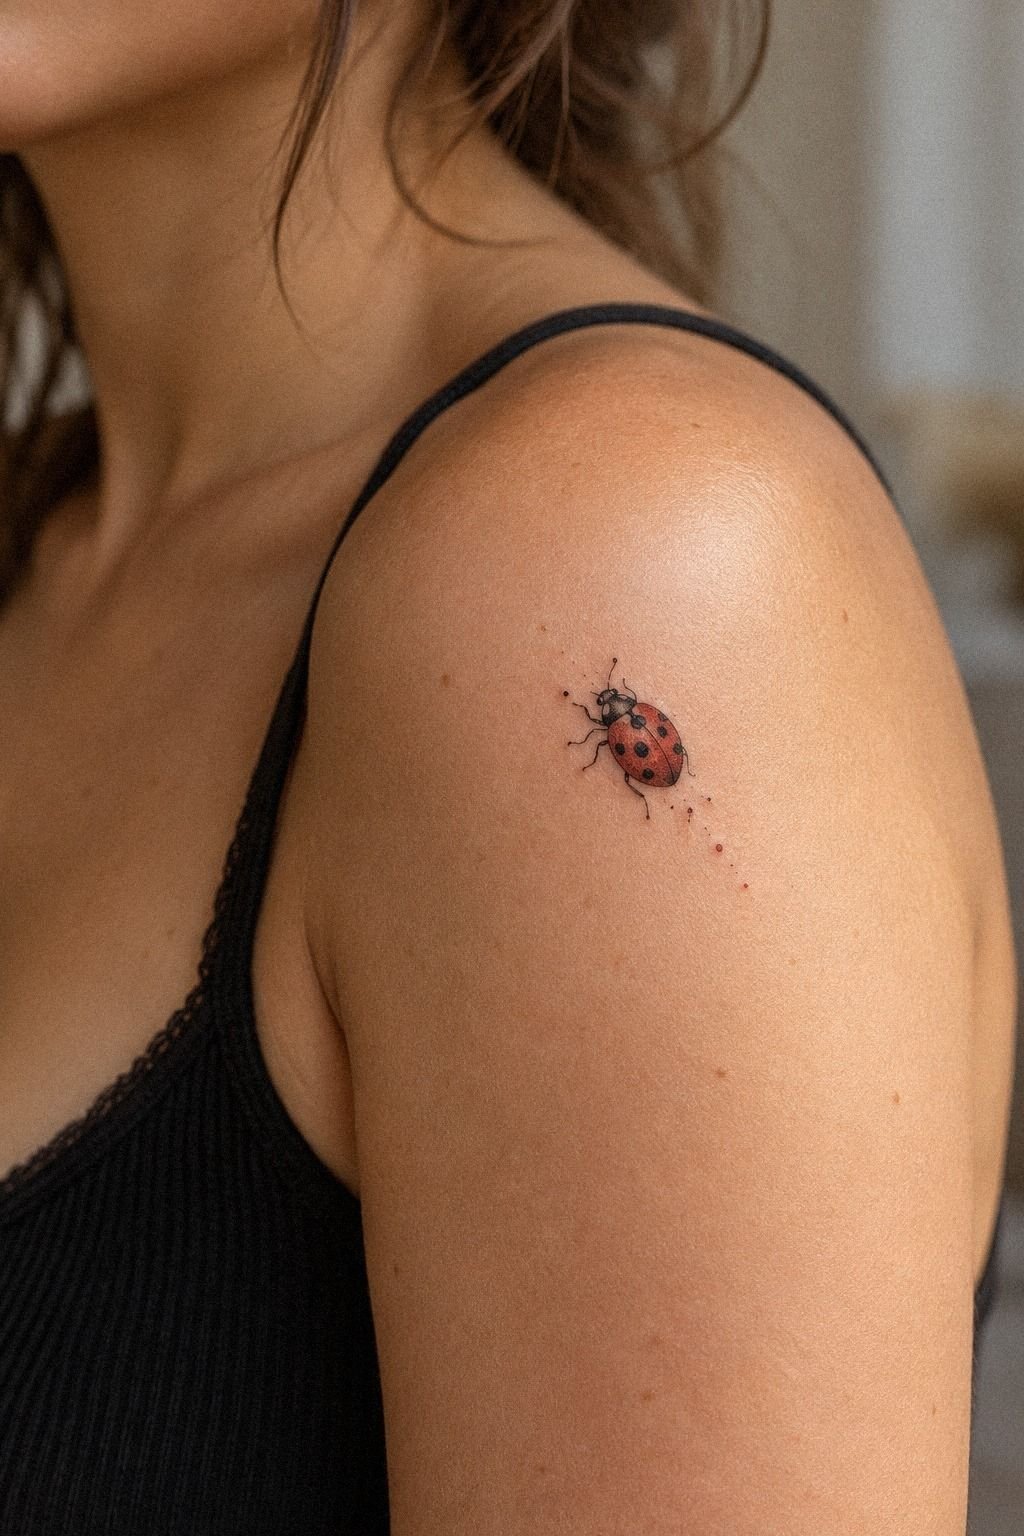
For the sternum version, I reduced the design to three layers: outer shell, center divide, and legs. The final draft stayed dainty while keeping the silhouette crisp.
4Comparing Black And White Ladybug Designs: Black Over White
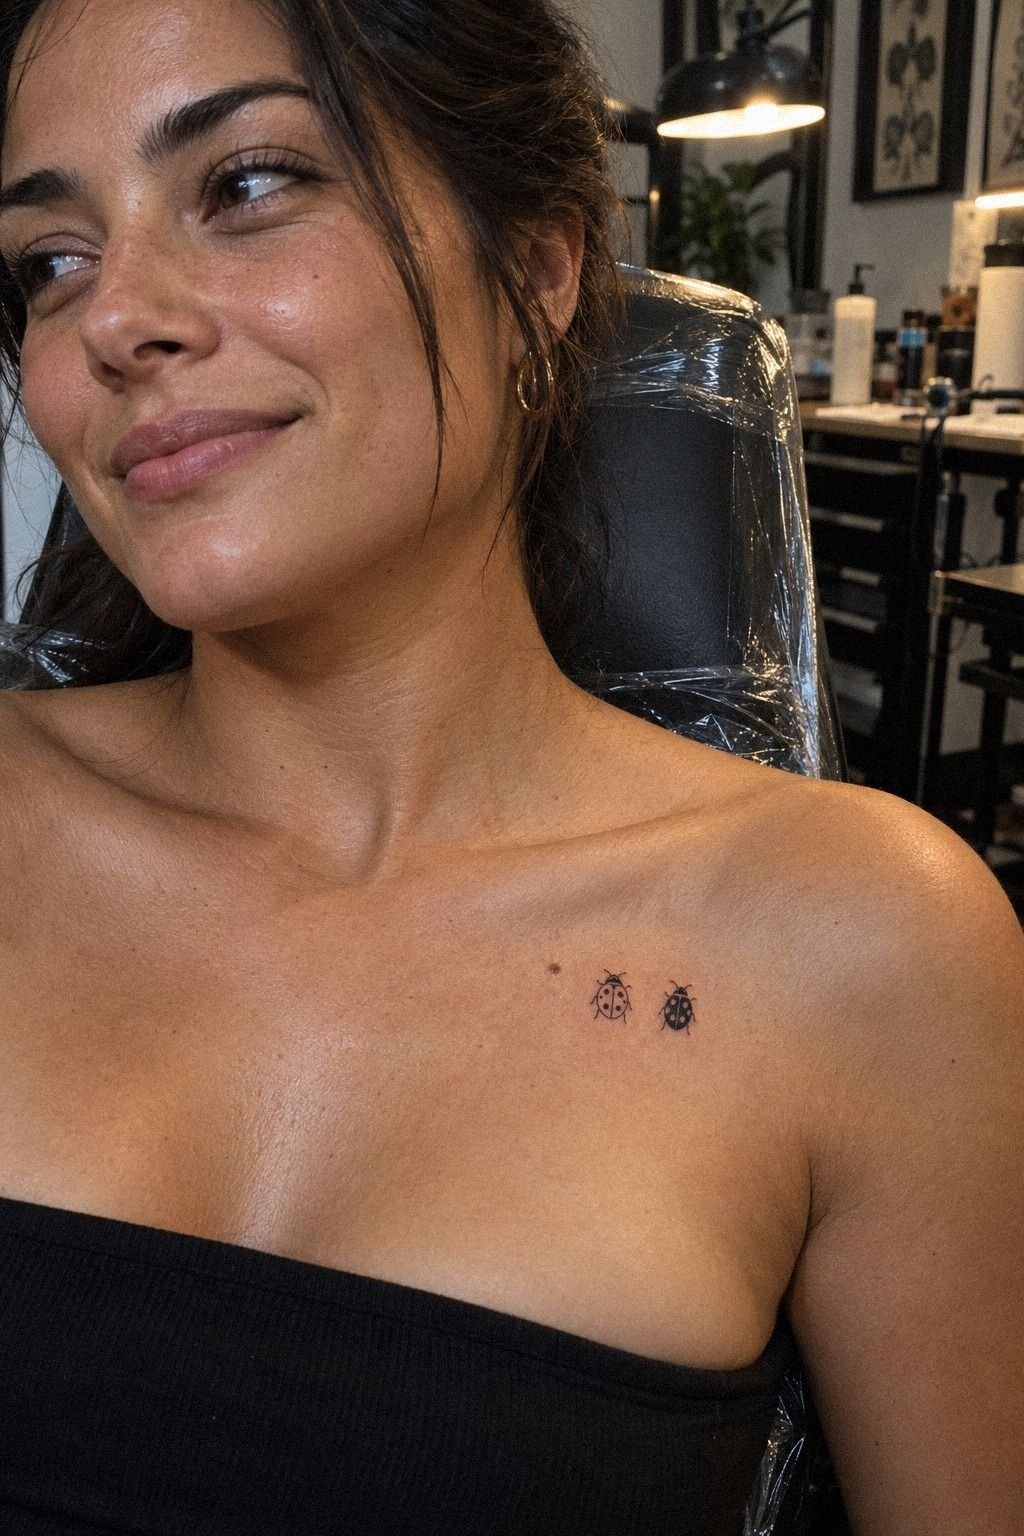
The central choice was solid black shell or open wings. The open version felt light, but the filled shell created a more iconic silhouette and made the insect easier to recognize.
I prefer black over white for the main shell because it gives the design a clear anchor. You can keep the legs and antennae hair-thin while using one darker area for contrast. I wouldn’t fill every surrounding mark.
A ladybug tattoo black-and-white comparison helped me decide where restraint mattered. The filled shell looked more powerful, while the open version felt quieter. Neither was wrong, but the open version lost identity below about 2 inches.
If you’re watching your budget, ask whether a small filled section changes the price. Often, the strongest result comes from one intentional dark shape rather than extra shading everywhere.
5Selecting A Playful Red Shell Detail
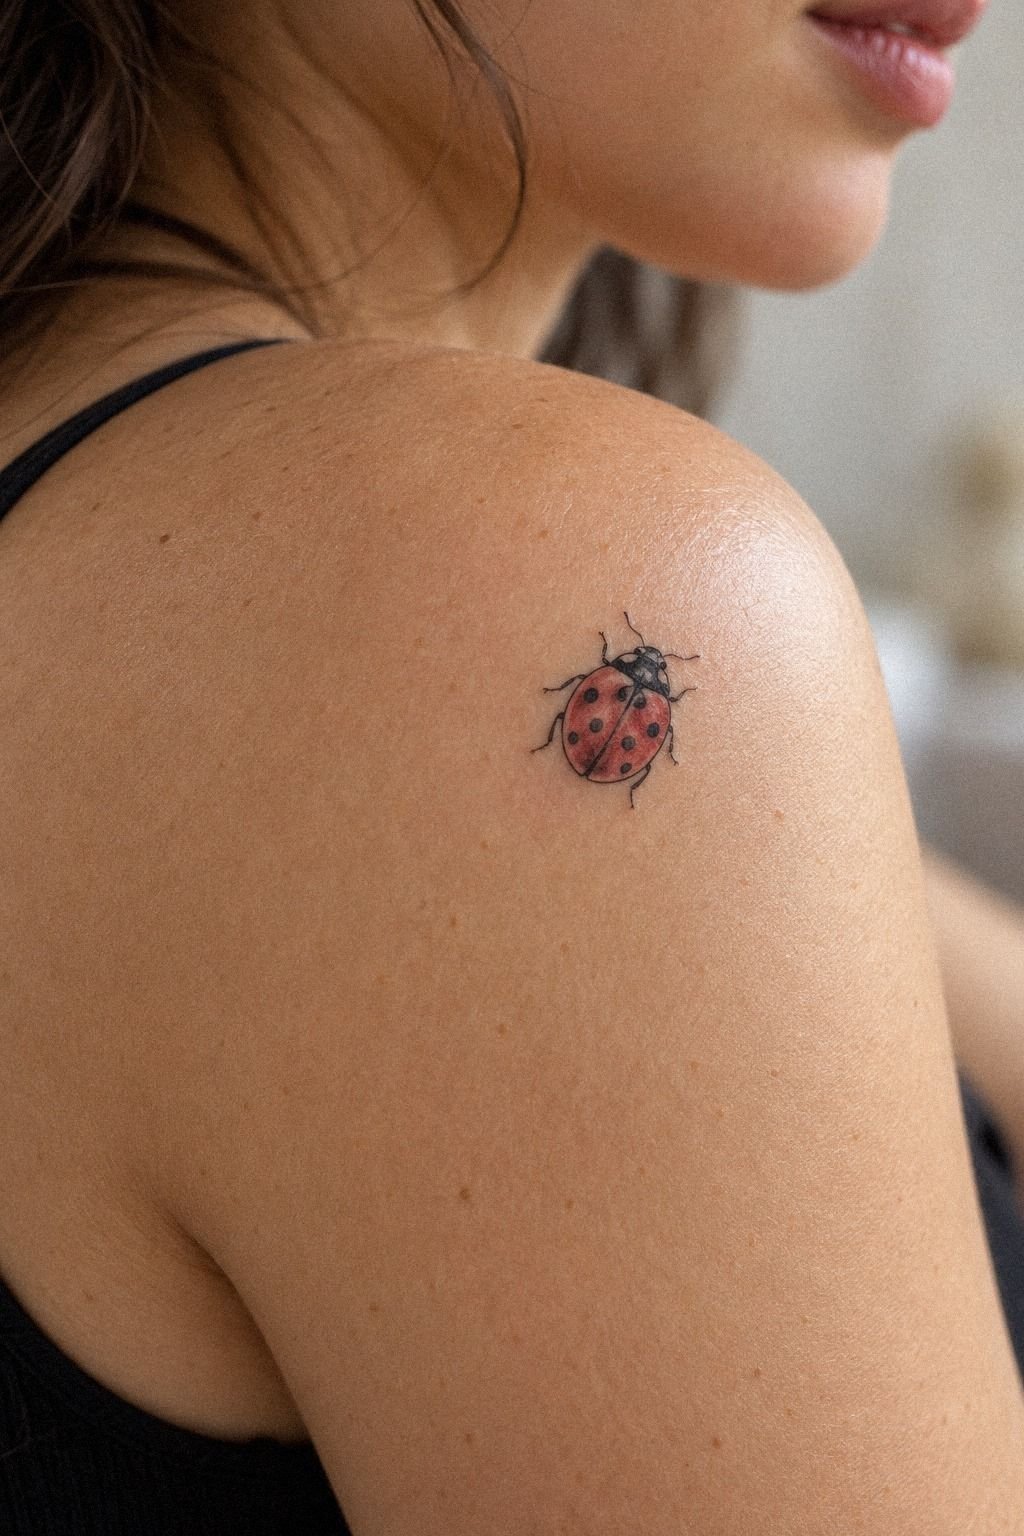
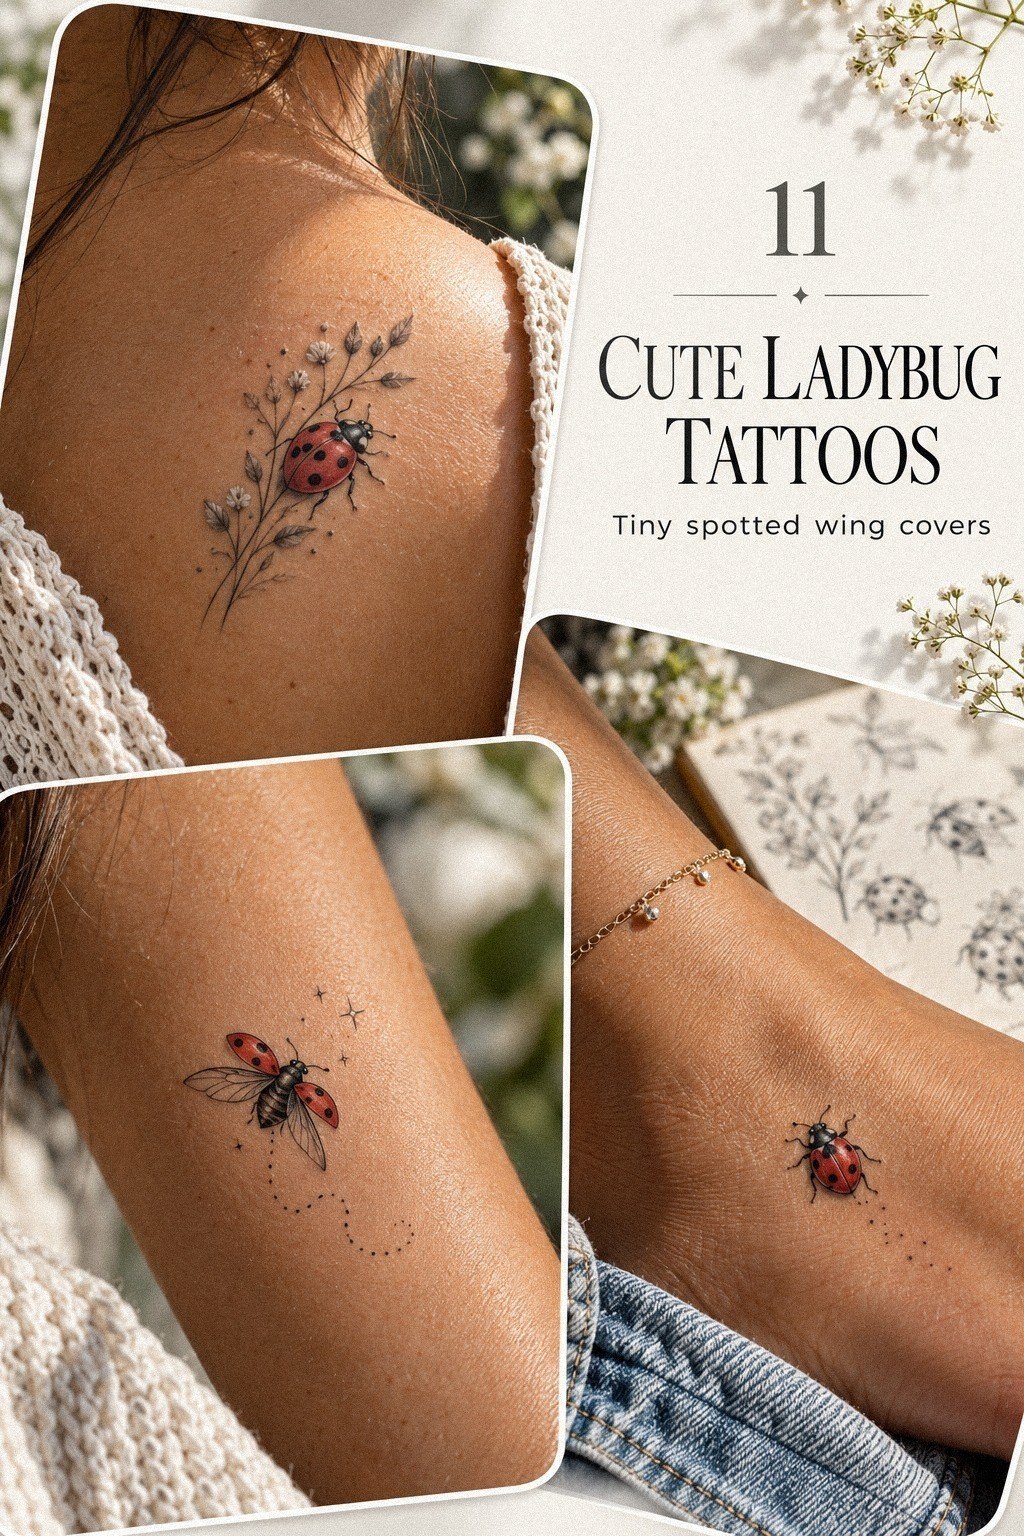
I considered color for one evening, then chose a restrained red accent. A full red shell would have felt too loud, while two red sections gave the design a vibrant focal point.
Your artist should explain how pigment may appear on your skin tone before you commit. Color can be beautiful, but it can also affect the quote, aftercare, and future touch-up decisions.
The ladybug tattoo stencil gave me a clean starting point. I asked for the red to stay inside the shell and leave the legs black. That separation made the result feel polished instead of messy.
Don’t add red just because ladybugs are usually shown that way. Choose it only if the accent supports your style.
The finished detail felt whimsical, but the design still worked when the colored section was covered. That was important!
6Placing The Ladybug On My Wrist: The Placement Confidence Rule
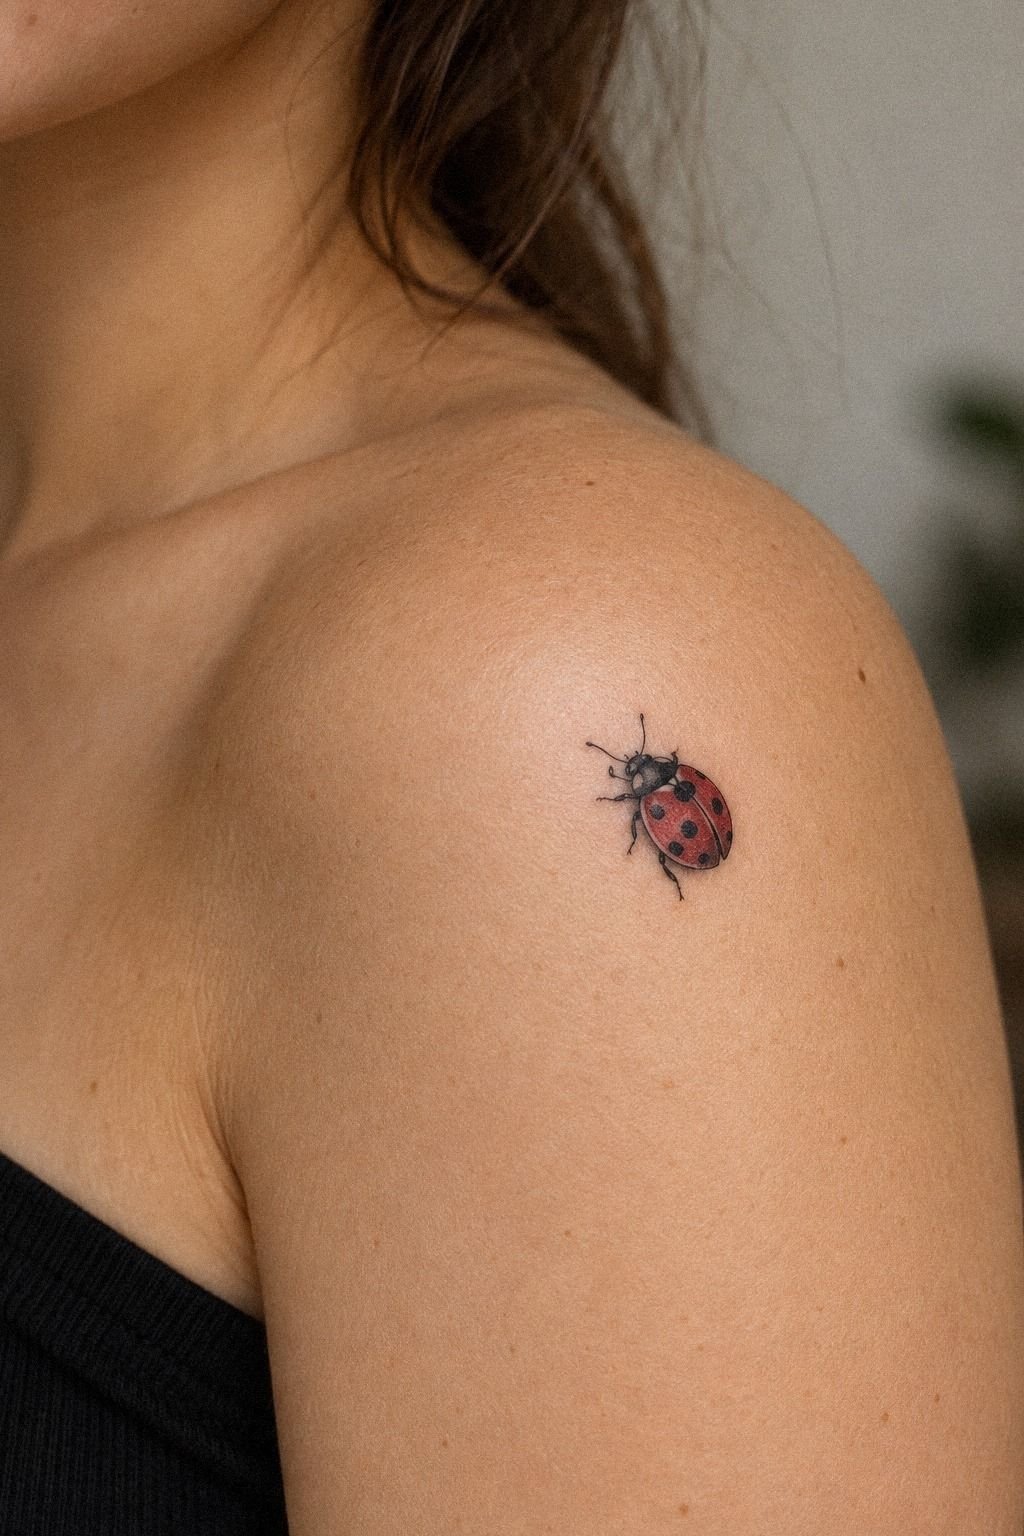
The wrist is a bold choice because you see it constantly. I liked that visibility, but I also checked whether I could cover the design easily with a watch or sleeve.
7Adding Tiny Spots And Curved Legs
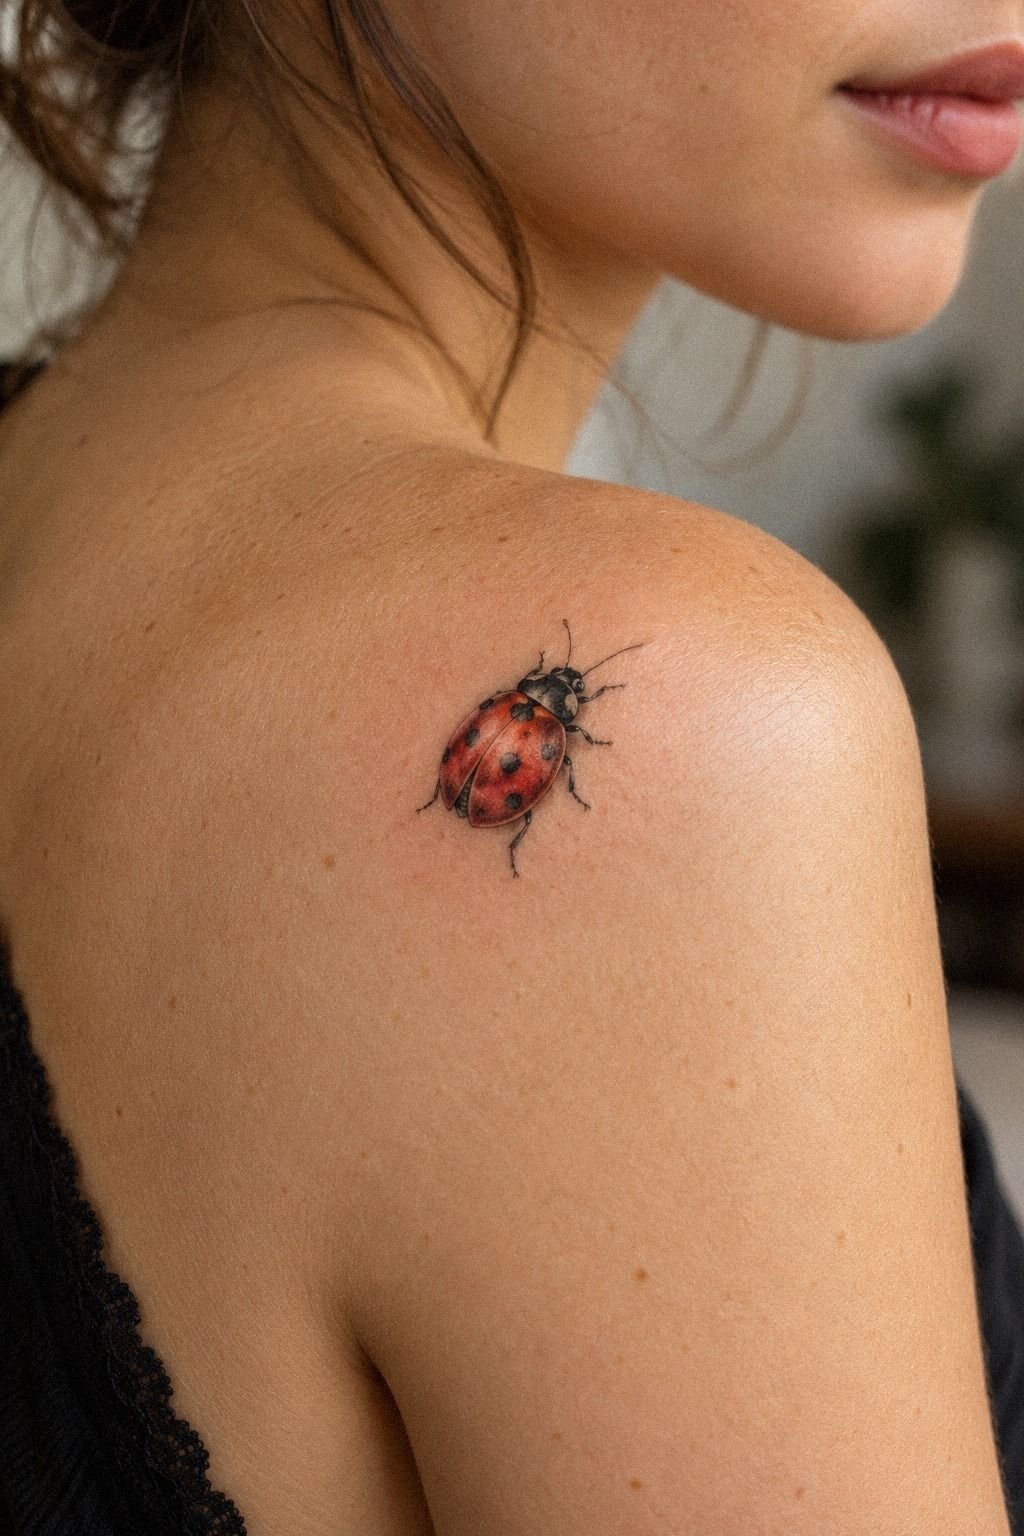
The spots and legs make the insect recognizable, but they can quickly become crowded. I settled on four spots instead of six, giving the shell a graceful amount of open space.
The curved legs extended just far enough to suggest movement. Your artist shouldn’t force every detail from a large reference into a small tattoo. A simplified mark can look more striking than a cramped one.
For more examples, I reviewed the simple ladybug tattoo approach and measured the gaps on paper. The measurement wasn’t a promise for the skin, but it exposed crowding early.
I almost chose longer legs because they looked fierce in the sketch. Then I shortened them. The final design felt playful and sharp, not spidery.
8Matching The Tattoo To My Style
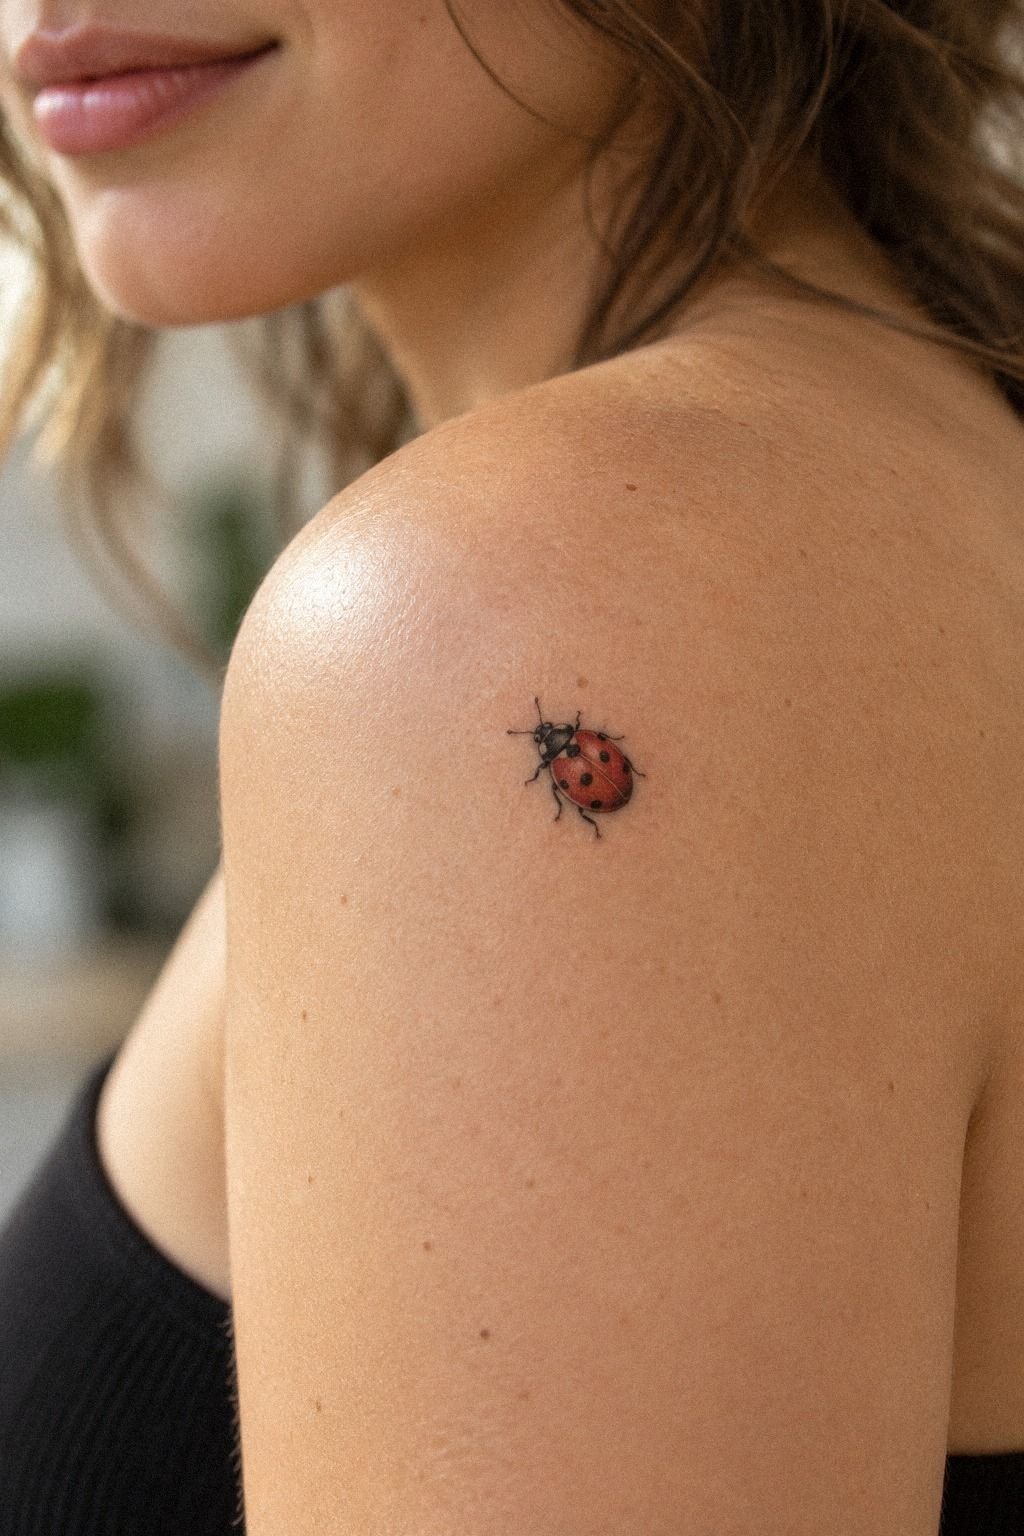
I compared the ladybug with my clothing, jewelry, and other tattoos. It needed to feel feminine enough for softer outfits but still edgy when I wore darker clothes.
I chose a crisp outline with one black shell and a restrained red detail. That mix felt timeless because it didn’t depend on a passing style.
You can make a tattoo more expressive through its angle, not by adding five extra symbols around it. A slight tilt can make the ladybug feel more active without increasing the appointment time.
The ladybird tattoo wording also helped when I searched references. Some artists use “ladybird” instead of “ladybug,” and the results can lean more botanical or vintage.
My final choice was personal rather than trendy. I didn’t want a dramatic sleeve element or matching set. I wanted one small mark that could stay stylish beside bare skin.
9Checking The Design During The Appointment
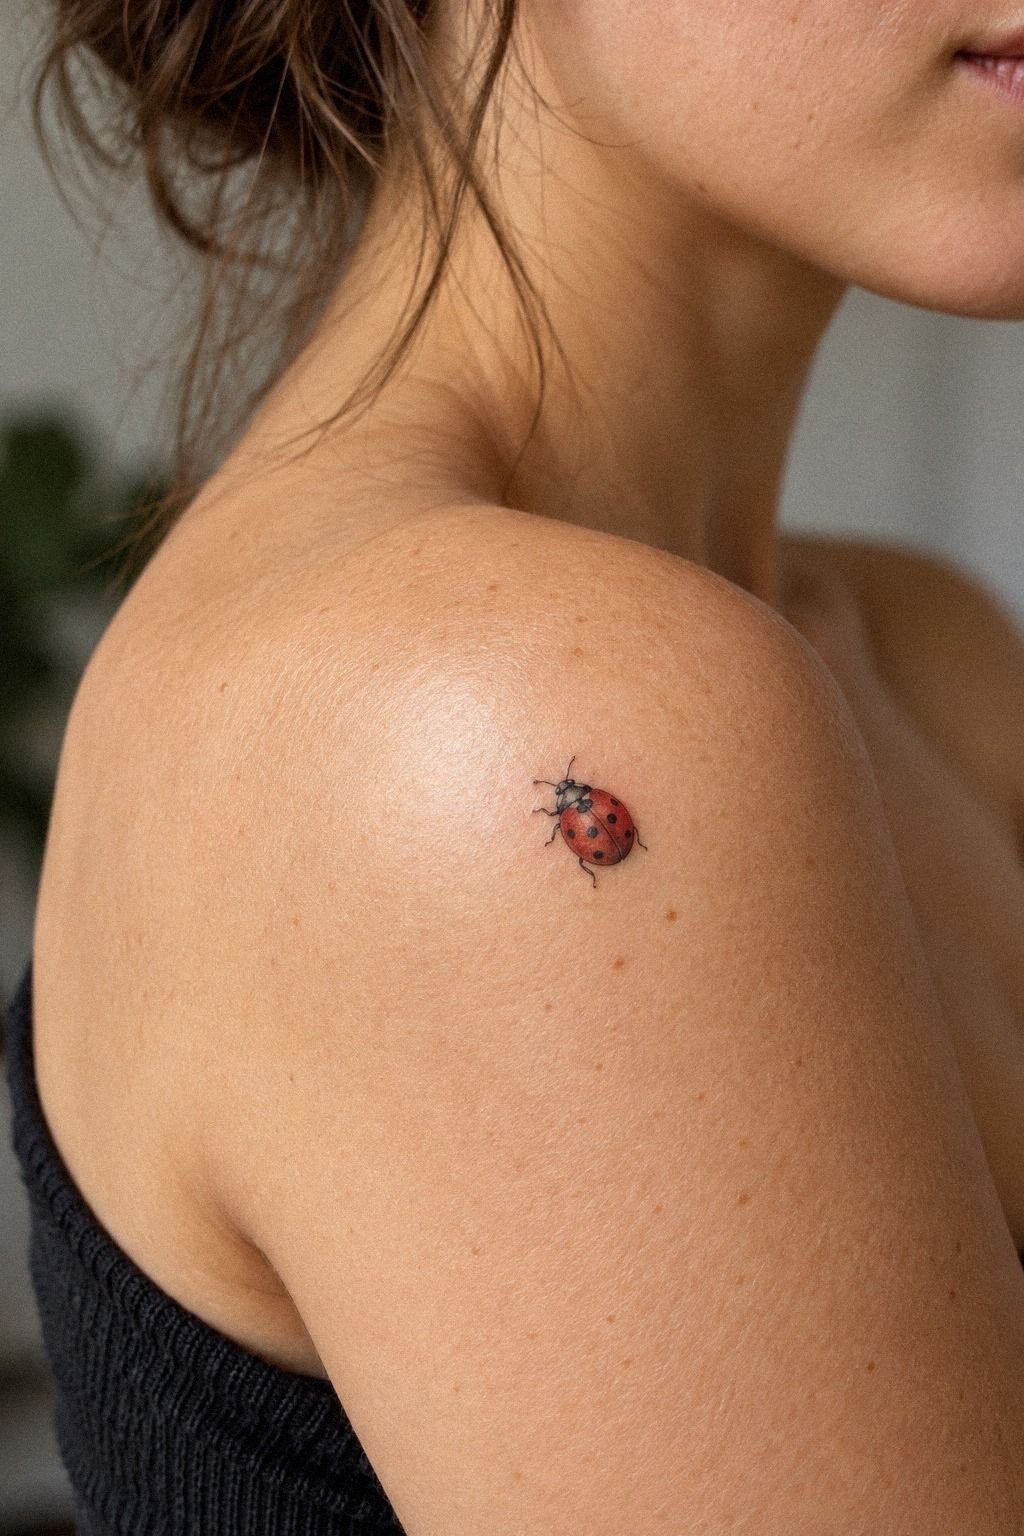
I checked the placement before anything permanent happened. The stencil needed to sit naturally when my body was relaxed, not only when I twisted to inspect it.
I asked the artist to look at the shell from several angles. A flowing curve can look balanced in one position and slightly crooked in another. Taking a few minutes to check was worth the time.
The design also needed enough distance from creases and areas that move constantly. I didn’t want the legs compressed whenever I sat down or bent my arm.
If you’re unsure, ask for another stencil and take a quick photo for comparison. A short pause can protect both your confidence and your budget. No shame in pausing!
10Caring For My Fresh Ladybug Ink: The One-Color Pause
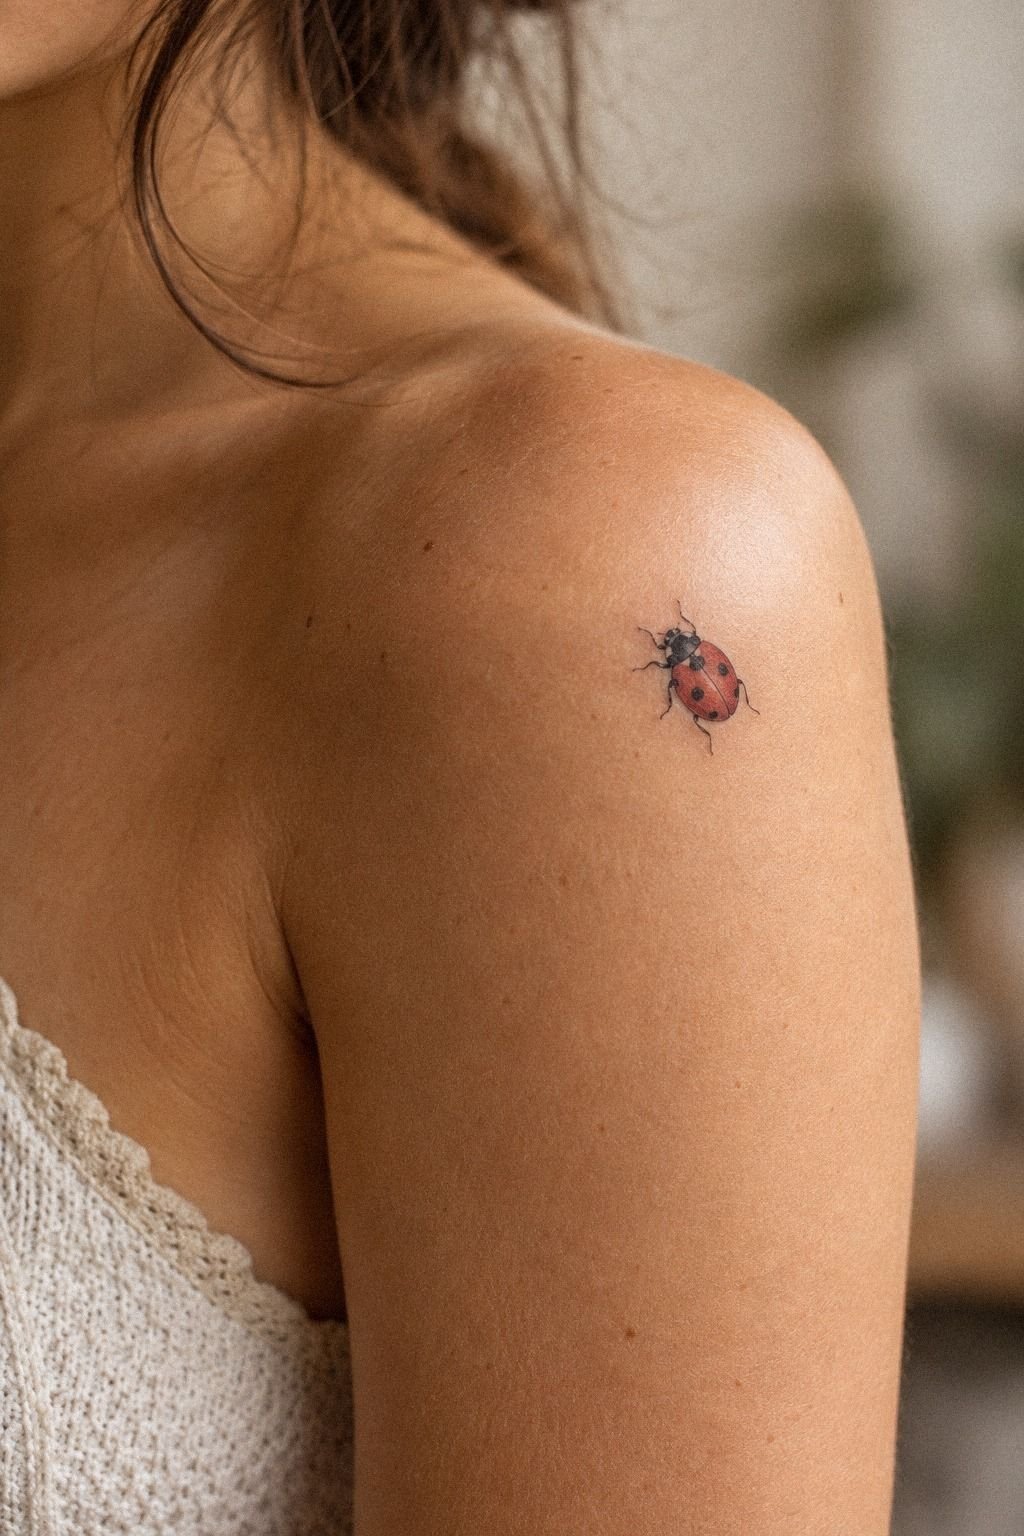
Fresh ink isn’t the finished result. The black lines looked softer after healing, and the red shell settled into a calmer, more understated tone.
The One-Color Pause means I wait before judging a new tattoo, especially one with a small color accent. I follow the artist’s instructions, wash gently, moisturize as directed, and avoid soaking the area in a pool.
Surface healing may take about 2 to 3 weeks, while complete healing can take roughly 2 to 3 months. Don’t pick at flakes or judge the first few days.
I also keep direct sun away from the design while it heals. Once the skin is fully healed, sunscreen helps protect pigment and keeps fine lines looking crisp.
The dainty ladybug tattoo style rewards patience. The healed design looked cleaner after the skin settled. Small mark, strong meaning!
11Wearing My Meaningful Ladybug Tattoo Proudly
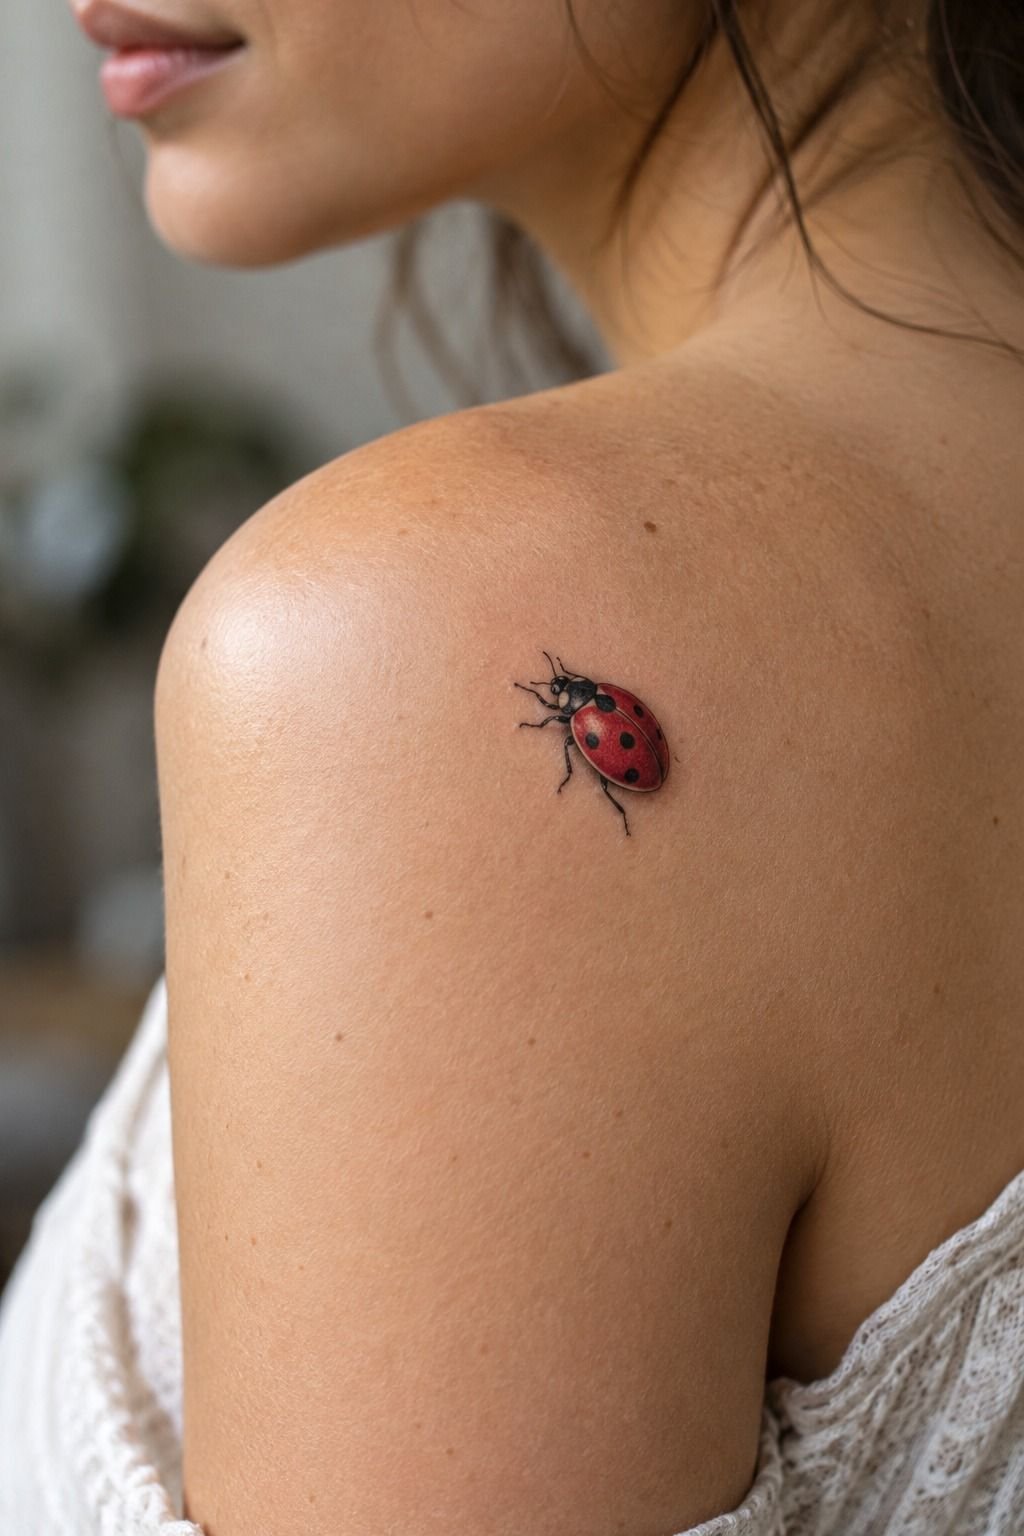
I started wearing my tattoo more often after it healed. I still cover it when I want privacy, but hiding it no longer feels like embarrassment. It became a choice.
You can keep a tattoo private and still feel proud of why you got it. That balance felt meaningful to me because the design belonged to my story first.
The cute owl tattoo page gave me another idea about expressive animal shapes, but I kept my ladybug alone. Adding another creature would have diluted the symbolism.
My favorite part is how personal the design feels when nobody else can see it. The linework is delicate, the red detail is playful, and the placement stays easy to cover.
A Placement Check Before You Commit
Think about when you want the tattoo visible and when you want it private. The outer thigh gives you flexibility, while the wrist makes the design part of your daily appearance.
Your work, family expectations, clothing, and comfort level all matter. A personal tattoo should fit your real life, not only your saved references.
If you’re comparing options by value, consider healing, sun exposure, and how often you’ll need to protect the area. The cheapest placement isn’t always the best long-term choice.
When Color Is Worth the Budget
A small red accent can make a ladybug feel vibrant, but color isn’t mandatory. Black linework can look classic and memorable on its own.
Ask whether the pigment adds something emotionally important. If it only fills empty space, the extra cost may not improve the design.
For me, two red sections were enough. The accent felt personal and expressive without overpowering the shell. More color would’ve changed the mood.
How Much It Cost
I won’t invent an exact invoice. In the United States, a small piece often falls within a shop minimum of about $50 to $100, while hourly rates commonly land around $100 to $250.
A cheaper quote isn’t useful if the artist’s portfolio doesn’t show clean healed linework. I would spend more for careful placement and strong hygiene before adding extra spots.
If you’re budgeting, ask for the shop minimum, whether color changes the quote, and whether the consultation is included. A clear quote gives you better control over the final cost.
The best value is a design that still reads after the skin settles. That matters more than saving a small amount on the first appointment. I would prioritize fine-line work over unnecessary extras.
The Three-Line Test: What I Learned From Keeping It Hidden
I used to think the best tattoo would be the most detailed one I could tolerate. I was wrong. My strongest decision was removing information and keeping only the marks that made the ladybug unmistakable.
The hidden placement also changed how I think about visibility. A tattoo doesn’t need an audience to matter. Mine is meaningful because I chose it during a private transition.
I learned that tiny tattoos need more planning, not less. A single-needle configuration can create intricate detail, but the artist still needs enough spacing for the marks to age gracefully.
Black structure, sensible scale, and protection from UV matter more than chasing every daring reference online. The most complicated sketch isn’t automatically the best tattoo.
Would I make the shell larger now? Probably not. The compact size keeps the piece dainty, easy to cover, and easy to recognize.
How To Choose A Ladybug Tattoo Artist
Look for healed photos, clean linework, and experience with small animal designs. A strong portfolio should show consistency, not only one iconic result. Start with several healed photos rather than one dramatic example.
Ask about hygiene, stencil placement, needle groupings, aftercare, and how the artist handles color. Clear answers are part of the value you receive.
The ladybug tattoo stencil can help you explain the shape, but your artist should adapt it to your skin and preferred scale.
A Few Things Worth Answering
How much does a Cute Ladybug Tattoo usually cost?
A small Cute Ladybug Tattoo commonly costs about $100 to $300 in the United States, though a shop minimum may be around $50 to $100. Your artist, region, placement, color, and detail level will decide the final quote.
– Small fine-line design – Black ink or one red accent – Shop minimum or hourly billing
Are Cute Ladybug Tattoo a good idea for a first tattoo?
Yes, especially if you choose a manageable placement and clear silhouette. A clean personal design can feel less intimidating than a large piece, while the thigh, outer forearm, shoulder, or upper arm are often more tolerable than ribs, feet, hands, or sternum. It can be a manageable starting point.
– Simple shell structure – Moderate size – Meaning you won’t outgrow quickly
How do I choose a tattoo artist for Cute Ladybug Tattoo?
Look for healed photos, clean linework, and a portfolio that includes small animal designs. Ask about hygiene, stencil placement, needle groupings, and aftercare.
Your artist should adapt any reference to your skin. Strong portfolio evidence matters most.
– Healed portfolio images – Fine-line experience – Clear studio hygiene practices
How much do Cute Ladybug Tattoo hurt?
Pain varies by person and placement. Ribs, feet, hands, and sternum can feel more intense, while the outer forearm, thigh, and shoulder are often more tolerable.
You can also ask for breaks during the appointment. Placement makes a real difference.
– Rib and sternum sensitivity – Thigh and shoulder comfort – Breaks when you need them
How long does a Cute Ladybug Tattoo take to heal?
The surface usually heals in about 2 to 3 weeks, while complete healing can take around 2 to 3 months. Wash gently, moisturize as directed, avoid pools during early healing, and protect healed ink from strong sunlight. Follow your artist’s aftercare instructions.
– Gentle washing – Artist-approved moisturizer – No picking or soaking
What’s the best placement for Cute Ladybug Tattoo?
The outer thigh and upper arm are strong choices if you want easier healing, moderate comfort, and simple coverage. A wrist is more visible, while ribs and sternum feel more private but can be more painful. I would begin with outer-thigh placement for flexibility.
– Outer thigh for privacy – Upper arm for flexible visibility – Wrist for daily visibility
Where I’d Start First
If I had to pick one, I’d start with the outer thigh. You get privacy, workable skin, and enough space for the shell to stay readable as fine lines soften.
Pin the ladybug idea for later, then let your artist adjust the scale to you. The best design will feel empowering, polished, and yours long after the appointment ends.