You want a dotwork pattern tattoo that still reads clean years from now. The fix isn’t packing in more dots. It’s choosing bold shapes, enough breathing room, and an artist whose healed work doesn’t turn into grey soup.
- Start With a Bold Dotwork Pattern Tattoo Concept
- Pick a Mandala Dotwork Tattoo Design
- Choose Geometric Dotwork Tattoo Linework
- Match Dot Sizes to Your Skin
- Plan a Balanced Dotwork Tattoo Composition
- Place Dotwork Patterns Along Natural Body Curves
- Build Contrast With Solid Black Accents
- Use Geometric Tattoo Filler Patterns Strategically
- Shape Dotwork Around Existing Tattoos
- Select Symbolic Motifs for Personal Meaning
- Test Dotwork Drawing Ideas Before Booking
- Scale Pattern Density to Your Placement
- Keep Negative Space Clean and Intentional
- Prepare for Dotwork Tattoo Pain Levels
- Find an Artist With Consistent Dot Control
- Review Healed Dotwork Tattoo Examples
- Plan Touch-Ups for Fading Details
- Follow Aftercare for Crisp Dot Patterns
- Protect Your Dotwork Tattoo From Sun Exposure
1Start With a Bold Dotwork Pattern Tattoo Concept
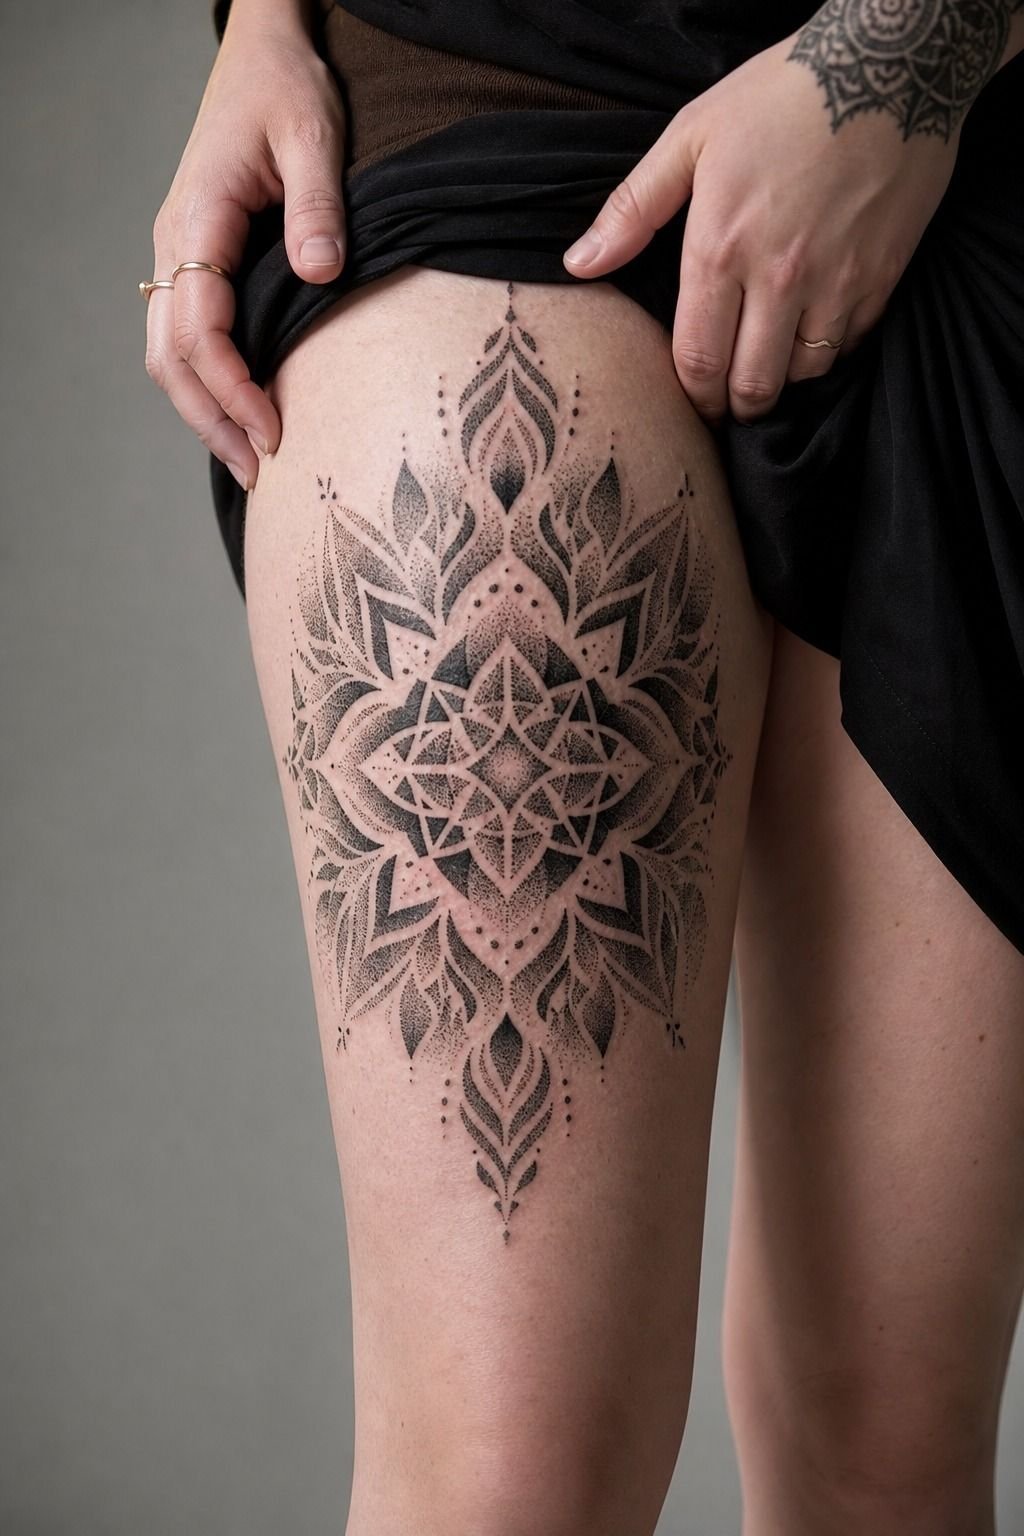
Start with one clear idea: a sunburst, ornamental frame, sacred geometry, botanical halo, or abstract blackwork shape. If you can’t explain the concept in one sentence, your artist can’t make it read from across the room.
I’d keep the first reference board to three images. Black ink, open skin, and one focal motif make a bold pattern feel intentional instead of busy. You want your tattoo to feel captivating up close, but it also has to hold together at arm’s length.
Skip tiny background stars around every edge. That stuff looks cute fresh, then competes with the main shape once your skin settles.
2Pick a Mandala Dotwork Tattoo Design
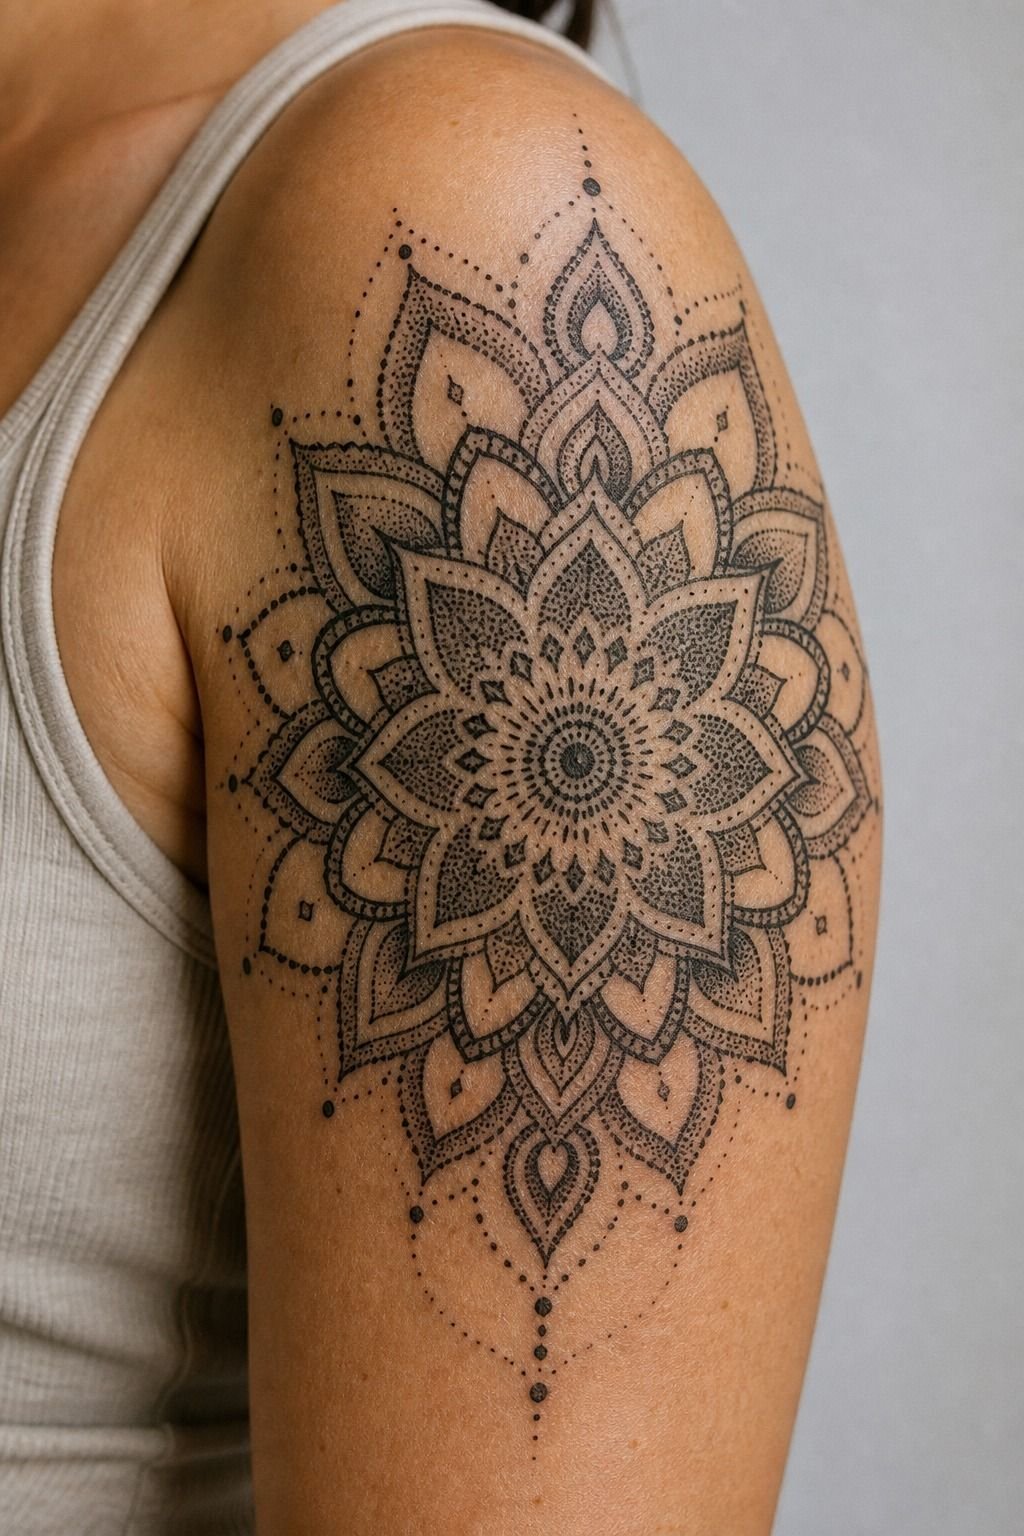
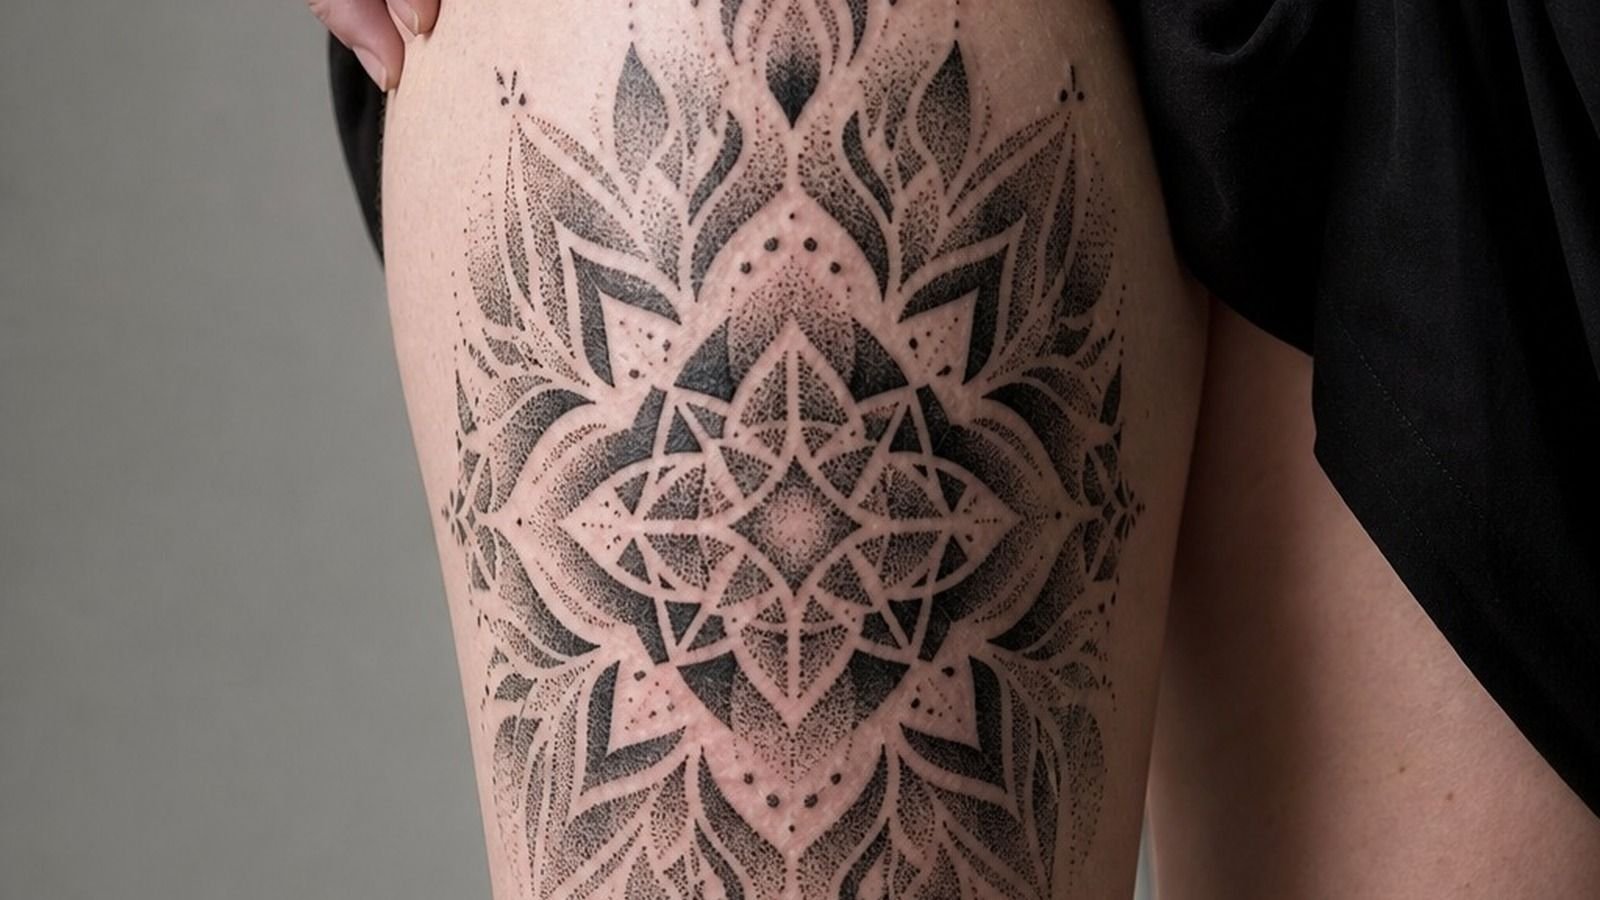
A Mandala Dotwork Tattoo Design works best when the center has a job. Put it over the roundest part of your upper arm, shoulder, knee, or thigh, then let each ring expand with your anatomy.
Ask for a clean center circle and wider outer petals. Single-needle cartridges can give you soft detail, but the outer edge needs enough weight to stay visible. I’ve seen delicate mandalas heal nice when the artist pushes contrast instead of making every ring equally pale.
Your upper arm is a forgiving choice. It’s low-wear, fairly chill for pain, and gives the design room to stay airy.
3Choose Geometric Dotwork Tattoo Linework
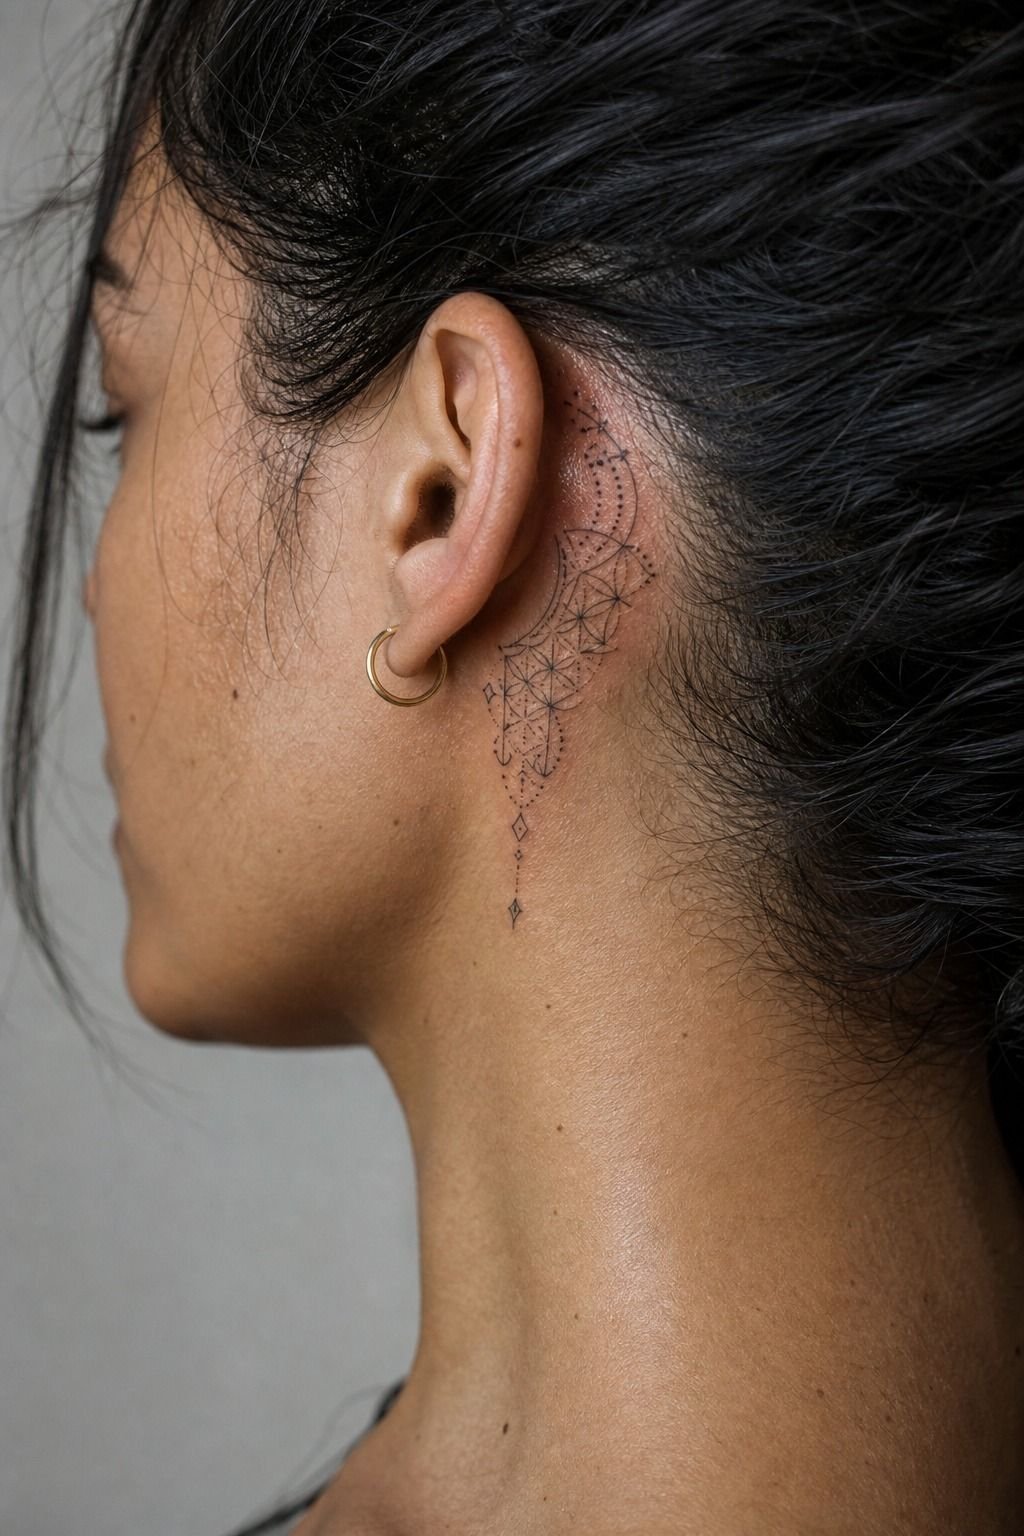
Geometric Dot Work Tattoo Design needs crispy and confident lines first.
4Match Dot Sizes to Your Skin
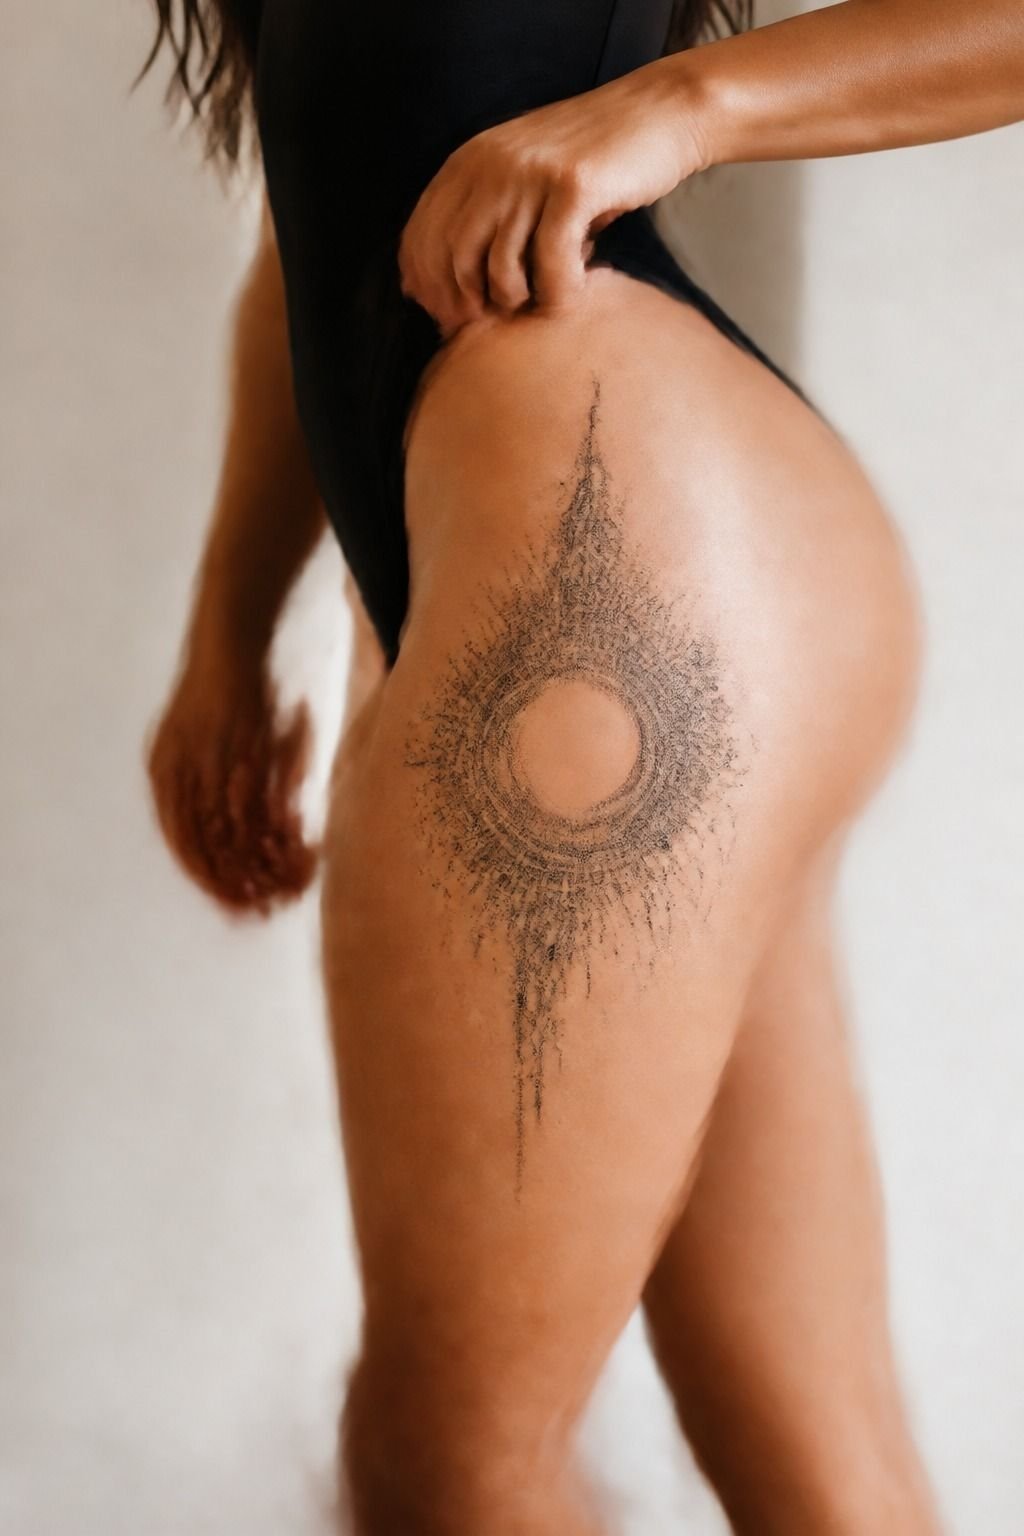
Match the dot size to both your skin and the tattoo’s final scale. Tiny dots can look refined on a fresh thigh piece, but they need spacing or they’ll merge as the tattoo ages.
For a thigh wrap, I’d ask your artist to use at least three dot weights: a peppery fade, a medium field, and a solid black anchor. Dynamic Black ink is commonly used for saturated black areas because it can read strong beside soft stippling. Your cool, warm, deep, or olive skin tone isn’t a reason to avoid dotwork, but contrast choices matter.
You’re looking for a gradual fade, not a foggy patch. Soft is good. Flat and patchy isn’t.
5Plan a Balanced Dotwork Tattoo Composition

Before you book, look at a flash sheet or a digital layout with several versions. A good dotwork drawing should have a focal point, a border decision, and open skin that gives your eye somewhere to rest.
I like a thermal stencil print for this stage because you can see the full silhouette before ink goes in. Hold the stencil photo next to your body placement, then ask yourself: does it flow with you, or does it sit there like a sticker?
And don’t choose a design just because every detail is meaningful. Meaning doesn’t save bad composition. Pick the version with the clearest shape.
6Place Dotwork Patterns Along Natural Body Curves
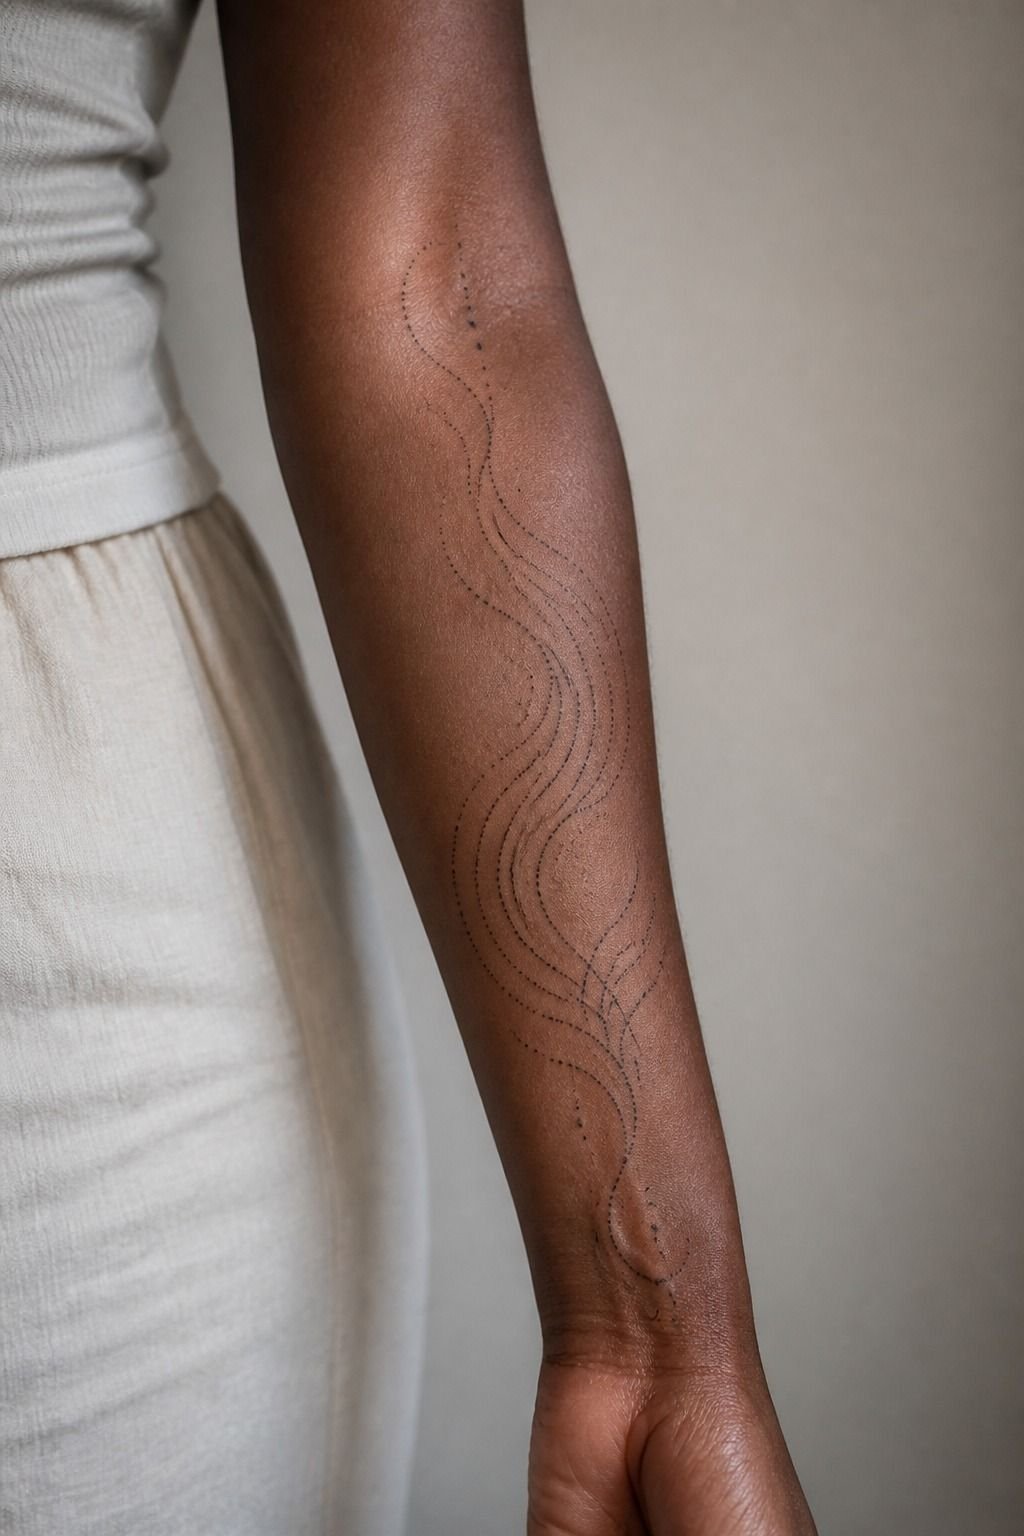
Let the pattern follow your body, especially on an inner forearm. A long ornamental strip should track the forearm’s center line and taper before it hits the wrist crease.
Your artist can map the curve with a purple skin marker before applying the stencil. That small prep step matters. If the design is straight while your arm naturally twists, it’ll look off every time you turn your palm.
For deeper skin tones, dotwork can look rich and dramatic when the design uses solid black framing. Don’t ask for pale grey dust everywhere. Give the pattern enough black to stay visible.
See more placement planning in this dotwork tattoo guide.
7Build Contrast With Solid Black Accents
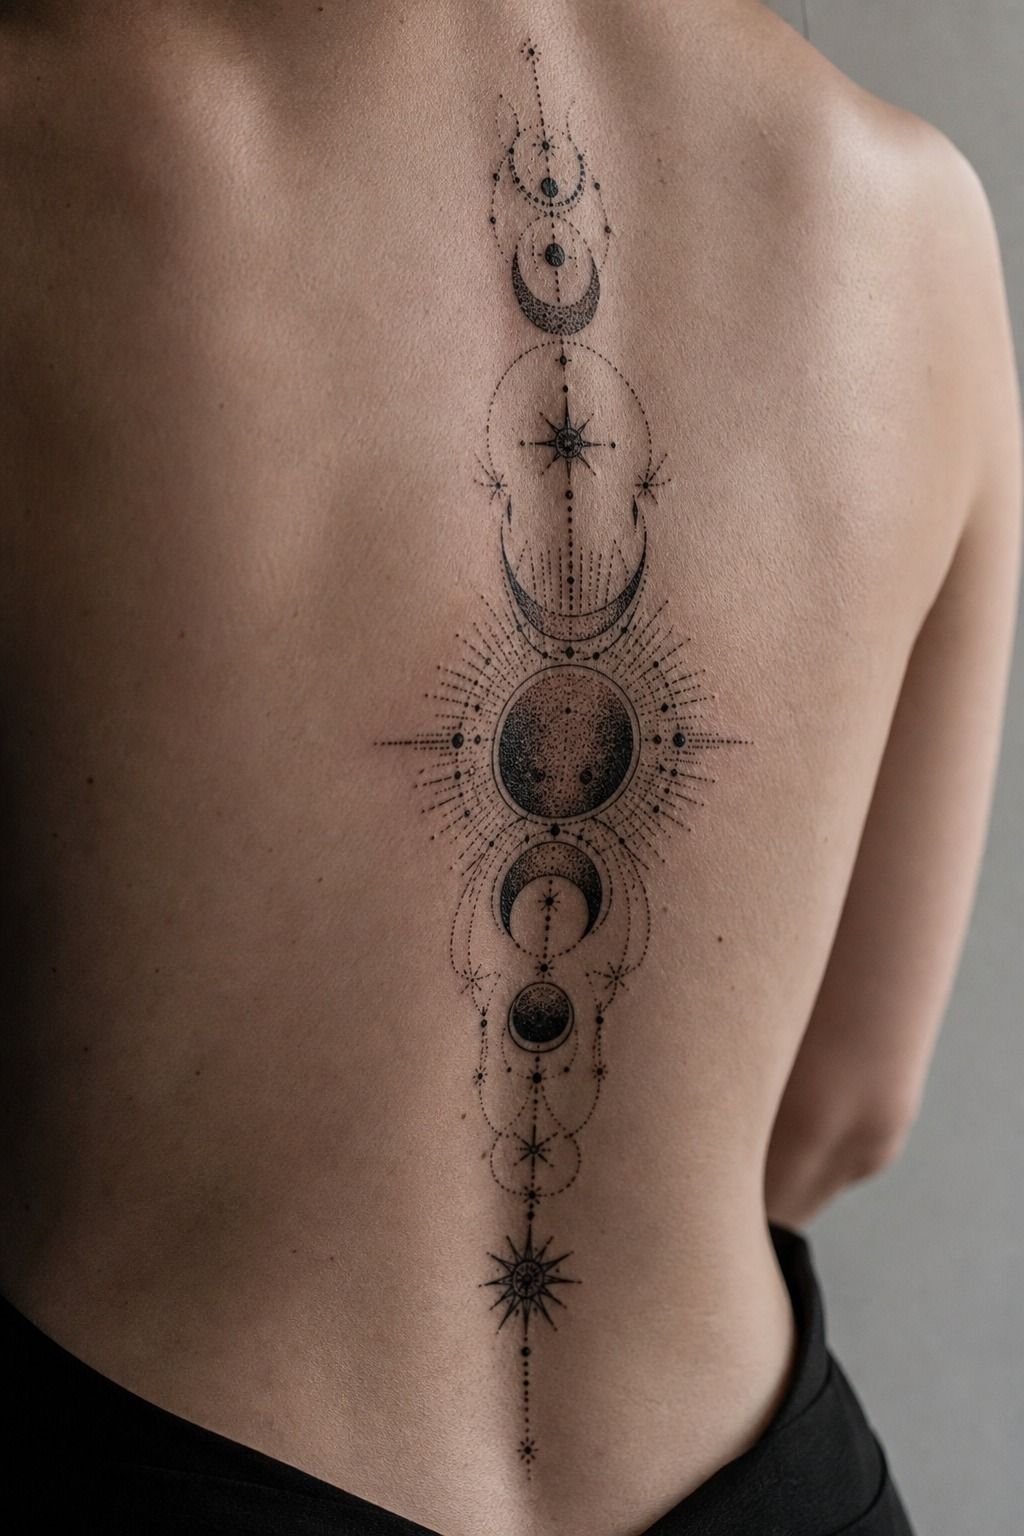
Use solid black accents around your lightest dot fields. On the spine, that might mean a black diamond, a crescent, or narrow side bars that make the stippling look brighter by comparison.
Blackwork packing is the spiciest part of many sessions because the artist works the same skin area more intensely. Still, it’s worth it when the piece needs a strong backbone. Lines feel sharper, shading feels like a dull burn, and dense black is usually the part you’ll notice most.
I’d skip an all-grey spine design. It may look serene in a filtered photo, but it can heal flat without a few dark anchors.
8Use Geometric Tattoo Filler Patterns Strategically
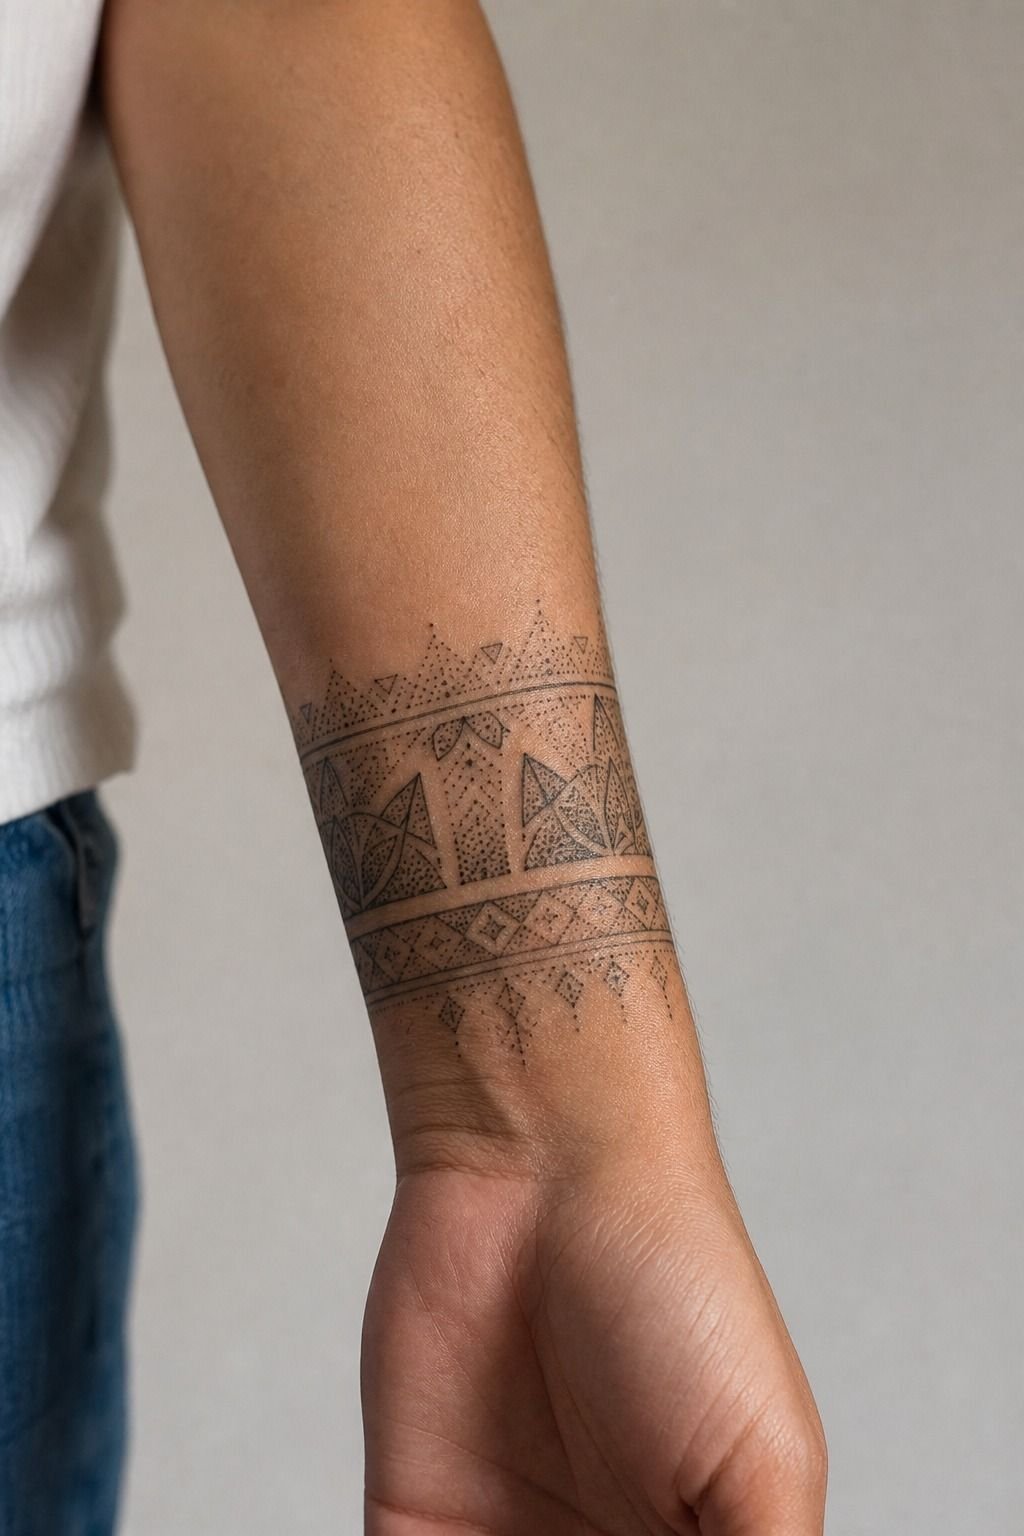
Geometric Tattoo Filler Patterns should connect existing pieces, not swallow them. On a wrist, use dots, rays, tiny diamonds, or a narrow ornamental band to bridge two tattoos that already belong together.
Keep the filler at least a little larger than the finest existing linework. 3RL and 5RL needles can create controlled stippling, but a wrist is a high-wear zone and tiny detail gets chewed up faster there. You’ll want a design that still reads after handwashing, sleeves, watches, and sun.
A small pattern can be elegant. A wrist full of microscopic dots is usually just future maintenance.
9Shape Dotwork Around Existing Tattoos
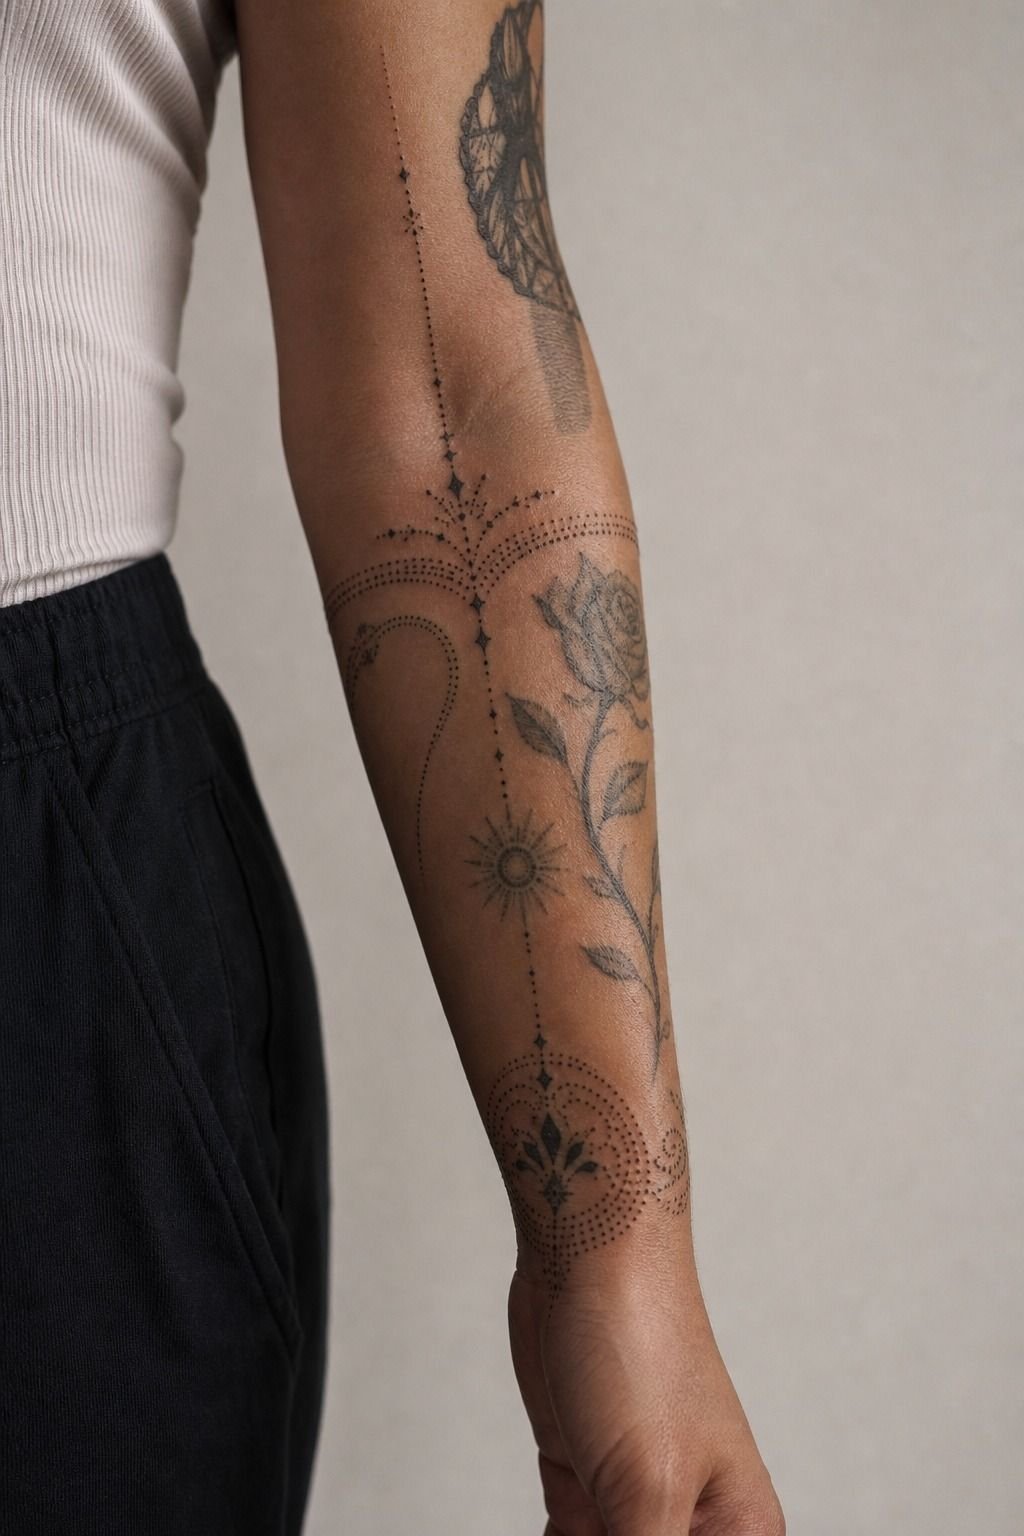
When you’re adding around older ink, treat the negative space like part of the tattoo. Trace the existing shapes, leave a clean buffer, then build the dotwork outward in a way that feels harmonious.
Your artist should photograph the forearm straight-on and while it rotates. Opaque stencil paper helps with mapping around old blackwork because you can test the gap before committing. I’ve watched people rush this step, then regret filler that runs into a piece they used to love.
But you don’t need to fill every empty patch. Bare skin makes a sleeve feel intentional, and it keeps the old tattoo from getting buried.
For more ideas, browse this geometric tattoo pattern guide.

10Select Symbolic Motifs for Personal Meaning
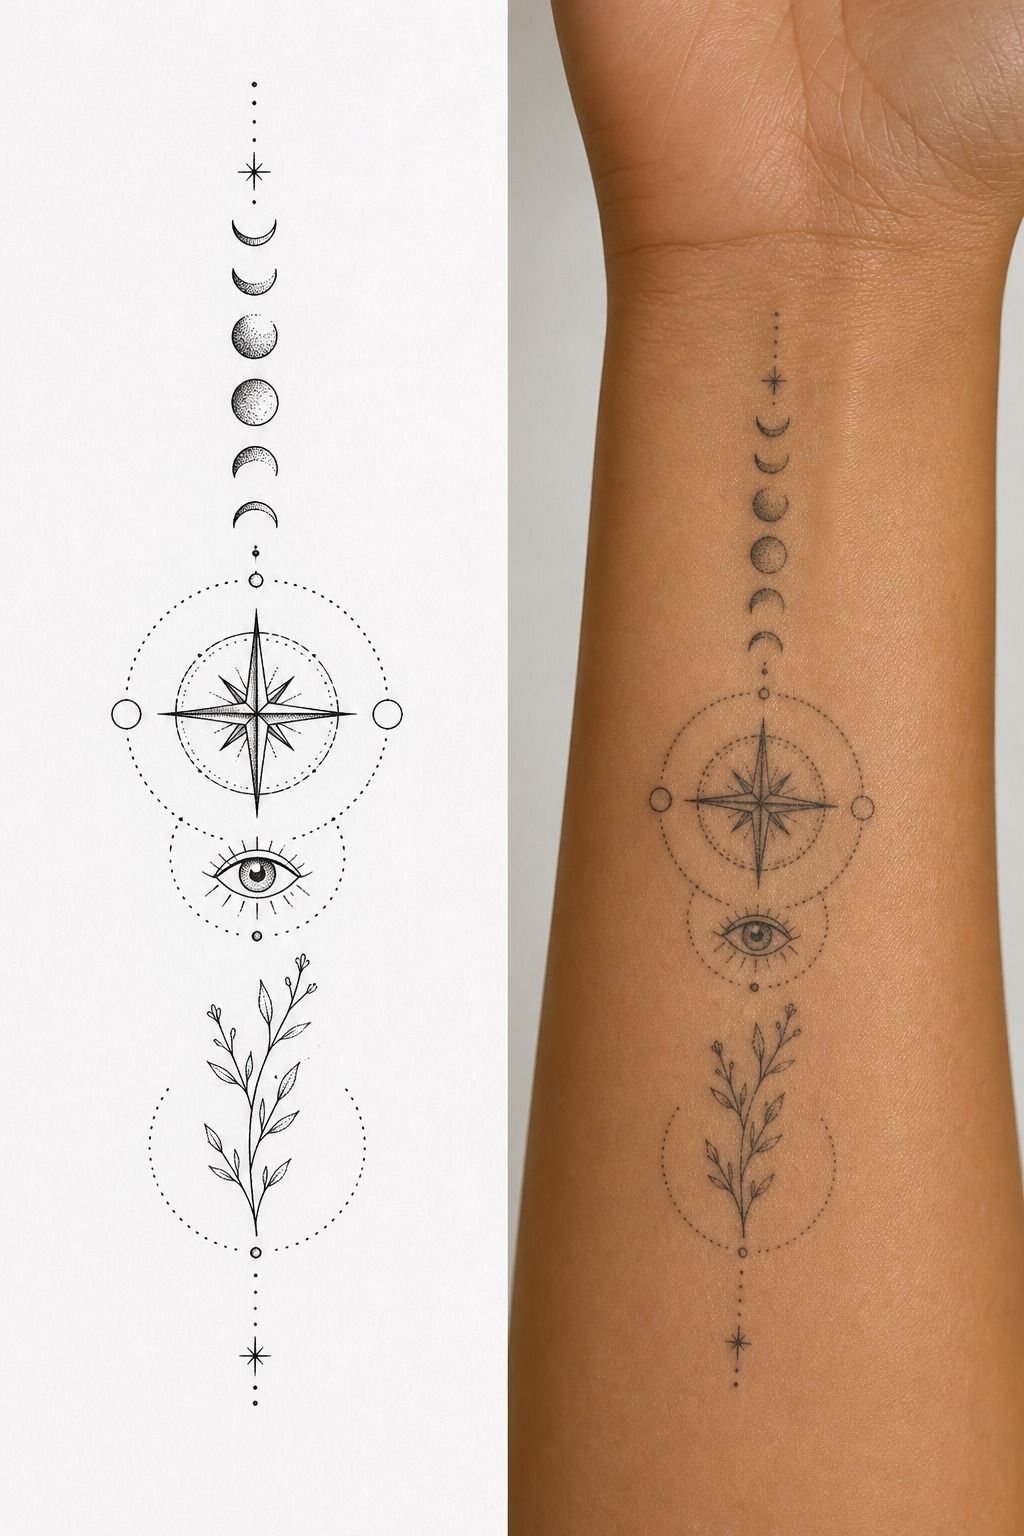
Choose symbolism you’ll still stand behind when the trend cycle moves on. A moon phase, eye, compass, labyrinth, or yin-yang can sit inside dotwork without needing a paragraph of explanation.
For a split stencil-and-healed reference, compare the lines first. Yin-yang symbolism works well in a round dotwork frame because its black-and-skin balance is already built in. You can read more about a yin yang tattoo meaning before you lock it in.
What do you want the tattoo to say without captions? That’s the useful question. Pick one symbol, then let the pattern support it.
11Test Dotwork Drawing Ideas Before Booking
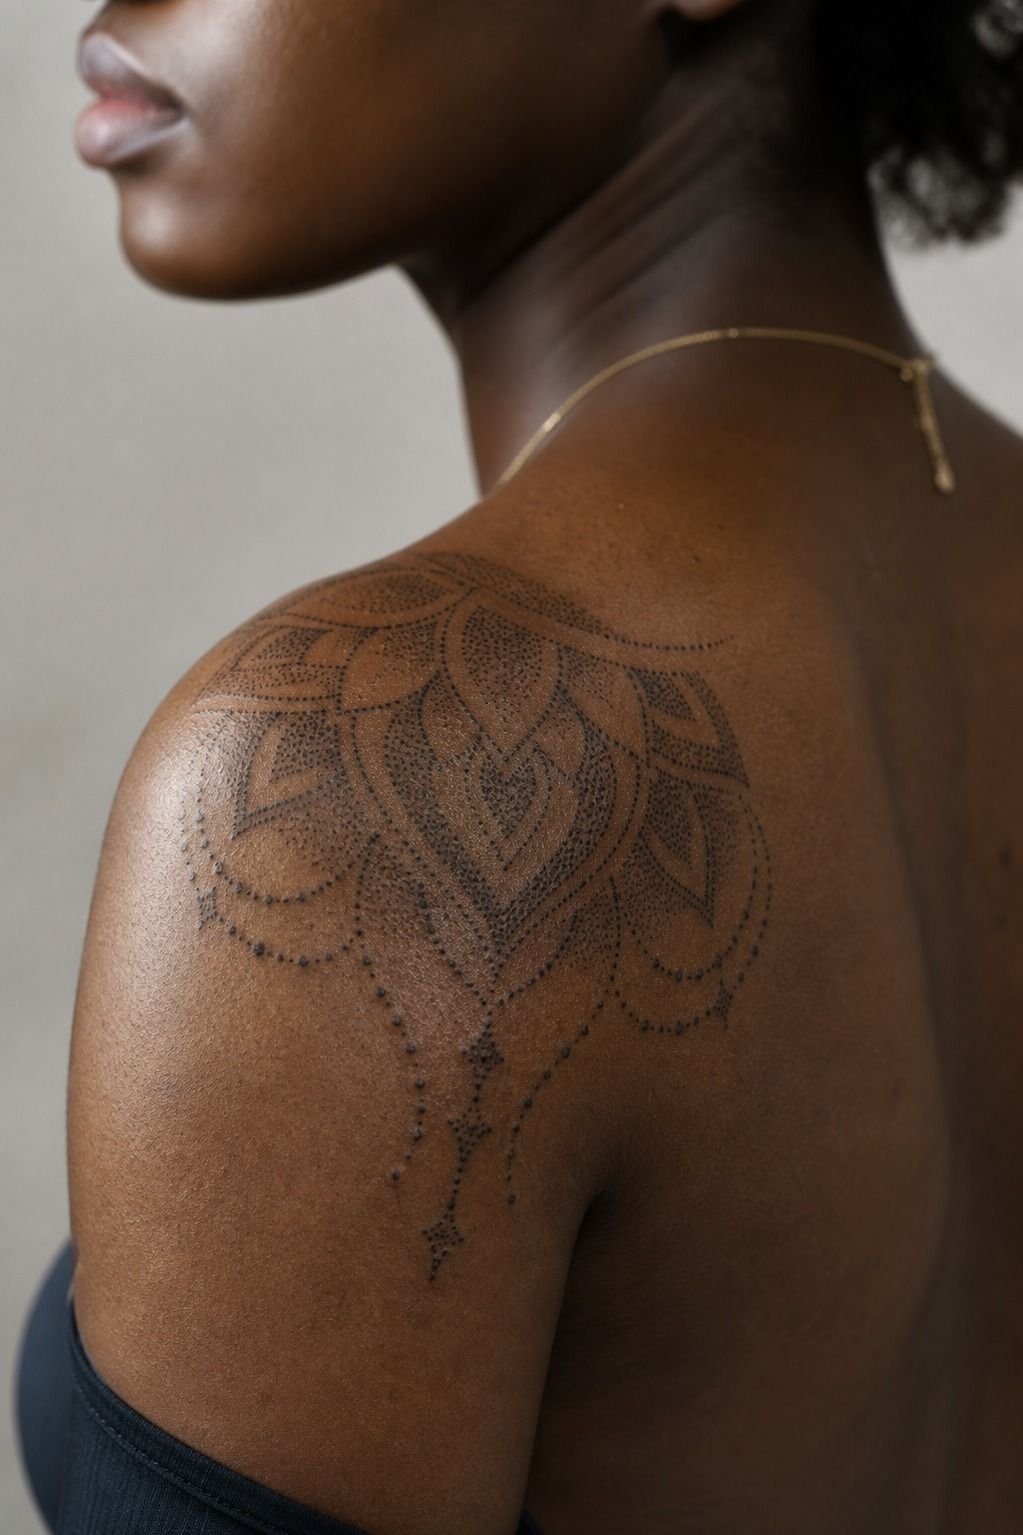
Test your Dotwork Drawing on your actual placement before you book. Print it at full size, tape it to your shoulder, and check it in a mirror from a few feet away.
Your artist may redraw it anyway, and they should. Matte stencil transfer gel gives a crisp temporary layout, but skin isn’t paper and shoulders move constantly. A design that looks balanced flat can stretch weirdly around the deltoid.
I’d bring references for vibe only. If you want Pinterest-exact, I’m not your artist. You need a custom version that fits your body and your existing tattoos.
12Scale Pattern Density to Your Placement
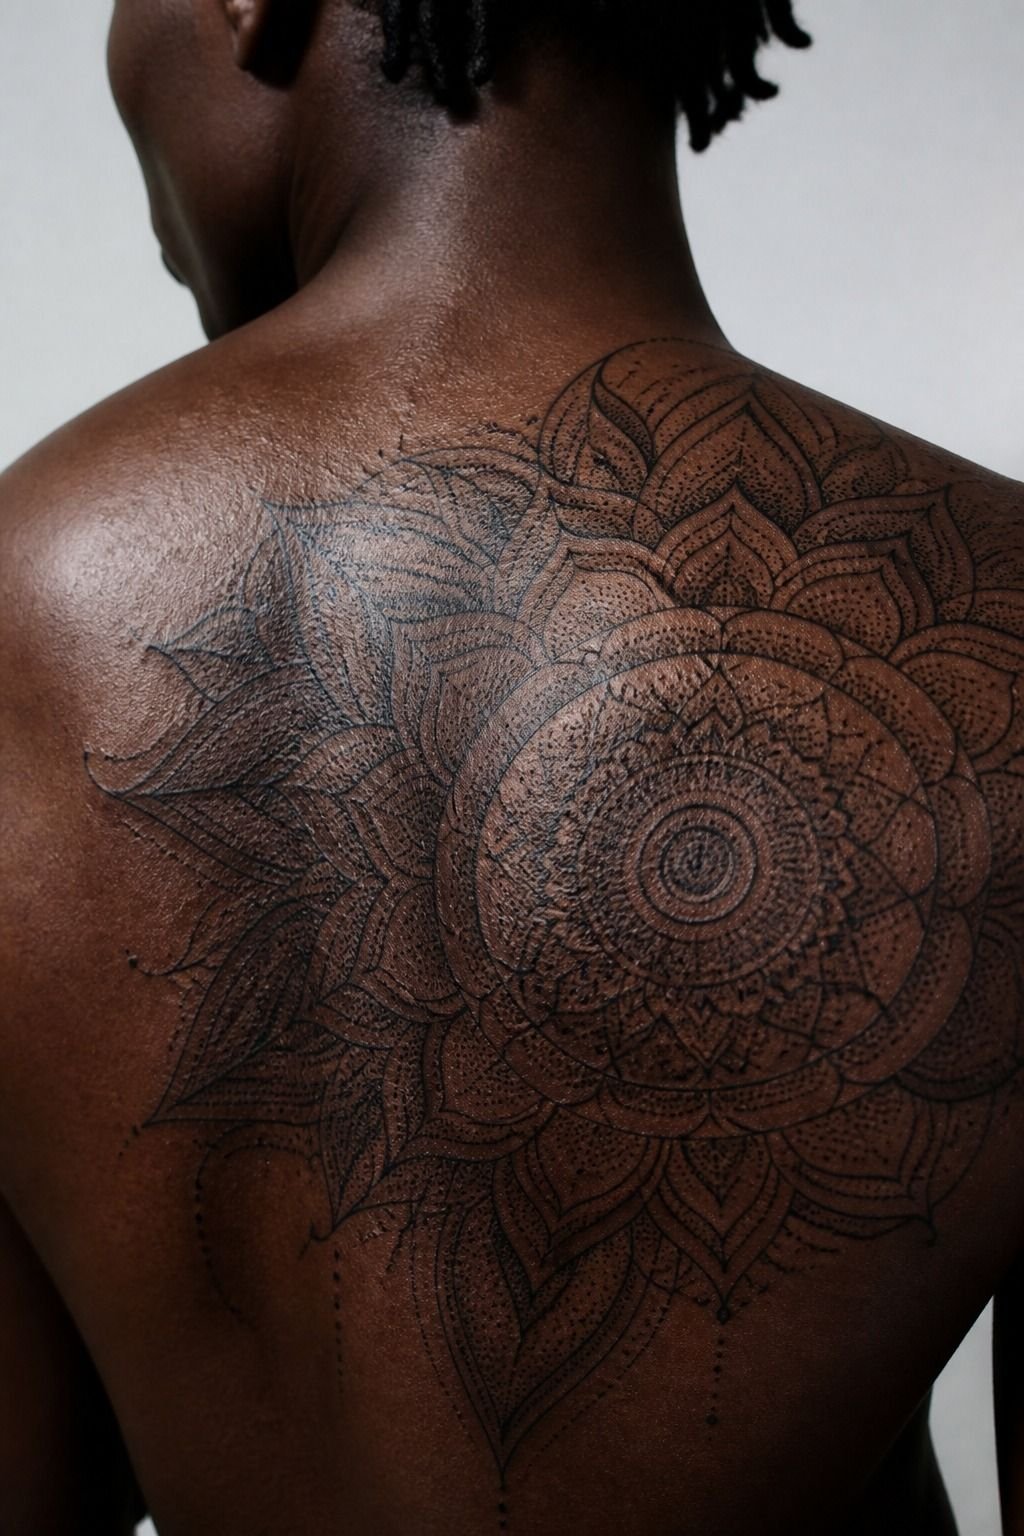
Scale density to the surface you’re working with. Upper back dotwork can carry larger fields of stippling because the skin gives you a broad, stable canvas.
A 4-inch pattern can support layered dots, fine rays, and a darker border without becoming soup. Grey wash can add a soft transition, but it should be anchored with black line or solid fill. Your artist needs to push enough contrast that the healed tattoo doesn’t vanish into one even tone.
And give the design room. Dense detail is dramatic fresh, but simple shapes age better than a thousand tiny marks trying to do too much.
13Keep Negative Space Clean and Intentional
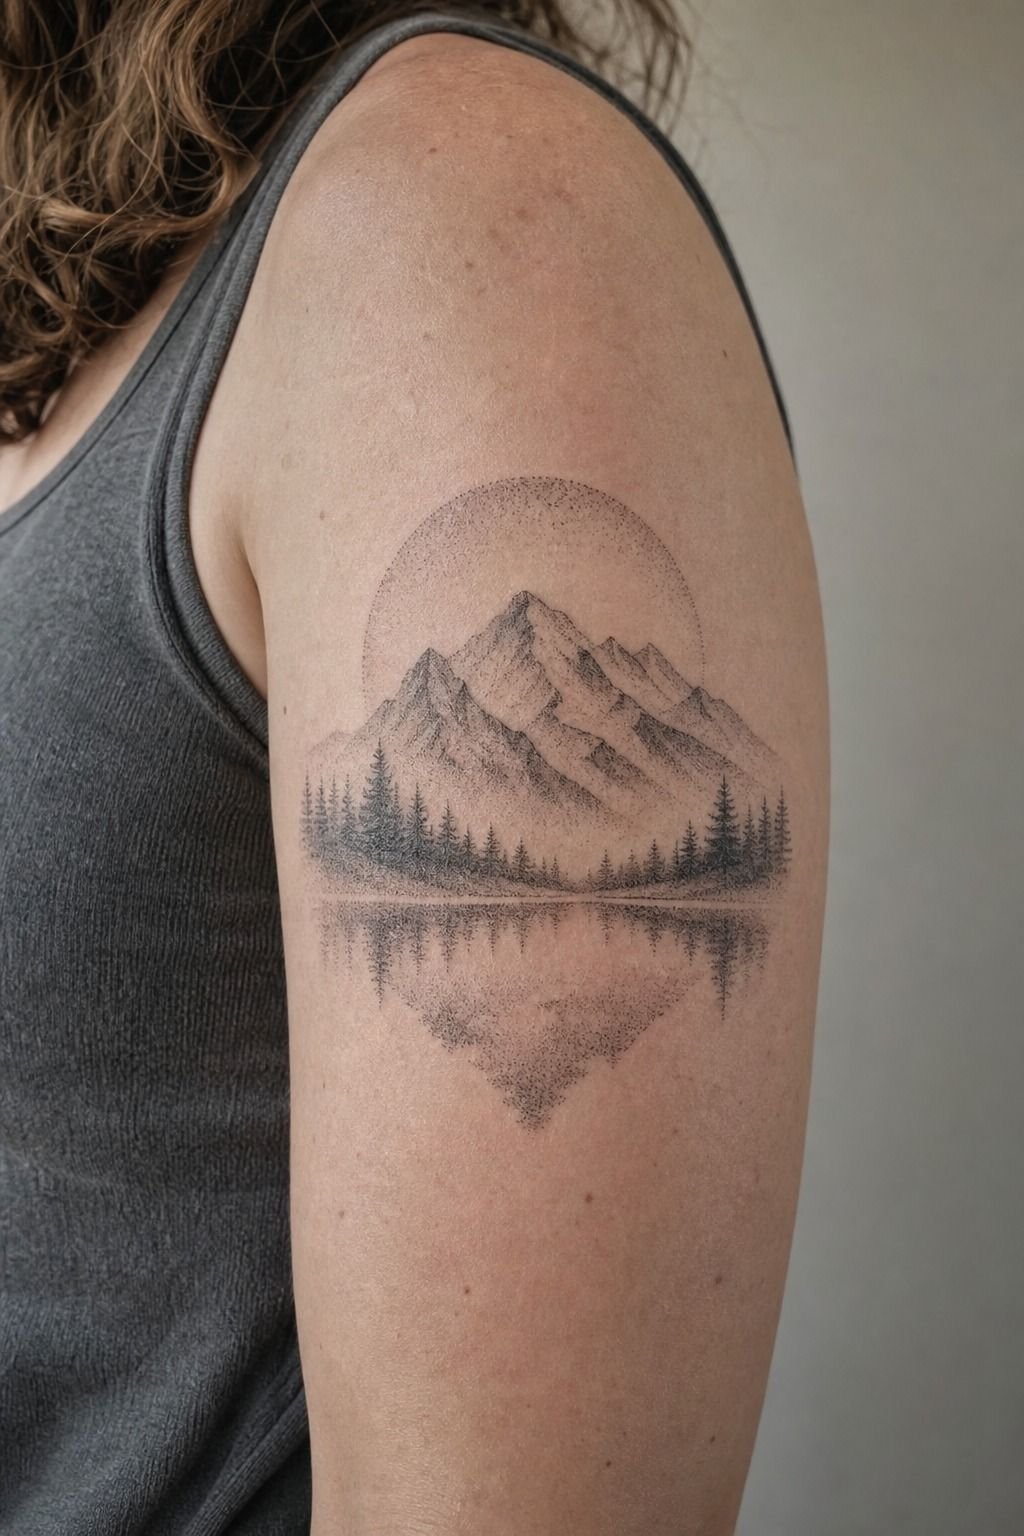
Negative space is the whole point of good dotwork. On an upper arm, clean bare-skin channels can make the black pattern feel bright, modern, and much more readable.
Ask your artist to mark the open areas before they begin stippling. White skin breaks between dot fields need clear edges, not accidental gaps. I’ve seen people request “more shading” until the tattoo lost the quiet parts that made it special.
Don’t fill a clean channel because it looks empty on day one. That opening is what lets your tattoo breathe and age cute on you.
14Prepare for Dotwork Tattoo Pain Levels
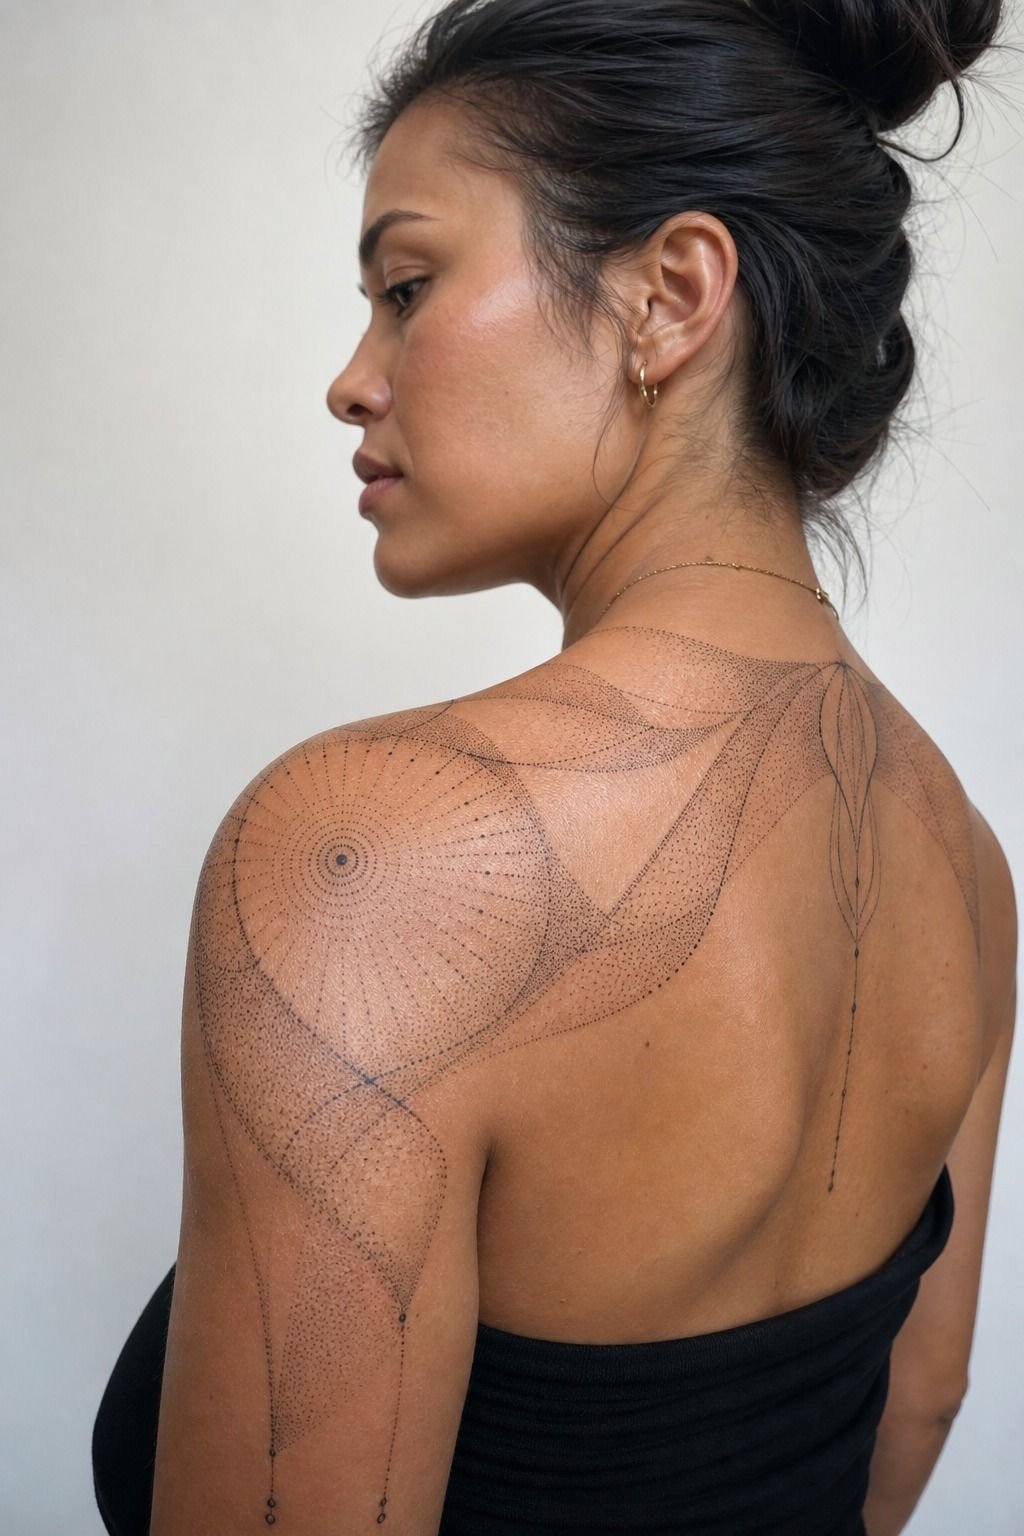
Prepare for pain based on placement, not internet bravado.
15Find an Artist With Consistent Dot Control

Look for healed dotwork photos, not just fresh flash sheets. You want consistent dot size, crisp circles, clean line intersections, and black areas that heal solid rather than patchy.
Ask how they build gradients and what needles they use. Cheyenne cartridges are common in professional setups, but equipment alone doesn’t make someone good. A skilled artist knows when to stop before they overwork the skin, especially on a pattern with dense black.
I’d pass on a portfolio full of fresh close-ups with no healed examples. Fresh ink can hide a lot. Healed work tells you whether their dots stay controlled.
For a style reference, see this blackwork geometric dotwork mandala guide.
16Review Healed Dotwork Tattoo Examples
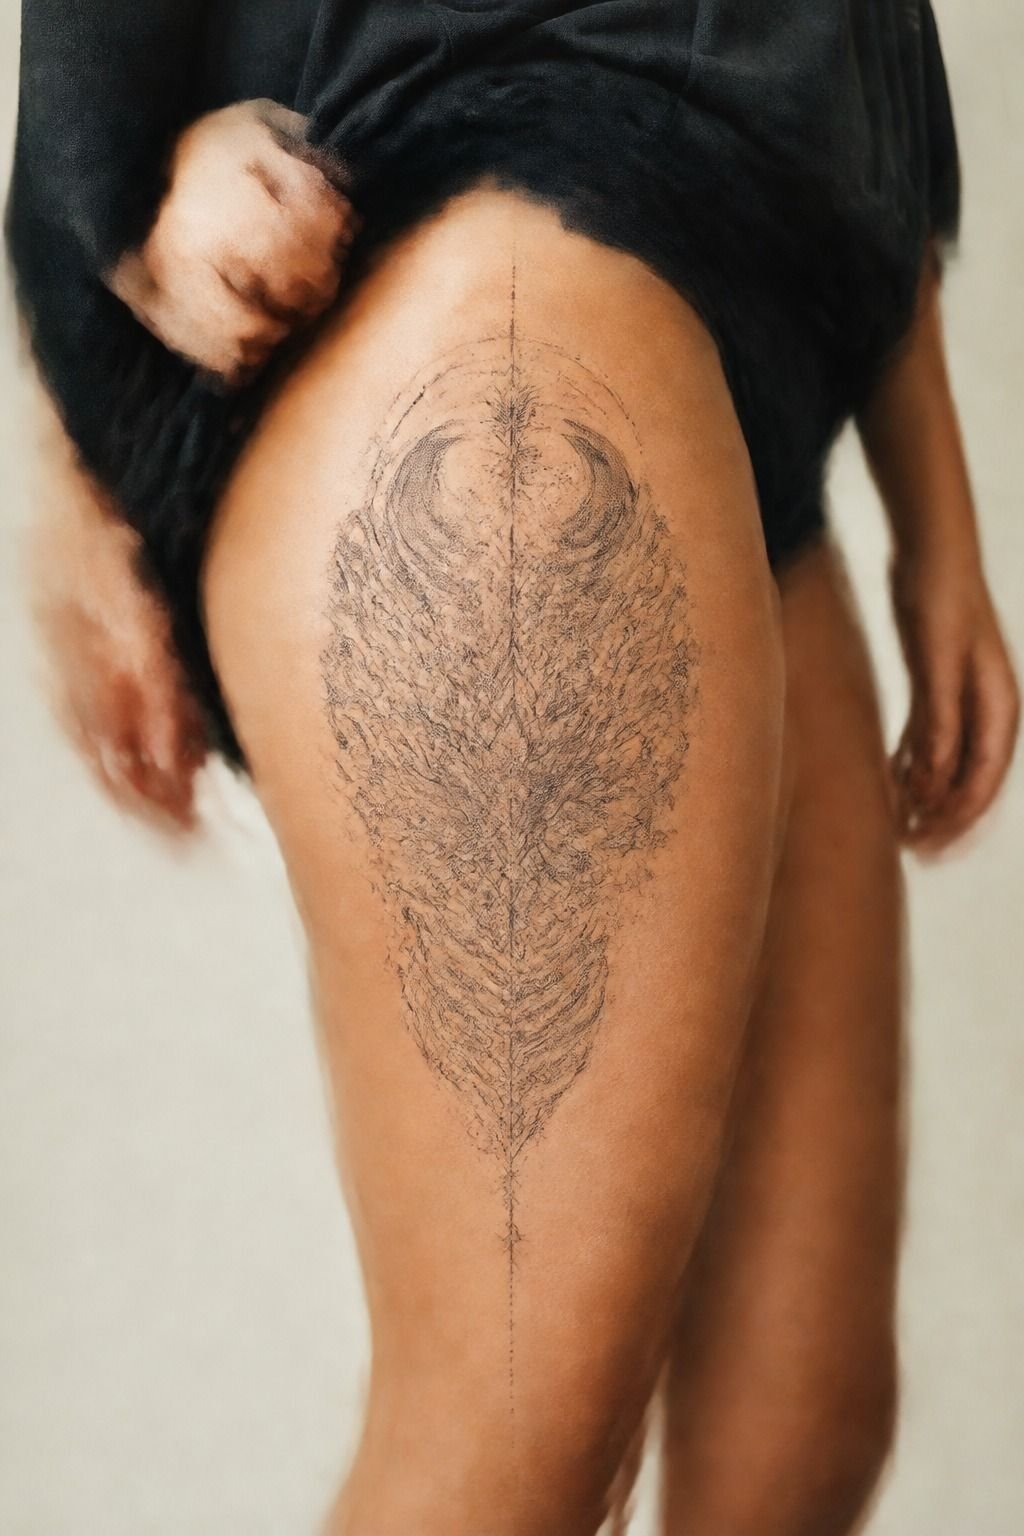
Review healed examples in normal light. Look at thighs, upper arms, and calves after the shine is gone, not under fresh ointment and studio lamps.
Your tattoo’s surface healing takes roughly 2 to 3 weeks, while deeper settling can take around 2 to 3 months. During that time, dots may look muted under silver skin before the contrast comes back. That’s normal.
But compare old pieces carefully. If every fine dot has spread into one grey field, the artist may be working too small for their chosen placement. Bold will hold.
It’s not glamorous advice, but it’s solid.
17Plan Touch-Ups for Fading Details
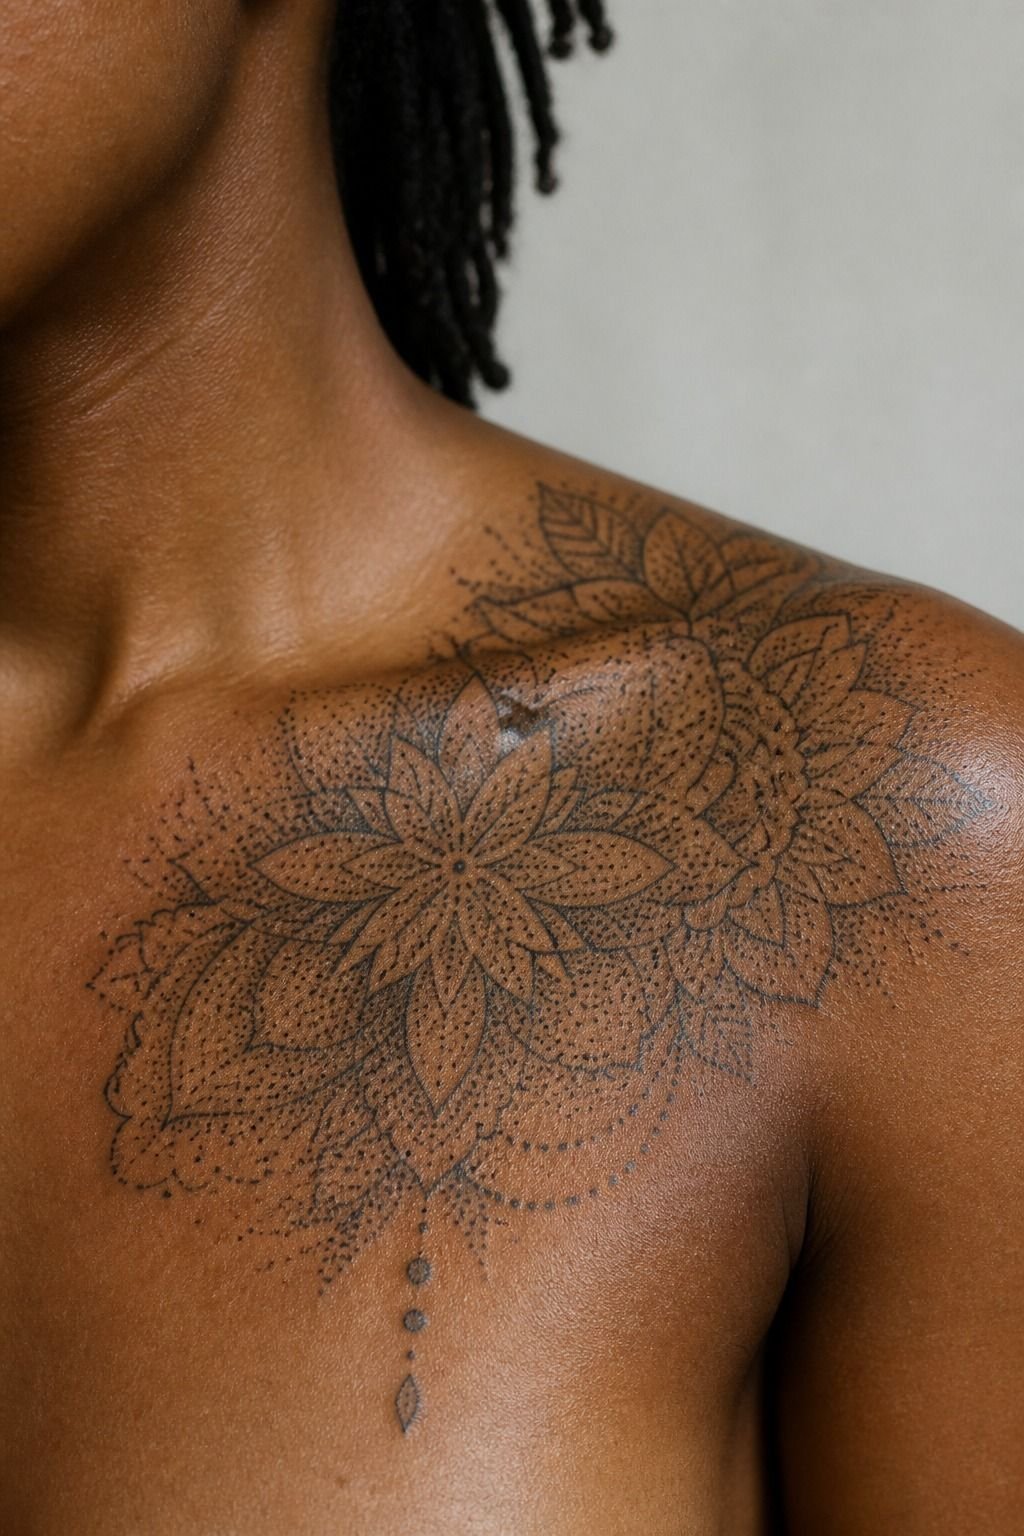
Plan for touch-ups if your pattern sits on the collarbone, hands, fingers, feet, or another high-wear spot.
18Follow Aftercare for Crisp Dot Patterns
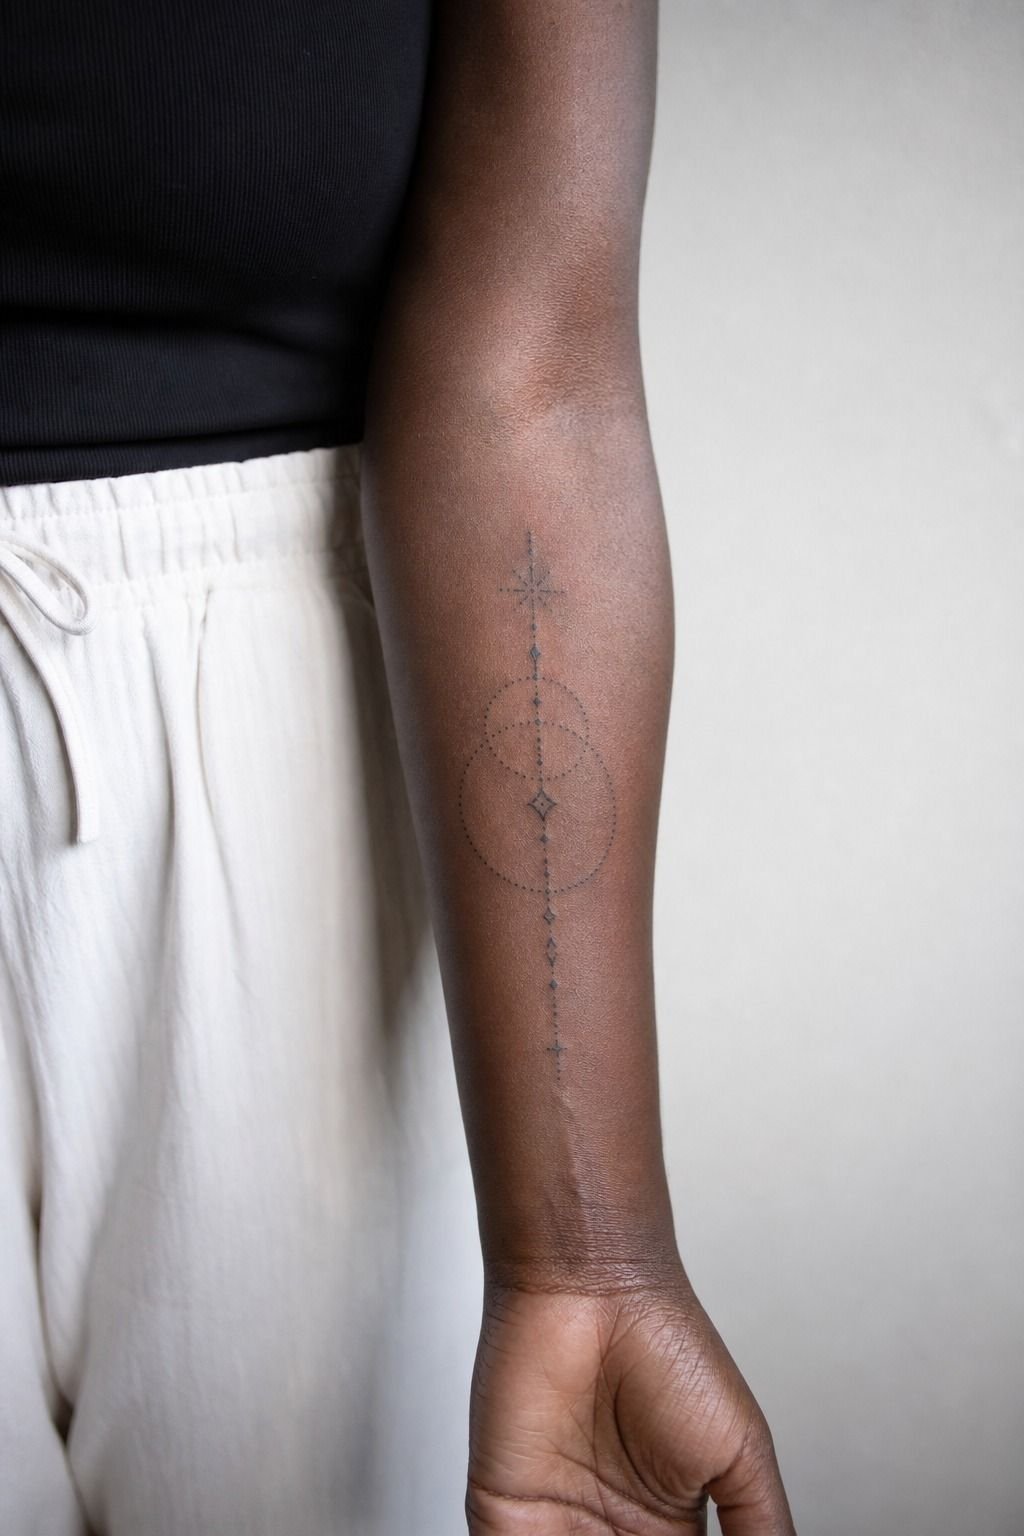
Treat the first few days like an open wound, because that’s what it is. Wash your inner forearm gently with unscented soap, pat it dry, then use a thin layer of aftercare ointment.
Fragrance-free cleanser and a light unscented lotion are enough for most healing tattoos. Don’t suffocate it under heavy product. It’ll peel like a sunburn, and you can pull color out if you pick the flakes.
But skip pools, hot tubs, and gym friction while the surface is healing. Your dotwork needs clean, calm healing conditions if you want those crisp little marks to stay defined.
19Protect Your Dotwork Tattoo From Sun Exposure
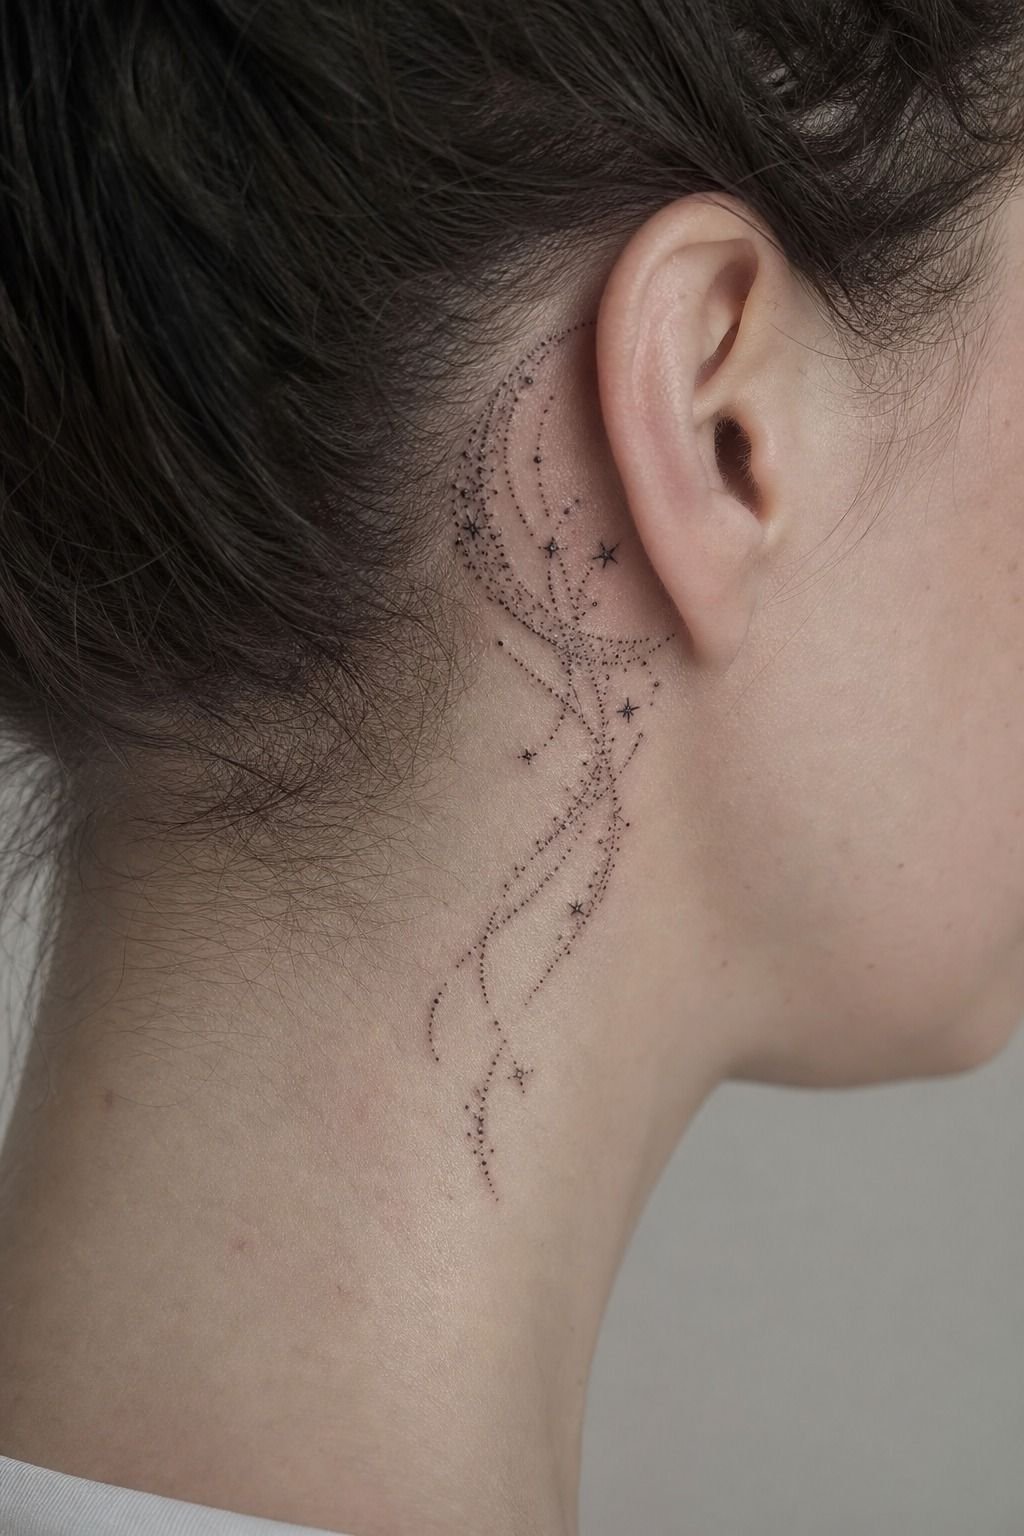
Protect behind-the-ear dotwork like you mean it. That area catches sun constantly, and UV can soften fine dots faster than you’d expect.
Wear a hat, use sunscreen after healing, and accept that small exposed tattoos may need more maintenance. Mineral sunscreen lotion is a practical choice when you’re outdoors because you can apply it precisely around your ear and hairline.
Sun is rough on every tattoo, but it’s especially unforgiving on subtle stippling. A bold black edge gives you more longevity than a pale little cloud of dots.
The Crisp-From-Across-the-Room Rule
I’ve tattooed and watched enough fine-line work to know the biggest mistake isn’t choosing dotwork. It’s treating dotwork like it has no physical limits.
People bring in a thumbnail-sized screenshot with fifty symbols, micro mandala petals, stars, sacred geometry, and four gradients. They want every dot preserved. I get it.
You found something that feels personal.
But your skin is living tissue. It moves, swells, heals, gets sun, and changes over time.
A pattern that looks intricate on a phone may need to become calmer before it becomes a tattoo. That isn’t your artist watering it down.
It’s the artist protecting the part you loved in the first place.
I’d rather give you a 4-inch thigh or forearm piece with a clear black focal point, open skin channels, and a few soft stippled fades than cram that same drawing into a 1-inch wrist gap. The larger version will look refined now and still make sense in ten years. The tiny version may look detailed in the appointment photo, then gradually turn to soup.
This is where a good consultation matters. Your artist should tell you when a line is too close, when an inner circle needs to open up, and when a black fill will make the whole design read better.
You shouldn’t have to fight for every microscopic mark. If they can explain the tradeoff clearly, listen.
And yes, I know it can feel like giving something up. But you’re not buying a temporary graphic.
You’re choosing ink that has to live on your skin. Make it bold enough to survive the long haul.
What People Always Want to Know
How much does a Dotwork Pattern Tattoo usually cost?
Most dotwork tattoos cost about $100 to $300 for a small-to-medium design, depending on placement and detail.
– Shop minimums, roughly $50 to $100 – Hourly rates, often $100 to $250 – Larger thigh or sleeve sessions, more time
Your artist and city affect the final number.
Are Dotwork Pattern Tattoo a good idea for a first tattoo?
Yes, if you choose a simple design and a forgiving placement. Outer arm, thigh, and shoulder skin usually give you cleaner healing and more room than fingers or feet.
– Clear black focal point – Open negative space – A placement you can care for easily
Don’t start tiny just because it’s your first.
How do I choose a tattoo artist for Dotwork Pattern Tattoo?
Choose an artist with healed dotwork, solid hygiene, and consistent line control. Healed portfolio photos matter more than polished fresh tattoos.
– Even stippling – One clean pull – Fully healed examples – Clean studio setup
You can also compare their approach with this dotwork tattoo guide.
How much do Dotwork Pattern Tattoo hurt?
Pain depends mostly on placement. Forearm, thigh, and shoulder placements are usually more manageable than ribs, feet, hands, and sternum.
– Lines, sharper taps – Dot shading, dull burn – Solid black, the spiciest phase
You’ll get through it better if you eat, hydrate, and take breaks.
How long does a Dotwork Pattern Tattoo take to heal?
Surface healing usually takes 2 to 3 weeks, while full settling can take 2 to 3 months. Keep it clean, lightly moisturized, and away from sun and pools.
– Gentle unscented wash – Thin lotion layer – No picking flakes
Your patience protects those fine dots.
What’s the best placement for Dotwork Pattern Tattoo?
The outer forearm, upper arm, thigh, and calf are strong choices because they’re lower-wear and give patterns room to breathe. Thigh placement is especially good for large mandalas and curved ornamental work.
– More usable surface – Easier aftercare – Better long-term readability
Hands and fingers are for people who accept touch-ups.
Where I’d Start First
If I had to pick one step, I’d start with bold negative space. You can’t repair a crowded pattern after it heals into grey mush. Give the dots room, give the black somewhere to land, and your tattoo will keep reading clean.