Setting up a tattoo machine correctly means balancing needle depth, voltage, grip stability, and machine type to the specific work ahead. A coil machine runs on electromagnetic current and needs spring tension tuning; a rotary machine uses a motor-driven cam and requires less mechanical adjustment but still demands precise needle hang and voltage matching. Both setups share the same core priorities: the needle must protrude enough to deposit ink in the dermis without tearing the skin, the machine must run smoothly without excessive vibration, and everything that touches the client must be sterile and single-use.
Know Your Machine Type
Coil Machines
Coil machines use electromagnetic coils to drive the armature bar up and down. Setting one up means adjusting the rear spring tension, the front spring bend, and the contact screw gap to control speed and hit. The capacitor smooths the current. For lining, you want a harder, faster hit, tighter springs, smaller contact gap. For shading, a softer, slower hit, looser springs, wider gap. The tube vise must grip the needle bar firmly without crushing it. After assembly, listen: a consistent buzz without chatter means the machine is cycling properly. A sputtering or irregular sound usually means poor contact screw alignment or a weak capacitor.
Rotary and Pen-Style Machines
Rotary machines swap the mechanical complexity for a direct-drive motor and cam system. Setup focuses on needle hang, stroke length, and voltage. The needle hangs from a cartridge or bar, and the cam’s eccentricity determines how far the needle travels. A longer stroke (around 3.5, 4.0mm) works for lining and bold shading; a shorter stroke (2.5, 3.0mm) suits color packing and soft gradients. Pen-style rotaries have adjustable give, more give for softer skin, less for dense areas. Voltage typically runs lower than coil machines, often 6, 9 volts depending on the motor and needle load.
Needle Depth and Configuration
Needle depth is measured by how far the needle protrudes from the tube tip when the machine is running. The standard range is 1.5, 2.0 millimeters for most work. Too shallow and the ink deposits in the epidermis, which sheds; the tattoo fades or falls out. Too deep and you blow out the ink into the subcutaneous fat, creating blurry lines and unnecessary trauma. The “give” or softness of the machine also affects effective depth, a machine with more give requires slightly more hand pressure to achieve the same penetration.
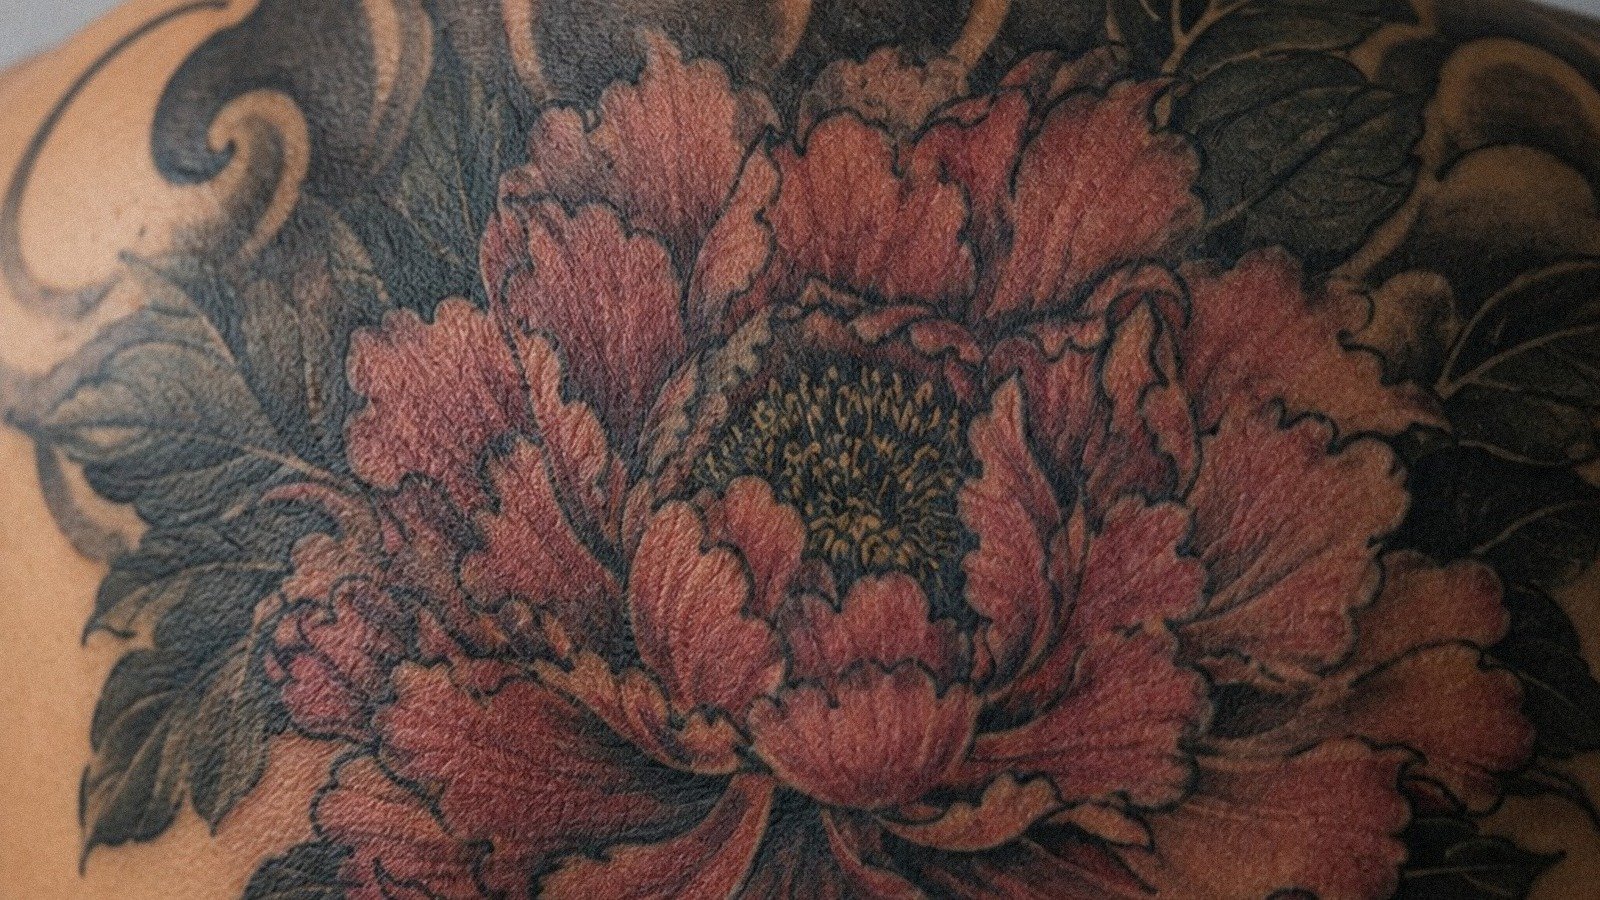
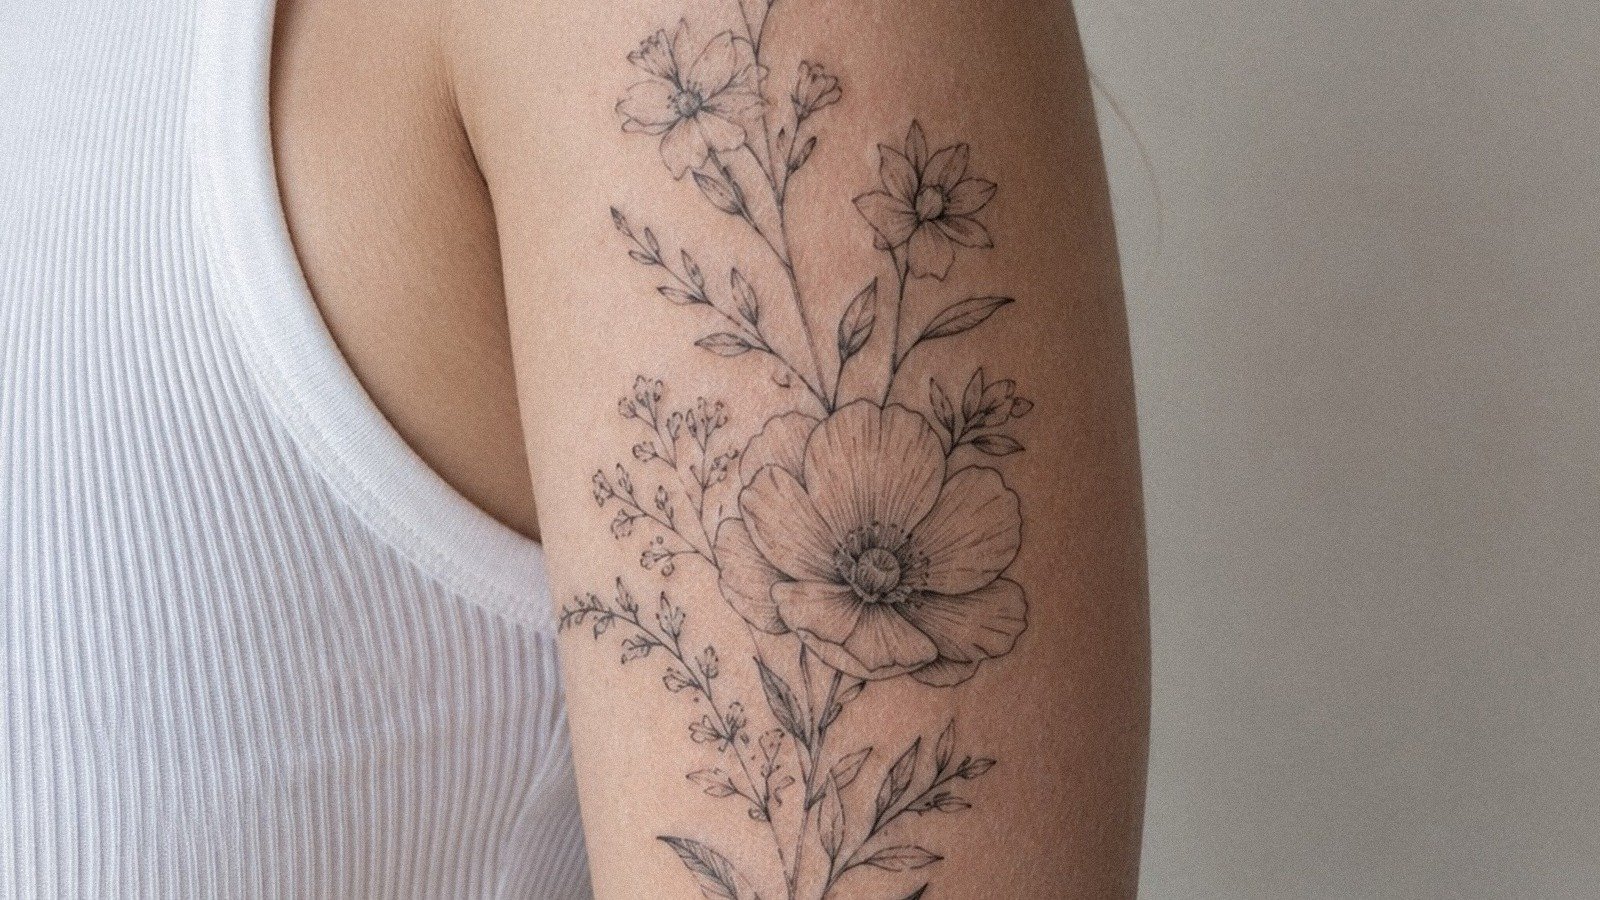
- Lining: Round liner needles, 3, 9 groupings, 1.5, 1.8mm depth, faster machine speed
- Shading: Magnum or curved magnum needles, 1.8, 2.0mm depth, slower speed for saturation
- Color packing: Similar to shading but with more passes, consistent depth critical
- Black and grey realism: Variable depth, often softer hit, needle selection changes by tone value
Needle grouping matters as much as depth. Tight groupings (round liners) concentrate ink for crisp lines. Loose groupings (round shaders) or flat rows (magnums) spread ink for fill. Always match the tube diameter to the needle size, too loose and the needle wobbles, too tight and it binds.
Voltage, Speed, and Hand Speed
Finding the Right Voltage
Voltage controls how fast the machine cycles. Coils often run 7, 9 volts for lining, 5, 7 for shading. Rotaries vary more by motor and stroke but generally fall in a similar range. The key is matching voltage to your hand speed. A fast hand with low voltage leaves gaps; a slow hand with high voltage overworks the skin. Test on practice skin or fruit, banana peel and pig skin are common substitutes. The ink should deposit evenly without excessive splatter or resistance.
The Hand Speed Relationship
Your hand moves at a consistent pace, and the machine must cycle fast enough to leave continuous pigment. Most artists develop a default rhythm and tune voltage to match. If you find yourself going over the same line repeatedly, either your voltage is too low or your hand is too fast. Multiple unnecessary passes cause more damage than a single confident pass at proper speed.
Grip, Tube, and Ergonomics
The grip is your point of contact and control. Disposable grips come pre-sterilized and are standard in most shops; metal grips autoclave but require barrier protection. The grip diameter affects fatigue, thicker grips reduce hand cramping for long sessions, thinner grips offer more precision for detail work. The tube extends from the grip and holds the needle; its length and angle determine visibility and needle stability.
Wrap the grip with cohesive bandage or tape for traction and to absorb sweat. The machine’s weight should balance in your hand, not tip forward or backward. A rubber band or o-ring can dampen vibration on coil machines. For pen rotaries, the weight distribution is already centered, but the overall mass still matters over hours of work.
- Position the needle in the tube so it slides freely without wobble
- Secure the needle bar with the rubber grommet; check for consistent throw
- Adjust the tube vice so the needle doesn’t rotate but isn’t crushed
- Test the full throw by pressing the needle against a firm surface, it should stop smoothly without binding
Workspace and Sterility Setup
Machine setup is inseparable from workspace setup. The machine itself, if reusable, must be barrier-protected with a clip cord cover and machine bag. Power supplies sit outside the sterile field. Foot pedals should be covered or placed where they won’t be touched with contaminated gloves. Ink caps are single-use, placed on a disposable surface. Needles and tubes come from sterile packaging; inspect for damage before opening.
During setup, handle the needle only with sterile gloved hands. Once the machine is running, never adjust the needle with bare fingers or ungloved hands. If the needle bar slips or the machine malfunctions mid-session, stop, re-glove, and re-set. The few minutes lost are nothing compared to cross-contamination risk.
Testing Before Skin
Always run the machine before touching a client. Check for:
- Consistent needle throw, no skipping or stuttering
- Proper ink flow, dip the needle, run briefly, pigment should load and release evenly
- No excessive vibration or heat buildup
- Correct depth on practice material
Some artists stretch a piece of rubber band over their thumb to feel the needle hit, too sharp and it’s harsh, too soft and it’s weak. This tactile check, combined with visual inspection of practice skin, confirms the setup before human skin.
Common Setup Mistakes
Running the needle too deep is the most frequent error, usually from fear of the ink not holding. The result is blowouts, longer healing, and scarred texture. Another mistake is inconsistent depth from poor tube angle, holding the machine too vertically or too flat changes how far the needle actually travels. Voltage too high for the needle grouping causes rapid needle wear and skin trauma; too low causes the artist to overwork the area compensating with extra passes.
Poor contact screw maintenance on coils leads to arcing and inconsistent power. Not replacing worn front or rear springs changes the machine’s character gradually until it’s unrecognizable. On rotaries, ignoring cam wear or motor brush degradation leads to the same slow decline in performance.
Key Takeaways
Setting up a tattoo machine is a mechanical skill that becomes automatic with repetition, but the principles never change: match the machine type to the task, set needle depth to the dermis without overpenetration, balance voltage to hand speed, and maintain sterility at every step. Test before you work. Adjust for the specific skin you’re tattooing, thinner, older, or sun-damaged skin needs a gentler approach than thick, resilient skin. The machine is a tool; your setup determines whether it works with you or against you.
Frequently Asked Questions
How do I know if my needle depth is too deep or too shallow?
Too shallow and the ink sits in the epidermis, fading within weeks with patchy, uneven results. Too deep causes blowouts where ink spreads in the fat layer, creating blurry, bruised-looking lines that never sharpen. On practice skin, a proper depth leaves clean, saturated lines without excessive tearing or resistance.
Can I use the same voltage for lining and shading?
Generally no. Lining needs a faster, harder hit to deposit crisp, continuous pigment, so voltage runs higher. Shading and color packing use slower speeds for saturation without shredding the skin. Adjust down and test the difference on practice material before switching tasks on a client.
Why does my coil machine sputter or lose power during a session?
Check the contact screw and front spring connection first, carbon buildup or loose contact interrupts current. Worn capacitor, cracked rear spring, or overheated coils also cause power loss. Keep a backup machine assembled; swapping mid-session is faster than field-repairing a failing setup.
How often should I replace needles and tubes during a session?
Needles are single-use and discarded after each client. During long sessions, a needle may dull, especially on dense or scarred skin, causing more trauma and less saturation. Switch to a fresh needle if you notice increased resistance, splattering, or diminished ink deposit. Tubes are single-use if disposable, or autoclaved between clients if metal.