Shading a tattoo is where a flat drawing becomes something you want to reach out and touch. I tell every apprentice: lining is grammar, shading is the story. You can fix a wobbly line with boldness, but bad shading sits there like a bruise you can’t explain. This guide covers how we actually shade in real shops, the machines, the hand speed, the skin types that fight you, and the healing realities clients need to understand.
What Shading Actually Does on Skin
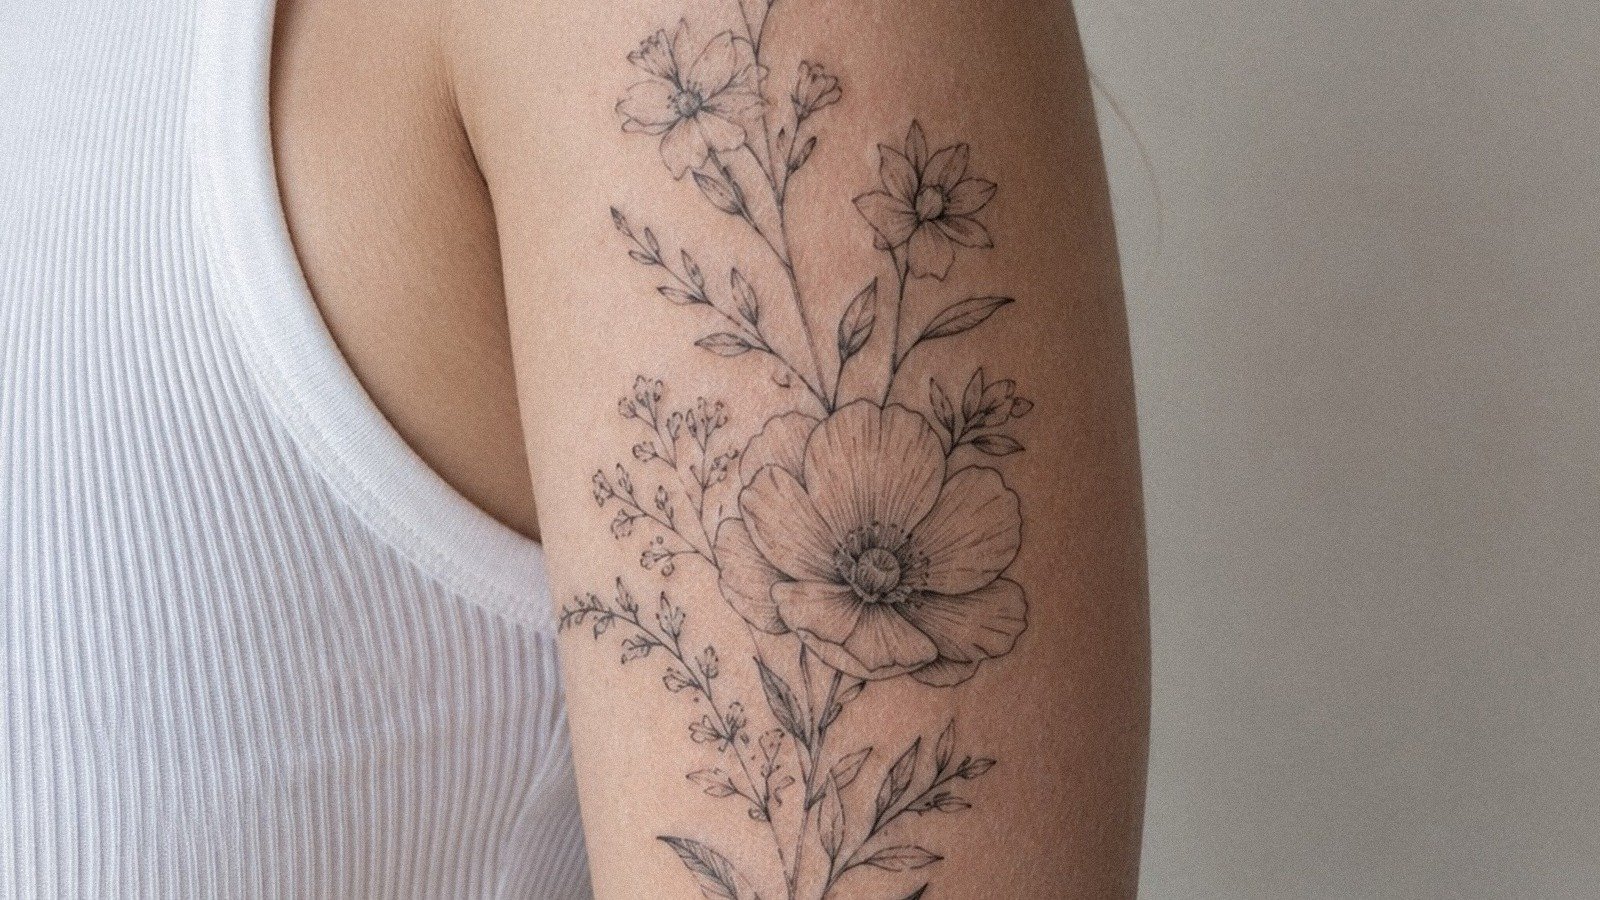
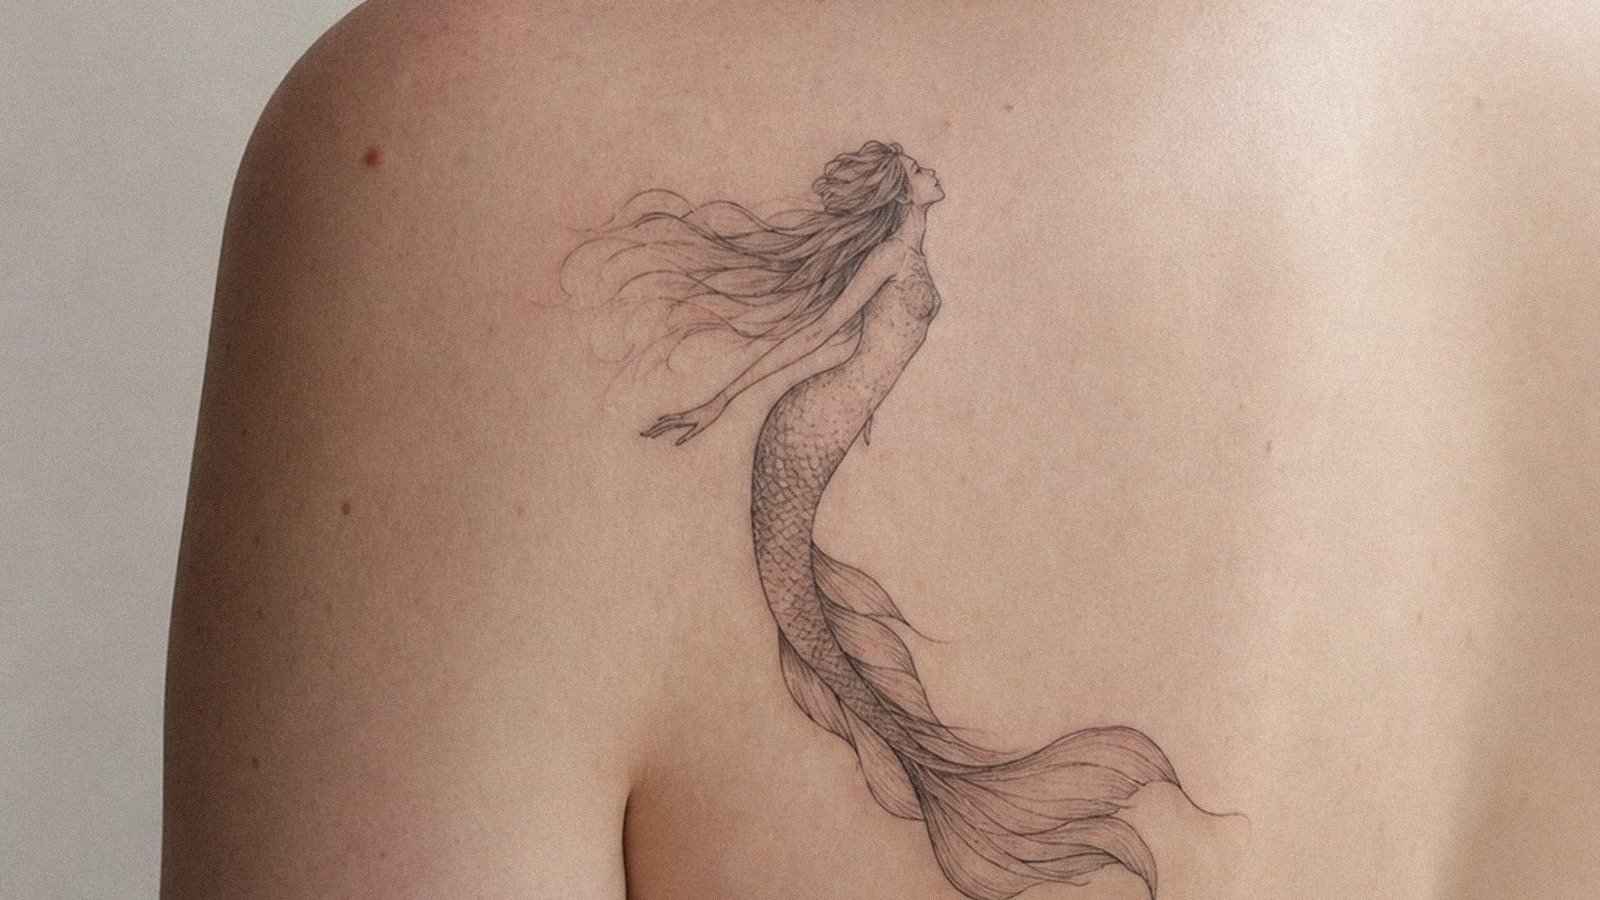
Shading creates depth, dimension, and temperature. Black and gray work relies on smooth gradients to suggest roundness, distance, light source. Color packing uses saturation shifts to make a rose petal curl or a skull sink backward. Without shading, everything reads as a sticker.
Here’s what I explain to clients in my chair: tattoo pigment lives in the dermis, that middle layer. Shading deposits less pigment than lining, spread across wider areas. The trick is consistency, too shallow and it heals patchy, too deep and you blow out the gray into a muddy mess. Skin is not paper. It swells, it bleeds, it throws little tantrums.
Why Shading Heals Differently Than Lines
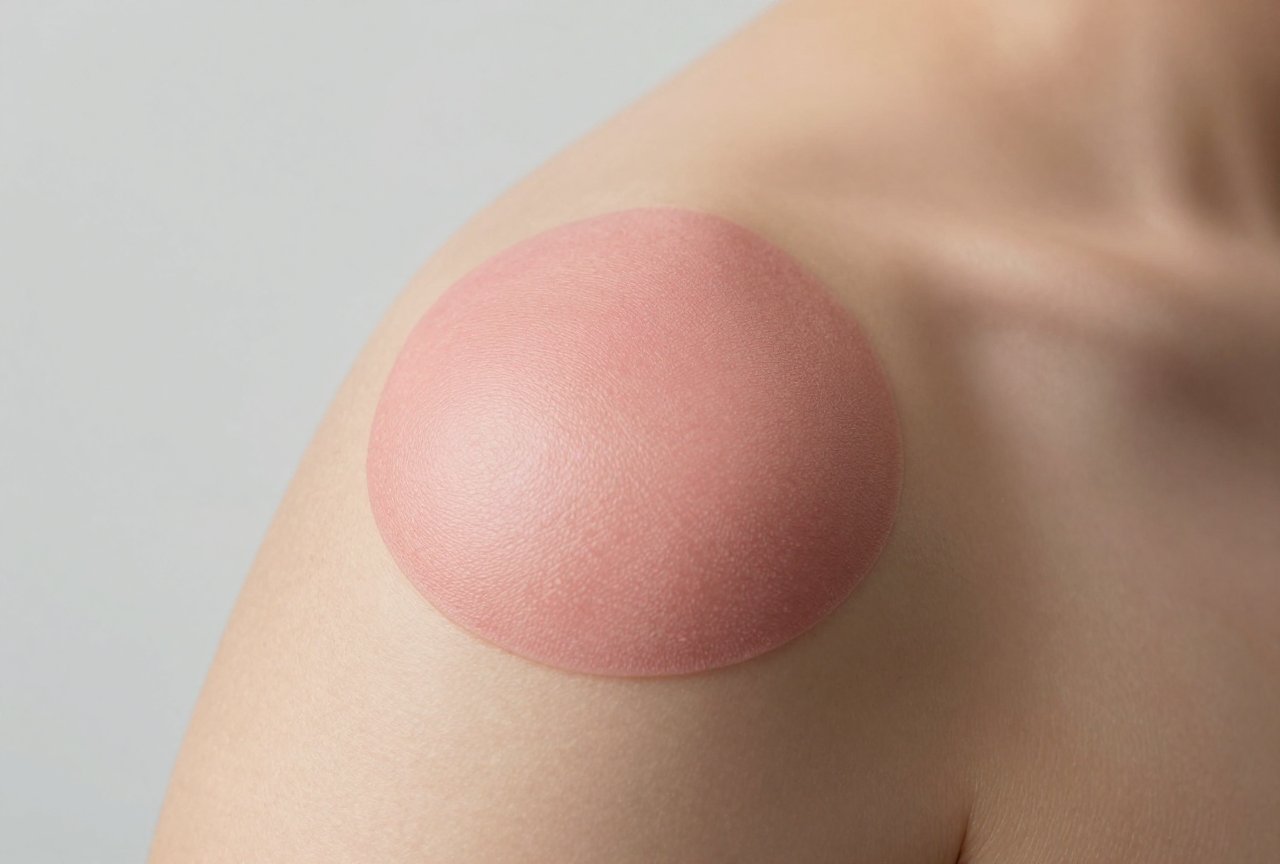
Lines are concentrated trauma in a tight channel. Shading is diffuse. This means shading often peels heavier, itches worse, and can look scary around day four. I’ve had clients panic because their smooth gray wash looked like crocodile skin mid-heal. I tell them: the top layer is falling off, the pigment underneath is fine. Trust the process, don’t pick, keep it clean and lightly moisturized.
- Shaded areas scab softer and flatter than lines
- Gray wash can appear blotchy until week three
- Over-moisturizing causes ink to leach out
- Direct sun during healing destroys lighter tones permanently
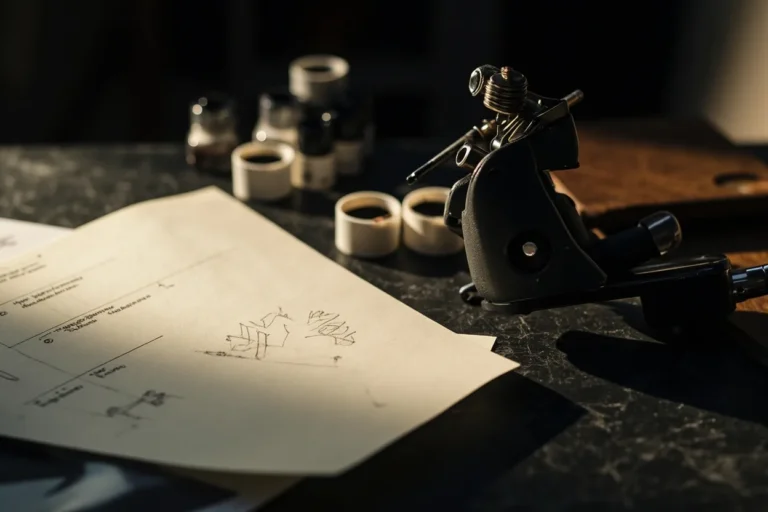
The Machines and Needles We Actually Use
Most artists shade with a rotary or coil machine set softer than their liner. I run my shader at lower voltage, around 7.5 to 8.5 volts depending on the skin. The needle hangs slightly farther out, maybe two millimeters, to let the pigment flow without punching too aggressively.
Needle Groupings for Different Effects
Round shaders (RS) cluster tight for soft edges and whip shading. Magnums (M1, curved or flat) spread pigment fast for smooth blends and color packing. I grab a 7-round shader for small portraits, a 15-curved mag for big black and gray backgrounds. Each needle behaves differently in the skin. Mags glide; rounds stop and start more precisely.
Needle depth matters enormously. I adjust based on body part. Upper back skin is thick and forgiving. Inner bicep or sternum skin is thin, angry, and will blow out if you get greedy. I’ve learned to feel the resistance, hear the sound change when the needle hits that sweet spot.
- Round shaders: detail work, stippling, whip shading
- Flat magnums: traditional bold shading, geometric fills
- Curved magnums: smooth blends, portraits, realism
- Single needle or 3-round: subtle texture, hair detail, fine gray work
Core Shading Techniques
There are three approaches I use daily, sometimes mixing all three in one piece.
Whip shading involves flicking the needle out of the skin at the end of each stroke. Creates a soft, feathered edge that fades to nothing. I use this for backgrounds, smoke, atmospheric effects. The hand motion is loose, almost casual. Speed matters, too slow and you get stripes, too fast and you barely deposit pigment.
Pendulum shading keeps the needle in constant motion, arcing like a pendulum. Builds smooth, even tones without hard edges. This is your black and gray portrait work, your smooth spheres. The machine never stops moving. I tell apprentices: if you pause, you stack ink and create a dark spot.
Stippling is dot work, pure and simple. Time-consuming, meditative, incredible for texture and subtle gradations. I stipple mandala backgrounds, some botanical pieces, anything that needs a grainy, organic feel. Clients always ask if it hurts more. Honestly? It takes longer, so yeah, the session drags.
Gray Wash Mixing and Application
Black and gray artists mix our own washes. I use distilled water, sometimes witch hazel, never straight black for large areas. Typical setup: four caps ranging from 80% black down to 10%. The percentages aren’t scientific, every brand of black behaves differently. Some heal blue, some green, some stay true neutral. I test on practice skin, I watch how pieces heal over months.
The real skill is transitioning between tones without a visible line. I overlap zones, work wet into wet when possible, let the skin rest between passes. Overworking an area causes trauma that rejects pigment. I’ve seen beautiful smooth gray turn to scarred, patchy gray because someone couldn’t stop going over it.
Skin Types and Problem Areas
Not all skin takes shading equally. This is the reality we navigate in every session.
Darker skin tones require adjusted approaches. Higher melanin means contrast works differently. I often go darker with my blacks, use fewer mid-tone grays that can heal ashy or disappear entirely. The ink sits on top of melanin, not in blank white paper. What reads as subtle on pale skin can vanish on deeper tones. I have honest conversations about this. Some designs need rethinking.
Older skin is thinner, more translucent, bruises easier. I slow down, stretch more gently, use smaller groupings. Scarred skin or stretch marks can be tattooed but shading sits unpredictably, sometimes it takes perfectly, sometimes it falls out in the damaged tissue. I test patch when I’m unsure.
- Oily skin: shading can spread slightly, heal softer than intended
- Dry skin: may hold crisp edges but can flake heavily during healing
- Sun-damaged skin: inconsistent texture, unpredictable pigment hold
- Areas with lots of movement (ribs, elbows, knees): shading breaks down faster over years
Aftercare That Actually Protects Shading
Shading is more vulnerable during healing than lines. Those soft gradients can leach, scab unevenly, or lose their subtlety if the client neglects aftercare.
I give every client the same instructions: wash gently with unscented soap twice daily, pat dry with paper towel, apply a thin layer of recommended ointment for the first three days, then switch to unscented lotion. Thin layer means thin, if you’re shiny, you’re doing too much. Don’t soak it. No swimming, no hot tubs, no gym sweat pooling on fresh work.
Clothing matters more than people think. Tight jeans rubbing fresh thigh shading? That friction pulls scabs. I see it constantly. Loose, breathable fabrics for two weeks minimum.
Long-term, sun protection is non-negotiable. Shading fades faster than lines because there’s less pigment density. A piece I did five years ago looks crisp if the client uses SPF. The same design on a sun-worshipper? The grays have warmed to brownish, the subtlety is gone. I touch up shading more often than lines.
What Shading Costs and How Long It Takes
Shading adds time. A line-only design might take two hours. Add smooth black and gray shading? Four hours easy. Full color with complex blending? Six to eight, sometimes multiple sessions. We charge by the piece or by the hour, shop culture varies. Expect shading to increase your budget significantly. In my shop, heavy shading work starts around $200 per hour, with full day sessions running $800-1200 depending on complexity.
Pain-wise, shading feels different than lining. Lines are sharp, concentrated, quick. Shading is a duller, deeper vibration that wears on you over time. Some clients prefer it; others find the duration harder than the intensity. Ribs, sternum, inner arm shading? That’s a different conversation. I break those areas into sessions when possible.
Key Takeaways
Shading transforms tattooing from marking to art, but it demands technical control, skin knowledge, and patient aftercare. The best shaded tattoos come from artists who understand their machine speed, their needle groupings, and how different bodies heal differently. As a client, your job is choosing an artist whose healed work you can see, following aftercare without improvisation, and protecting your piece from sun for life. As an artist, the work never stops teaching, every skin type, every pigment batch, every healed return client adds to what you know. I’ve been shading for fifteen years and I still adjust, still learn, still occasionally swear at a piece that didn’t heal how I expected. That’s the job. That’s the craft.
Frequently Asked Questions
Does shading a tattoo hurt more than outlining?
Most clients say shading feels different rather than worse, a deeper, vibrating sensation versus the sharp sting of lining. The real challenge is duration, since shading sessions typically run longer.
Why does my shaded tattoo look patchy after peeling?
The top layer of skin is shedding and temporarily uneven. Wait until week three before judging; if patchiness remains after a month, consult your artist about a touch-up.
Can you add shading to an existing line tattoo?
Absolutely, and we do this often. The artist needs to work around healed lines carefully, but fresh shading can bring depth to older work that feels flat.
How do I know if an artist is good at shading before booking?
Ask to see healed photos of their shaded work, not just fresh pieces. Smooth gradients and consistent tone in healed photos prove they understand how ink settles over time.