Sea themed tattoos stay crisp when you choose a readable subject, give fine lines enough breathing room, and plan placement before booking. I learned that after watching delicate bubbles blur on a busy ankle piece. Start with the image, then match scale, skin movement, healing, and aftercare. Your artist will thank you!
- Start With a Striking Ocean Creature
- Pick Intricate Sealife Linework
- Place Waves Along Your Forearm
- Keep Dainty Shells Crisp
- Plan a Flowing Sea Sleeve
- Choose Symbolic Anchor Details
- Match Fierce Sharks With Sharp Lines
- Balance Delicate Coral and Bubbles
- Start With a Striking Ocean Creature
- Pick Intricate Sealife Linework
- Place Waves Along Your Forearm
- Keep Dainty Shells Crisp
- Plan a Flowing Sea Sleeve
- Choose Symbolic Anchor Details
- Match Fierce Sharks With Sharp Lines
- Balance Delicate Coral and Bubbles
- Add Meaningful Nautical Elements
- Map Pain Around Bony Placement
- Protect Vibrant Ink During Healing
1Start With a Striking Ocean Creature
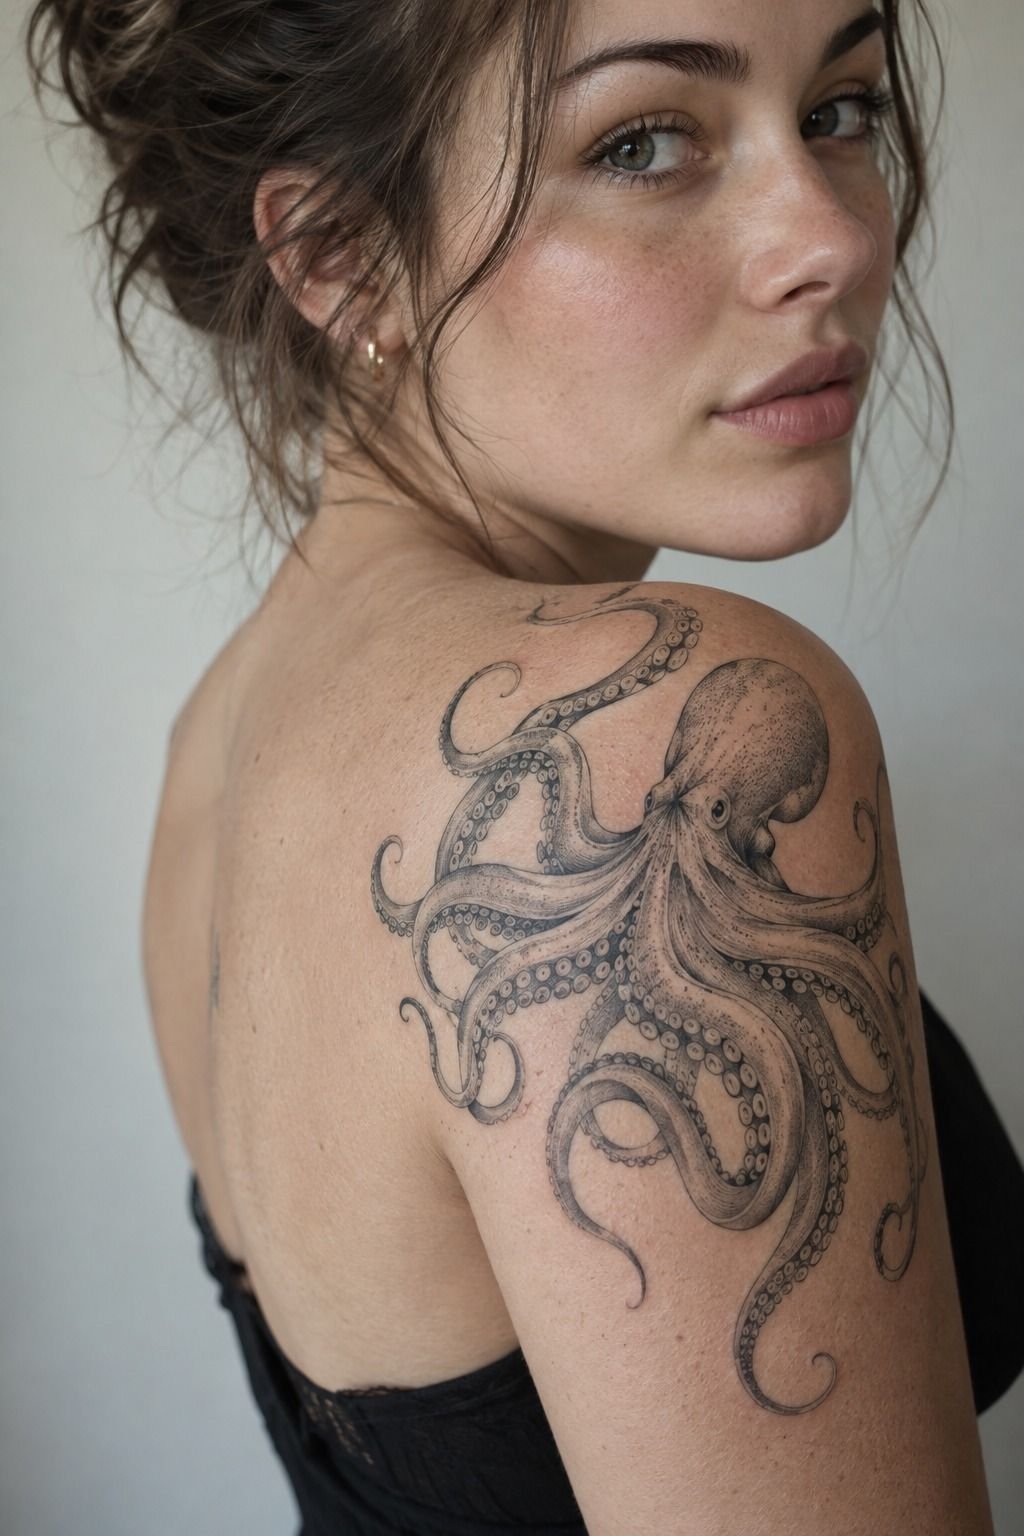
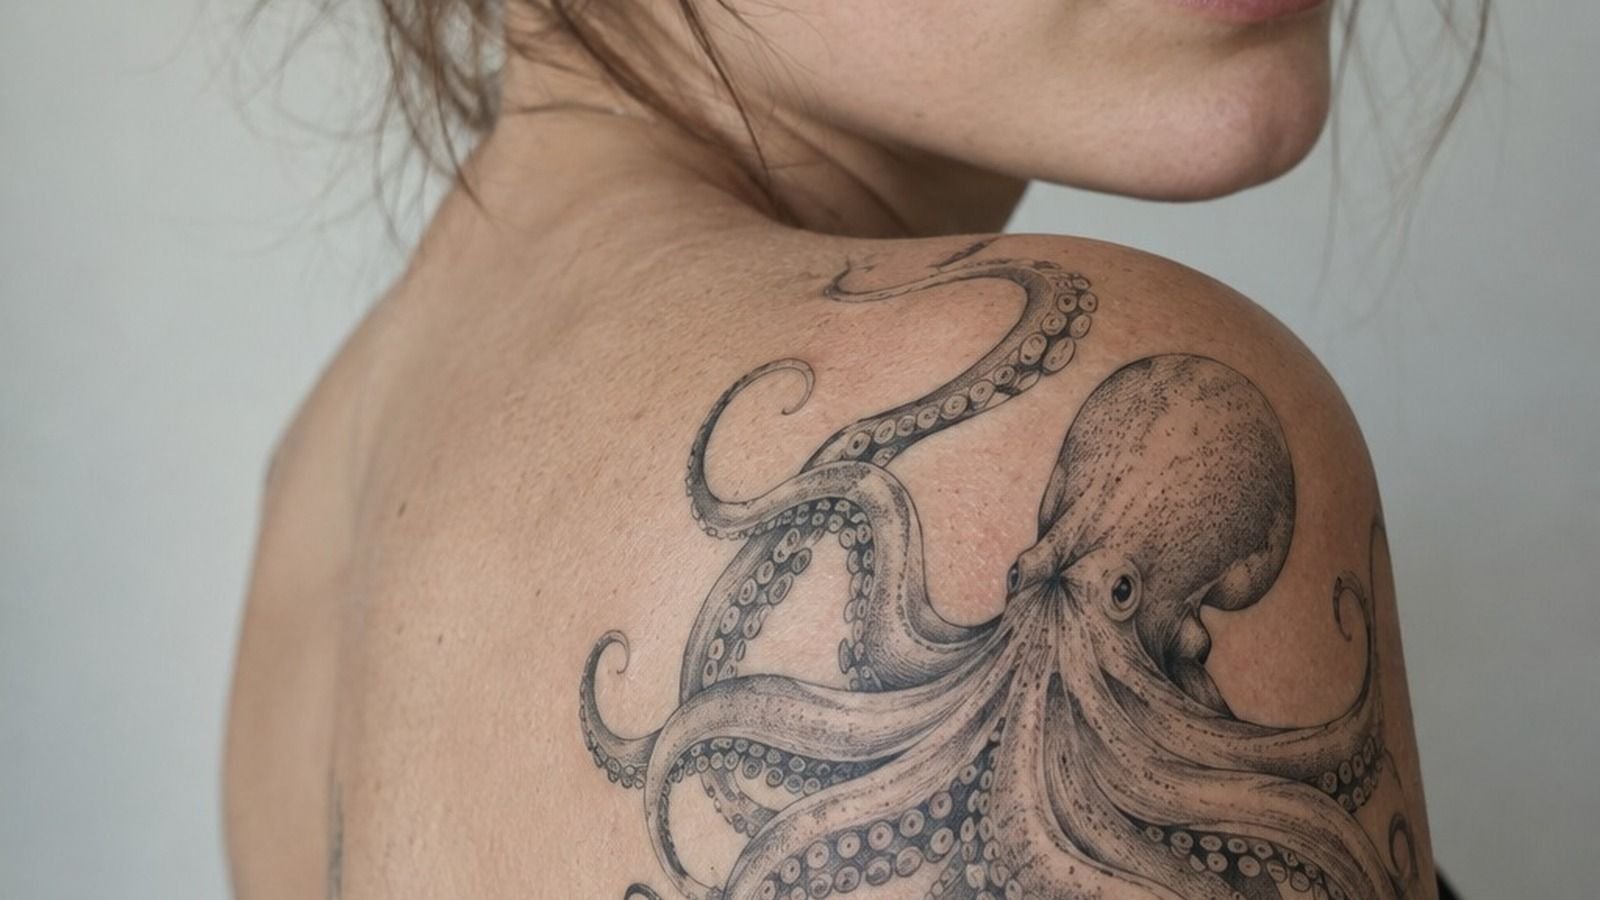
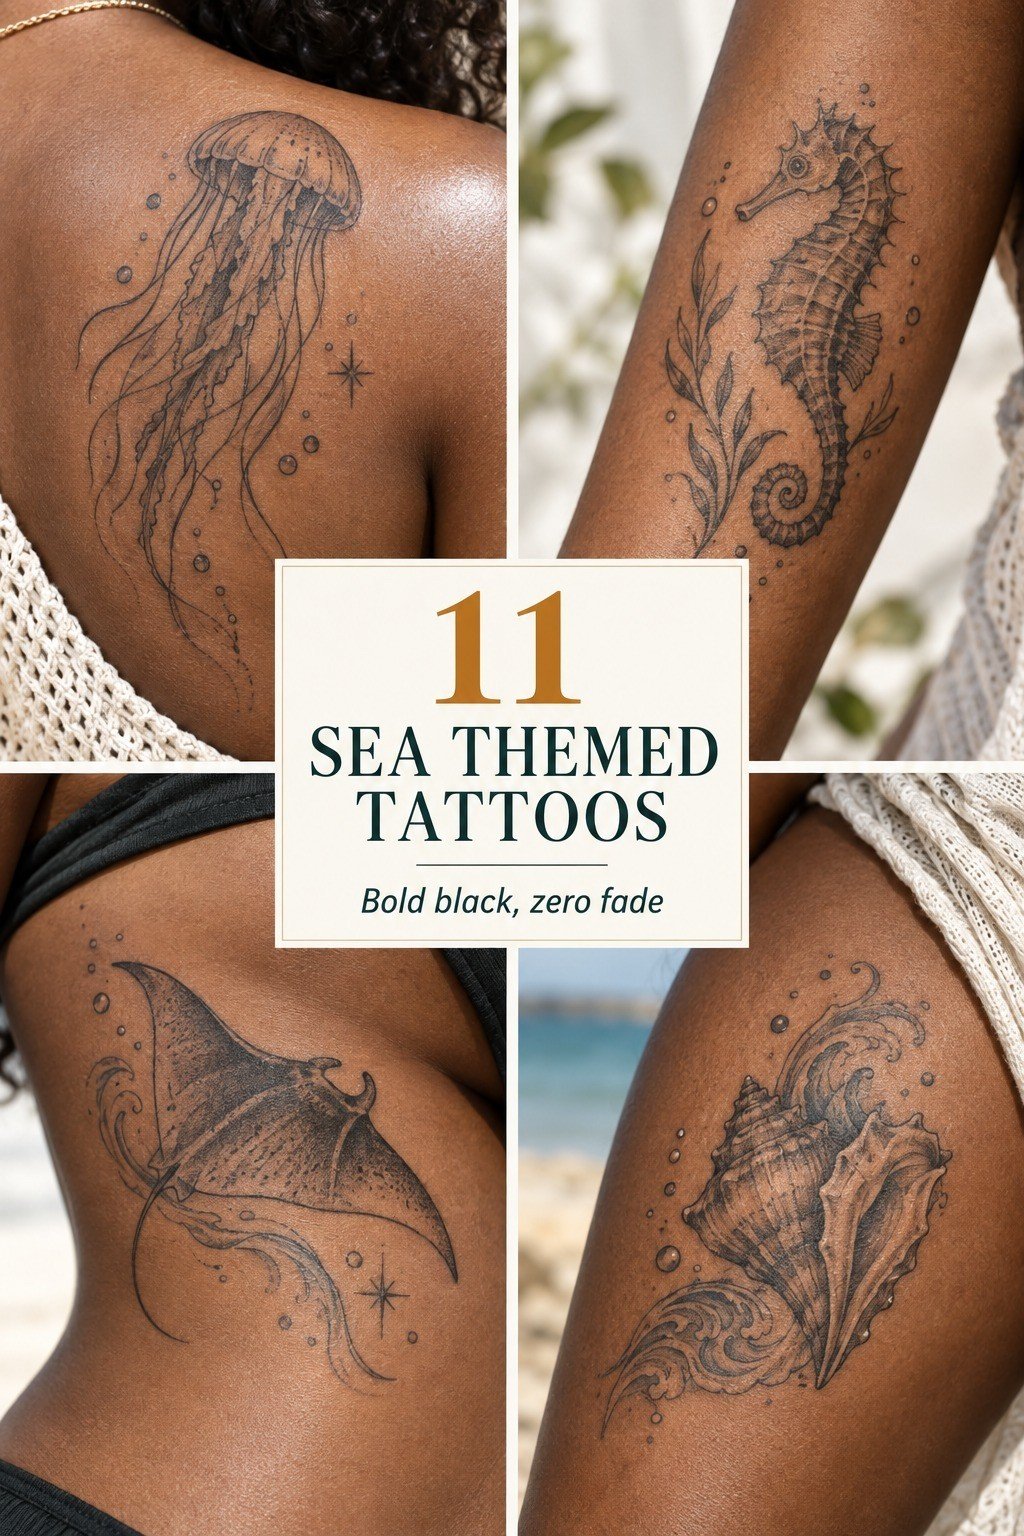
Choose one main creature before you collect extra details. A graceful manta ray, fierce shark, octopus, or seahorse can carry the entire design when its outline is clear. You’ll want the subject to read from a few feet away, especially if you’re planning a shoulder or forearm placement.
For fair cool-pink skin, a crisp black outline can look striking against the shoulder’s curve. I’d choose a manta ray over a crowded school of fish here because its wings create a cleaner silhouette. A single blackwork manta ray also gives your artist room to add expressive movement without cramming every inch.
The Creature Silhouette Rule
Keep the body shape recognizable before adding texture. Your artist can show motion through a curved tail, lifted fin, or slight tilt of the head. If you’re still comparing subjects, browse these ocean themed tattoos and save only designs that remain readable at thumbnail size.
Bring your favorite reference, but don’t ask for an exact copy. You’ll get a more personal result when your artist redraws the creature for your shoulder, skin tone, and preferred line weight. A small personal symbol, such as a birth month shell, can make the final piece meaningful.
2Pick Intricate Sealife Linework
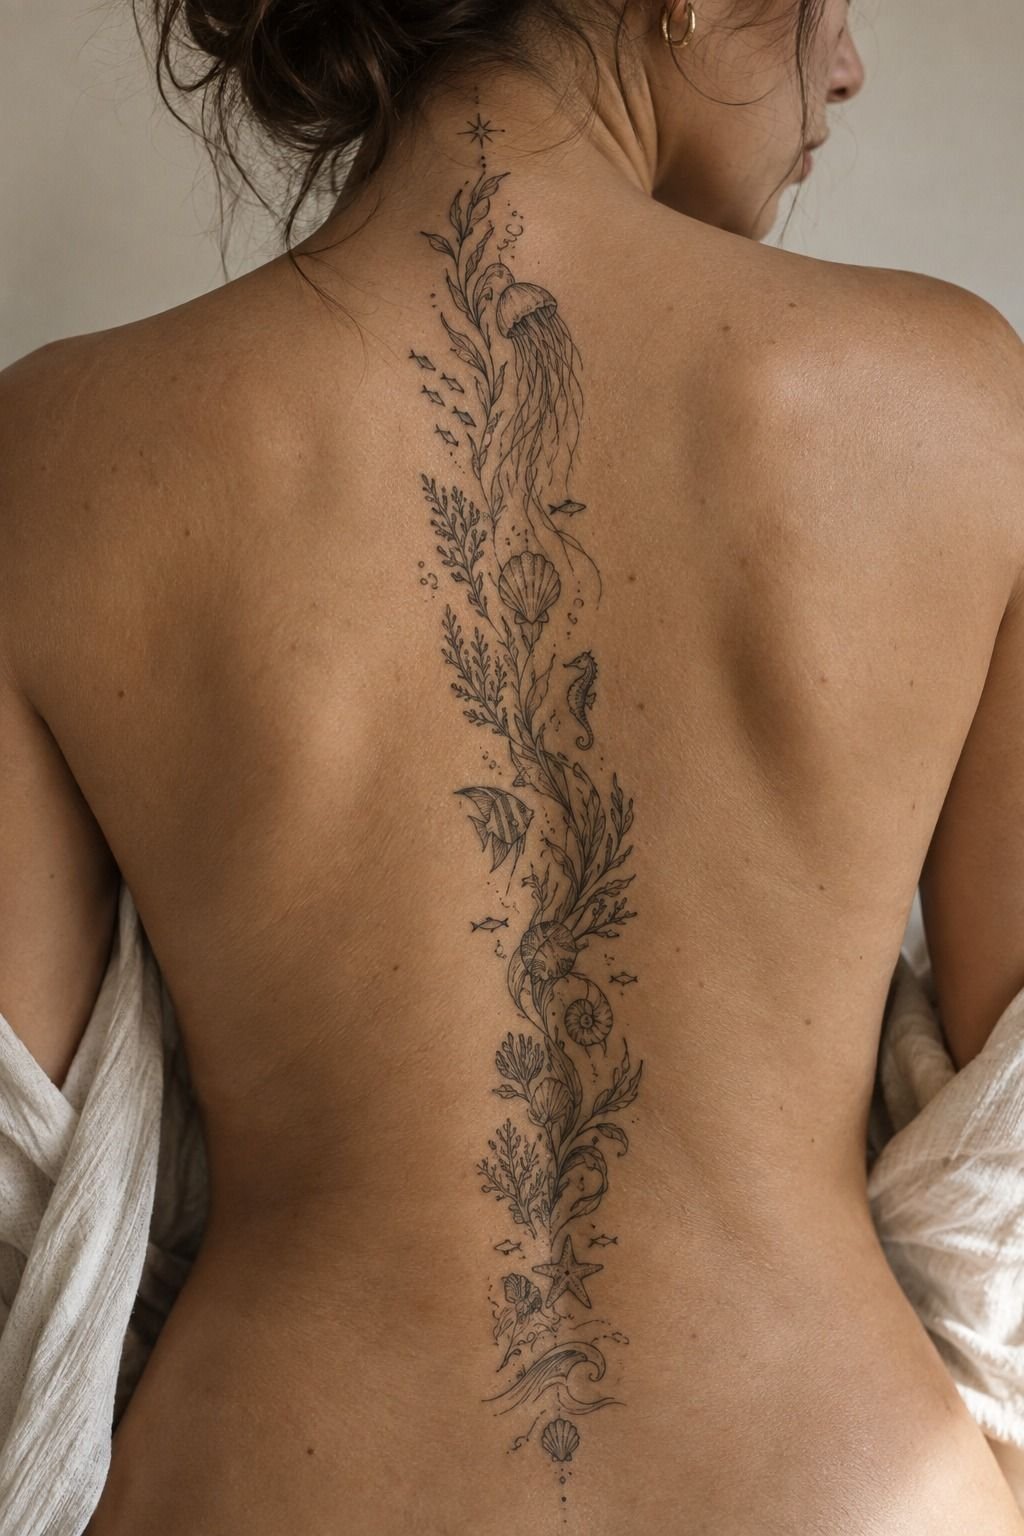
Fine linework needs order. In a spine tattoo, the eye travels vertically, so your sea life should follow that movement instead of forming a wide horizontal band. Start with one central shell, jellyfish, or nautilus, then let smaller details taper above and below it.
An intricate design can look elegant in a close-up, but tiny marks need spacing. Ask your artist to separate the single-needle black ink details so healed lines don’t merge into a grey patch. You’ll want the darkest marks around the main subject, with lighter texture toward the edges.
I once favored a crowded reference because it looked ornate on a phone screen. That would’ve been a mistake on skin. Your artist should be able to point out which bubbles, scales, or coral branches can be removed without weakening the idea.
For more context, read about why tattoos blur over time before you approve the stencil. The lesson is simple: your design needs breathing room from the beginning. A crisp, understated spine piece will age more gracefully than an overworked one.
3Place Waves Along Your Forearm
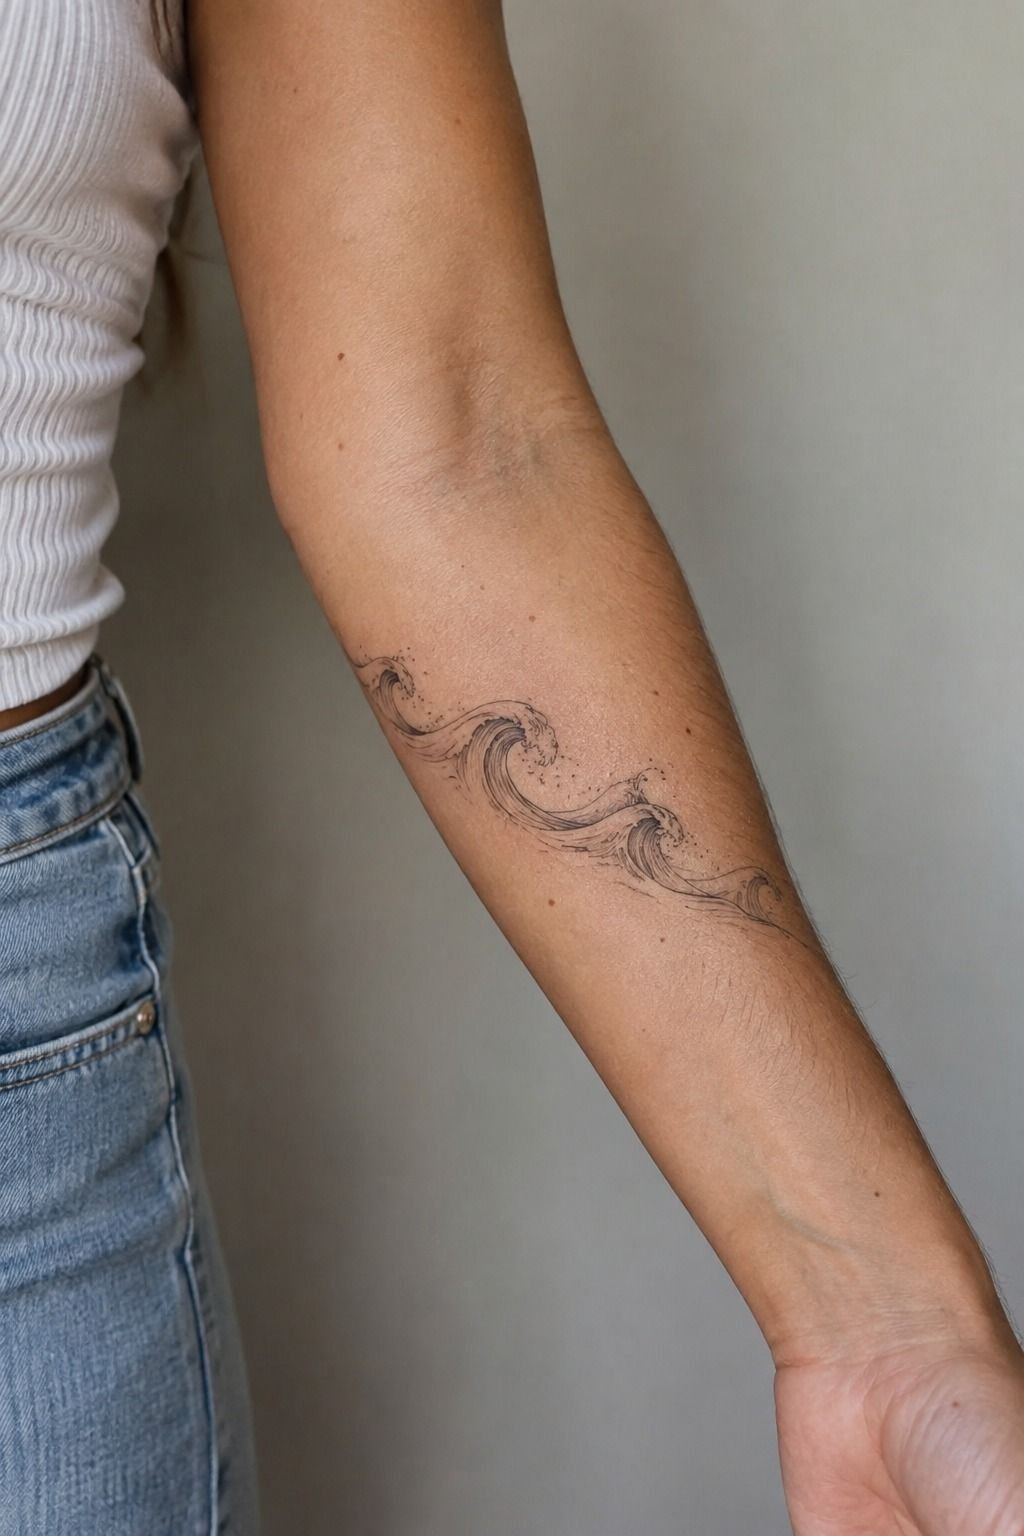
Follow the forearm instead of forcing a flat wave illustration onto it. Begin near the wrist with narrow ripples, widen the main crest through the center, and let the foam break before it reaches the elbow. This creates flowing movement that works with your arm when you turn it.
A healed wave can look polished in natural daylight when the black linework remains open. I’d skip heavy shading across the entire forearm because it can make a delicate wave feel gritty and dense. Use a few fine black wave contours for depth, then keep the negative skin visible.
Your artist may suggest a vertical Sea Tattoo Design rather than a wraparound band. That’s usually the stronger choice for a first wave because you can see how your skin carries the motion. You’ll also have more flexibility if you later add a shell or compass nearby.
Think about visibility before you book. If you want the design hidden at work, ask your artist about the inner forearm and test the placement with a temporary marker. A simple test can reveal whether the crest looks sharp, playful, or awkward when your wrist bends.
4Keep Dainty Shells Crisp
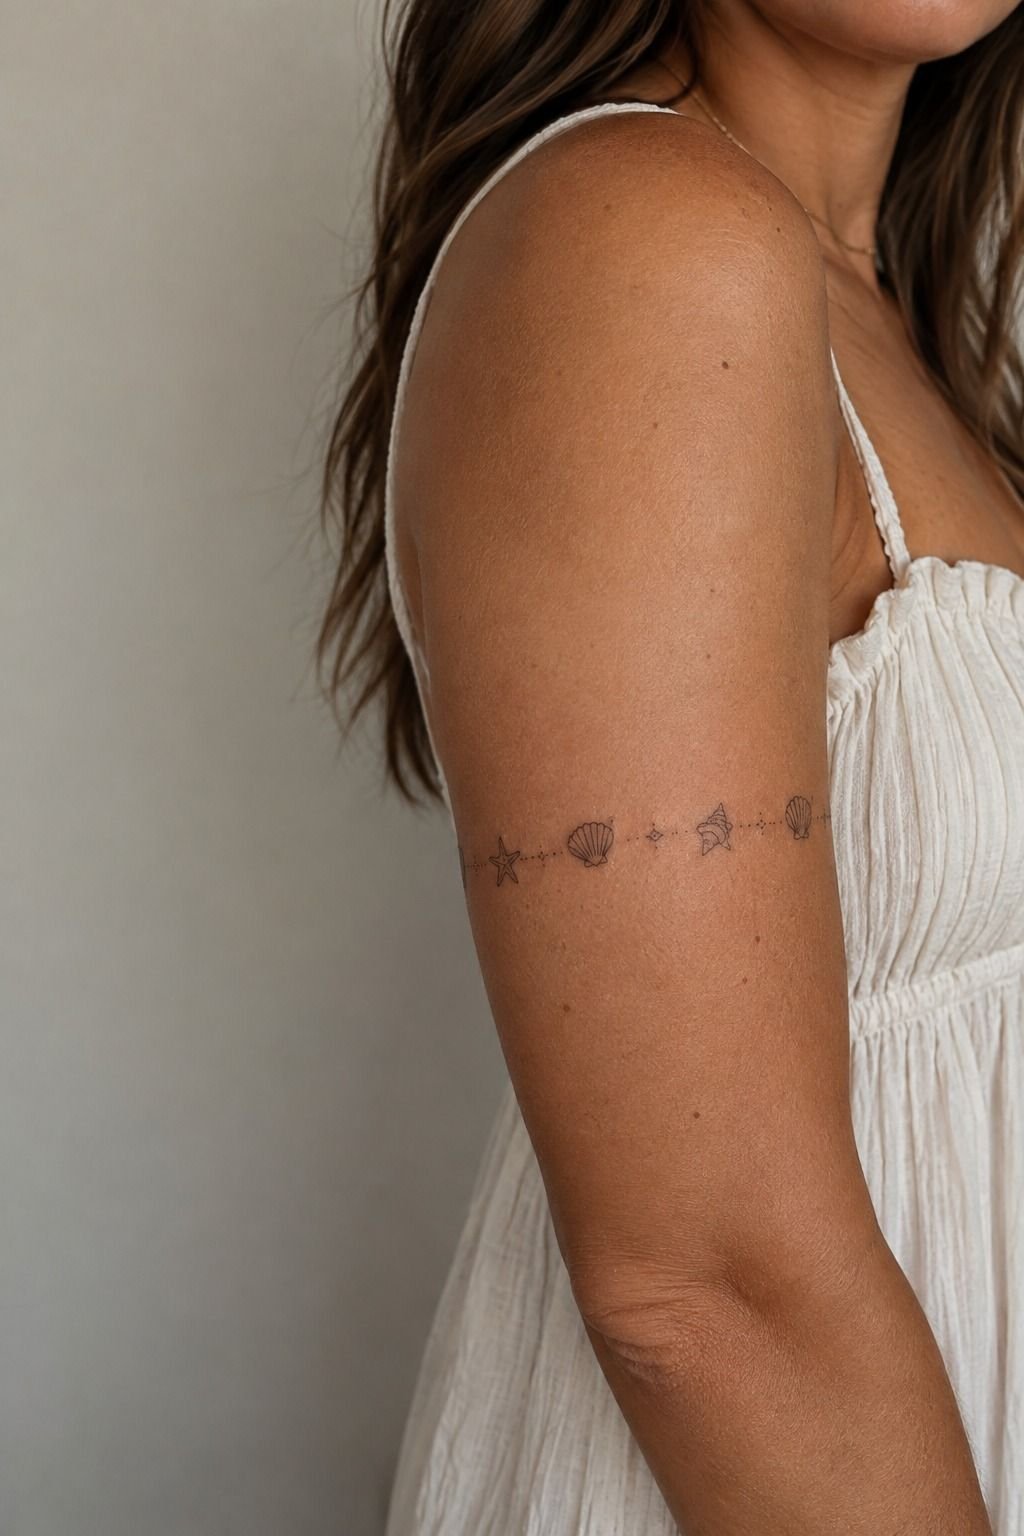
Dainty shells need a little more scale than most people expect. Your artist can preserve the ridges of a scallop shell or conch only when the lines aren’t packed together. Start with one shell shape on the upper arm, then repeat its curve instead of copying every tiny groove.
On golden tan skin, warm black tattoo ink can create a clean contrast while keeping the design soft and personal. You’ll want the outer edge darker than the inner ridges, because that hierarchy helps the shell read after healing. A delicate tattoo still needs a firm visual anchor.
The Negative-Space Shell Method
Ask your artist to leave open skin between the shell and any bubbles, pearls, or sea grass. That gap is part of the design. It keeps the piece crisp when your upper arm moves and stops small marks from turning into one indistinct shape.
I’d choose a graceful shell garland over five unrelated shells because the curve will look intentional from every angle. If you’re considering other dainty tattoos, compare your saved references by line spacing, not just by how romantic the photo looks.
Your aftercare matters here. Wash gently, moisturize as directed, and keep the piece away from direct sun while it settles. Surface healing usually takes about 2 to 3 weeks, but your artist’s instructions should lead.
5Plan a Flowing Sea Sleeve
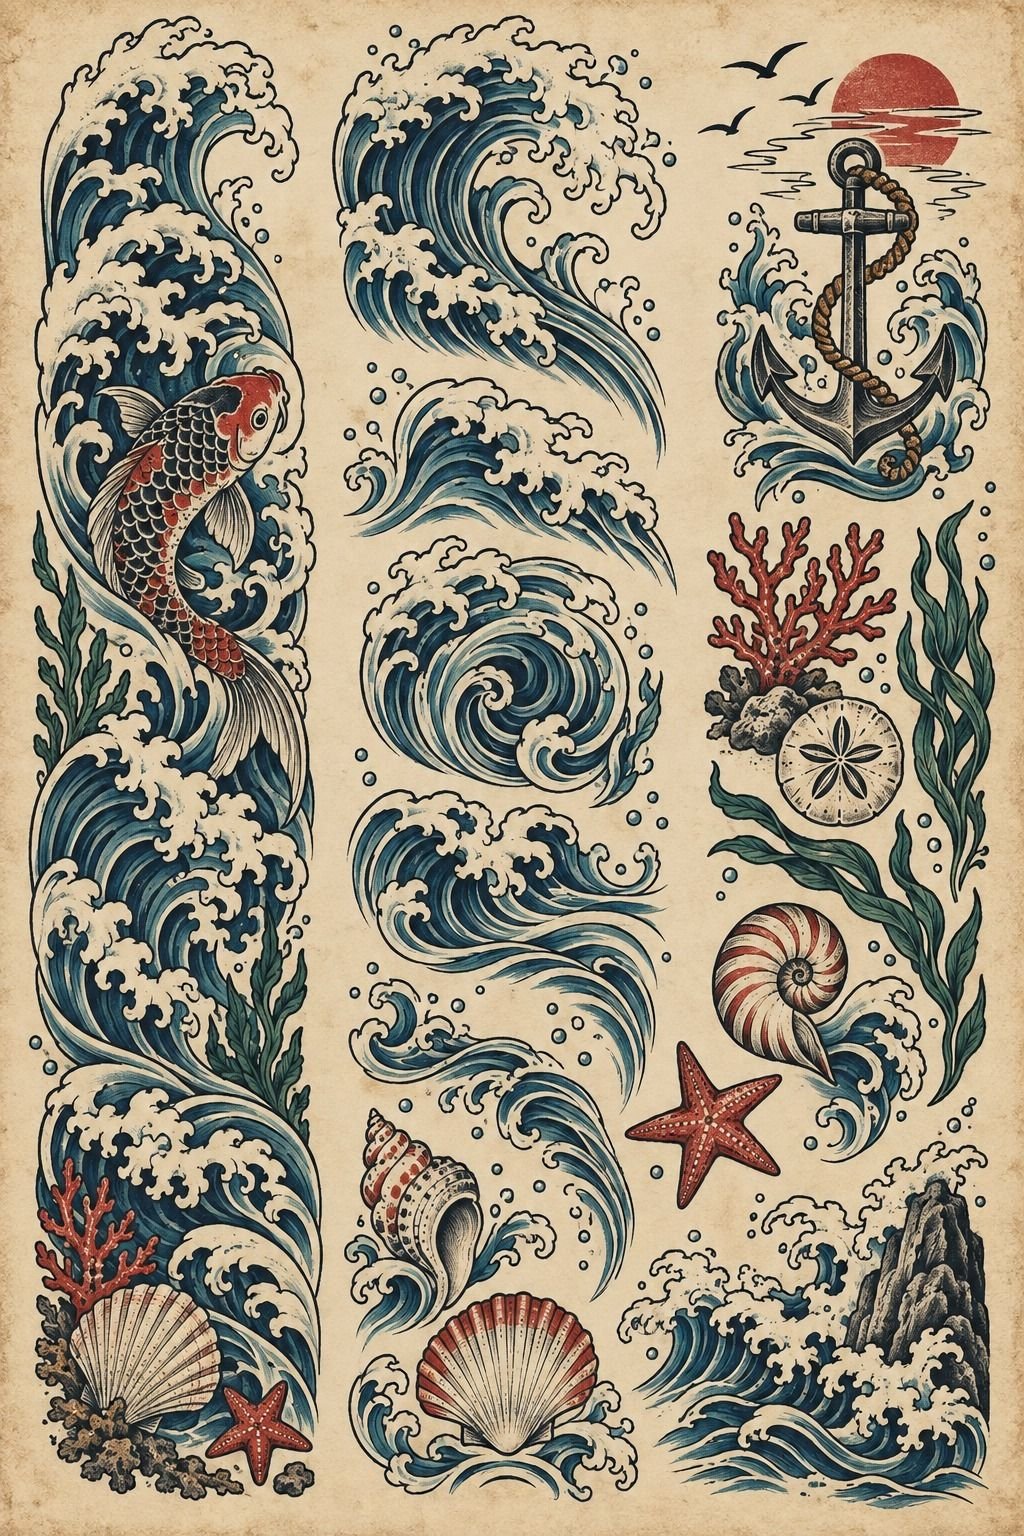
A sea sleeve should be planned as one moving story, even if you’ll complete it over several appointments.
6Choose Symbolic Anchor Details
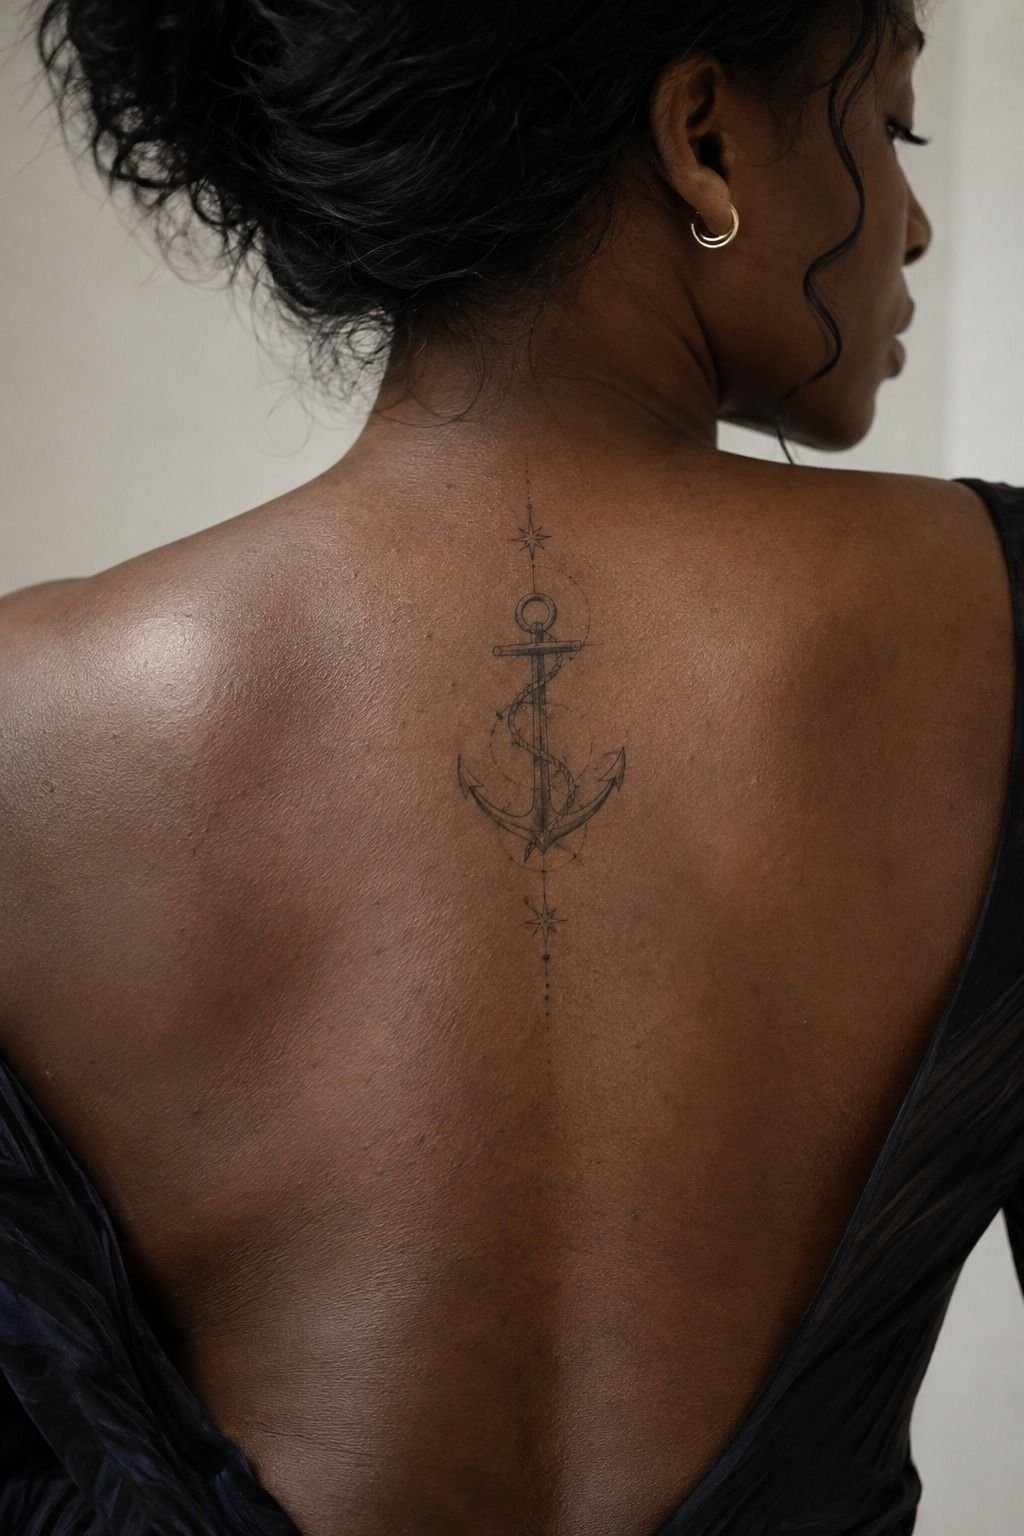
An anchor can mean steadiness, home, survival, or a person who kept you grounded. Decide which meaning matters before you add ropes, dates, stars, or initials. Your design becomes more powerful when every detail has a reason to be there.
On deep ebony skin, a strong shape and clear contrast deserve priority. Ask your artist how solid black anchor shading will work with your undertone and placement. A symbolic tattoo shouldn’t depend on pale highlights to remain legible, especially on the upper back where sunlight can affect healing.
The Anchor Meaning Filter
Write one sentence about the memory behind the piece. If a detail doesn’t support that sentence, leave it out. You’ll get a more personal result from one meaningful rope knot than from ten decorative marks with no connection to your story.
I’d choose an anchor with a slightly imperfect hand-drawn curve over a sterile geometric version. That small irregularity can make the piece feel raw and lived-in. And if your reference includes lettering, ask for a stencil proof before the appointment so spacing doesn’t surprise you.
For a symbolic alternative, look at witchy tattoos for ideas about moons, talismans, and protective imagery. You can borrow the mood without copying the design. Keep your anchor unmistakable, then let the surrounding marks stay quiet.
7Match Fierce Sharks With Sharp Lines
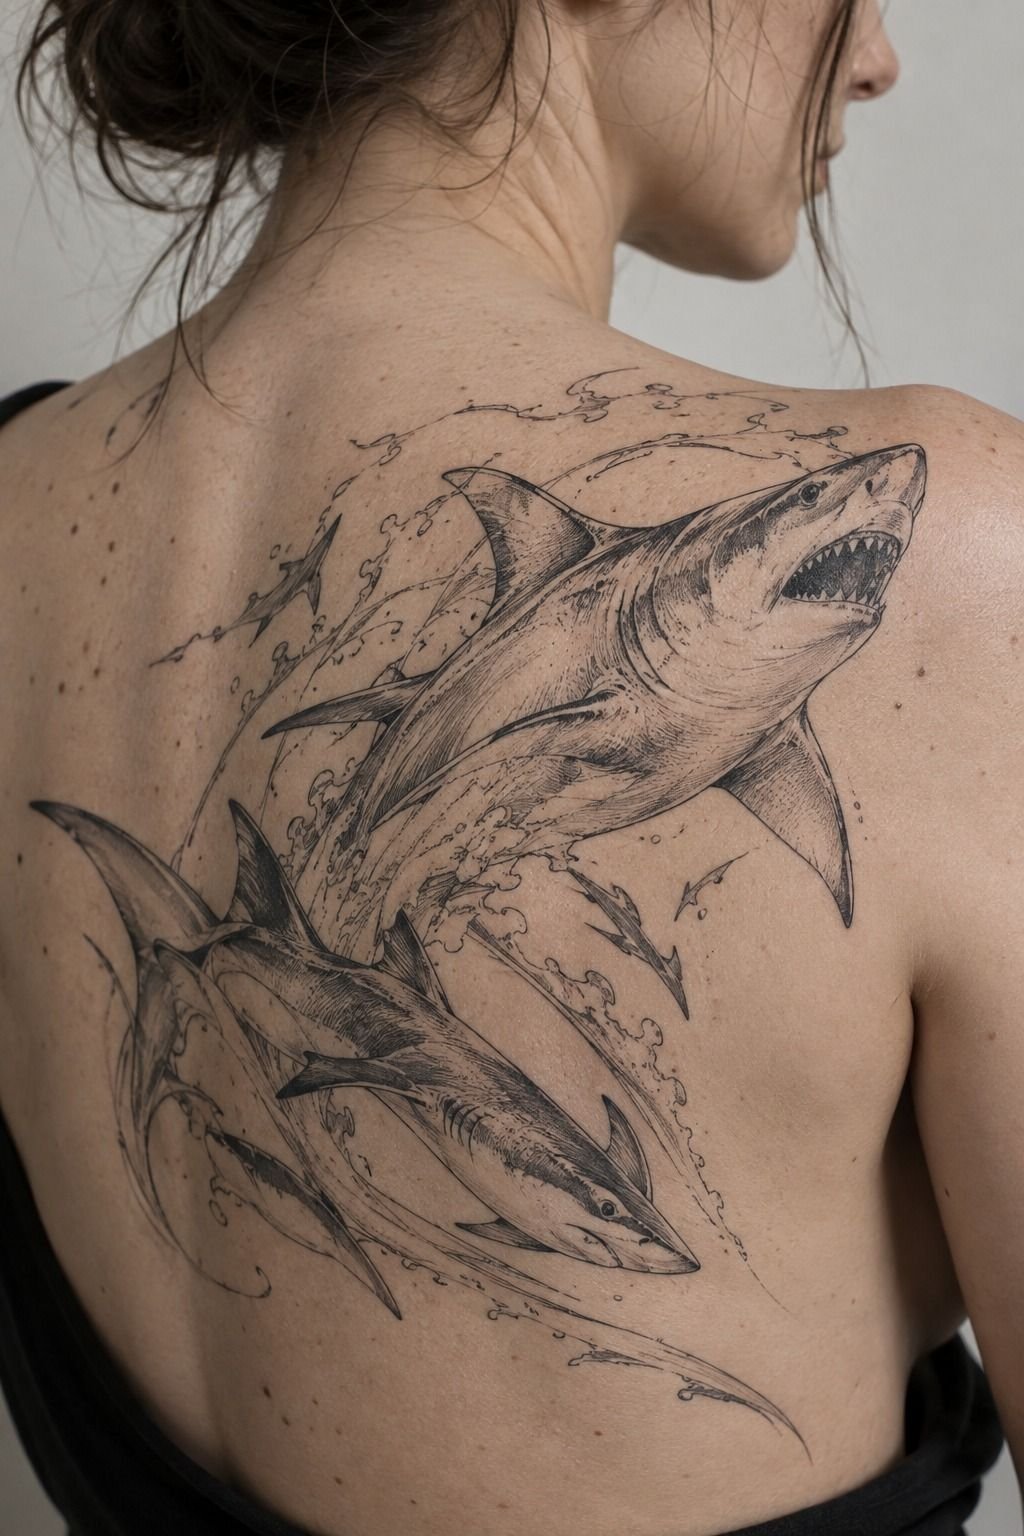
Sharks need direction. Give yours a clear nose-to-tail path, then angle the body slightly so it appears to move rather than float. A sharp silhouette, open mouth, or lifted dorsal fin can make the design feel fierce without requiring heavy realism.
For a macro-style upper-back tattoo, bold black shark linework should carry the expression. Your artist can use thicker lines around the jaw and fins, then reduce weight along the belly. That contrast keeps the image crisp and prevents every contour from competing equally.
I’d skip a photorealistic shark for a fine-line piece unless your artist has healed examples to show you. A polished illustrative shark will usually age more predictably because its important shapes are easier to protect. You’ll also have more space for a few meaningful waves.
What makes a shark feel powerful? Usually, it’s the angle of the body, not the number of teeth.
Let your artist test two or three silhouettes on paper first. And don’t approve a stencil until the creature still reads when the page is held several feet away.
8Balance Delicate Coral and Bubbles
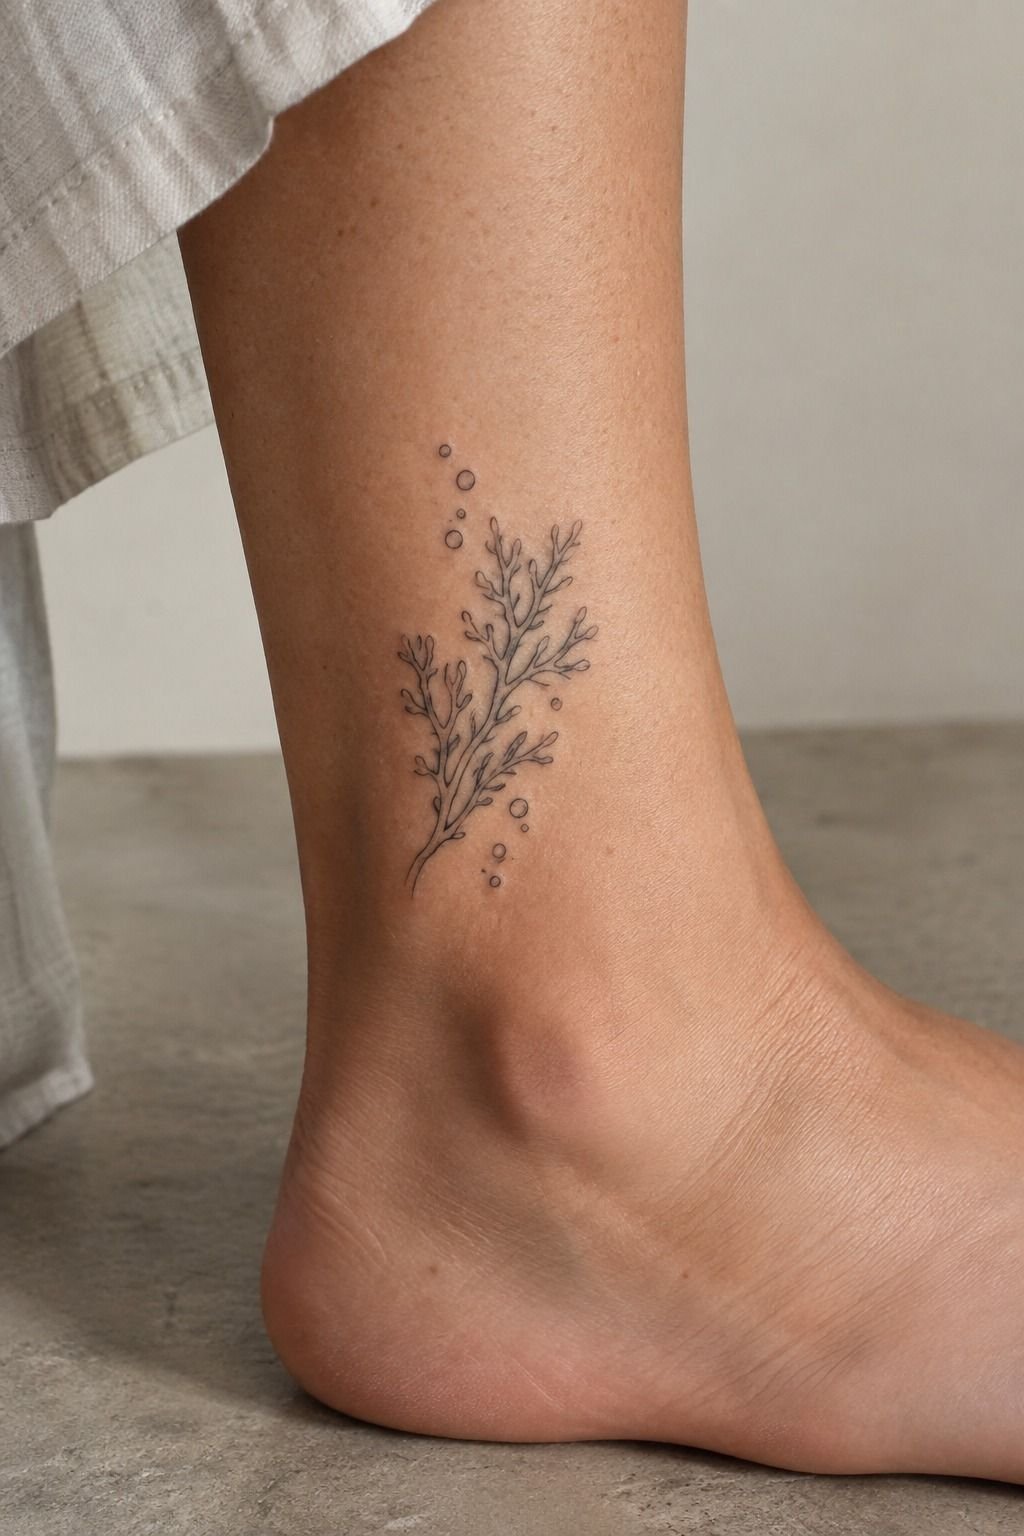
Coral works best as a supporting structure around a main subject. Start with one branching shape near the ankle, then place bubbles where the design needs air. You’ll want the coral to feel organic, but its outer contour should remain readable.
On medium warm ivory skin, fine black coral branches can look elegant when the branches have visible gaps. I’d avoid filling every opening with dotwork because ankle skin moves, rubs against clothing, and sees plenty of sunlight. A delicate piece needs protection from visual clutter.
The Bubble Spacing Rule
Vary the bubble sizes, but don’t make them microscopic. Use larger circles near the coral and smaller ones as they rise toward the calf. Your artist can keep the bubbles crisp by leaving skin between each ring instead of stacking them together.
I made the mistake of treating bubbles like filler. They aren’t filler when they guide the eye. You’ll get a more harmonious ankle tattoo when each bubble leads toward the focal point instead of drifting randomly around it.
If your ankle is especially sensitive, read this guide to where tattoos hurt less and compare the ankle with the calf or outer thigh. A slightly different placement may give you more space and a less painful session.
9Add Meaningful Nautical Elements
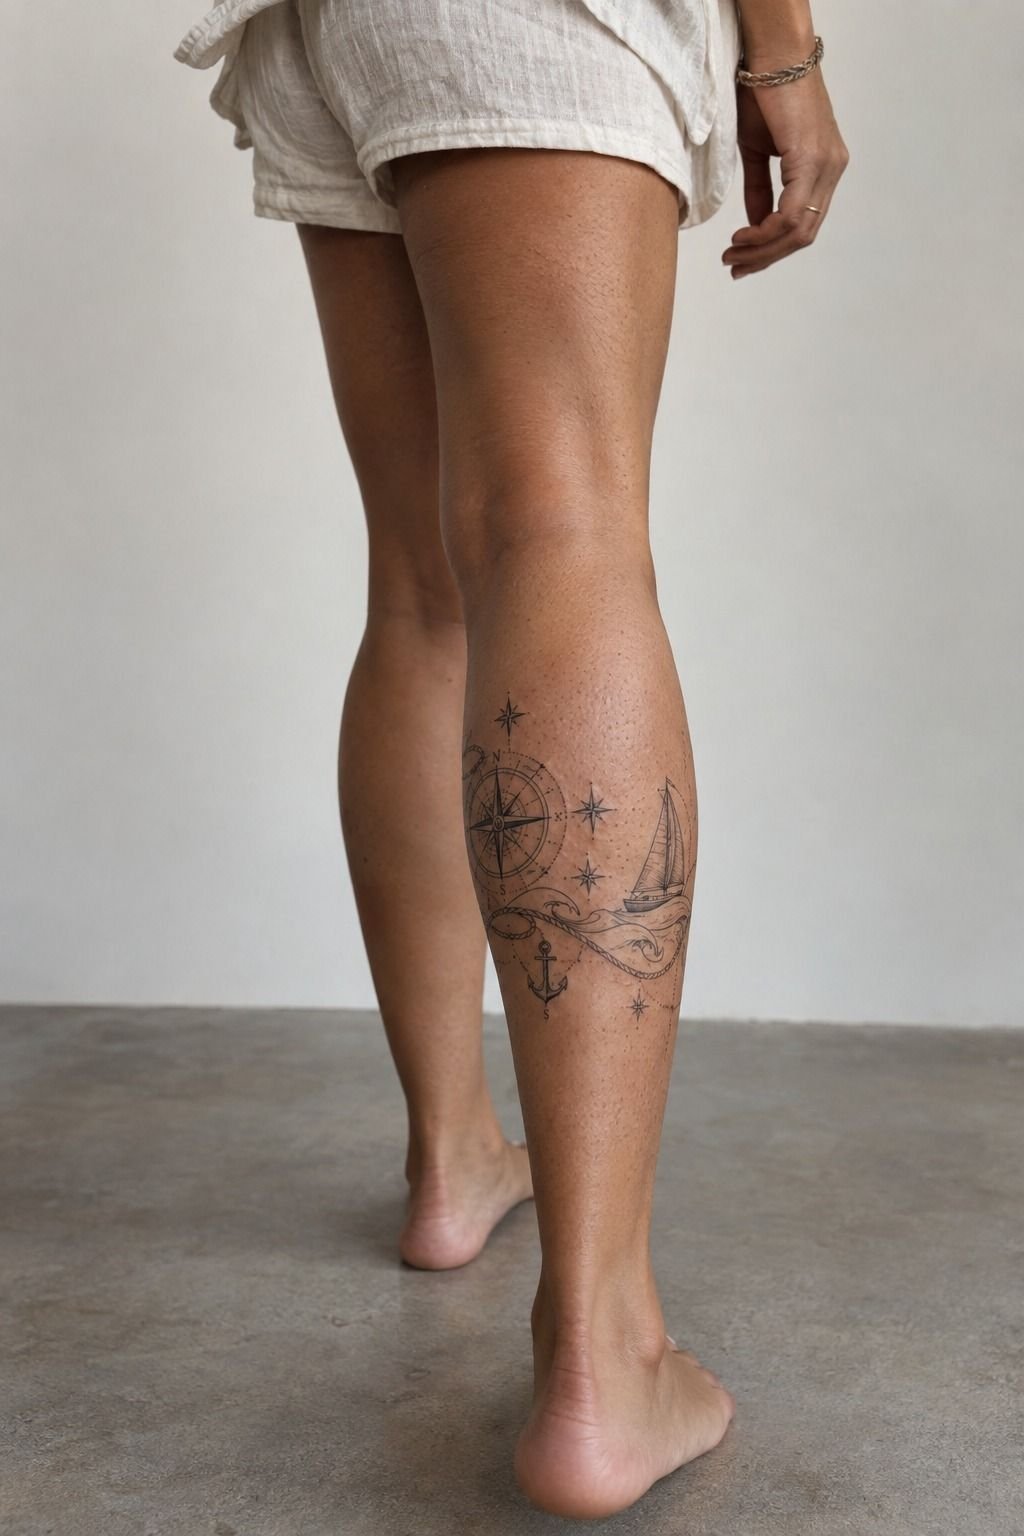
Choose nautical details that support your central idea.
10Map Pain Around Bony Placement
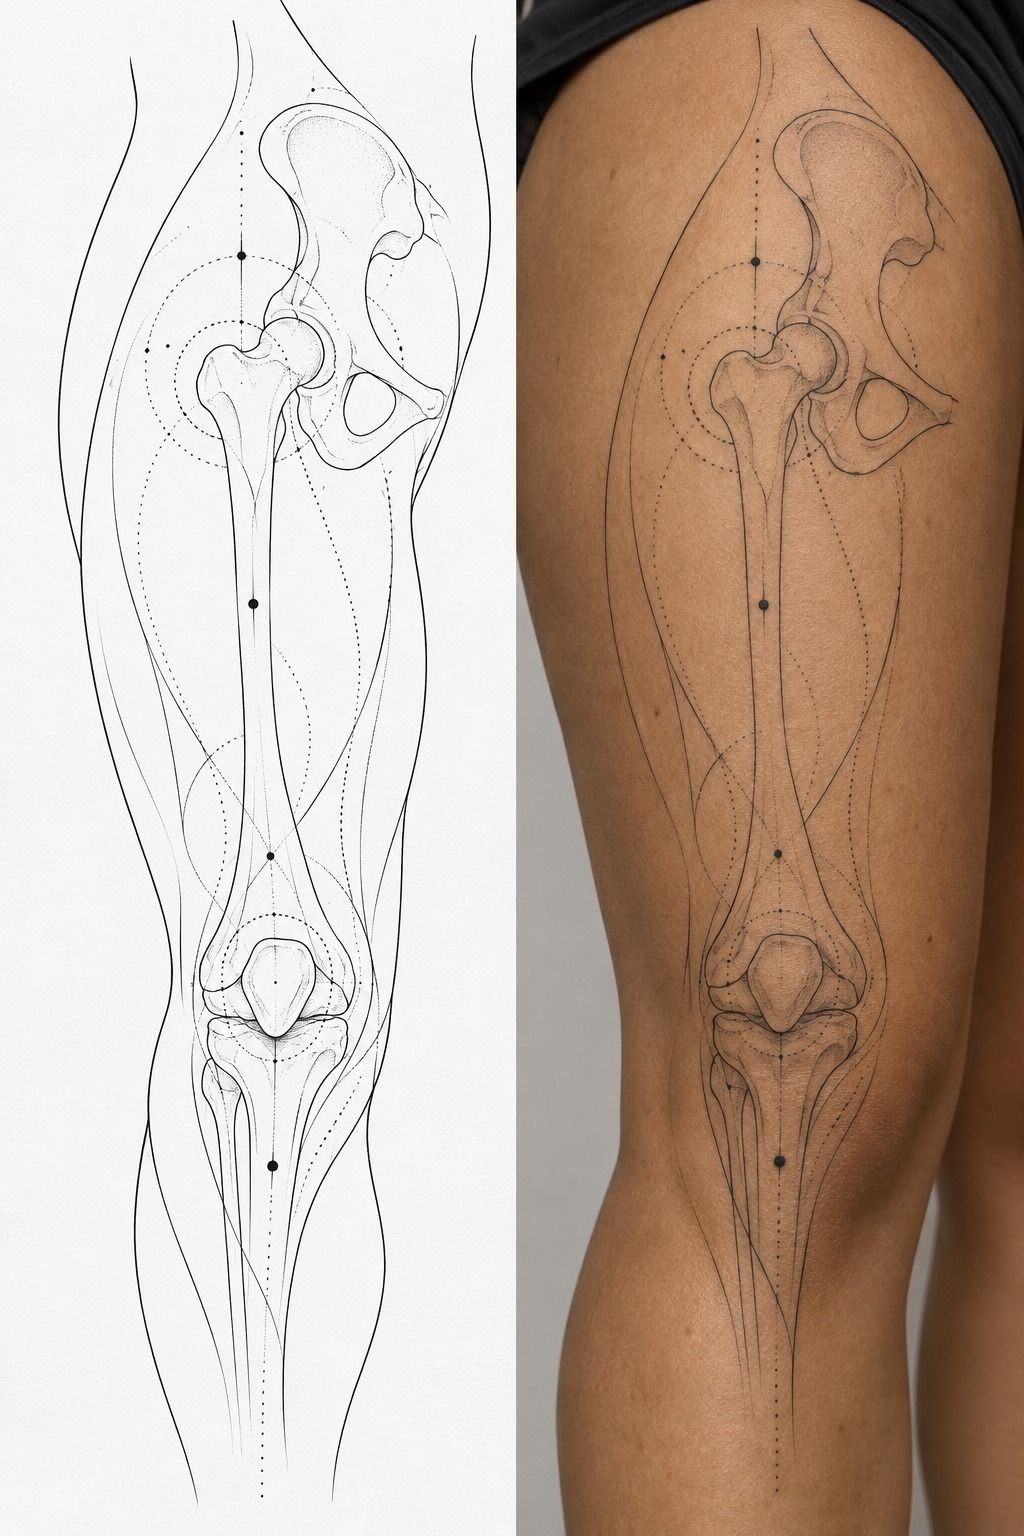
Pain varies by person, but placement still matters. Ribs, feet, hands, and sternum are commonly more painful because the skin is thinner or closer to bone. Forearms, thighs, and shoulders are often more tolerable, so they can be sensible choices for a first session.
Use a stencil to test the body’s movement before you focus on the image. Your artist can shift a Sea Life Tattoos design away from a sharp ankle bone or soften the edge near the knee. That adjustment may protect both your comfort and the line quality.
These are broad U.S. references, not a quote for your appointment. Region, artist experience, size, and detail all change the final price. You’ll want to ask for the shop minimum and hourly policy before booking.
The Bone-Avoidance Map
Mark the bony points on a printed stencil, then show your artist where you’d prefer the line to bend. I’d rather move a shell by half an inch than force it across a ridge where the design may distort. Your comfort is part of the composition.
For a fuller explanation of painful areas, save where tattoos hurt less before your consultation. And remember that a shorter session isn’t automatically easier if the placement makes you tense the whole time.
11Protect Vibrant Ink During Healing
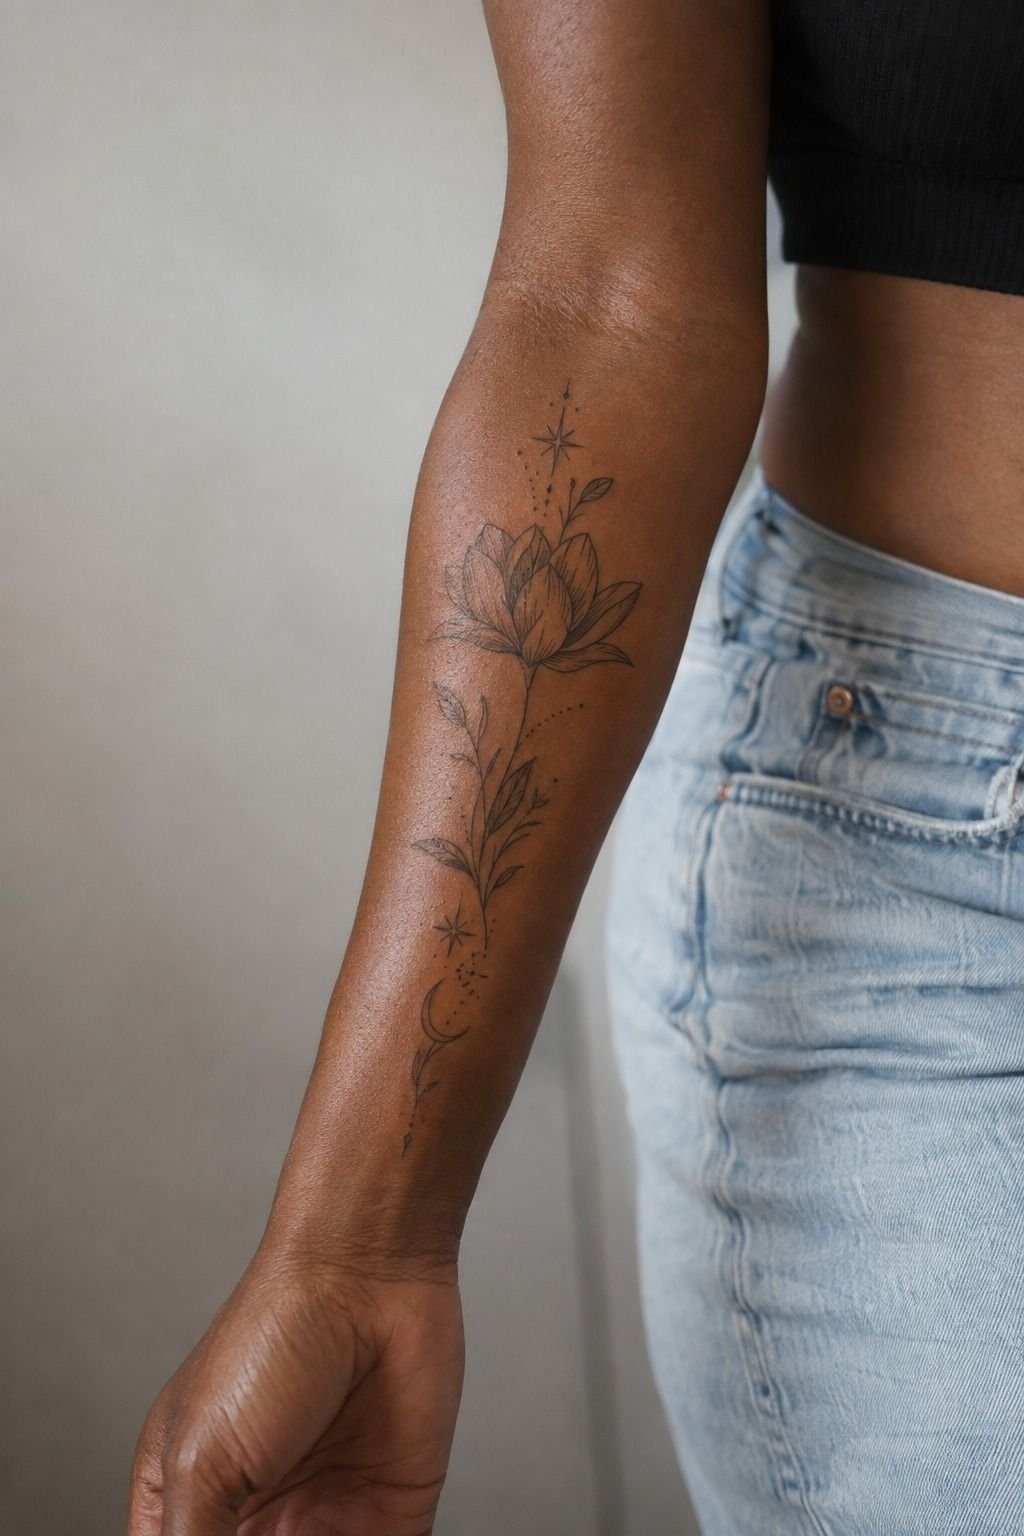
Aftercare begins as soon as your artist covers the finished tattoo. Follow the studio’s instructions, wash gently, moisturize with the recommended product, and avoid swimming or strong sun while the surface heals. Your artist’s method should always outrank random advice online.
On deep brown skin with a warm undertone, black and blue tattoo pigment can create a vibrant, personal finish when the design has enough contrast. You’ll want to discuss how the chosen colors heal on your skin before adding coral, water, or bright accents.
A surface can look settled after 2 to 3 weeks while deeper layers continue healing for about 2 to 3 months. Don’t scratch peeling skin or judge the final crispness too early. I’ve watched people panic during the dull stage, then love the healed result a few weeks later.
UV exposure can widen fine lines and fade color over time. Once healed, protect your tattoo with sunscreen and keep an eye on changes. If you’re planning a larger Under The Sea Tattoo Ideas collection, schedule pieces with enough healing time between sessions.
What I Learned From Planning Sea Themed Tattoos
I used to think the most important part was finding the prettiest reference. It isn’t.
The better question is whether the idea still works after your artist changes the scale, adjusts the curve, and removes details that won’t survive on skin. A striking image can be a poor tattoo if its lines depend on a screen’s sharpness.
My first planning mistake was choosing a tiny subject because it looked dainty in a saved photo. The shell had beautiful ridges, but there wasn’t enough space for those ridges to remain separate. Now I look for the main silhouette first.
If I can’t describe the shape in one sentence, I’m not ready to book.
I also learned to treat placement as part of the story. A wave on the forearm moves differently from a wave on the ankle. A compass on the calf can wrap with the leg, while an anchor on the upper back needs enough room around the shoulder blades.
Your skin isn’t flat paper, and the stencil should prove that.
The strongest Sea Themed Tattoos I’ve seen usually make one clear choice. They might be fierce, minimal, symbolic, or ornate, but they don’t try to be every mood at once. You’ll get a more timeless result when your artist knows what deserves the darkest line and what can disappear into negative space.
And healing deserves as much respect as design. A crisp tattoo depends on the artist’s technique, your skin, your placement, and your aftercare.
If you’re unsure, ask for healed portfolio photos and a written care plan. That small conversation can prevent a very expensive disappointment!
The Questions Worth Answering First
How much does a Sea Themed Tattoos usually cost?
A sea themed tattoo usually costs about $50 to $100 at a shop minimum, while hourly rates often run around $100 to $250 in the U.S. Your final price depends on size, placement, detail, artist, and region. Ask for a quote before your appointment.
Are Sea Themed Tattoos a good idea for a first tattoo?
Yes, sea themed tattoos can be an excellent first tattoo when you choose a tolerable placement and readable scale. Forearms, thighs, and shoulders are often easier areas. A clear design with open spacing can also age more cleanly than crowded micro-detail.
How do I choose a tattoo artist for Sea Themed Tattoos?
Choose an artist whose portfolio shows clean linework, healed results, and sea-related subjects. Check studio hygiene, consultation habits, and consistency across different skin tones. Healed portfolio photos are the strongest proof that the artist understands how fine lines settle.
How much do Sea Themed Tattoos hurt?
Pain depends on your body and the placement. Ribs, feet, hands, and sternum are commonly more painful, while forearms, thighs, and shoulders are often more tolerable. Your placement choice can make the session easier without changing the design’s meaning.
How long does a Sea Themed Tattoos take to heal?
The surface usually heals in about 2 to 3 weeks, while complete healing can take about 2 to 3 months. Wash gently, moisturize as directed, and avoid sun and swimming during early healing. Good aftercare protects crisp lines and color.
What’s the best placement for Sea Themed Tattoos?
Forearms, shoulders, thighs, and calves offer useful space for readable ocean imagery. An ankle can work for a smaller design, but it may face more friction and movement. Choose placement based on visibility, pain, movement, and future expansion.
Where I’d Start First
If I had to pick one step, I’d start with the main ocean creature. A clear silhouette gives every wave, shell, and bubble a job, so your artist can remove clutter without weakening the meaning. Save that reference, test the stencil, and build outward from the shape you’ll still recognize years later.