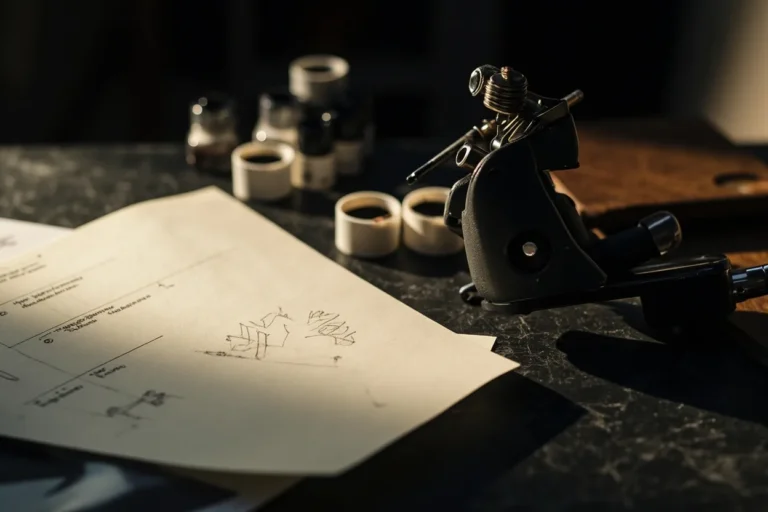
Drawing a tattoo isn’t like sketching on paper. Skin stretches, bleeds, and moves. I’ve spent fifteen years learning how to translate a flat design onto a living, sweating, sometimes nervous human being. The drawing phase, what we call the design or flash process, is where a tattoo lives or dies before the needle ever touches skin. Here’s how it actually works, from the first pencil stroke to the final wipe.
Start With the Right Reference and Intent
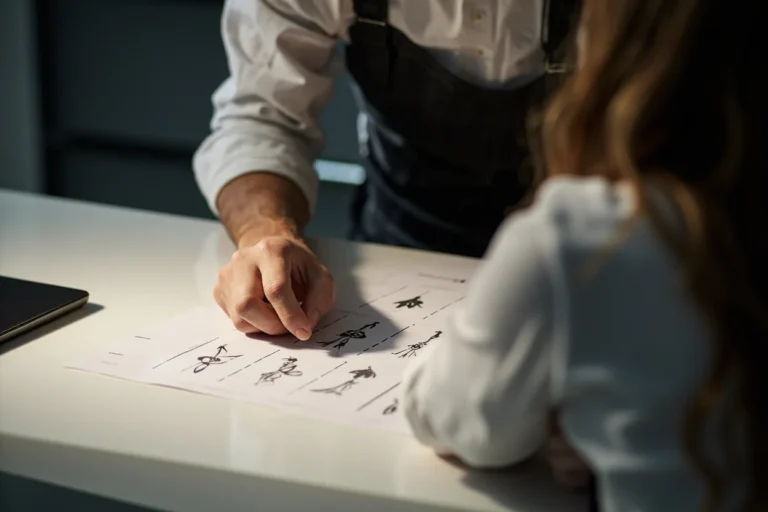
Every tattoo I draw starts with a conversation. Not a Pinterest board dump, an actual talk. I need to know where this thing’s going, how big, how long you can sit, and what the image means to you. That context shapes everything.
Gathering Visual Material
I tell clients to bring reference, not blueprints. A photo of your grandmother’s face, a painting you love, a snapshot of light hitting water at 6am, those are starting points. I don’t copy them. I interpret them into something that works as a tattoo. The best reference has strong contrast, clear shapes, and isn’t already a tattoo (copying another artist’s work is shop culture poison; nobody respects it).
Understanding the Body as Canvas
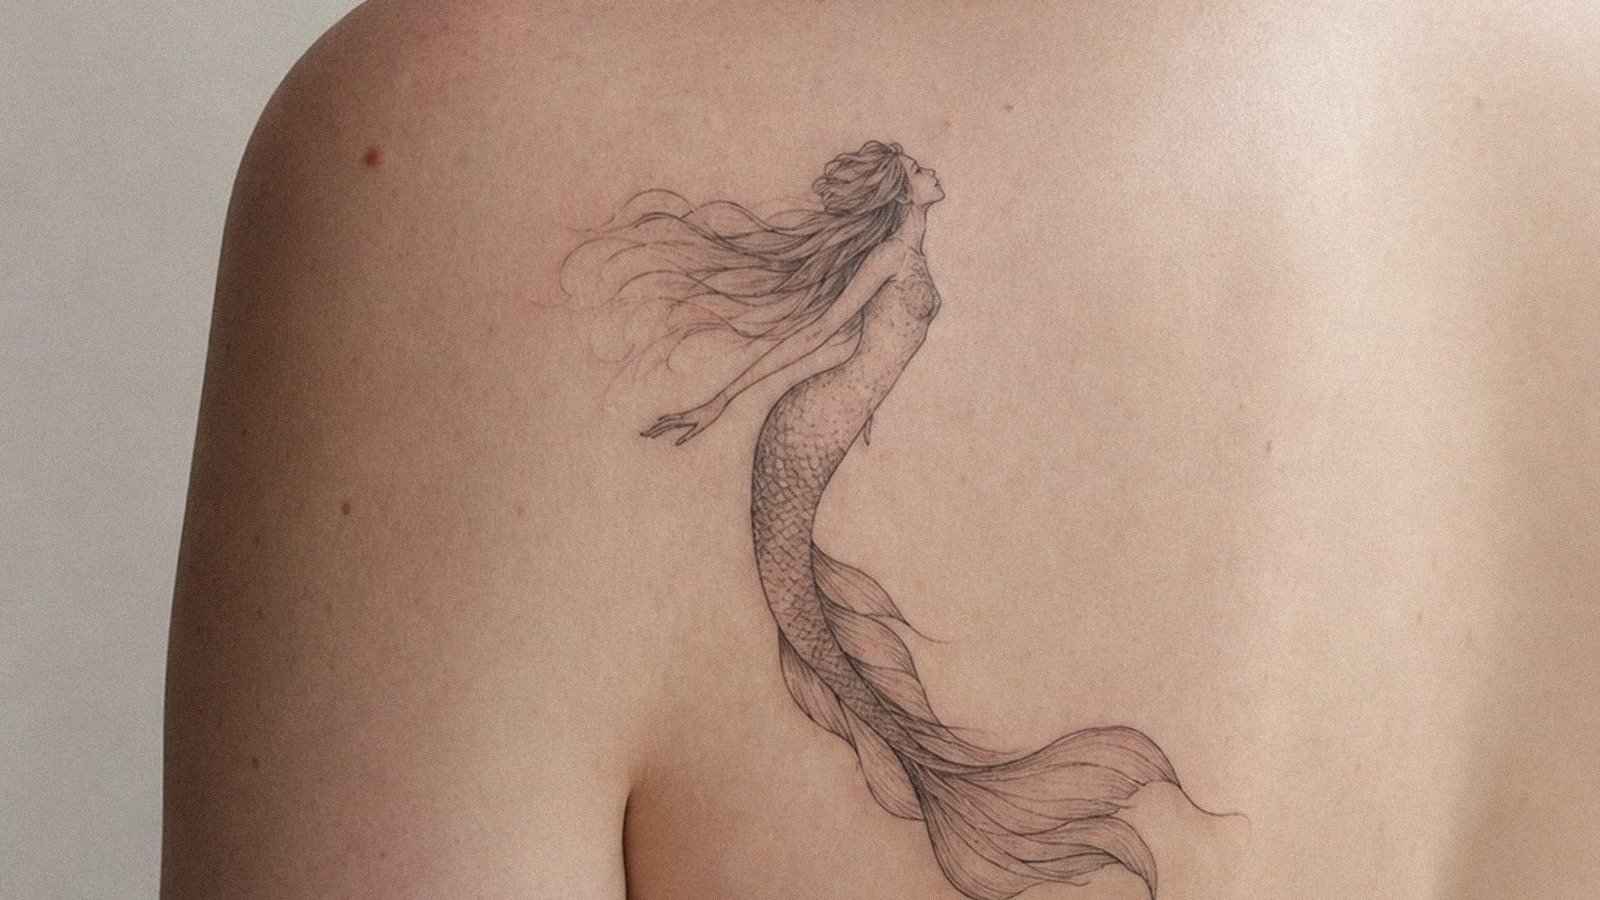
A drawing for a forearm outer bicep needs to curve differently than one for a flat inner wrist. I’ve redrawn the same rose three times because the first two versions didn’t account for how the muscle rolls when the client flexes. You have to draw for the specific body, not a generic silhouette. I trace the area with transfer paper, study the contours, and sometimes have the client stand, sit, or twist so I see how the skin moves.
Design for How Tattoos Age
This is where a lot of beautiful drawings die. I’ve seen stunning Instagram designs that’ll be a blurry mess in five years. Skin is not paper. Ink spreads slightly over time. Lines thicken. Colors soften and shift.
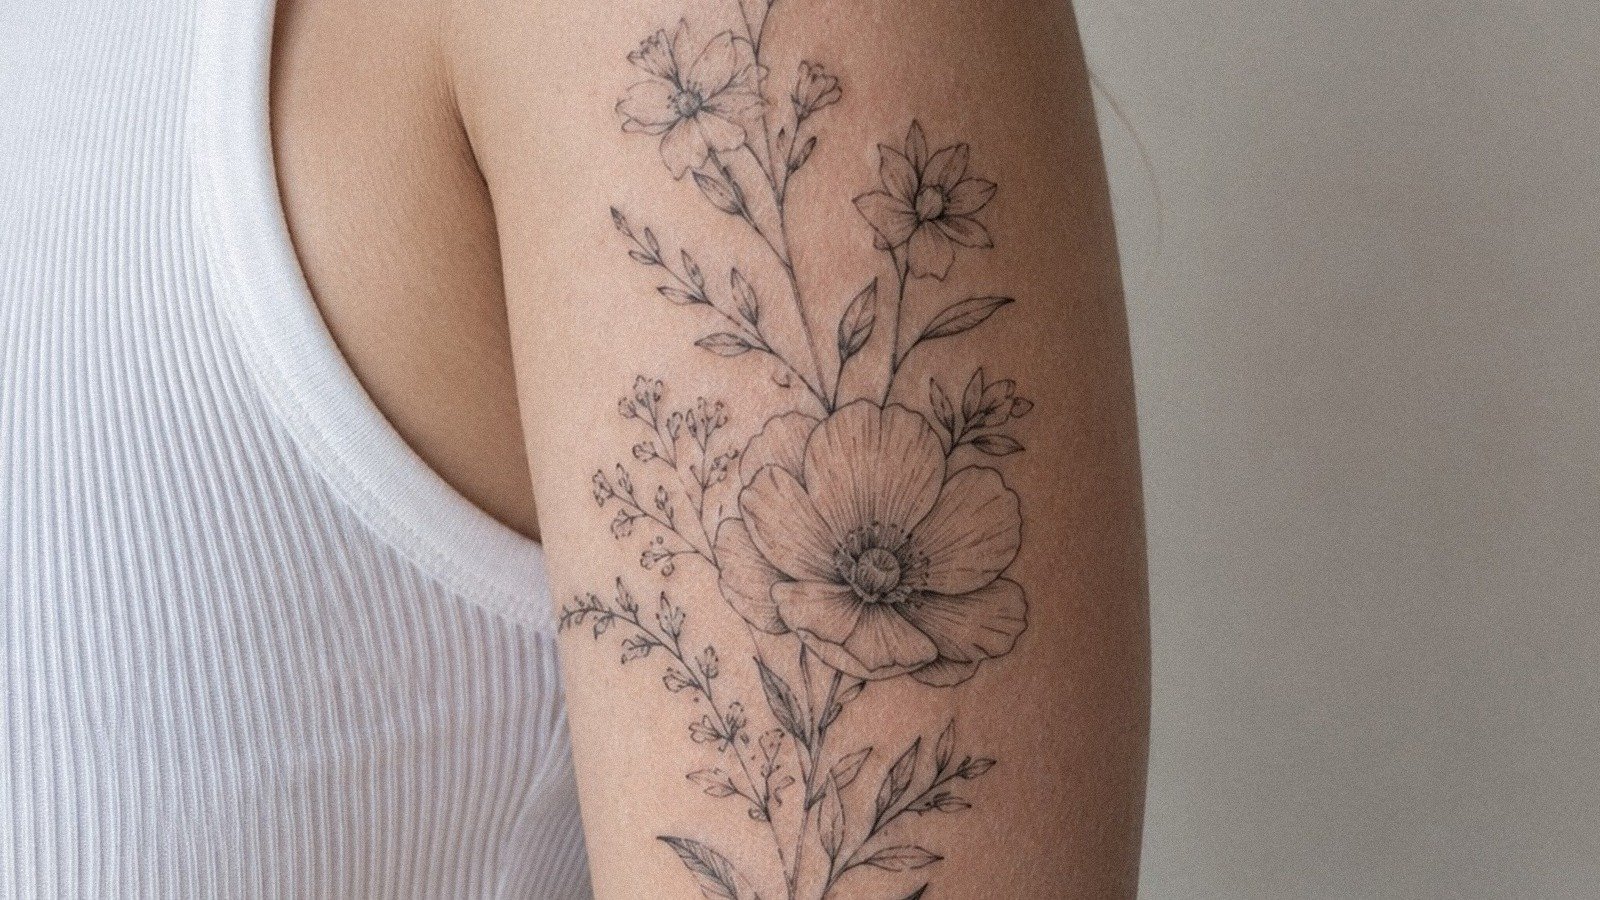
- Line weight matters. Hair-thin details disappear. I keep minimum line weight at about 1-2mm for anything meant to last.
- Contrast saves readability. Soft grey washes look gorgeous fresh but can fade to nothing. I build in darker anchors so the design holds.
- Spacing is survival. Packed tiny elements blur together. I leave breathing room between components.
- Color choices shift. Bright reds and oranges hold better than pastels. Blues and purples can go muddy. I warn clients about this.
I have a ten-year-old tattoo on my own forearm that I drew too fine. The details I loved most are now soft suggestions. It taught me more than any seminar.
The Drawing Process: From Pencil to Stencil
My actual drawing workflow hasn’t changed much since I apprenticed. Pencil on paper, then ink or digital refinement, then stencil.
Hand Drawing vs. Digital
I still start most pieces with pencil on Bristol board or tracing paper. The physical act helps me feel the flow. For color work or complex compositions, I move to Procreate on iPad, layering, adjusting, sending proofs to clients faster. But the iPad doesn’t replace understanding. I’ve watched younger artists lean on digital smoothing and produce designs that look clean on screen but make no sense wrapped around a shoulder.
The key transition is: can I draw this with a single needle if I had to? Digital tools can hide weaknesses. Hand drawing exposes them.
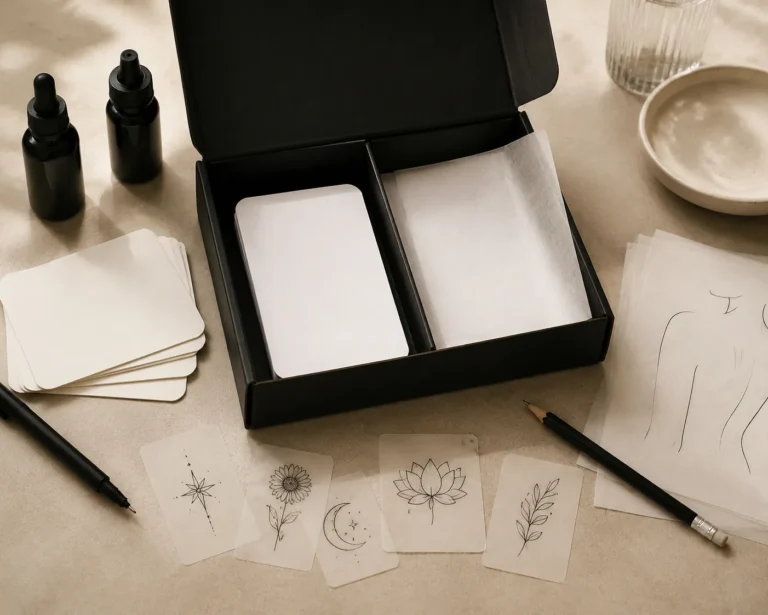
Creating the Stencil
Once the design’s approved, I print or draw the stencil. This is the blueprint transferred to your skin. I use a thermal fax machine or hand-draw with hectograph paper. The stencil needs to be crisp, blurry lines mean guessing during the tattoo. I position it, check it from every angle, wipe it, reposition it sometimes three times. Rushing the stencil is how you get crooked tattoos. We see this a lot with walk-ins at conventions; artists under pressure skip steps.
Understanding What Happens Under the Skin
Drawing a tattoo means drawing for a specific medium: human dermis. The needle deposits ink between the epidermis and dermis, roughly 1.5-2mm deep. Too shallow, it flakes out with healing. Too deep, it blows out (spreads under the skin like watercolor on wet paper).
When I draw, I’m mentally translating for the machine. A line on paper is one motion. A line on skin is dozens of tiny punctures. Shading on paper is gradient. Shading on skin is whip-shading, pendulum motions, or stippling, techniques that require different needle groupings. My drawing has to account for what needles can actually do.
- Linework: Round liner needles (3RL, 5RL, 7RL) for outlines. I draw with confident, continuous strokes in mind.
- Soft shading: Magnum shaders for smooth gradients. My drawings indicate direction of light so I know which way to work.
- Color packing: Saturated areas need solid fill. I design with enough space for the needle to move without overworking the skin.
Overworked skin is real. I’ve had to stop sessions because the area got too chewed up to continue. Good drawing prevents that by being efficient.
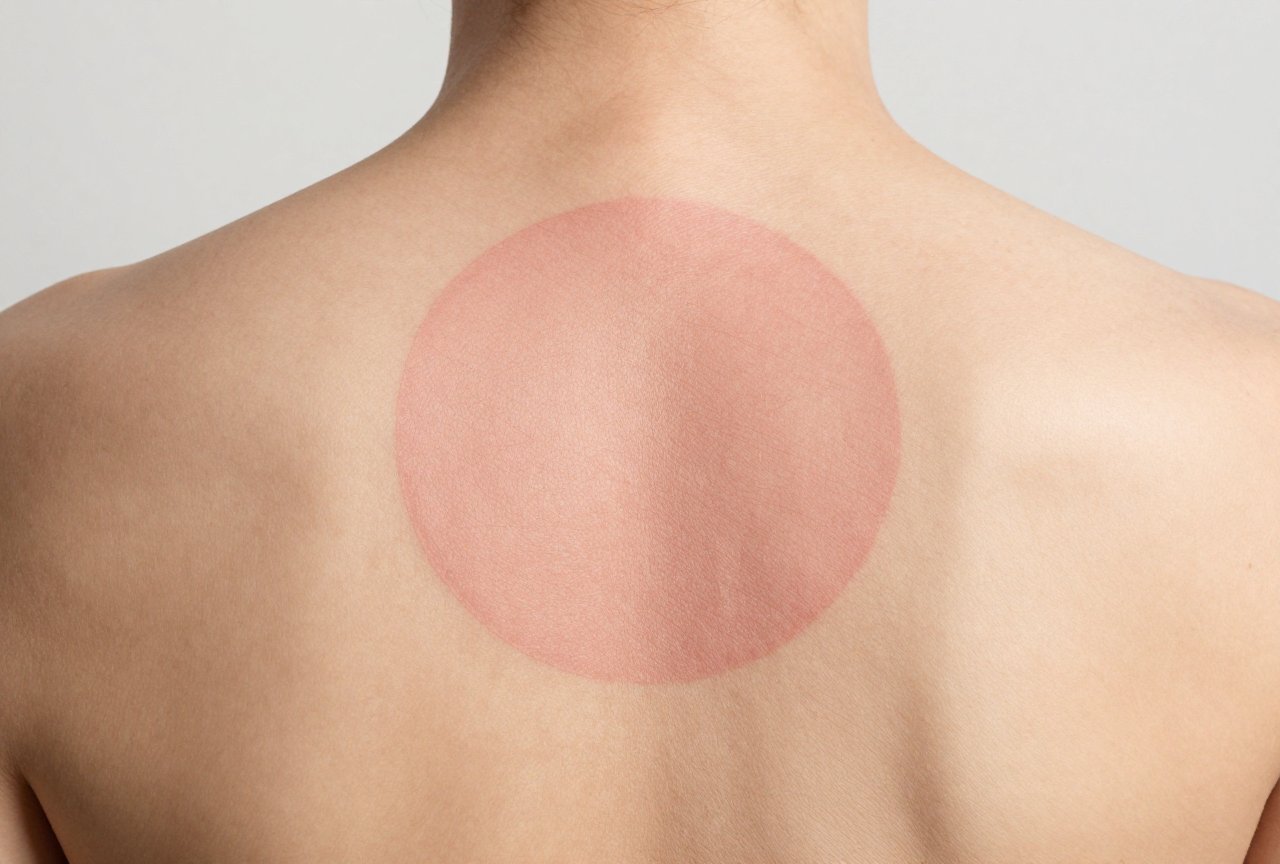
Pain, Placement, and Practical Reality
I don’t sugarcoat this. Some spots hurt more, and that affects how I draw. A massive detailed backpiece is different from a quick hand-poked finger tattoo.
Ribcage, feet, ribs, inner bicep near the armpit, those make clients move. I design simpler, bolder work for high-pain areas because fine detail becomes impossible when someone’s flinching. Outer arm, thigh, calf, more forgiving, room for complexity.
Sitting time matters too. A drawing that takes six hours to tattoo might need two sessions. I design with break points: natural stopping places that won’t look half-finished. Clients appreciate this. Nobody wants to walk around with an obvious incomplete piece.
Aftercare Starts in the Drawing
Weird but true: how I draw affects how the tattoo heals. Heavy saturation in one area means more trauma, more plasma, more scabbing. I distribute intensity so no single spot gets obliterated. I avoid tiny isolated details that will crust and potentially fall out.
I always give the same aftercare guidance: wash gently with unscented soap, pat dry, thin layer of recommended ointment, then switch to unscented lotion after a few days. No soaking, no sun, no picking. But the best aftercare is a tattoo drawn to heal well from the start.
What Drawing Your Own Tattoo Actually Means
Clients sometimes bring drawings they made themselves. I love the intention. But I almost always need to adapt them. Your sketch of a wolf might have emotional weight, but if the eyes are too small or the fur detail too fine, I’ll redraw it. I explain why. Most people get it. Some don’t, and that’s okay, maybe I’m not the right artist for them.
The best client-drawn pieces I’ve tattooed were simple, bold, and left room for my interpretation. A rough concept of a mountain range with specific peaks. A phrase in their handwriting that I cleaned up for needle readability. Collaboration, not dictation.
Key Takeaways
Drawing a tattoo is about translation, not transcription. You’re designing for a living, aging, three-dimensional surface using tools that puncture rather than glide. Start with strong reference and clear intent. Design for longevity, bold lines, readable contrast, smart spacing. Respect the body part and the person’s pain tolerance. Build your stencil with patience. And remember that the best tattoo drawings leave room for the artist’s hand, the client’s skin, and the unpredictable beauty of both.
I’ve tattooed thousands of designs I drew, hundreds I adapted, and a few I wished I’d drawn differently. Every one taught me something. The drawing is where you earn the right to put that needle in.
Frequently Asked Questions
Do I need to know how to draw to become a tattoo artist?
You need to develop drawing skills, but many successful artists started with limited training. What matters more is learning to draw specifically for tattoos, understanding line weight, contrast, and how designs translate to skin. Most apprentices spend years copying flash and redrawing their own designs before touching clients.
Can I use my own drawing exactly as-is for a tattoo?
Usually not without modification. Your drawing might have details too fine for skin, proportions that won’t work on a curved body part, or shading that won’t read well after healing. A good artist will collaborate with you to preserve what matters while making it tattooable.
How long does it take to draw a custom tattoo design?
Simple designs might take an hour or two. Complex custom work can take days or weeks, especially with back-and-forth client revisions. I typically spend 2-4 hours on a medium-complexity piece before I even touch stencil paper. Rush jobs rarely end well.
Why do some tattoo drawings look different after healing?
Skin isn’t paper. Ink spreads slightly in the dermis, colors soften, and the top layer of skin sheds, taking some surface ink with it. That’s why experienced artists draw with “healed” in mind, slightly bolder lines, stronger contrast, and spacing that accounts for this natural process.