Preparing for a tattoo means getting your body ready, your design finalized, and your expectations grounded in reality. Sleep well, eat a solid meal, avoid alcohol for 24 hours, and show up with clean skin and comfortable clothes. The rest, pain management, healing, and aftercare, follows from that foundation.
Tips From the Chair
Physical Prep That Actually Matters
Your skin is the canvas, and its condition changes how ink sits and heals. Moisturize daily for a week leading up, but stop the night before, slippery skin is hard to stencil. Shave the area yourself if you’re hairy, but don’t go fresh-razor crazy; nicks and irritation swell under the needle. A light exfoliation two days prior helps, but skip harsh scrubs that leave you raw.
Hydration matters more than most people think. Well-hydrated skin takes ink more evenly and heals with less scabbing. Drink water the day before, not just a bottle chugged in the waiting room.
- Eat a substantial meal 1-2 hours before, protein and complex carbs, not just coffee
- Bring a sugary snack and water; long sessions drop blood sugar hard
- Wear clothes that expose the area without requiring you to strip or contort
- Bring headphones and a downloaded playlist; shop WiFi is unreliable
- Do not take aspirin or drink alcohol beforehand; both thin blood and increase bleeding
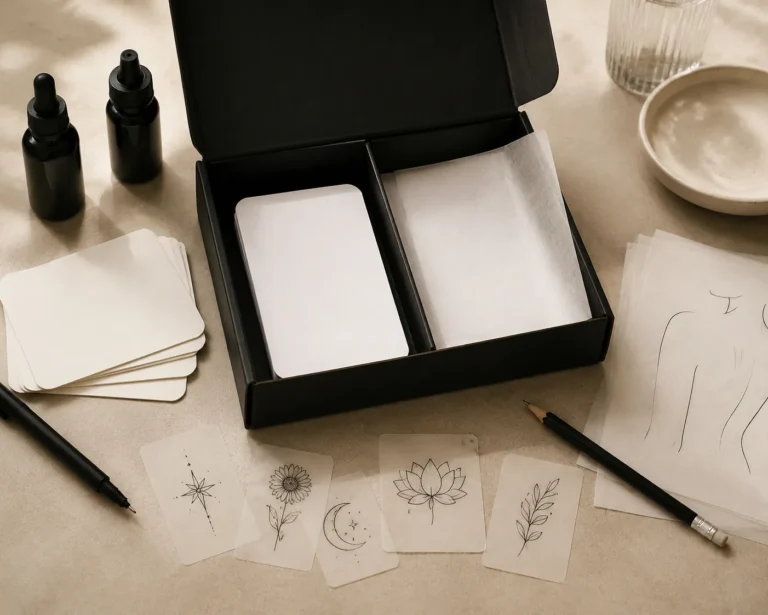
Mental Prep and Design Finality
Last-minute design changes in the chair burn time and goodwill. Settle your placement and size at the consultation, not when the stencil paper comes out. Bring reference images, but trust your artist’s redraw, direct copies of photos or other tattoos age poorly and carry ethical baggage.
Consider placement practicality, not just aesthetics. Inner bicep looks great in the mirror but hurts more and heals awkwardly against your torso. Foot tattoos blur faster from shoe friction. Finger tattoos fade fast; most reputable artists will warn you about this honestly.
Aftercare Essentials
The First 48 Hours
Your artist will bandage the tattoo, leave that initial covering on for the time they specify, typically 2-6 hours. Wash gently with unscented soap and lukewarm water, pat dry with paper towel, then apply a thin layer of recommended aftercare. Thick globs of ointment suffocate the skin; think sheer moisturizer, not Vaseline blanket.
Some shops now use second-skin dressings like Saniderm or Tegaderm. These stay on 3-5 days, letting you shower normally while protecting from bacteria. Not all skin reacts well; if you see irritation, remove it and switch to traditional aftercare.
What to Avoid
- No soaking, baths, hot tubs, swimming, for at least two weeks
- No direct sun; UV fades fresh ink and damages healing skin
- No picking at scabs or peeling skin; let flakes fall naturally
- No gym for 48 hours if the tattoo will contact shared equipment or sweat pools heavily
- No tight clothing rubbing the fresh tattoo
Laundry detergent residue on sheets can irritate, so fresh bedding the night before helps. Sleep position matters too, if you got your back done, plan to side-sleep for a week.
The Direct Answer
Here’s the stripped-down preparation checklist that works in any reputable shop:
- Research artists thoroughly; portfolio matching your style beats shop proximity
- Book a consultation for anything beyond simple flash
- Deposit paid, design approved, placement confirmed
- 24 hours prior: no alcohol, no blood thinners, good sleep
- Day of: solid meal, hydrated, clean skin, loose clothes, snacks packed
- Post-session: follow aftercare exactly, don’t improvise
Preparation isn’t complicated, but skipping steps costs you in pain, healing time, and final result quality.
What to Expect Step by Step
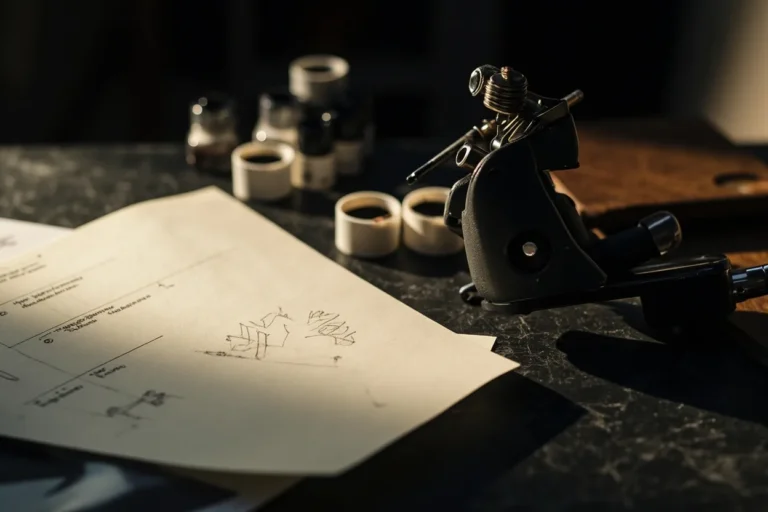
During the Session
The stencil goes on first; you’ll approve placement before any needle touches skin. Outline work feels sharp and scratchy, like hot rubber bands snapping. Shading and color packing vibrate deeper, more of a dull burn. Both sensations fluctuate, some areas go numb briefly, others spike when the needle hits nerve clusters.
Blood and plasma weep constantly; your artist wipes it away. This is normal. Deep breathing helps more than clenching. Long sessions (3+ hours) often include a short break, use it to eat, not just smoke.
Pain by Placement
Fleshier areas with muscle padding (outer arm, thigh, calf) hurt least. Bony areas with thin skin (ribs, sternum, ankle, spine, foot) hurt most. Inner arm, back of knee, and armpit-adjacent skin are special hell for most people. Everyone’s nerve map differs slightly, but these patterns hold broadly true.
Endorphins kick in after 20-30 minutes, dulling initial shock. They fade, and fatigue amplifies perception. A 6-hour session hurts more in hour 5 than hour 1 even with identical needle work.
Cost Factors
Pricing Structures
Most shops run hourly rates ($150-$400+ depending on city and artist reputation) or flat day rates for large pieces. Small tattoos may have shop minimums ($80-$150) regardless of simplicity. Custom design time, drawing, and revisions may add cost or be included, ask upfront.
Color work typically takes longer than black and grey, so costs more. Fine line and single-needle work looks delicate but demands precision that experienced artists charge premium rates for. Cover-ups and rework cost more than virgin skin because they require additional sessions and technical problem-solving.
What You’re Actually Paying For
- Years of technical skill development
- Single-use sterile supplies and proper equipment maintenance
- Original design work and revision time
- Shop overhead: licensing, insurance, autoclave validation, health inspections
Bargain hunting for permanent body modification is poor math. A cheap tattoo costs more to fix than a quality one costs to get right.
Healing Timeline
Week by Week
Days 1-3: Red, swollen, tender, possibly bruised. Plasma and ink seep; skin feels tight. This is the messiest phase.
Days 4-7: Scabbing begins, varying by size and location. Itching starts. Do not scratch. Keep moisturizing lightly; over-moisturizing breeds bacteria.
Week 2: Surface scabs flake off, revealing dull, milky-looking ink beneath. This is normal; the epidermis is healing over the dermis where pigment lives. Color looks muted, not final.
Weeks 3-4: Most surface healing complete. Itching subsides. Ink settles into more accurate color, though full clarity takes longer.
Month 2-3: Deeper layers finish remodeling. This is when you truly see the healed result. Any touch-ups needed get scheduled now, typically included in original price if within a reasonable window.
Long-Term Aging
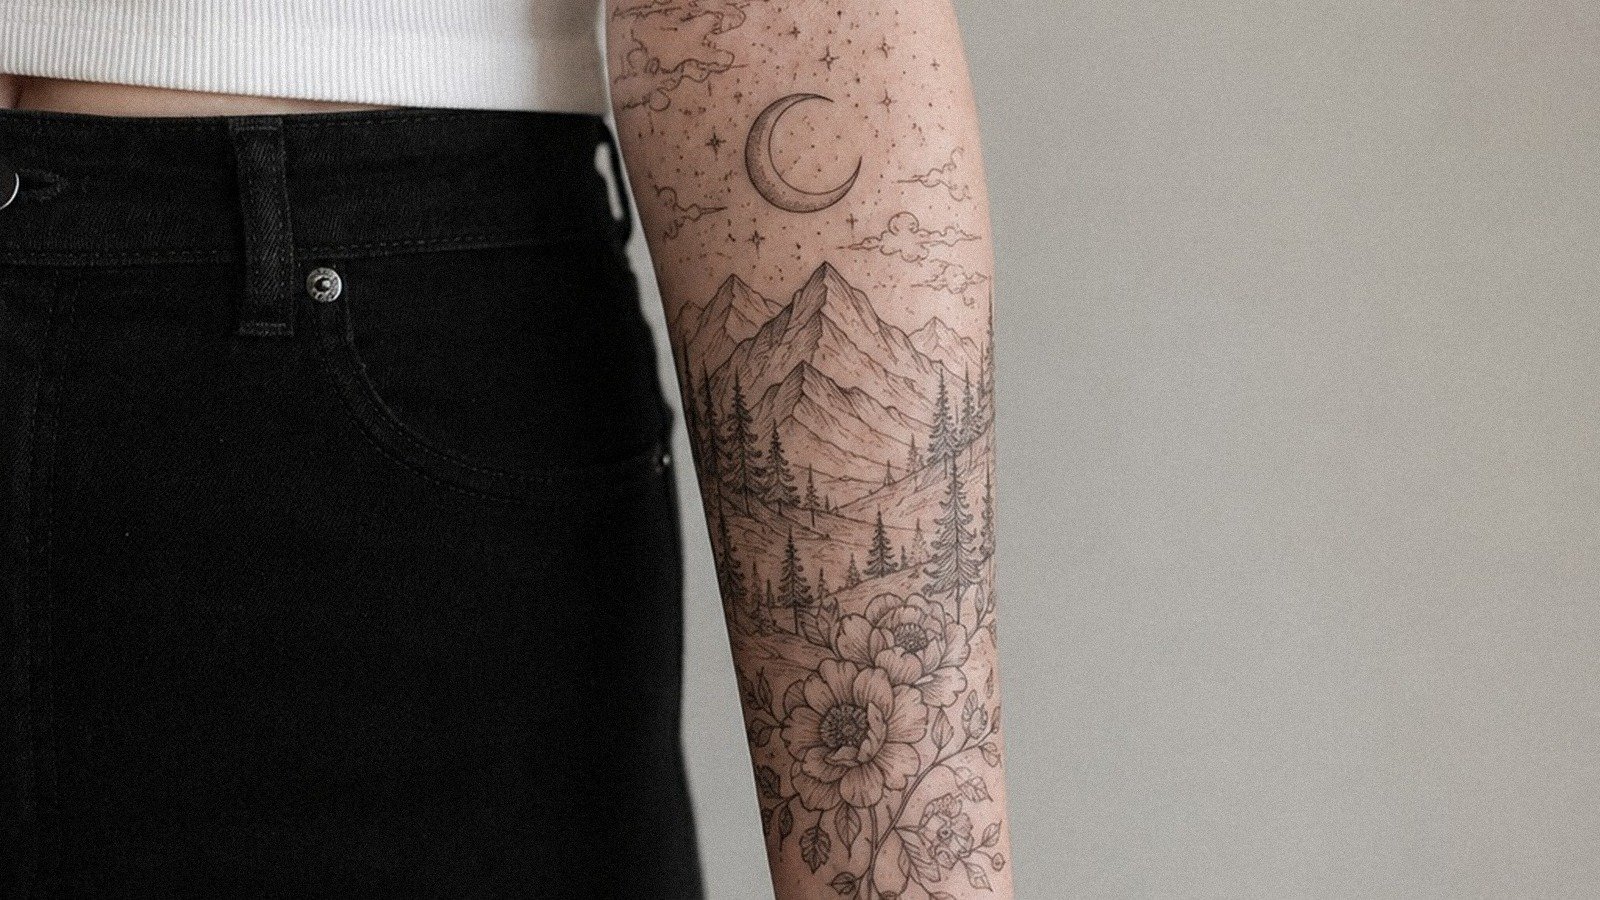
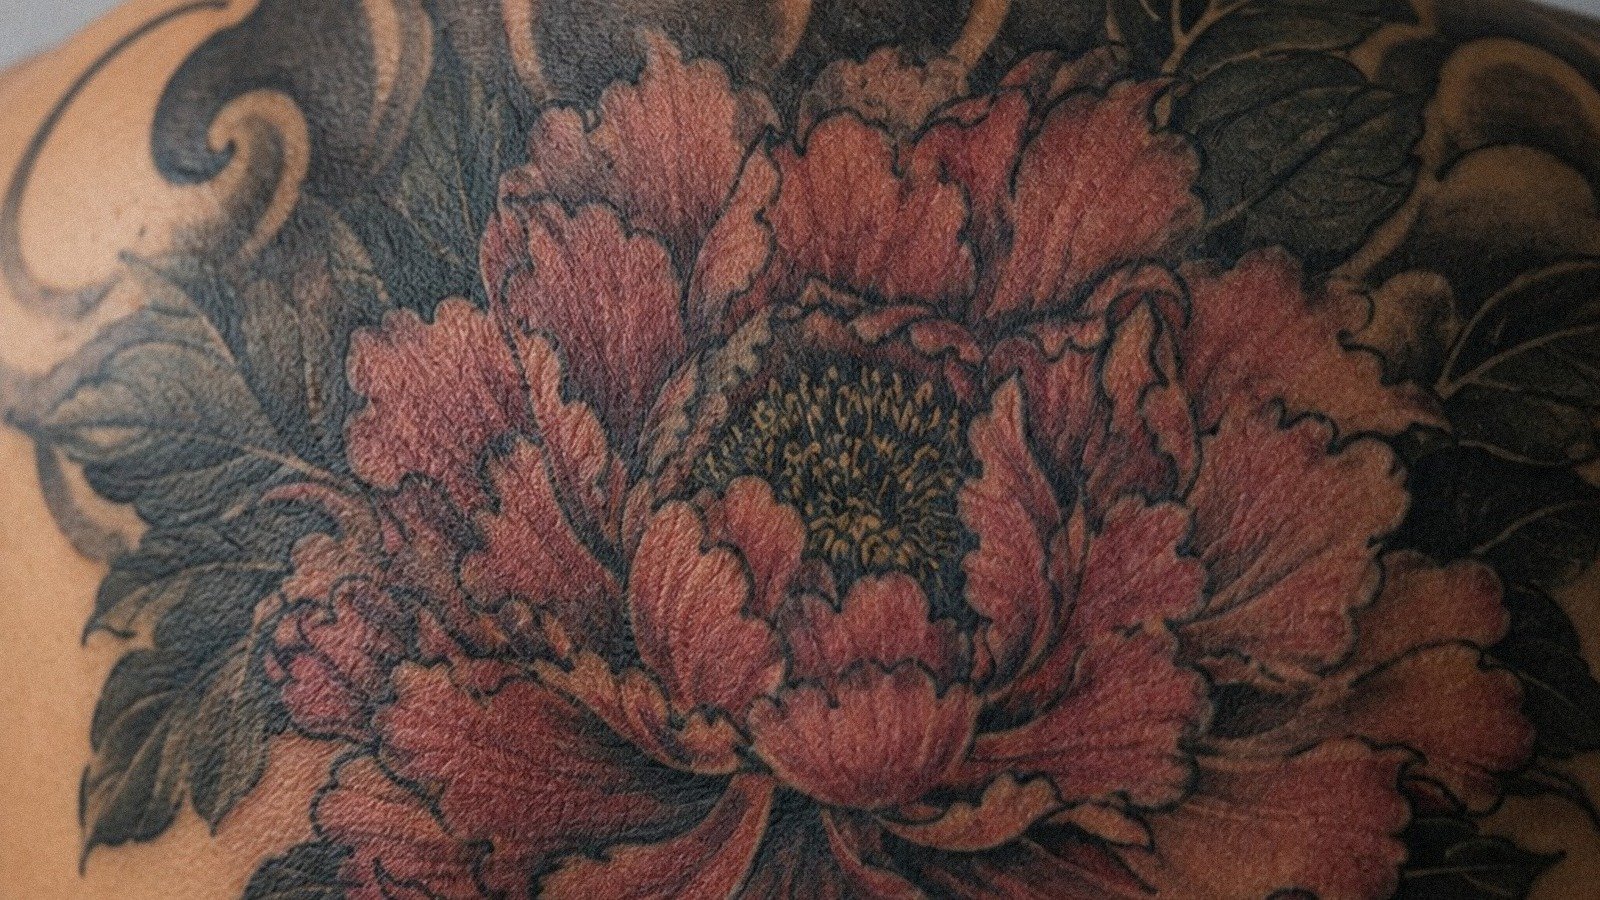
All tattoos spread slightly as skin ages and collagen shifts. Bold lines hold better than fine detail. Black and grey ages more gracefully than color, which fades and shifts hue (blues to green, reds to pink). Sunscreen is the single best preservation tool; a healed tattoo under consistent SPF 50 looks dramatically different at ten years than one baked regularly.
Skin type affects this too. Oilier skin can blur lines faster. Dry skin may hold crisp edges but show more texture. These aren’t flaws to fix, just realities to design around.
Key Takeaways
Preparation separates tattoos you’re proud of from ones you regret. Research your artist like you’re hiring for a permanent job, because you are. Feed your body, hydrate your skin, and follow aftercare without improvisation. Pain is temporary and placement-predictable; poor preparation extends both pain and healing. Cost reflects skill and safety infrastructure; budget accordingly rather than shopping for discounts. Healing is a weeks-long process with distinct phases, not a weekend inconvenience. The tattoo you see at six months is the real tattoo; everything before is transition. Respect the process, and the process rewards you.
Frequently Asked Questions
How much should I tip my tattoo artist?
20% is standard for good work, same as restaurant service. For multi-session pieces, tip per session or a larger amount at completion. Cash is preferred; some shops can’t process tips on cards.
Can I get a tattoo if I’m sick?
Reschedule. Your immune system is already working, and tattooing adds deliberate trauma that demands healing resources. You’ll feel worse, heal slower, and potentially compromise the result.
How do I know if a tattoo shop is actually clean?
Look for visible autoclave or sterilization pouches, single-use needle setups opened in front of you, and artists washing hands before gloving. State licensing should be posted. Walk away if you see reused ink caps, dirty surfaces, or evasive answers about sterilization.
Is it okay to fly or travel right after getting tattooed?
Same-day travel is fine for small pieces. Large tattoos, especially on limbs, can swell uncomfortably during flights due to cabin pressure changes. Wait 48-72 hours if possible, and keep the tattoo accessible for cleaning during travel.