Black and grey realistic tattooing is the art of making skin look like a photograph using nothing but diluted black ink and negative space. I’ve spent fifteen years in shops watching this style evolve from prison-yard ingenuity to gallery-worthy precision. When it’s done right, a black and grey portrait can make you reach out to touch the subject’s face. When it’s done wrong, it ages into a grey smudge that nobody can decipher. This guide comes from real chair time, what I’ve learned tattooing these pieces, watching them heal, and hearing clients’ regrets and triumphs.
Origins & History
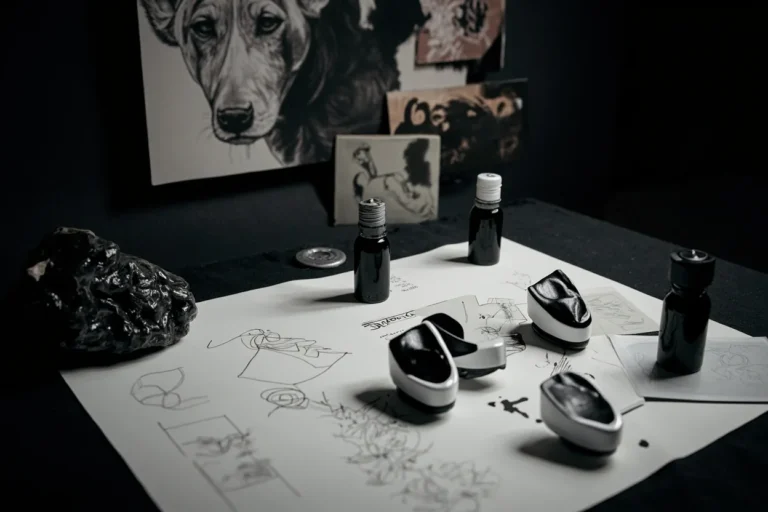
Black and grey realism didn’t start in fancy studios. It emerged from California prison culture in the 1970s, where artists had one resource: black ballpoint pen ink. They stretched it with water or their own urine to create grey washes. Single-needle work from sharpened guitar strings. The technique was born from limitation, not choice.
Outside the walls, Chicano artists in East Los Angeles adopted and refined these methods. They brought religious iconography, lowrider art, and family portraits into the mix. By the 1980s, pioneers like Freddy Negrete and Jack Rudy were translating this aesthetic into legitimate shop work. I’ve talked to old-timers who remember the skepticism, “real” tattooers used color, they said. Black and grey was considered unfinished, cheap.
That changed when Robert Hernandez and later artists like Carlos Torres pushed photorealistic portraiture into territory that color couldn’t touch. The subtlety of human skin tones, the depth of eye reflections, the softness of fur and fabric, all achievable through masterful wash control. Today, black and grey realism commands some of the highest hourly rates in tattooing, and the waiting lists for top artists stretch years.
From Prison Innovation to Fine Art
The journey matters because it shapes the style’s DNA. That prison origin means black and grey realism values efficiency and readability. Every tone must earn its place. There’s no hiding behind bright pigments. In my shop, I still see clients who want “that classic Chicano style” alongside others requesting hyper-detailed photo reproductions. Both streams flow from the same source.
Key Characteristics & Motifs
What separates black and grey realism from other styles? It’s not just “no color.” It’s a specific approach to value, contrast, and edge quality.
- Smooth gradation: The hallmark is seamless transitions from solid black through multiple grey values to bare skin. No harsh lines, no posterization. I mix my grey washes fresh for each session, prediluted caps never sit right with me.
- Photographic reference: Most artists work directly from photos, often manipulating contrast and simplifying backgrounds. Some freehand elements, but the foundation is observational.
- Soft edges: Unlike traditional or neo-traditional work, realistic pieces rarely use bold outlines. Edges are implied through value change, not inked boundaries.
- High contrast range: The best pieces push from pitch blacks to almost invisible greys. This range gives the illusion of depth and light source.
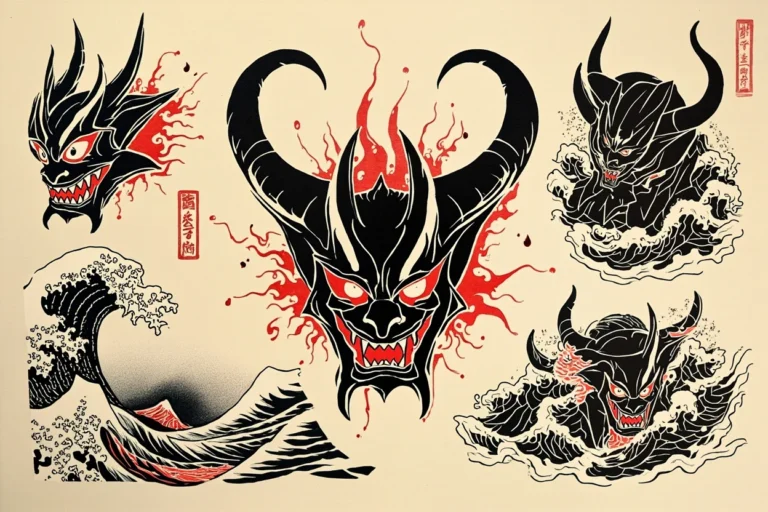
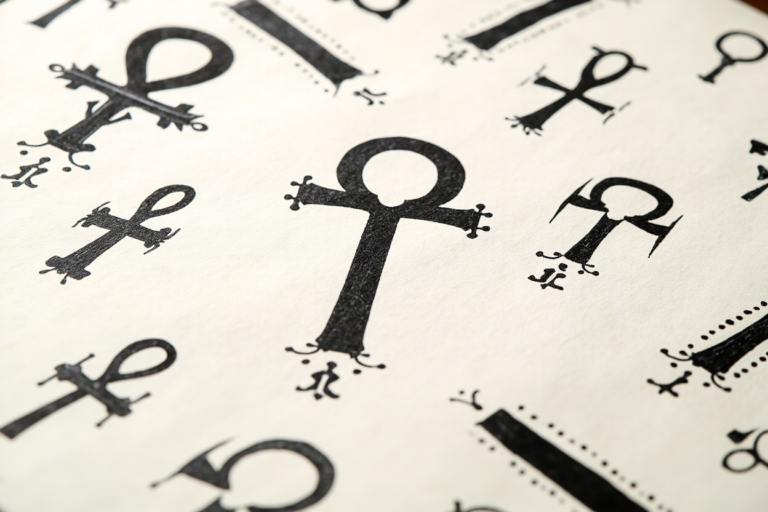
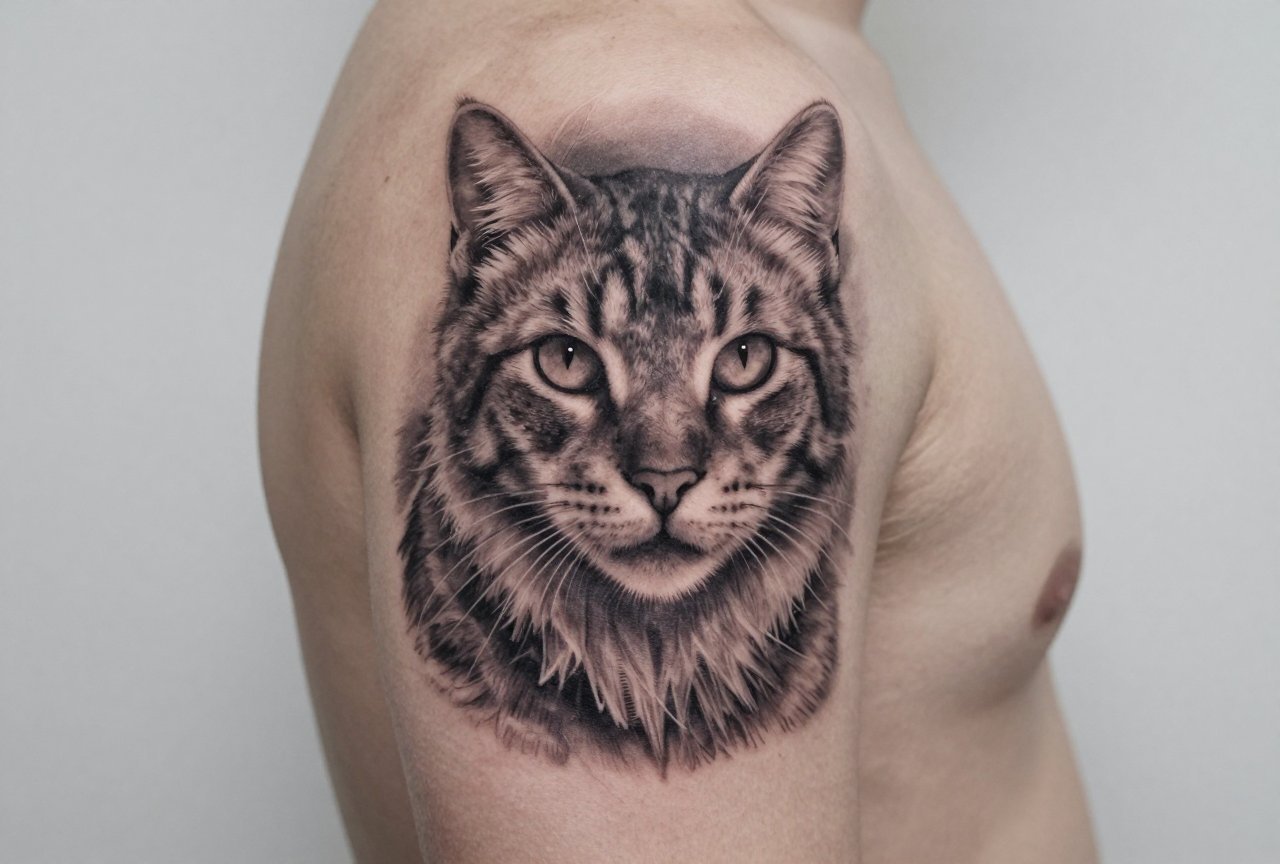
- Common subjects: Portraits (human and animal), religious figures, skulls, nature scenes, movie stills, and memorial pieces dominate.
Technique: Lining vs. Shading
Here’s what clients don’t see: the machine setup matters enormously. For smooth black and grey, I run my machines slower than for bold traditional work. Needle groupings vary, tight liners for fine detail, curved mags for soft shading, flat shaders for specific textures. The “whip shading” technique, borrowed from those early Chicano origins, creates that signature velvety fade. It’s not about the tool alone; it’s miles of muscle memory. I’ve watched apprentices struggle for two years to make a grey wash look effortless.
Color vs Black and Grey
Clients ask me this constantly: “Should I add color?” My answer depends on what they’re after.
Color realism can be stunning, vivid, immediate, celebratory. But it ages differently. Reds fade to pink. Blues can go muddy. Yellows often disappear entirely. Black and grey has a different timeline. The blacks stay black. Greys settle into softer versions of themselves. A well-done black and grey piece from 2005 still reads clearly in 2025; the same can’t be said for all color work from that era.
There’s also a practical consideration: black and grey heals more forgivingly. Color packing requires saturating skin with pigment, which means more trauma, longer healing, more scabbing. My black and grey clients typically heal faster with less drama. The style suits people who want something timeless, something that won’t look dated by its palette choices.
That said, color realism offers something black and grey can’t: emotional temperature. A sunset, a rose, a child’s blue eyes, these want color. The decision isn’t about superiority. It’s about what serves the image and the person wearing it.
Best Placements
Not all skin accepts black and grey realism equally. I’ve learned this through painful corrections.
- Upper arm/outer bicep: Ideal. Stable skin, good sun exposure (which matters for healing), enough real estate for detail. Most of my portrait work lands here.
- Forearm: Popular but tricky. Inner forearm skin is thinner and more prone to blowouts. Outer forearm works better. Either way, it’s highly visible, make sure you’re ready for that.
- Chest: Large, relatively flat canvas. Great for expansive scenes. The sternum area hurts more, and the skin texture there can complicate smooth shading.
- Back: The premium placement. Maximum space, minimal distortion from movement. I’ve done full back pieces that took forty hours. The skin holds detail beautifully.
- Thigh: Underrated. Muscular, stable, easy to show or conceal. Outer thigh is my preference; inner thigh skin is softer and more sensitive.
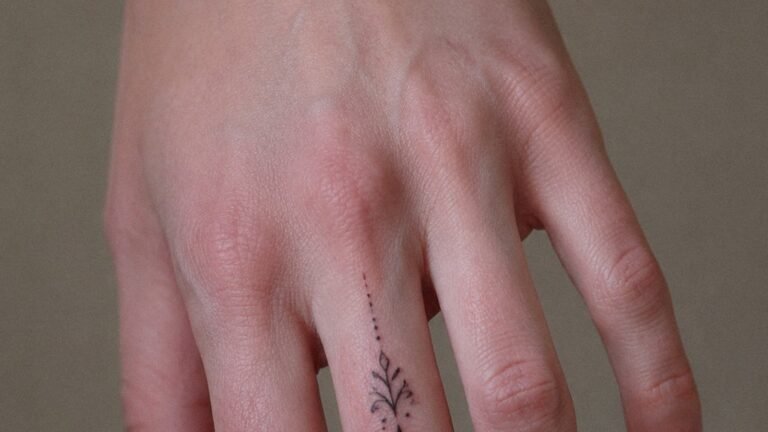
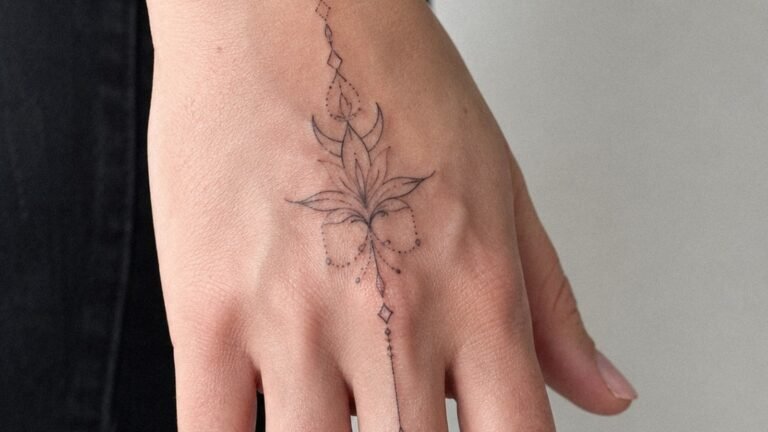
- Hands, feet, neck: I try to talk clients out of these for detailed realism. The skin is different, thicker, more calloused, faster turnover. Fine detail blurs within years. I’ve seen gorgeous hand tattoos become unrecognizable in five years.
How Aging Affects Placement
Here’s the truth I share in consultations: all tattoos age, but black and grey shows it differently. The greys lighten and spread slightly. On high-movement areas, elbows, knees, inner arms, this happens faster. I place my darkest values strategically where they’ll hold longest, lightening toward edges that might blur. It’s planning for the future, not just the fresh photo.
Who It Suits
Black and grey realism isn’t for everyone, and I say that as someone who loves doing it.
It suits people who want their tattoo to be read as an image first, a tattoo second. The style disappears into itself when done well, you see the subject, not the technique. This appeals to first-timers who are nervous about “looking tattooed” and to collectors who appreciate subtlety.
It demands patience. These pieces take time. A palm-sized portrait might be four hours. A full sleeve in this style? Fifty to eighty hours over a year or more. The financial commitment matches. Good black and grey realism runs $150-$400 per hour, and rushing it destroys it.
Skin tone matters less than people think. I’ve heard “I’m too dark for black and grey” countless times. Not true. The values shift, darker skin carries the mid-tones differently, and I adjust my contrast accordingly, but the style works across the spectrum. What matters more is skin condition: sun-damaged, heavily scarred, or very dry skin presents challenges regardless of color.
Modern Variations
The style keeps mutating. I watch these developments from my station.
- Hyperrealism: Pushing beyond photography into almost microscopic detail, pores, individual hairs, water droplets. Artists like Steve Butcher (before his passing) and Arlo DiCristina took this to extremes. The downside: extreme fragility. These pieces can look stunning fresh and muddy within a decade as the finest details blur together.
- Black and grey with selective color: A single red rose in an otherwise monochrome piece. A blue eye. This isn’t new, old prison work sometimes used available color for emphasis, but it’s resurged dramatically.
- Dark surrealism: Realistic rendering applied to impossible subjects. Melting clocks, distorted faces, impossible architecture. Artists like Paul Booth pioneered this intersection.
- Micro-realism: Tiny, tiny pieces, often single-needle work at miniature scale. Popular on social media, controversial among traditionalists. I’ve done them; they require perfect aftercare and accept that aging will soften them faster than larger work.
Choosing an Artist
This is where I get serious with you. Black and grey realism is unforgiving of mediocrity. A bad traditional piece still reads as a tattoo. A bad realistic piece becomes a grey blob that resembles nothing.
Look at healed photos, not just fresh work. Every artist posts their fresh stuff; the healed photos separate professionals from pretenders. Ask to see pieces from one, three, five years back. I keep a portfolio of my healed work specifically for this.
Specialization matters. A shop that does everything probably doesn’t do realism at the highest level. The artists I respect in this style tattoo realism almost exclusively. They’ve put in the thousands of hours that generalists haven’t.
Consultation quality reveals a lot. Does the artist ask about your reference? Do they explain their approach to your specific skin and placement? Do they discuss how the piece will age? Anyone who promises a tattoo will look “exactly like the photo forever” is lying or ignorant. I tell clients what I can promise and where uncertainty lives.
Budget for the best you can afford. This isn’t a style to price-shop. A cheap portrait is a permanent mistake. I’ve covered too many “deals gone wrong.”
Final Thoughts
Black and grey realism sits at an interesting intersection in tattoo culture. It carries the weight of prison innovation and Chicano pride. It demands technical precision that rivals any visual art form. And it offers something almost paradoxical: permanence that feels ephemeral, images that seem to float on skin rather than sit in it.
In my chair, I’ve watched people cry seeing their deceased parent’s face rendered in grey tones. I’ve seen veterans finally process loss through a photorealistic battlefield scene. I’ve also seen regret when someone chose price over quality, or trend over meaning. The style itself is neutral. What matters is the intention behind it and the skill executing it.
If you’re considering black and grey realism, take your time. Save longer than you think necessary. Research artists until you find someone whose healed work moves you. And come prepared, these tattoos are conversations that last hours, and the best results come from trust built slowly, not rushed.
Frequently Asked Questions
How long does a black and grey realistic tattoo take to heal?
Most surface healing happens in 2-3 weeks, but the skin continues settling for 2-3 months. I tell clients the true color won’t be visible until around the six-week mark. During that first month, avoid sun exposure and swimming, these are the biggest causes of faded grey washes in my experience.
Can black and grey realism cover up an old tattoo?
Sometimes, but it’s limited. The style needs clean skin to achieve those smooth gradients. Covering dark existing work usually requires going larger and darker, which sacrifices the subtlety that makes realism special. I often recommend laser fading first for clients set on this approach.
Why does my healed black and grey tattoo look lighter than when it was fresh?
That’s completely normal. Fresh tattoos have a layer of plasma and excess ink that creates a darker, slightly glossy appearance. As this sheds and the skin regenerates, the true settled values emerge. I always design with this lightening in mind, placing my darkest tones deliberately.
Is single-needle black and grey better than traditional needle groupings?
Not inherently. Single-needle creates finer detail but packs ink less efficiently, which can mean faster fading and longer sessions. I choose needle configurations based on the specific image, tight groupings for bold areas, single needles for hair and eye details. It’s about the right tool, not a universal better option.