
Botanical tattoos age well when you plan them like a builder, not a Pinterest board. I’ve inked hundreds of stems, petals, and leaves, and the ones that still read clean at five years share the same bones: one clear meaning, honest linework, and room to breathe. Here’s how I’d design yours, step by step.
- Start With One Botanical Tattoo Meaning
- Pick A Botanical Tattoo Style
- Choose Wildflower Tattoo Linework
- Plan A Tropical Plant Tattoo Composition
- Select Botanical Tattoo Stem Details
- Match Ink Color To Your Botanical Tattoo
- Place Botanical Tattoo Art On Your Arm
- Scale Botanical Arm Tattoo For Movement
- Balance Leaves Around Your Botanical Tattoo
- Add Negative Space Between Botanical Elements
- Keep Botanical Tattoo Shading Light
- Test Botanical Tattoo Pain By Placement
- Review Botanical Tattoo Artist Portfolios
- Budget For Botanical Tattoo Sessions
- Protect Your Botanical Tattoo During Healing
1Start With One Botanical Tattoo Meaning
Pick one meaning and let everything else serve it. That sternum piece in the photo works because it’s a single flowering stem with a reason behind it, not a bouquet of half-ideas fighting for space. On fair cool-pink skin, one clean botanical reads calm and intentional, and it’ll still read that way in a decade.
Don’t stack five symbols into one small design. I’ve watched people cram a birth flower, a bird, and a quote onto a sternum and end up with soup.
If you’re chasing meaning, start narrow. A yellow rose says something specific, and our yellow rose tattoo meaning guide walks through why.
Want more direction on symbolic weight? Our botanical tattoo designs library is a good starting point. One meaning, done well, beats three done badly every time.
2Pick A Botanical Tattoo Style
Choose your style before you choose your flower. That wrist macro shows fine line: thin, single-needle strokes, no heavy fill, ink texture doing all the talking.
It’s my default for botanicals because it stays graceful, but fine line isn’t your only lane. Neo-traditional gives you bold outlines and saturated color that hold up longer.
Blackwork trades detail for punch.
Here’s the honest part. Fine line is gorgeous and it’s also the highest-maintenance style over time, since the thinnest lines soften first.
If you want a floral tattoo idea that survives twenty summers with zero fuss, a slightly bolder single needle beats hair-thin realism. I’d steer a first-timer toward medium-weight lines on warm ivory skin like the photo.
It reads clean up close and it reads from across the room. Both matter.
3Choose Wildflower Tattoo Linework
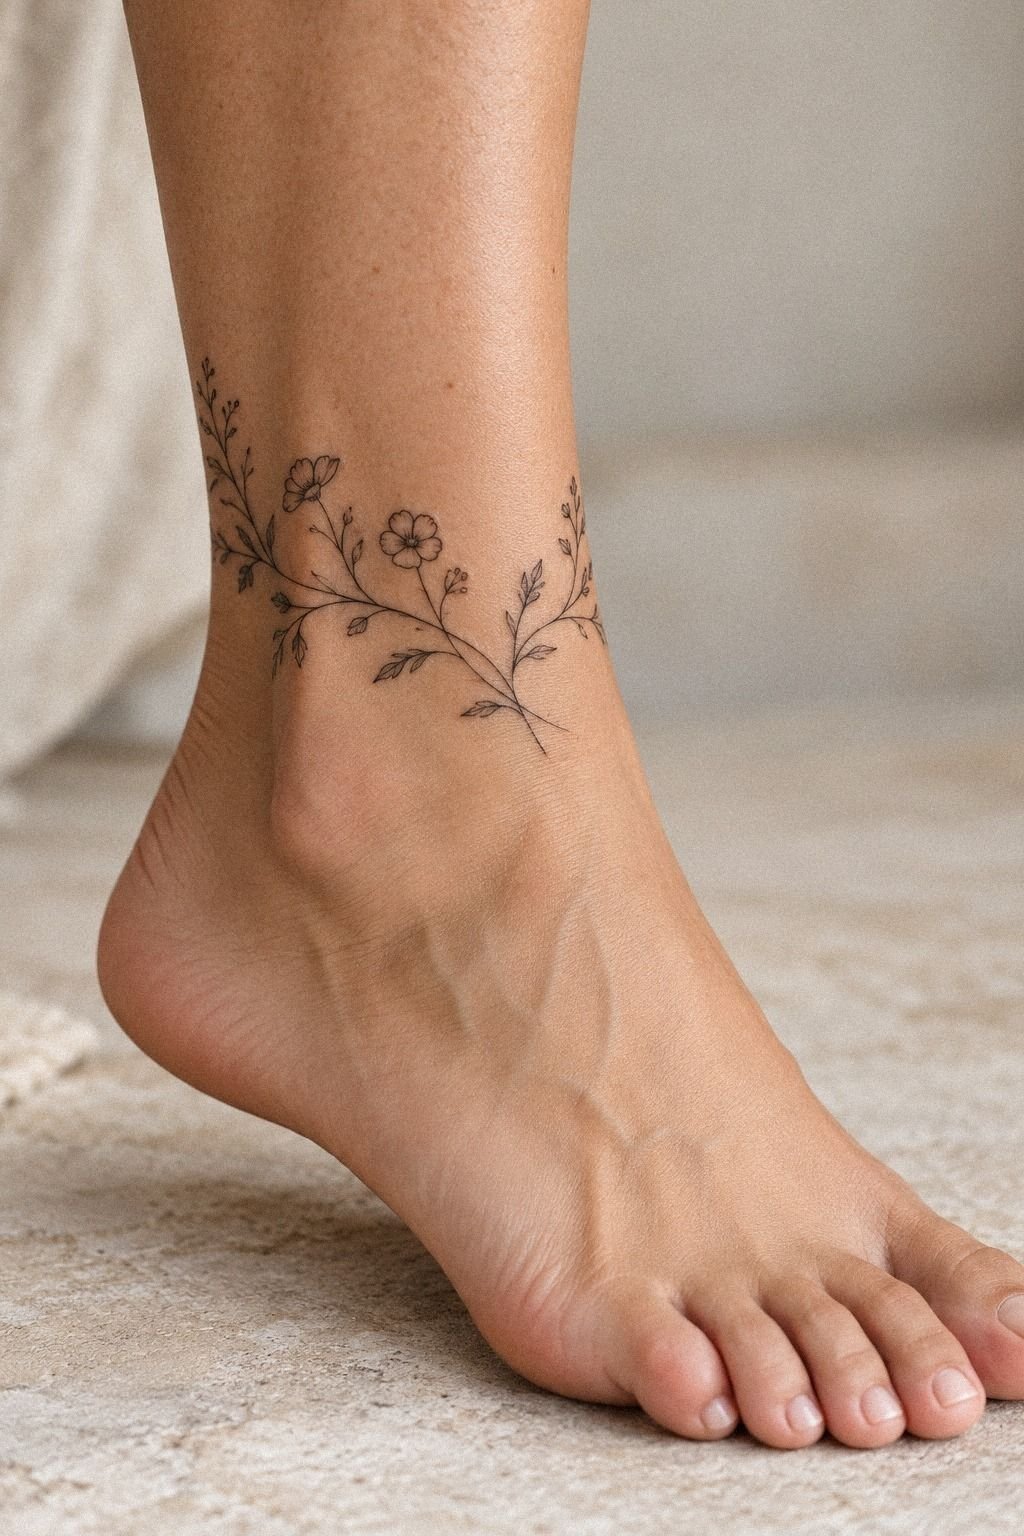
Go for crispy, confident lines, not ten fuzzy passes. The spine piece in that shot is healed and still sharp because the artist pulled each stroke once, clean.
That’s the whole game with a wildflower tattoo: loose, natural stems, but every line committed. Scratchy linework is the number one tell of a scratcher, and it only gets worse as skin settles.
On medium olive skin in daylight, healed fine line looks lived-in and real, which is exactly what you want. Ask your artist how thick their thinnest line runs. Anything under a single needle width on a spine (a high-flex, bony spot) is a blowout risk.
I’d rather give you a line you can see healing nice than a whisper that blurs into gray by year two. Confident beats delicate. Say it with me.
4Plan A Tropical Plant Tattoo Composition
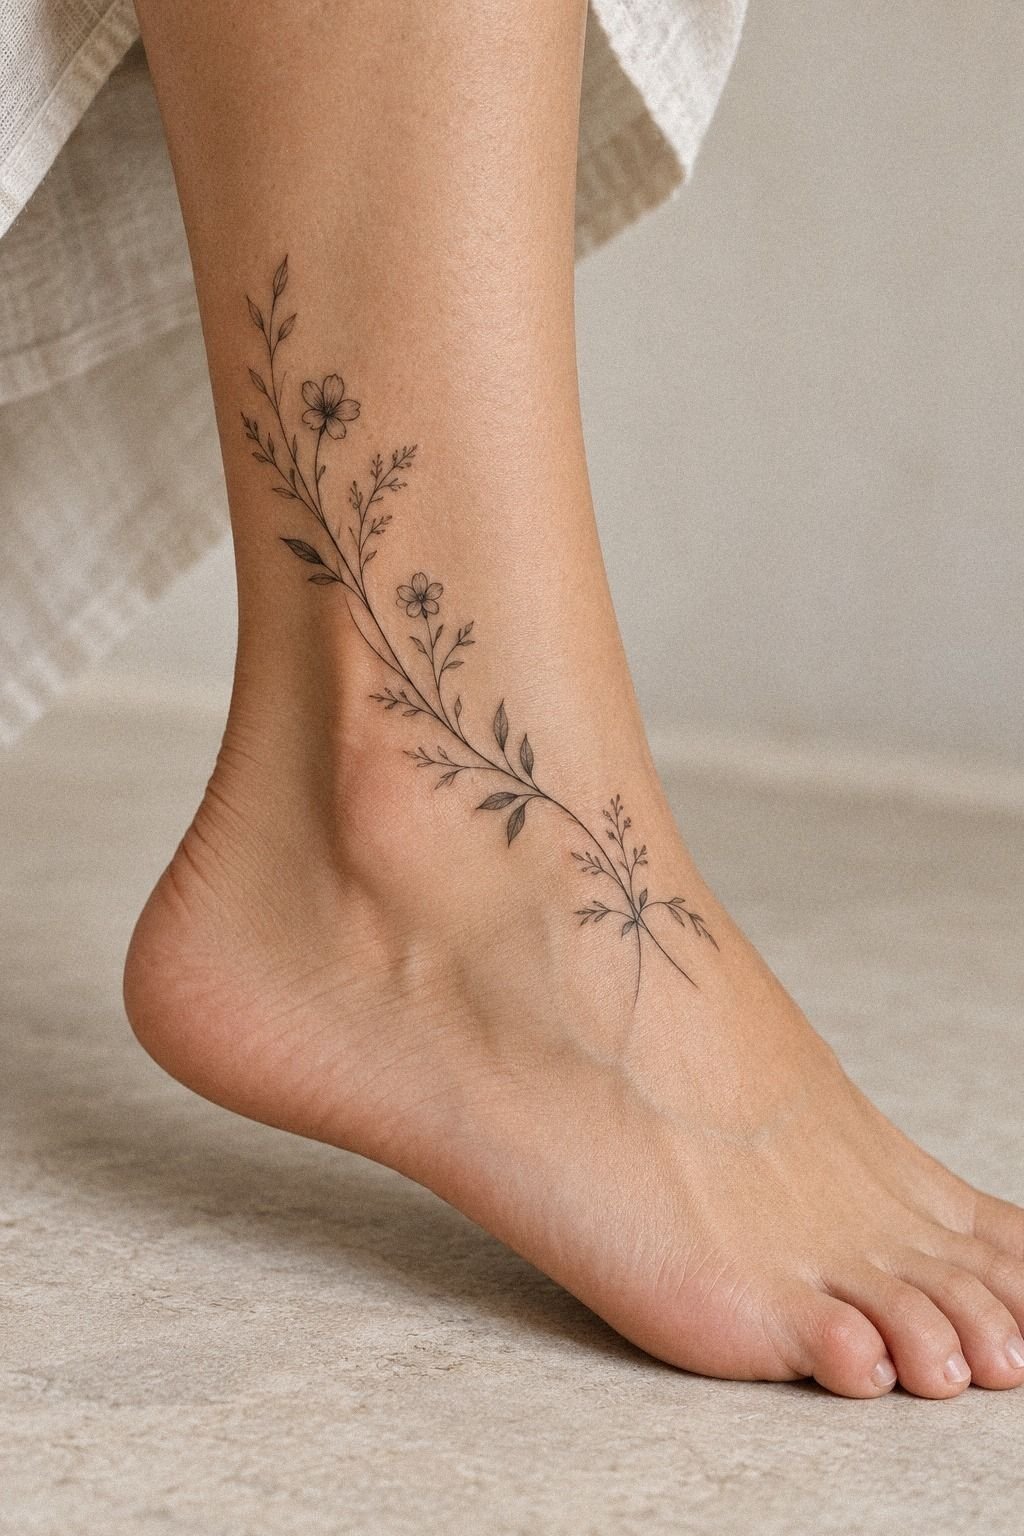
Map the composition to the body part before you draw a leaf. That upper back wrap works because the tropical plant tattoo follows the shoulder blade and spine, not a flat rectangle stamped on skin. Backs curve.
Monstera leaves and palm fronds need to flow with that curve, or they’ll look pasted on the second you move.
I call this the flow-first rule, and it’s non-negotiable on golden tan skin where big botanical shapes really pop. Bring your artist a placement idea, then let them stencil it live on your body and check it in a mirror.
Trust me on the mirror. A composition that looks balanced on paper can sit crooked on a moving shoulder.
If you’re weighing bigger symbolic pieces, our yggdrasil tattoo meaning page shows how organic shapes wrap a body well.
5Select Botanical Tattoo Stem Details
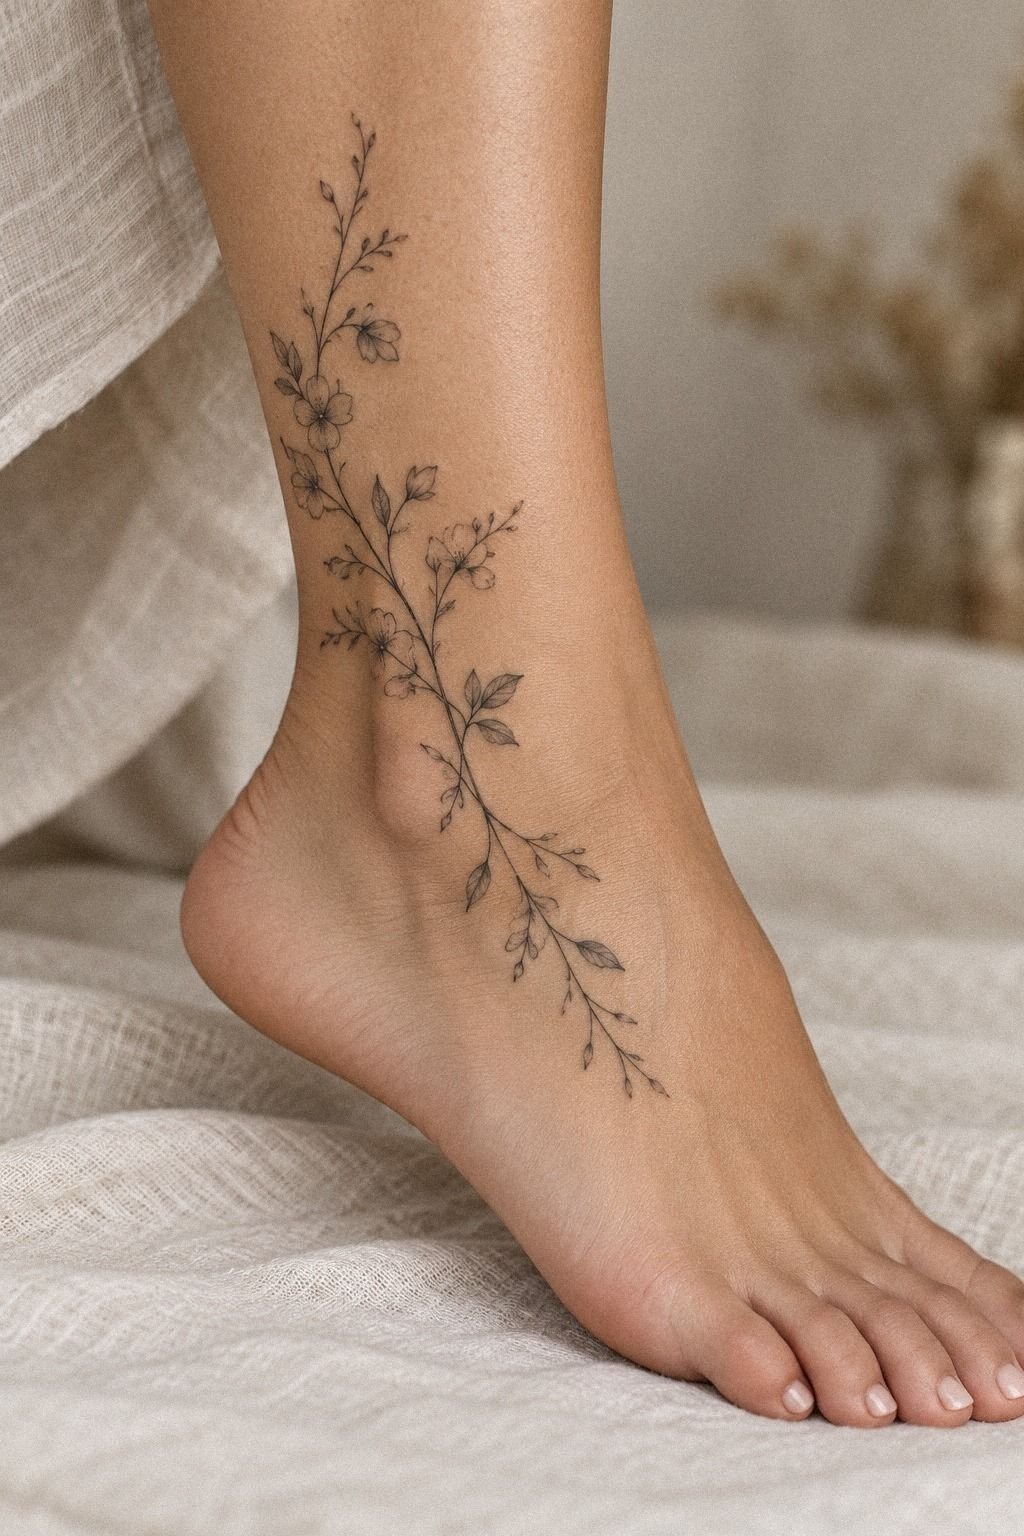
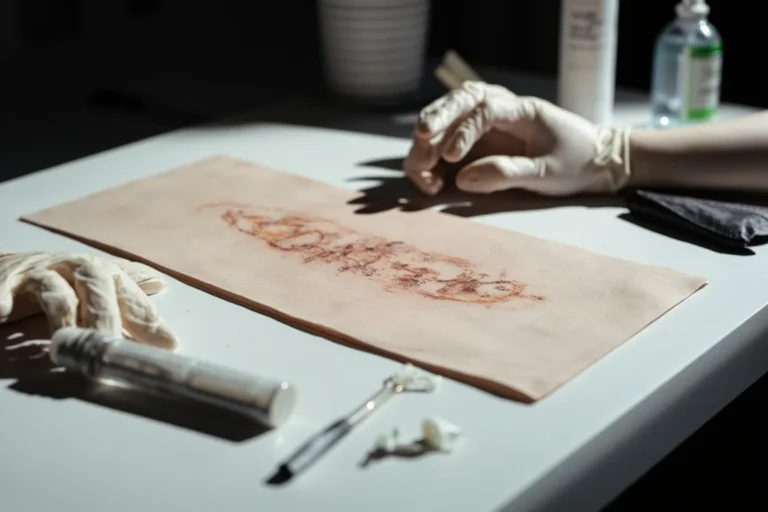
Keep stem details simple enough to survive. That flash sheet on aged off-white paper is a lesson in restraint: hand-drawn fine line stems, a few leaves, generous space, nothing overworked. Flash is pre-drawn “pick and stick,” and good flash exists because those artists already solved the aging problem for you.
Here’s what nobody respects until it’s too late. Tiny super-detailed stems (little thorns, hair-thin tendrils, dotwork seeds) turn to soup as skin blurs the ink. I’ve fixed plenty of over-detailed pieces that were beautiful fresh and mush at year three.
If you love a busy design, scale it up so the details have room. Single needle work looks incredible on day one, but bold will hold. Pick two or three stem details worth keeping and cut the rest.
Your future self says thanks.
6Match Ink Color To Your Botanical Tattoo
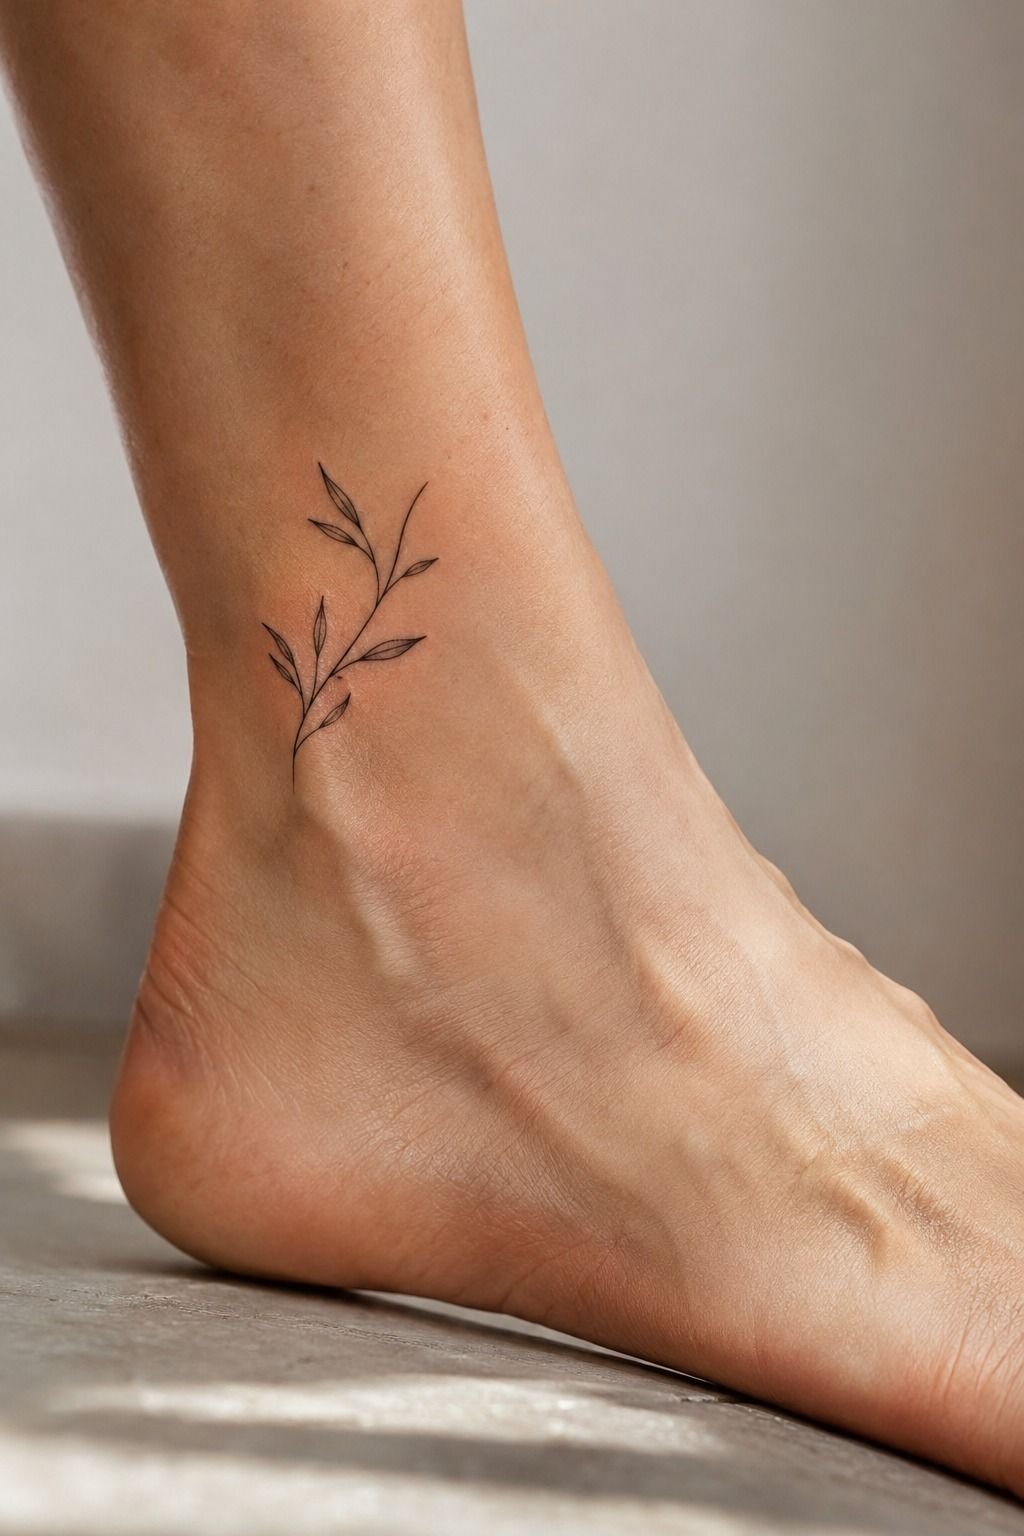
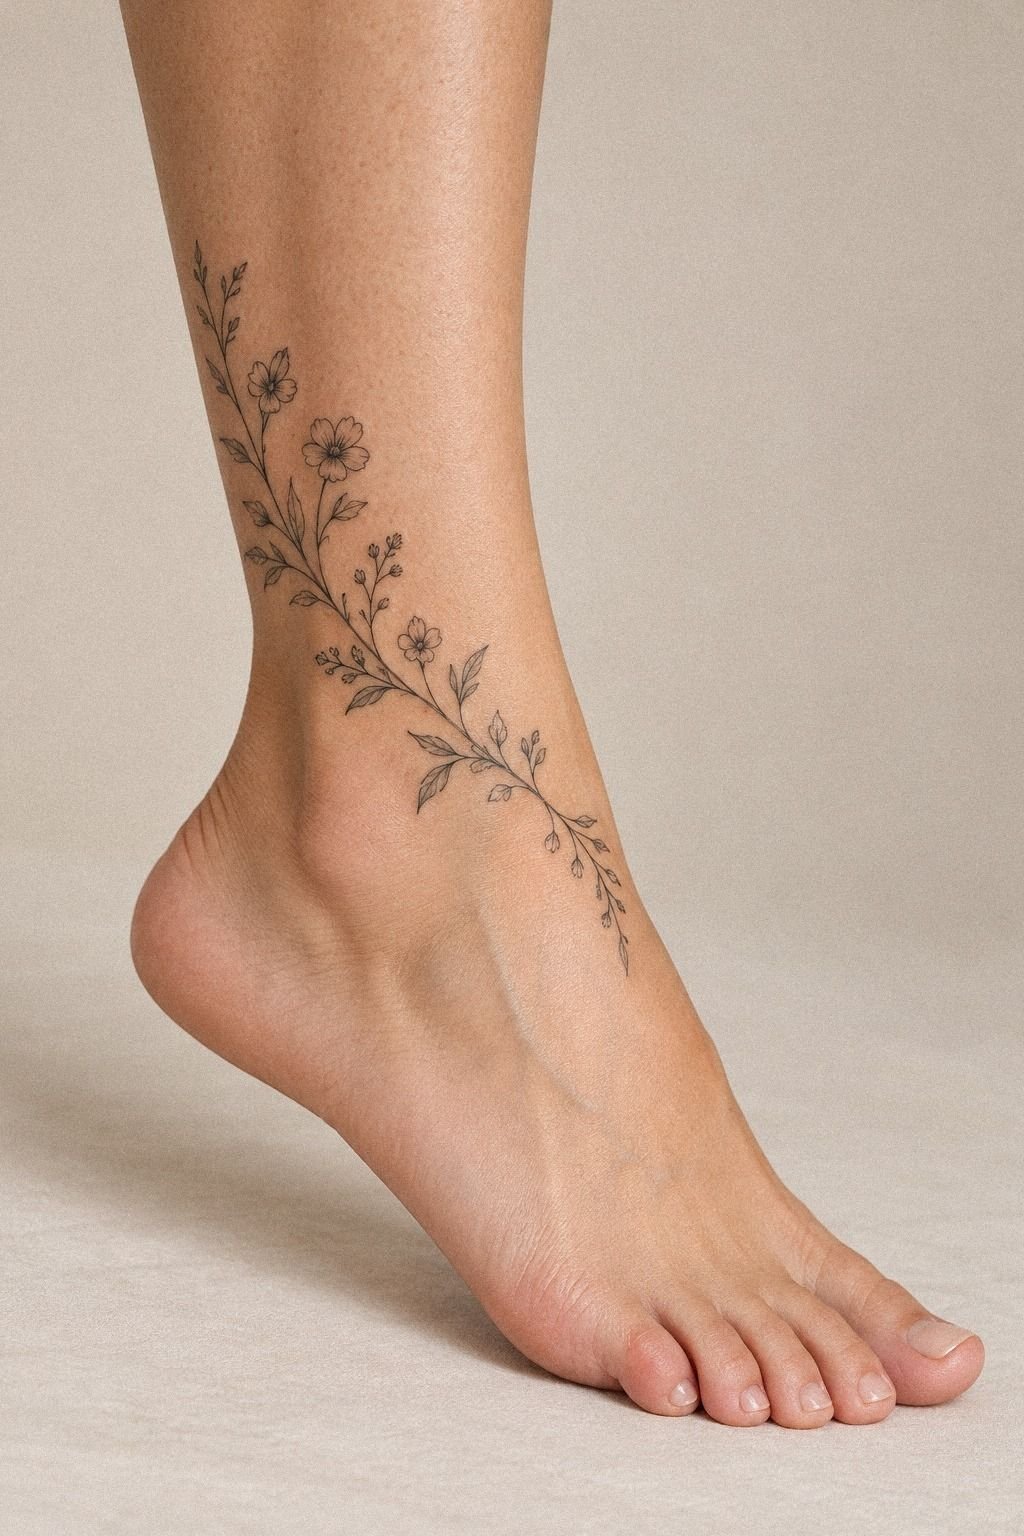
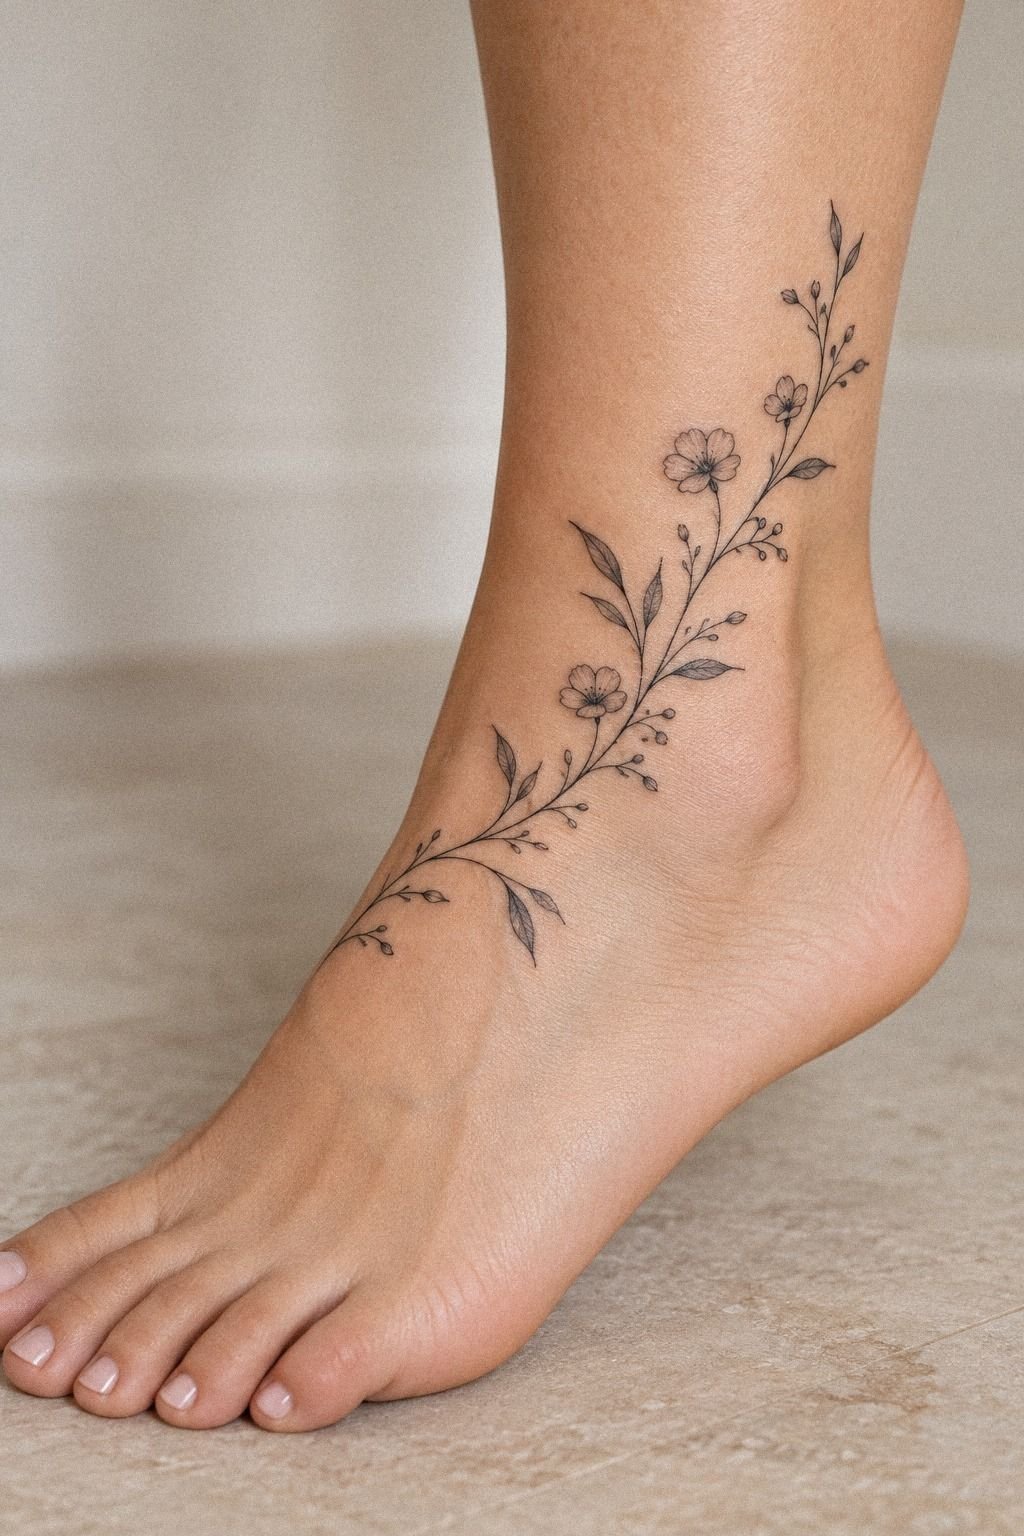
Match your ink to your skin, not to the reference photo. That ankle piece is neo-traditional on deep ebony skin, and it works because the artist chose saturated, high-contrast colors that read boldly on that tone.
Not every ink shows the same on every skin. Pale pastels and light yellows can disappear on deeper skin, while bold reds, deep greens, and solid black stay crisp.
This is where a real portfolio matters. Ask to see healed color work on skin like yours, not just fresh shots under studio lights.
Black is your best friend for longevity, and color is spice. On deep skin especially, I’d lean into rich saturation over delicate washes, since a botany tattoo with solid fill ages far better than one that’s scratched in light.
Get it bright in one solid pass. You want color that still sings in ten years, not a faded guess.
7Place Botanical Tattoo Art On Your Arm
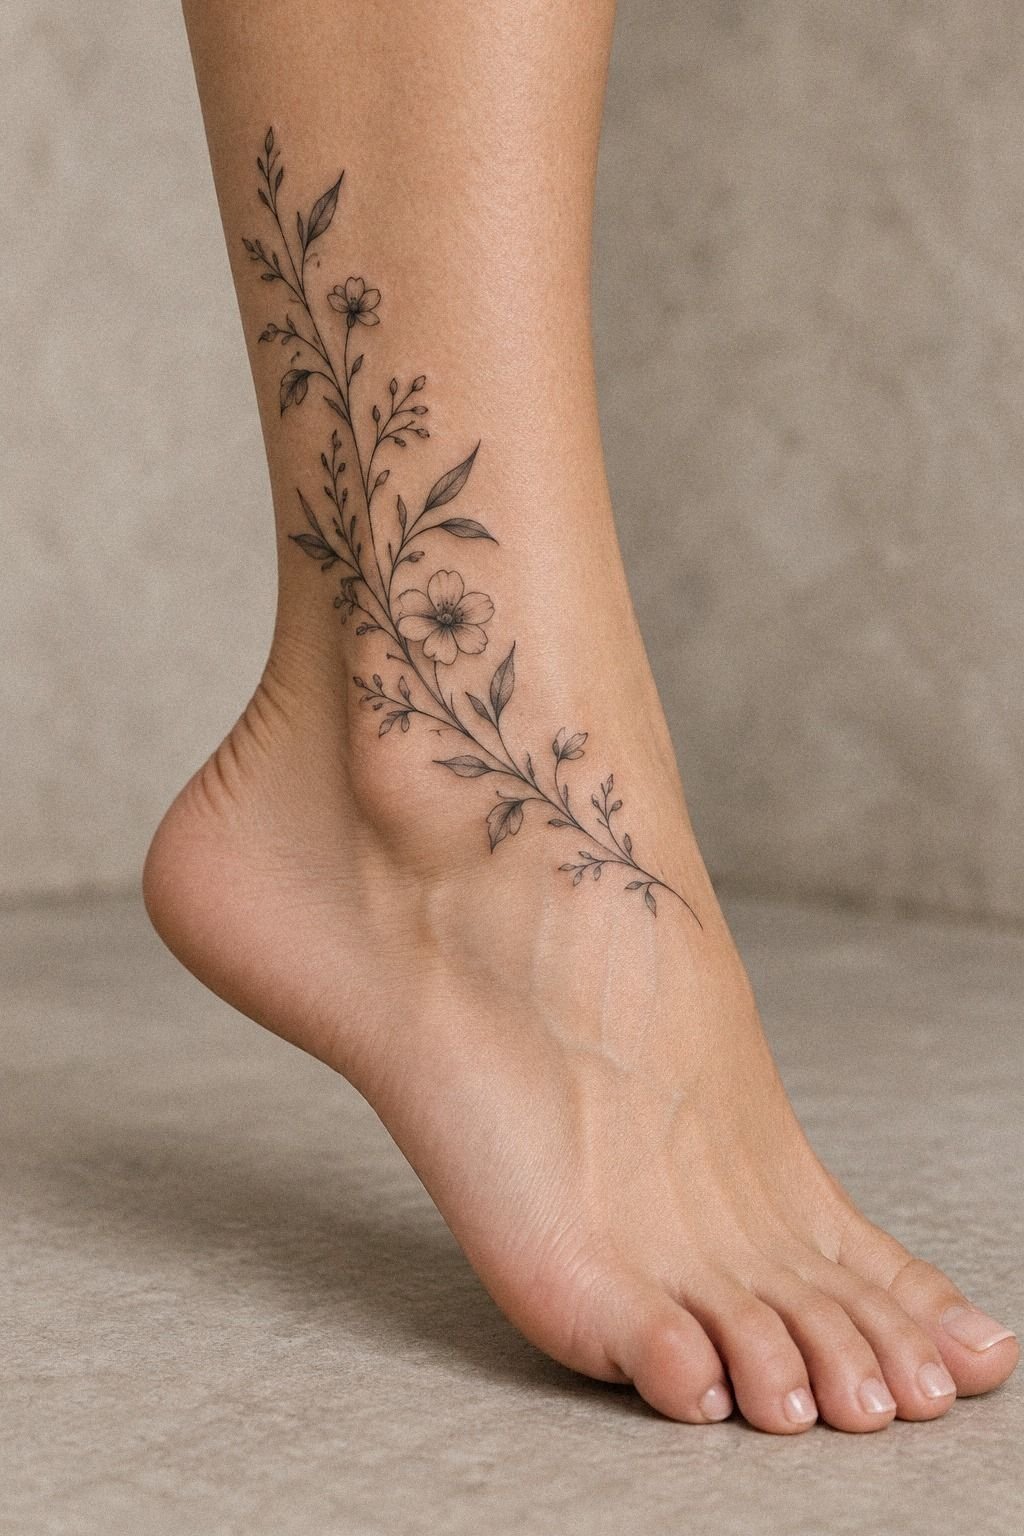
Put botanical art where it’ll age with you, and the forearm is my top pick.
8Scale Botanical Arm Tattoo For Movement
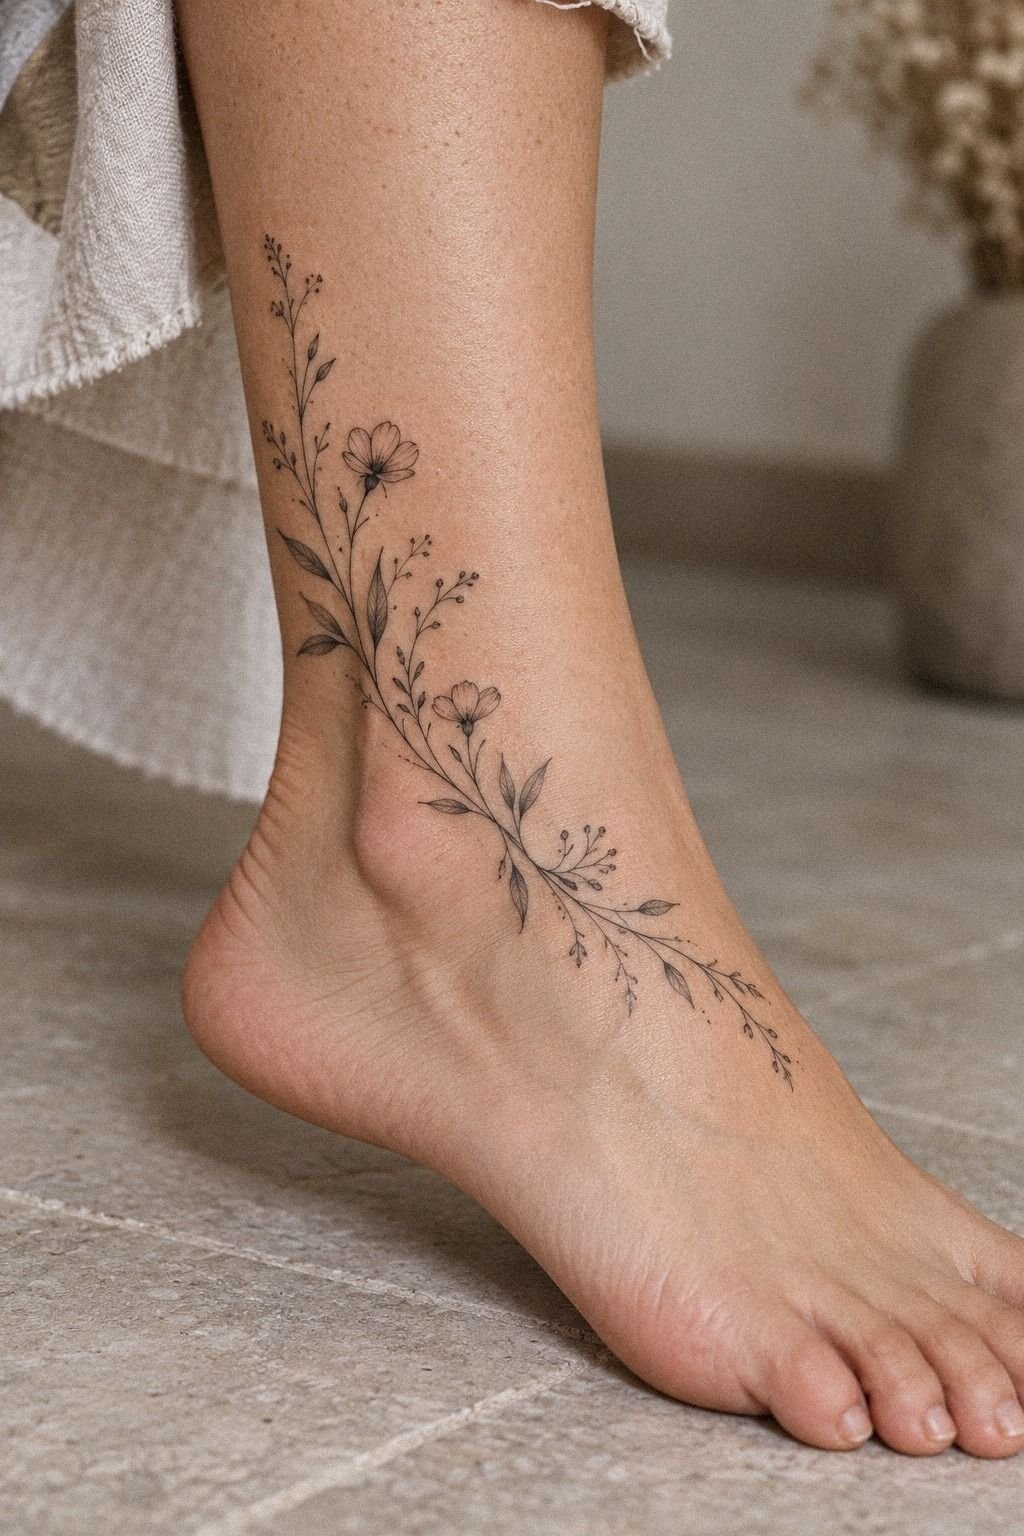
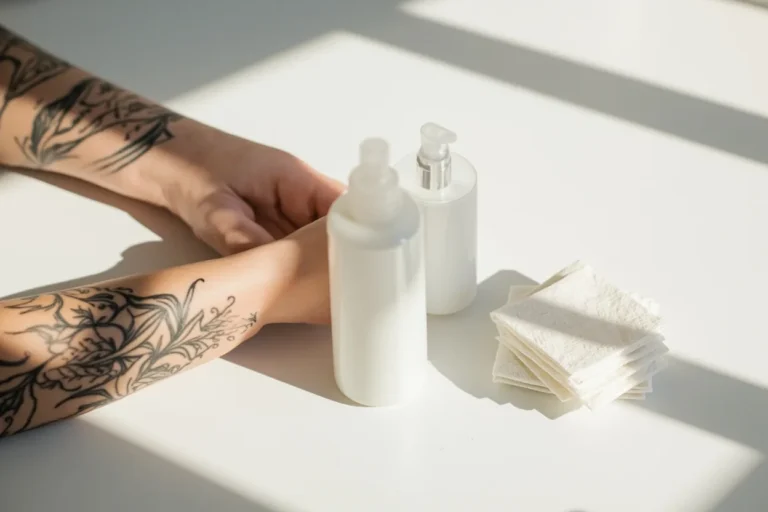
Scale the piece so it moves with your muscle, not against it. The healed forearm in that photo sits right because it was sized for the limb, following the taper from wrist to elbow.
A design that’s too small on a moving arm mushes out. Too big and it fights the shape.
Here’s my rough guide: a single stem reads clean at around 3 to 4 inches, a fuller floral tattoo idea wants 5 to 7 inches to give petals room, and a wrapping half sleeve needs the whole forearm to flow. That size on a tiny wrist is gonna crowd, so bump it up the forearm where it breathes and ages nicer.
Think about how your arm bends, too. Lines that cross a heavy crease flex constantly and soften faster.
Plan around the movement and the ink lasts.
9Balance Leaves Around Your Botanical Tattoo

Balance the leaves so the whole thing feels grown, not glued.
10Add Negative Space Between Botanical Elements
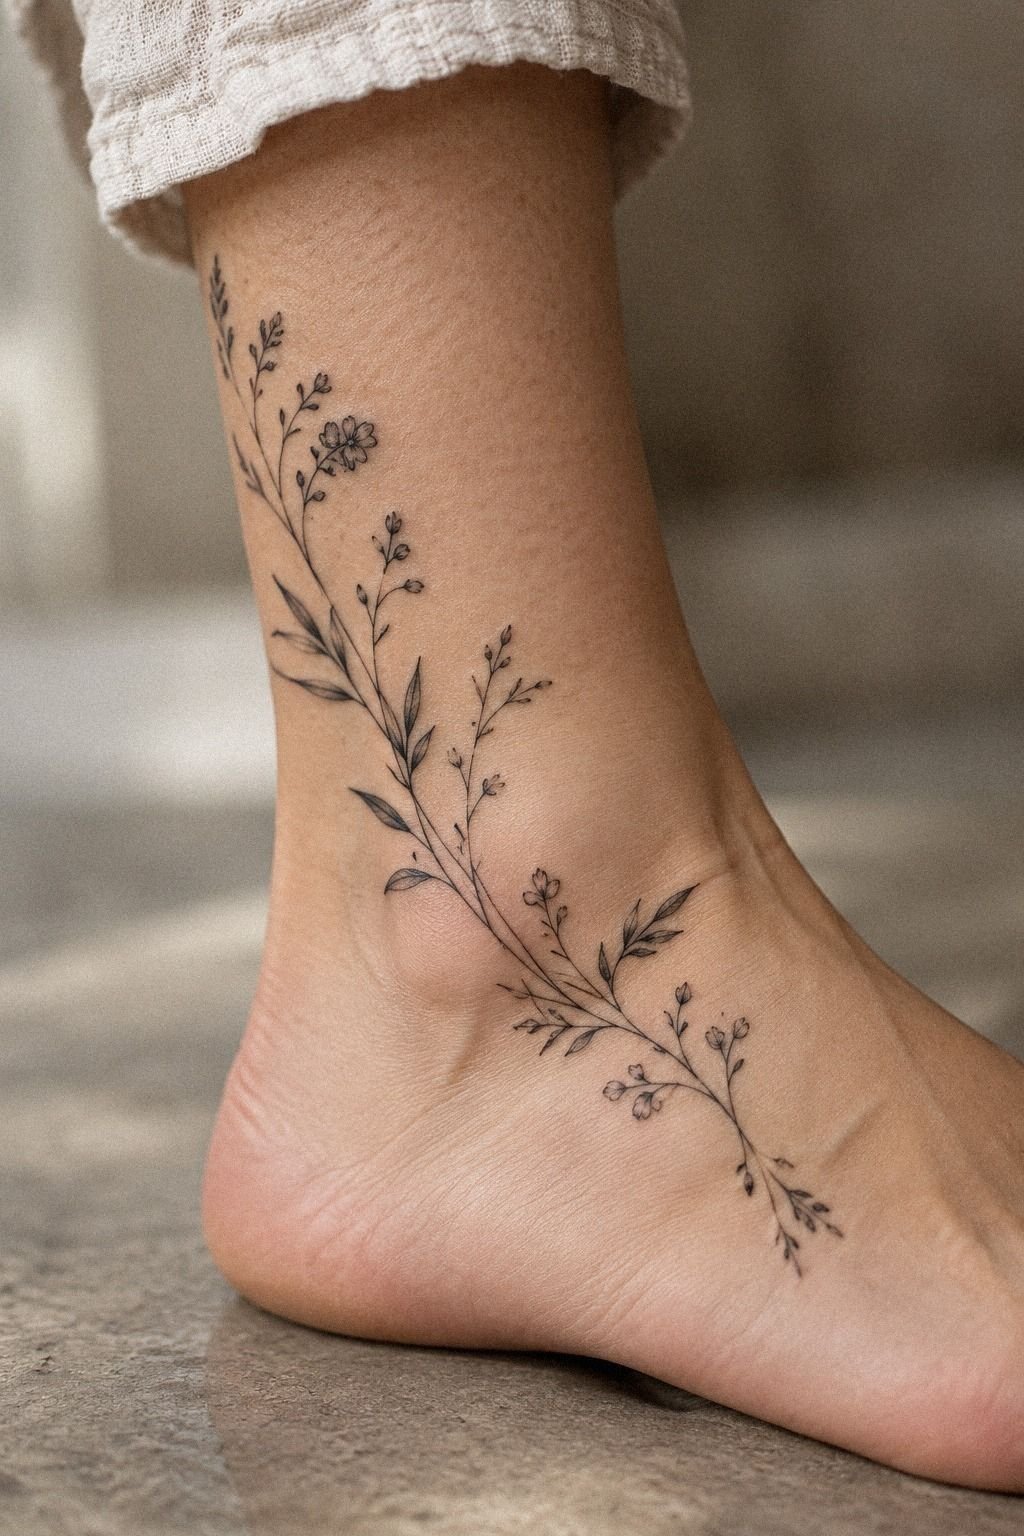
Add negative space on purpose, because it’s the thing that keeps botanicals legible for life. That split image says it all: the stencil on white paper next to the healed result, and the healed one still reads clean because the artist left breathing room between elements. I call this the breathing-room method, and it’s the single biggest predictor of how well fine line holds up.
Here’s the physics. Ink spreads a hair as it heals and keeps spreading slowly for years.
Two lines sitting too close will eventually bleed into one gray smudge. Leave a gap you think is too wide, because in five years it’ll look just right.
I’ve never once had a client complain that their tattoo had too much space. Not once! Crowded designs are the ones that come back for rework.
Space is free insurance.
11Keep Botanical Tattoo Shading Light
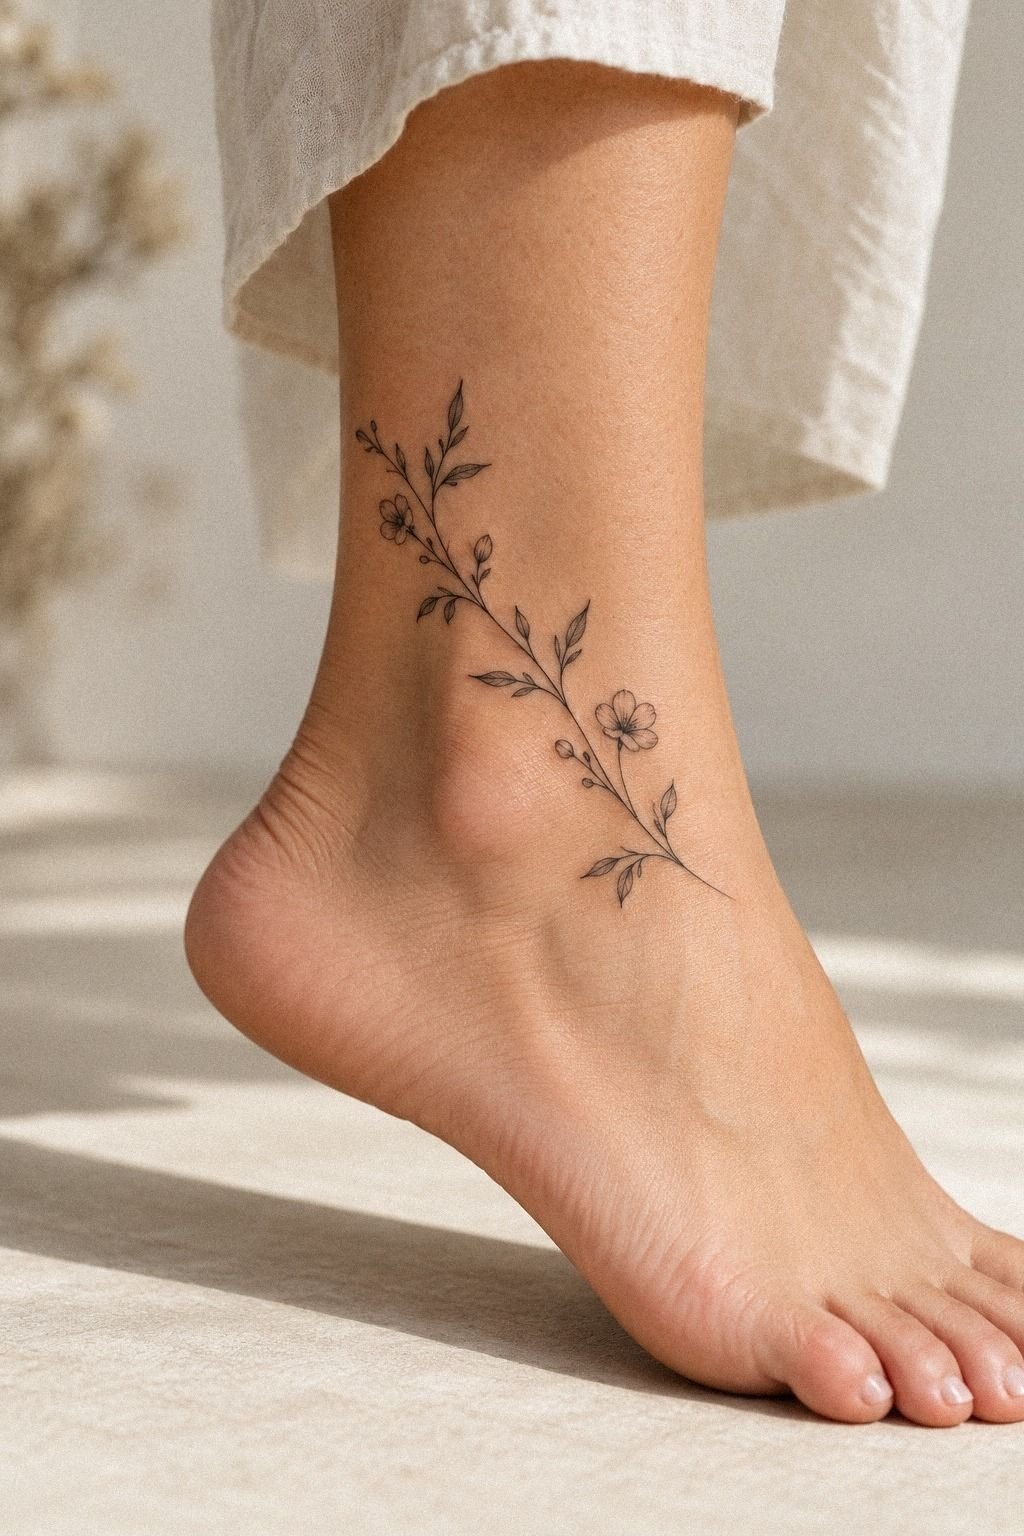
Keep the shading soft so it heals velvety, not patchy. That shoulder piece on deep brown skin with a warm undertone uses light, whip-shaded gradients that let the skin tone glow through instead of fighting it. Heavy black shading on a delicate botanical fights the fine line concept and it can heal blotchy if it’s packed too hard.
The shoulder is a low-wear, forgiving spot, so it’s a great place for subtle grey wash. Ask for gentle pepper shading or a light whip shade rather than solid saturation, unless you’re going full blackwork on purpose. Push the contrast just enough so it doesn’t heal flat, but don’t overwork the skin chasing depth.
Overworked skin scars and holds ink unevenly. Softer heals cleaner and ages softer, and on rich skin tones that light touch is what makes the botanical feel like it’s part of you.
12Test Botanical Tattoo Pain By Placement
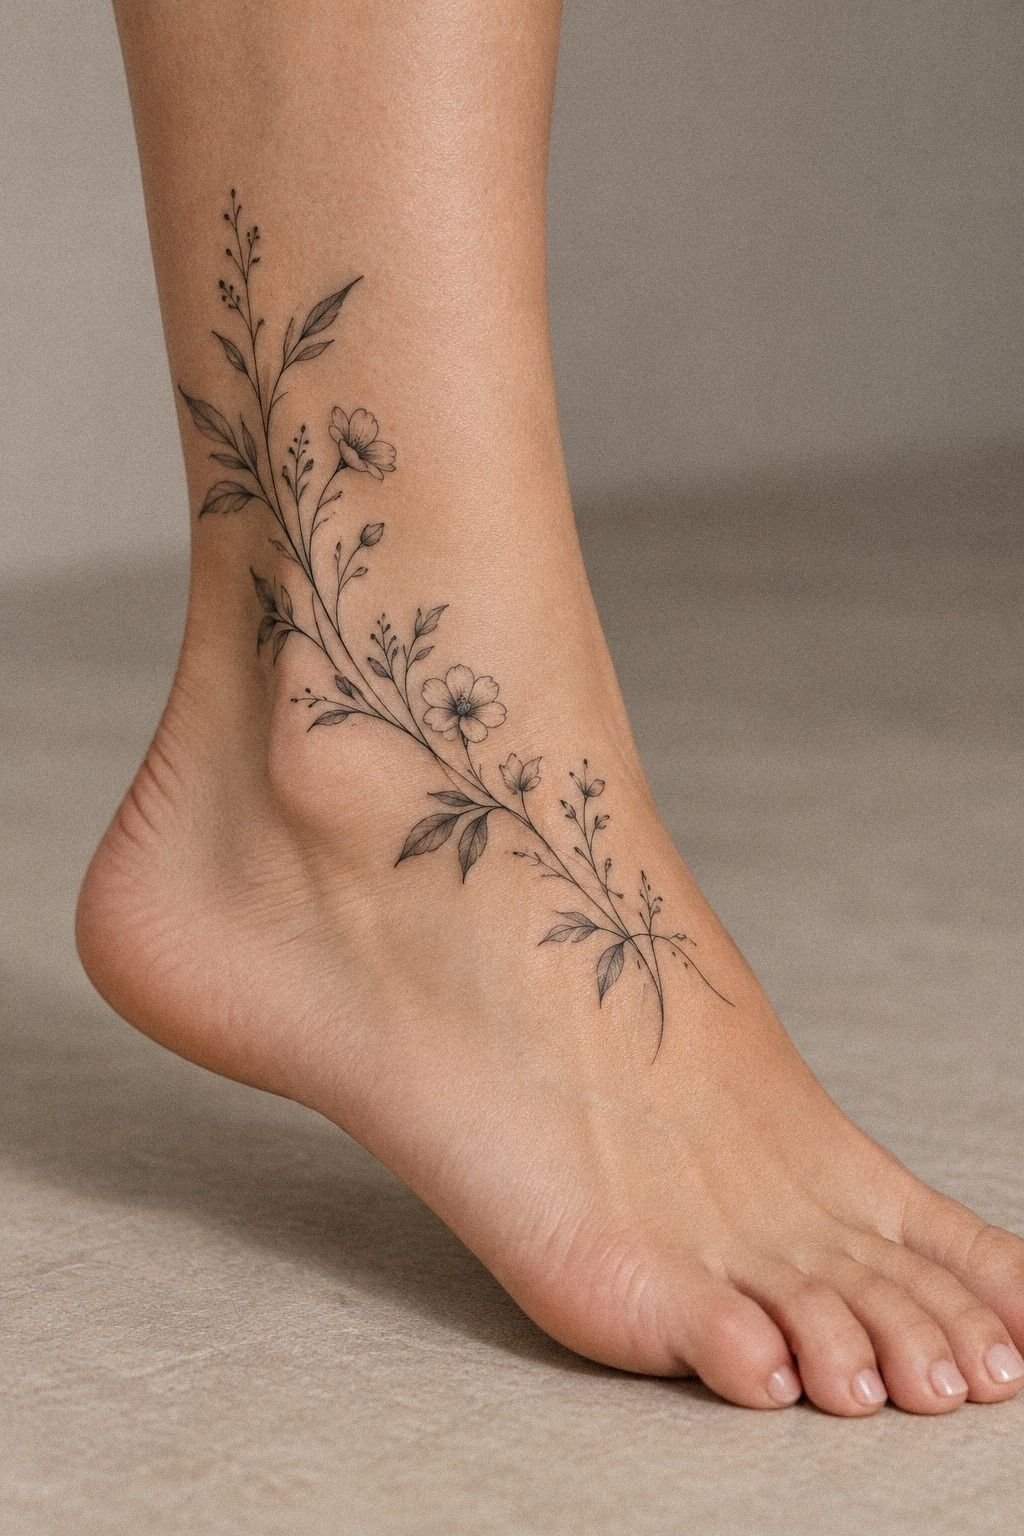
Test how spicy a spot is before you commit your whole design to it. That collarbone macro on deep ebony skin is stunning, and I’ll be straight with you: the collarbone is one of the spicier zones.
Thin skin over bone means every line feels sharper. Lines are a quick sting, shading is a dull burn, and packing color is the spiciest part.
Pain fades, but placement is forever, so don’t let fear alone shrink your idea. Just go in informed. Here’s a real breakdown I give clients:
Tap out for five rather than pass out on me. There’s no medal for suffering.
13Review Botanical Tattoo Artist Portfolios
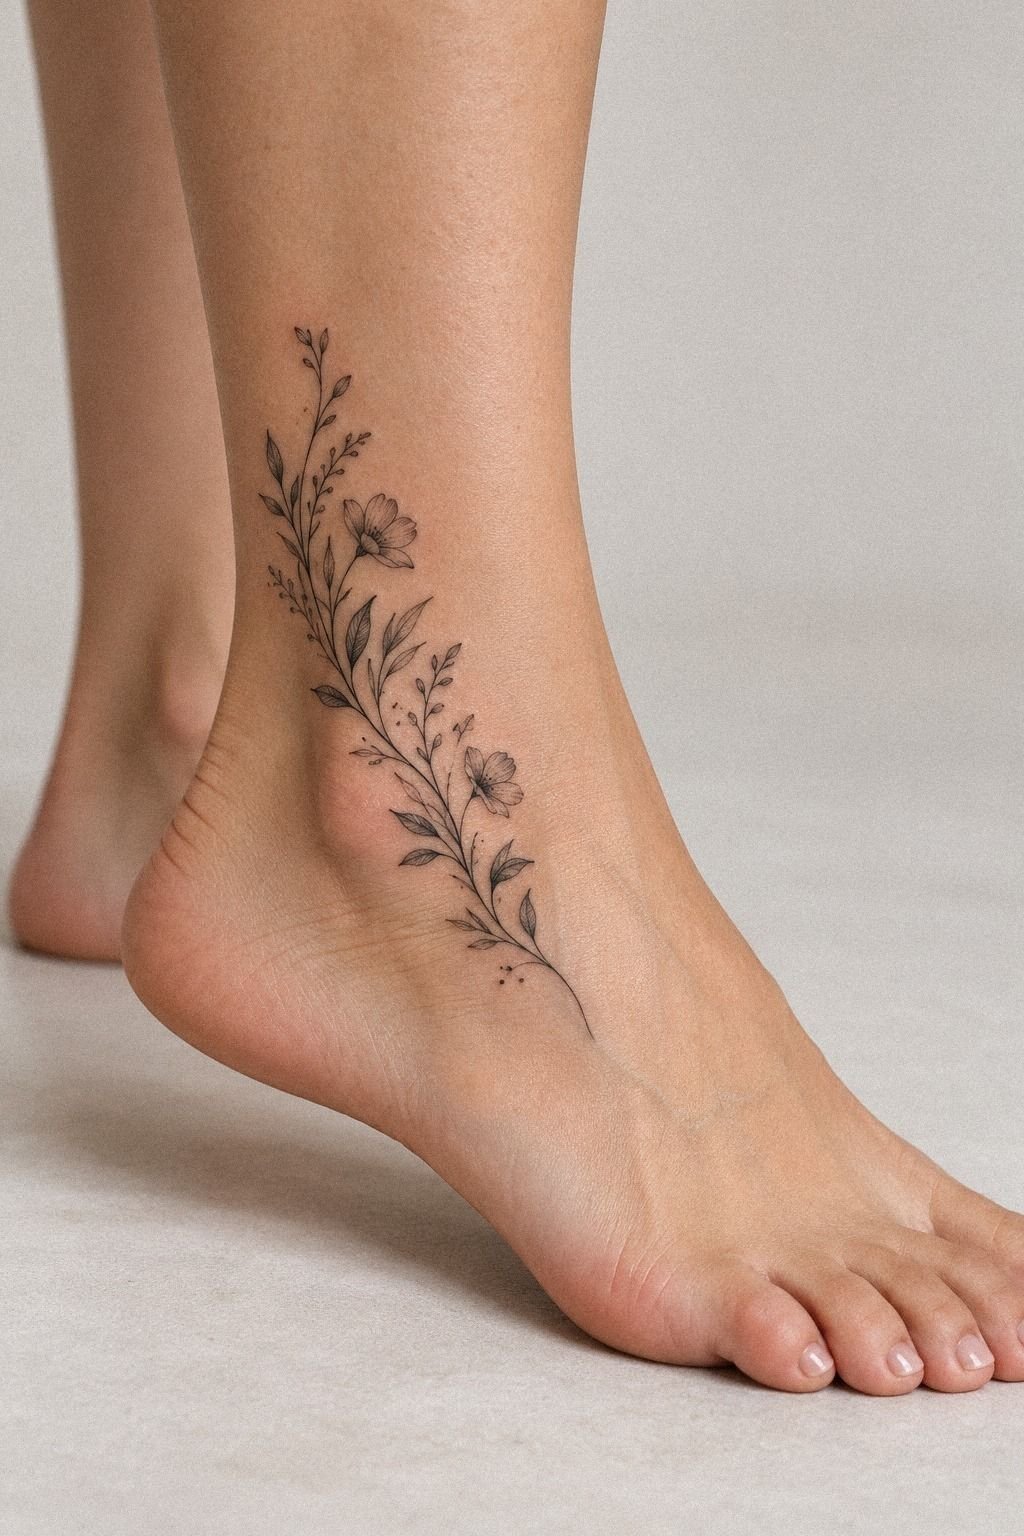
Review healed work, not just fresh flash, because that’s where artists hide. The healed collarbone in that photo, shot in natural daylight, is exactly what you should be asking to see: real skin, weeks after the session, lines still crisp. Fresh tattoos all look good.
Healed ones tell the truth.
Scroll a portfolio for three things. Clean, consistent linework across many pieces (not one lucky shot).
Botanical specialty, since a great realism artist may not do fine florals. And hygiene you can see in the studio.
If someone only posts glossy fresh photos and dodges the healed question, that’s your answer. I’d also check reviews and ask friends. Word of mouth beats an algorithm.
Our yin yang tattoo meaning and botanical tattoo designs pages can help you name the style you want before you even walk in.
14Budget For Botanical Tattoo Sessions
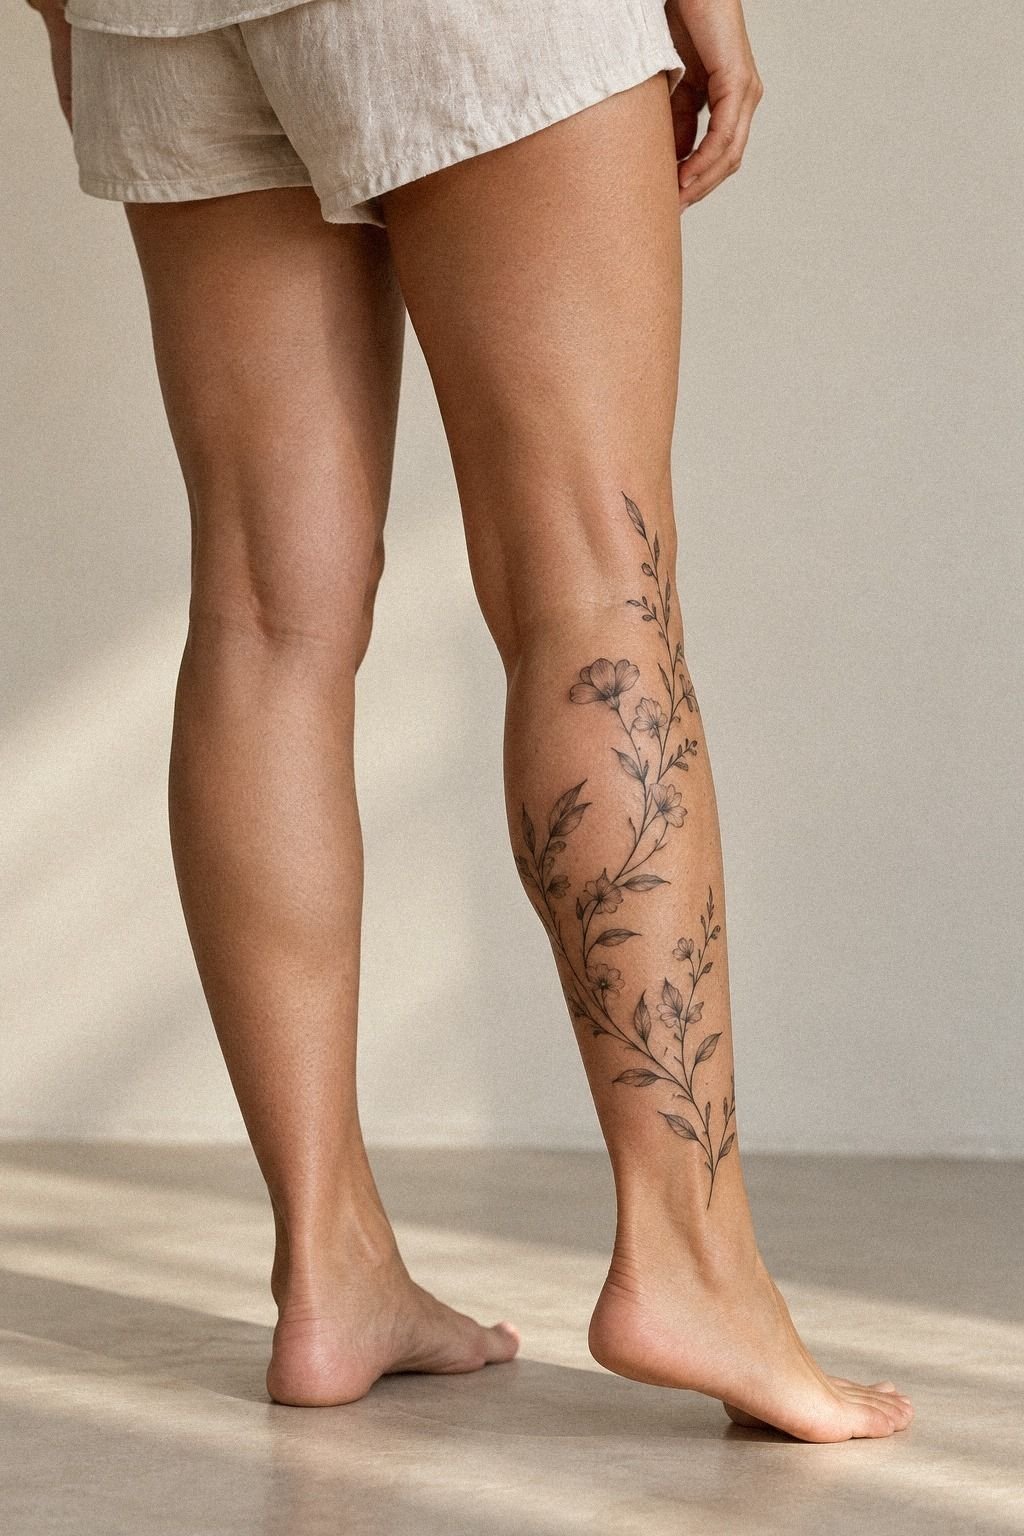
Budget for the artist’s time, not just the flower.
15Protect Your Botanical Tattoo During Healing
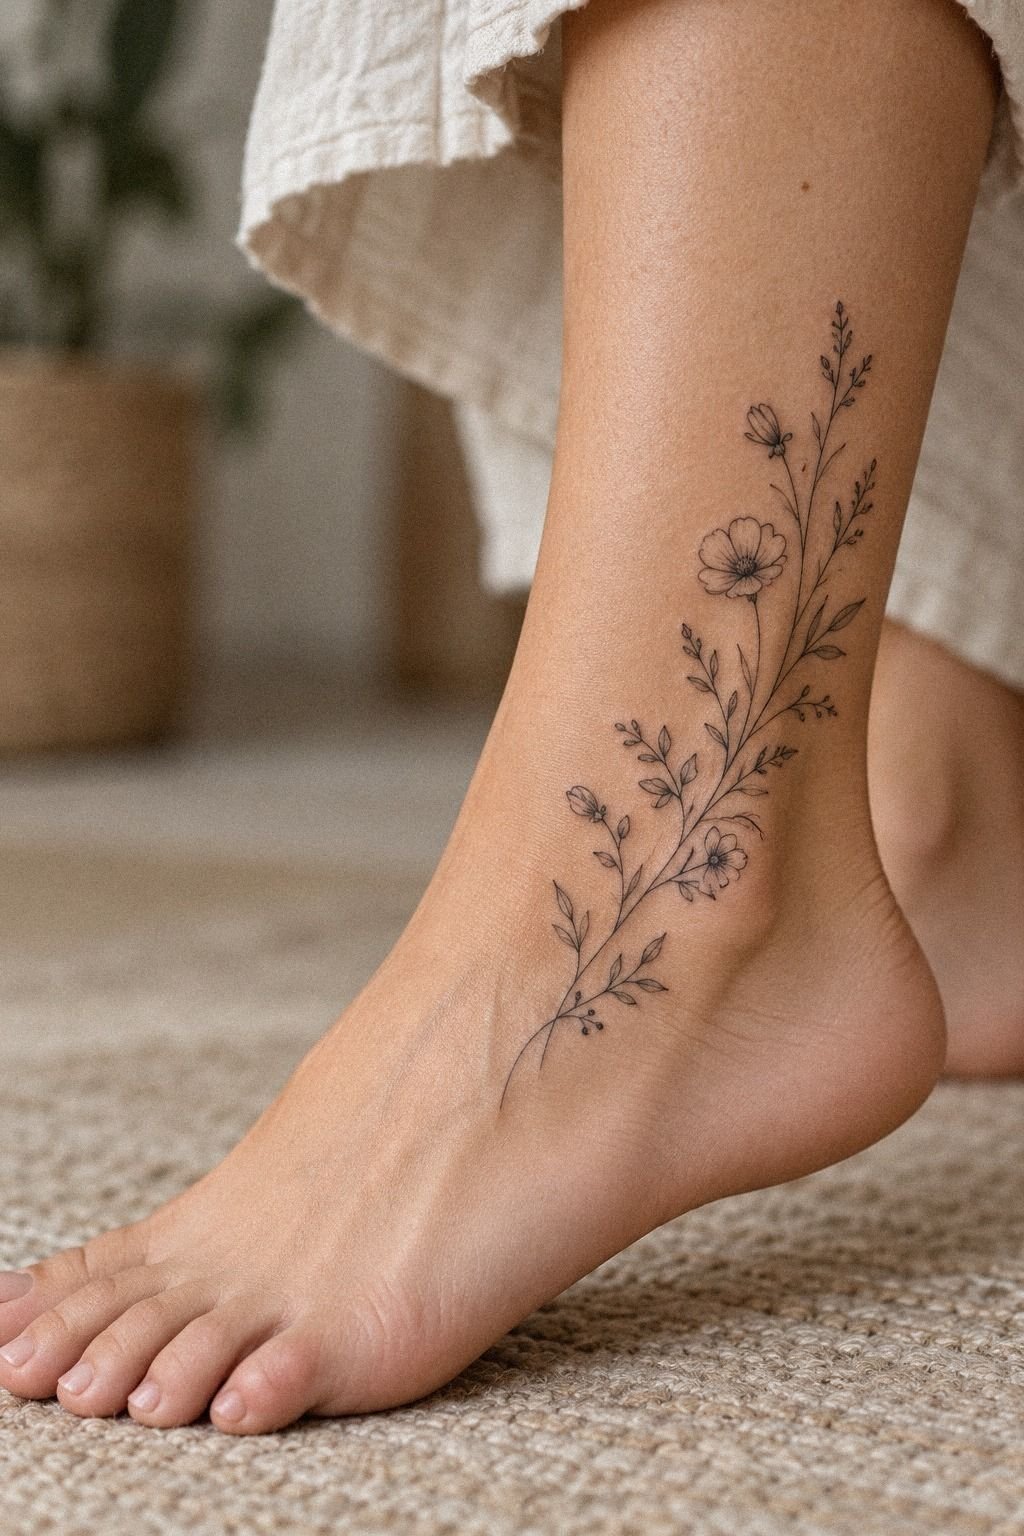
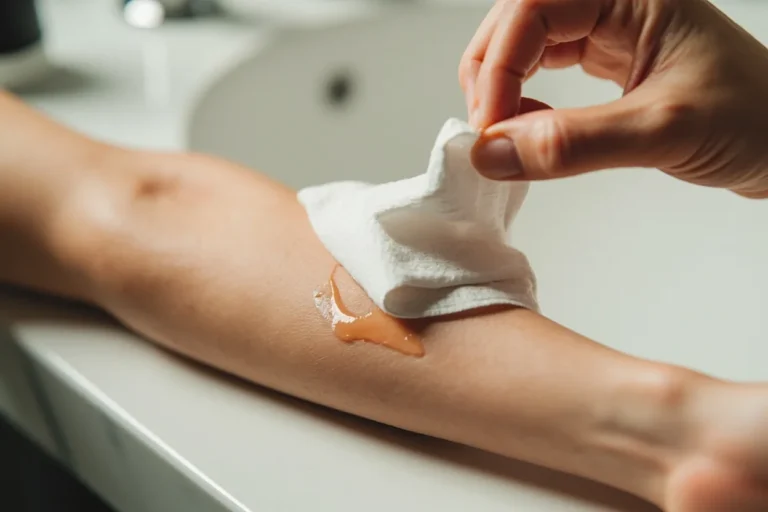
Protect the piece hard for the first month, because healing is where good ink goes to die. That flash sheet is a reminder that even the best design is only as good as its aftercare.
First few days it’s an open wound, so treat it like one. Wash gentle with unscented soap, pat dry, and run a thin layer of ointment.
Don’t suffocate it under thick goop.
It’ll peel like a sunburn around day 4 to 7. Don’t pick the flakes or you’ll pull color right out.
Surface heals in about 2 to 3 weeks, full heal underneath takes 2 to 3 months. The three things that murder a fresh botanical: sun, pools, and gym friction.
Keep it out of direct UV for weeks, skip the pool, and baby it at the gym. Once it hits that shiny silver-skin stage, you’re golden.
What I Wish Every First-Timer Knew Before They Booked
I’ve been tattooing botanicals long enough to watch trends come and go, and here’s the thing that never changes: the people who love their tattoo at year five made boring decisions at year zero. They sized up when I told them to.
They left space they thought was too much. They picked one meaning instead of six. Boring decisions, gorgeous results.
The biggest mistake I see isn’t a bad artist. It’s a good client rushing a good artist.
You found someone whose healed work is clean, and then you ask them to cram a full garden into a 2-inch wrist spot because a photo online looked cute. That photo was shot the day it was done. It doesn’t look like that now.
Fine line is a slow-motion medium, and you’re not designing for today. You’re designing for the version of this that your skin makes over the next decade.
So here’s my honest framework. If a design has to be tiny, make it simple.
If it has to be detailed, make it bigger. If it has to be both tiny and detailed, it’s a print, not a tattoo, and I’ll tell you that to your face because I’d rather lose the booking than blow out your skin.
I went back and forth for years on how blunt to be about this, and blunt wins. Every scratched-out, blurred piece I’ve covered up started as someone ignoring the size rule.
And breathe about the pain. It’s finite.
The spicy spots (ribs, sternum, collarbone) hurt in the moment and then they’re a story. The regret from a rushed design lasts a lot longer than four hours in my chair.
Plan it like it’s permanent, because it is. Then relax and let it be a good day.
The Questions I Get Asked Most
How much does a botanical tattoo usually cost?
A small botanical usually runs about $100 to $300 in the US, with most shops charging a minimum around $50 to $100 and hourly rates of $100 to $250. Bigger pieces cost more since they’re priced by time.
– Small stem: flat rate, one session. – Detailed forearm or calf: several hours, sometimes split.
Are botanical tattoos a good idea for a first tattoo?
Yes, and they’re one of my favorite first pieces. Clean linework ages predictably, the subject feels personal, and you can place it somewhere tolerable like the forearm or thigh. Start medium-sized, keep it simple, and you’ll love it long-term.
How do I choose a tattoo artist for a botanical tattoo?
Look at healed photos, not just fresh ones. You want consistent, crispy lines across many pieces, a real botanical or fine line specialty, and a clean, licensed studio.
Ask friends too. Word of mouth beats a slick feed every time.
How much do botanical tattoos hurt?
It depends on placement. Bony spots hurt more: ribs, feet, hands, sternum, and collarbone are spicy.
Fleshier zones like the outer forearm, thigh, and shoulder stay pretty chill. Lines sting, shading is a dull burn, color packing is the spiciest.
How long does a botanical tattoo take to heal?
The surface heals in about 2 to 3 weeks, and the deeper layers settle over 2 to 3 months. Wash gentle with unscented soap, moisturize thin, and stay out of sun and pools. Don’t pick the peeling flakes.
What’s the best placement for a botanical tattoo?
The outer forearm and thigh are my top picks. Both are low-wear, low-pain, and hold fine line beautifully for years. Ankles and collarbones look gorgeous too, they just fade a touch faster and sting a bit more.
If I Had To Pick One Step To Start With
Start with size. Nail the size and everything else has room to age well.
Too small is the mistake I fix most, and you can’t add breathing room after the fact. Go a little bigger than feels comfortable, then relax. Save this and plan your next botanical piece.