Small behind the ear tattoos look discreet in photos, but the placement is more demanding than it seems. The skin is tight, the space is limited, and tiny details have very little room to age.
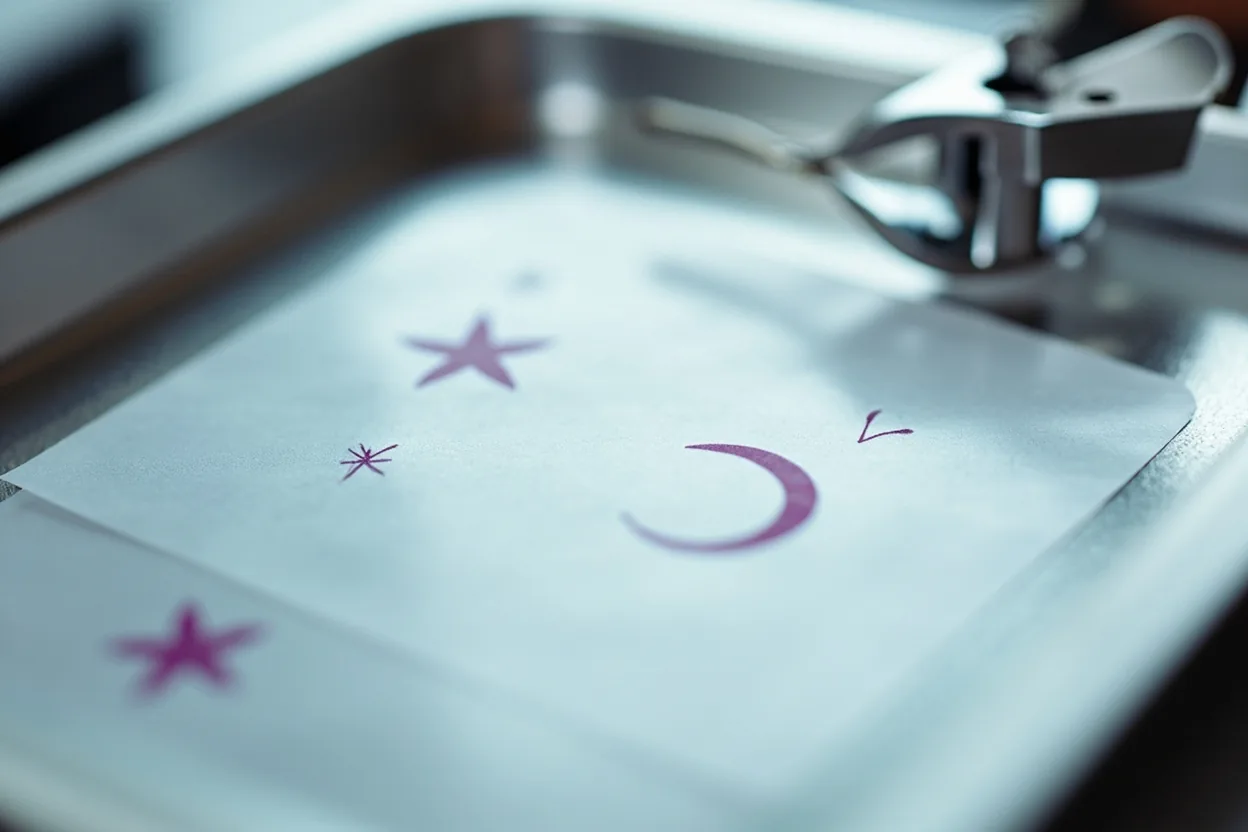
Quick answer: Good behind the ear tattoos include tiny stars, moons, initials, simple flowers, small butterflies, dots, and clean symbols. Avoid micro detail, long words, and designs that need perfect thin lines to make sense.
Behind the ear tattoo ideas
This placement rewards simplicity. Treat it like a mark, not a miniature poster.
| Direction | Best fit | What to watch |
|---|---|---|
| Tiny star | Simple first tattoo | Points can soften |
| Small flower | Soft personal symbol | Petals need simplification |
| Moon | Quiet symbolic idea | Keep it bold enough |
| Initial | Private tribute | Letter spacing matters |
| Small butterfly | Change or memorial meaning | Wing detail must be minimal |
Popular picks for behind the ear include single stems like lavender or a thin snake coiling down toward the jaw, small moons, coordinates, butterflies with closed wings, and fine-line botanicals. Minimal geometric shapes hold well here because they don’t rely on gradient transitions that soften over time. Script works if you keep the lettering large enough, around 8pt minimum, otherwise individual letters merge into a smudgy strip within a couple of years.
Avoid anything that needs a lot of shading packed into a tight space. A solid black small star or a clean outline butterfly reads sharp and stays that way. Pieces that depend on delicate grey wash in a 1-inch area tend to flatten out fast because the skin creases constantly when you move your jaw and tilt your head. Solid fills and bold outlines age the best here.
Pain, visibility and fading
Tiny placement, zero room for error, every millimeter shows.
Behind the ear can feel sharp because the area is close to bone and sensitive skin. The session is usually short, but the sensation can surprise first-timers.
The tattoo can be hidden by hair, but it is still a visible head/neck placement when hair is up. Think through work, family, and future style changes before choosing it.
This spot is spicy, no sugarcoating it. The skin sits directly over cartilage and bone with almost no fat cushion, and the artist is working right next to your ear canal. Most clients rate it a 6 or 7 out of 10, sometimes higher if the needle gets close to the hairline where the skin gets thinner. Sessions are short, usually under an hour for a small piece, so it’s manageable.
Fading is a real concern because the area sits in a high-wear zone. Hair rubbing daily, glasses arms, earbuds, and sweat all break down ink faster than a spot on your forearm. Black and grey fine-line work can soften noticeably within two to three years. Expect a touch-up around year three to keep the lines crispy. Saturated solid black holds longer than any light grey wash you can put in this location.
Stencil checks
Check the stencil with hair up and down before approving it.
- Ask if the design is too detailed for the space.
- Check how it looks from the side, not only close-up.
- Ask about hair products during healing.
- Ask if the design should move lower or farther back.
Stencil placement on curved skin behind the ear is trickier than it looks. The surface isn’t flat, it wraps, and a stencil that looks centered in the mirror can shift once the client moves or the artist changes their angle. Your artist should apply the stencil, let you stand up straight, then check placement from multiple angles before touching a needle. Ask to see a photo on your phone, not just a mirror glance.
Hair is the other variable. Longer hair needs to be clipped and pulled completely clear of the stencil area or the transfer lifts partway through and the design shifts. If you’re coming in with thick hair, bring a clip or a tie. A smudged stencil on this placement is a real problem because the artist has limited workspace and re-stenciling on skin that’s already been rubbed takes time and attention to get accurate again.
Common mistakes
The biggest mistake is choosing a design that only reads in a zoomed photo. Behind the ear tattoos are seen from a normal social distance.
Avoid placing the tattoo where glasses, masks, headphones, or hair tools will rub it during healing.
Going too small is the number one mistake people make here. A design that looks cute at pencil-tip size on paper turns into an unreadable blob once it heals. Fine details under half an inch collapse fast. If your artist says the design needs to be scaled up a little, listen. They’re looking at your specific skin texture and know how ink will spread. Blowout risk also increases when an artist is rushing through tiny detail work on tight curved skin.
Aftercare gets ignored more often on this placement than almost anywhere else. People forget it’s there, sleep on it, jam earbuds in during the first week, and let hair drag across it constantly. Keep hair tied back for at least ten days. No earbuds on that side for two weeks minimum. Don’t let shampoo sit on it in the shower. This spot can take four to six weeks to fully surface-heal, and how you treat those first two weeks determines how clean it looks long-term.