Can you remove a tattoo yourself? Short answer: you can lighten or fade one with consistent effort, but complete removal at home is basically impossible without scarring yourself. I’ve had clients walk into my shop after trying DIY methods, some with slightly faded ink, others with chemical burns, raised scars, or infections that made covering the old tattoo way harder. If you’re set on going the DIY route, here’s what I’ve seen actually work, what definitely doesn’t, and how to avoid making things worse.
What Actually Fades Tattoo Ink at Home
Let me be straight with you: tattoo ink sits in your dermis, below the epidermis you see and touch. Anything that only affects the surface layer won’t touch that pigment. The methods below can produce some fading over months, but manage your expectations hard.
Salabrasion and Dermabrasion
Salabrasion is the old-school method of rubbing salt into skin until it abrades down. I’ve seen people try this with table salt and a washcloth. It hurts like hell, risks serious infection, and usually leaves a scar that looks worse than the tattoo. Dermabrasion, essentially sanding the skin, works similarly. Both remove layers of skin hoping to pull ink with it. The reality? You’re more likely to hit blood vessels, create a wound that heals raised and discolored, and still leave ghost ink behind. I don’t recommend either, but if someone is dead set, I’d tell them to stop at the first sign of bleeding and use actual wound care, not Neosporin and a Band-Aid.
TCA Acid Peels
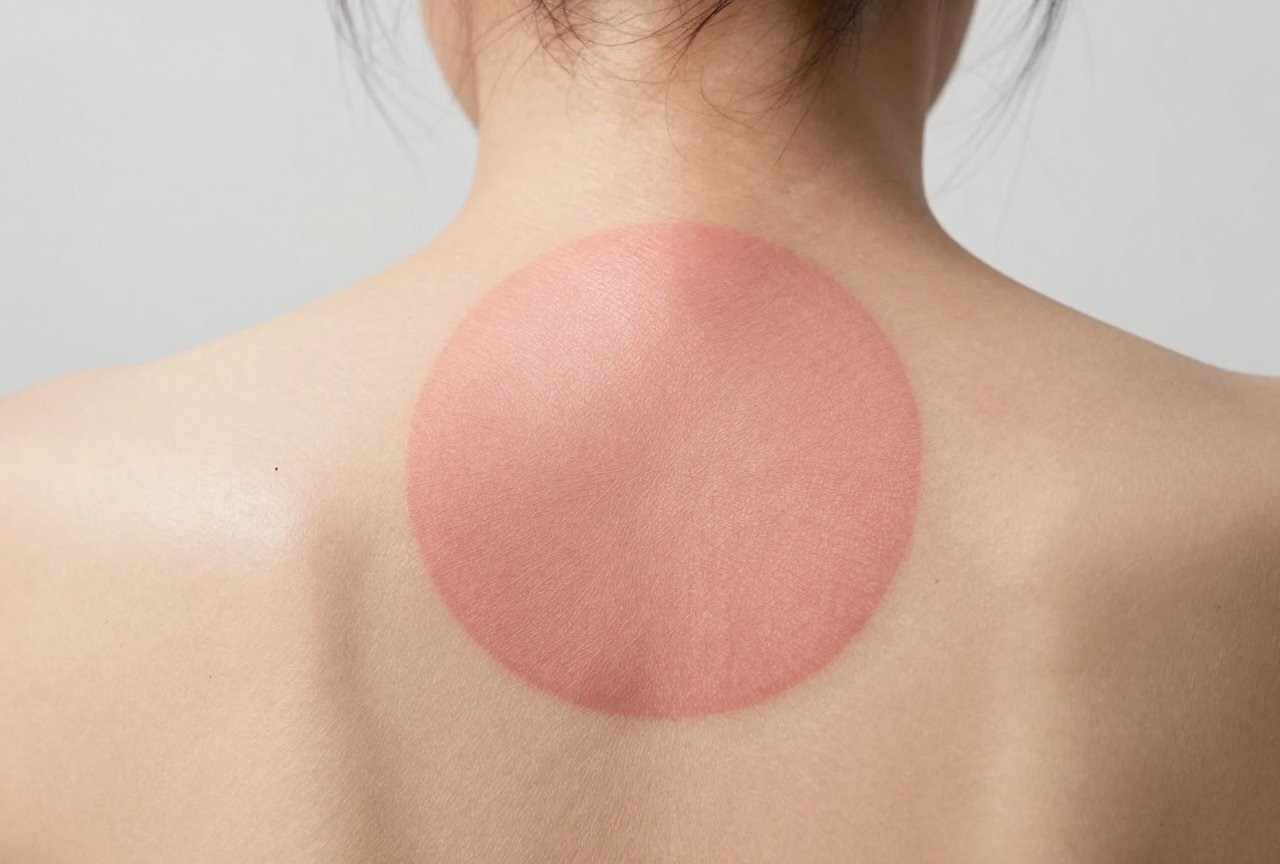
Trichloroacetic acid peels are probably the most effective DIY option for actual fading. TCA causes controlled chemical burns that peel away skin layers, sometimes carrying ink with them. I’ve had clients who’ve done 3-4 rounds over a year and lightened a black tattoo enough that a cover-up became easier. The catch? TCA is easy to misuse. Too strong a concentration, too frequent application, or picking at the peeling skin leaves hypopigmented patches, skin that’s permanently lighter than surrounding areas. If you’re going this route, start with 12-15% solution, space applications 6-8 weeks apart, and never treat the same spot more than three times without professional guidance.
The Methods That Waste Your Time
Shop talk: we see people come in convinced these worked because the tattoo “looks different.” Usually it’s just sun damage, skin irritation, or the ink settling differently as skin ages. Don’t fall for these.
- Lemon juice: It’s acidic. It might irritate skin slightly. It does not reach dermis-level ink. I’ve had clients with raw, photosensitive patches where they scrubbed lemon daily for months. Tattoo looked identical.
- Honey, aloe, yogurt mixes: These are skincare, not tattoo removal. The moisturizing might make skin look healthier, which can make a tattoo appear slightly less saturated by contrast. That’s not removal.
- Topical creams (Tattoo-Off, etc.): I’ve never seen convincing before-and-afters from these. The marketing shows faded tattoos; the reality is usually lighting tricks or the natural fading that happens over years anyway. Save your sixty bucks.
- Tattooing over with skin-colored ink: This is technically tattooing, not removal, and it ages terribly. Skin tone ink shifts to pink, orange, or grey as it settles. I turn away this request regularly.
What Professional Removal Actually Does
I send clients to laser removal specialists when they want clean slate, not faded cover-up prep. Understanding the real process helps you see why DIY can’t replicate it.
How Laser Removal Works
Q-switched or picosecond lasers shatter ink particles with specific light wavelengths. Black ink absorbs all laser wavelengths, which is why it’s easiest to remove. Colors need different wavelengths, green needs 532nm, red needs 694nm, blue and green often need 755nm. Your body then flushes those shattered particles through lymphatic system over 6-8 weeks between sessions. A full sleeve might take 10-15 sessions spaced two months apart. We’re talking a year-plus commitment and several thousand dollars. No home method replicates selective photothermolysis targeting ink while sparing surrounding tissue.
Why Professional Consultation Matters Even for DIY
Before you start any home method, a dermatologist or reputable laser tech can tell you if your tattoo is even a good candidate. Amateur tattoos (the stick-and-poke you did at sixteen) often fade faster than professional work because the ink sits more shallowly and unevenly. Older tattoos fade easier than fresh ones. Certain ink colors, white, yellow, fluorescent shades, barely respond to laser and need different approaches. Knowing this shapes realistic expectations for whatever method you choose.
The Risks Nobody Talks About
In my chair, I see the aftermath. Here’s what can go wrong when DIY removal gets aggressive.
- Hypertrophic scarring: Raised, firm scars that develop when wounds are too deep or irritated during healing. They’re permanent and catch light differently than flat skin, making cover-ups harder.
- Keloids: If you’re prone to them (family history, darker skin tones have higher risk), any skin trauma can trigger excessive scar tissue growth that extends beyond the original wound.
- Infection: Breaking skin barrier with non-sterile tools or environments introduces bacteria. Cellulitis from a DIY attempt can land you in ER with IV antibiotics.
- Hypopigmentation: Loss of melanin from chemical burns or deep abrasion. This is permanent and more noticeable than faded tattoo ink on many skin tones.
I’ve tattooed over scars from removal attempts. The ink doesn’t hold evenly in scar tissue. Lines blow out. Shading looks patchy. What started as “I’ll save money doing this myself” becomes “this cover-up will cost double because of the damage.”
If You’re Committed to DIY: Harm Reduction
I get it. Professional removal is expensive. Not everyone has access. If you’re going to attempt home fading, do it with your eyes open and your standards high.
- Research TCA concentration meticulously. Start weaker than you think. Patch test on a small area first.
- Keep everything sterile. Not clean, sterile. Buy single-use supplies, not the bottle of rubbing alcohol you’ve had for two years.
- Never pick scabs or peel flaking skin. Let it shed naturally. Picking drives ink deeper and scars form.
- Protect healing skin from sun. Freshly treated skin hyperpigments easily. SPF 50, physical block, no exceptions.
- Stop at infection signs: spreading redness, warmth, pus, red streaks, fever. These are doctor visits, not “wait and see.”
- Document everything. Photos in consistent lighting let you assess if you’re actually making progress or just irritating skin.
Cover-Up: The Alternative Nobody Considers
Sometimes the best “removal” is transformation. I’ve turned blackout tribal armbands into floral compositions, covered ex-names with meaningful imagery, worked around old pieces to integrate them into larger designs. A skilled artist can do remarkable things if the original tattoo isn’t too dark or scarred.
What makes cover-ups work: the original ink needs to be faded enough that new pigment can compete, or the design needs strategic use of dark areas, color theory (orange neutralizes blue, for example), and flow that incorporates rather than hides the old work. Blackout cover-ups, solid black over the old tattoo, are trendy but limiting. You’re committing to a very specific aesthetic.
Consult with artists who actually show healed cover-up photos, not just fresh ones. Fresh cover-ups look great; healed ones tell you if the old ink stayed buried or ghosted through.
Key Takeaways
- Complete tattoo removal at home without damage is essentially impossible; fading is the realistic goal.
- TCA peels offer the most evidence-based DIY fading but require meticulous use and patience over months.
- Lemon juice, creams, and home remedies don’t reach dermis-level ink, don’t waste time or damage skin trying.
- Professional laser removal is the only path to actual removal, but it’s costly and time-intensive.
- Scar tissue from aggressive DIY attempts makes future tattooing or professional removal harder.
- Cover-up by a skilled artist often delivers better results than partial home fading for unwanted tattoos.
Frequently Asked Questions
How long does DIY tattoo fading actually take to see results?
With TCA peels, most people notice subtle lightening after 3-4 applications spaced 6-8 weeks apart. That’s roughly 5-7 months minimum. Salabrasion might show faster surface changes but usually scars within weeks. Realistic timeline: 6-12 months for meaningful fading, if you’re consistent and your skin tolerates treatment well.
Can I tattoo a new design immediately after fading an old one?
You need fully healed skin before new tattooing, typically 3-6 months after your last peel or abrasion, longer if there’s any scarring. I won’t tattoo over skin that’s still pink, shiny, or textured differently than surrounding areas. Rush it and the new ink won’t settle properly.
Why do some colors fade easier than others with DIY methods?
Black and dark blue inks sit most densely and respond somewhat to surface removal methods because they’re carbon-based and layered thick. Reds, yellows, and greens often use different pigment bases that diffuse differently in skin. Home methods don’t selectively target colors like laser wavelengths do, so lighter colors may barely budge while black fades slightly.
Is there any way to speed up the fading process safely?
Not really. Your skin needs time to regenerate between treatments. Aggressive scheduling, peeling every two weeks instead of every two months, doesn’t remove ink faster; it just damages skin before it can heal, increasing scar risk. The one thing that helps: staying hydrated, not smoking, and good circulation support your body’s natural clearing of disrupted ink particles.


