Tattoo bumps are almost always temporary and rarely mean something’s gone seriously wrong. Most are simply your skin’s normal inflammatory response to being repeatedly punctured with needles, or a reaction to the healing products you’re using. The direct answer: stop touching them, switch to a fragrance-free moisturizer or simply let them air-dry, and give your skin two to four weeks before worrying about anything beyond basic aftercare.
Healing Timeline
The First 48 Hours
Redness and slight swelling around a fresh tattoo are expected. The skin has been traumatized, and your immune system responds with increased blood flow and fluid to the area. Small, uniform bumps that mirror the tattoo pattern often appear during this window, these are typically from plasma and ink settling, not an infection. Keep the covering on as long as your artist recommended, usually two to six hours, then wash gently with unscented soap and lukewarm water.
Days 3 Through 14
This is when bumps become most noticeable and concerning. Peeling starts, the skin tightens, and you might feel tiny raised areas along lines or in shaded sections. These are commonly associated with the healing process itself: lymph fluid, dead skin, and the top layer of ink working its way out. Whiteheads or pimple-like spots can also surface now, especially if you’ve been applying too much ointment. Switch from thick balms to a thin layer of plain lotion, or stop moisturizing entirely for a day if the skin feels suffocated. See also: How to Care for a New Tattoo: Complete Aftercare Guide.
Weeks 2 Through 6
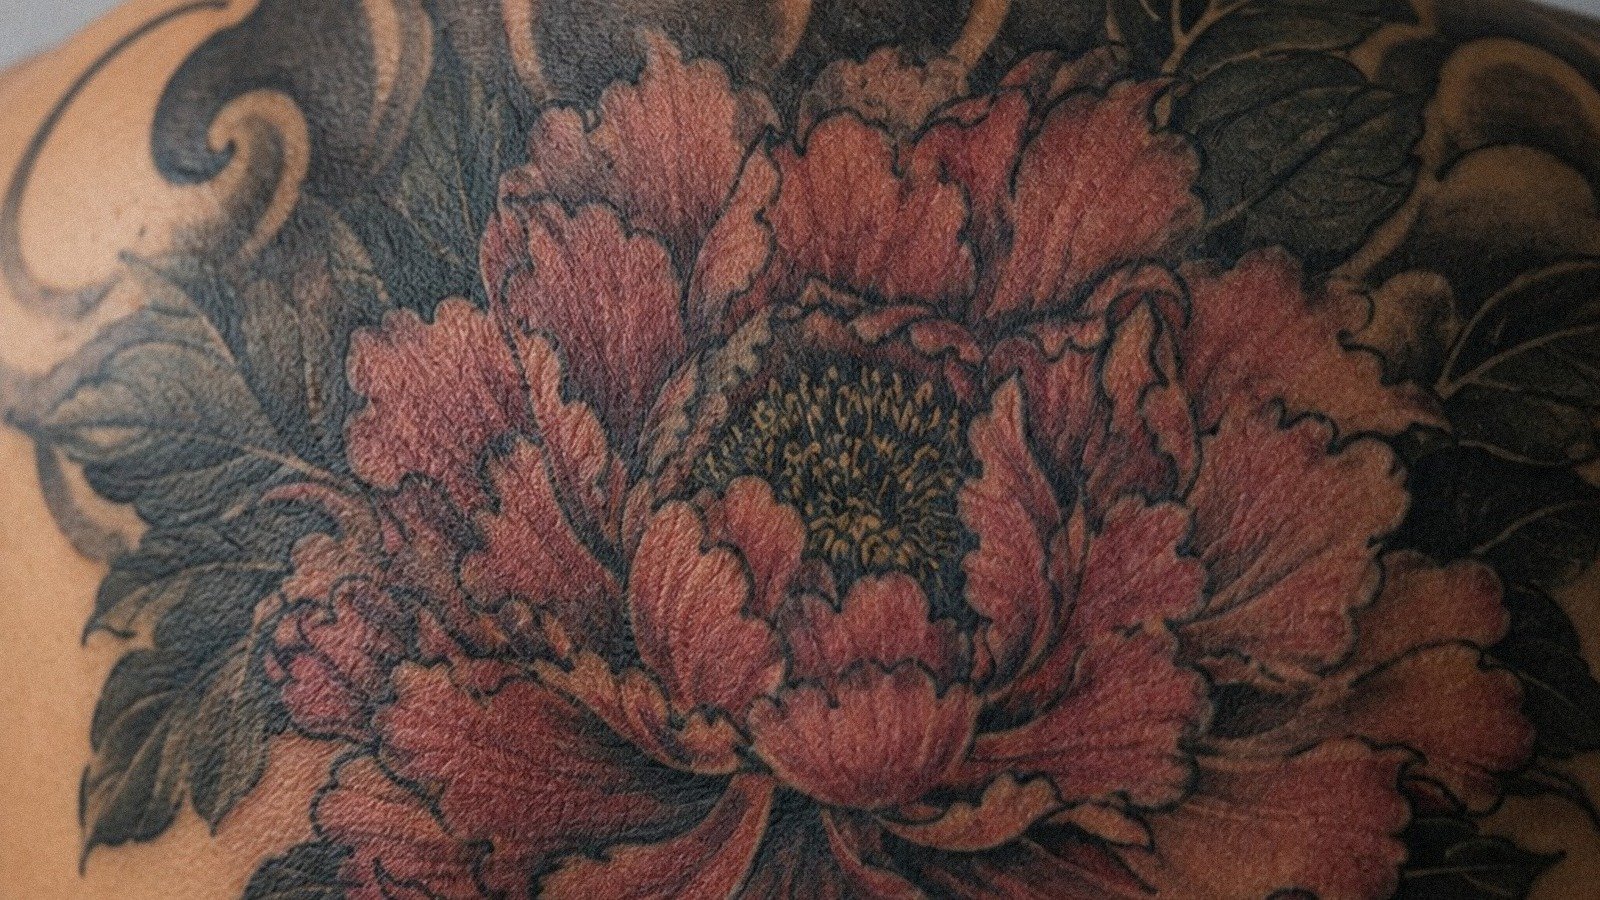
By this point, most surface bumps should be flattening. If raised areas persist, they may be scar tissue forming, a reaction to red ink (one of the more common pigment sensitivities), or irritation from clothing friction. At six weeks, the tattoo has settled into the dermis and the surface has fully regenerated. Anything still raised deserves a closer look, possibly from a dermatologist, not just your artist.
Tips From the Chair
What Artists Actually Notice
Experienced artists can usually tell the difference between normal healing and a problem developing. Uniform bumps across the entire tattoo, especially in solid black or dense color packing, tend to be mechanical irritation from the needle grouping. Clustered bumps only in red sections often signal a pigment sensitivity. Random, spreading bumps that cross into untattooed skin suggest a contact reaction to aftercare products or, less commonly, an infection. See also: How to Deal With an Itchy Tattoo: A Healer’s Guide.
- Ask your artist to check the bumps via photo if you can’t visit in person, most prefer this to you guessing
- Bring the actual products you’re using to the shop; they’ve seen reactions to specific brands before
- Note whether bumps appeared after switching products, not just after getting tattooed
- Heavy-handed saturation in certain styles (tribal blackwork, solid color realism) produces more temporary bumpiness than fine-line work
When to Return to the Shop
Most reputable artists offer free touch-ups and will want to see healing issues. Go back if bumps are accompanied by heat that spreads, yellow or green discharge, or red streaks. Otherwise, a quick check-in for peace of mind is normal and welcomed, artists learn from seeing how their work heals on different skin types.
Aftercare Essentials
Product Selection
Fragrance is the most common culprit in aftercare-related bumps. Dyes, essential oils, and even “natural” ingredients like tea tree or lavender can trigger contact dermatitis on compromised skin. The simplest routine is often the best: wash with something like Dove unscented or Cetaphil, pat dry with a clean paper towel, and apply either nothing or a minimal amount of Lubriderm, CeraVe, or similar plain lotion. Aquaphor works for the first two days for some people, but the petrolatum base clogs pores and extends bump duration for others. See also: How to Get a California Tattoo License: Complete Guide.
Physical Protection
Friction and pressure keep bumps inflamed longer. Sleep positions matter, stomach sleepers with fresh chest tattoos, side sleepers with rib pieces, anyone whose workplace gear rubs the area. Loose, breathable cotton layers beat tight synthetic clothing. For lower leg or foot tattoos, the bump of socks against healing skin is a constant irritation; consider going sockless at home when possible.
- Wash hands before touching the tattoo, every single time
- Don’t soak the tattoo; showers are fine, baths and swimming are not until fully healed
- Let scabs and peeling skin fall off naturally, picking creates permanent bumps (scar tissue)
- Keep pets away from fresh tattoos; their dander and saliva introduce bacteria
Realistic Expectations
What’s Normal
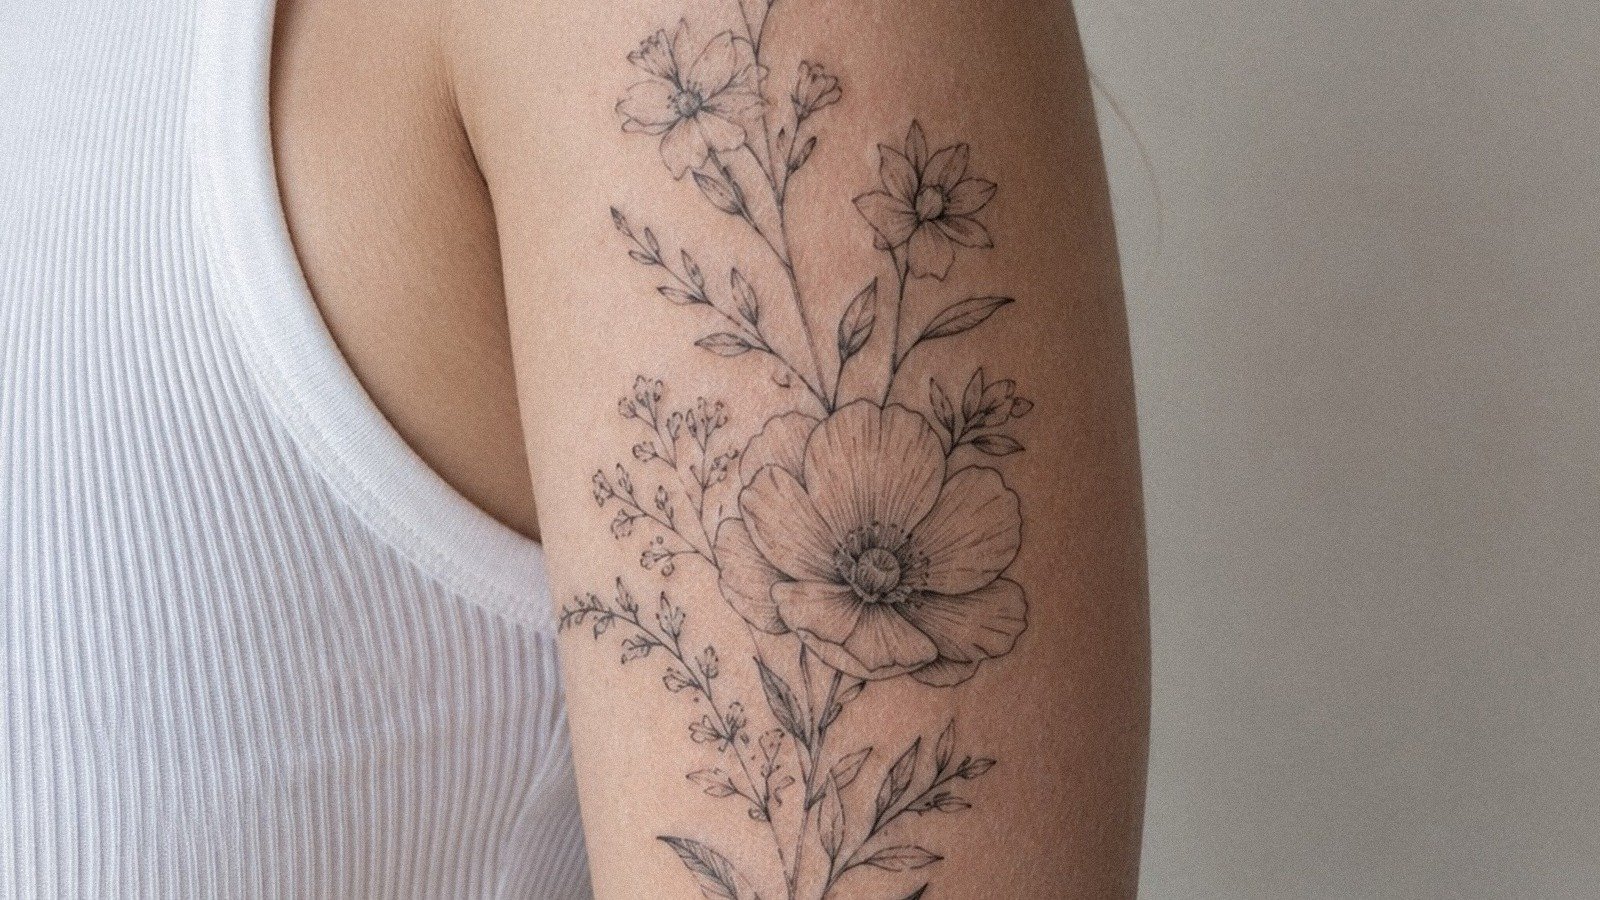
Some bumpiness is nearly unavoidable with certain tattoo styles and placements. Heavy blackwork on the inner bicep, where skin is softer and more prone to swelling, often heals with temporary texture. White ink highlights can raise slightly as they settle, white pigment sits more superficially in the skin and the body pushes against it more visibly. Older skin, skin that scars easily, and areas with frequent movement (wrists, ankles, neck) all heal with more character than flat, smooth stomach skin on a twenty-year-old.
What Might Not Resolve
Hypertrophic scarring creates permanent raised areas that follow the tattoo lines. These are more common on chests, shoulders, and upper arms, locations where the skin is already prone to keloid formation. Red ink reactions can become chronic granulomas, small hard bumps that persist for months or years. Neither of these responds to topical aftercare alone; dermatological intervention becomes necessary if the cosmetic result matters to you.
Cost considerations: touch-ups for normal healing are typically free. Correcting scarred or reacted areas may require multiple sessions, sometimes with different pigment or techniques, and those aren’t usually covered. Budget for the possibility that your perfect tattoo might need a revision plan at the six-month mark.
What to Expect Step by Step
Day 1: The tattoo is wrapped, possibly weeping plasma. Bumps aren’t visible yet beneath the bandage and swelling.
Day 2-3: Washing reveals the true surface. Slight raised texture, possible small whiteheads at the edges where adhesive or bandage irritation occurred. Begin minimal aftercare.
Day 4-7: Peaking bump phase. Itching intensifies. The tattoo may feel like sandpaper or have distinct raised edges. Resist scratching; slap the area or apply cool compresses instead.
Week 2: Peeling and flaking. Bumps subside as the dead top layer sheds. Color looks dull under the white skin coming off.
Week 3-4: Surface appears mostly normal. Some spots still slightly raised, especially where ink was dense. Continue light moisturizing.
Month 2-3: Final settling. The tattoo reveals its true color and texture. Any remaining bumps are now clearly abnormal and worth addressing specifically.
Common Mistakes
Over-Caring
More product does not mean faster healing. Slathering ointment creates an occlusive environment where bacteria thrive and pores clog. Washing too frequently strips protective oils and extends inflammation. The tattoo needs to dry out somewhat to form a proper scab and regenerate tissue underneath. Trust the process enough to do less.
Product Hopping
Switching aftercare every time a new bump appears makes it impossible to identify what’s actually causing the reaction. Pick one simple routine and stick with it for at least a week unless symptoms dramatically worsen. The bumps might be from the tattoo itself, not your care.
Self-Diagnosing Infection
True infections are rare and dramatic: spreading redness, escalating pain, fever, thick colored pus. Most people who panic about infection are experiencing normal healing or a mild contact reaction. Unnecessary antibiotic use disrupts skin flora and can actually worsen healing. When uncertain, message your artist with clear photos before running to urgent care.
Ignoring Placement-Specific Issues
Foot tattoos bump up from shoe pressure and sweat. Inner lip tattoos react to saliva enzymes. Finger tattoos swell from constant use and washing. Each location demands adjusted expectations, not just standard aftercare copied from a generic guide.
Final Word
Tattoo bumps are a conversation between your skin and the foreign material now living in it. Most of the time, that conversation resolves politely with minimal intervention. The goal isn’t to eliminate every temporary texture, it’s to avoid converting normal healing into permanent scarring through impatience or overreaction. Start simple, observe honestly, and remember that the tattoo will look different in six months than it does in six days. The bumps you fear today are likely the forgotten background noise of a healed piece you’ll wear for decades.
Frequently Asked Questions
Can I pop tattoo bumps like pimples?
No. Pushing bacteria into healing skin risks infection and guarantees scar tissue. Let whiteheads resolve naturally or see a professional if one becomes painful and swollen.
Why are bumps only showing up in the red ink?
Red pigments, particularly certain organic reds and cadmium-based formulations, trigger more allergic reactions than other colors. This often appears as raised, itchy bumps specifically within red areas.
How long should I wait before getting a touch-up if bumps left texture?
Wait a full six months. Scar tissue and inflammation must completely settle before re-needling, otherwise the skin reacts more aggressively to the second round.
Are tattoo bumps contagious to other people?
Normal healing bumps pose no risk to others. However, if there’s any chance of infection, keep the area covered and avoid sharing towels or bedding until cleared by a professional.