Yes, you can tattoo yourself. I’ve done it. Most artists I know have. But there’s a massive gap between “can” and “should,” and an even bigger one between a passable stick-and-poke and something you’d actually want on your body for life. This guide assumes you’re going to do it anyway, because people do, and I want you doing it with your eyes wide open, not from some TikTok tutorial that skips the hard parts.
What “Tattooing Yourself” Actually Means
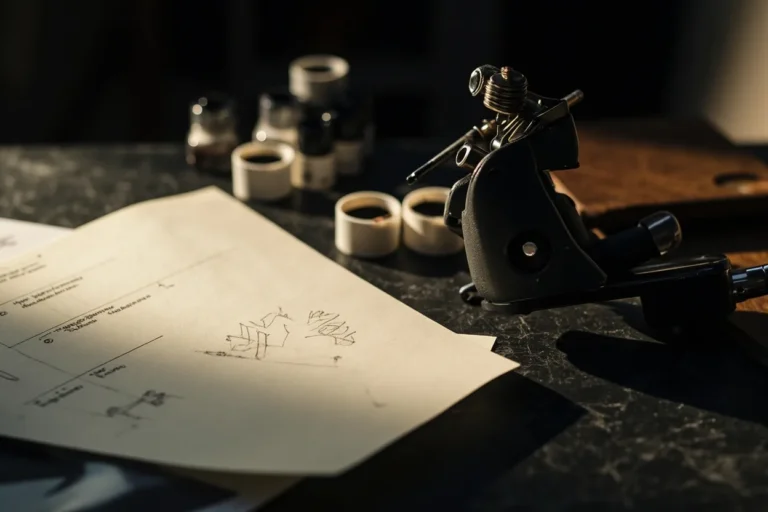
Let’s be straight: there’s machine tattooing and hand-poke tattooing. Machine work on yourself is brutally hard because of angle and stretch, you need three hands minimum. Hand-poke (stick-and-poke) is more common for DIY work, and it’s what I’ll focus on most here, though machine basics apply too.
Machine vs. Hand-Poke Reality
I’ve seen people buy Amazon tattoo machines and immediately regret it. The vibration numbs your hand in ten minutes. You can’t see what you’re doing because the needle’s moving too fast. Blood and plasma spray in ways that make controlled work nearly impossible on your own body. Hand-poke is slower, yes, but that slowness is actually control. You see every dot. You feel every layer.
- Machine: faster, harder to control on yourself, higher risk of blowouts and overworking
- Hand-poke: slower, more deliberate, easier to manage pain and positioning
- Hybrid: some artists use rotary machines with grips they can angle one-handed, still rough
The Equipment You Actually Need
Here’s where people cheap out and pay for it later. I’ve tattooed clients who tried DIY first, and the infections I’ve seen came from dollar-store supplies, not technique.
Non-Negotiable Supplies
Professional needles, pre-sterilized, single-use, from actual tattoo suppliers. Not sewing needles. Not safety pins. Not “sterilized” by holding over a lighter. I use 3RL and 5RL needles for most fine line work; 7RL or 9RL for filling. You need actual tattoo ink, not India ink, not pen ink, not “tattoo ink” from Amazon with no brand recognition. I tell clients: if you can’t find the brand on a professional supplier’s site, don’t put it in your skin.
- Pre-sterilized tattoo needles (3RL, 5RL, 7RL to start)
- Professional tattoo ink (Intenze, Eternal, Dynamic, brands actual shops use)
- Vaseline or A&D ointment for lubrication during work
- Green soap or mild unscented soap for cleaning
- Disposable gloves, every single time
- Stencil paper or freehand pen (sterile)
- Isopropyl alcohol 70% for surface prep, not skin prep
Don’t use alcohol on broken skin. Don’t use it to “sterilize” needles. It doesn’t work that way. Autoclaves work that way. Buy pre-sterilized or accept you’re taking a risk.
Placement and What You Can Reach
This is the practical wall most people hit. You cannot stretch skin and tattoo simultaneously on most of your body. I’ve tattooed my own thighs, calves, and forearms. I would not attempt my own back, ribs, chest, or anywhere I can’t see directly without mirrors that reverse everything.
Best DIY Placements
Thighs are forgiving, fatty, stable, easy to stretch with one hand while poking with the other. Outer forearms work if you’re flexible. Calves are doable but awkward. Avoid anywhere near joints initially; skin moves differently there and healing gets complicated.
- Thigh (front or outer): easiest stretch, most forgiving
- Outer forearm: visible, manageable angle
- Calves: possible, but cramping is real
- Avoid: hands, feet, ribs, anywhere with thin skin or constant movement
We see this a lot in shops: someone comes in with a DIY hand tattoo they can’t hide, asking for coverups. Hand skin is thin, rejects ink easily, and ages terribly. Don’t.
The Technique: What Actually Works
Here’s the part no video shows well: the angle and depth. Professional tattoo needles enter skin at roughly 45 degrees, depositing ink in the dermis, about 1.5 to 2 millimeters deep. Too shallow and the ink falls out with healing. Too deep and you get blowouts (ink spreading under skin like a bruise) or scarring.
The Hand-Poke Method
Stretch the skin taut with your non-dominant hand. Hold the needle like a pencil, almost vertical. Dip in ink. Poke. Listen for the slight pop of skin breaking, that’s how you know you’re deep enough. Wipe with a clean paper towel. Look at the dot. It should be a clean, dark point, not a bloody mess. Repeat. For lines, overlap dots by about 30%. For shading, space them further apart and build gradually.
- Stretch skin until it’s drum-tight
- Needle angle: nearly vertical, slight tilt in direction of line
- Depth: feel the pop, see consistent ink deposit without excessive bleeding
- Wipe frequently to see your work
- Work in small sections, don’t outline an entire design before filling
I learned this by watching an older artist in my first shop. He’d sit during slow hours and hand-poke small pieces, no machine, just needle and ink. The patience was maddening and educational. Most DIYers rush. Don’t.
Pain, Endurance, and Knowing When to Stop
Tattooing yourself hurts differently than being tattooed. Adrenaline helps less because you’re controlling the pain source. Your hand cramps. Your focus fractures. I’ve seen people do two hours of decent work, then lose concentration and butcher the last section.
Stop when your lines wobble. Stop when you can’t stretch properly anymore. Stop when you’re bleeding enough that wiping reveals nothing. A partial session is better than a ruined piece. Most of my self-tattoos happened across three or four sittings.
- First hour: usually best quality work
- Second hour: diminishing returns, rising pain
- After that: high risk of mistakes, increased trauma to skin
Aftercare That Actually Matters
Not medical advice, this is what artists tell clients, what I’ve done myself, what works in practice. Keep it clean, keep it slightly moist, don’t pick.
Wash gently with unscented soap after a few hours. Pat dry. Thin layer of ointment, Aquaphor, or specific tattoo aftercare products. Switch to unscented lotion after day three or four when peeling starts. The peel is normal. The scab is not. If you get thick scabbing, you overworked the skin.
- First 24 hours: wash once, light ointment, keep covered loosely if clothing rubs
- Days 2-4: wash 2-3 times daily, thin ointment layer
- Days 5-14: lotion as needed, let flakes fall naturally
- Full healing: 2-4 weeks for hand-poke, sometimes longer for dense areas
Swimming, sun, and soaking are out for two weeks minimum. I’ve watched people ignore this and fade their work significantly. The pool chemicals, the sun’s UV, the prolonged water exposure, all of it pulls ink or damages healing tissue.
When to Absolutely See a Professional
Infection signs: spreading redness, warmth, pus, red streaks, fever. I’m not diagnosing; I’m saying from shop experience, these mean doctor, not more ointment. Allergic reactions to ink happen, swelling that worsens after day two, not improves.
Beyond health: blowouts, uneven lines, patchy fill, these are technique failures. A professional artist can sometimes fix them, sometimes not. Coverups cost more than originals. I price coverups by how much I hate the existing work, honestly. Bad DIY pieces take more sessions, more money, more pain to resolve.
Key Takeaways
Here’s the honest summary I give friends who ask about tattooing themselves: it’s possible, it’s rarely as good as professional work, and the learning curve is your skin. Use proper supplies, respect the sterility, choose reachable placements, work slowly, and stop before you’re tired. The best DIY tattoo is still a compromise between what you want and what you can actually execute on yourself. If you’re serious about the art, apprentice in a shop. If you’re set on doing it yourself, do it with full knowledge of what you’re risking and what you’re likely to get. I’ve got self-tattoos I love and ones I cover with pants. The difference was preparation, patience, and knowing when I was out of my depth.
Frequently Asked Questions
How deep should the needle go when tattooing yourself?
You want to feel a slight pop as the needle breaks the skin’s surface, depositing ink about 1.5 to 2 millimeters deep in the dermis. Too shallow and the ink won’t stay; too deep causes blowouts where ink spreads under the skin like a bruise. Practice on fruit or practice skin first to get the feel.
Can I use regular pen ink or India ink for a DIY tattoo?
No, professional tattoo ink is specifically formulated for human skin and tested for safety. India ink can contain contaminants, and pen ink is not designed for implantation. I’ve seen terrible reactions from non-tattoo inks. Buy from recognized brands like Intenze, Eternal, or Dynamic from actual tattoo supply companies.
How long does a stick-and-poke tattoo take to heal compared to machine work?
Hand-poke tattoos often heal slightly faster because there’s less overall trauma to the skin, typically 2 to 3 weeks versus 3 to 4 for machine work. But it depends on size, placement, and how aggressively you worked. Dense, slow-built pieces can take longer than light, simple ones.
What’s the biggest mistake people make when tattooing themselves?
Rushing and poor stretching. Most DIY tattoos fail because people can’t hold the skin taut enough while also poking accurately, or they work too long and lose focus. The second biggest mistake is cheap supplies, unsterilized needles and mystery ink cause infections that could land you in urgent care.