Tatuagens blackwork almost lost me the first time I mocked one up on my own skin. I thought the contrast would feel too severe on my chest, especially with a cool pink undertone and a sternum spot that already reads sharp. Then I saw how a clean black shape locked the whole design in place. Marco here, and that changed my mind fast.
Here’s what it looked like before: The Blank-Skin Problem
[IMAGE: sternum blackwork stencil with clean centerline and open skin lanes]
Before the stencil ever touched me, the area I kept saving for blackwork felt like a maybe, not a plan. You know that patch of skin you protect for years because you don’t want to waste it on something trendy?
That was me with my sternum and forearm. I had references, a few screenshots, and a pile of Blackwork Tattoo Flash that looked strong on paper but not automatically right for my body.
What made the decision tricky was contrast. On fair skin, hard black can look surgical if the design has no rhythm.
On deeper skin, the same design can look rich and velvety if the open skin is doing real work. I kept comparing pieces that looked clean at a glance with pieces that were already turning to soup in healed photos. If you’re still in that in-between stage, spend time with healed work first, not just fresh ink.
I tell clients that before I even print a stencil. And yes, I went back to my own blackwork tattoo ideas folder more than once before I committed.
- Choose Blackwork Over Soft Shading
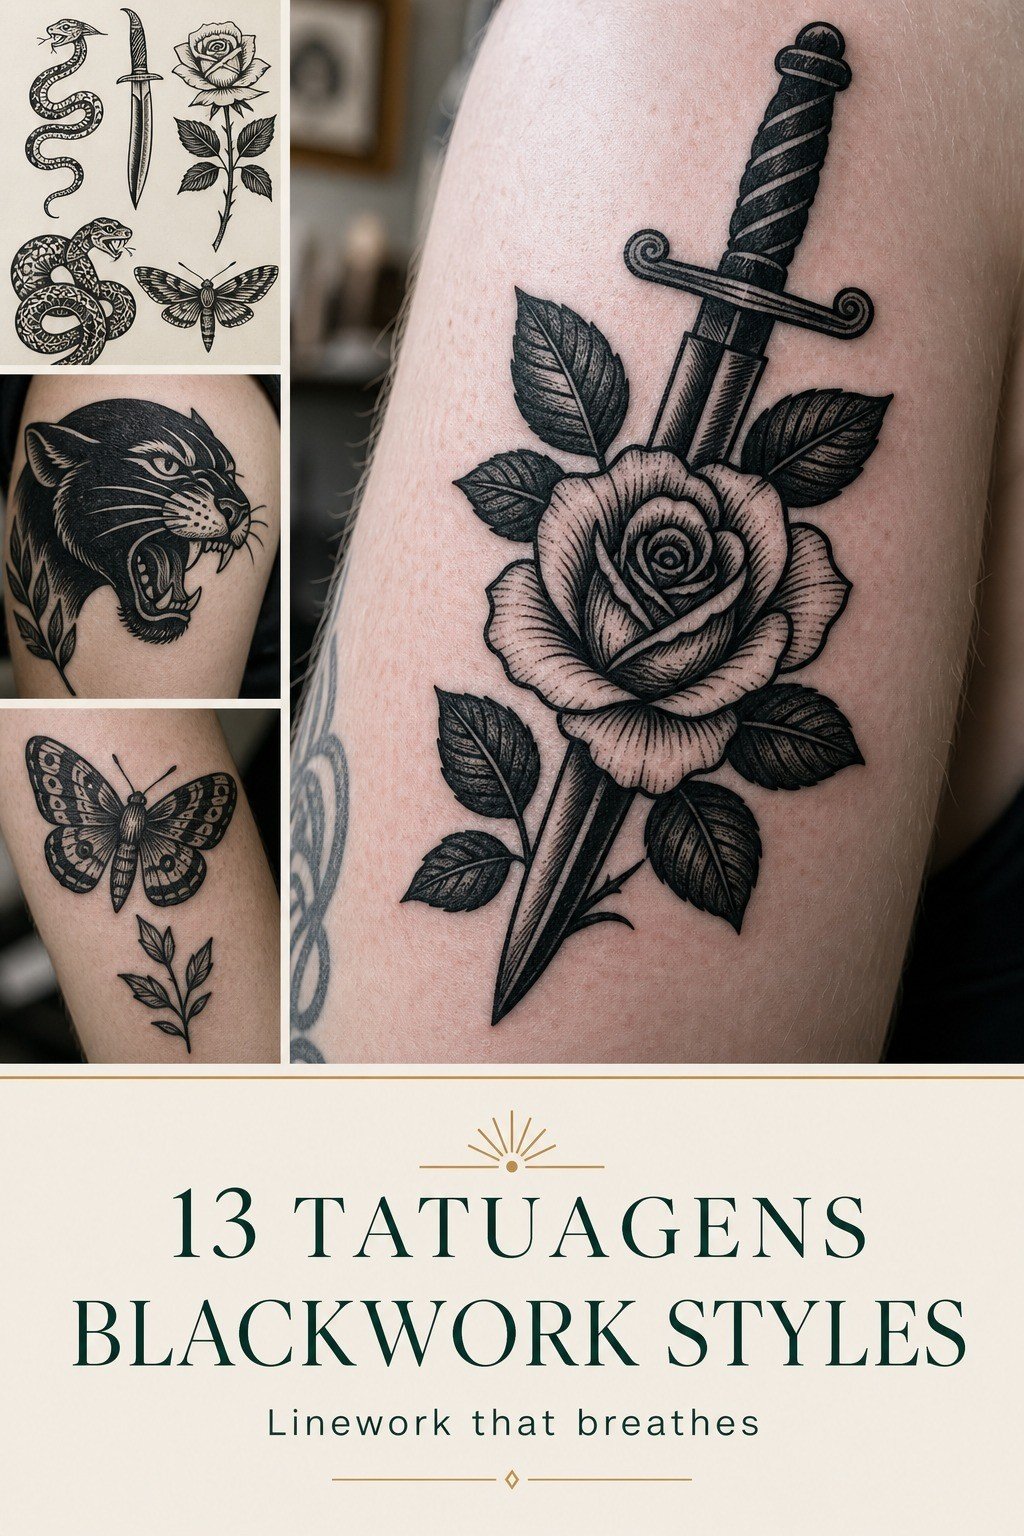
- Pull Flash Sheets For Better Direction
- I Compared Bold Sleeves And Small Placements
- Pick A Forearm Panel First
- Why Did Geometric Flow Work Better On Skin?
- Keep Open Skin Breathing Clearly
- Irezumi Taught Me Alignment
- Avoid Tiny Details That Heal Muddy
- Ask About Pain On Heavy Fill
- Check Stencil Placement Before Ink
- Cost vs Coverage: The Two-Session Reality
- Plan Healing Around Solid Black
- Save Future Gaps For More Flash
1Choose Blackwork Over Soft Shading
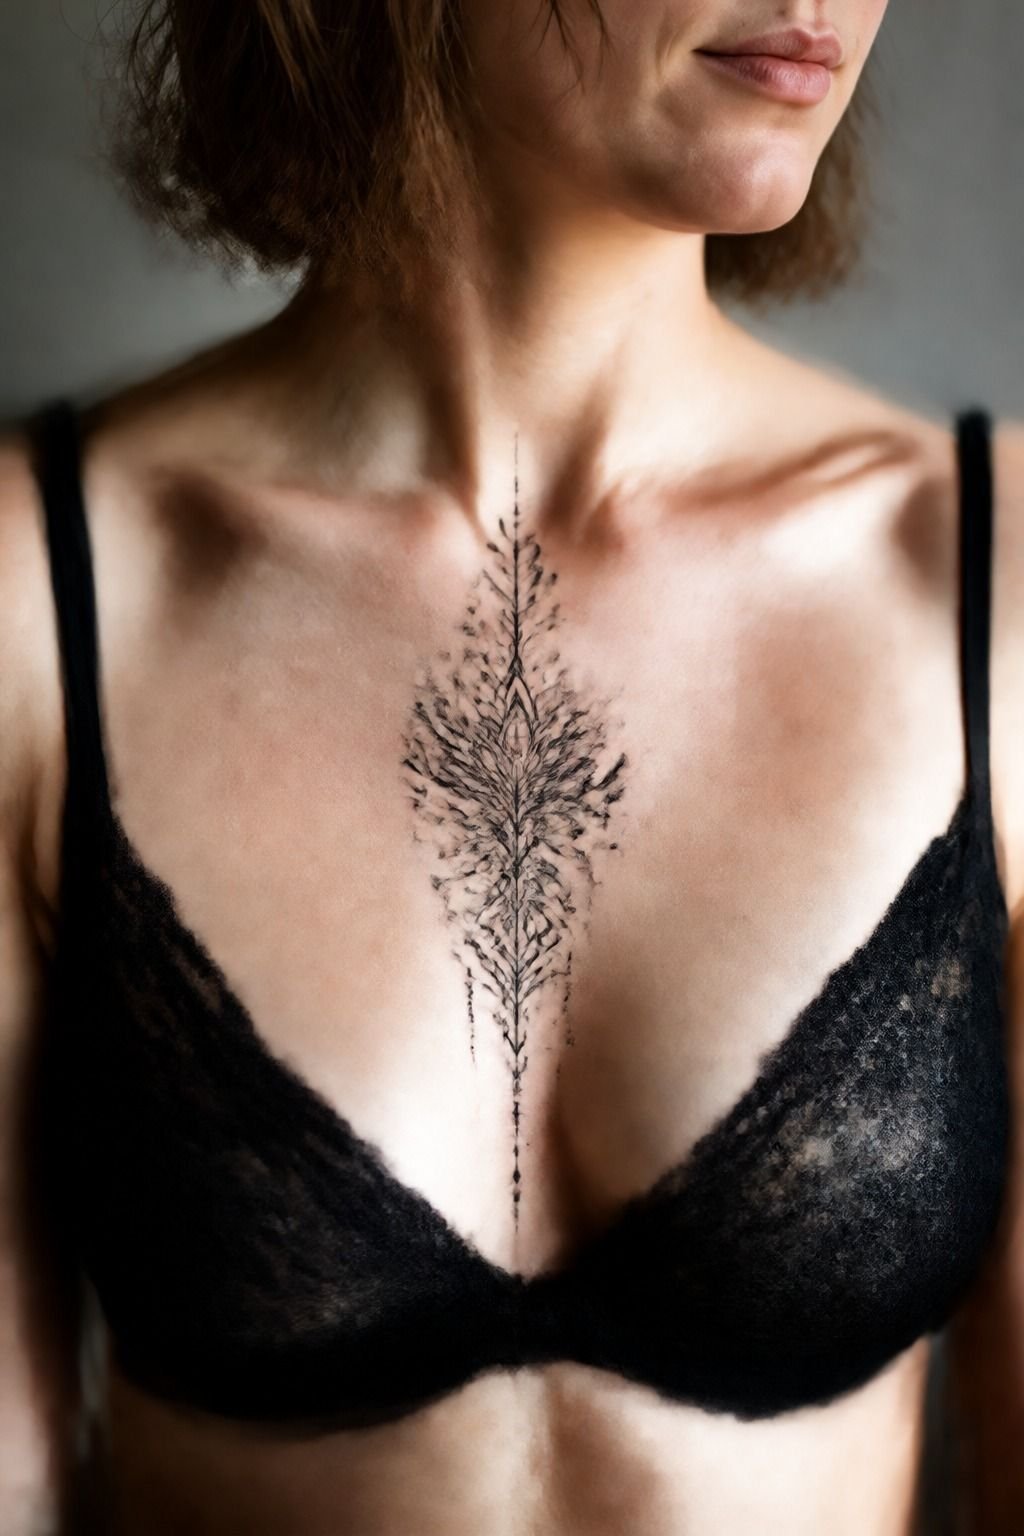
[IMAGE: blackwork sternum design with solid black fill and sharp symmetry]
My first test was simple: blackwork on the sternum versus a softer black and grey approach. The sternum photo made the answer obvious.
You need contrast there because the chest moves, the skin stretches when you breathe, and soft haze can heal flat if the shapes are too polite. A sternum piece with crisp edges reads cleaner at a glance, especially when the centerline of the body is already doing half the composition for you.
I tell clients the same thing when they are torn between misty shading and a solid read. If your design depends on a dramatic middle line, choose solid black fill and let the open skin carry the breath between forms.
But keep the fill controlled. One clean pull, not ten fuzzy ones. That’s how you avoid a chewed up center chest.
I linked a lot of people to this abstract blackwork tattoo guide after that session because it shows how strong contrast keeps the design from disappearing into motion.
2Pull Flash Sheets For Better Direction
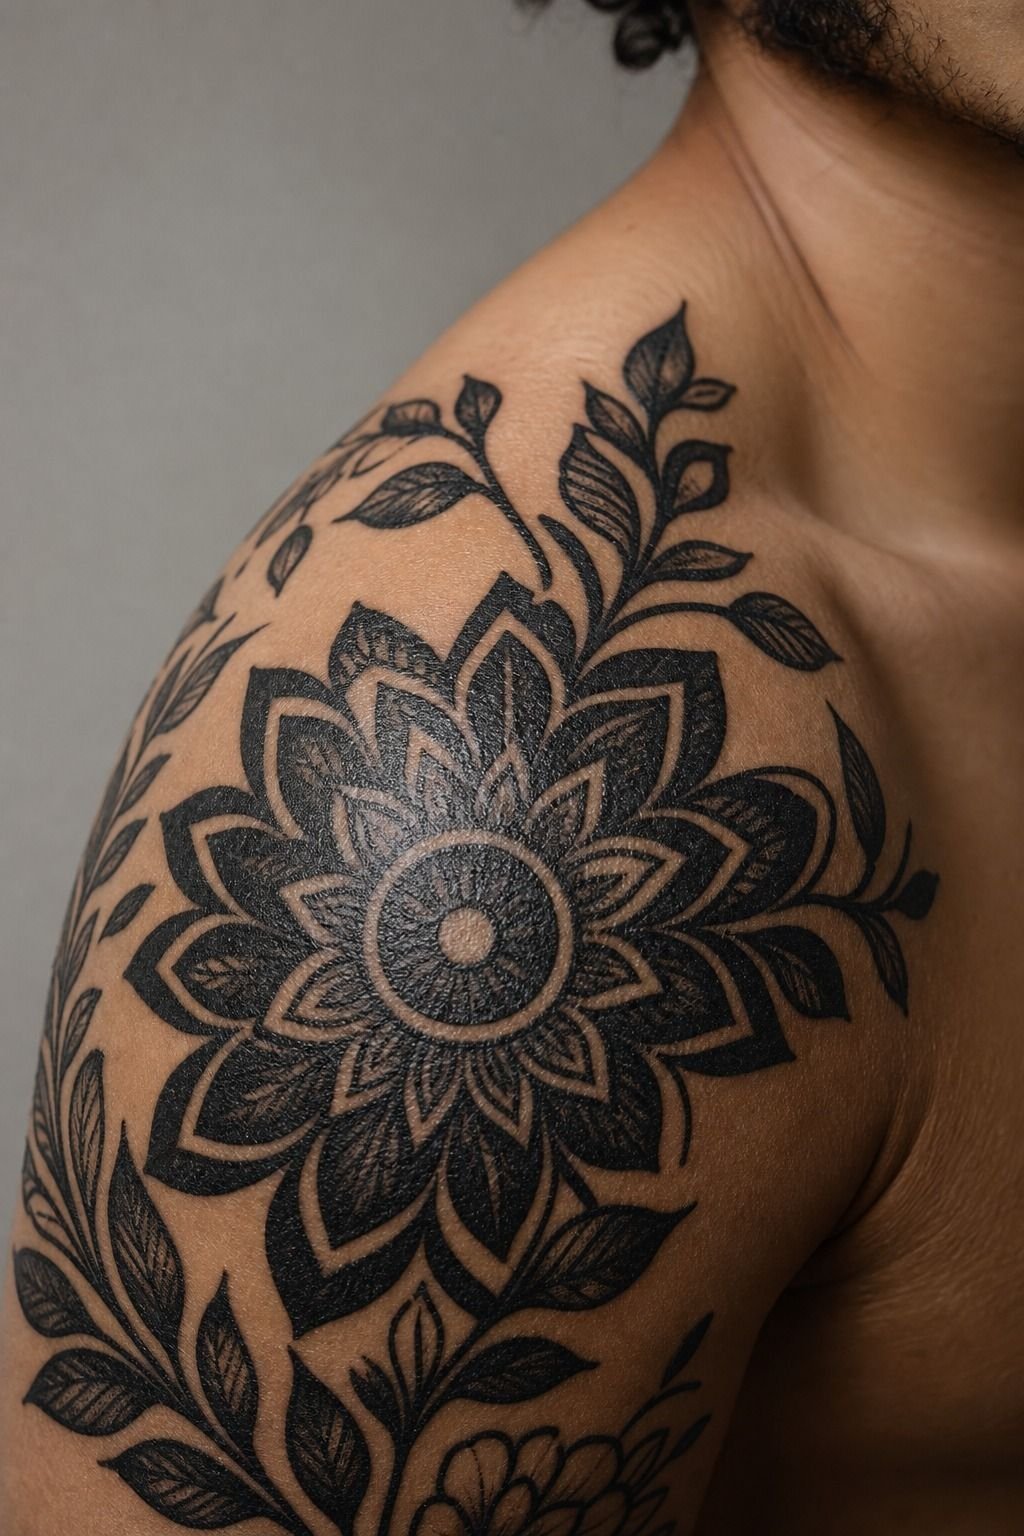
[IMAGE: shoulder blackwork flash study with bold silhouettes and crisp cutouts]
The shoulder close-up pushed me back to paper before I ever booked final linework. Good Tattoo Flash Art is blunt in the best way.
It strips the decision down to silhouette, fill weight, and how much open skin you can spare before the tattoo loses its punch. When I spread flash sheets across the table, I could see right away which versions had crispy lines and which ones were trying to do too much with tiny internal texture.
That matters for you because shoulder skin is forgiving, but it still exposes bad editing. A shoulder blackwork piece usually heals nice when the lines are bold enough to stay distinct after a few years of sun, friction, and gym contact.
If your references feel crowded, pull back. Print smaller.
Compare from arm’s length. But don’t chase Pinterest-exact.
References are for vibe only. When clients want more direction, I send them this abstract blackwork tattoo guide beside a stack of flash so they can see how artists simplify without making the tattoo generic.
3I Compared Bold Sleeves And Small Placements
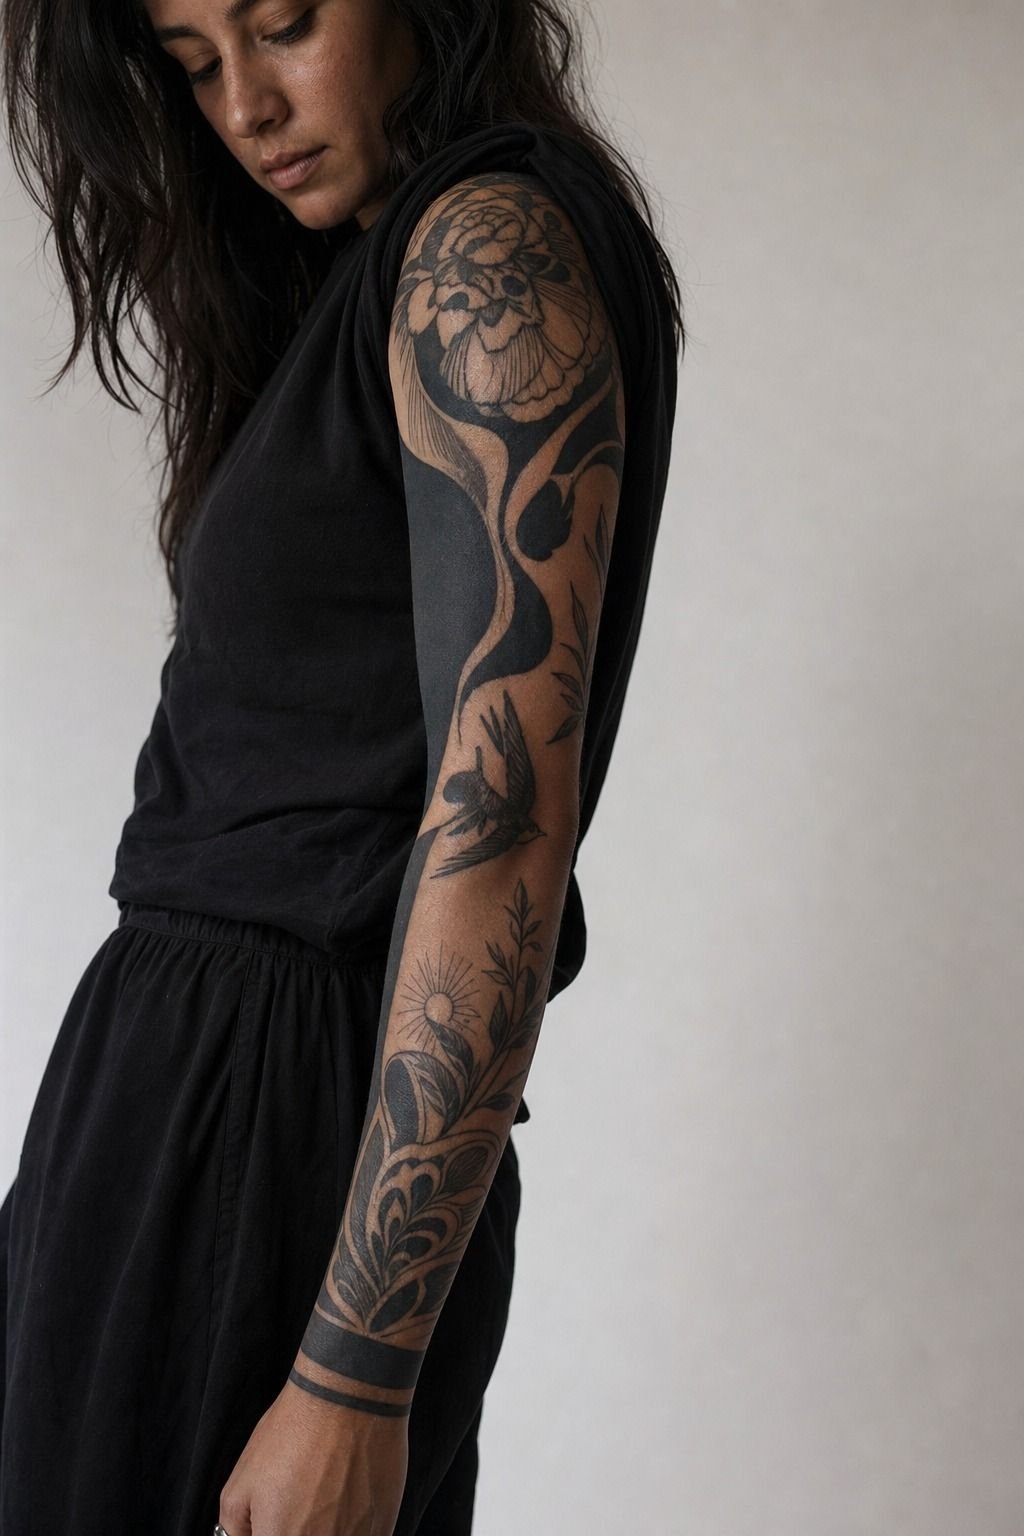
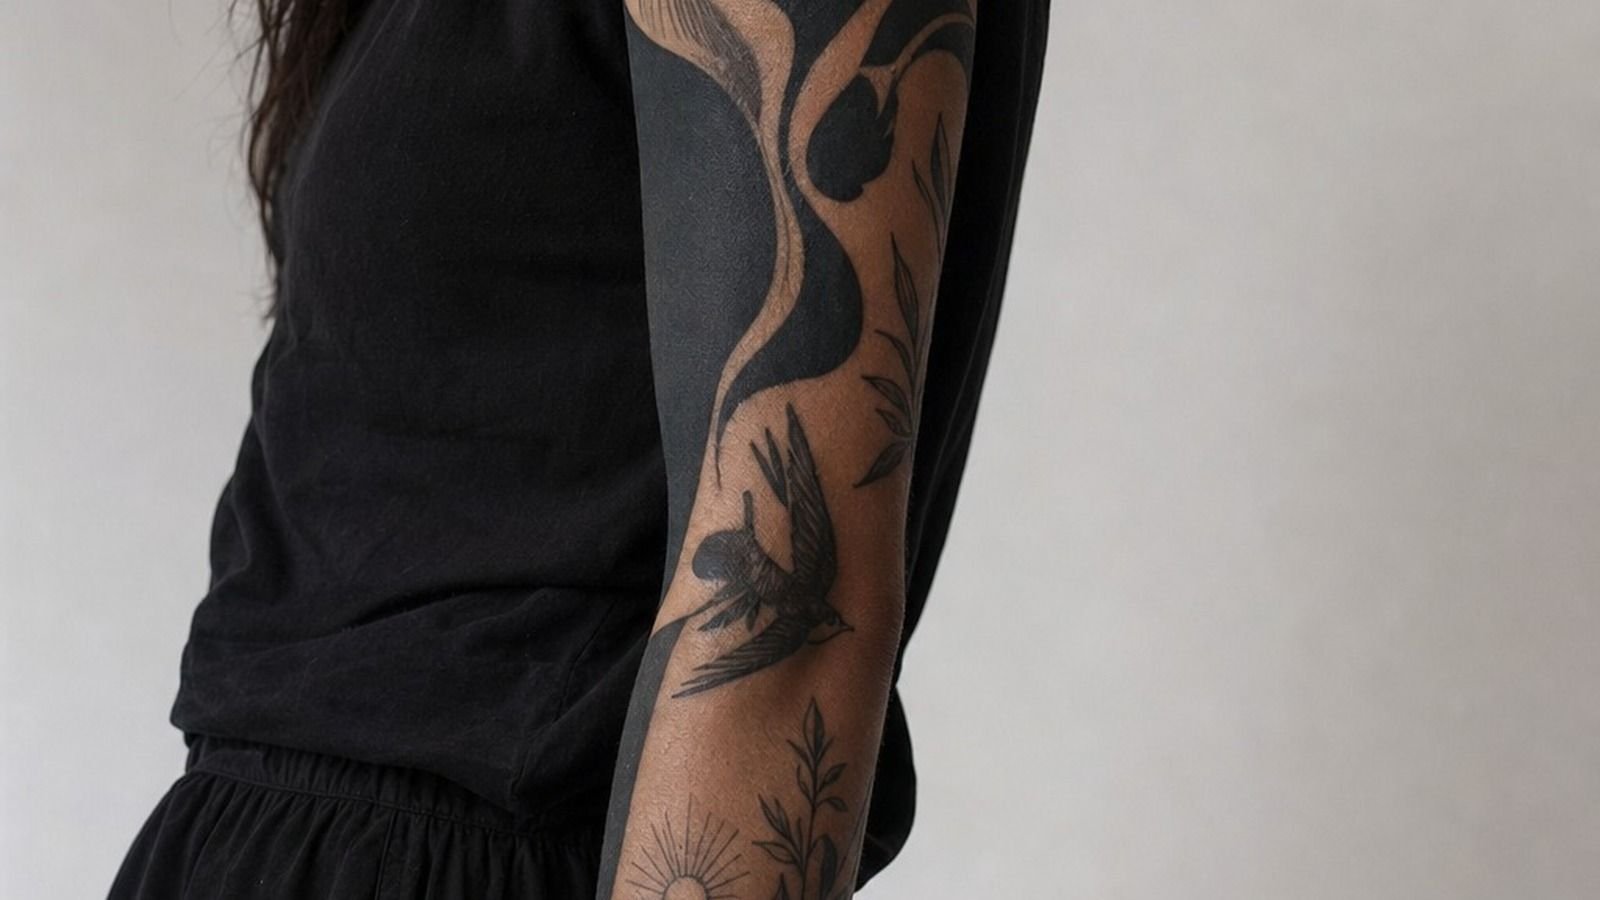
[IMAGE: healed forearm blackwork sleeve showing bold panels and clean edge retention]
A healed forearm sleeve tells the truth in a way fresh tattoos do not. You can see where the black settled, where the edges stayed solid, and whether the design still reads as one confident piece instead of a cluster of unrelated moments.
That was the frame that sold me on scale. A bold forearm sleeve has enough length for rhythm, but a small placement can still win if the design is edited hard and the black is packed clean.
Here is the part people dodge: tiny blackwork isn’t automatically refined. Sometimes it’s just underbuilt.
If you want Tattoo Ideas Blackwork that age cute on you, compare the healed version of a 5 to 6 inch forearm piece with a 1.5 inch wrist piece done in the same style. The bigger one almost always keeps its read better. But if you’re not ready for a full sleeve, start with one panel and leave expansion routes.
This blackwork geometric tattoo dotwork mandala guide is useful for seeing how larger patterns keep their structure without going muddy.
4Pick A Forearm Panel First
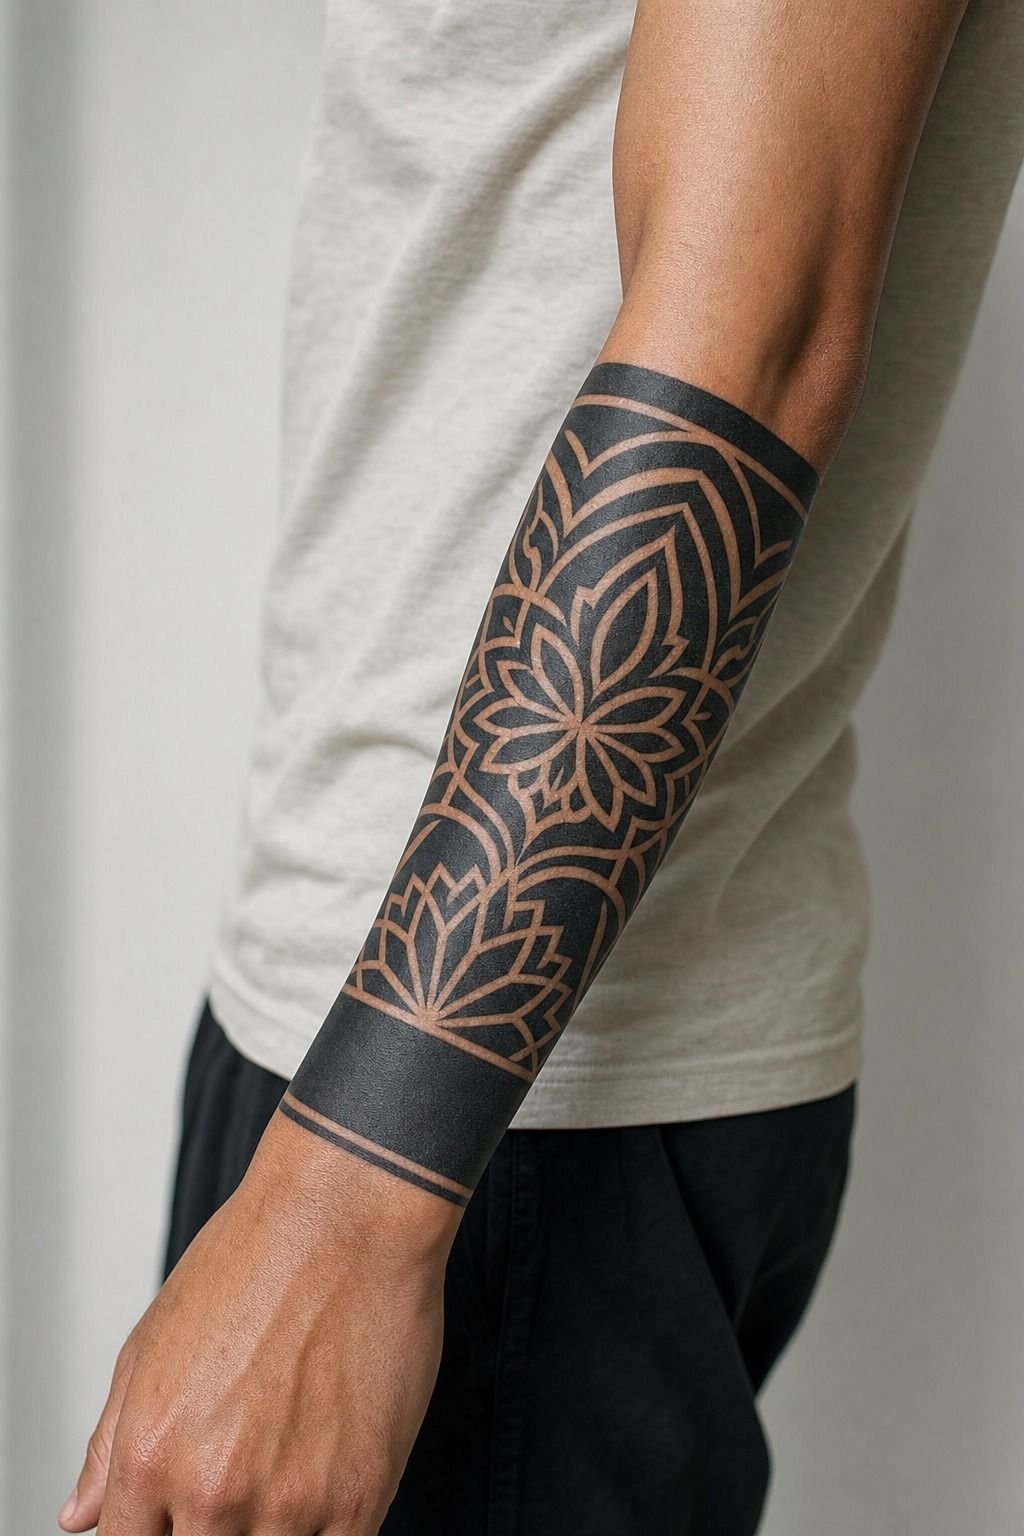
[IMAGE: outer forearm blackwork panel with tapered ends and confident line weight]
The forearm panel was the smartest first move for me because it let me test blackwork on a calm, low-drama zone before committing to a full wrap. Forearms are readable, easier to show your artist in motion, and more forgiving than the sternum or ribs when you’re still learning how you sit through long fill sessions. Most clients handle forearm blackwork better than they expect, and the skin there usually takes bold linework without getting overworked fast.
If you’re choosing a first blackwork placement, I’d start around the outer forearm at roughly 5 to 7 inches long, not the wrist. A tiny wrist piece with dense fill can mush out sooner than people think.
Bump it a little higher so the tattoo can breathe and the design can follow tendon flow instead of fighting it. That’s why I still point people toward blackwork tattoo ideas before they settle on a mini version that looks neat online and cramped on skin.
5Why Did Geometric Flow Work Better On Skin?
[IMAGE: geometric blackwork pattern wrapped around calf flow with open channels]
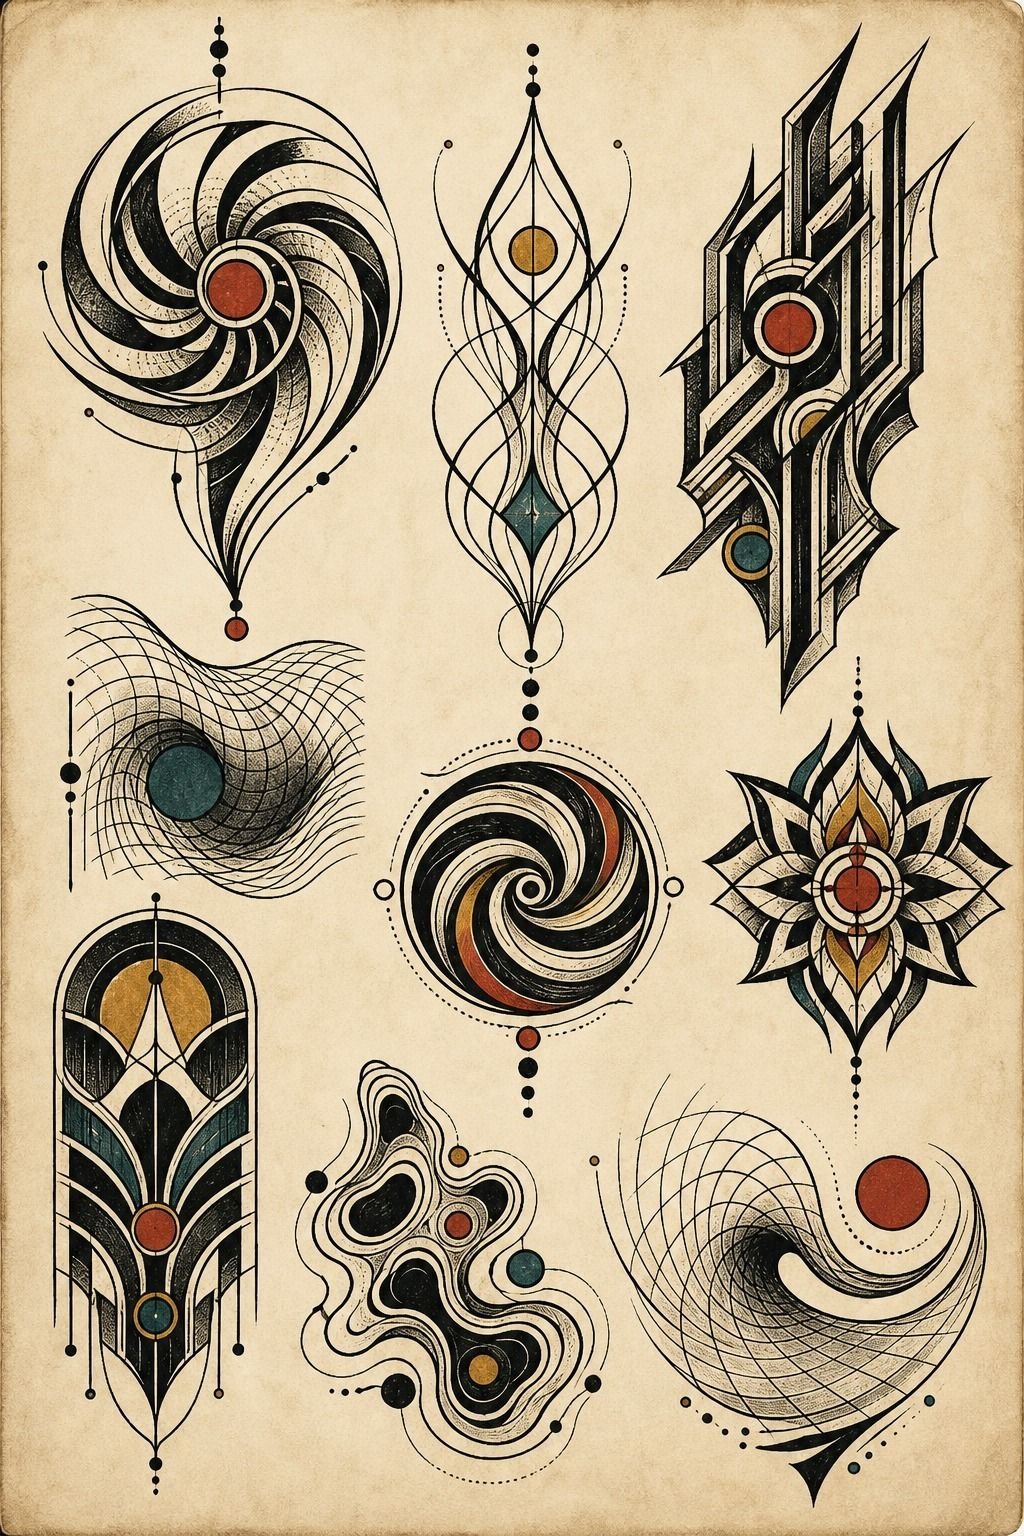
Paper is honest, but skin is the real exam. The minute I mocked geometric blackwork on a calf instead of a flat printout, I could see where the rhythm tightened and where it died.
Straight grids felt stiff. Tapered bands and wider pivots moved better with the leg, and that made the pattern feel expensive in the best way, not forced.
This is where the payoff shows up. A design that follows muscle flow earns its keep because it keeps its read when you walk, flex, or just stand relaxed.
A cheaper layout that ignores anatomy may look fine in a screenshot, but it falls apart the second the body turns. If you are planning geometric blackwork, spend on stencil mapping before you spend on extra detail.
That choice pays you back every time the tattoo is seen in motion.
6Keep Open Skin Breathing Clearly
[IMAGE: behind-the-ear blackwork with bold black and wide open skin breaks]
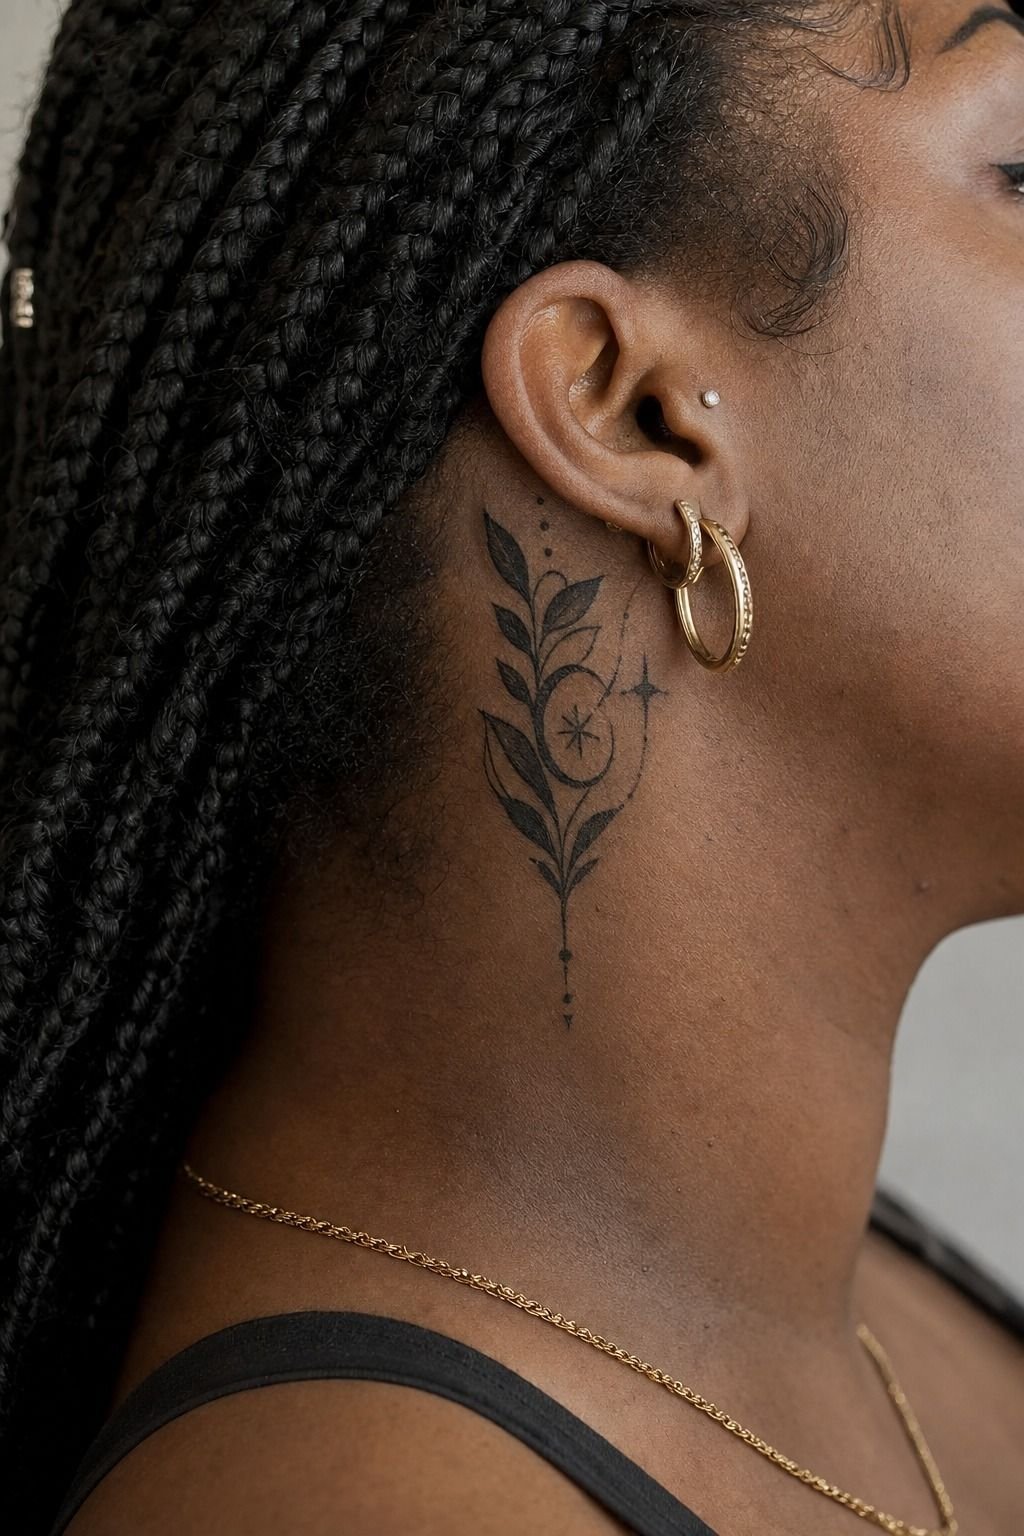
The behind-the-ear shot on deep ebony skin was the cleanest reminder that open skin isn’t empty skin. It’s structure.
That placement is tiny, high contrast, and unforgiving, so if the black touches too often or the cutouts are too small, the whole thing clogs up as it heals and looks cramped fast. On deeper skin, bold black can look insanely rich there, but only if the open channels stay wide enough to hold their shape after the surface settles.
I use a simple check for this. If the cutout would close visually when you step back three feet, I open it more before the machine starts.
That keeps the piece legible and keeps you from paying for a touch-up that should have been avoided at the stencil stage. But don’t confuse empty with elegant. Open skin needs purpose, not random holes.
You can see that principle in this abstract blackwork tattoo guide where the breathing lanes are doing real design work.
7Irezumi Taught Me Alignment
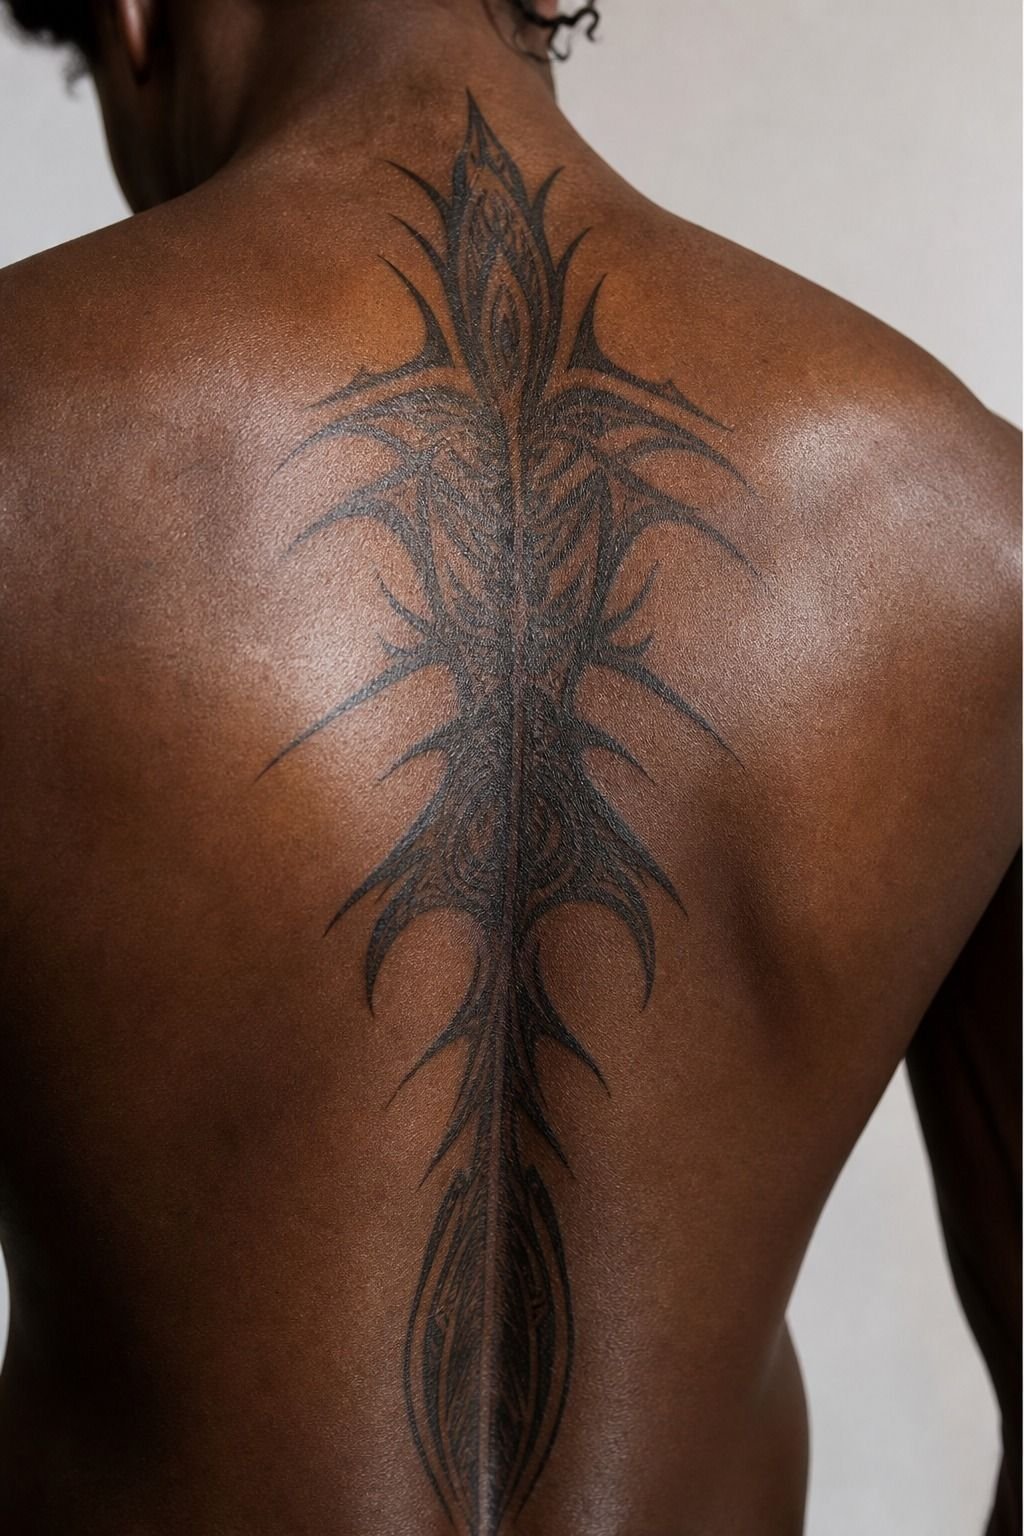
[IMAGE: spine blackwork stencil lined to the body center with measured symmetry]
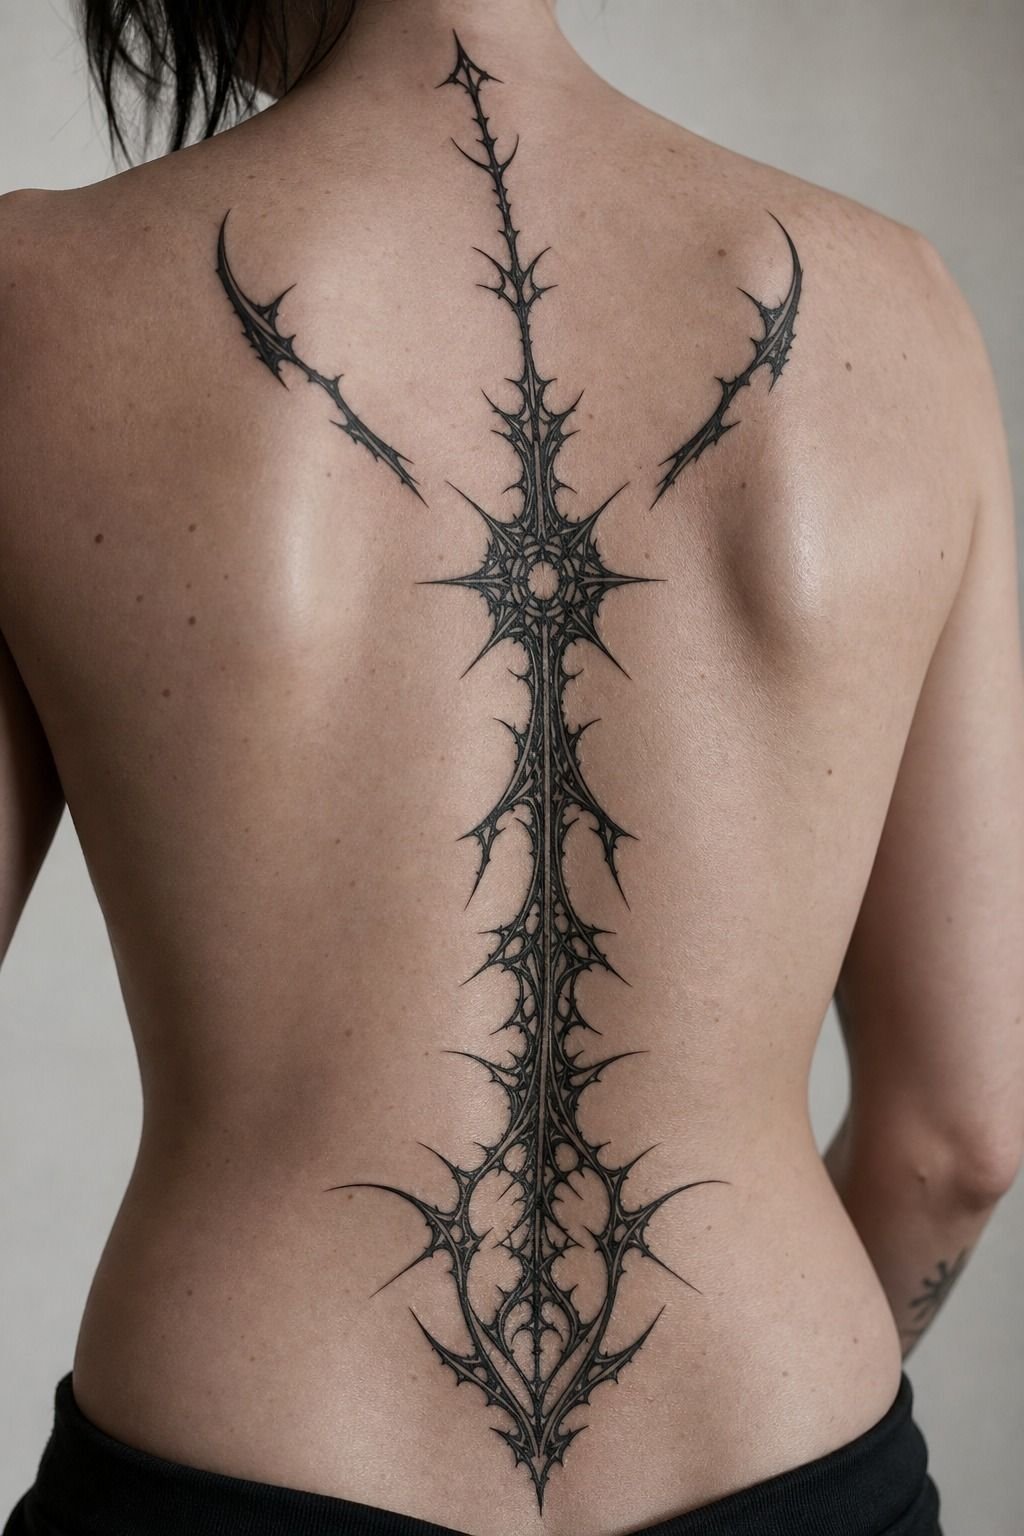
The spine close-up made one thing brutal and clear: central placements punish lazy alignment. My Japanese training still kicks in here because body flow isn’t optional. If the top anchor drifts a little left or the lower end dies too early, the whole tattoo feels off even when the linework is technically clean.
That lesson matters on blackwork flash too. You don’t need an irezumi motif to borrow the rule.
Let the body centerline guide the big move, then let the side shapes support it. That’s how a severe design stays elegant instead of stiff.
When clients want back placement references that prove the point, I send them to blackwork tattoo ideas and have them compare the pieces that lock to anatomy with the ones that just sit there.
8Avoid Tiny Details That Heal Muddy
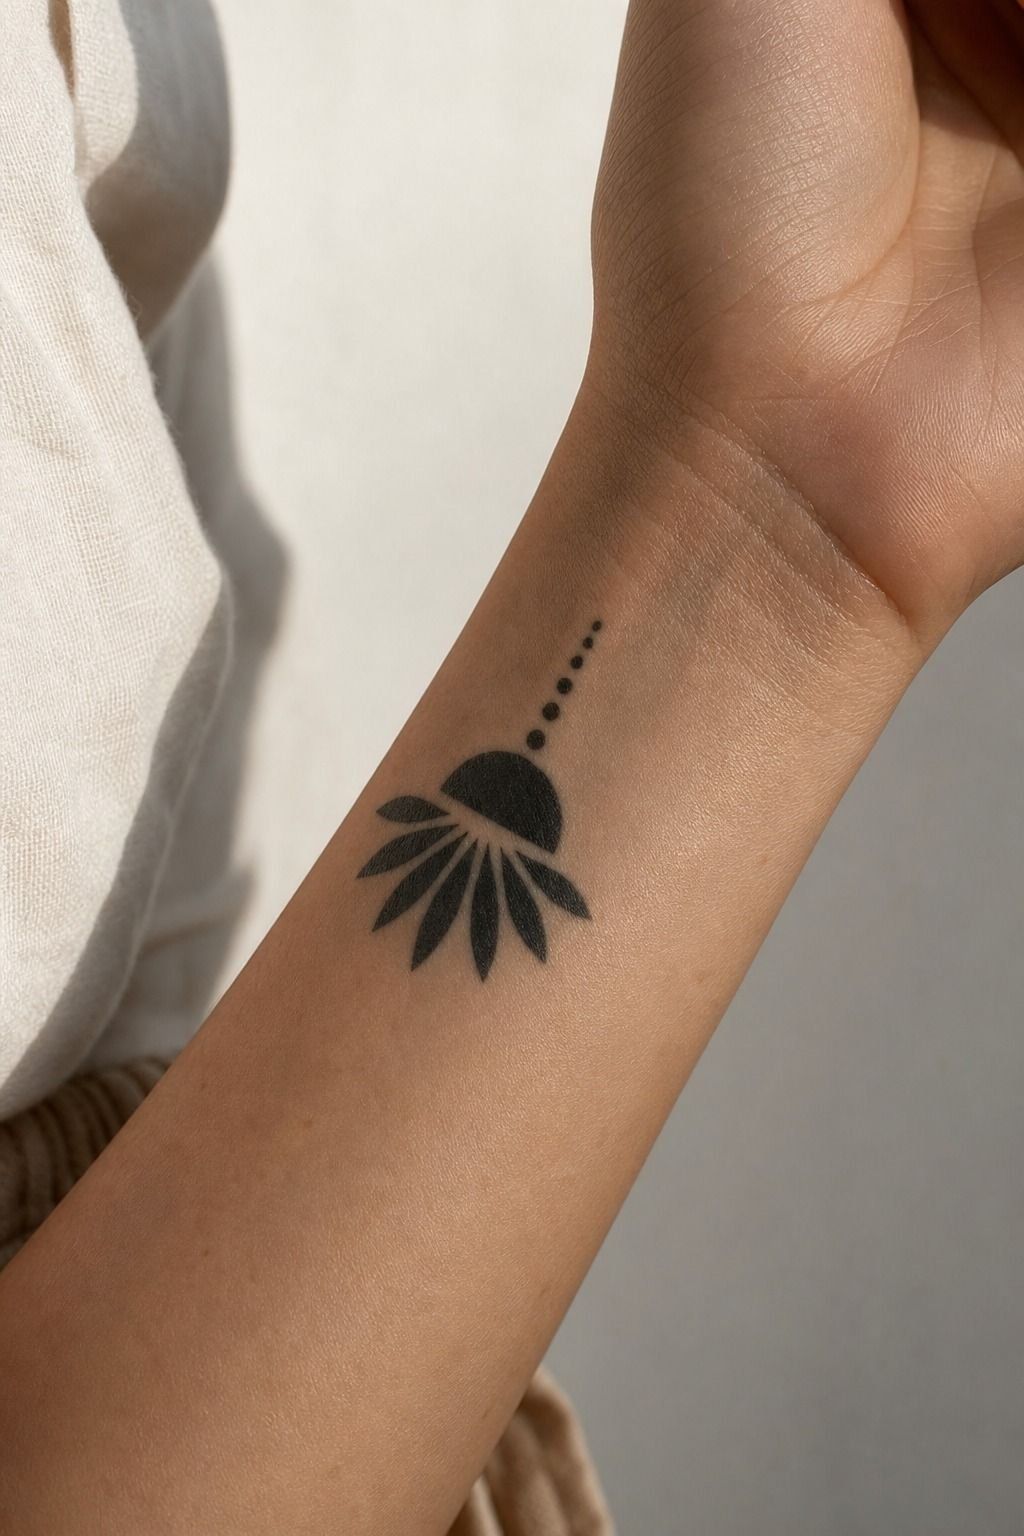
[IMAGE: healed wrist blackwork symbol with bold hierarchy and no micro clutter]
The healed wrist piece in natural light was a warning label in the best possible way. Wrist tattoos live in a high-wear zone.
They bend, rub, wash, and catch sun constantly. That makes blackwork detail choices more serious than people expect.
A wrist can handle bold symbols, small bands, and edited patterning. It doesn’t love micro texture, tiny trapped slivers of skin, or ten little details crammed into a 2 inch idea.
I say this in consultations all the time: if the line has to apologize for being thin, make it thicker. If the black shapes almost kiss, pull them apart. That’s how you keep a wrist tattoo from turning to soup.
You can still get something elegant there, but it needs a clean hierarchy. Big read first.
Texture second. But if you want the same concept with better longevity, push it up the forearm and let it heal with less abuse.
This abstract blackwork tattoo guide is helpful when you want proof that simplification can still feel sharp.
9Ask About Pain On Heavy Fill
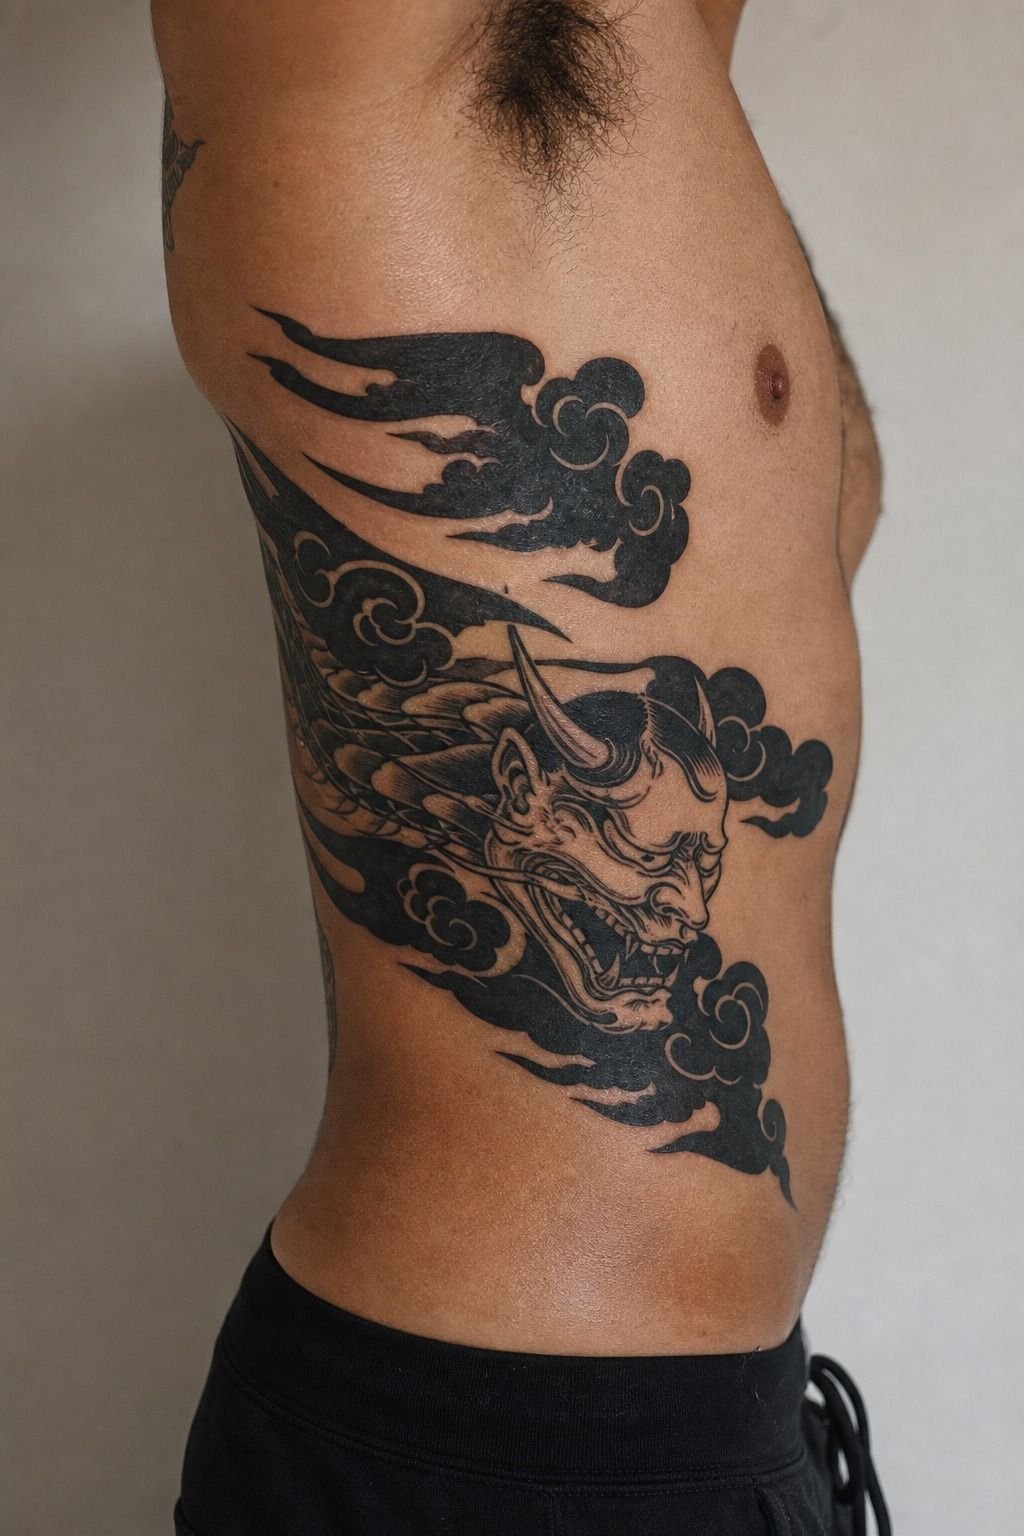
[IMAGE: rib blackwork wrap with dense saturation and long curved passes]
Ribs are spicy. Anybody who tells you otherwise is selling confidence, not truth. That woke me up fast!
The anatomical wrap on the ribs reminded me that heavy black fill changes the pain conversation because you’re not just dealing with lines. You’re dealing with long passes, repeated saturation, stretch, and an area that moves every time you breathe.
Lines feel sharper. Shading is a dull burn. Solid fill is usually the spiciest part.
That doesn’t mean you should avoid rib blackwork. It means you should size and schedule it honestly. For a medium rib piece, think 2 to 4 hours, not a quick in-and-out session, depending on how much black is packed and how well you sit.
Bring water. Eat first.
Tap out for five rather than pass out on me! If you want calmer ground for your first blackwork experience, the outer forearm, shoulder, and thigh usually feel far more manageable.
I often pair that advice with this blackwork tattoo ideas roundup so clients can compare placement and pain with the design itself.
10Check Stencil Placement Before Ink
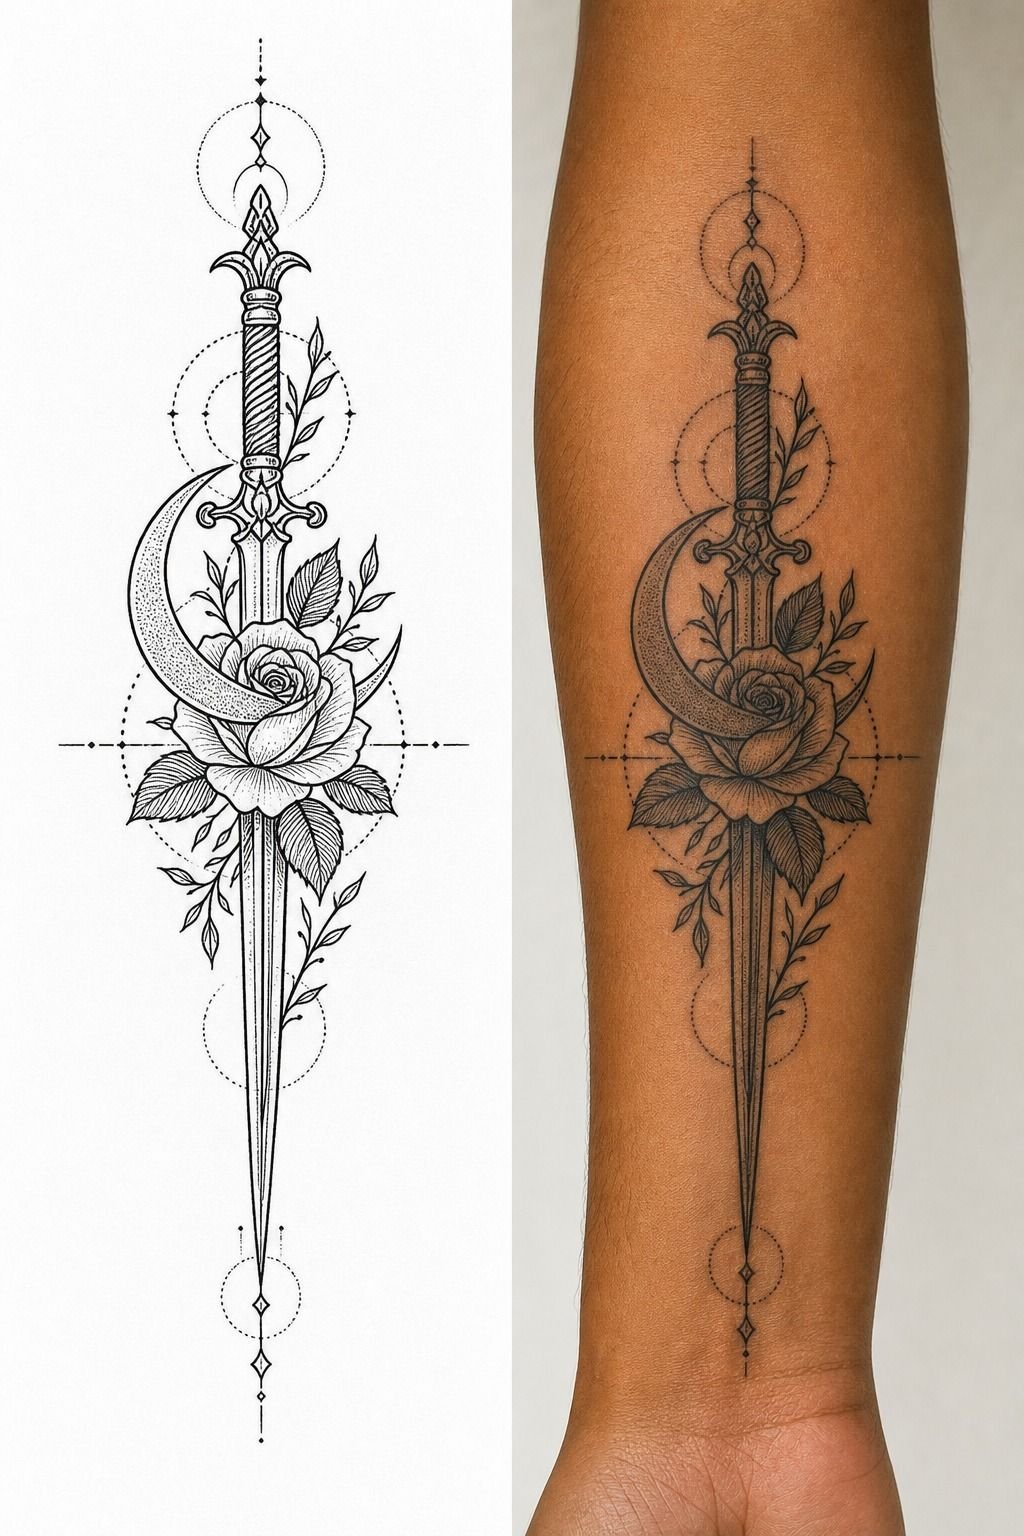
[IMAGE: forearm stencil test beside healed blackwork panel showing scale correction]
The split image of stencil on paper versus healed forearm tattoo said more than any mood board could. A design can look perfect as an illustration and still land wrong on the body if the rotation is off, the scale is timid, or the top and bottom edges stop in awkward, stiff spots.
Stencil check is where you save the tattoo. Not after the first line.
Not after the artist says trust me. Right there, before the ink starts.
I ask clients to move through three positions before we approve placement: arm relaxed, arm bent, and arm turned. You would be shocked how often a clean Tattoo Flash Art design improves with a half-inch shift.
And if the stencil looks too small in the mirror, it usually is. But don’t chase symmetry for its own sake. Chase flow.
This is where a specialist earns their rate, and why I keep recommending this geometric tattoo ideas guide to people who need to understand placement before they panic-book the wrong size.
11Cost vs Coverage: The Two-Session Reality
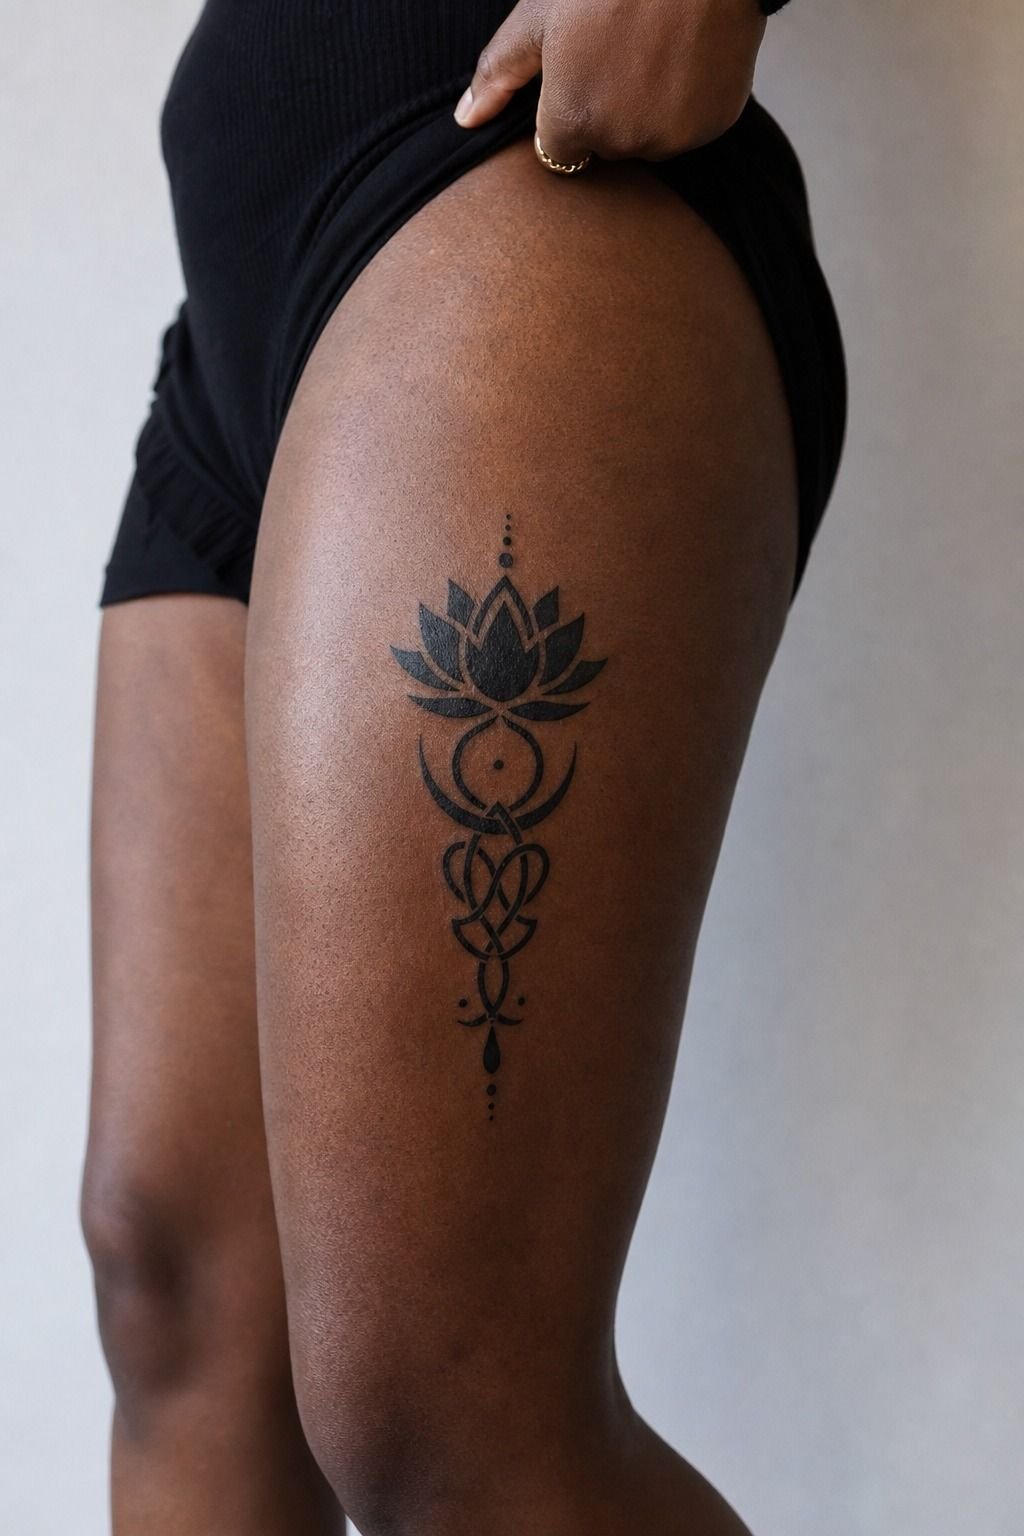
[IMAGE: blackwork forearm and sternum pieces compared by size and fill and session load]
I’m not going to fake one magic number for tatuagens blackwork because that’s how people walk into studios underprepared. In the US, most shops have a minimum around $50 to $100, and many experienced blackwork artists work closer to $100 to $250 per hour. Your quote shifts with placement, fill density, artist demand, and whether the design is custom or pulled from Blackwork Tattoo Flash.
But for the kind of pieces in this article, I tell clients to think in ranges and session time, not fantasy bargains. A small wrist or behind-the-ear piece may take 1 to 2 hours.
A forearm panel can land around 2 to 4 hours. A sternum or rib design with heavy fill often runs longer because skin fatigue changes the pace. But if somebody offers a dense blackwork sternum piece for bargain-bin money, ask why.
The real question is not only what the tattoo costs today. It is whether the design heals clean enough that you do not pay again in touch-ups, cover-up fixes, or regret. A bigger, cleaner panel often beats a cheaper micro piece that never had enough clearance to age well.
If you want a deeper breakdown of timing and long-term tradeoffs, compare healed examples in this blackwork tattoo ideas guide and this dotwork tattoo guide. Clean execution matters more than a tempting quote.
12Plan Healing Around Solid Black
[IMAGE: healed thigh blackwork piece on deep brown skin with smooth saturation]
The finished thigh piece on deep brown skin proved why I respect thigh blackwork so much. It looked rich, velvety, and brutally clean once the shine dropped.
Thigh skin usually gives you a stable canvas, decent pain tolerance, and enough width for black shapes to stay soft at the edge and saturated in the middle. It is one of the smartest placements if you want strong visual payoff and solid budget control without the maintenance that comes with hands, feet, or elbows.
Healing still needs discipline. The first few days it’s an open wound, so treat it like that.
Wash with gentle unscented soap. Use a thin layer of aftercare, not a greasy slab.
Don’t suffocate it. And don’t let gym friction chew it up before the surface closes.
On big black pieces, silver skin can make people panic, but that’s normal. Let solid black saturation settle before you judge how deep it really healed.
13Save Future Gaps For More Flash
[IMAGE: spine blackwork layout with clean stopping points for future expansion]
The final spine close-up reminded me why restraint matters in long-term collecting. You don’t need to cram every good idea into one session.
Leaving intelligent gaps around blackwork gives you places to return later with smaller flash, connective pattern, or a second bold anchor once you know how the first piece settled. That’s not unfinished.
That’s planning like a collector instead of reacting like a scroller.
And I call it the gap map. Save clean lanes where another design could lock in later without forcing awkward filler between old pieces. You’ll thank yourself when the next Blackwork Tattoo Flash sheet gives you something worth wearing.
But the gap only works if the first tattoo ends clean and intentional. No ragged edges.
No accidental dead zones. I like showing collectors this abstract blackwork tattoo guide because it proves expansion can stay elegant when the first piece was disciplined.
What makes blackwork feel worth it years later?
[IMAGE: healed blackwork collection on forearm chest and thigh showing contrast after time]
Here is the thing I learned after doing and watching a lot of blackwork over the years: your tattoo needs to read in one beat before it rewards close inspection. That’s the first read rule.
If the silhouette doesn’t hit instantly, no amount of tiny internal cleverness will save it later. Fresh tattoos flatter detail because the skin is tight, the black is shiny, and your eye wants to forgive clutter.
Healed skin is less sentimental, and that is exactly why good blackwork still wins.
When I sit with a client choosing between a bolder shape and a busier one, I ask the same question every time. Which version still makes sense when your arm is moving, your skin is dry, and the tattoo is seen at grocery-store distance? That answer is usually the simpler one.
Not the boring one. The edited one.
Blackwork ages well when the contrast is built for real life, not a zoomed photo.
And that’s why I don’t rush collectors into full sleeves unless the roadmap is already solid. One strong forearm panel, one sternum piece with confident breathing lanes, one thigh tattoo with honest saturation, these build a body of work that stays readable. You can always add texture later.
It’s much harder to rescue confusion after the fact. If you want visual proof, spend ten minutes inside this geometric tattoo ideas guide and compare which pieces hold their shape on actual skin.
The tattoos that keep their punch are not always the biggest or the most expensive. They are the ones that were sized right, placed right, and packed with enough contrast to stay legible after real life hits them.
That is why I tell clients to plan for the design decision, not just the appointment. A clean plan gives you better value and feels worth it.
The Questions Worth Answering First
[IMAGE: blackwork consultation board with healed samples and placement sketches]
How much does a Tatuagens Blackwork usually cost?
About $100 to $300 is common for a small piece in the US, while larger work often follows a $100 to $250 hourly rate. Shop minimums, heavier fill, and harder placements all push the quote. Quick setup.
Bigger black sections. More time under the needle.
Are Tatuagens Blackwork a good idea for a first tattoo?
Yes, they can be a solid first tattoo if you choose a simple design and a forgiving placement. Forearm, outer shoulder, and thigh usually give you cleaner healing and a calmer session.
Clean read. Strong longevity.
Less guesswork.
How do I choose a tattoo artist for Tatuagens Blackwork?
Look for crispy healed linework first, not just fresh photos. That matters!
You want a specialist who shows solid black saturation, clean edges, and good stencil placement on different skin tones. Healed portfolio.
Studio hygiene. Style match.
I also tell people to review blackwork tattoo ideas before consultations so they can speak clearly about what they want.
How much do Tatuagens Blackwork hurt?
Pain depends on placement, but ribs, sternum, hands, and feet are usually the spicier zones. Forearm, thigh, and outer shoulder are more tolerable for most people. Sharp lines first.
Dull burn on shading. Heavy fill last.
How long does a Tatuagens Blackwork take to heal?
Surface healing usually takes 2 to 3 weeks, and deeper settling often takes 2 to 3 months. Wash gently, moisturize lightly, and stay out of pools and hard sun while it’s settling.
Soft soap. Thin aftercare.
No picking.
What’s the best placement for Tatuagens Blackwork?
For most people, outer forearm or thigh is the best starting point because the design reads well and the skin usually handles bold black nicely. If you want more placement ideas, compare healed examples in this abstract blackwork tattoo guide and this geometric tattoo ideas guide.
Where I’d Start First
[IMAGE: single forearm blackwork panel with bold read and future expansion path]
If I had to pick one, I’d start with the forearm panel. It gives bold black enough length to breathe, hurts less than ribs or sternum, and leaves you runway to build later. Save that first, then book the version that still reads clean when you step back.