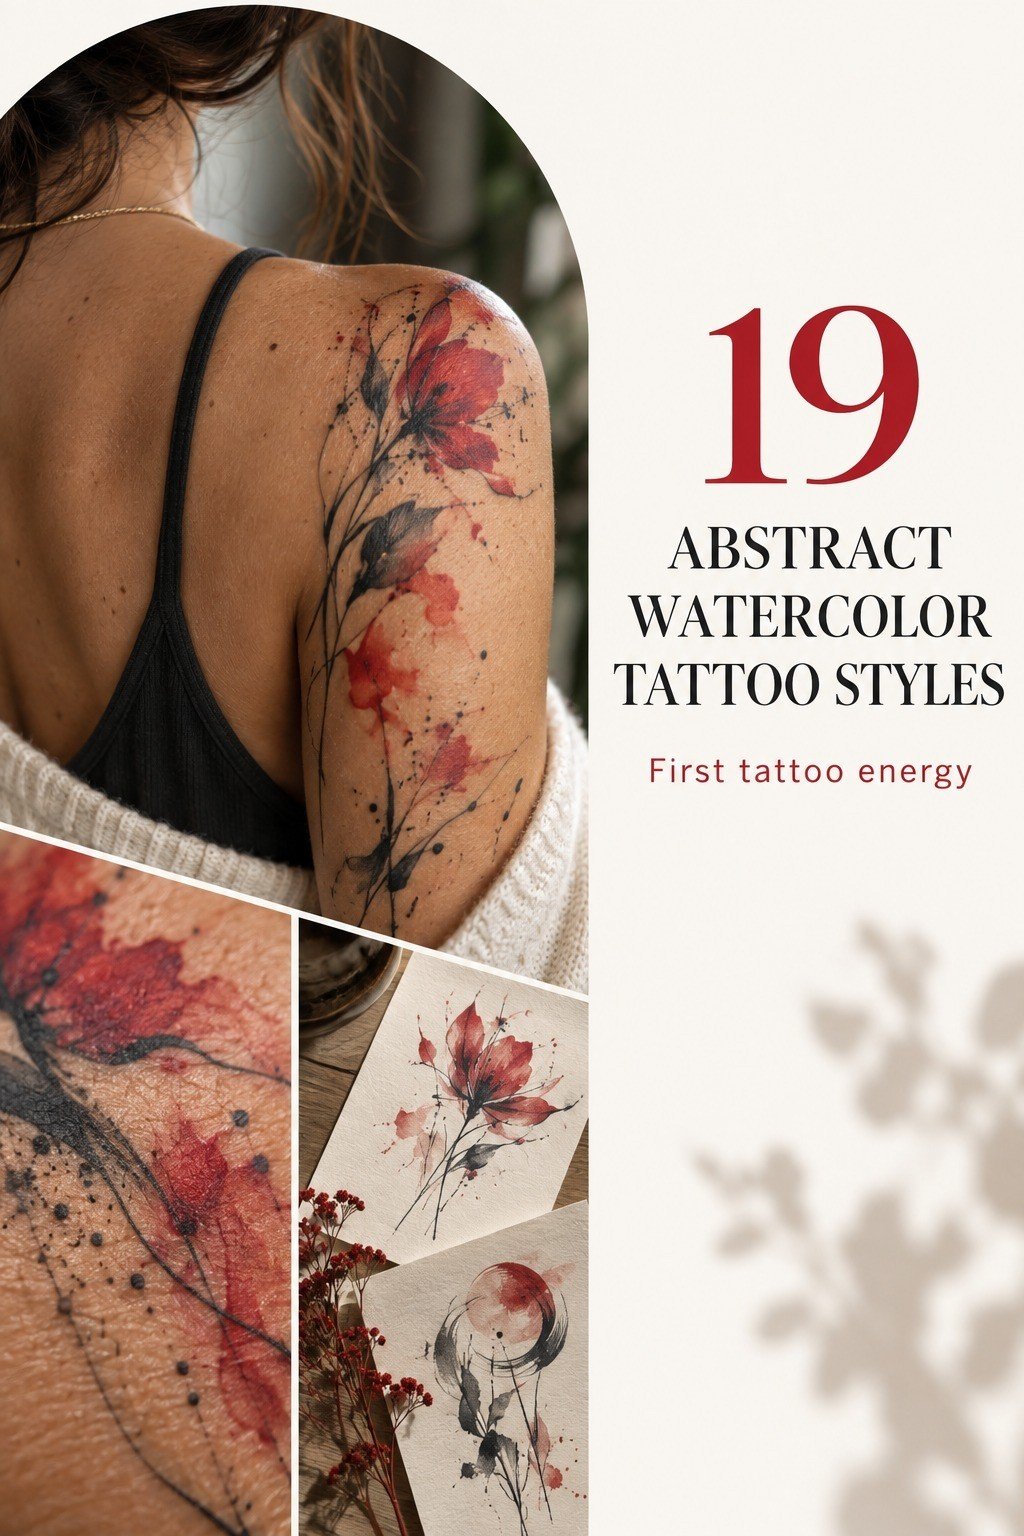
I almost talked myself out of my first watercolor piece. Everyone told me the color would vanish in three years. Mine’s six years old, still crisp where the artist anchored it in black. That’s the part nobody explains: watercolor tattoos don’t fade because they’re watercolor. They fade because nobody built them a skeleton.
Don’t overthink: Build The Sleeve On A Geometric Spine.
- Abstract Watercolor Tattoo For Women
- Build The Sleeve On A Geometric Spine
- Anchor Forearm Ideas With A Solid Black Core
- Wrap Fine Linework Down The Spine
- How Small Can A Behind-The-Ear Piece Go?
- Go Bold On Shoulder Work Over Deep Skin
- Keep Wrist Pieces Small And Sharp
- Let Botanical Shapes Bleed Past The Line
- Wrap A Calf Piece Around The Muscle
- The Two-Mark Rule For Minimal Ink Splashes
- Float Color Across The Collarbone
- Sacred Geometry Over Random Splatter
- Push Rainbow Tones Without Going Muddy
- Follow The Rib Line With Flowing Shapes
- Blackwork Accents Instead Of Colored Outlines
- Keep Ankle Work Dainty And Deliberate
- Let Ocean Currents Dictate The Composition
- Give Ornate Upper-Arm Work Room To Breathe
- Layer Brushstrokes For Meaningful Movement
1Abstract Watercolor Tattoo For Women
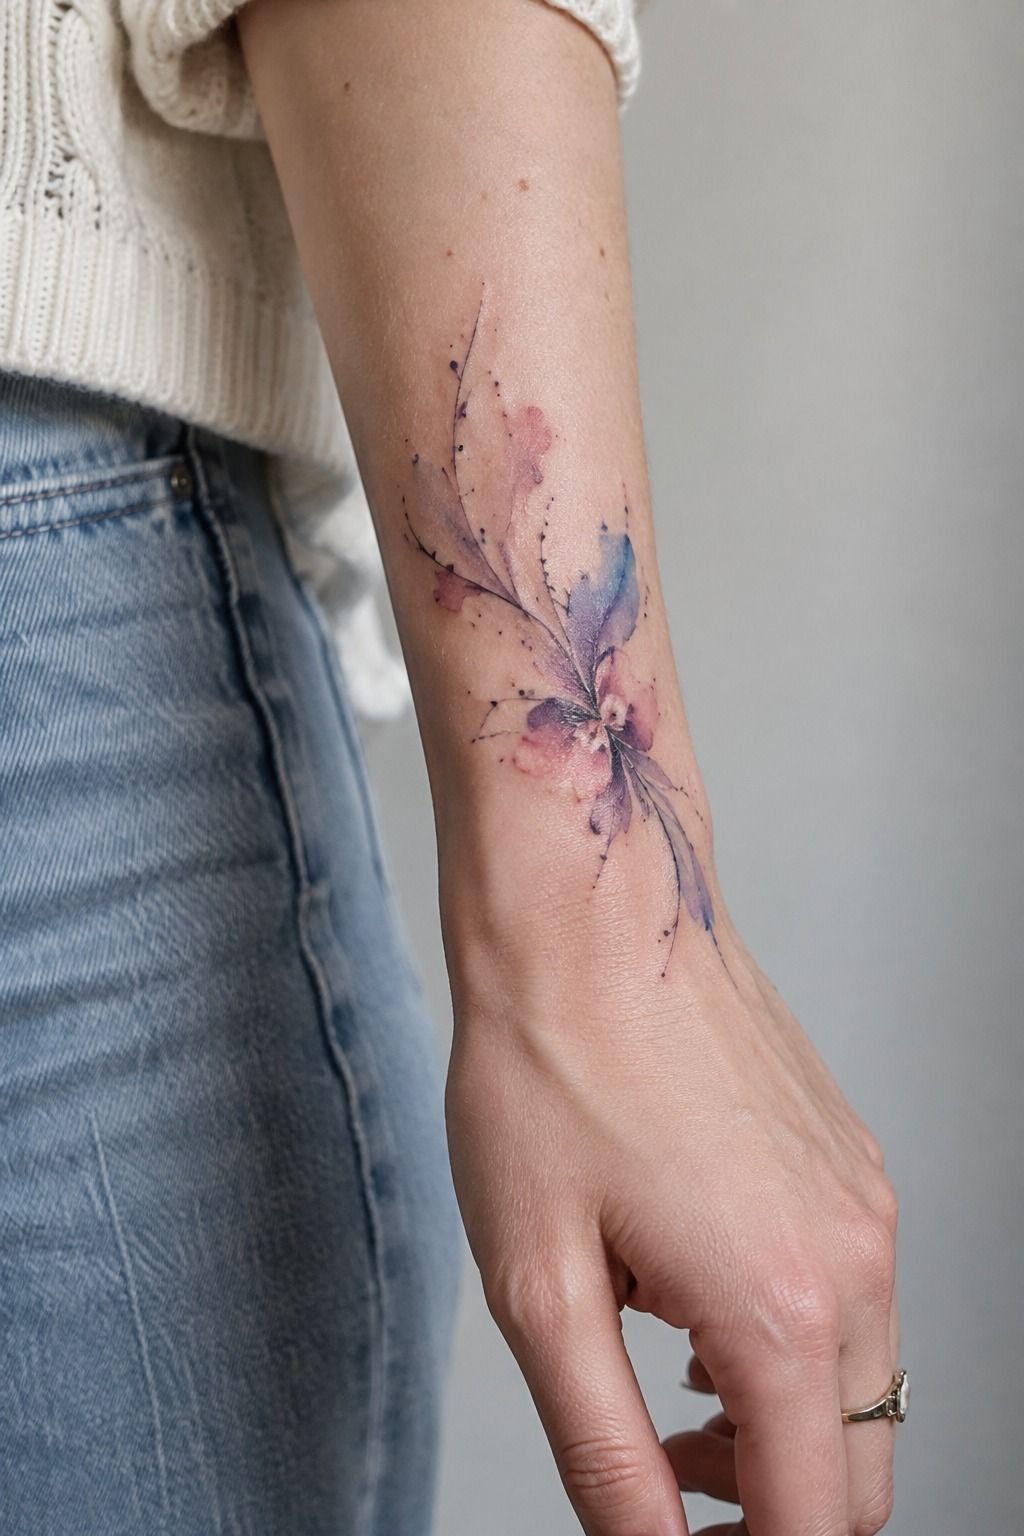
Start at the wrist if you want something delicate you’ll actually see every day. The piece in this photo sits on fair cool-pink skin, and that undertone matters more than artists admit: cool skin pushes warm pigments slightly pink, so a coral wash reads a shade softer once it heals. You want a saturated magenta core with the bleed running outward, not a pale tint hoping to survive.
I made the mistake of asking for “barely there” on my first wrist piece. Two years in, it looked like a bruise I couldn’t explain. Ask instead for one committed value at the center.
A wrist wrap of 2 to 3 inches usually runs a single 90-minute sitting, and a water colour tattoo for women in this scale heals surface-level in about two weeks. Gentle, yes.
Weak, no.
2Build The Sleeve On A Geometric Spine
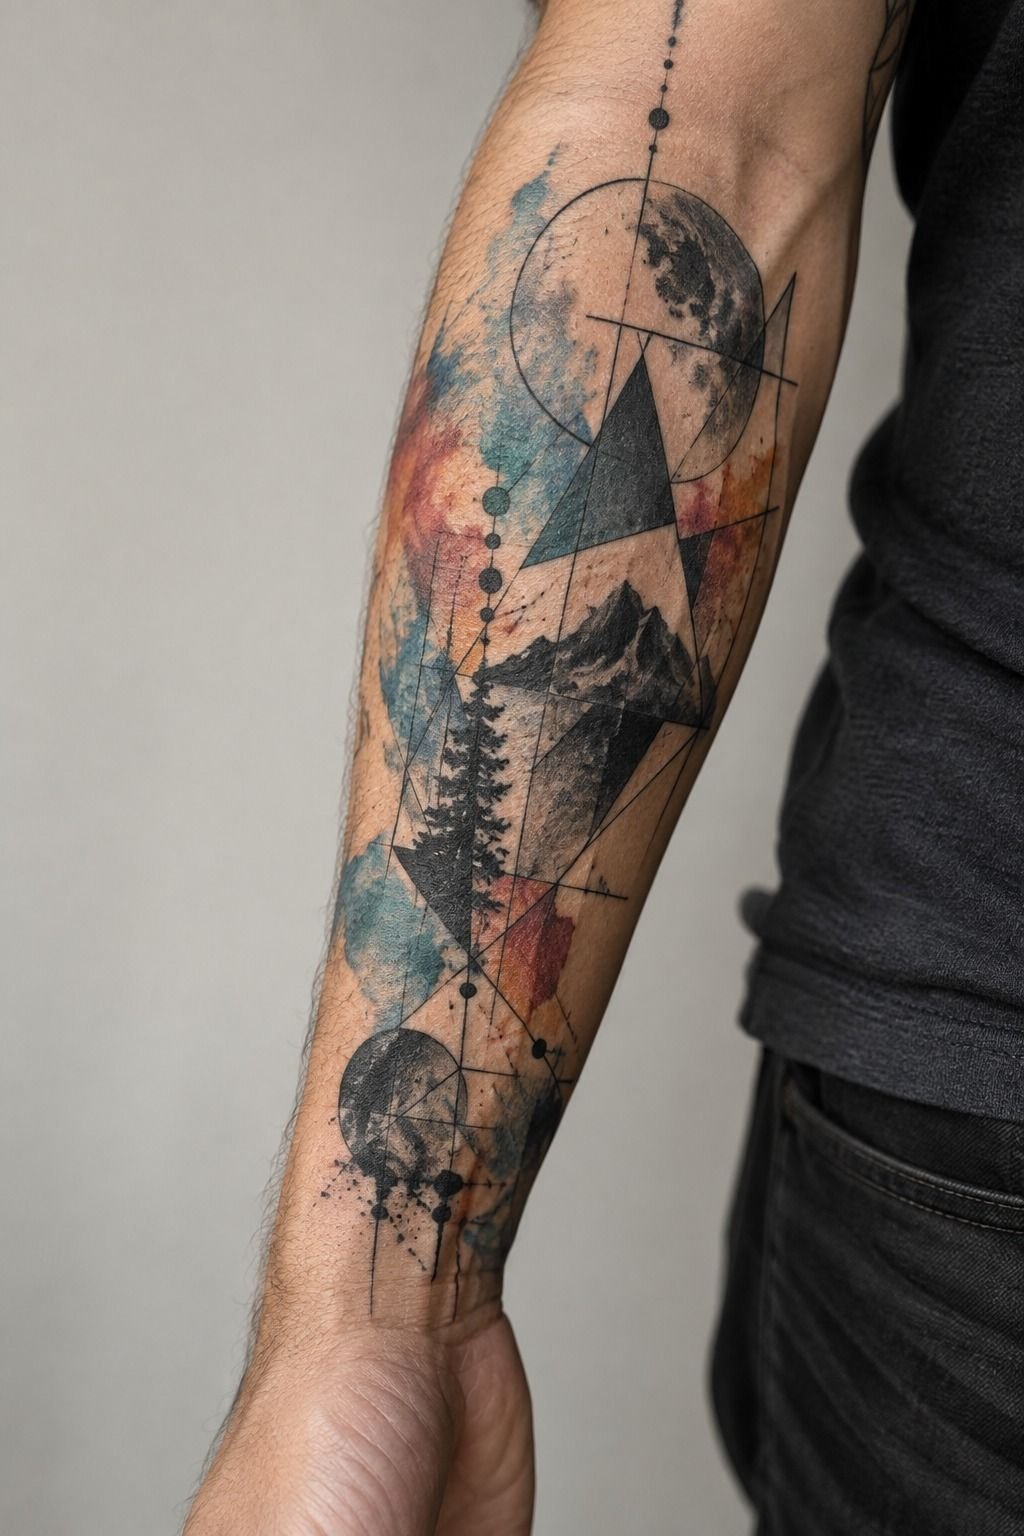
Here’s the move that makes a geometric watercolor tattoo sleeve hold: draw the geometry first, splash second. In the macro shot the forearm carries hard fine-line triangles cutting through a wash of teal and rust, and those crisp edges are doing all the structural work.
Without linework, a full sleeve turns to soup by year five. I’d skip the all-splash sleeve entirely.
It photographs beautifully at the two-week mark and reads like a smudge at thirty. A forearm sleeve typically takes three to five sessions of three hours each, and your artist should be building the black framework in session one. Ask to see their healed sleeves, not their fresh ones.
That single question tells you everything about whether they understand this style.
3Anchor Forearm Ideas With A Solid Black Core
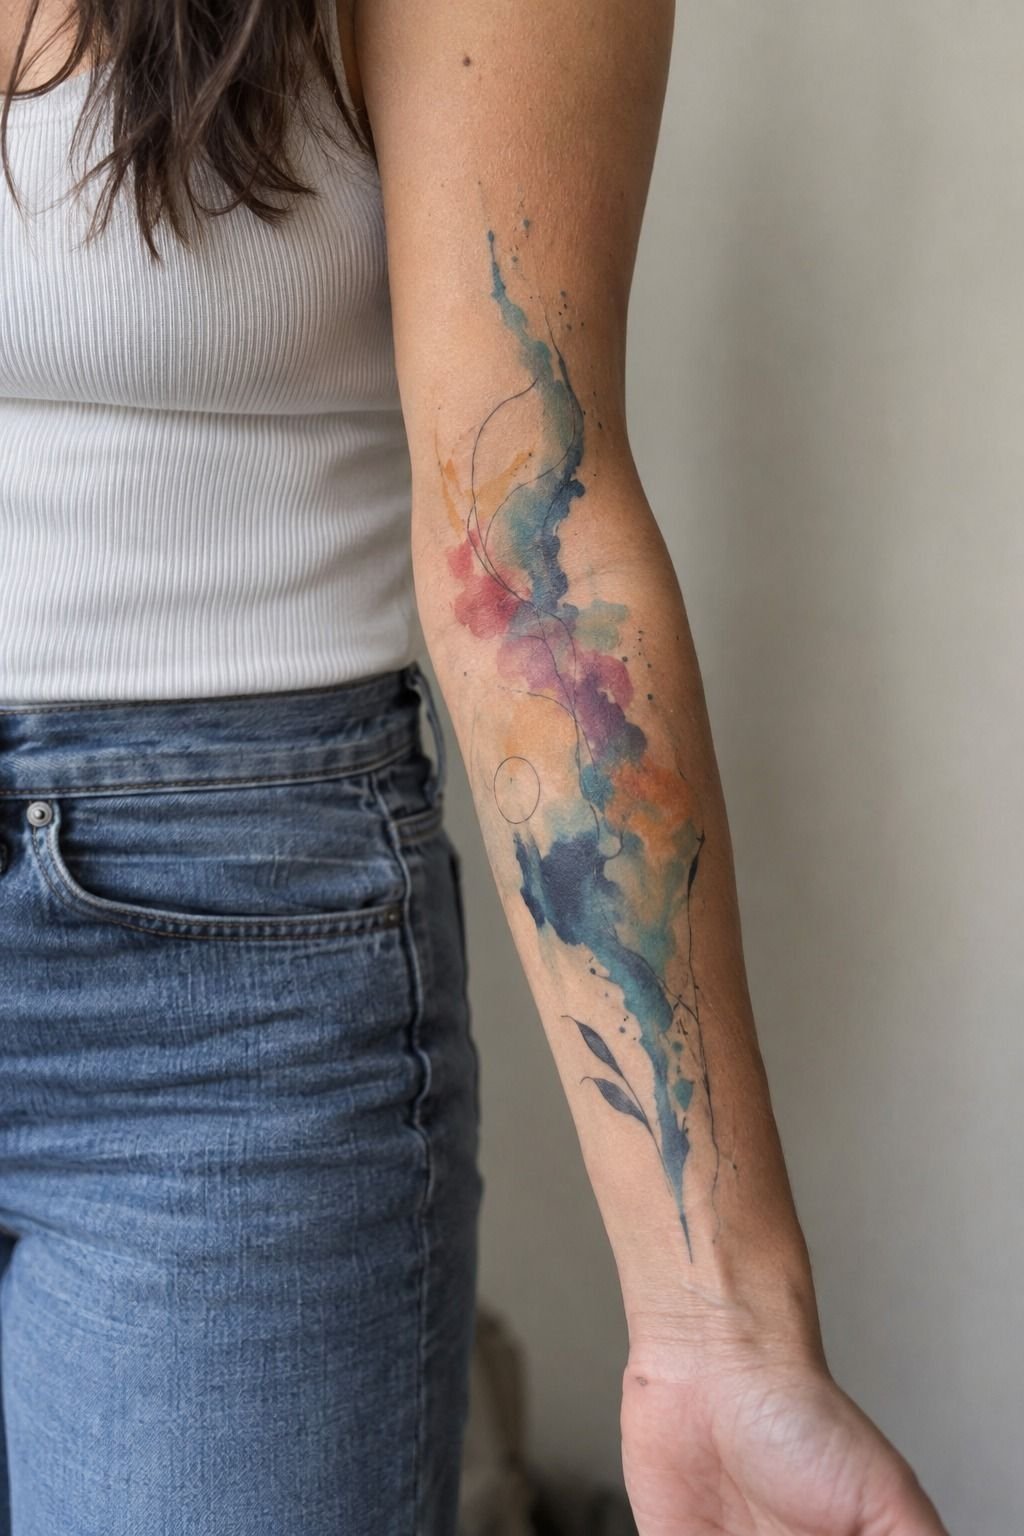
Olive skin carries watercolor differently, and it’s an advantage nobody mentions. Medium olive tones mute the yellow end and let deep indigo sit richer than it would on pale skin. The healed forearm in this photo shows exactly that: the blues stayed powerful, the softer yellows pulled back into the skin.
So plan your watercolor tattoo ideas around that. Choose a palette that leans cool and expressive, then anchor it with black.
Our full breakdown of watercolor tattoo ideas goes deeper on palette pairing by undertone. The forearm is also one of the most tolerable placements on the body, roughly a 4 out of 10 for most people, which means you can sit longer and get more done in one go.
4Wrap Fine Linework Down The Spine
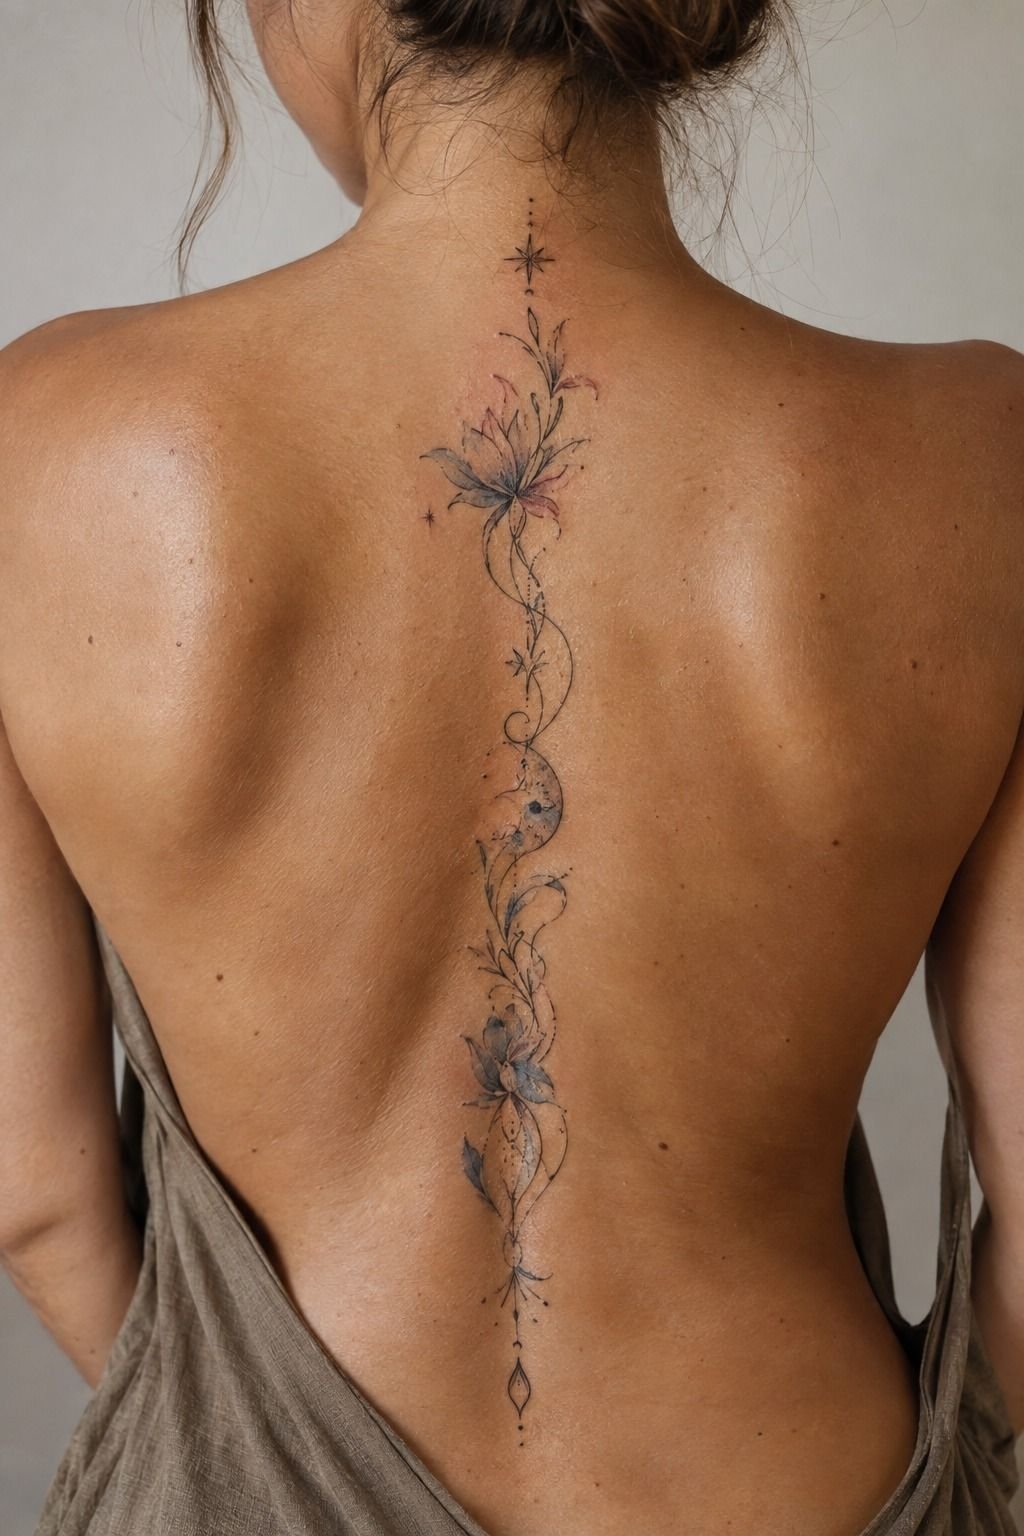
A spine piece on golden tan skin is a commitment, and it’s also the most graceful placement in this whole list. The line follows vertebrae, so the design moves when you move.
That’s the appeal. The trade-off is pain: the spine is bone under thin skin, closer to an 8 out of 10.
Single-needle work here should run at least 0.30mm, not thinner. Very fine lines spread over decades, and a hairline that blurs on a forearm turns into a smudge on a spine where the skin stretches.
I’d push for a 3RL liner over a single needle for anything you want legible at fifty. The watercolor art tattoo approach works beautifully along a spine because the washes can drift off-center while the line holds the axis.
Symbolic, ornate, and surprisingly readable from across a room.
5How Small Can A Behind-The-Ear Piece Go?
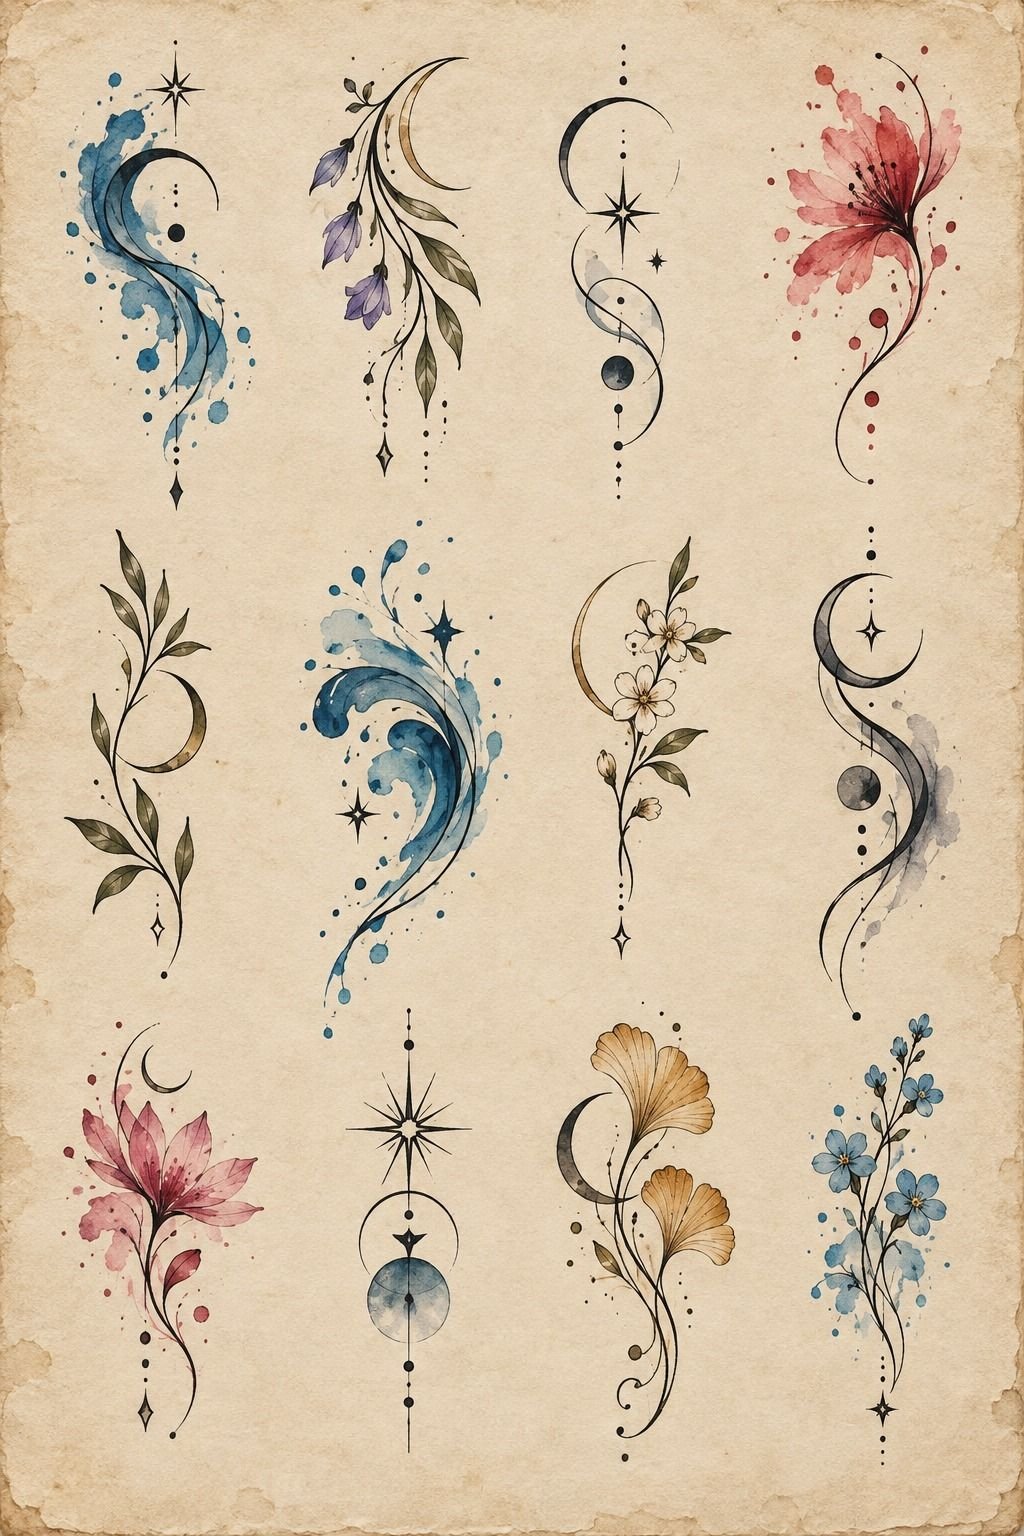
Look at the flash sheet in this photo: several hand-drawn designs, each one maybe an inch tall, inked in black with the wash indicated around it. That’s the honest answer to sizing. Behind the ear, an inch and a half is roughly your floor if you want it to survive.
Smaller than that and the details collapse into each other. I’ve watched a friend’s tiny ear piece go from three shapes to one blob in four years, and she still doesn’t regret it, but she’d size up now.
Skin here is thin and the bone is right there, so expect a 6 or 7 out of 10. Keep the palette to two colors maximum. A crimson wash with one black mark reads far sharper than five colors fighting over a postage stamp.
6Go Bold On Shoulder Work Over Deep Skin
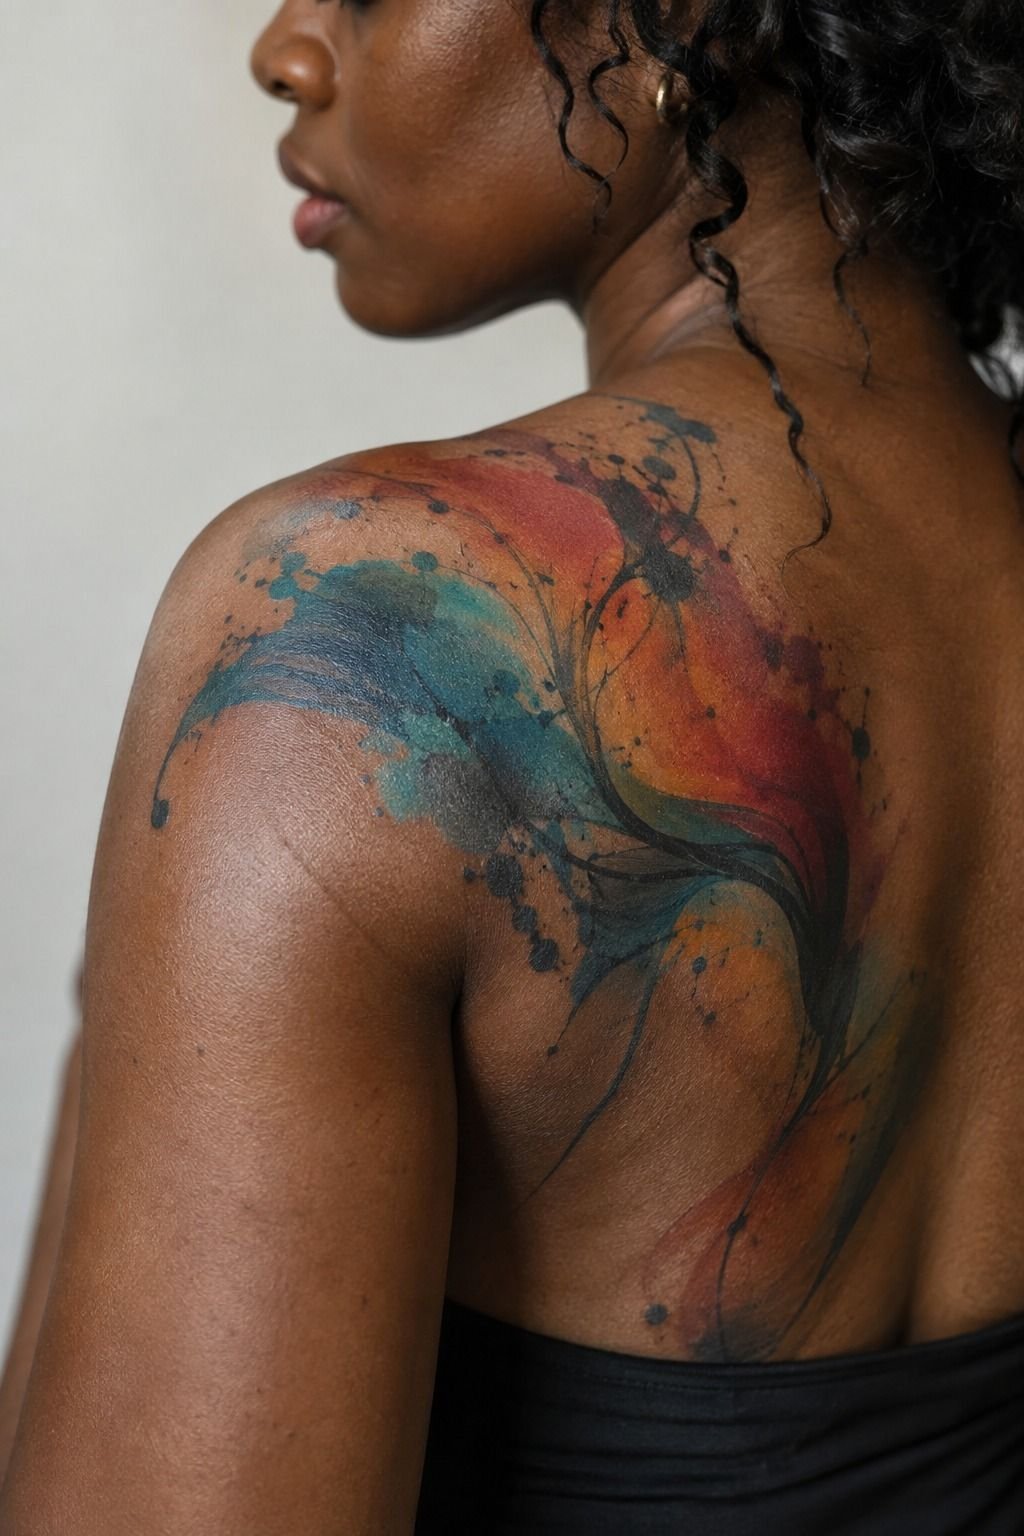
Deep ebony skin and watercolor is a pairing people wrongly call impossible.
7Keep Wrist Pieces Small And Sharp
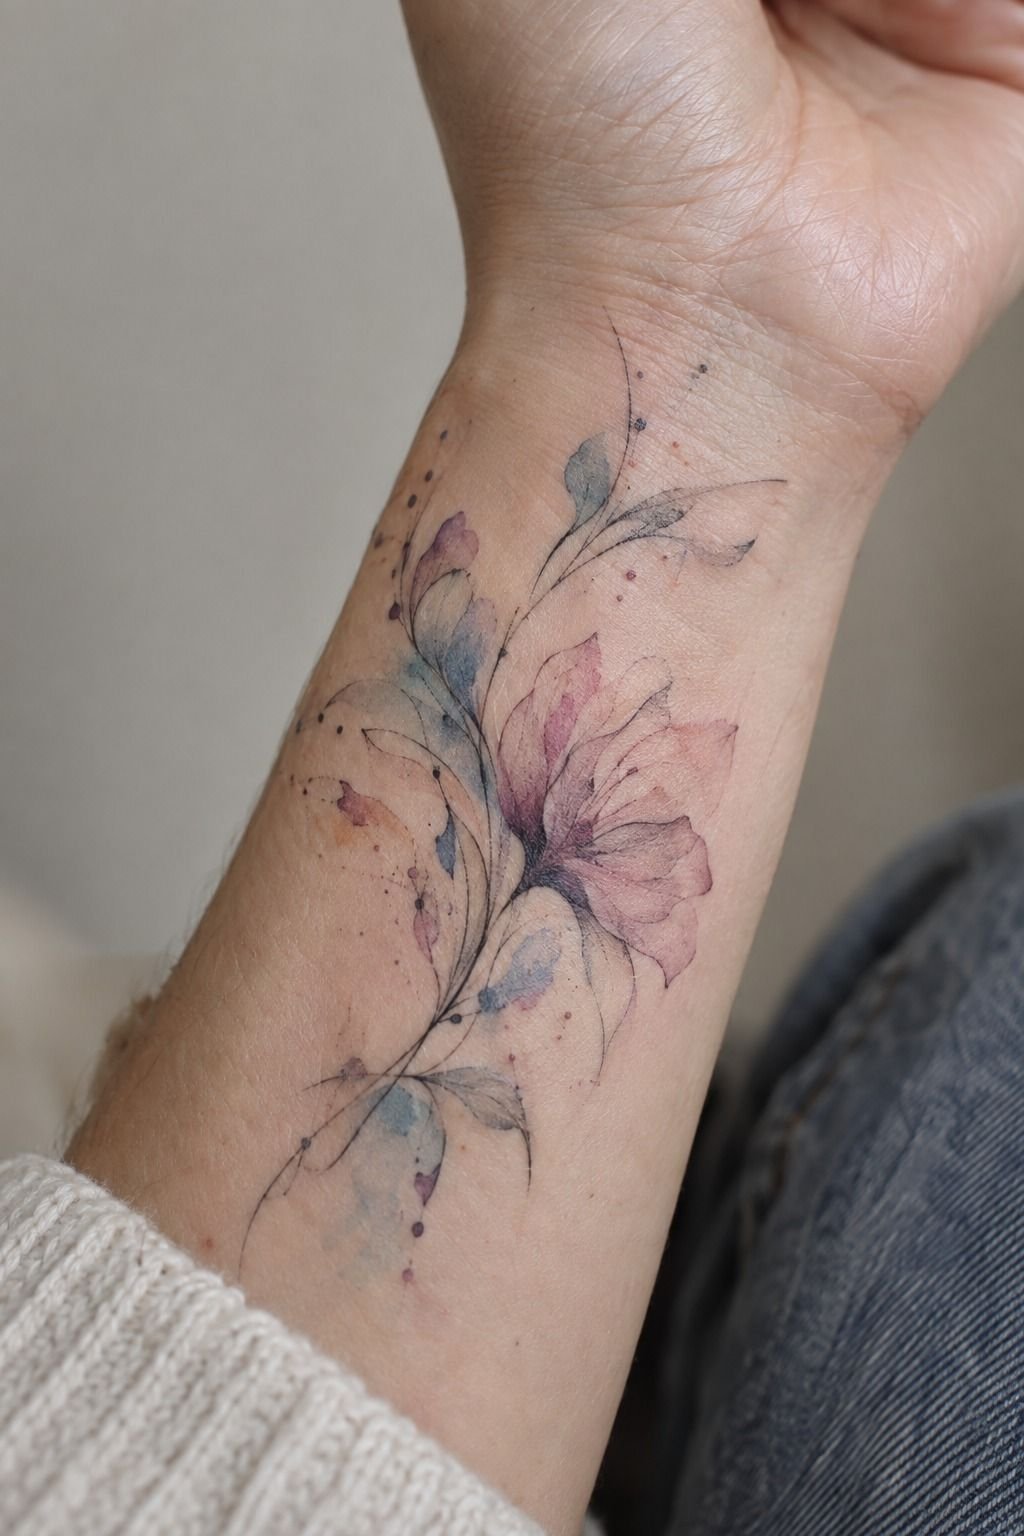
The macro close-up shows a wrist piece filling most of the frame, and what’s striking is how much black is hiding in it. A delicate piece isn’t a colorless one.
Wrist skin is thin, healing fast (usually two weeks to surface-heal), and it takes sun constantly. That last part is what kills wrist watercolor.
Sunscreen isn’t optional here, it’s the whole maintenance plan. SPF 50 on an exposed wrist piece, every summer, forever.
A small watercolor tattoo on the wrist typically costs somewhere in the $100 to $300 range depending on your artist and city, and shop minimums usually start around $50 to $100.
8Let Botanical Shapes Bleed Past The Line
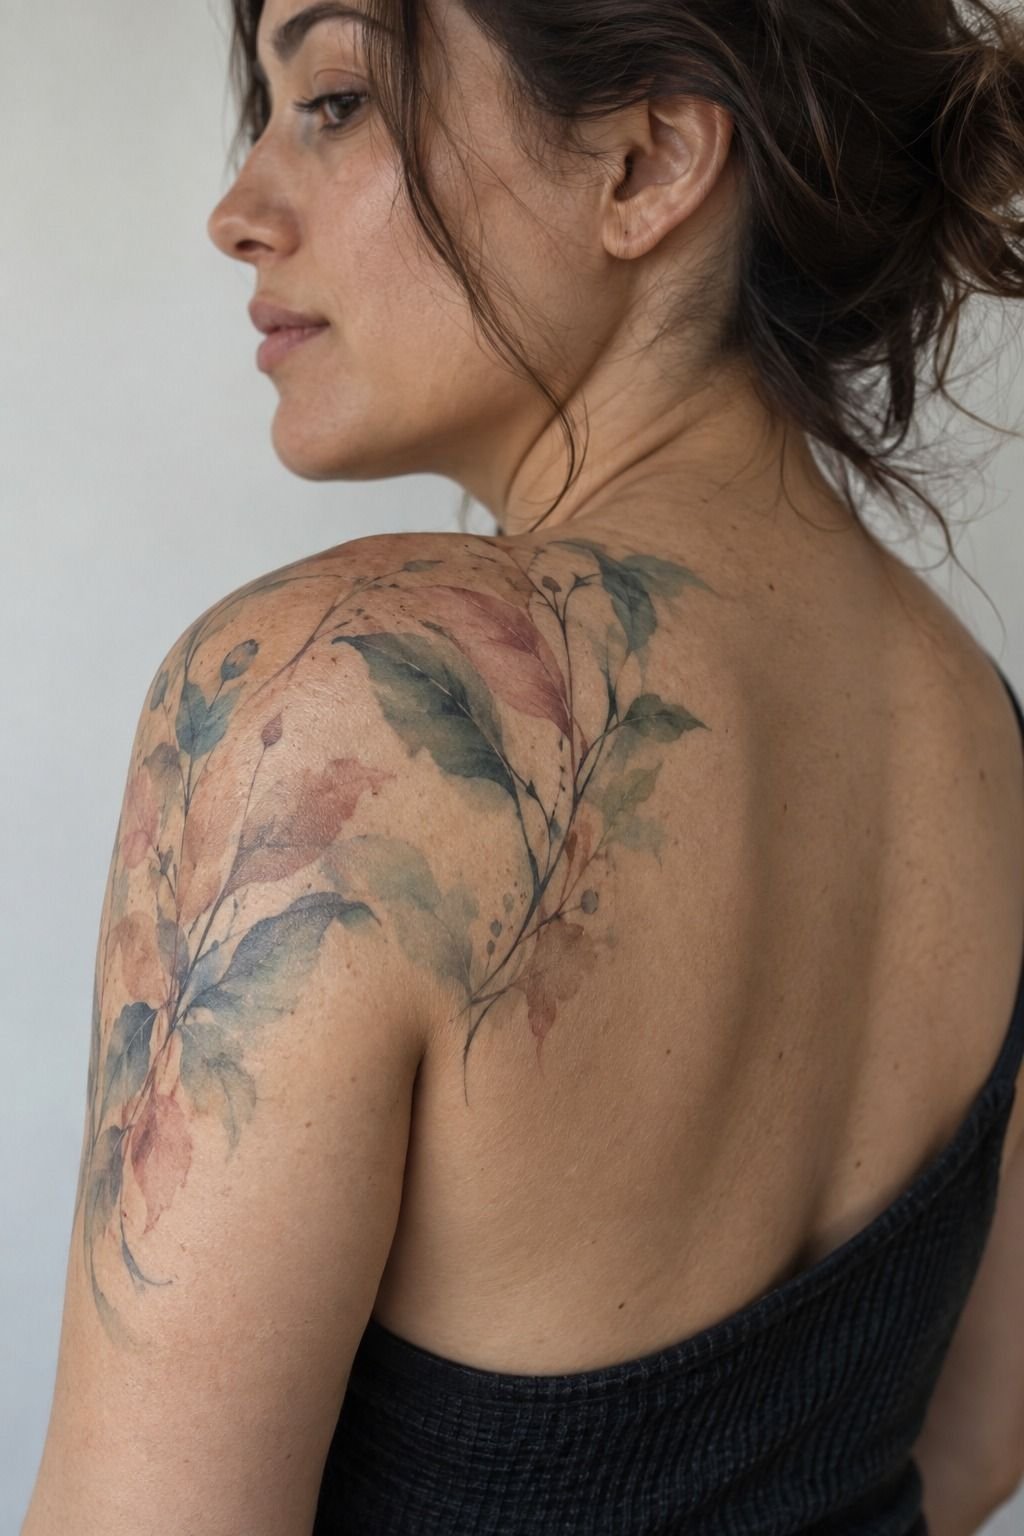
Botanicals are where watercolor earns its name. The healed shoulder in this photo shows leaf forms where the pigment runs past the outline on purpose, and that deliberate overflow is what separates this style from ordinary color work.
Ask your artist for the bleed to run in one direction, like gravity pulled it. Random splatter on all sides looks accidental.
Directional bleed looks intentional, and the difference is everything. On medium warm ivory skin, sage and ochre stay true longest because they sit close to the skin’s own warmth.
I’d skip the purples here unless they’re deep. Lavender on warm ivory goes grey within two years, every time.
9Wrap A Calf Piece Around The Muscle
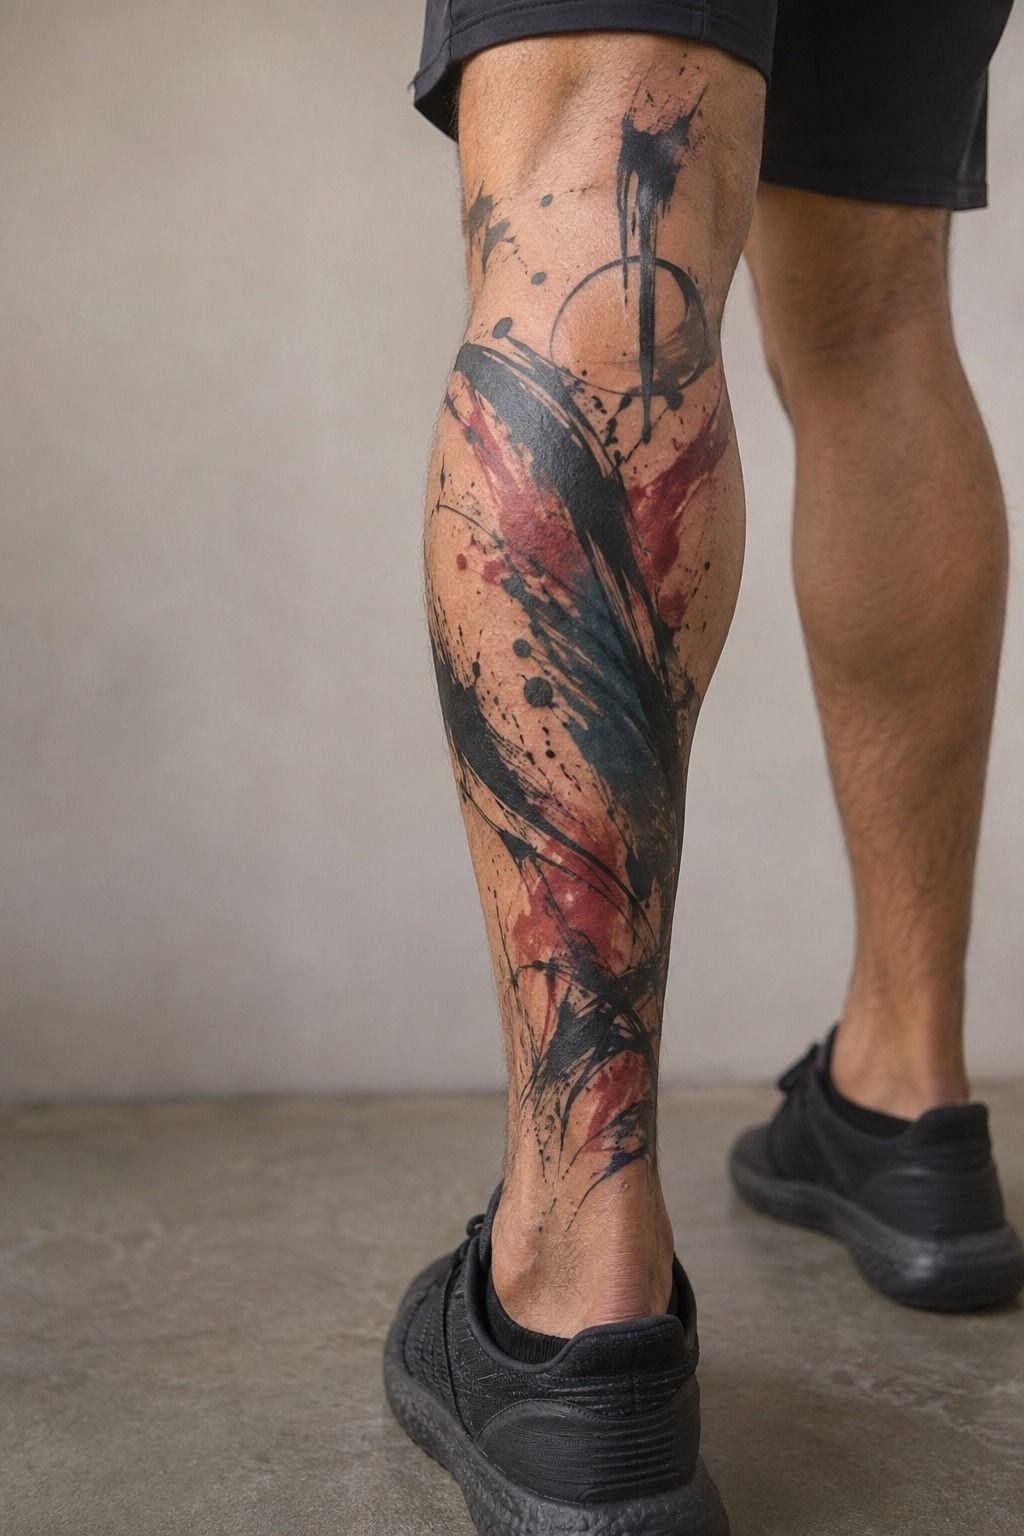
A calf design should curve with the muscle, not sit flat against it like a sticker. The placement guide in this photo shows the wrap clearly: the composition follows the outer curve, so it stays whole whether you’re standing still or mid-stride.
Calves are forgiving. Roughly a 4 out of 10 for pain, plenty of surface area, and enough distance from constant sun that the color holds. A fierce, gritty piece works here in a way it wouldn’t on a wrist.
Go bigger than feels comfortable, honestly. Six inches on a calf looks like four inches anywhere else.
And leave two to three months before you judge the healed result, because deep-tissue healing on a calf runs long.
10The Two-Mark Rule For Minimal Ink Splashes
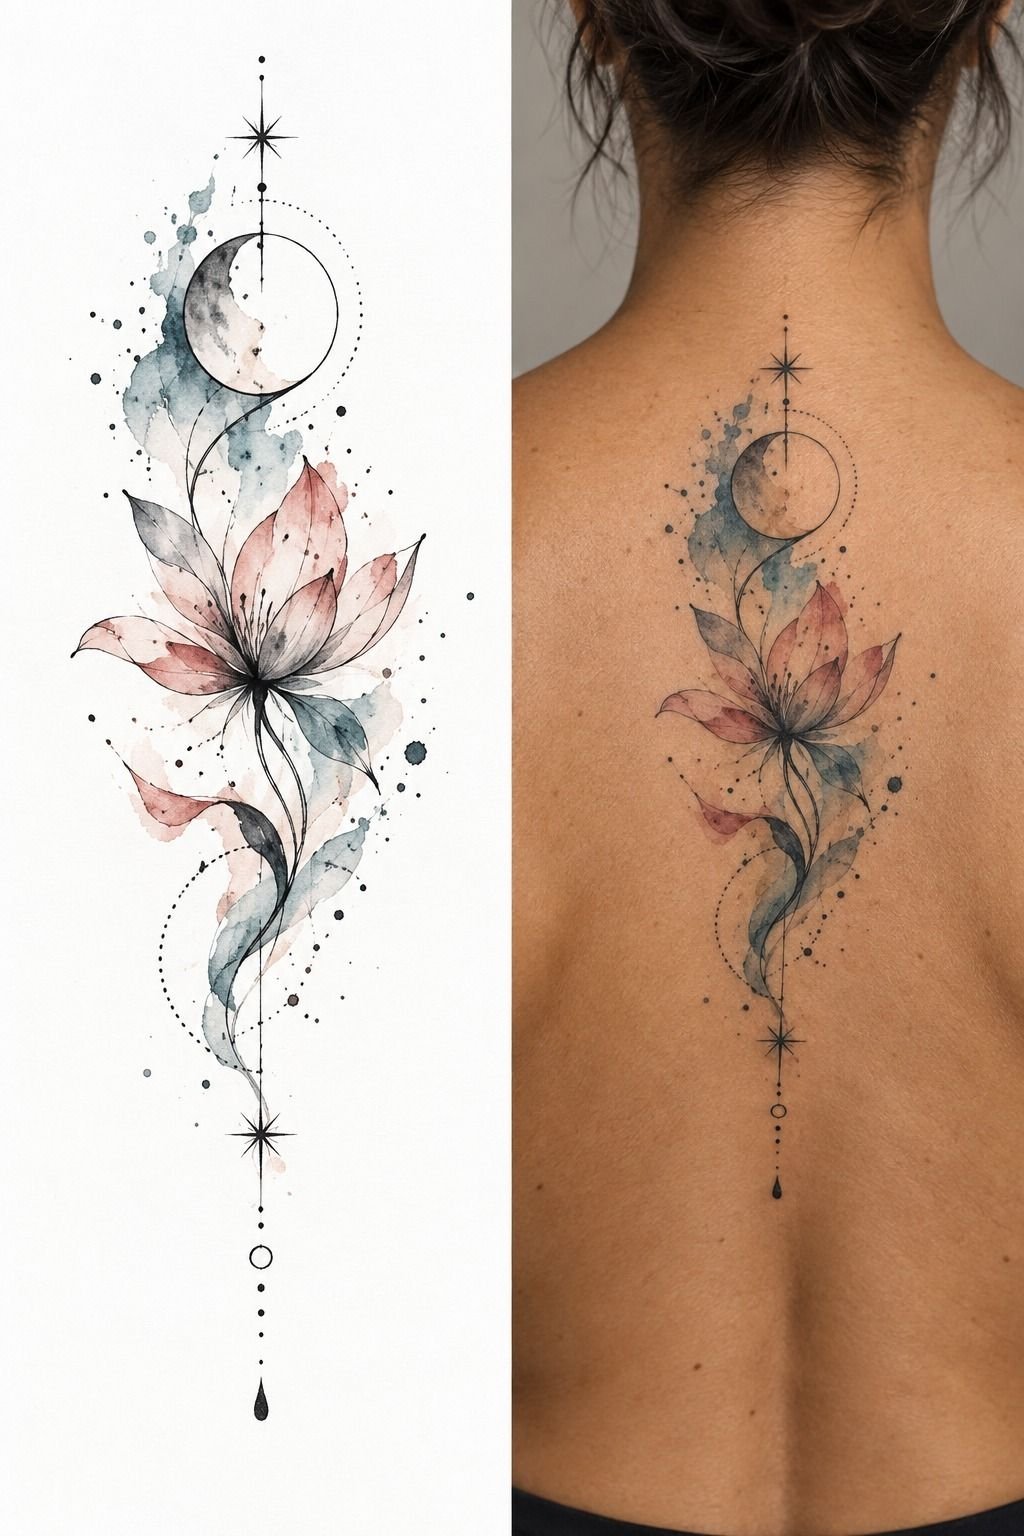
The split image in this photo makes the point better than I can: stencil on the left, healed skin on the right. Almost identical. That’s the standard.
Here’s the rule I’d hand every first-timer wanting minimal work. Two marks, maximum.
One black anchor and one color splash. That’s it.
Every additional element in a minimal piece halves its impact and doubles the chance it blurs together in a decade. A crisp blackwork stroke with a single cobalt splash beside it will still read clean at forty.
Five daring splashes will read as one grey cloud. Our guide to small watercolor tattoo work walks through sizing this properly.
11Float Color Across The Collarbone
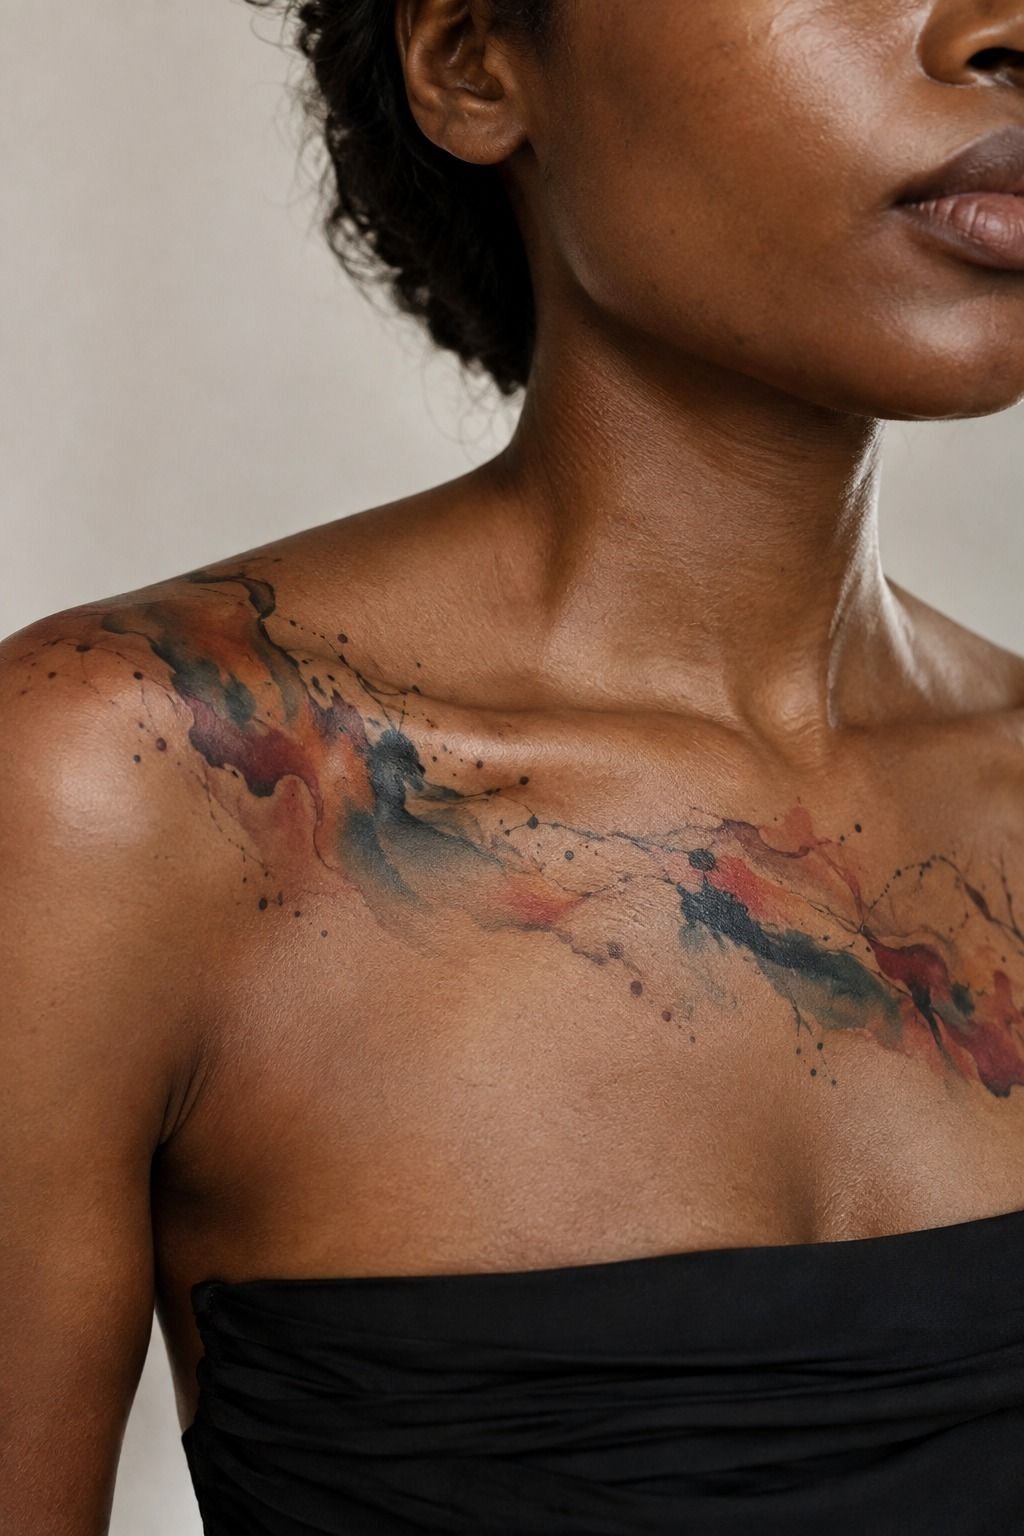
Collarbone work is elegant and it hurts. Bone directly under thin skin puts it around a 7 out of 10, and the sittings feel longer than the clock says.
But the payoff is real: a collarbone piece frames the neckline in a way no other placement does. On deep brown skin with a warm undertone, burnt sienna and gold are the pigments that sing.
The photo shows exactly this, warm tones flowing along the bone line with clean negative space above. Keep the design within four to five inches so it doesn’t fight your shoulder.
And plan two shorter sessions instead of one long one. Your body will thank you.
12Sacred Geometry Over Random Splatter
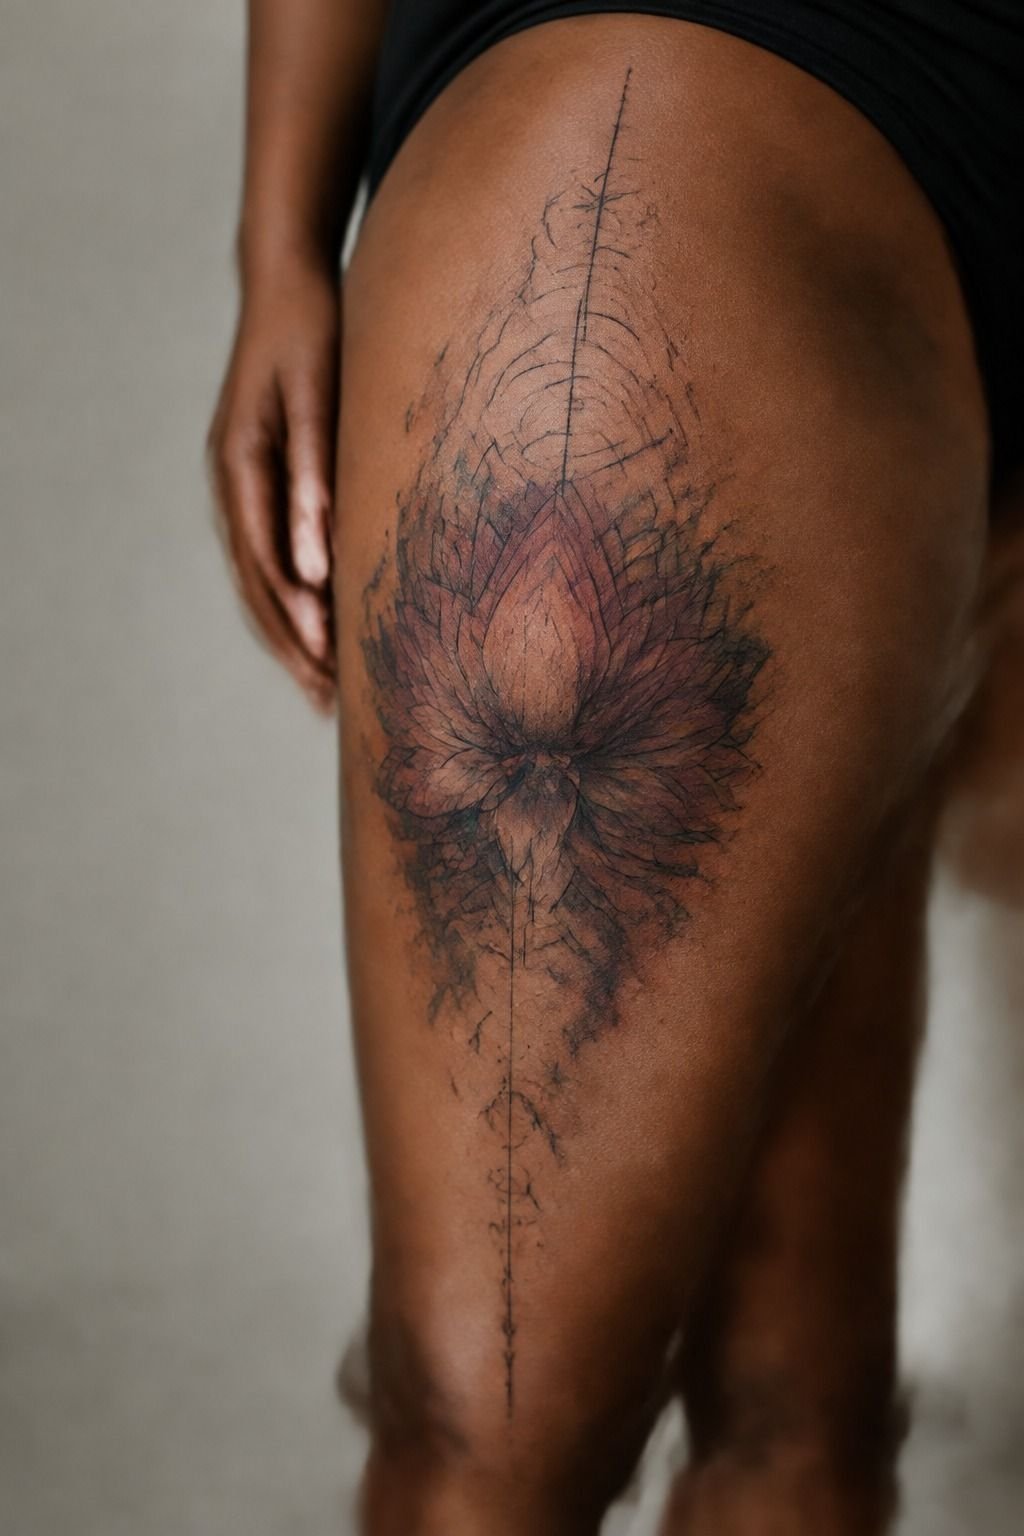
Symbolic work needs structure, and sacred geometry gives you the most timeless framework available.
13Push Rainbow Tones Without Going Muddy
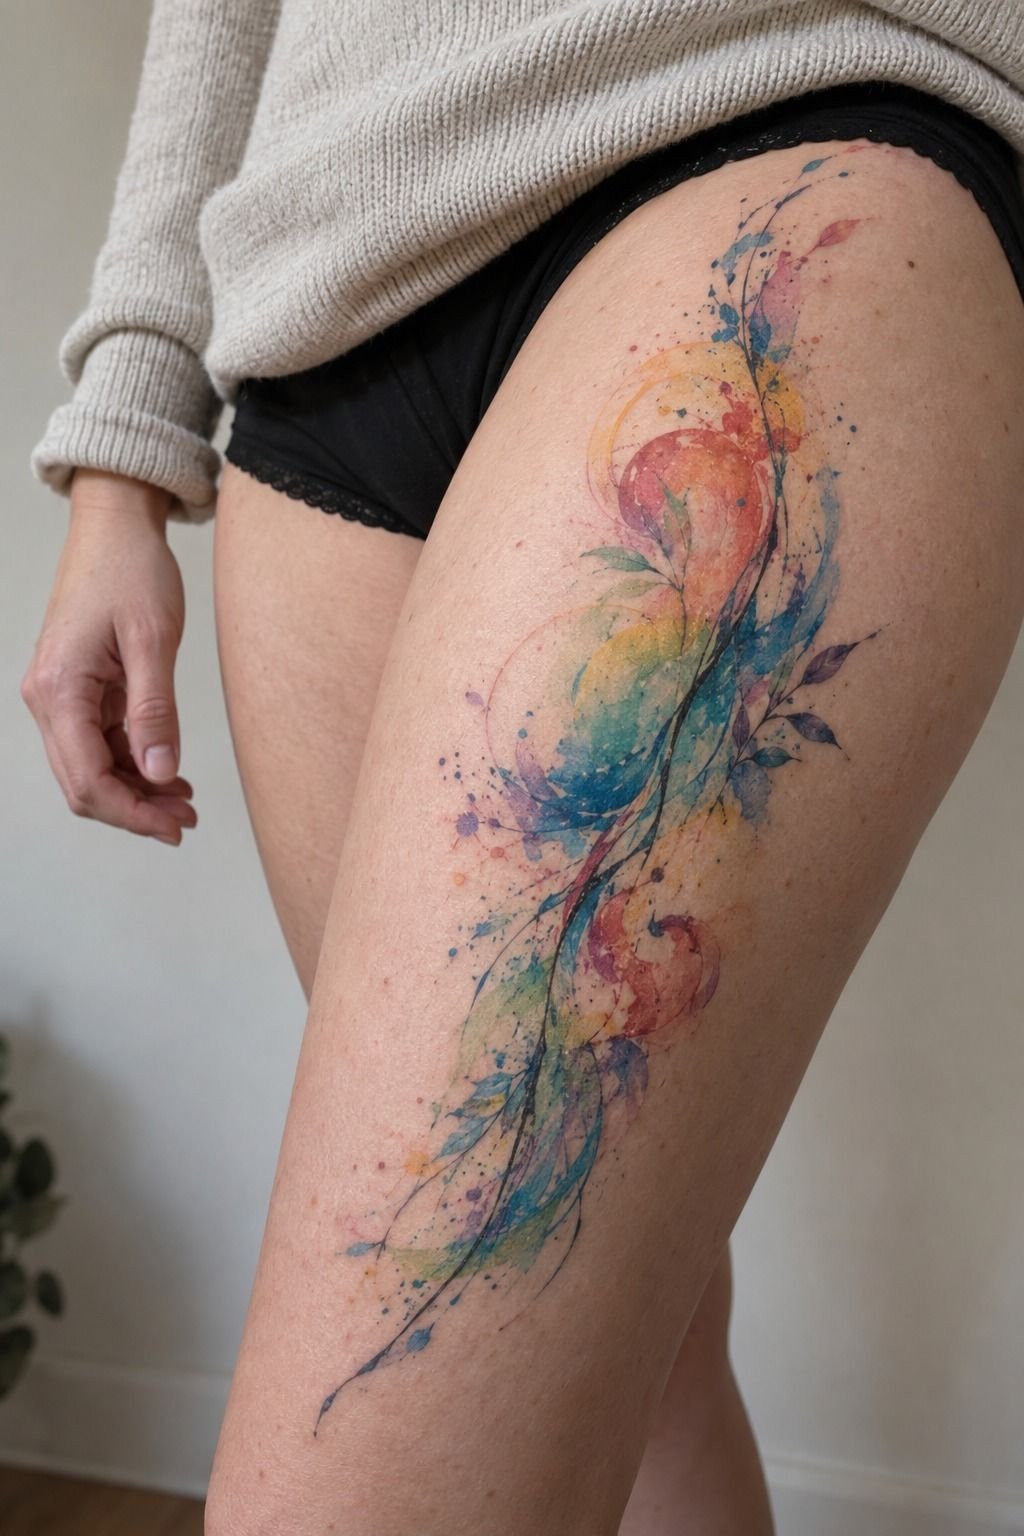
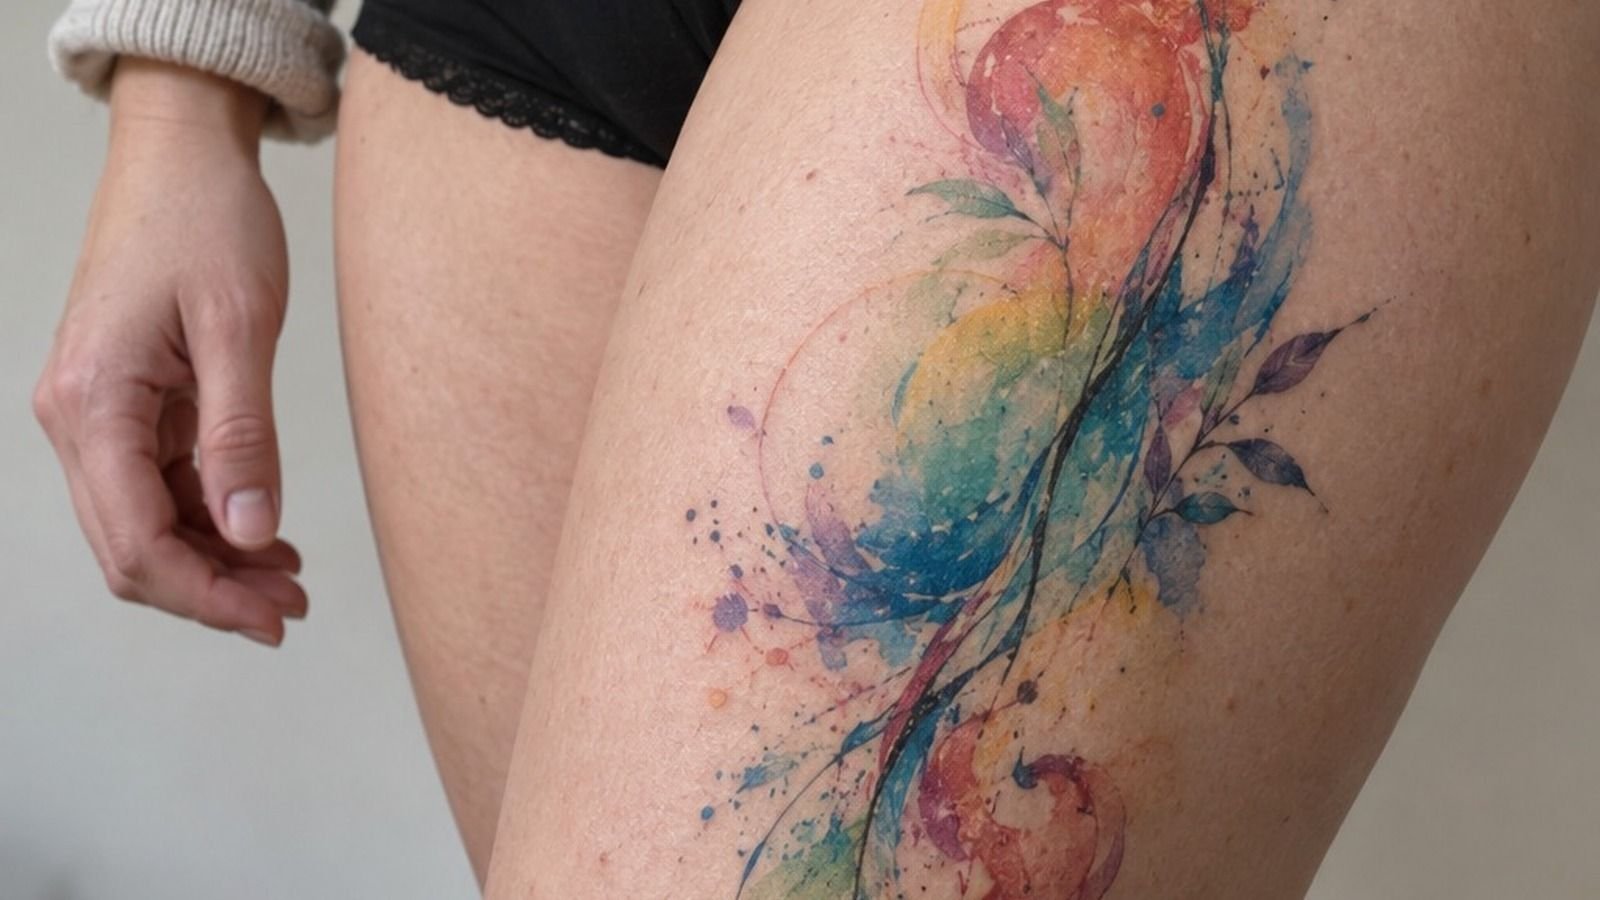
Rainbow palettes fail for one reason: the colors touch. When wet pigments meet on fair cool-pink skin, they blend into a brownish middle that no amount of healing fixes.
The move is separation. Leave 3 to 4mm of bare skin between each color field, and let the eye do the blending instead of the ink.
This healed thigh shows it working, vibrant bands staying distinct after full healing. Ask specifically for discrete pigment fields rather than a gradient. Gradients look glorious for six months.
Then they’re mud. I went back and forth on this with my own artist and she was right, separation wins every time.
14Follow The Rib Line With Flowing Shapes
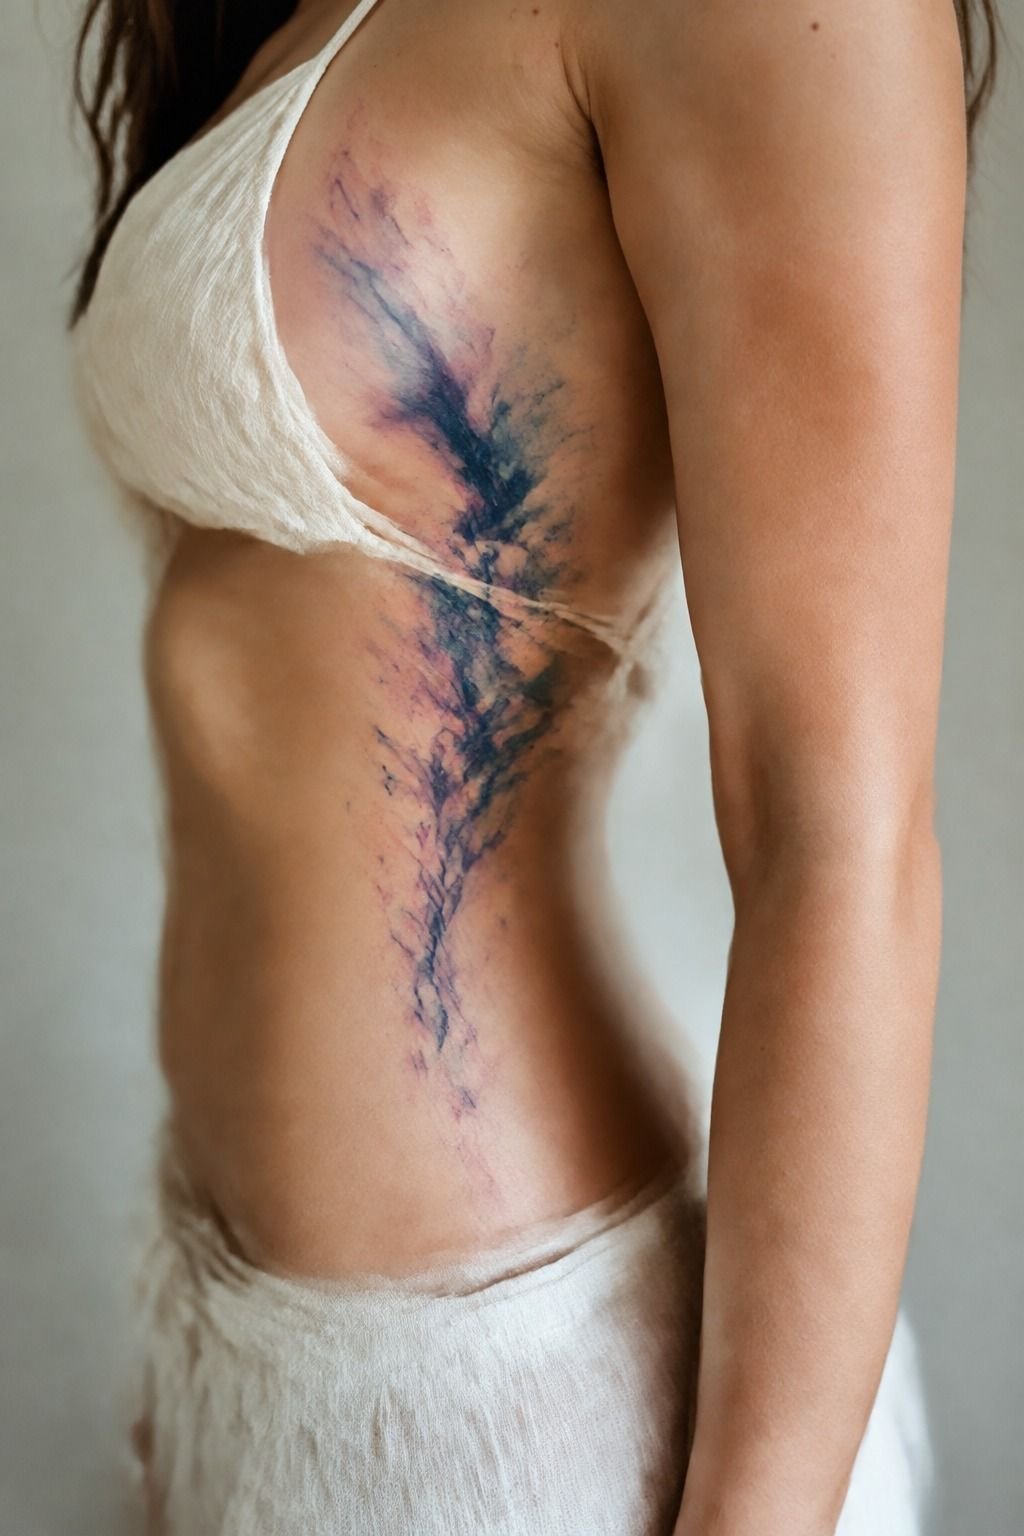
Ribs hurt. Let’s not pretend otherwise: 9 out of 10, bone right under skin, and your breathing works against the needle the whole time. Book a shorter session than you think you need.
What you get for that is the most beautiful canvas on the body for flowing work. The placement guide in this photo shows a composition that follows the rib curve so the shapes appear to ripple with the body.
On medium warm ivory skin, keep the values mid to dark so the piece stays readable against natural skin warmth. Rib pieces also stay out of the sun, which means a rib watercolor will outlast the same design on a forearm by years.
Worth every minute of the pain.
15Blackwork Accents Instead Of Colored Outlines
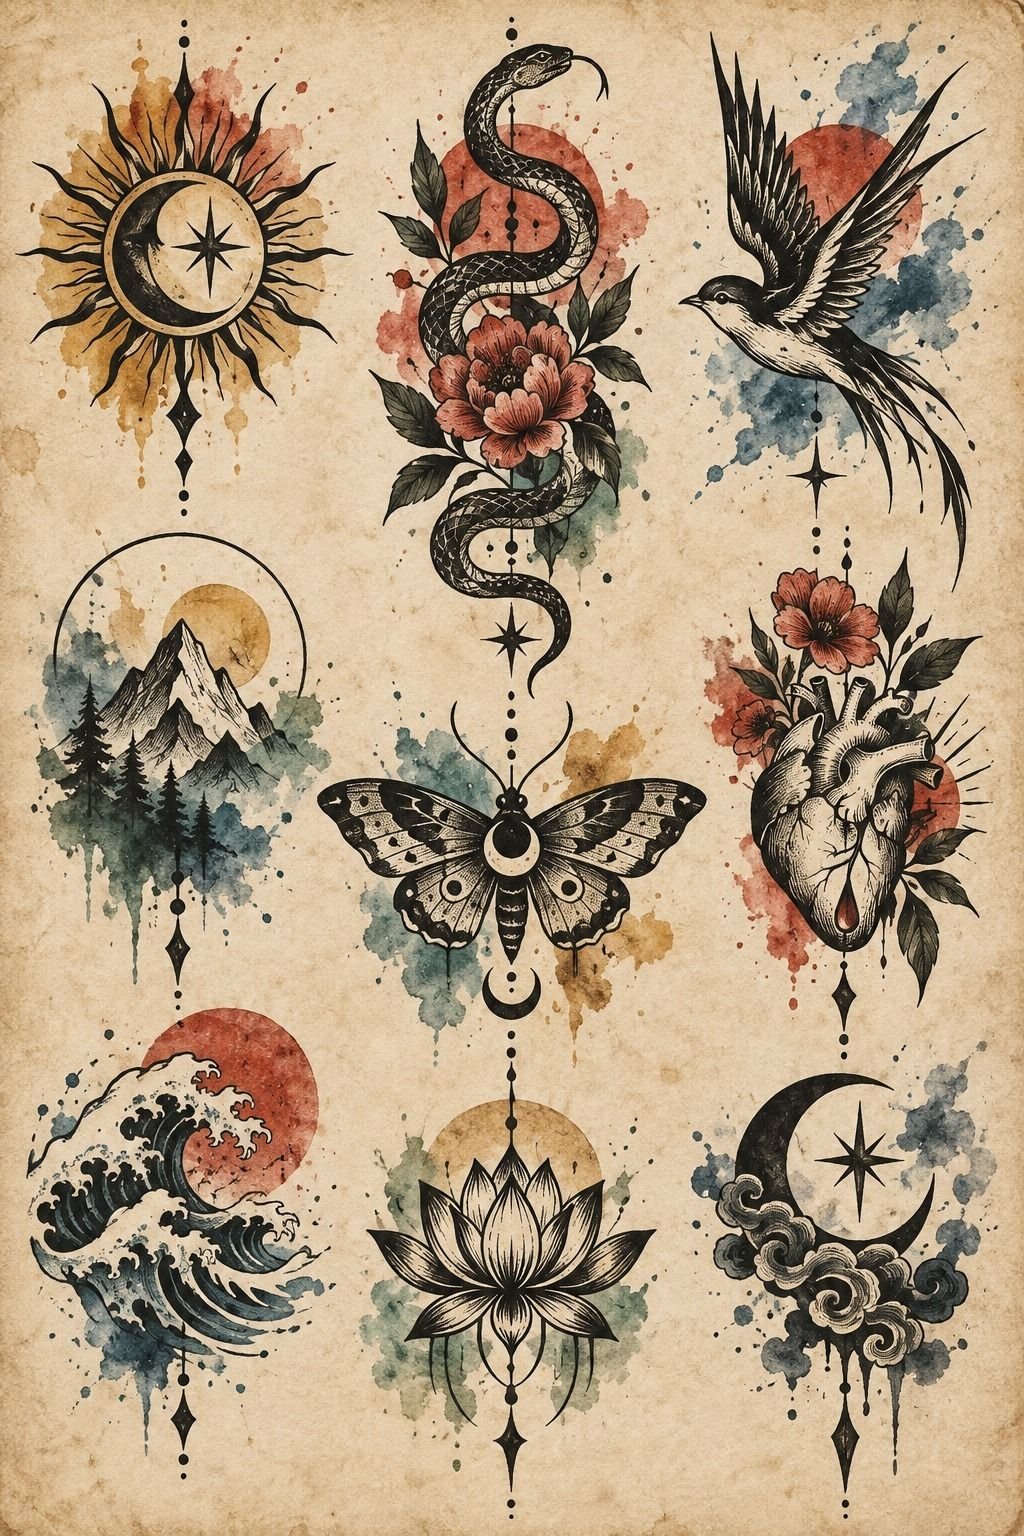
Look at the flash sheet here: blackwork designs drawn dense and heavy on aged paper.
16Keep Ankle Work Dainty And Deliberate
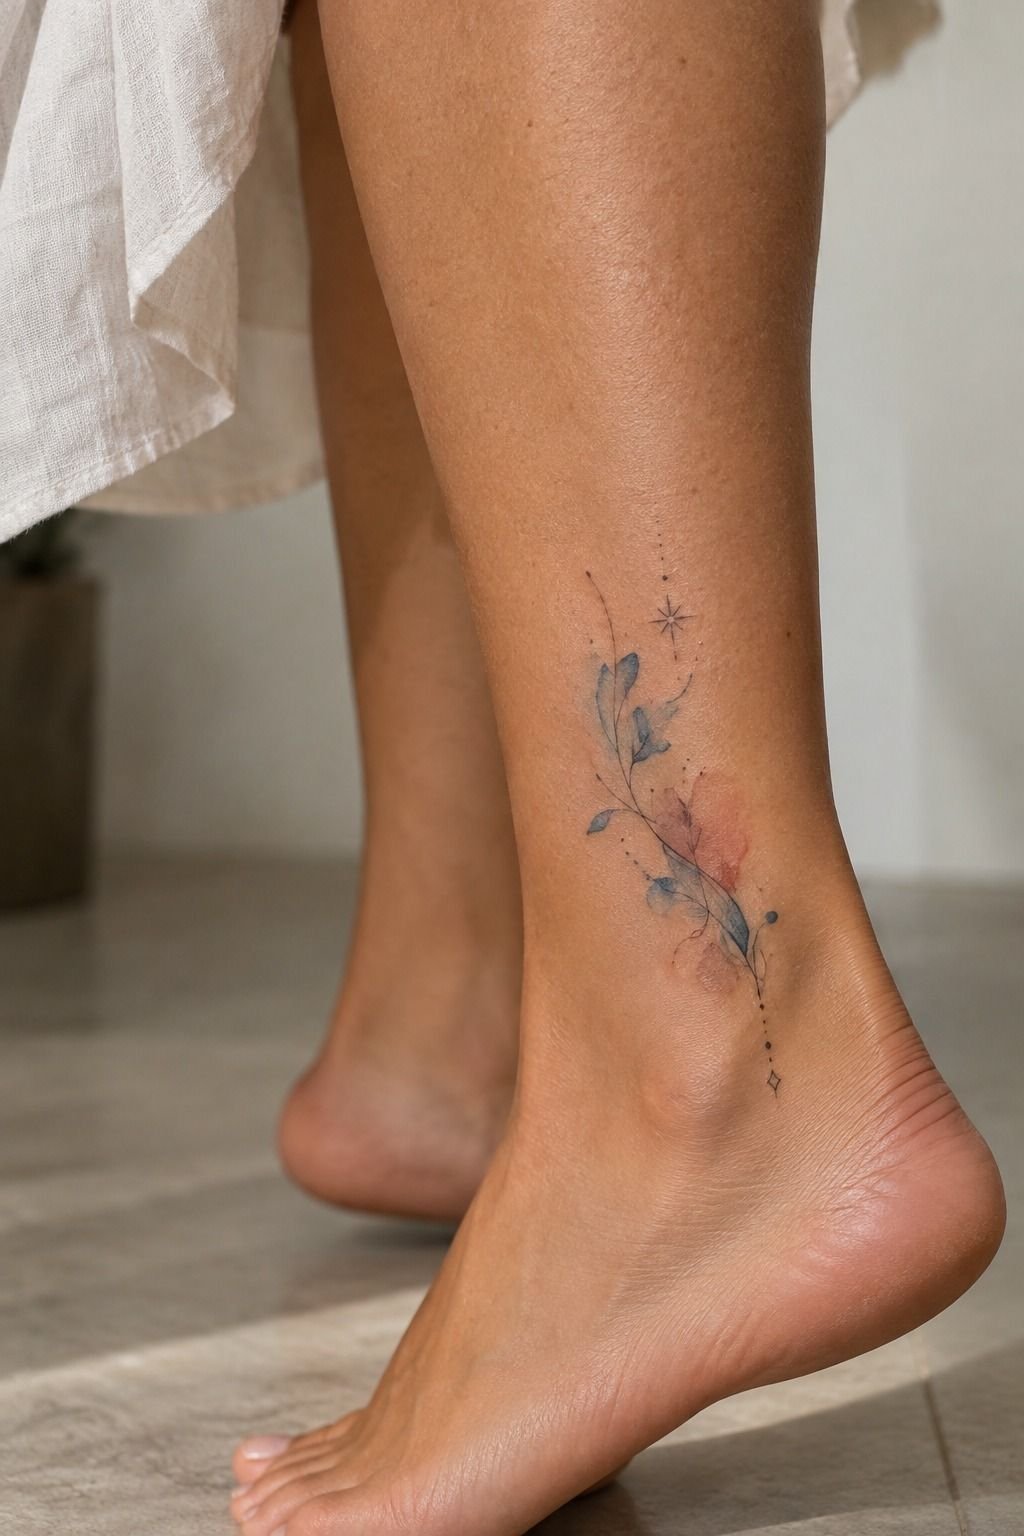
Ankle pieces on golden tan skin look effortless, and they’re the trickiest placement on this list to heal properly. Bone, thin skin, constant friction from socks and shoes.
Plan for it. No closed shoes over the piece for the first ten days if you can manage it, and expect surface healing closer to three weeks than two. Keep the design under three inches and leave a half-inch clearance from the ankle bone itself, where skin stretches most.
A soft peach wash with one sharp black line is the version I’d pick. And nobody warns you that ankles swell during healing, which is completely normal and passes by day four.
17Let Ocean Currents Dictate The Composition
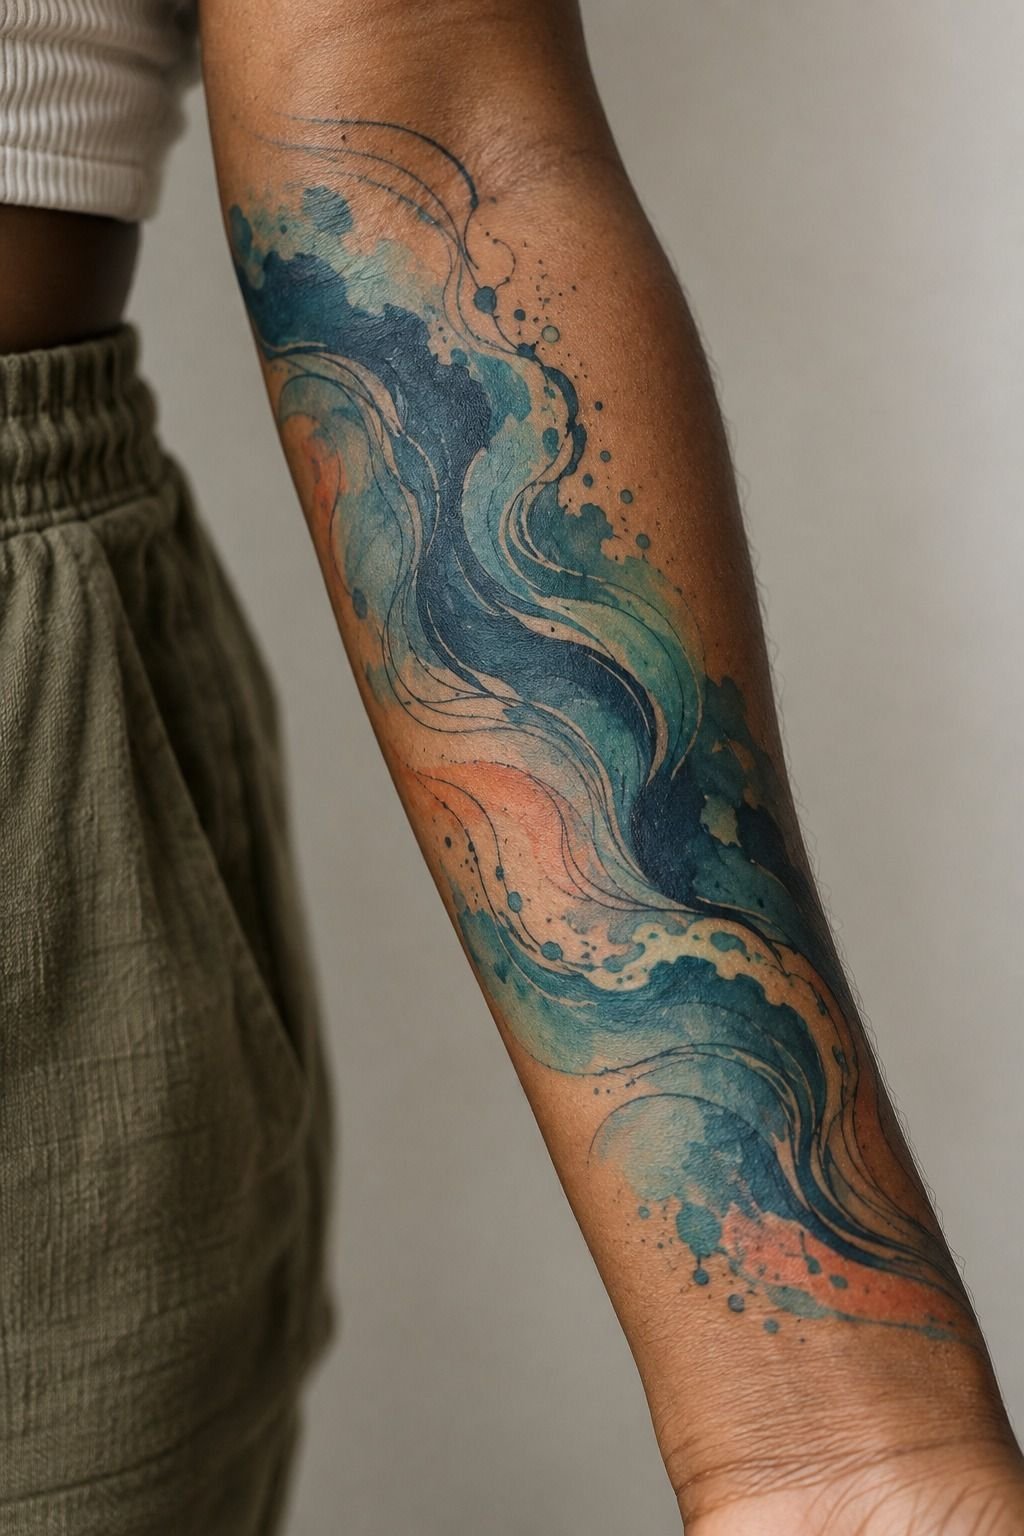
Ocean-inspired work is the most natural fit for this whole style, because water is literally what the technique imitates.
18Give Ornate Upper-Arm Work Room To Breathe
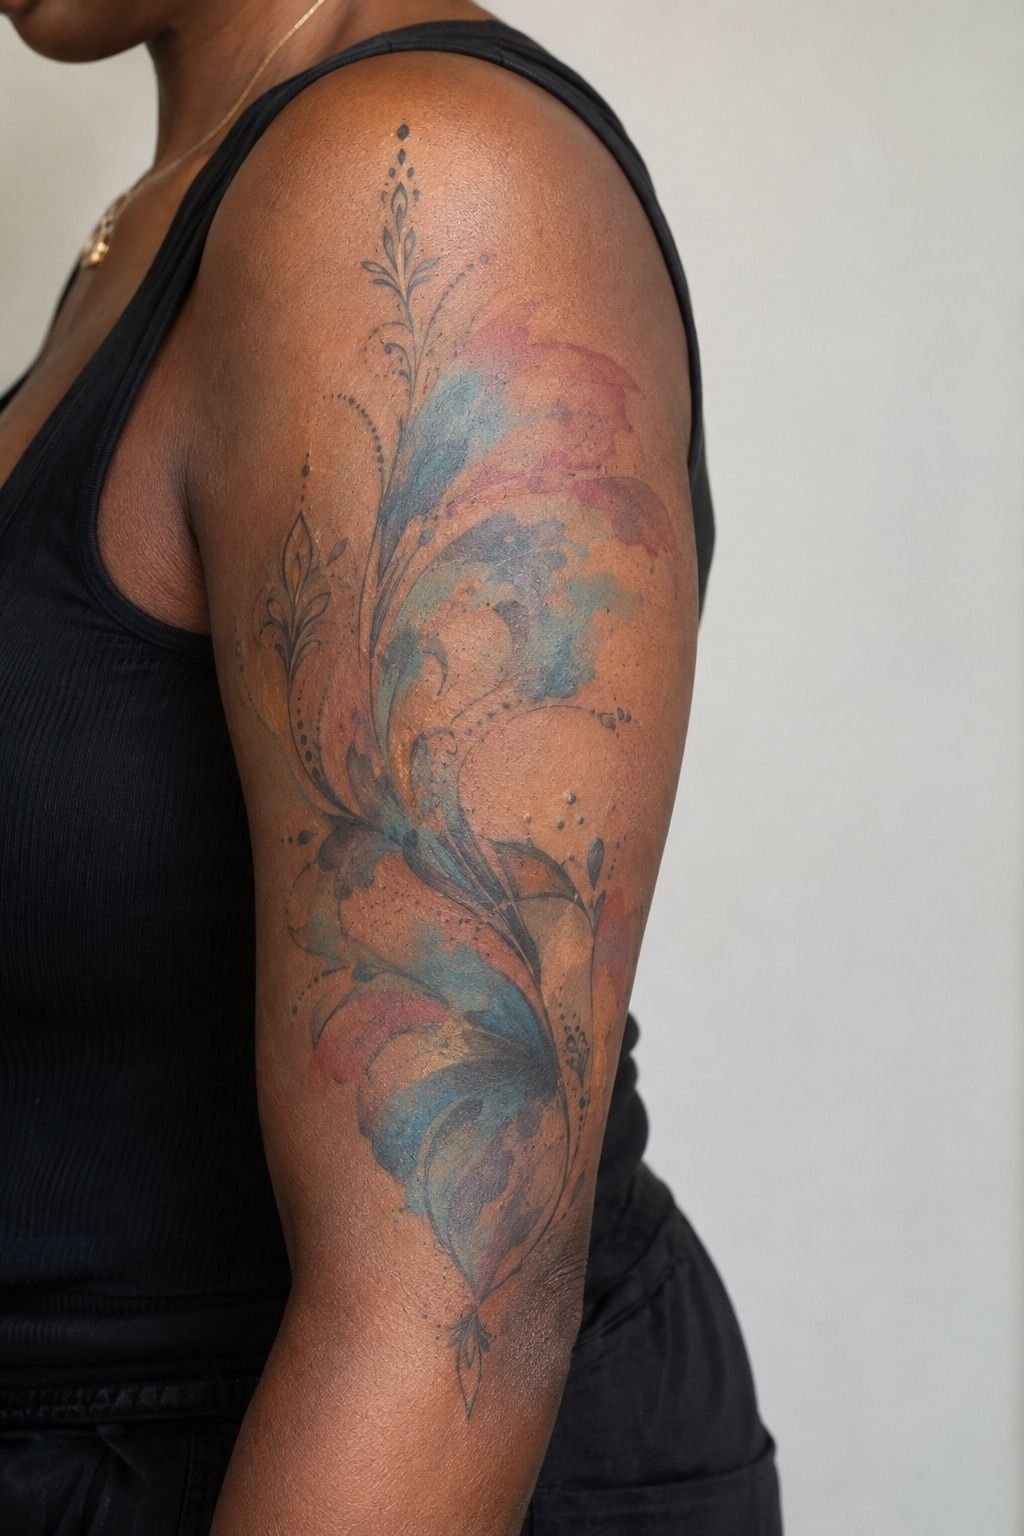
Ornate designs need space around them or the detail collapses. The healed upper arm here shows the principle working: an intricate composition with genuine empty skin framing it.
My rule is a full inch of untouched skin on every side, minimum. Upper arms are big, and the temptation is to fill them, but density is what ages badly.
On deep ebony skin, that negative space is doing double work because it creates the contrast that makes the colors legible in the first place. The upper arm is also among the least painful spots on the body, a 2 or 3 out of 10, so it’s a smart place for a long ornate session.
Men’s watercolor work lands here constantly for exactly that reason.
19Layer Brushstrokes For Meaningful Movement
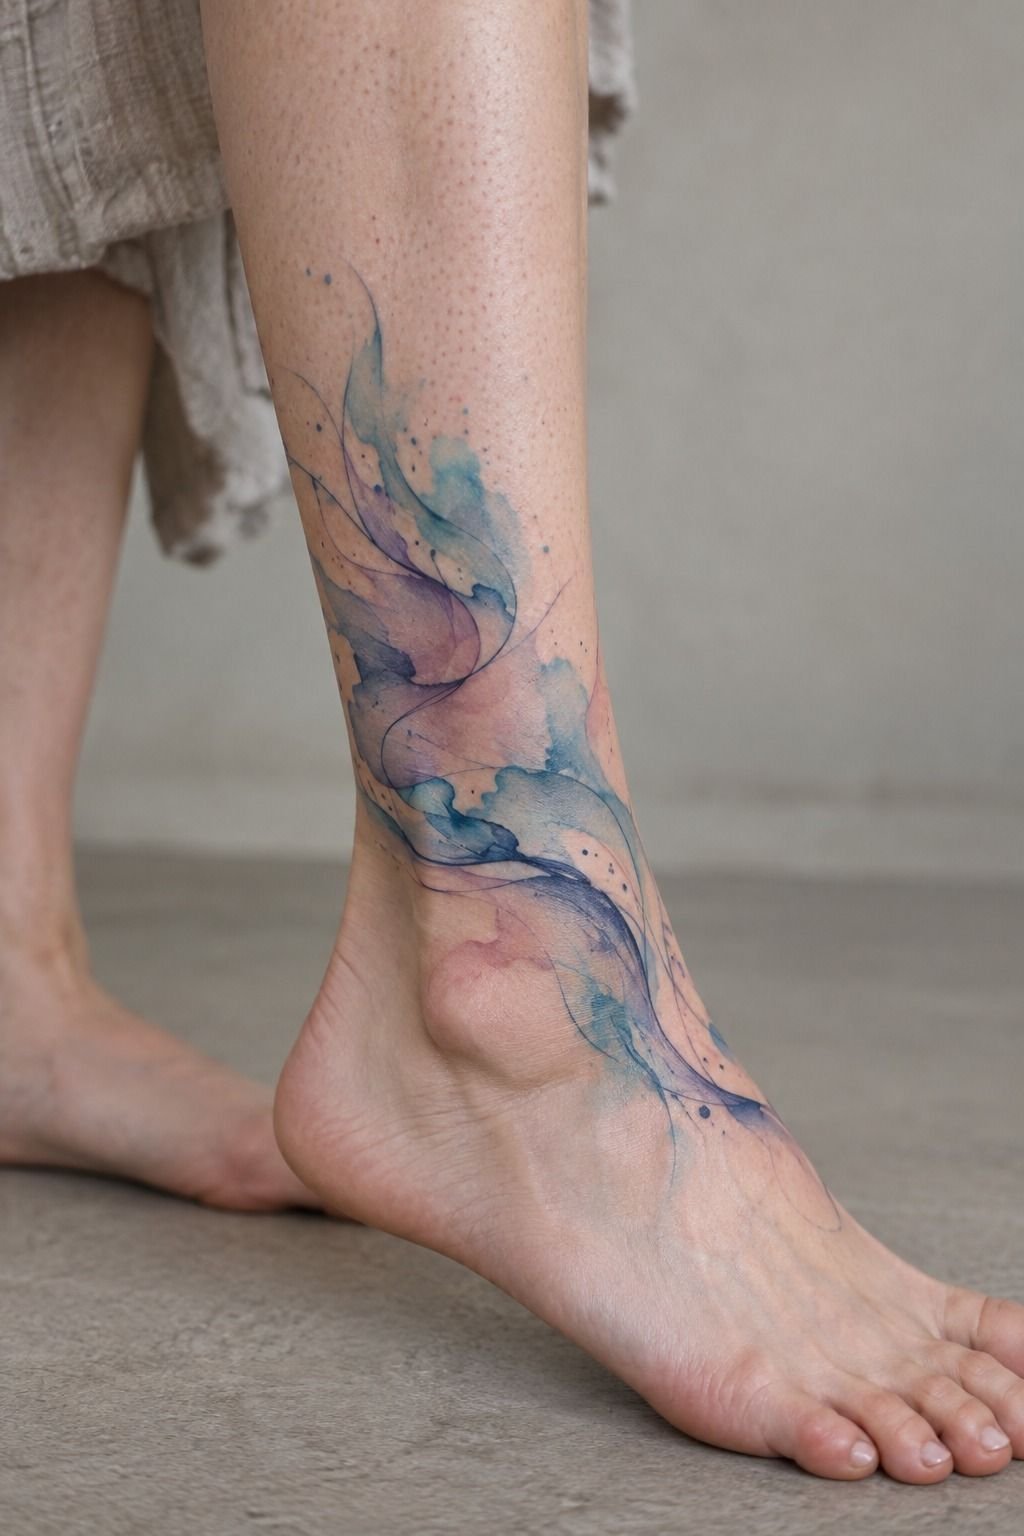
The ankle wrap in this photo is built from individual brushstrokes layered over each other, and each stroke was laid down separately.
What Six Years Of Living With Watercolor Ink Taught Me
I want to talk about the thing that made me nervous before my first piece, because I think the internet gets it backwards.
The standard warning is that watercolor tattoos fade faster than traditional work. It’s repeated everywhere, and it’s half true in a way that makes it misleading.
Watercolor pigment isn’t chemically different from any other tattoo pigment. The same inks, the same needles, the same skin.
What’s different is the application: lighter passes, less saturation, fewer black anchors. And lighter ink in skin does soften faster. That’s real.
But here’s what nobody separates out. A watercolor piece built with a proper black framework holds its shape indefinitely, because the black is what defines the image.
The washes soften, sure, and they soften the way an actual watercolor painting softens, which is arguably the point. My piece at six years looks like a painting that’s been lived with.
It doesn’t look damaged. It looks settled.
The pieces that genuinely fail are the ones with no structure at all. Pure pastel, no line, no anchor. Those go from beautiful to ambiguous in about four years, and I’ve seen it enough times to be confident about the pattern.
If someone shows you a portfolio of only fresh pastel work with no healed photos, walk away. That’s the whole vetting process in one sentence.
The other thing I’d tell my younger self: sun is the actual enemy, not time. I was religious with sunscreen for the first year and lazy after that, and the difference between my shaded inner forearm and my sun-exposed wrist is obvious under daylight. The wrist is maybe 20 percent softer.
Same artist, same session, same ink. The only variable was UV.
So if you’re planning your first watercolor piece, my honest advice is: spend your energy on two things. Find an artist with healed photos, and commit to sunscreen.
Everything else about this style, the palette, the placement, the size, is preference. Those two are the difference between a piece you love at ten years and one you’re quietly disappointed by at four.
What People Always Want to Know
How much does an abstract watercolor tattoo usually cost?
Expect roughly $100 to $300 for a small to medium piece in the US. Shop minimums typically start around $50 to $100, and hourly rates usually run $100 to $250. Larger multi-session work scales from there, and it varies a lot by artist and region.
Are abstract watercolor tattoos a good idea for a first tattoo?
Yes, and they’re one of the better first choices. Pick a tolerable placement like forearm, thigh, or shoulder, ask for real linework underneath, and you’ll get something that heals easily and ages honestly. Start medium-sized, not tiny.
How do I choose a tattoo artist for this style?
Look for healed photos, not fresh ones. That’s the whole test.
Check for clean, confident linework under the color, ask whether they specialize in this style or just accept it, and confirm the studio’s hygiene practices. Our watercolor tattoo artist guide covers the questions worth asking.
How much do these tattoos hurt?
It depends entirely on placement. Bony areas like ribs, feet, hands, and sternum are the roughest, often 8 or 9 out of 10.
Forearm, thigh, shoulder, and upper arm sit comfortably in the 2 to 4 range. Most people handle those fine.
How long does one take to heal?
Surface healing takes about two to three weeks, but full healing in the deeper layers runs two to three months. Wash gently twice daily, moisturize lightly, and stay out of pools and direct sun the whole first month.
What’s the best placement for a watercolor piece?
Inner forearm and thigh, hands down. Both offer low sun exposure and manageable pain, and the skin there doesn’t stretch much over time.
If you want visibility, go forearm. If you want longevity above all, thigh wins.
The biomech watercolor tattoo guide covers larger placements too.
Do watercolor tattoos really fade faster?
Only the unstructured ones. Pieces built with solid black anchors hold their form as well as any traditional tattoo. The color washes soften over years, which most people find beautiful rather than disappointing.
Where I’d Start First
If I had to pick one, I’d start with the inner forearm. Your arm shades it naturally, so UV barely touches it, and sun is what actually kills this style. Pin the inner forearm idea and go find an artist with healed photos.