Assembling a tattoo gun, whether it’s a traditional coil machine or a modern rotary, takes patience, clean hands, and respect for the tool. I’ve tattooed with both types for over a decade, and I can tell you: a poorly assembled machine causes shaky lines, blown-out shading, and unnecessary pain for your client. The good news? Once you understand the mechanics, setup becomes muscle memory. This guide walks you through real shop practice, not YouTube shortcuts.
Know Your Machine Type First
Before you touch a single component, identify what you’re working with. Coil machines and rotary machines assemble differently, and mixing up the process wastes time and risks damage.
Coil Machines: The Traditional Workhorse
Coil machines use electromagnetic current to drive the needle bar. I’ve got three in my kit right now, one for lining, one for shading, one backup. They buzz loud, hit hard, and demand precise tuning. Assembly involves more steps: armature bar alignment, spring tension, contact screw positioning.
Rotary Machines: Streamlined and Consistent
Rotary machines run on a motor and cam system. Quieter, lighter, fewer moving parts. Most cartridge-based rotaries practically assemble themselves, you twist in a cartridge and adjust needle depth. But don’t get lazy. Even rotaries need proper grip and voltage setup.
Gather Clean Components in Order
Shop culture matters here. In my chair, I lay everything out left-to-right: machine body, tube, grip, needle bar or cartridge, rubber bands, clip cord. Nothing touches the work surface directly. Barrier film or a clean dental bib underneath. Cross-contamination is real, and I’ve seen artists get called out for sloppy prep.
- Machine frame (coil or rotary body)
- Tube: stainless steel (autoclaved) or disposable plastic
- Grip: metal or disposable, sized to your hand
- Needle bar with rubber nipple, or cartridge system
- Rubber bands for coil machines (2-3, fresh each time)
- Clip cord with barrier sleeve
- Power supply with foot pedal
I tell clients the setup ritual is half the calming process. They see you being methodical, and their shoulders drop an inch.
Assemble the Tube and Grip
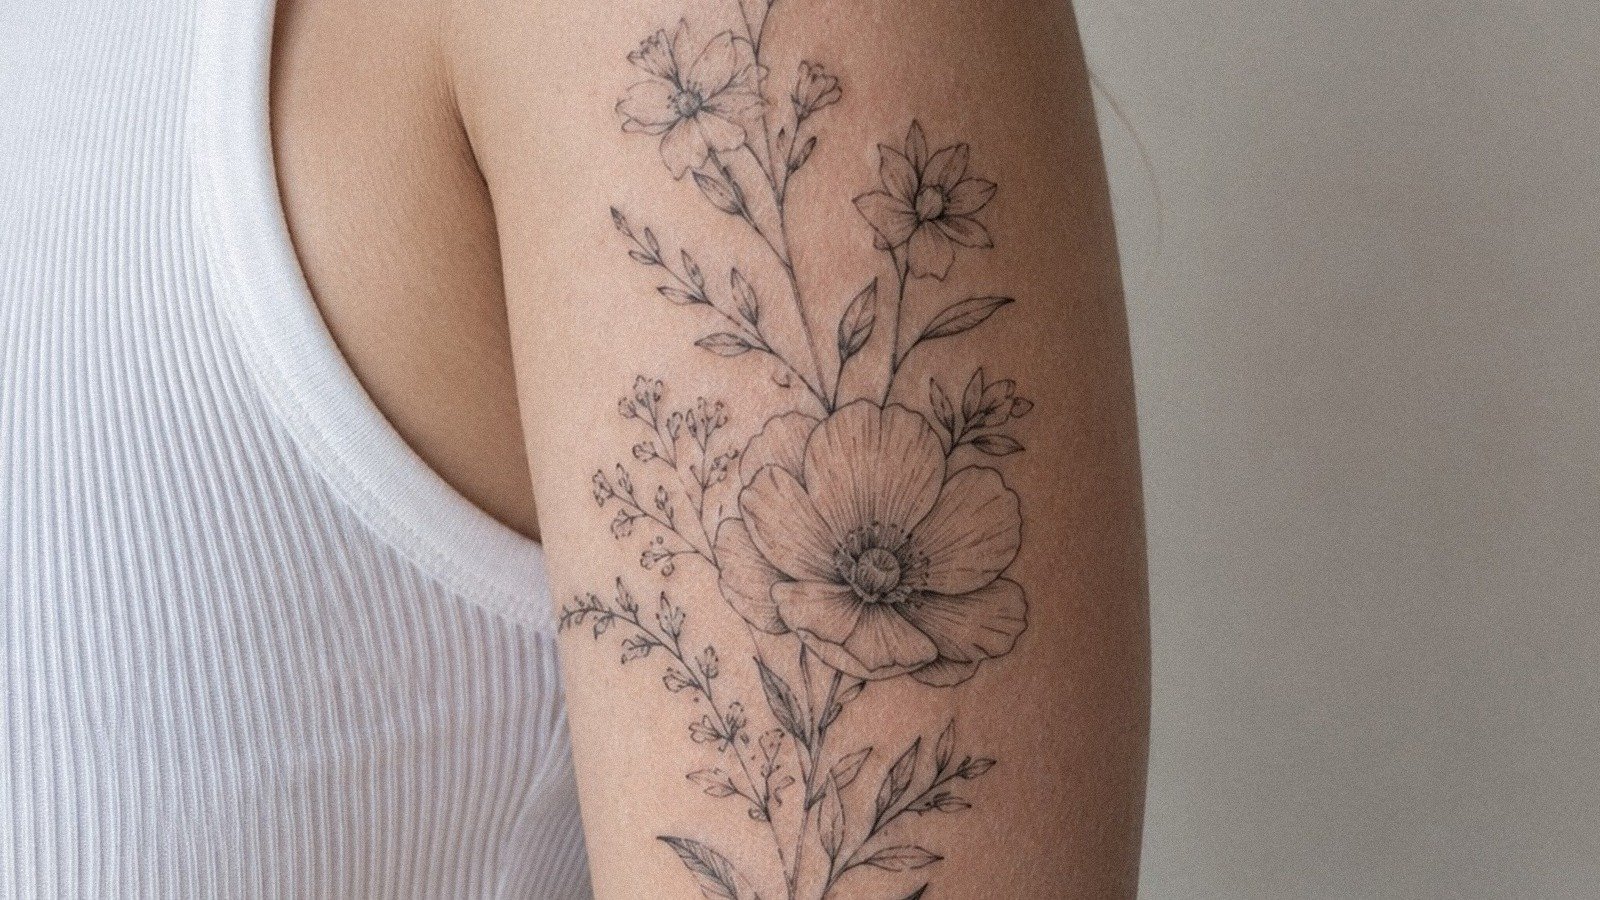
The tube guides the needle. Get this wrong and the needle wobbles inside the tip, scratchy lines, inconsistent saturation, longer healing times for the client.
Steel Tubes: The Old-School Method
Slide the tube into the grip. Hand-tighten first, then snug with a tool if needed, don’t crank it. The tube’s back stem inserts into the machine’s vise. For coil machines, the needle bar’s eye loop must align perfectly with the tube’s channel. I hold it up to my shop light and sight down the barrel. If the needle kisses one side of the tube tip, readjust.
Disposable Tubes and Cartridge Grips
Most rotaries use disposable cartridge grips now. Twist until it seats firm. No wobble. The cartridge itself clicks in with a quarter-turn. Check the needle protrusion by pressing the armature nipple or running the machine briefly. You want 1.5, 2mm of needle showing at rest for lining, slightly more for shading.
Mount and Align the Needle
This is where I see apprentices mess up most often. The needle bar slides through the tube from the back. On coil machines, the rubber nipple at the bar’s top loops over the armature bar pin. The needle’s eye (the soldered loop at the back) must sit flush in that nipple. Not twisted. Not half-seated.
Run the machine without skin contact. Watch the needle travel. It should move straight in and out, no lateral wobble. If it arcs side to side, your tube is crooked or the needle bar is bent. Toss bent needles. Never straighten and reuse. In my shop, that’s non-negotiable.
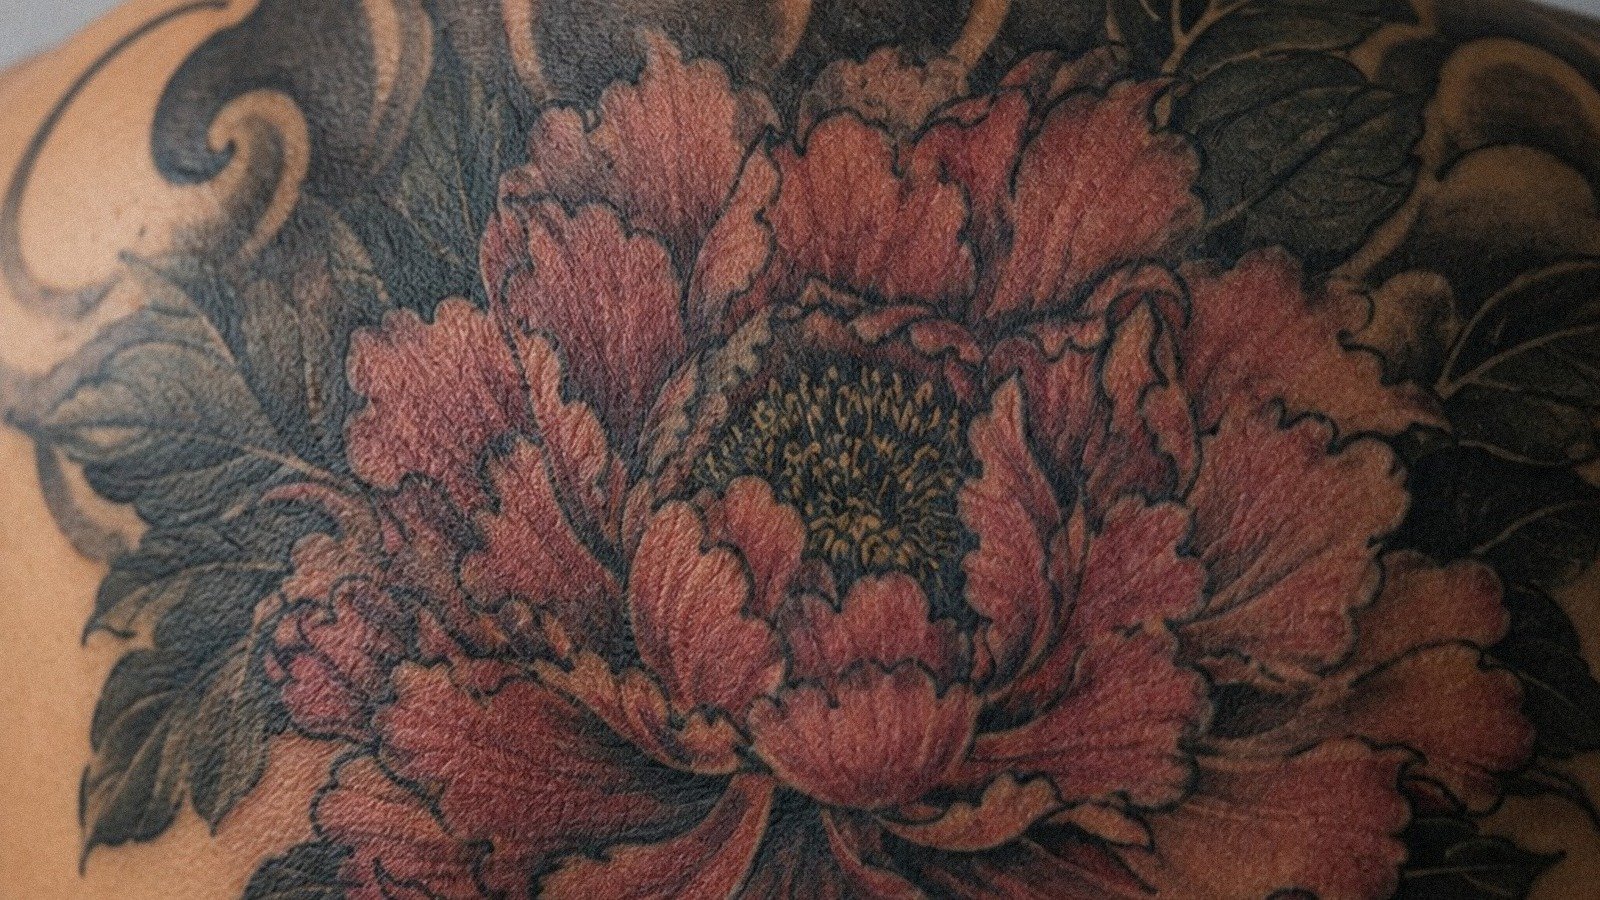
For depth: when the needle is at full extension, the tip should protrude about 2mm from the tube tip. Any deeper and you risk blowouts in thin skin, wrists, inner biceps, anywhere vascular. Any shallower and the ink won’t hold. I’ve had to fix too many “scratchers” who ran 4mm and left clients with blurred blue halos.
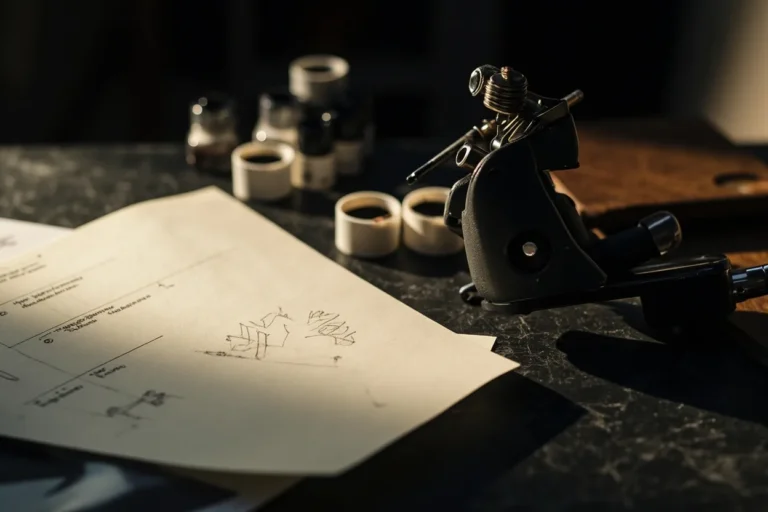
Tune a Coil Machine: Springs, Gap, and Contact Screw
Coil machines need tuning every session. Humidity, temperature, even how hard you cranked the vise last time, all of it changes the machine’s behavior.
- Contact screw: this brass screw at the front frame touches the front spring. The gap between them determines speed and hit strength. I start at a credit-card thickness, about 0.8mm, then adjust by ear.
- Front spring tension: stiffer springs hit harder. Softer springs run faster but weaker. I keep a set of springs in my toolbox and swap based on the job.
- Armature bar gap: with the machine running, the armature nipple should drop down to meet the coil tops. If it doesn’t drop fully, the machine chokes and won’t cycle properly.
The sound tells you everything. A crisp, consistent buzz means healthy contact. A sputter or rattle means something’s loose or the gap’s wrong. I’ve tattooed next to artists who run machines that sound like gravel in a blender. Their work shows it.
Connect Power and Test Run
Clip cord gets a fresh barrier sleeve every time. I wrap the connection point with cohesive bandage tape for extra security, sweaty hands, vibration, cords get tugged. Set your power supply voltage based on the machine and needle grouping. Coils usually run 6, 8 volts for lining, 7, 9 for shading. Rotaries vary more, some hit hard at 5 volts, others need 12. Read your manual, then adjust by feel.
Test on practice skin or a grapefruit. Not your hand. Not your friend’s arm. I still practice new setups on synthetic skin first. The resistance differs from human skin, but you can spot machine problems immediately, spitting ink, inconsistent line weight, needle hang-up.
Final Checks Before Skin Contact
Right before I start, I run through this mental list. Every time. No exceptions.
- Needle depth confirmed at 1.5, 2mm for lining
- Machine running smooth, no unusual vibration
- Clip cord and foot pedal responding clean
- Tube tip loaded with appropriate ink cap
- Client positioned comfortably, skin stretched and ready
Aftercare guidance starts here too. I tell clients while I’m wrapping up: wash gently with fragrance-free soap, pat dry, thin layer of recommended aftercare product, no soaking, no sun, no picking. Healing reality, scabbing happens, itching is normal, color looks dull before it settles. Cost reflects time and precision, not just the hour in the chair. A rushed setup means a rushed tattoo, and touch-ups cost everyone.
Key Takeaways
Assembling a tattoo gun properly separates professionals from amateurs. Match your machine type to your assembly process. Align tubes and needles with light and careful observation. Tune coil machines by ear and feel, not guesswork. Test everything before human skin. The time you spend in setup pays back in clean lines, consistent shading, and clients who trust your chair. I’ve watched too many promising artists skip steps and burn out, or worse, burn clients. Respect the machine. It’ll respect your art.
Frequently Asked Questions
How long should rubber bands last on a coil machine?
Fresh rubber bands every single session. I change mine between clients too if I’ve been running the machine hard. Stretched or cracked bands cause inconsistent needle return and shaky lines.
Can I use the same tube for lining and shading in one session?
Technically yes with stainless steel if you autoclave between uses, but I don’t recommend it. In my shop, we switch tubes to avoid cross-contamination and because liner tubes have tighter tips than shader tubes. Disposable tubes make this easy.
Why does my coil machine get hot during long sessions?
Coils generate heat from electrical resistance. Long runs, high voltage, or weak springs working too hard all contribute. I give my machine breaks, keep a backup ready, and check that my contact screw isn’t creating excessive sparking.
Is a rotary machine easier for beginners to assemble?
Generally yes, but easier doesn’t mean foolproof. Cartridge systems reduce assembly steps, but you still need proper grip, needle depth, and voltage understanding. I’ve seen beginners struggle with rotaries because they skipped learning machine fundamentals entirely.