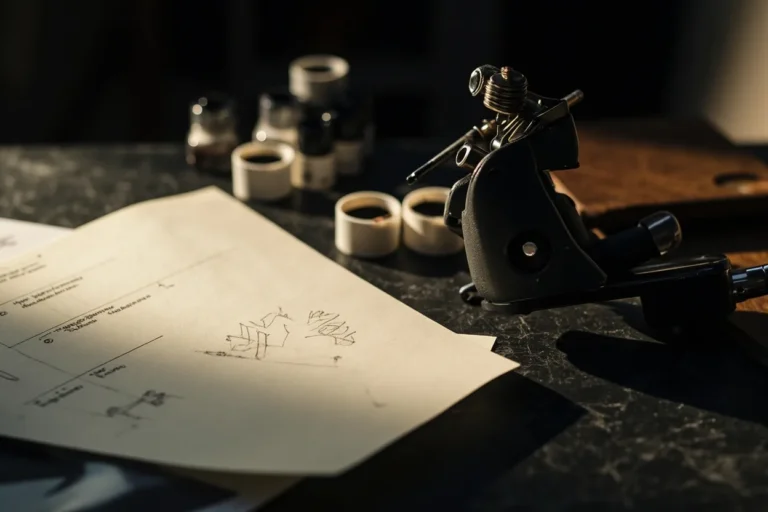
Setting up a tattoo gun correctly is the difference between a clean, saturated line and a blurry mess that’ll have your client coming back angry, or worse, going somewhere else for a cover-up. I’ve been running machines in shops for over a decade, and I still see apprentices and even some veterans rushing this part. Take your time here. The setup is where good tattoos begin, and where bad ones are born before the needle ever touches skin.
Know Your Machine First
Not all tattoo guns are the same animal. I’ve got three rotaries and one faithful coil in my station, and each one demands a different handshake. Coils give you that classic buzz, that tactile feedback you feel in your fingertips. Rotaries hum smooth and quiet, more consistent, less maintenance. Pen-style machines? They’re basically rotaries in a different jacket, great for packing color, especially in tight spots like the inner bicep or behind the ear.
Coil vs. Rotary Setup Basics
Coil machines need you to tune the contact screw and spring tension. I tell every apprentice: listen to the buzz. A crisp, snapping sound means your capacitor and coils are talking right. A dull thud means something’s off, probably the contact screw gap. Rotaries are more forgiving. Thread your needle bar, set your stroke, and you’re mostly there. But “mostly” isn’t good enough. You still need to dial in the give, the needle depth, the voltage for the specific skin you’re working on.
- Coil: check contact screw gap (roughly a dime’s thickness), capacitor condition, spring tension
- Rotary: verify stroke length (typically 3.5mm, 4.5mm for lining, 2.5mm, 3.5mm for shading)
- Pen-style: confirm cartridge lock is seated fully, loose cartridges vibrate and spit ink
Needle and Tube Assembly
This is where I see the most fumbled setups. The needle has to travel straight. Any wobble, any bend in the tube, and you’re scratching skin instead of depositing ink properly. I always hold my assembled machine up to the light and run it without ink. Watch the needle tip. It should look like a single dot moving up and down, not a blur, not a figure-eight.
Needle Depth: The Critical Half-Millimeter
Here’s what I learned the hard way on my own leg (thank god for self-tattooing experiments). Too shallow, and the ink falls out during healing. Too deep, and you blow out the line, ink spreads through the fat layer, and that crisp black becomes a fuzzy gray halo. The sweet spot is about 1.5 to 2 millimeters of needle protrusion when the machine is running at working voltage. I gauge it by eye now, but I still check against the depth marker on my tube every time I switch clients. Different skin, different depth. Elbows and knees take less; the meat of the thigh can handle a hair more.
- Standard lining depth: 1.5mm, 2mm needle hang
- Soft shading (whip shading, gray wash): 1mm, 1.5mm
- Heavy black fill: 2mm, but watch for overworking the skin
- Always check depth with machine running, not at rest
Voltage and Power Supply Settings
I run my liner around 7.5 to 8.5 volts, depending on the needle grouping. A tight 3-liner needs less juice than a 14-mag shader pushing solid black into a tribal piece. The power supply isn’t just an on switch, it’s your throttle. Too low, the needle hangs up in the skin and you get patchy saturation. Too high, you’re beating the skin raw and the ink won’t hold anyway because the surface is too damaged to trap it.
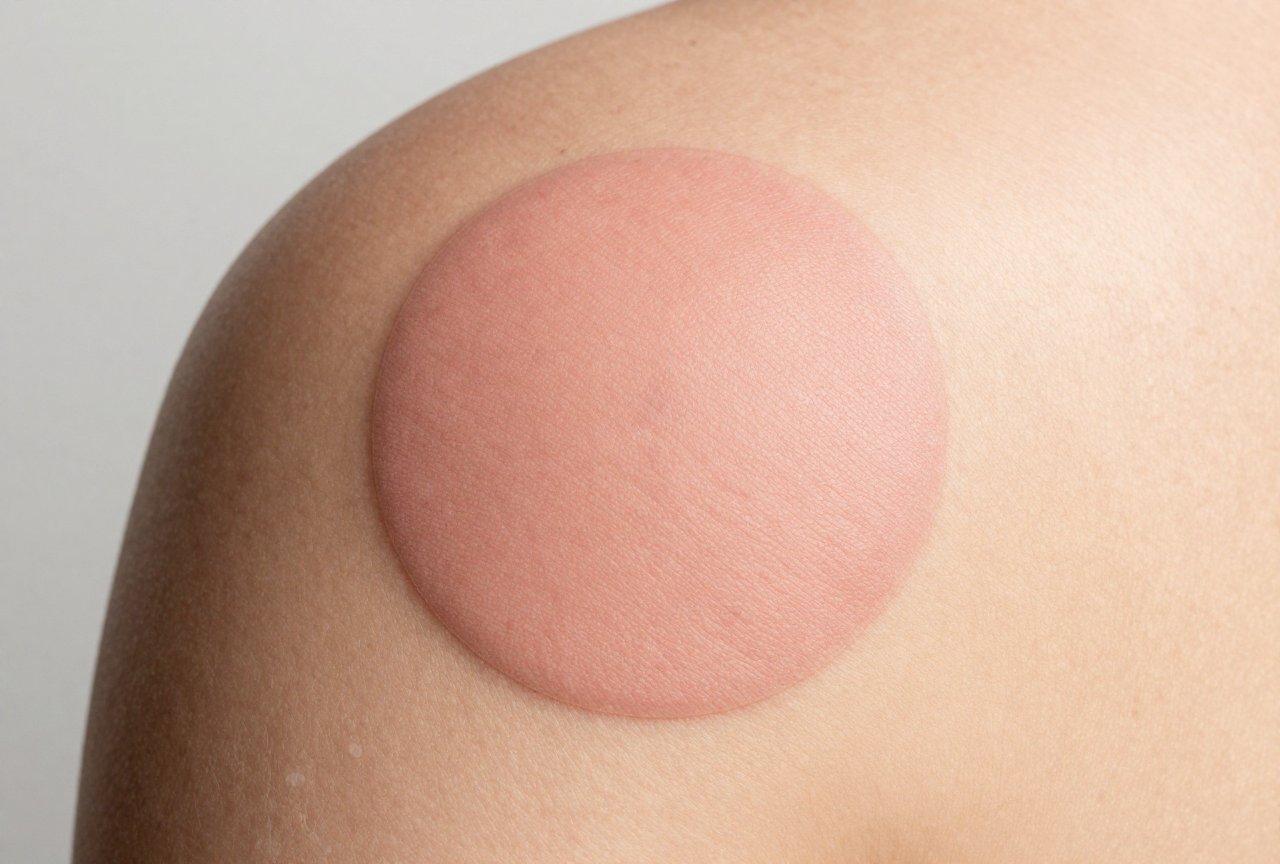
Watch your client’s skin reaction. If it’s raising up white and puffy immediately, you’re either too deep or too fast or both. I dial back and explain what I’m seeing. Most clients appreciate knowing you’re paying attention, not just zoning out to the machine buzz.
Foot Pedal and Clip Cord Check
Before every session, I test the foot pedal response. Click it five times, watch the needle respond instantly. Any delay, any flicker, and I’m checking connections. The clip cord gets twisted, stepped on, yanked by clients shifting in the chair. I’ve seen machines cut out mid-line because of a frayed cord. Carry a spare. They’re cheap. A ruined tattoo isn’t.
Ink Cap and Station Setup
Your machine is only as clean as the space around it. I set up my ink caps in a fresh disposable tray, never double-dip, never let a bottle touch a cap. Cross-contamination isn’t just an OSHA concern, it’s how you lose your license and your reputation. I pour small amounts, refresh often. Dried ink gets stringy and doesn’t flow through the needle properly.
Stretching the skin matters as much as machine setup. I keep a roll of paper towels within arm’s reach, my green soap in a squeeze bottle, vaseline for the glide. The whole station flows. Fumbling for supplies mid-tattoo changes your stretch, your angle, your rhythm. Rhythm is everything. A well-set machine in bad hands still makes bad tattoos.
Testing Before Skin Contact
Never, and I mean never, start on a client without running your machine on practice skin or at least a thick orange peel. I keep a silicone practice pad in my drawer for new needle configurations. You want to see the line weight, the saturation, any splatter or spitting from the tube tip. Spitting means your rubber band tension or needle bar O-ring is wrong. Fix it now, not on someone’s ribcage.
- Run machine for 30 seconds, listen for consistent sound
- Check for needle wobble at full speed
- Test line on practice skin: should be uniform, no hooking at ends
- Verify ink flow: too much pools, too little scratches
- Confirm foot pedal doesn’t stick or lag
During the Tattoo: Reading and Adjusting
Setup isn’t one-and-done. I adjust voltage between passes. A client who’s been sitting three hours has different skin tension than when they started. Dehydrated skin drags more. I add more glide, maybe drop voltage a tenth. The inner forearm tattoos differently than the top. I tell clients this: “Your body changes as we work, and I’m watching for it.” They relax. They trust the process.
Aftercare starts with how you finish the tattoo, which starts with how you set up. I wipe with clean green soap, apply a thin layer of recommended aftercare, bandage with the client’s skin type in mind. Dry heal, wet heal, second skin, I’ve used them all, and I explain what I’m doing and why. The setup echoes through the entire experience, including how that piece looks in six months.
Key Takeaways
- Machine type dictates your tuning approach, coils need more attention, rotaries need proper stroke selection
- Needle depth at 1.5mm, 2mm prevents blowouts and fallouts; adjust for body area and skin type
- Voltage is your throttle: start conservative, watch skin reaction, adjust in real time
- Test everything on practice skin before client contact, sound, wobble, ink flow, pedal response
- Clean setup isn’t optional; it’s the foundation of professional work and legal operation
- Stay adjustable during the session, skin changes, and your machine settings should too
I’ve tattooed thousands of hours, and the setup still grounds me. It’s ritual. It’s respect for the craft and the person in my chair. Get this right, and the tattooing itself becomes conversation, becomes art. Get it wrong, and you’re fighting your tools for the next three hours. Take the ten extra minutes. Your clients will never know what you prevented, but they’ll wear what you gave them forever.
Frequently Asked Questions
How do I know if my needle depth is too deep or too shallow?
Too deep causes immediate heavy bleeding, puffy white skin, and lines that blur as they heal. Too shallow looks fine at first but the ink falls out within two weeks, leaving ghosted gray lines. The right depth sits in the upper dermis where you get solid saturation without excessive trauma.
Why does my tattoo machine spit ink everywhere when I run it?
Spitting usually means your needle bar isn’t seated properly or your rubber band tension is too loose, letting the needle wobble in the tube tip. Check that your O-ring or grommet is snug and the needle moves straight up and down without side play.
Can I use the same voltage for lining and shading?
You can, but you shouldn’t. Lining typically needs higher voltage for crisp, single-pass marks. Shading runs smoother at lower voltage with a softer hand, letting you build tones gradually. I usually drop half a volt to a full volt when switching from lines to gray wash.
How often should I change my needle during a long session?
Needles dull faster than most people realize. For a long piece, I’ll swap liners every 2-3 hours and magnums every 3-4 hours. A dull needle tears skin instead of piercing it cleanly, causing more pain and poorer healing. Fresh needles are cheap; reworked tattoos are expensive.