The custom tattoo design process is the part most people never see. By the time the needle starts, the real work is already done: a brief became references, references became a drawing, and a drawing became a stencil shaped to your body. Understanding that path tells you what your artist is actually doing with the weeks between booking and ink.
Quick answer: A custom tattoo moves through a brief, reference gathering, a creative consultation, a rough layout sketch, a refined drawing, clean stencil linework, the stencil itself (usually a thermal copy), stencil fitting on skin, and on-the-day adjustments before the first line is tattooed. The design changes at almost every stage because the artist is reconciling your idea with anatomy, longevity, and the limits of skin.
The brief: where a custom design starts
Every custom piece begins with a brief, even when nobody calls it that. From your booking form or first message, the artist pulls the subject, the meaning, the style family (fine line, traditional, neo-traditional, realism, blackwork), a size range, the placement, and any element that must be included or avoided.
This is also where an honest artist checks for trouble early: a design too small to hold its detail, a placement that ages badly, or a style they simply do not work in. Being redirected at this stage is a good sign, not a rejection. Forcing the wrong match is how bad healed tattoos happen.
References and the moodboard
The stencil is the last checkpoint, speak up before the needle touches skin.
Once the brief is clear, the artist builds a small reference set. They are usually not copying these images. They are locking in style cues such as line weight, contrast, texture, and composition, plus anatomical references like a real skull or a specific flower so the final piece reads as believable.
A busy collage of twenty screenshots gets distilled down to one or two strong ideas. High contrast, simple silhouettes, and a clear focal point survive that filter. Fussy detail that would blur in ten years usually does not. Separating your style references from your subject references is the single most useful thing you can do here.
The creative consultation
The consultation is where the idea becomes something you can actually judge. The artist prioritizes what must stay versus what can be simplified, clarifies constraints like budget and future plans for the area, and offers professional pushback: a different placement, a larger size, fewer competing elements. Many will also read your skin, since tone, texture, scars, and sun damage affect how lines heal and how much contrast they can hold.
You should leave the consultation with an agreed direction: subject, style, rough size, placement, and the level of detail the piece will carry. If you want the full breakdown of that appointment, see the tattoo consultation guide.
From rough sketch to refined drawing
The first drawing is not meant to be pretty. It is a rough layout that blocks out the main masses, tests how elements overlap, and checks how the design flows with the body part. Wrapping a forearm and following the line of a collarbone are layout decisions, not afterthoughts.
Once the composition holds, the artist moves to a refined drawing. Linework becomes precise, proportions get fixed, and the major black and negative areas are planned so the shapes still read once healed. This is where designs change the most: a complex idea gets simplified at the requested size, busy textures become stylized marks, and line weights are adjusted so the main shapes do not vanish over time.
| Stage | What the artist is doing | Why the design may change |
|---|---|---|
| Brief | Capturing subject, style, size, placement | Flagging unworkable ideas early |
| References | Building a style and subject moodboard | Cutting detail that will not heal |
| Consultation | Agreeing direction and constraints | Scaling up, moving placement |
| Refined drawing | Fixing proportions and contrast | Simplifying for longevity |
| Stencil fit | Placing the design on skin | Rotating to follow anatomy |
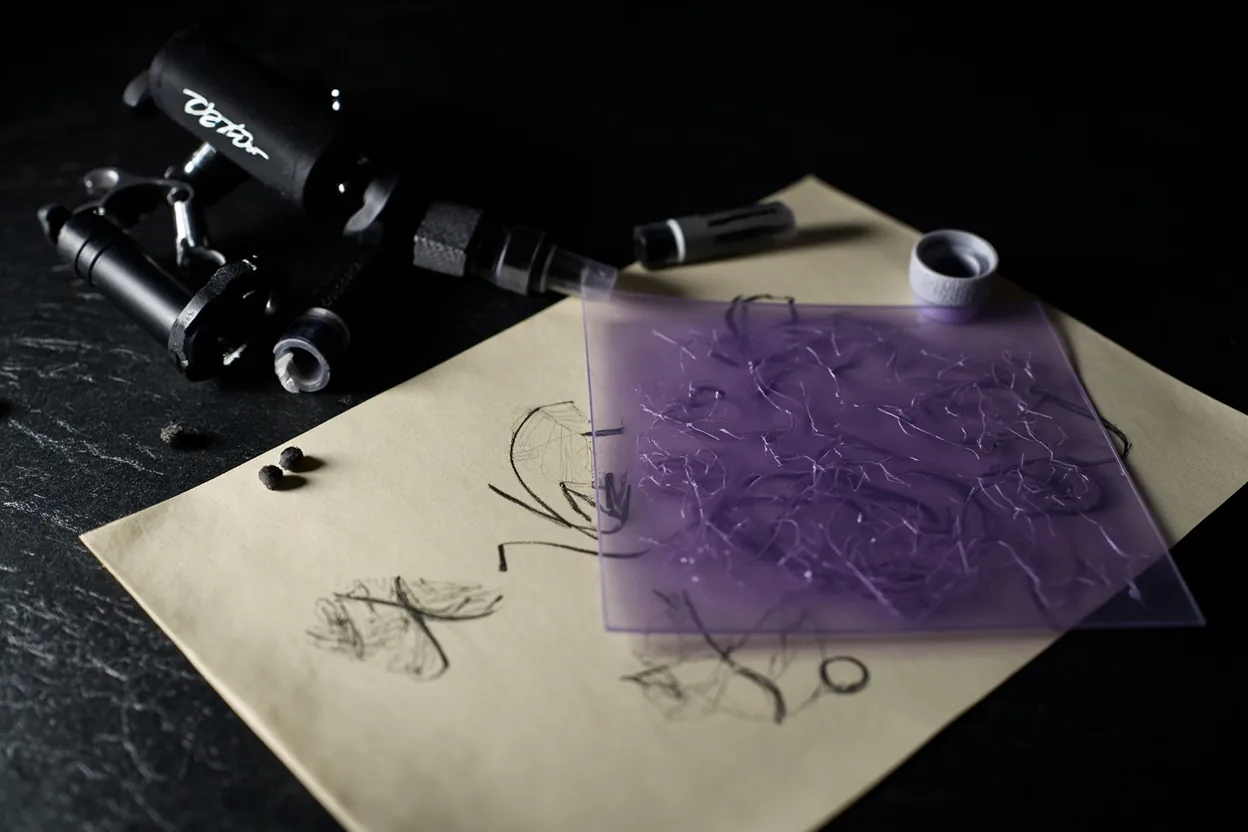
The stencil: clean linework first
Before any stencil exists, the artist makes a clean line version of the design tailored to how they will actually tattoo it. Soft shading and delicate textures often drop out here. What stays is the outer contours, the key internal structures, the important negative spaces, and the landmarks they will use to place shading and color later.
That line drawing then becomes a physical stencil, in most modern studios through a thermal copier. The drawing and a sheet of carbon stencil paper run through the machine, which transfers the design. The artist checks the output for missing or smudged lines and reruns it if needed. Large pieces are often printed in sections that get assembled on the skin like a puzzle, and some artists still trace by hand to keep freehand areas loose.
What makes this work on real skin
A flat drawing is only a starting point. The body is curved, it moves, and skin stretches differently across a joint than across a flat panel of muscle. On the day, before any needle is set up, the area is cleaned, shaved, and prepped with a stencil solution so the transfer takes cleanly.
Then comes the fitting. You both look in the mirror from several angles, relaxed and flexed, and the artist may wipe and reapply the stencil more than once. Typical adjustments include rotating slightly to follow muscle lines, scaling up when the design feels cramped, and nudging away from bony points or scars. None of this means anything was wrong with the drawing. It means the design is being finished against your actual anatomy.
On-the-day revisions
Many artists deliberately leave parts of a design soft until they see it on your body. They make small redraws on the stencil, freehand background elements or flow lines directly on the skin, and adjust spacing based on how the skin folds in real poses. This is also why many artists do not send finished designs far in advance: endless remote revisions, the risk of a cancellation after hours of work, and the simple fact that final polishing goes better with the body in front of them.
Before you book or apply it
- Separate style references from subject references so the artist knows what you mean.
- Explain placement and visibility needs early, not on the day.
- Ask what must change for the tattoo to age well and listen to the answer.
- Respect the drawing and revision process instead of pushing for endless previews.
Mistakes to avoid
Do not bring twenty unrelated screenshots and expect the artist to read your mind. Do not ask for a custom design while insisting every reference detail stays exactly the same, since custom means adapted, not copied. And do not treat the stencil fitting as a formality. The minutes spent adjusting placement in the mirror are some of the most important in the whole process.
Good planning is what separates a tattoo you tolerate from one you keep showing people. If you are still mapping out the bigger picture, the tattoo planning guide walks through timing, budget, and order of operations, and the guide to choosing a tattoo artist covers the decision that shapes everything downstream.
Reader questions before you book
How long does the custom design process take?
It varies by artist and complexity. Simple custom pieces may be drawn in days, while large or detailed work can take several weeks because the drawing competes with other clients’ projects and the artist often finalizes details closer to the appointment.
Will I see my design before the appointment?
Sometimes, but not always. Many artists show a rough direction rather than a finished file, and they finish the polishing on the day with your body in front of them. Ask about their preview and revision policy during the consultation.
Why did my artist change my design?
Usually for longevity and fit. Designs get simplified, enlarged, or repositioned so the lines stay readable as the tattoo ages and so the composition follows your anatomy instead of fighting it.