Easy tattoos work best when you treat them like long-term design on skin, not a quick impulse. I see first-timers chase tiny Pinterest-perfect ink, then get bummed when the lines spread or the placement gets chewed up. You can dodge most of that. Start smaller, place it smarter, and pick linework that heals clean.
Before You Start: The Two-Inch Rule
Before you book, give yourself a simple filter. If the design can’t read clearly at about 2 to 3 inches tall, it is not an easy tattoo yet. That size gives your artist enough clearance for black ink to sit clean in skin, and it keeps the shape from turning to soup later.
Here are the numbers I want you to know before you commit. You’ll save money, pain, and touch-ups if you size and place your first piece with these ranges in mind.
I tell clients to read our guide on where tattoos hurt less before they fall in love with a placement that will beat them up. And if you are tempted by ultra-light pigment, compare it with our take on white ink tattoos first. Tiny and pale can look pretty for a minute, but solid black usually holds cleaner and lasts longer.
- Start With A Tiny Easy Tattoo Symbol
- Pick Clean Linework For Simple Healing
- Choose Mini Drawings With Clear Silhouettes
- Place Easy Tattoos On Low Pain Skin
- Keep Your First Design Small And Sharp
- Plan A Cool Simple Wrist Tattoo
- Sketch Easy Tattoo Ideas Before Booking
- Pick Black Ink For Crisp Results
- Choose Simple Florals With Few Lines
- Place Tiny Stars Along The Collarbone
- Keep Lettering Short And Easy To Read
- Plan Matching Easy Tattoos With Meaning
- Pick A Minimal Animal Outline Tattoo
- Choose Easy Tattoos That Age Cleanly
- Place Small Ink Where Skin Stays Flat
- Keep DIY Sketches For Artist Reference
- Plan A Tiny Fine Line Heart
- Pick Simple Symbols With Personal Meaning
- Protect Easy Tattoos Through Clean Healing
1Start With A Tiny Easy Tattoo Symbol
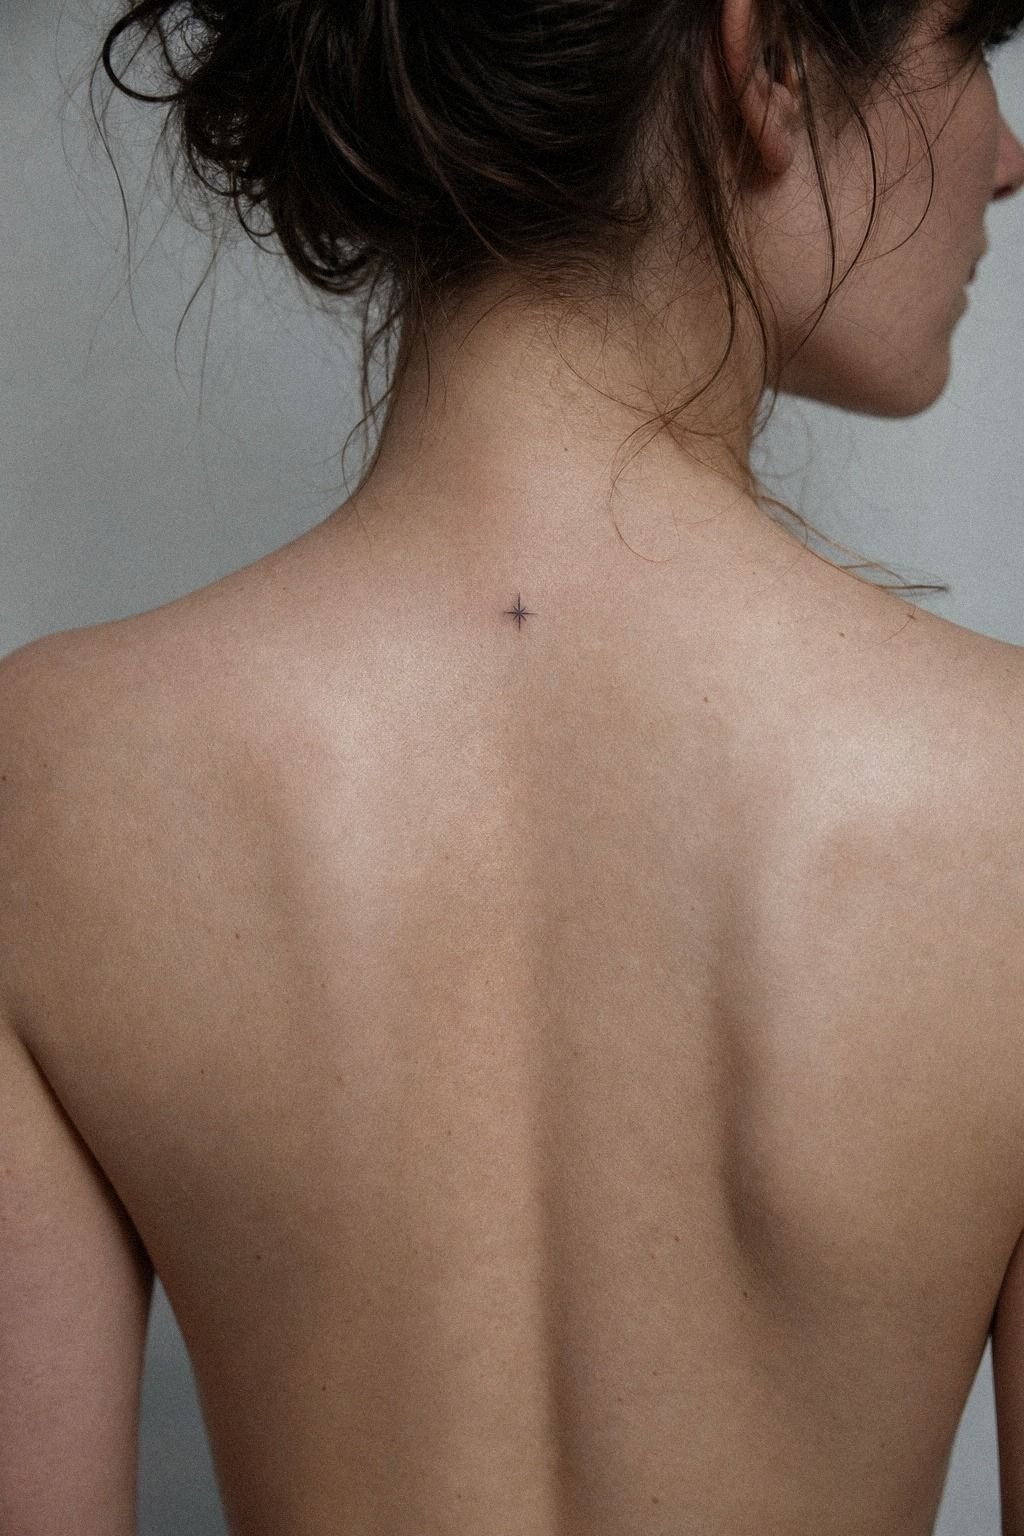
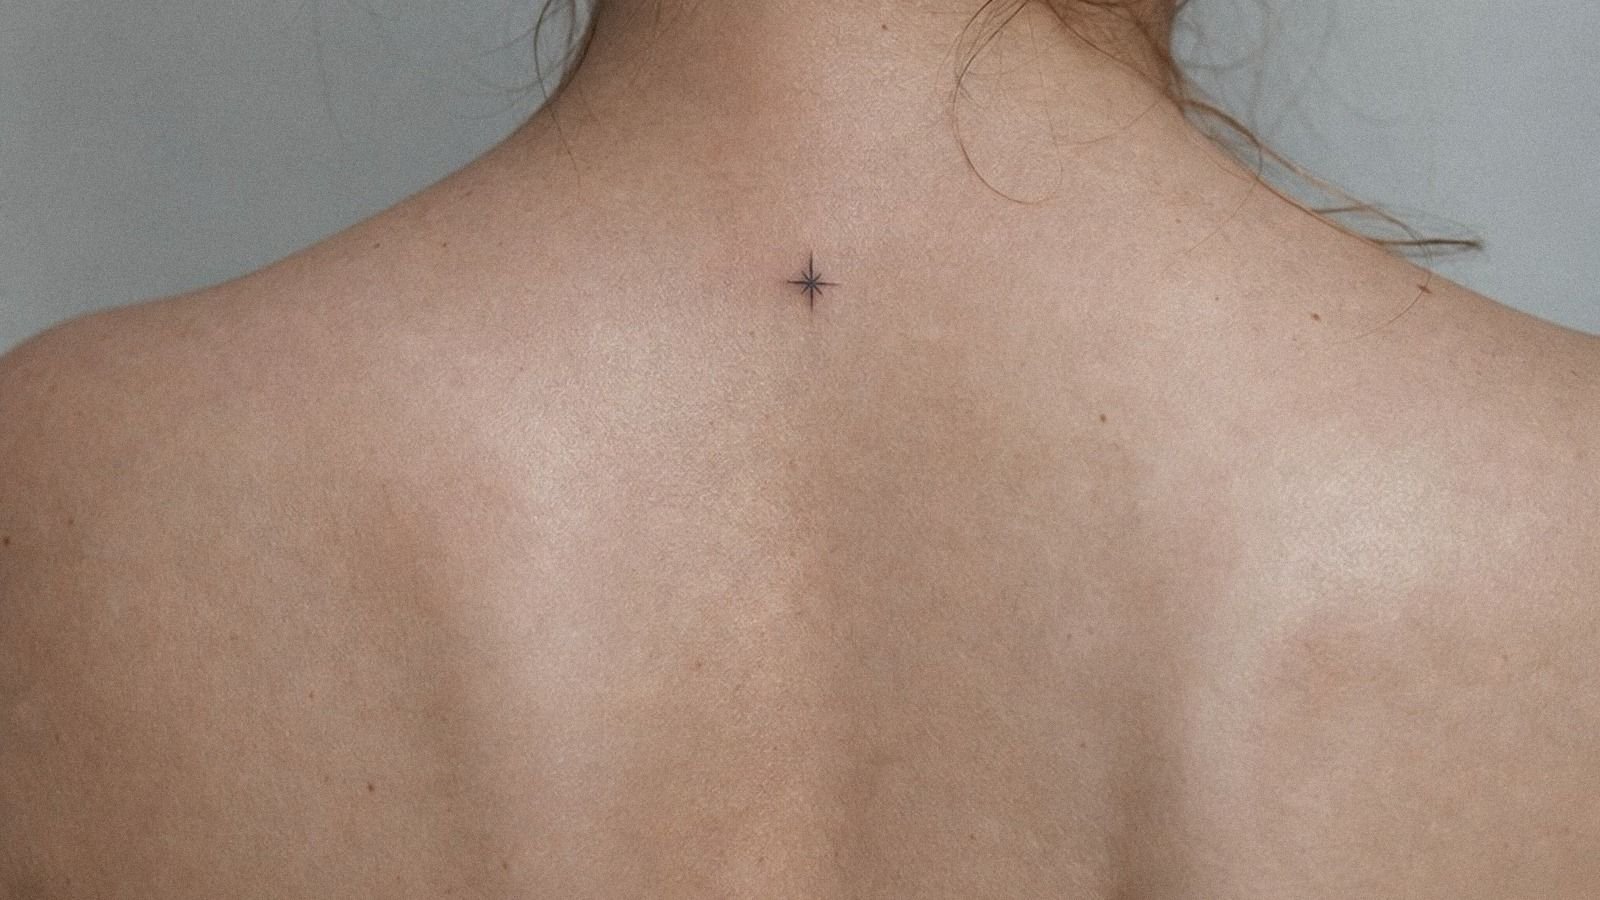
Start with one tiny symbol you would still recognize in ten years without squinting. A small spine tattoo symbol can look elegant on fair cool-pink skin because the body line gives it direction, but keep it simple.
Think crescent, spark, cross, or a single stem. You want a silhouette that stays crispy, not a mini essay.
I like a spine piece at about 2 to 3 inches for a first-timer because it feels intentional without asking for a full back commitment. But I’d skip stacked micro details there.
The middle of the back moves less than fingers do, yet a scratchy artist can still make it fuzzy fast. If you want more context on long-term blur, read why tattoos blur over time.
2Pick Clean Linework For Simple Healing
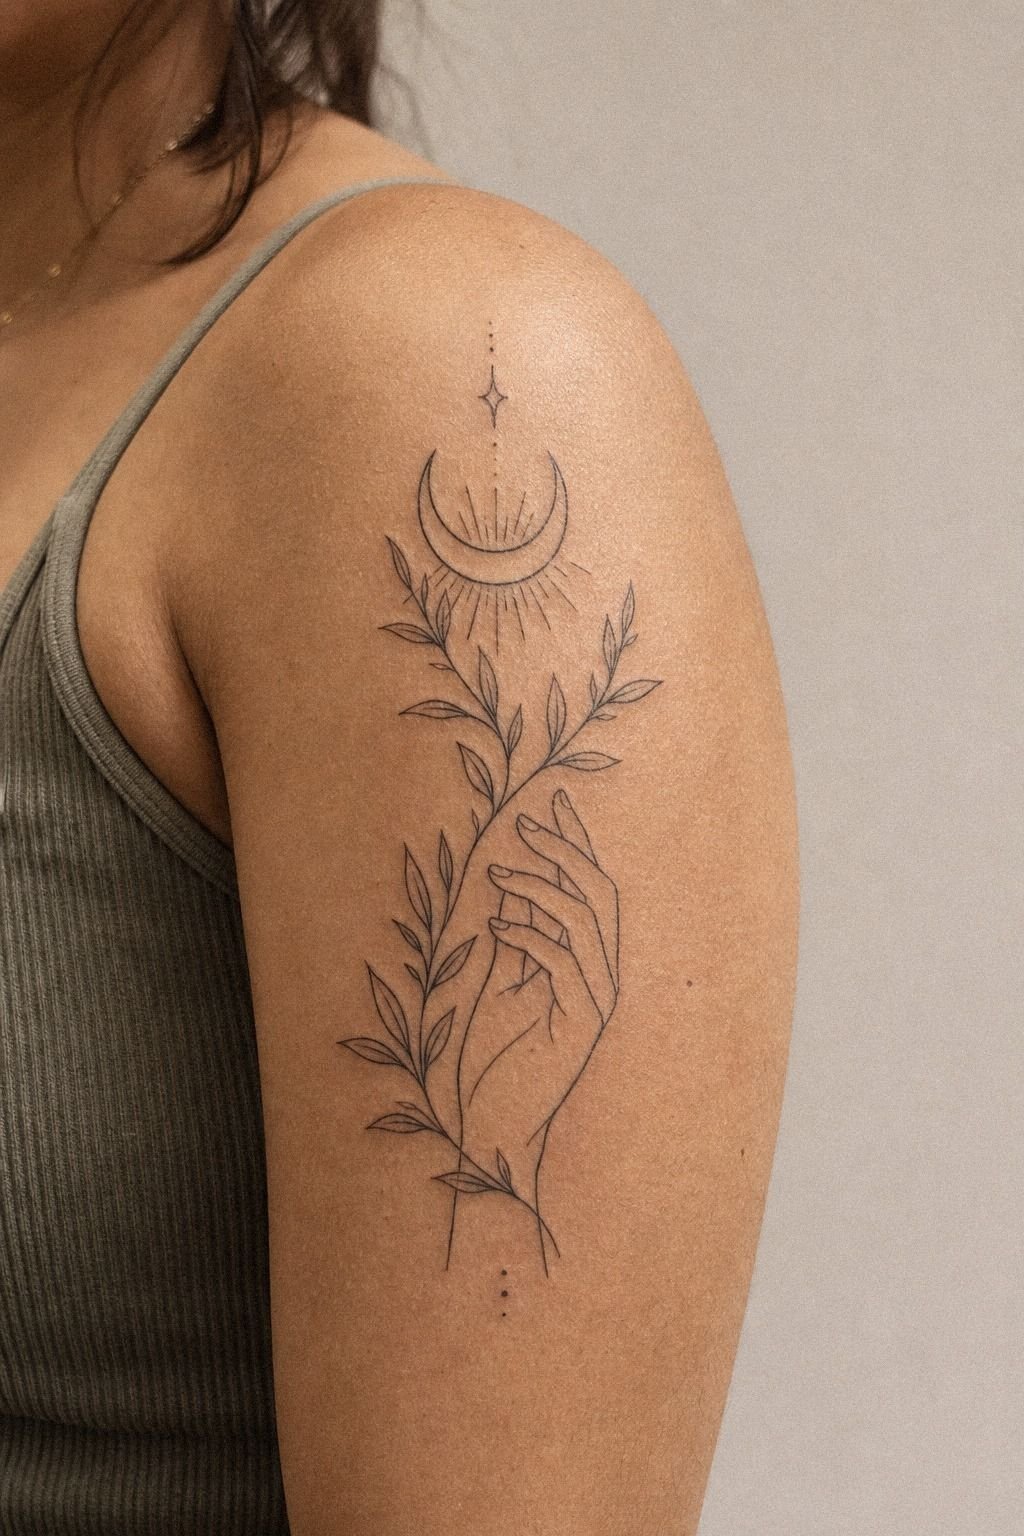
Pick linework that looks like one calm pull of the needle, not ten nervous passes.
3Choose Mini Drawings With Clear Silhouettes
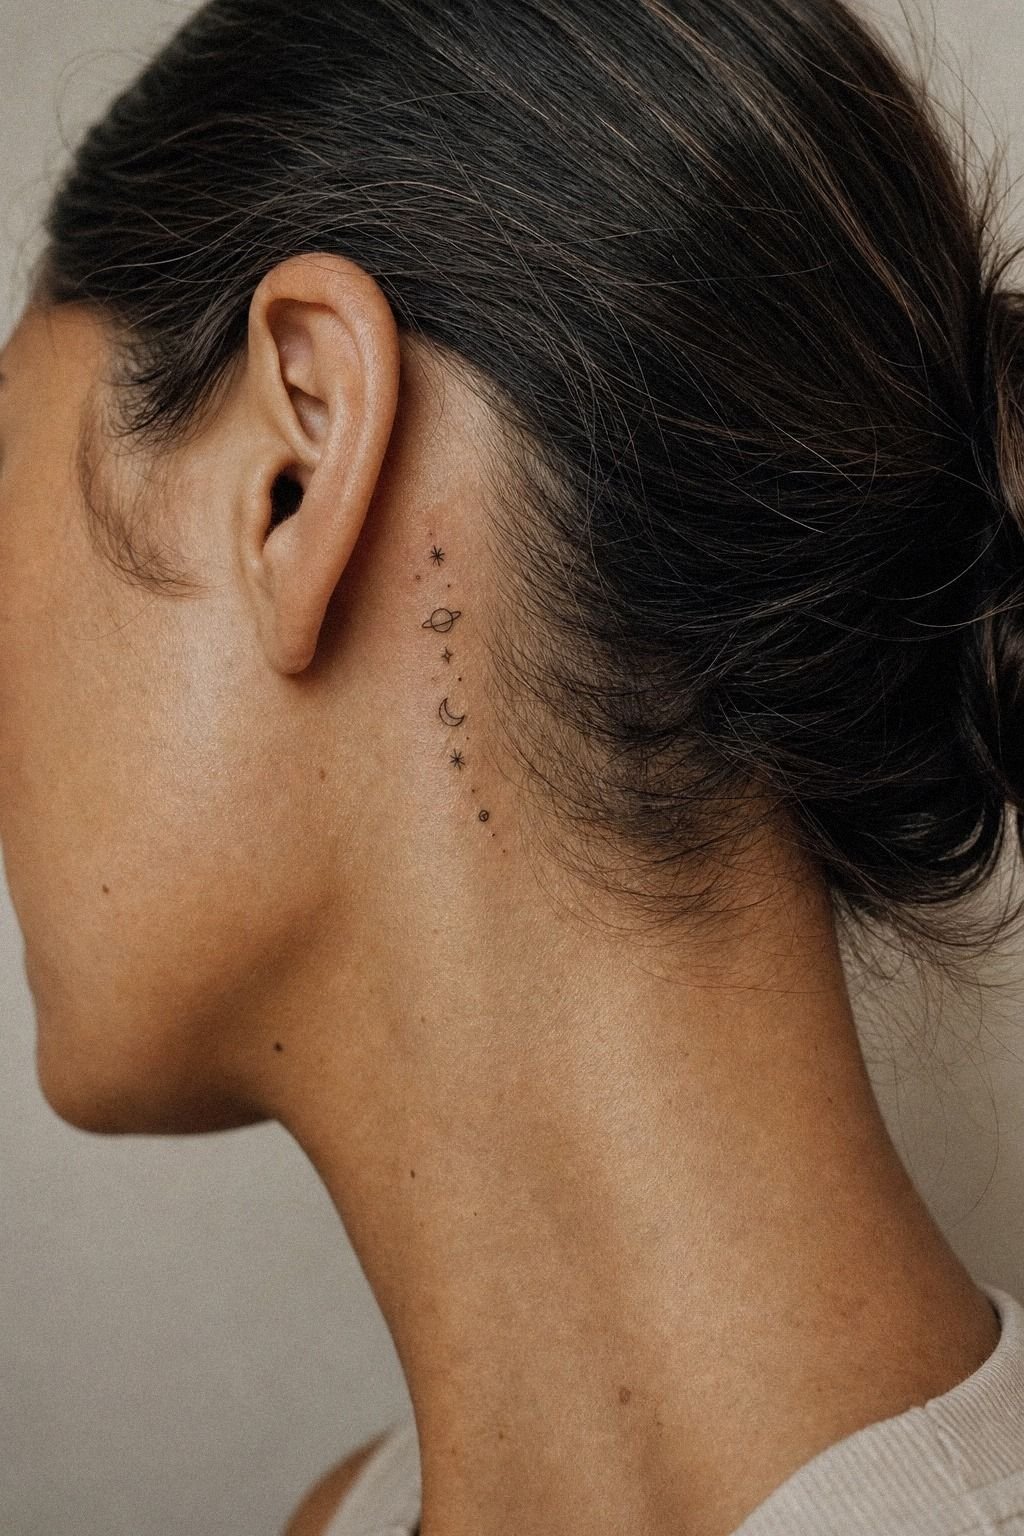
Choose mini drawings that still make sense from a few feet away. Behind-the-ear tattoos are tiny by nature, so the silhouette has to do the heavy lifting.
A small starburst, lightning bolt, petal sprig, or tiny moon works because the outline is obvious fast. That is what keeps a little tattoo from aging into mush.
I’d never cram script plus flowers plus dots behind the ear. That placement doesn’t give you much real estate, and hair rub can dull it over time. Keep the whole design closer to 1 inch wide and let the outer shape stay clean.
If you love classic bold shapes, our traditional tattoos females guide shows why simple silhouettes hold so well.
4Place Easy Tattoos On Low Pain Skin
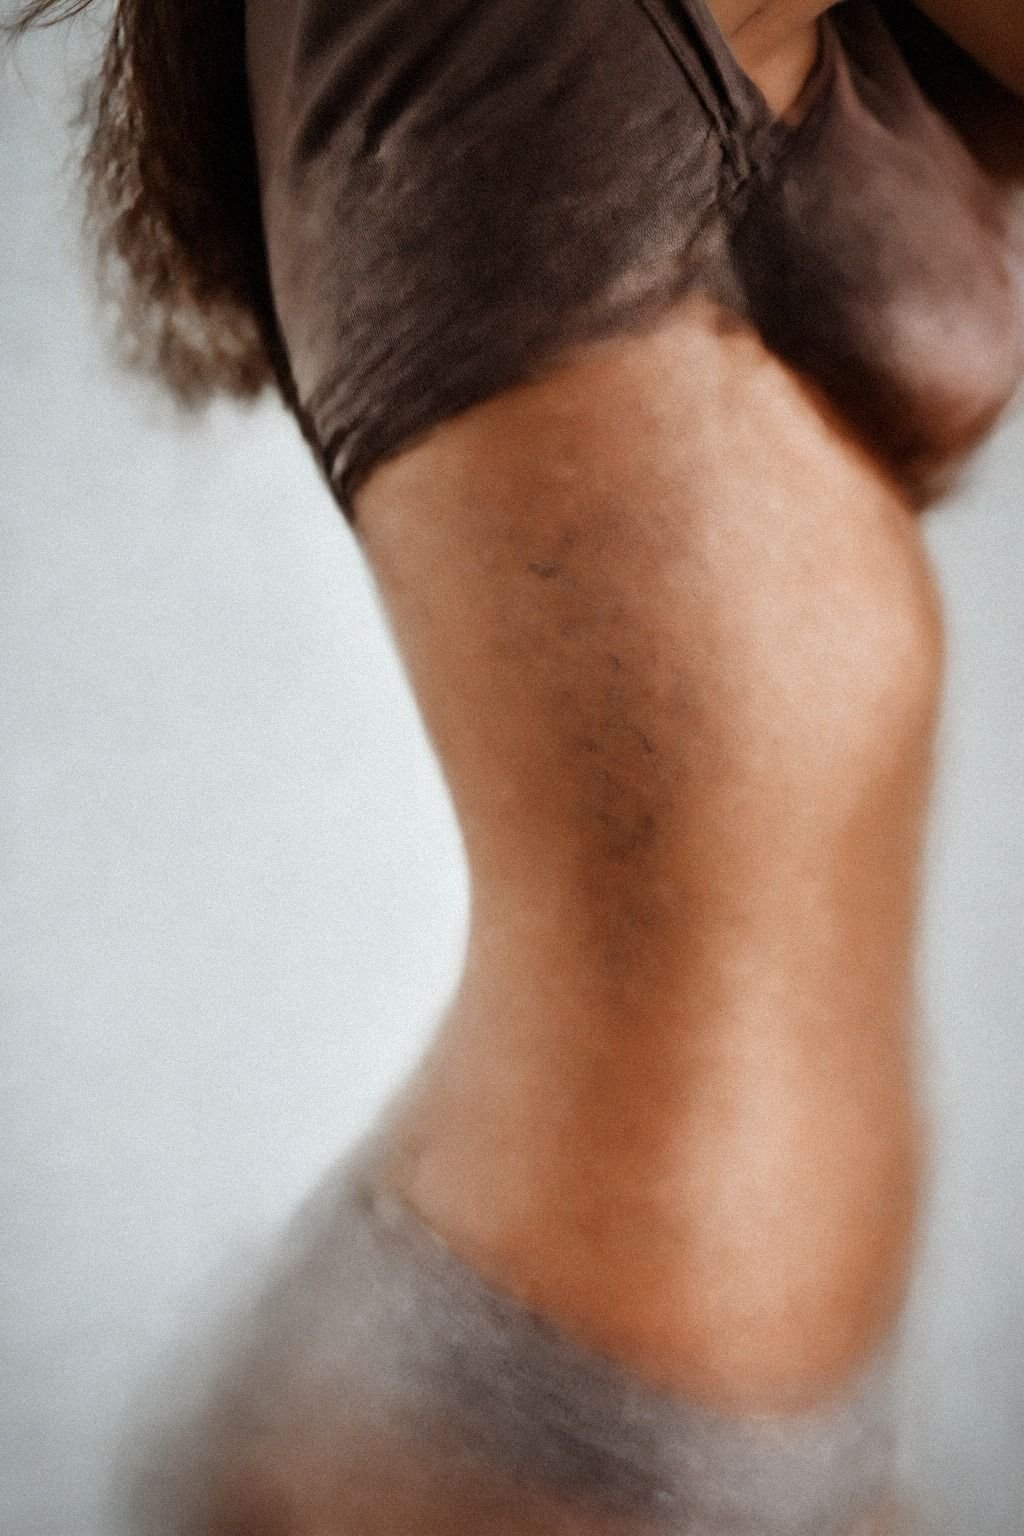
Place your first easy tattoo on low-wear skin that is flatter, calmer, and easier to sit through.
5Keep Your First Design Small And Sharp
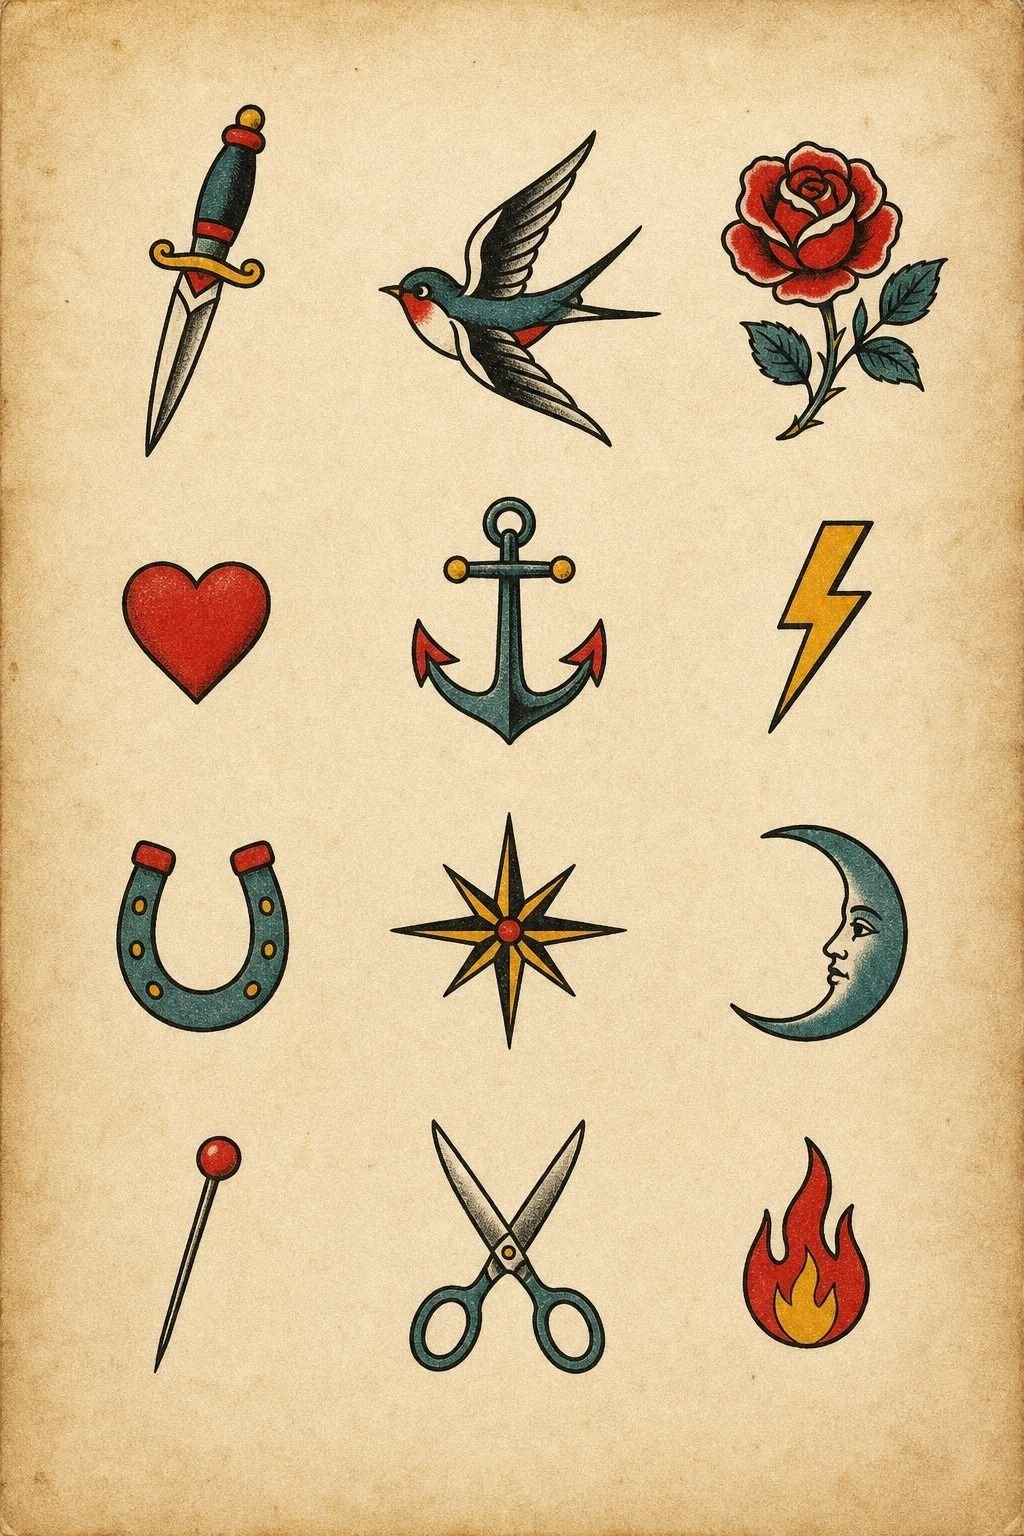
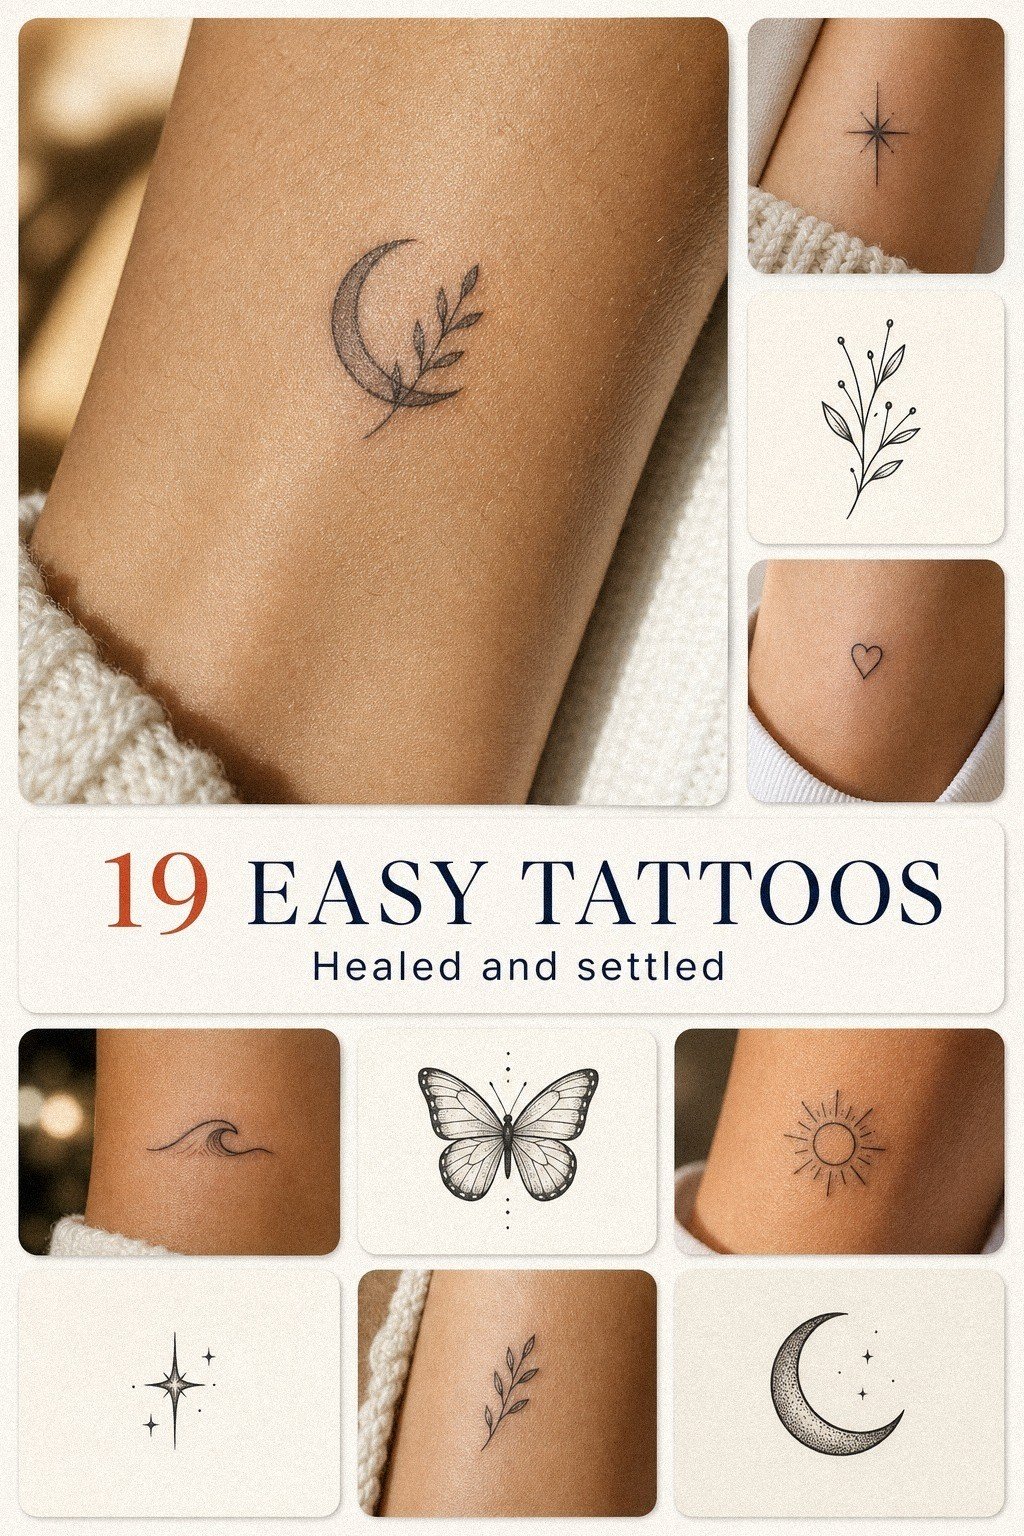
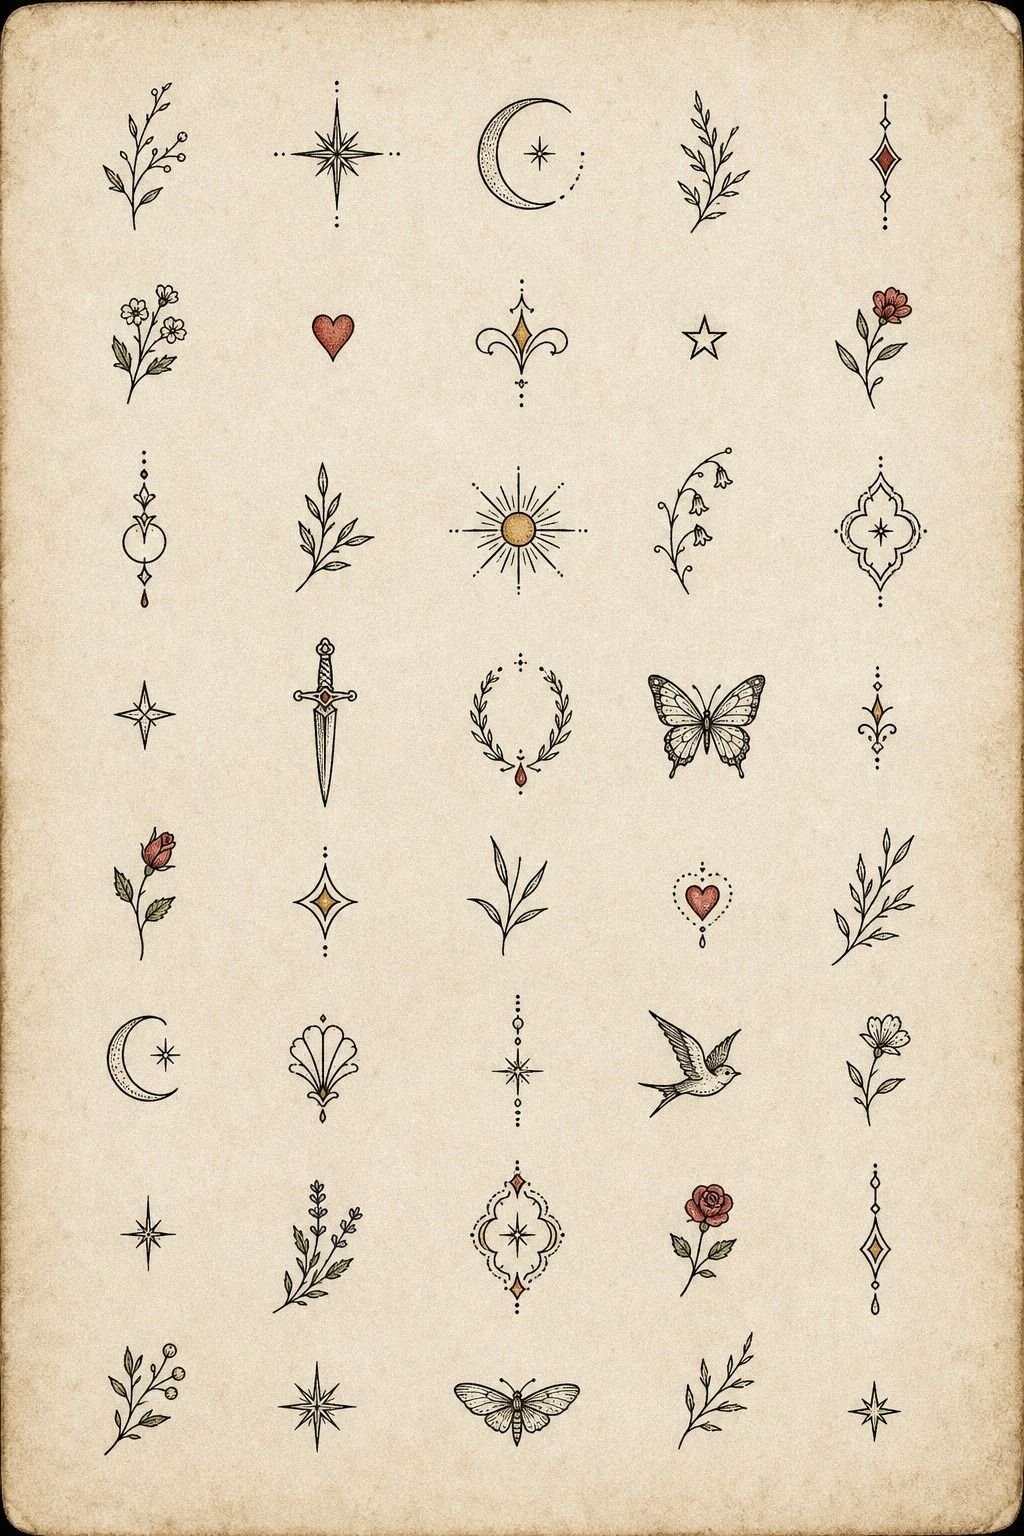
Keep your first design small enough to stay sharp, but not so tiny that it loses oxygen. A good flash sheet proves the point.
The strongest beginner-friendly designs are simple because the artist already edited them down. A tiny dagger, cherry, heart, eye, or petal stem works because each shape has enough clearance to breathe on skin.
I love starting with flash sheet options for first-timers because they have already survived the artist’s own filter. You’re not paying for extra guesswork, which helps the pricing stay simple, and you can usually get one done in 30 to 60 minutes. But don’t confuse small with microscopic.
If the line gaps are narrower than a grain of rice, the tattoo is not set up to age cute on you. If you lean bold over precious, traditional ship flash tattoos is a good reminder that simple shapes still hit hard.
6Plan A Cool Simple Wrist Tattoo
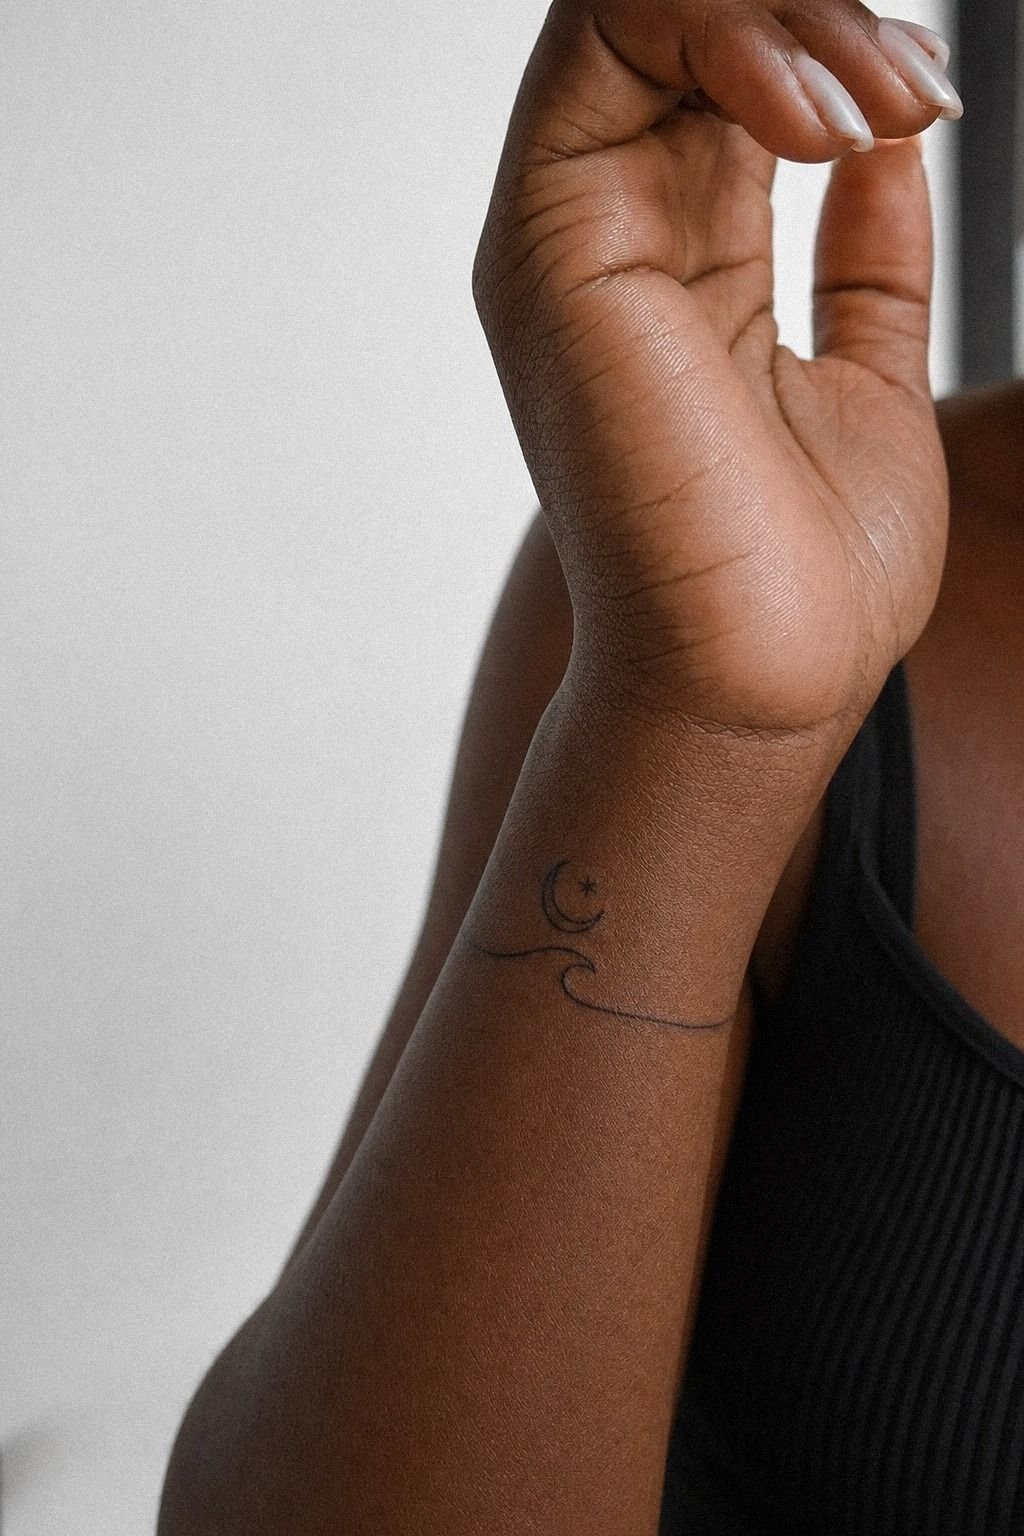
Plan a cool simple wrist tattoo with the wear pattern in mind, not just the selfie angle.
7Sketch Easy Tattoo Ideas Before Booking
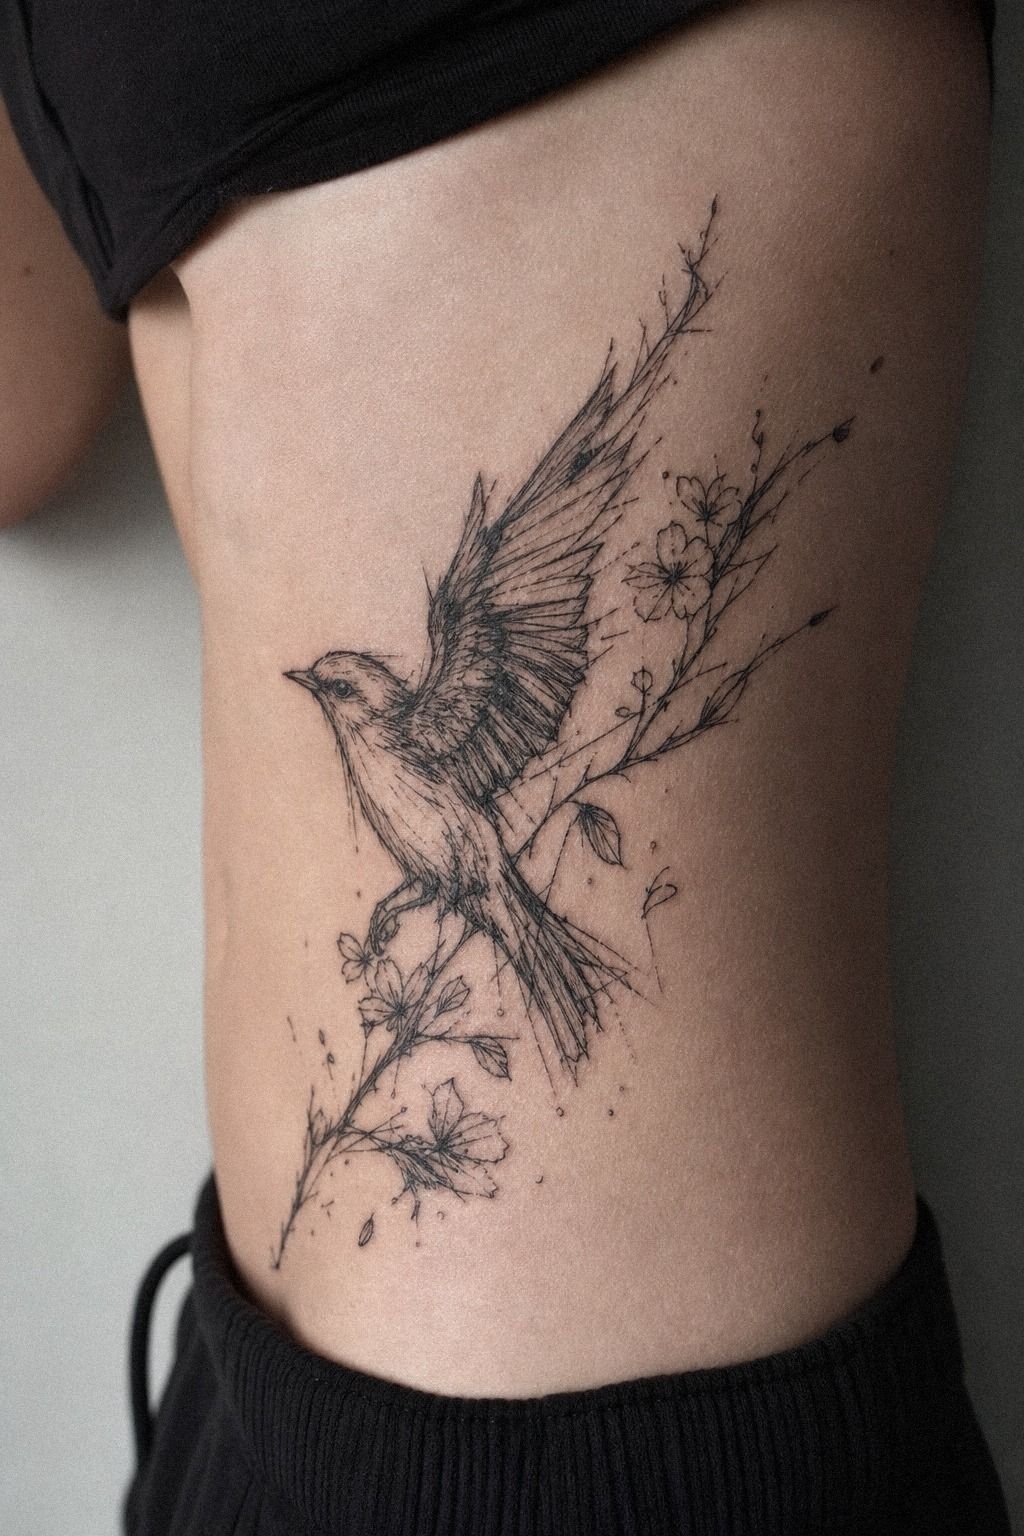
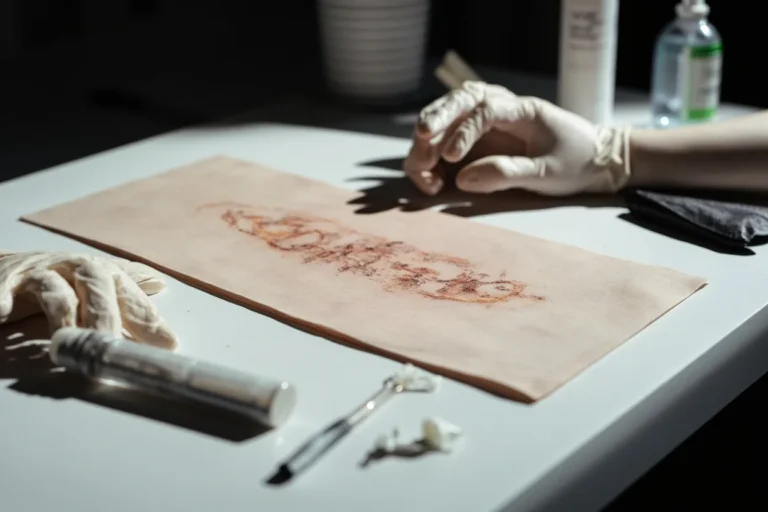
Sketch your easy tattoo ideas before booking, even if you can’t draw well. You’re not making final art.
You are showing scale, mood, and placement. A rough ribs sketch tells your artist whether you imagine a long vertical shape, a curved wrap, or a small floating symbol.
That saves time once the stencil comes out.
I tell clients to bring two or three ugly little sketches and one clean reference photo. That’s enough.
But don’t hand your artist ten Pinterest screenshots and say copy this exactly. References are for vibe, not tracing.
If you love older-school drawing logic, look at traditional ship flash tattoos and notice how readable those shapes stay. It also keeps the design conversation clean, which saves shop time and keeps the pricing conversation simple.
8Pick Black Ink For Crisp Results
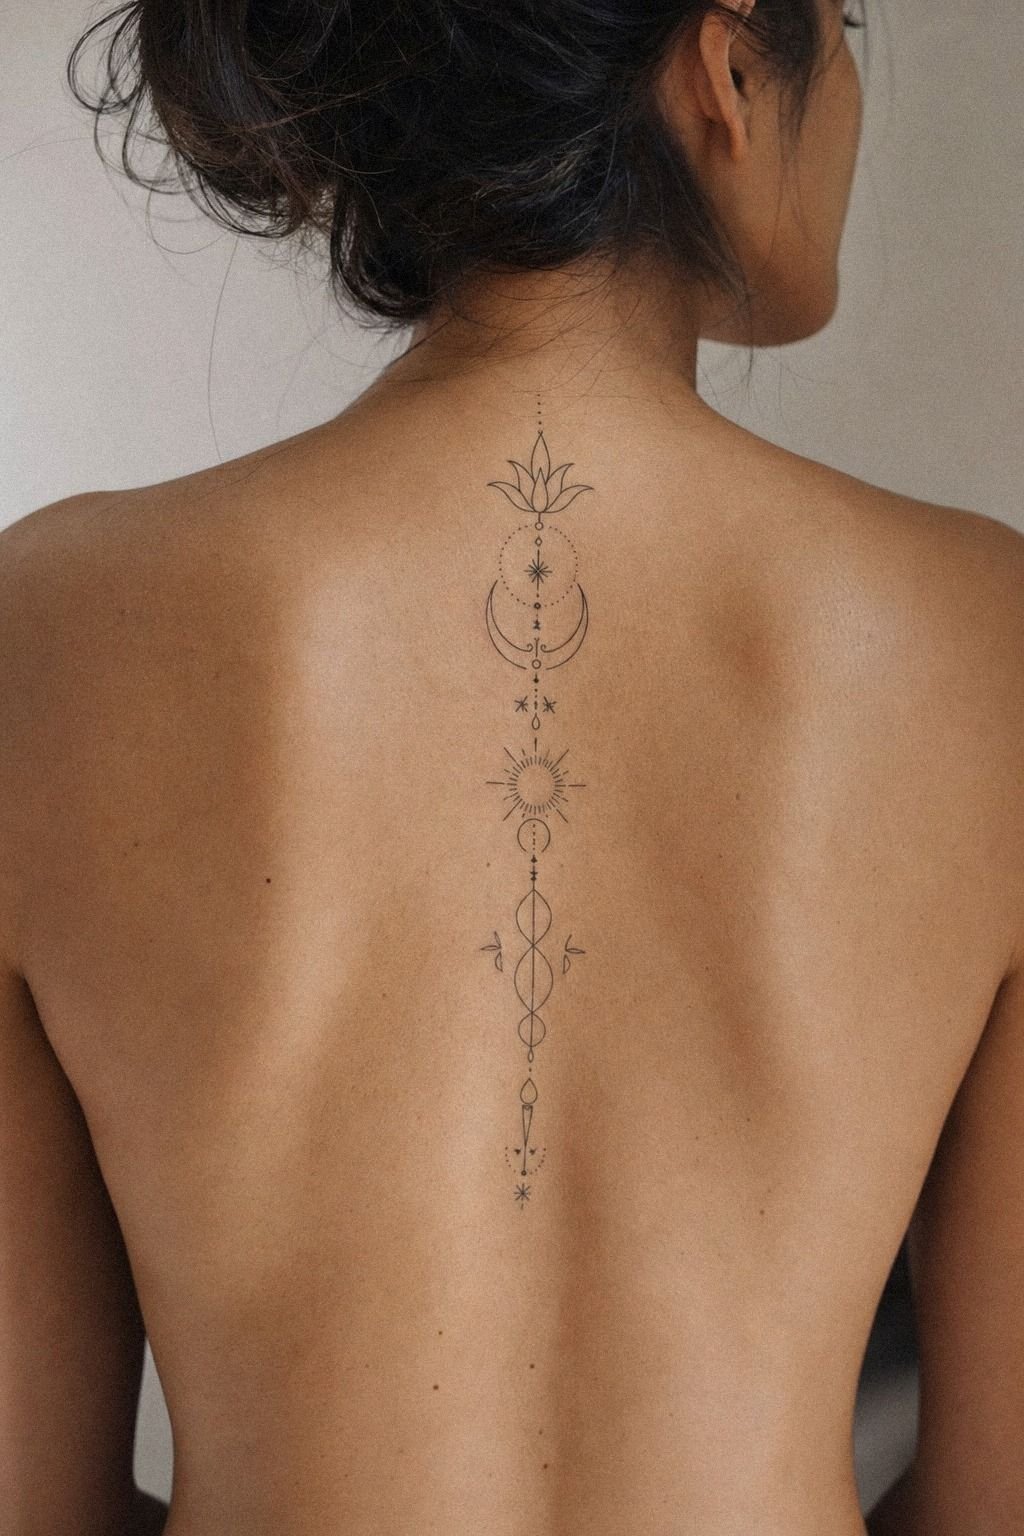
Pick black ink first if your goal is crisp results and easy aftercare. On a healed spine tattoo, black usually gives you the cleanest read because the contrast stays obvious as the top layer settles.
Black is your best friend for longevity. Color is spice.
That is fun, but it is not step one for most first-timers. For a first fine line piece, black does the job with less drama.
I’m not anti-color. I just think beginners do better with black and grey or pure black when the design is tiny.
But pale tones in micro tattoos can heal flat fast, especially if the linework is already delicate. If you’re tempted by ultra-light pigment, compare the wear patterns in white ink tattoos.
You’ll see why black wins most of the time and why that choice is usually worth it.
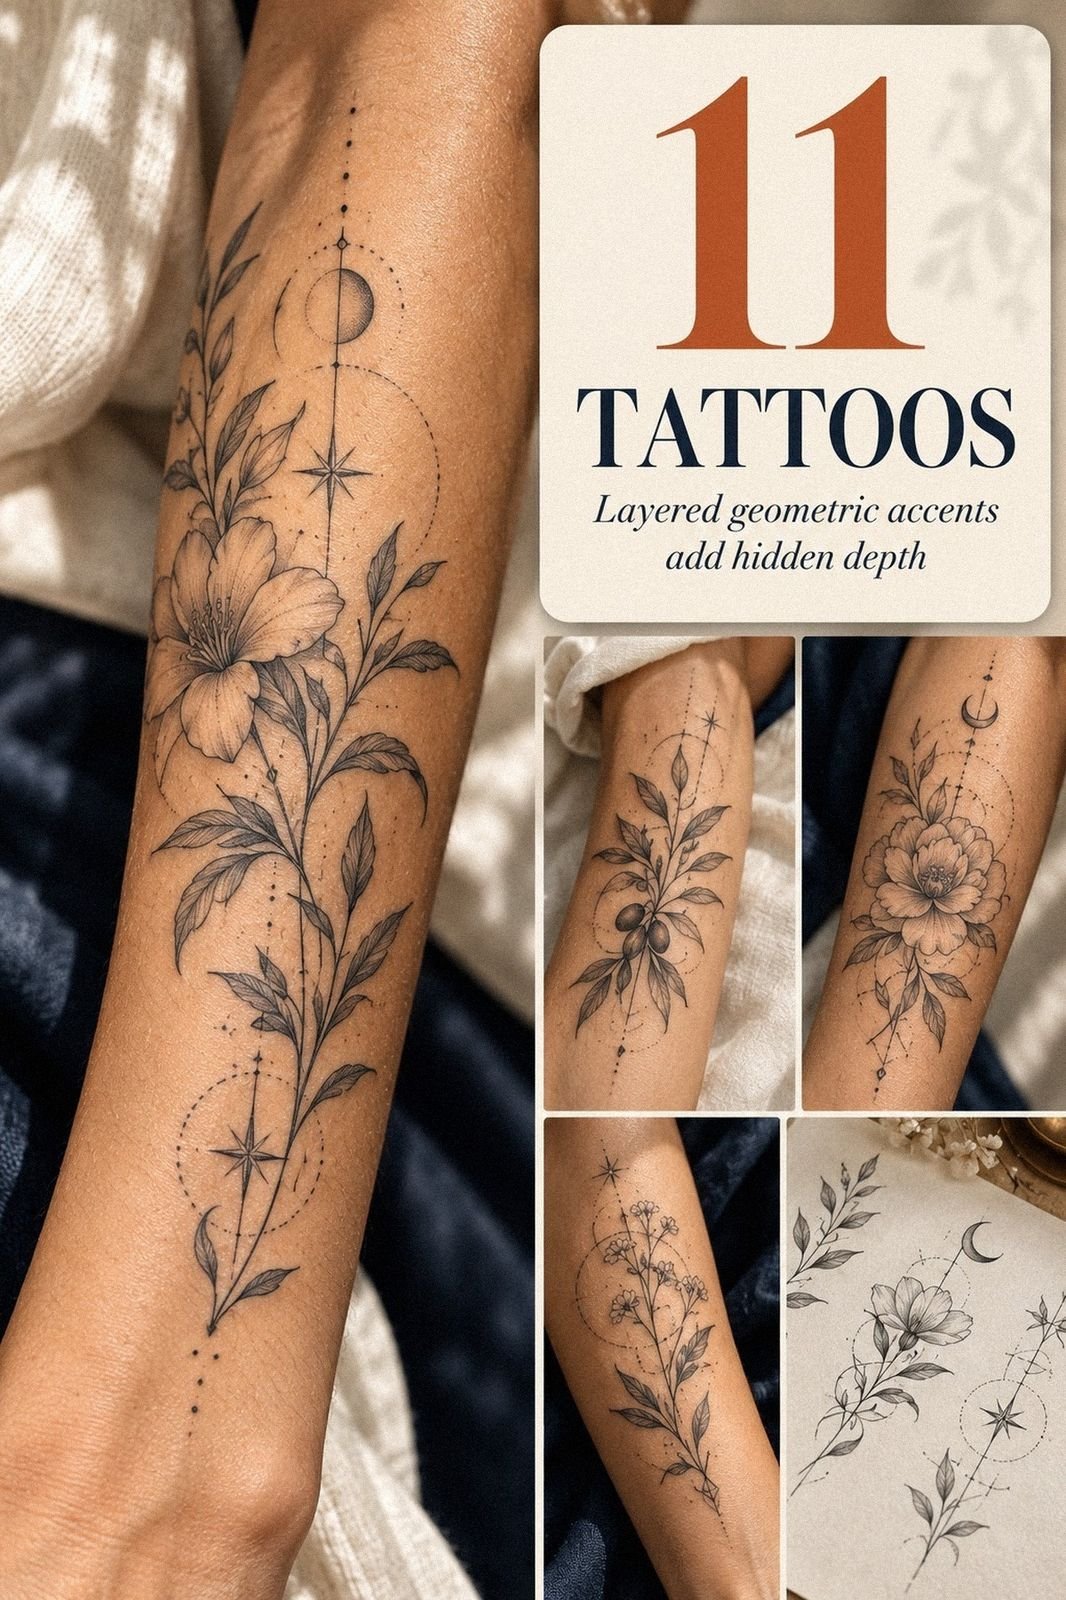
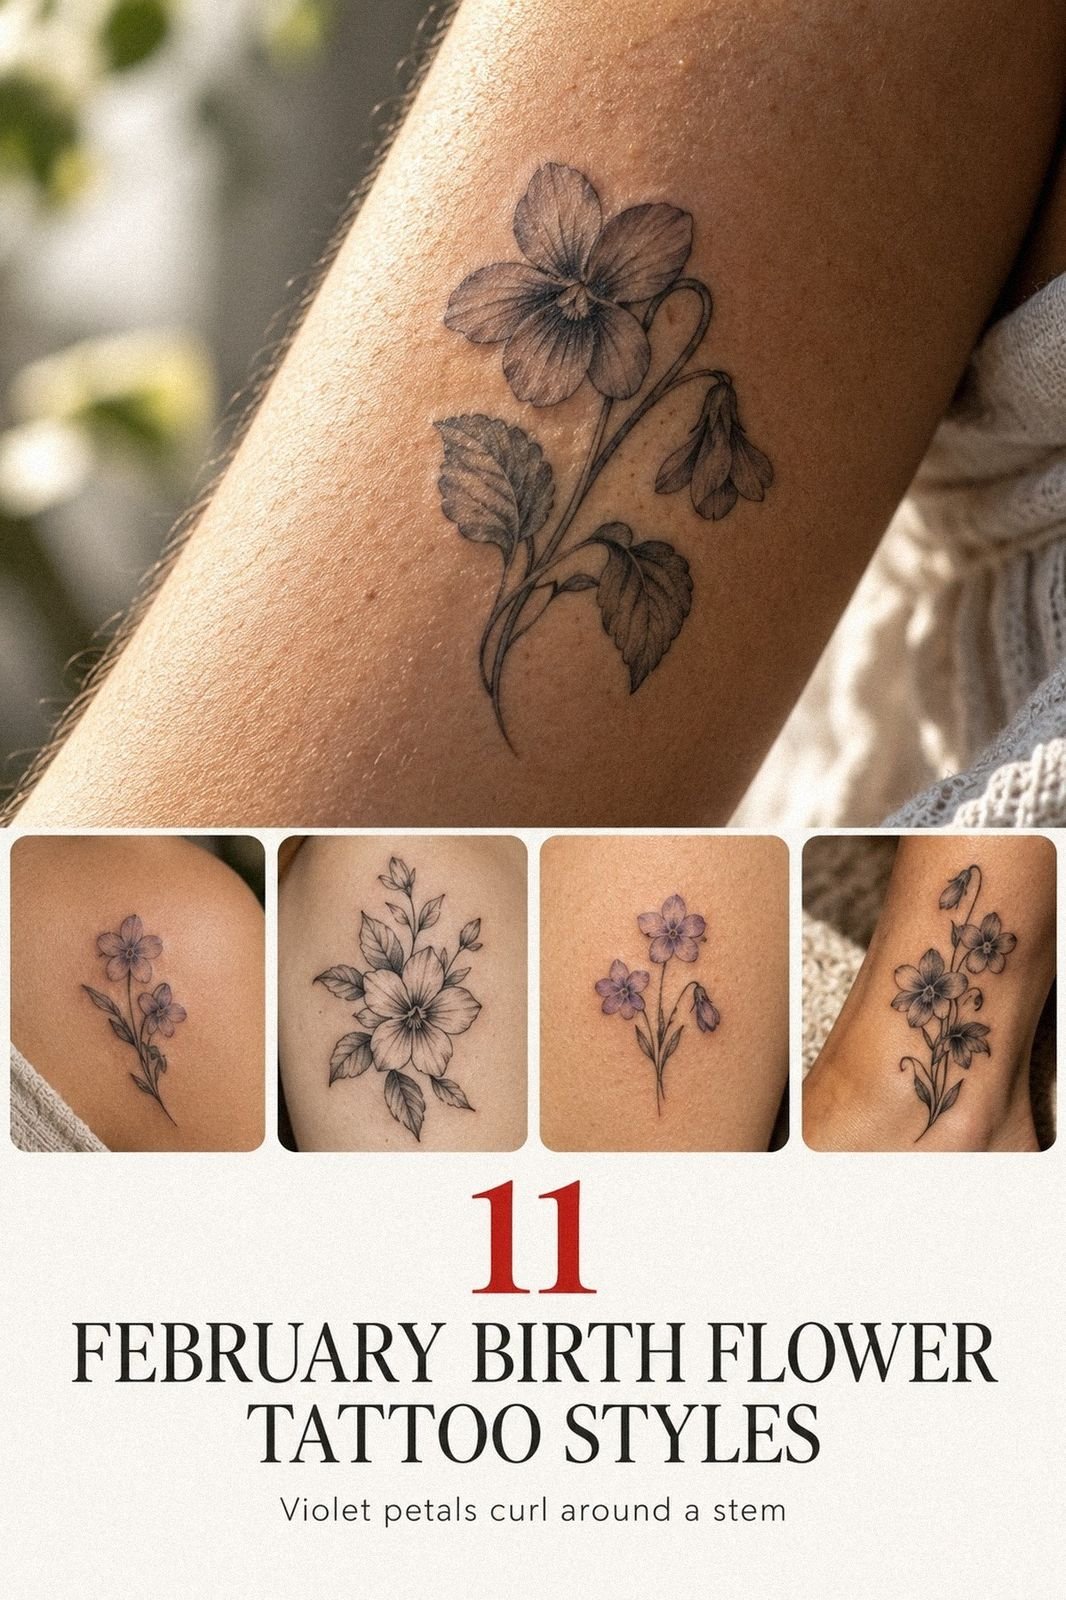
9Choose Simple Florals With Few Lines
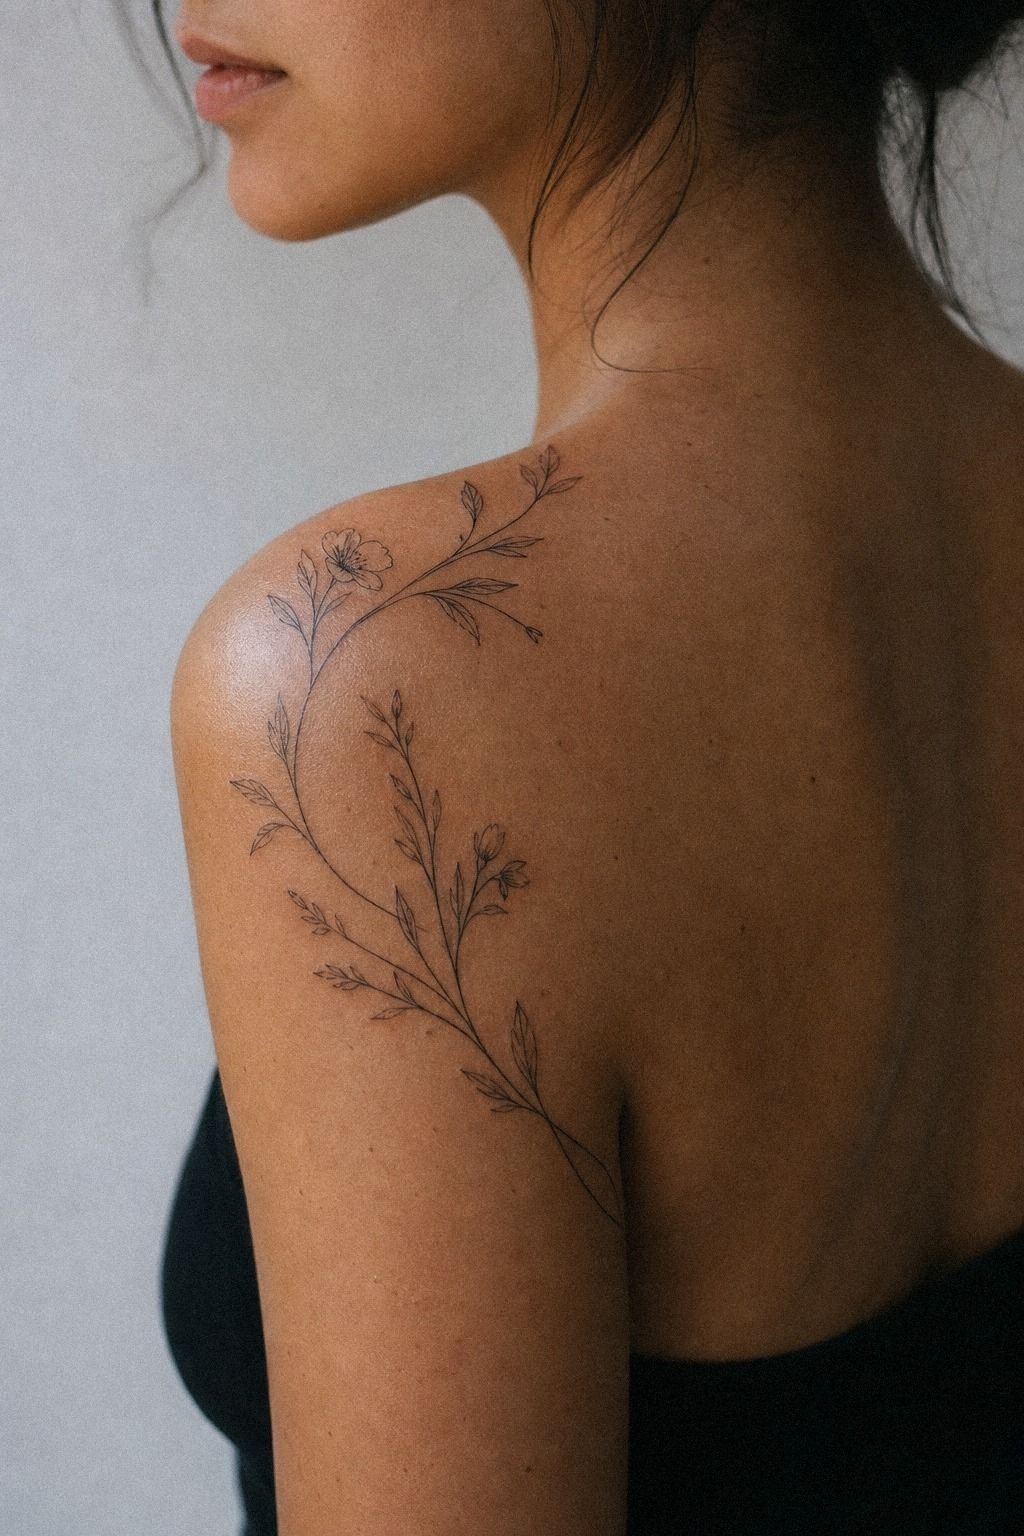
Choose simple florals with just enough line to suggest the plant.
10Place Tiny Stars Along The Collarbone
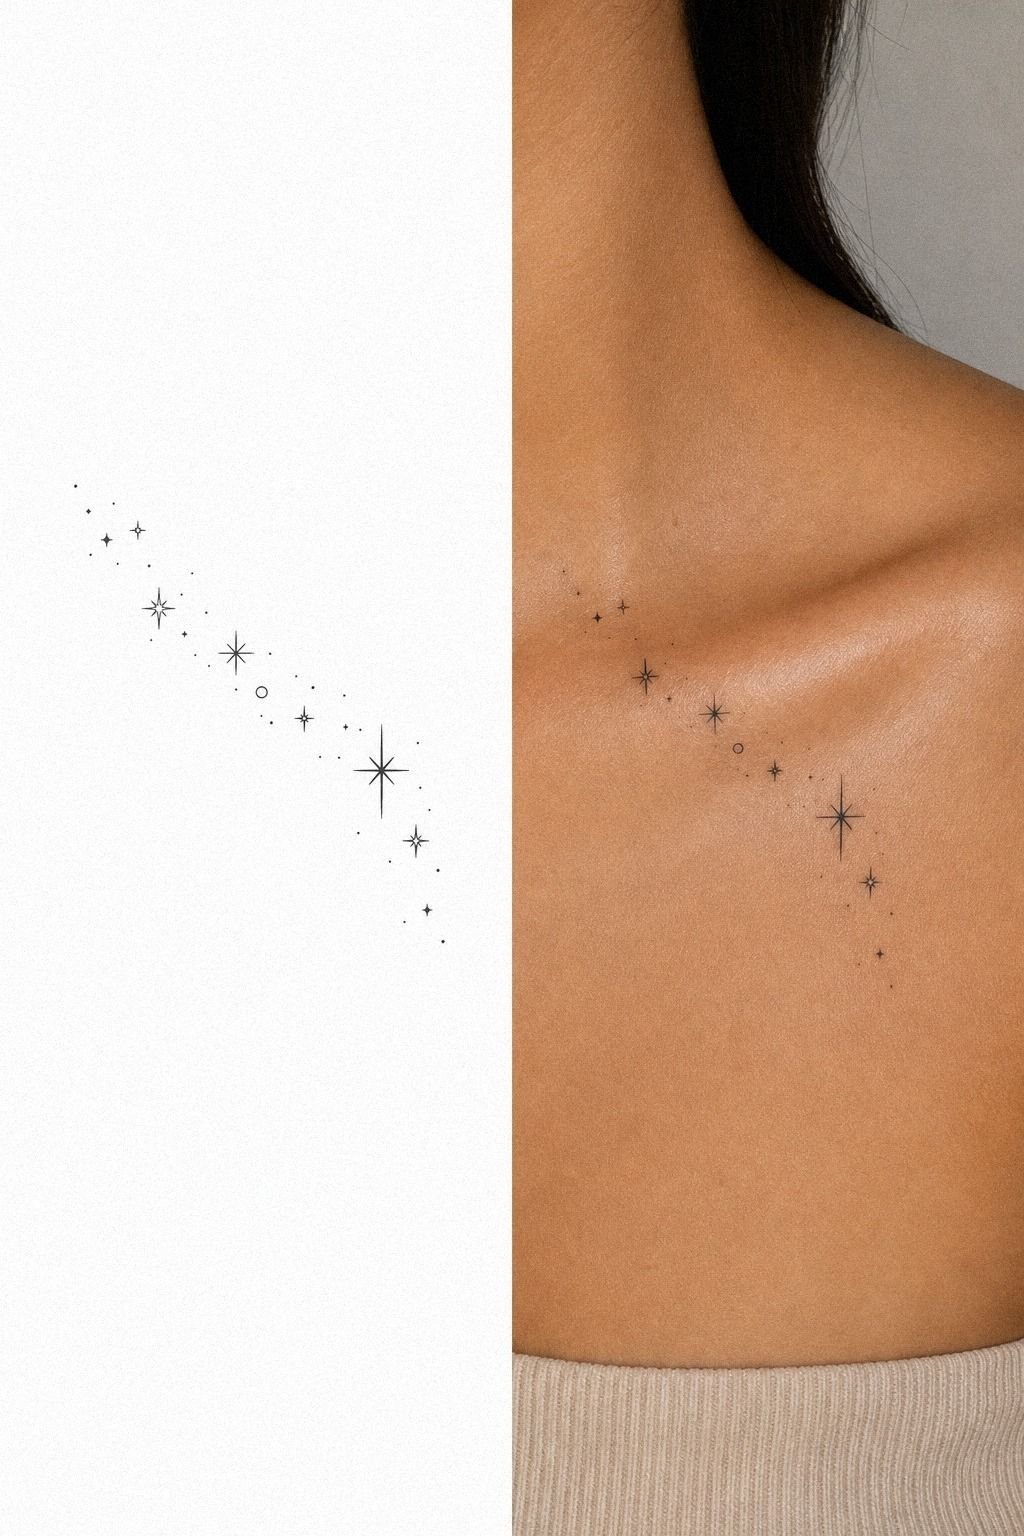
Place tiny stars along the collarbone only after you test the spacing on paper and on skin. This is where the stencil matters.
A split view of the drawing and the healed tattoo tells you a lot. Tiny stars look best when each point is clear and the gap between stars is generous enough that each one stays separate.
I use what I call the Three-Star Drift Rule here. Keep the cluster to three or five stars, angle them with the bone line, and avoid packing them like glitter.
Why? Because the collarbone already gives the composition movement.
You don’t need extra noise. But remember, that area is bony, so it can feel spicier than the look suggests.
If you are pain-planning, read where tattoos hurt less before you commit.
11Keep Lettering Short And Easy To Read
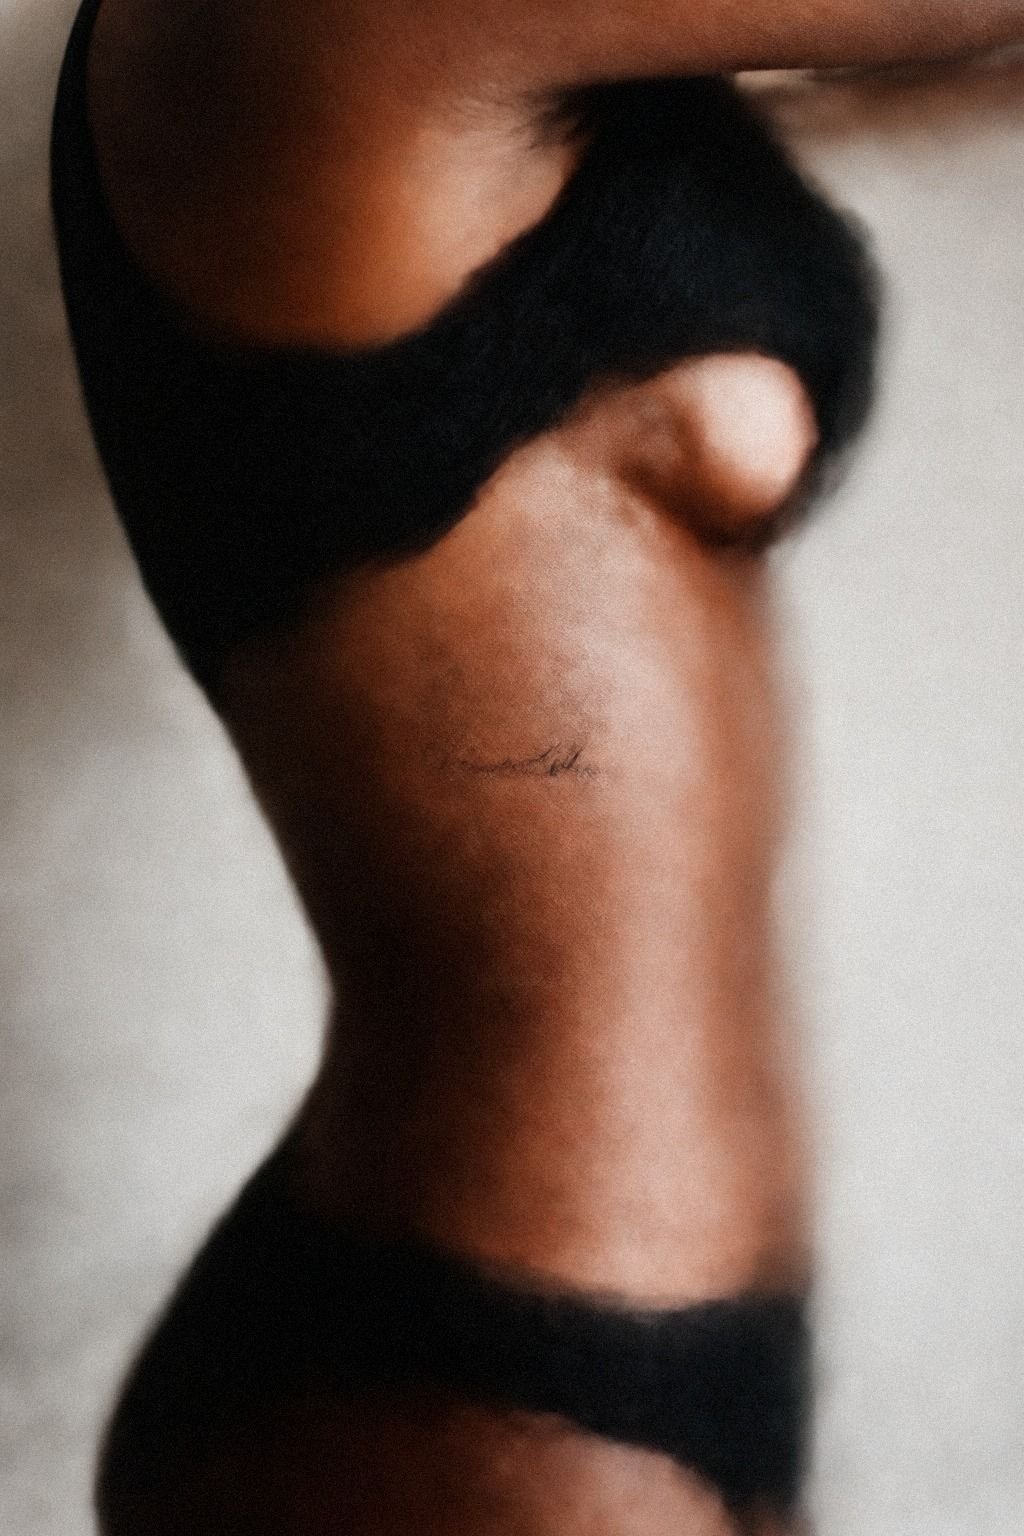
Keep lettering short, dark, and blunt if you want it to stay easy to read. On ribs, that matters even more because every breath shifts the skin.
One word. Two at most.
That is plenty! A tiny phrase can be beautiful on deep brown skin with a warm undertone, but only if the letters stay open and the script is not too fussy.
I’d skip long cursive quotes for a first lettering tattoo. They may look sweet fresh, then turn muddy once the lines relax.
Pick a clean serif or a simple handwritten style with open counters inside each letter. And ask your artist to print it at the final size before you agree.
If the paper version is hard to read, the healed tattoo will not improve on it.
12Plan Matching Easy Tattoos With Meaning
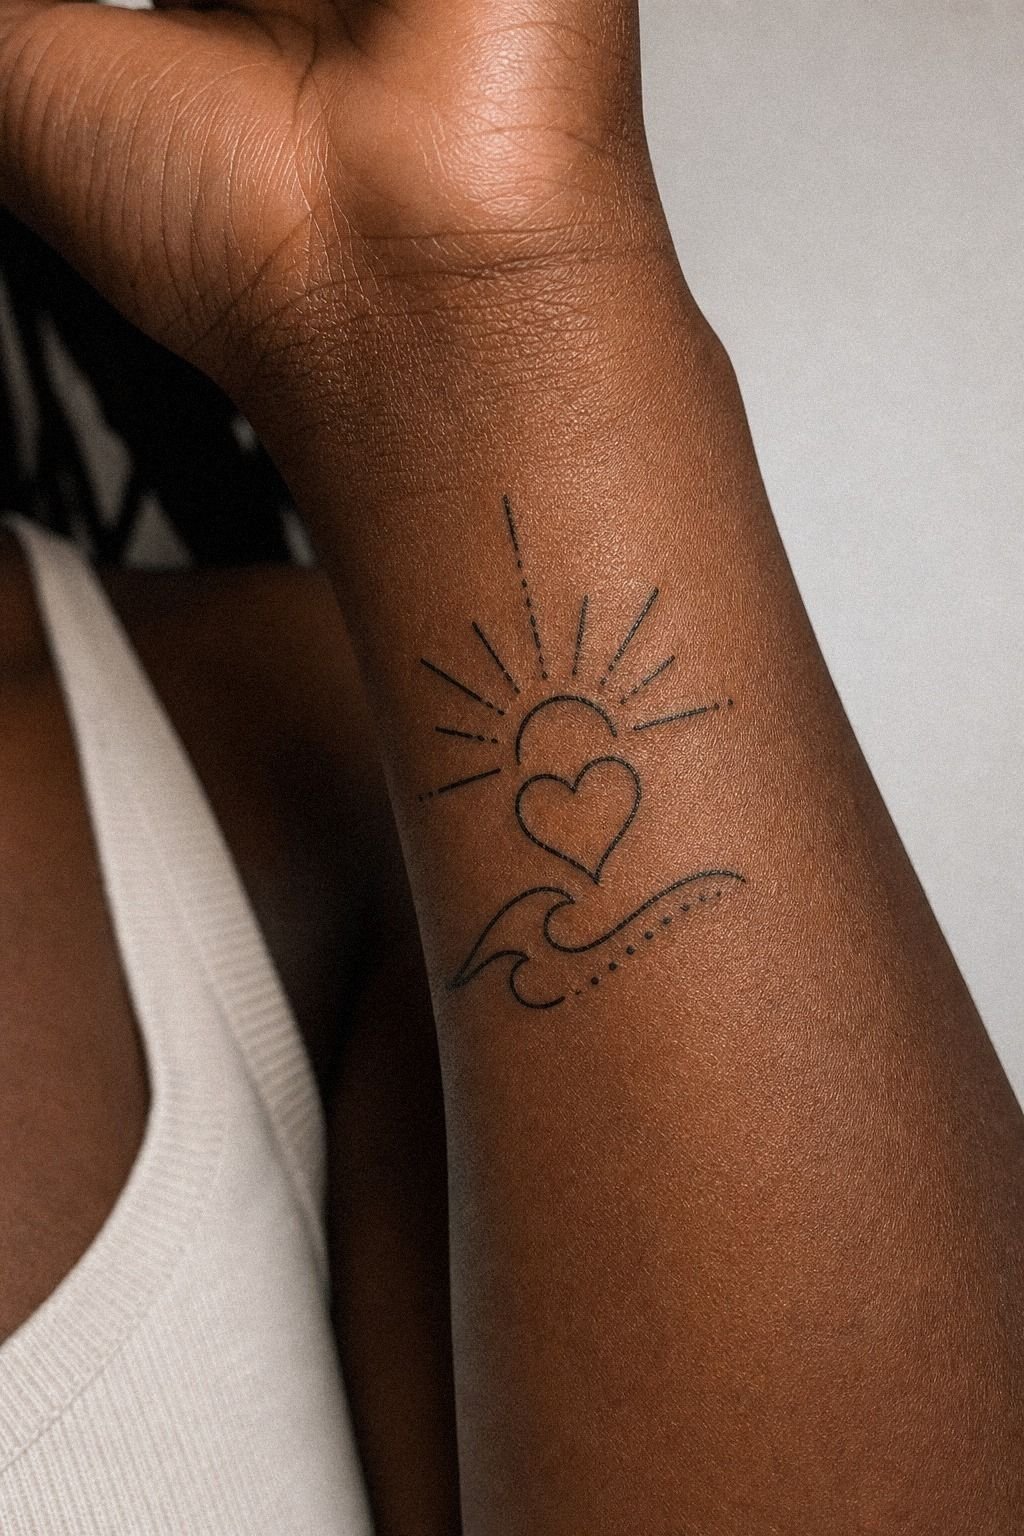
Plan matching tattoos with meaning that still work if one of you changes your mind later.
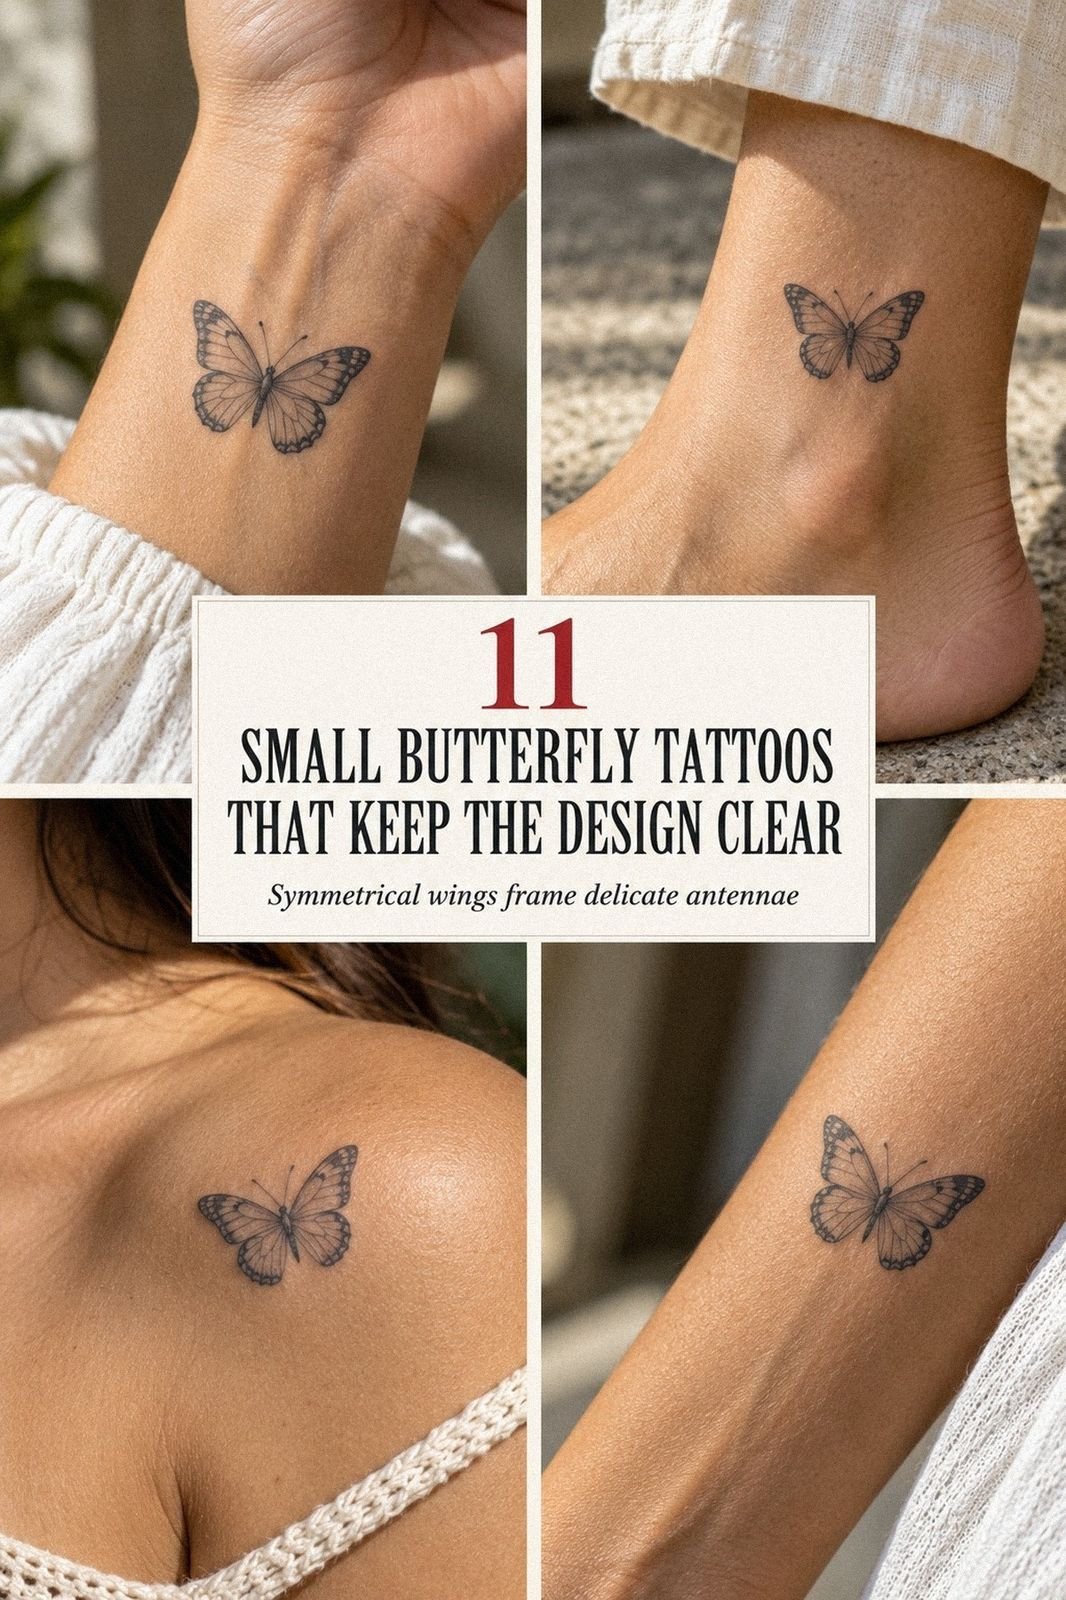
13Pick A Minimal Animal Outline Tattoo
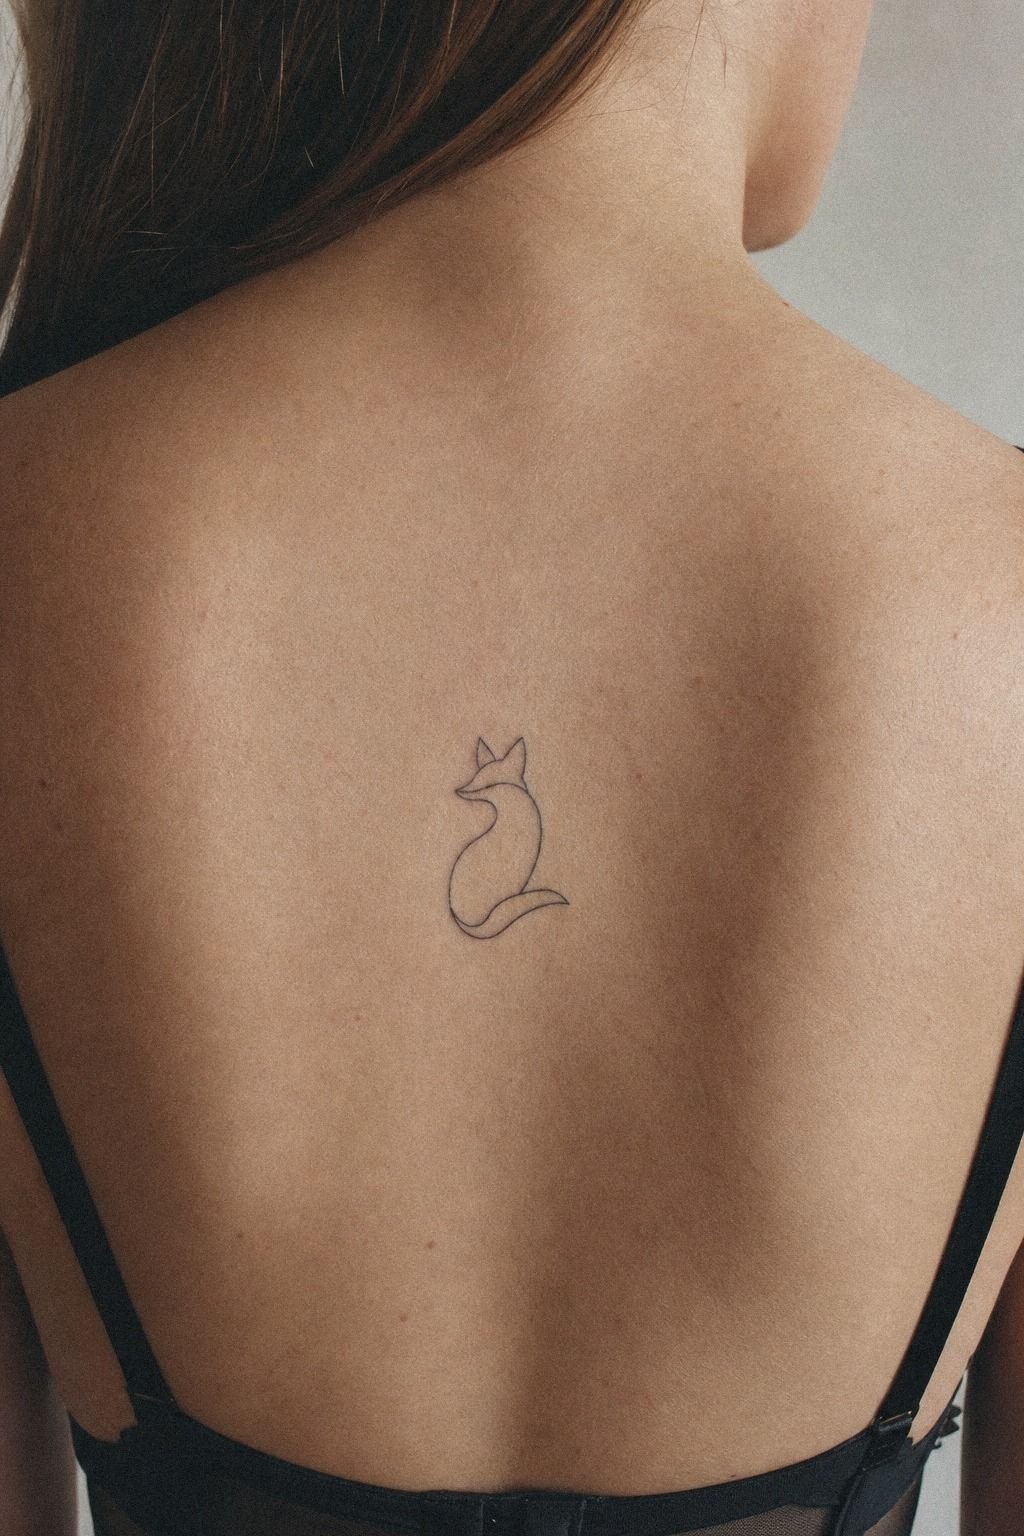
Pick a minimal animal outline tattoo with one unmistakable contour. An upper-back placement gives you enough flat skin to keep the line calm and the shape readable.
A swallow, cat profile, rabbit ear silhouette, or tiny koi outline can all work if the body shape stays simple. The outline is the star, not the fur or feathers.
I’d never do a micro-realism lion at beginner size. That is where easy tattoos for beginners simple stops being easy. A clean outline with one single accent line heals better, costs less, and ages nicer.
If you want to study older animal shapes that still hold up, traditional ship flash tattoos and traditional pirate tattoos guide both show how strong simplified forms can be.
14Choose Easy Tattoos That Age Cleanly
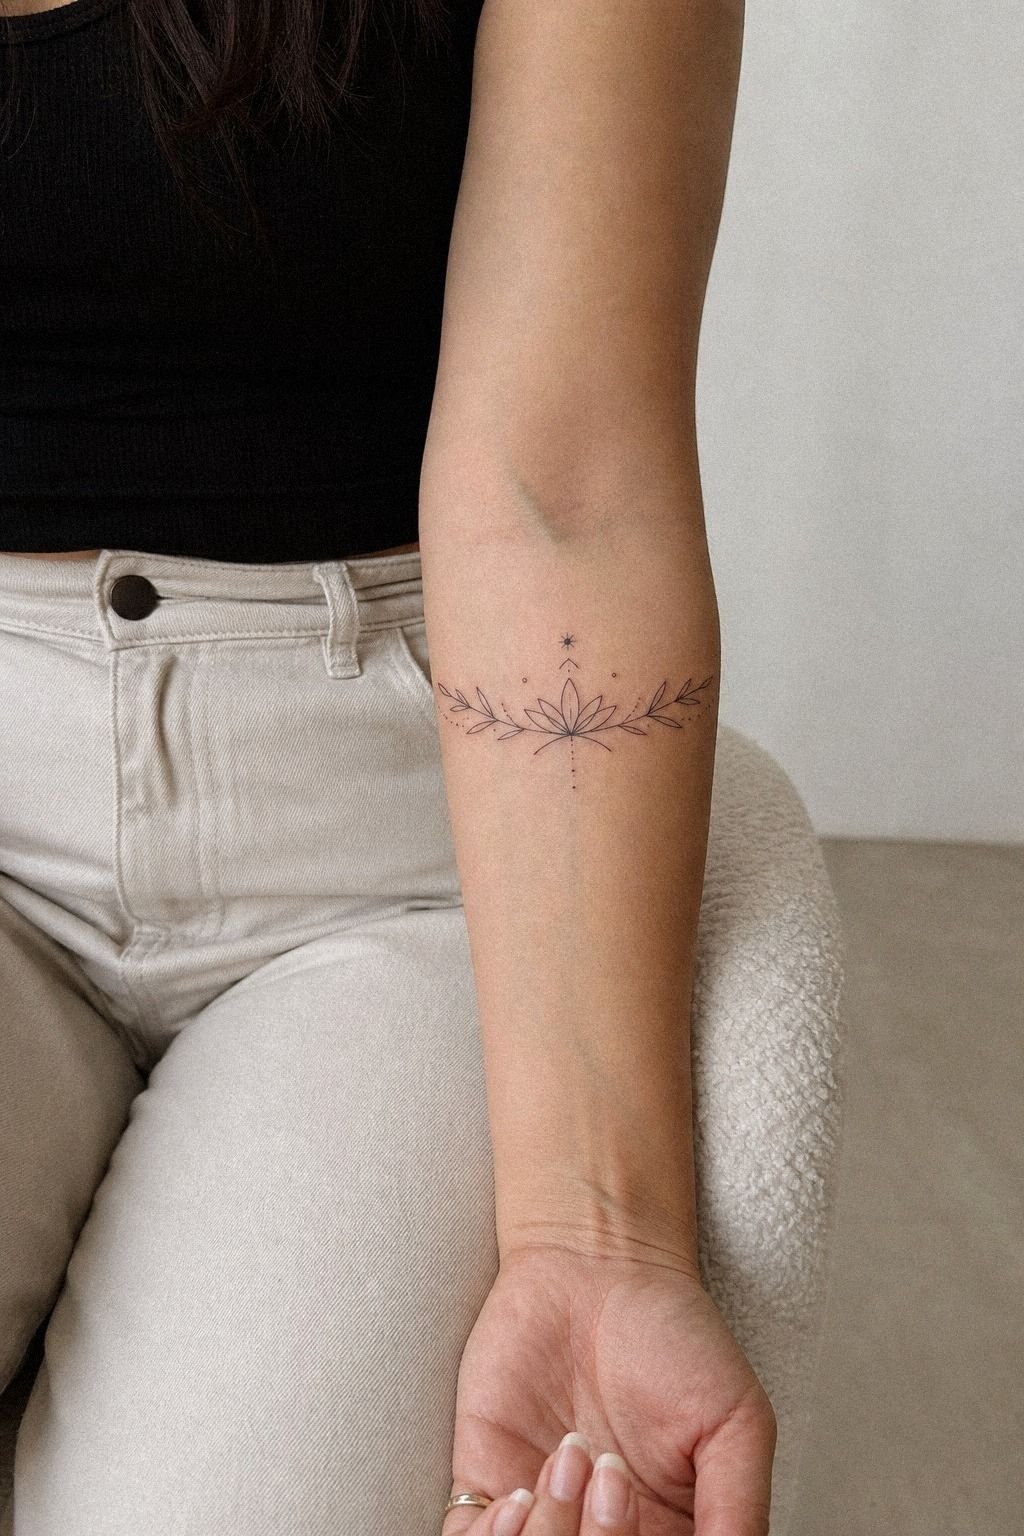
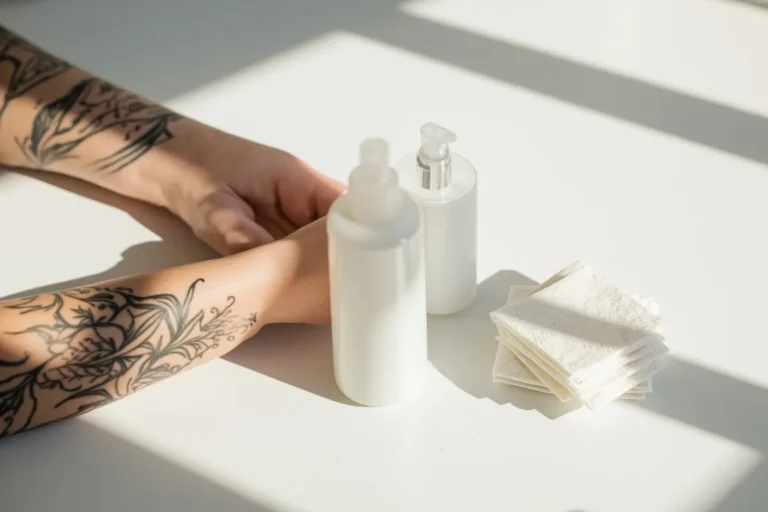
Choose easy tattoos that age cleanly by looking at the healed version in your head before you ever book it. Inner forearm skin is a solid pick because it stays flatter than hands or feet and lets a fine line tattoo read clearly at a glance. You still need breathing clearance between lines, though.
Tiny gaps close first.
I use the Two-Needle Truth as a rule of thumb. If the design depends on hairline detail to make sense, it is too fragile for a beginner tattoo.
But if the shape still works with slightly fuller line weight, you are in a safer lane. For more on what makes lines soften over time, see why tattoos blur over time.
Bold will hold!
15Place Small Ink Where Skin Stays Flat
Place small ink where the skin stays flat and the body doesn’t fold it all day.
16Keep DIY Sketches For Artist Reference
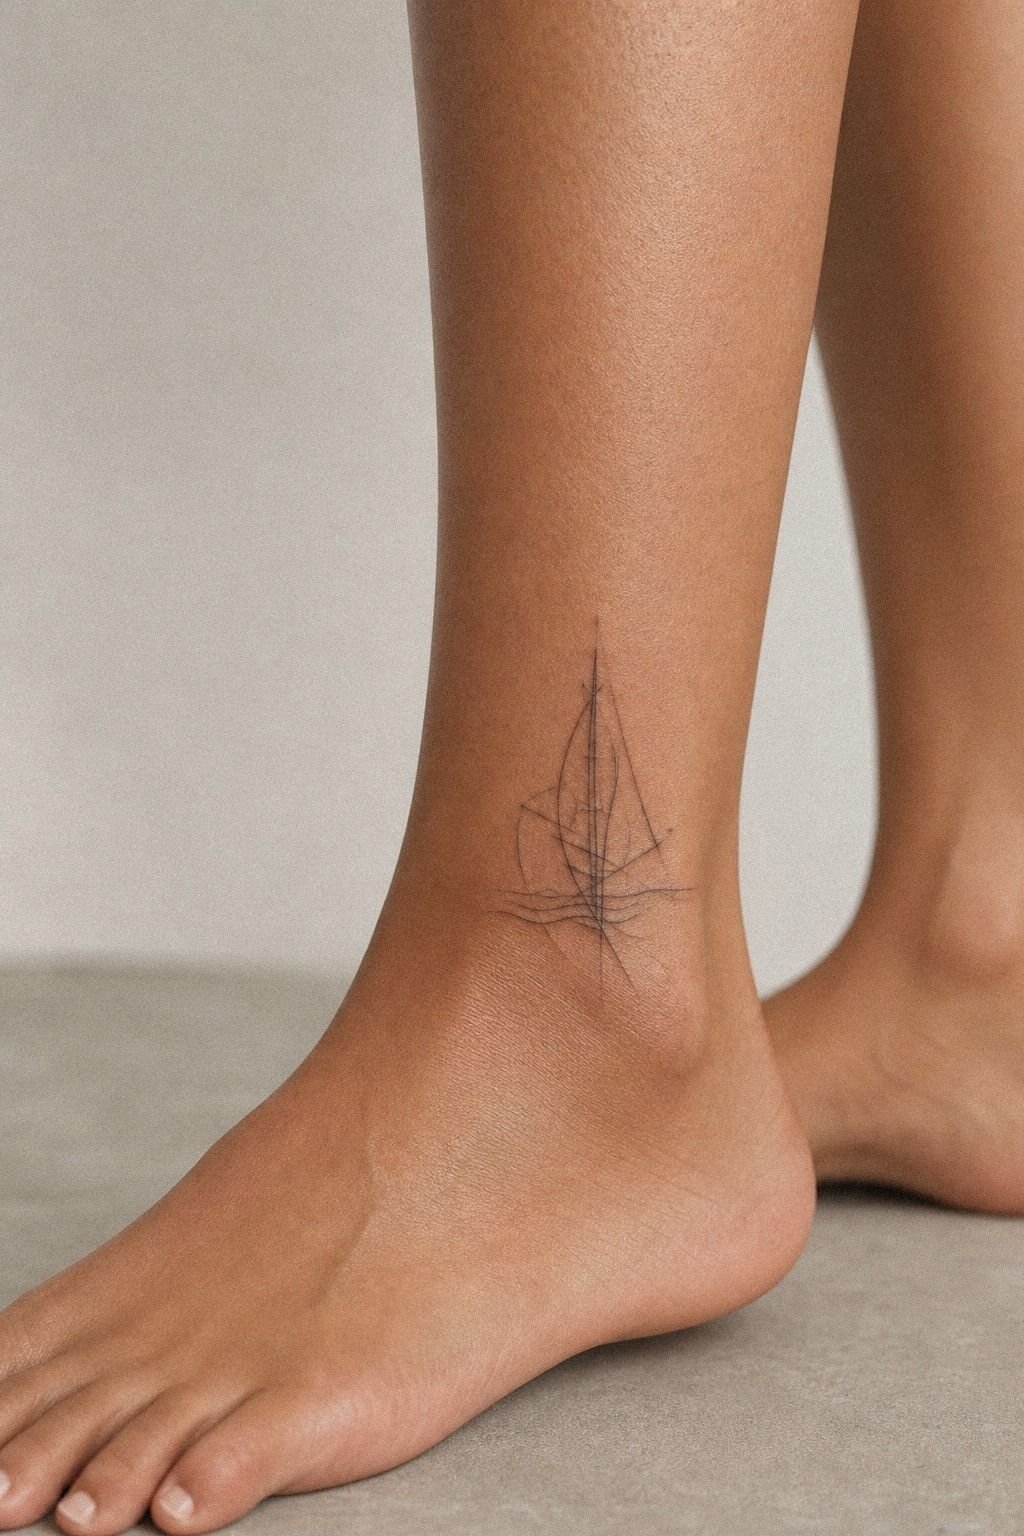
Keep DIY sketches for artist reference, even after the final design is done. An ankle sketch tattoo idea may start rough, but your notes about size, direction, and placement help the artist refine it without losing your original point. That’s especially useful when the symbol has personal meaning and the little choices matter.
I save client doodles all the time because they often show what the client cares about most. Maybe it’s the angle of a heart, the length of a stem, or the gap inside a crescent. But a sketch is reference, not instructions for every line.
Let the artist clean it up so the tattoo heals solid instead of scratchy. That’s the whole point.
17Plan A Tiny Fine Line Heart
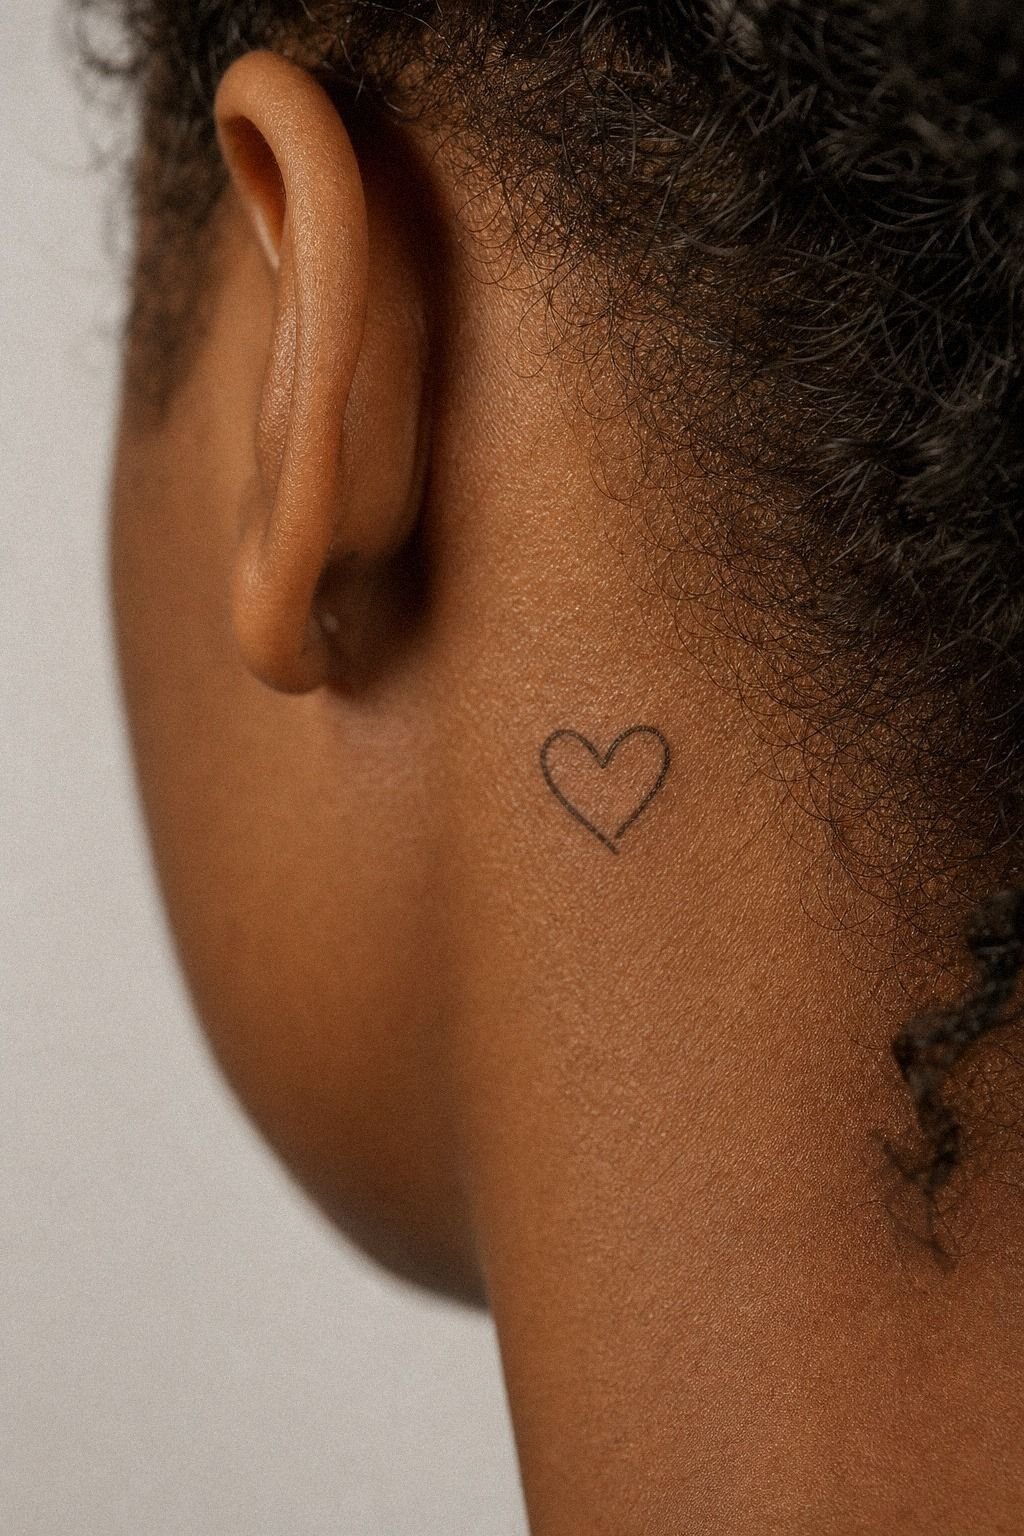
Plan a tiny fine line heart with the same seriousness you’d give a larger piece.
18Pick Simple Symbols With Personal Meaning
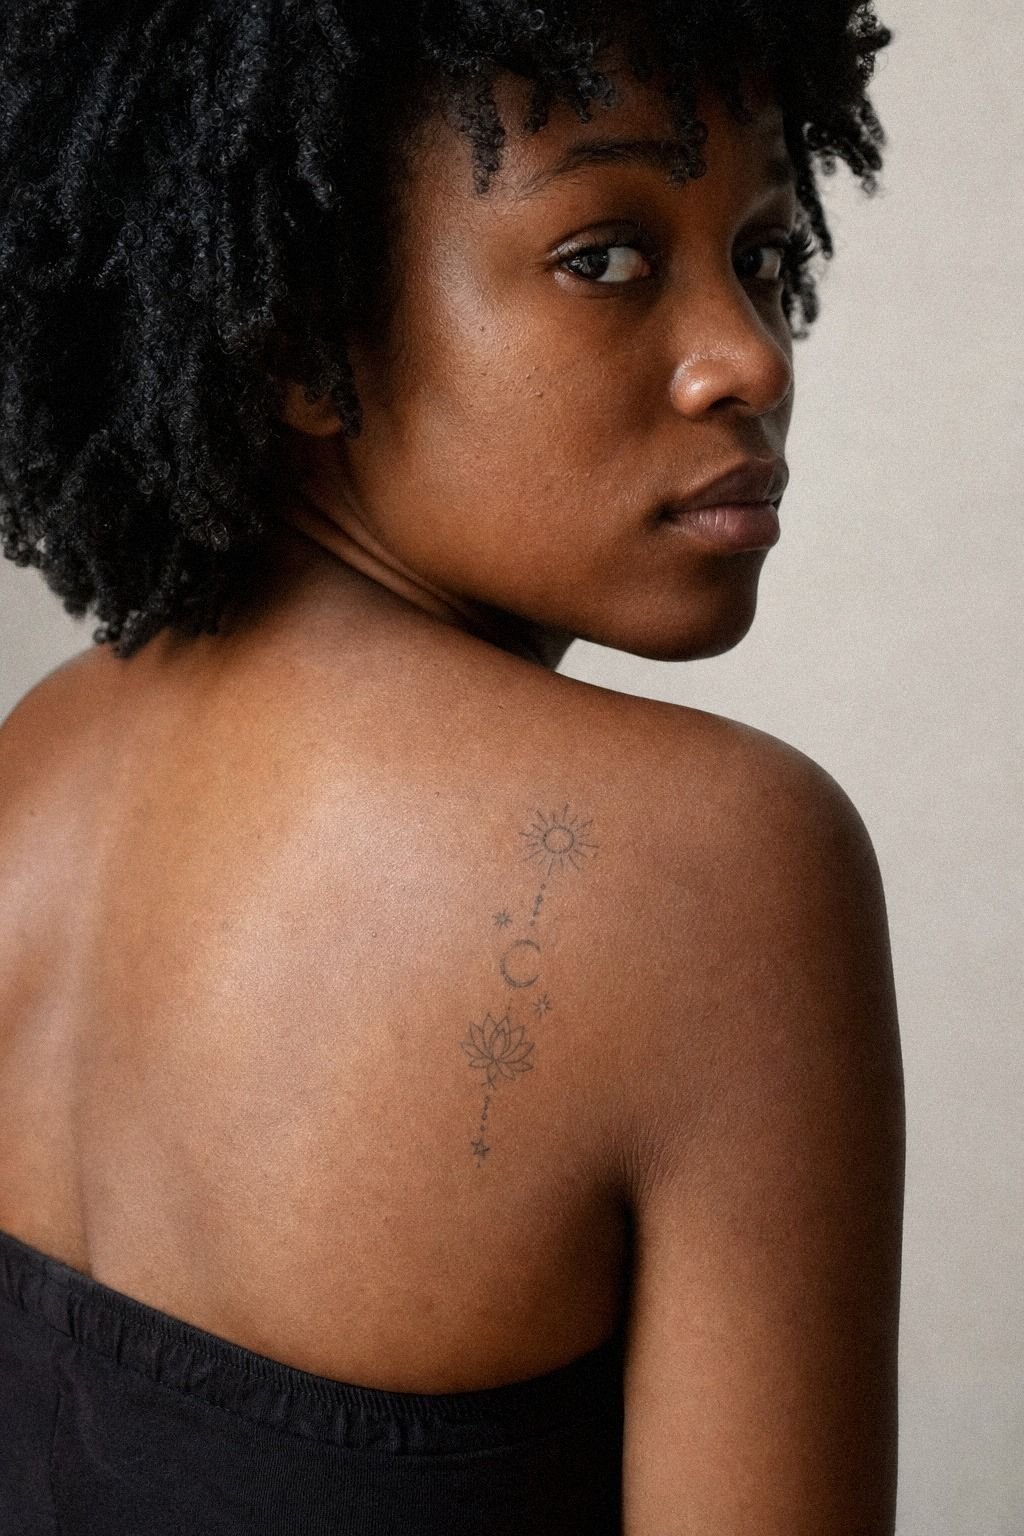
Pick simple symbols with personal meaning, then strip away anything that is only there to explain the idea harder. A healed shoulder tattoo on deep ebony skin can carry a lot with very little. A tiny halo, key, wave, rune, or spark can all land if the shape is obvious and the placement gives it clearance to sit clean.
I ask one question here: would you still want this if nobody else knew what it meant? If the answer is yes, you’re probably close.
But if the symbol needs a caption, simplify it again. For symbolic art that stays readable because the shapes are strong, virgin mary drawing chicano tattoos is a useful contrast in how detail and silhouette balance each other.
19Protect Easy Tattoos Through Clean Healing
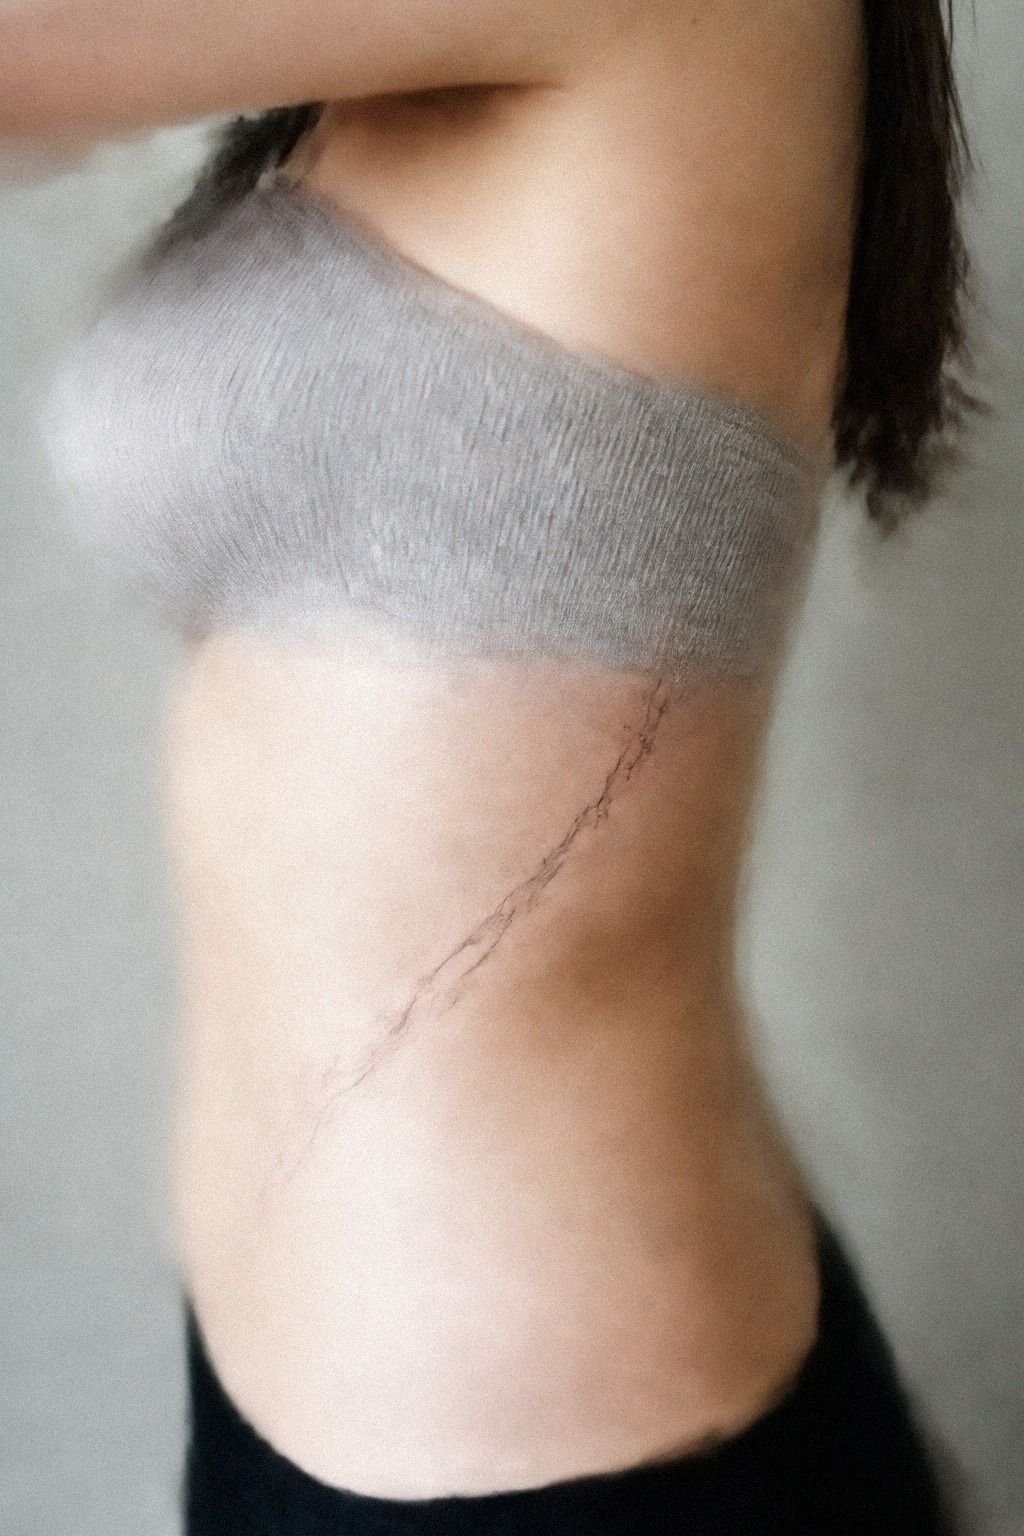
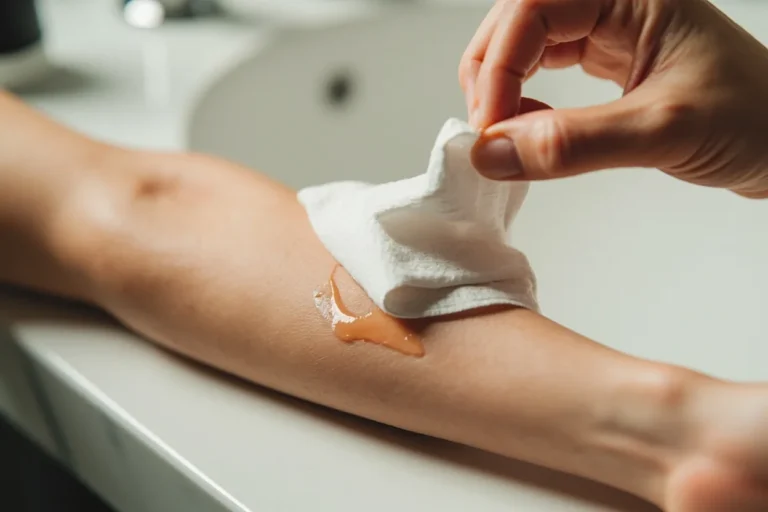
Protect easy tattoos through clean healing from the second you leave the studio. For the first few days, it’s an open wound.
Treat it like that. And be boring about aftercare!
On ribs, especially, clothing rub and body movement can irritate fresh lines fast, so keep the area clean, dry, and out of friction as much as you can.
Wash with gentle unscented soap, pat dry, and use a very thin layer of aftercare ointment or light lotion once your artist tells you to. Don’t suffocate it.
And don’t pick the flakes when it peels like a sunburn. That’s how people pull color out.
If you want to understand why healing choices affect line softness, read why tattoos blur over time. Your future tattoo will thank you, and it saves you from fixing preventable healing mistakes.
What Makes The Low-Wear Rule So Reliable?
Here’s my honest take as Hazel. Most so-called easy tattoos are not ruined by the idea.
They are ruined by scale, placement, and ego. People pick something too tiny because they want it discreet, or they choose ribs, fingers, or the side of the foot because the photo looked cool for two seconds. Then the artist has to force a delicate design into skin that moves, folds, rubs, or just does not give enough width for clean negative gaps.
I’ve seen the same pattern over and over. The tattoos that age nicest are rarely the fussiest.
They are the ones with a simple silhouette, enough black to anchor the shape, and a placement that lets the line breathe while the body moves. That doesn’t mean you need a big bold trad eagle if that’s not your vibe.
It means your tiny heart, stem, star, or symbol needs editing. Hard editing.
That’s where the mature choice usually lives.
And this is the part Pinterest skips. You’re not choosing only a drawing.
You are choosing skin texture, friction, sun exposure, your pain tolerance, your job dress code, your workout routine, and whether you are the kind of person who will come back for a touch-up. If the answer is no, pick low-wear skin and solid black.
If the answer is yes, you can flirt with fussier placements, but go in with your eyes open. That is the real money conversation, because upkeep is part of the total price whether people say it out loud or not.
But I still think the best first tattoo is a small black design on a flat, low-wear zone. And that is not boring. It is smart!
Outer forearm. Upper arm.
Upper back. Calf. Maybe shoulder.
Those placements give your artist a fair shot at one clean pull instead of ten fuzzy corrections. And the healing is usually calmer too.
You want the tattoo to feel like a good first session, not a survival story.
The Questions I Get Asked Most
How much does a Easy Tattoos usually cost?
About $100 to $300 is common for a small easy tattoo in the US, though some shops start at $50 to $100 as a minimum. The big win is predictable budgeting. For more context on placement and session planning, read where tattoos hurt less.
– Shop minimum first – Fine line session, 30 to 90 minutes – Higher rates for strong healed work
Are Easy Tattoos a good idea for a first tattoo?
Yes, if you keep the design simple and put it on low-wear skin. The biggest benefit is cleaner healing with less regret. It is usually the smartest move for a nervous first-timer.
– Outer forearm, upper arm, calf, thigh – Black ink over ultra-light pigment – One clear symbol, not five ideas at once
How do I choose a tattoo artist for Easy Tattoos?
Look for crispy lines, healed photos, and a studio that feels clean and organized. What helps most is proof that their work settles well. I also want to know whether their style is worth it for your exact idea, not just whether the Instagram grid looks cute.
You can compare the healed logic in why tattoos blur over time.
– Healed fine line examples – Portfolio close-ups, not only fresh shots – Strong hygiene habits and clear aftercare
How much do Easy Tattoos hurt?
It depends on placement more than the design itself. The best part is you can control a lot of that by choosing calmer skin.
– Ribs, feet, hands, sternum, spicier – Forearm, thigh, shoulder, more tolerable – Lines sharp, shading duller, packing spiciest
How long does a Easy Tattoos take to heal?
Surface healing is usually about 2 to 3 weeks, while full settling often takes 2 to 3 months. That gives you a realistic healing timeline. If you want to protect the final result, why tattoos blur over time explains what careless healing can do.
– Gentle wash with unscented soap – Thin ointment or light lotion – No pools, heavy sun, or picking
What’s the best placement for Easy Tattoos?
Outer forearm and upper arm are my favorite starting points because the skin is flatter and the linework tends to hold better. That gives you better longevity with less maintenance. If you are still weighing pain against visibility, go back to where tattoos hurt less.
– Good visibility when you want it – Lower wear than hands or feet – Easier sit for most first-timers
The Black-First Rule: Black Over White
If I had to pick one step to start with, I’d start with black ink on the outer forearm. That combo gives tiny designs the best shot at staying readable, and it forgives beginner nerves better than fussier placements. Pin that idea, compare it with white ink tattoos, and book smarter.