
Hip tattoo placement usually feels more manageable when you choose a fleshier spot, test the design first, and arrive rested, fed, and hydrated. I learned this after a delicate piece shifted from comfortable to sharp near the bone. Your placement matters more than bravado. Start there.
- Start With Your Natural Hip Curve
- Pick Inner Hip Placement for Sleek, Private Ink
- Place Little Tattoos Above the Hip Bone
- Keep Tummy Designs Centered Below the Navel
- Plan Hip Tats Around Your Waistline
- Choose Side Placement for Bold Silhouettes
- Align Floral Linework With Your Pelvis
- Should Both Hip Bones Match?
- Test Visibility With Temporary Placement
- Consider Healing Before Tight Clothing
- Match Tattoo Scale to Your Body Shape
1Start With Your Natural Hip Curve

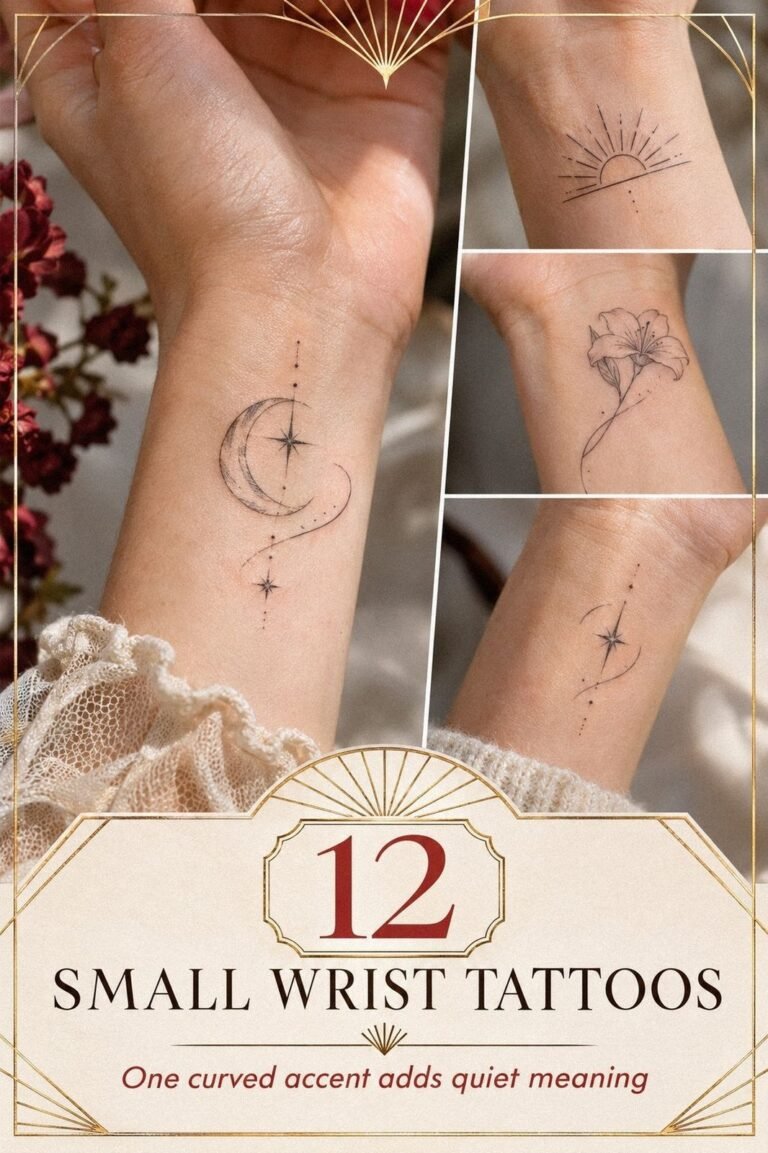
Trace the curve you already have before you think about the design. A small constellation, crescent, or floral mark can follow that line instead of fighting it. The result feels striking because the marks have breathing space.
You don’t need a large tattoo to make the hip feel intentional.
Ask your artist to place the stencil while you’re standing, sitting, and slightly bending. Skin shifts.
A line that looks crisp upright can angle strangely when you sit. I’d keep the smallest detail at least a finger-width from the sharpest bone, especially if you’re nervous about sensitivity.
Ink choice matters, too. Black tattoo ink gives tiny stars enough contrast to remain readable, while a single-needle outline keeps the design delicate. Don’t crowd every gap.
Your skin needs open space around each mark, and that negative space keeps the composition clear instead of muddy.
I call this the Natural Curve Rule: follow the body first, then refine the art. If you’re still comparing options, save your favorite references beside this how to plan tattoo placement guide. You’ll spot which designs feel meaningful and which ones only looked good in a flat reference.
Check the curve in motion
Take a few ordinary steps after the stencil dries. Twist gently, sit down, and lift one knee. That quick movement check can reveal a crooked angle before the appointment begins!
2Pick Inner Hip Placement for Sleek, Private Ink
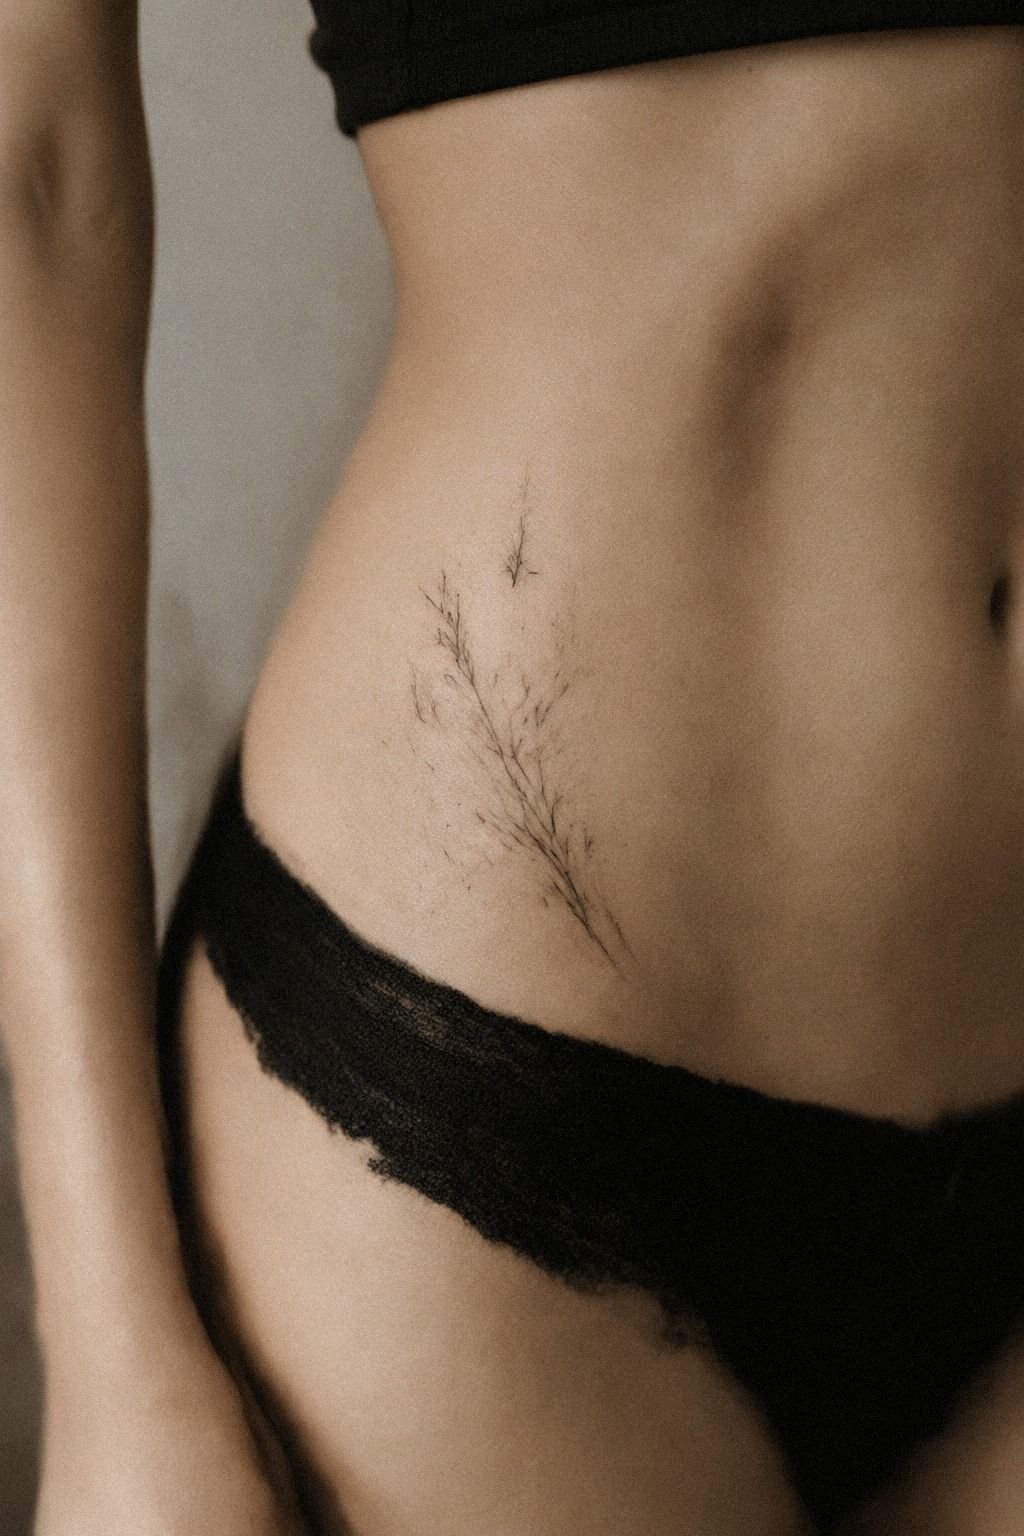
Inner hip placement can make a fine-line design feel intimate without making it impossible to hide. It’s a sleek choice when you want the tattoo to belong mostly to you. You’ll see it in swimwear or low-rise clothing, but it won’t announce itself every day.
Before you commit, ask for a temporary stencil in the exact spot. Walk around for a few minutes.
Sit down. Lift one knee.
If the stencil buckles sharply when you move, your artist should adjust it. I wouldn’t choose the deepest fold for a first attempt, because friction and sweat can make the session feel more intense.
A clean carbon stencil helps your artist judge spacing before any needle touches skin. The line should follow the natural crease without disappearing into it. If you’re choosing between a tiny symbol and a narrow botanical mark, I’d pick the symbol for the deepest placement.
Fine details can blur when the skin folds repeatedly.
This is where the Inner Hip Whisper works: small scale, quiet placement, clear silhouette. Your design can still feel expressive without taking over the area. Look through inner hip tattoo ideas for women only after you’ve tested the stencil, because your own movement tells you more than a polished portfolio.
Keep the deepest fold simple
A symbol with one clear contour usually holds up better than a crowded miniature scene. Check hip tattoo ideas for shapes that can stay readable when your skin bends.
3Place Little Tattoos Above the Hip Bone

For little hip tattoos, move slightly above the hardest edge of the bone rather than placing the design directly on it. That higher position gives your tattoo a graceful lift and can reduce the sharp sensation that comes with very bony placement.
Use your fingers to find the ridge while you’re standing. Then mark a small zone above it where the skin feels more padded.
Your artist can place the placement stencil there and check whether the design stays level when you lean. I’ve found that a one-inch shift can change the entire session, even when the finished tattoo still looks close to the original idea.
Choose a compact single-needle design with enough open space to age clearly. A tiny crescent, dot cluster, or short word can work, but I’d avoid squeezing five details into a one-inch area. Your tattoo may look clear today, while crowded lines can spread subtly over time.
I call this the Bone Buffer Method. It keeps a small piece visible without making the most sensitive point do all the work.
If you’re comparing tiny placements across the body, use this tiny tattoo placement guide and pay attention to skin movement, not just the pose. That choice will feel more understated later.
Leave the bone a little breathing room
The goal isn’t to avoid the hip entirely. It’s to give the needle a slightly softer landing while keeping the design connected to the area. This hip bone tattoo guide can help you compare higher and lower positions.
4Keep Tummy Designs Centered Below the Navel

A tummy tattoo needs a visual center, especially when the design sits below the navel and extends toward the hip. Start by finding your navel, then measure outward with a flexible tape instead of guessing from the mirror. Your eye can be sharp, but symmetry is easier to judge with marks.
Ask your artist to place the stencil while your abdomen is relaxed. Don’t hold your breath or pull your stomach inward.
That temporary tension can make the design look centered during placement and off-center when you move naturally. I’d rather see the stencil slightly plain than force a complex shape into a cramped middle zone.
A clean transfer stencil should show the central axis clearly. If the design has a point, flower, or vertical line, let that feature sit beneath the navel instead of drifting toward one hip. You’ll want enough clearance for the lower edge to move with your body without crossing into a crease.
The Centerline Check is simple: stand, sit, breathe, and look again. Is the visual weight still balanced?
If not, shift it before the session. Your result can be polished without being rigid, and hip tattoo ideas can help you compare centered layouts with relaxed side placements.
5Plan Hip Tats Around Your Waistline

Planning hip tats around your waistline starts with the clothes you wear most. Check your waistband, underwear line, and favorite jeans against the stencil. Your tattoo should remain personal, not constantly irritated by fabric.
Bring a pair of clothing items to your consultation if you’re unsure. A soft cotton waistband and a firm denim edge create very different pressure. I’d avoid placing the busiest part of a design exactly where elastic sits, because repeated rubbing can make healing more annoying than the tattoo itself.
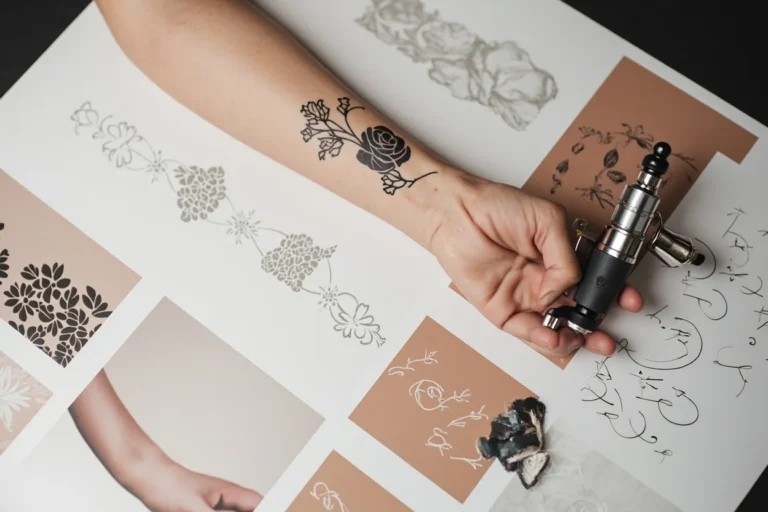
A flash sheet gives you useful boundaries. Circle three designs, then ask the artist to show each one at a smaller and larger size.
You’ll notice how a bold flower can become muddy when reduced, while a clean symbol may stay readable. Don’t choose based only on the paper version.
The cost depends on the design, artist, and appointment length, but a realistic budget helps you decide whether the placement is worth it. A low price isn’t always good value if the location forces a rushed session or a redesign later. Ask for the minimum, hourly rate, and estimated total before booking.
I call this the Waistline Forecast. Think through the first two weeks, not just the appointment you hope to remember.
If you’re unsure how your placement compares with nearby areas, study this tattoo placement chart before booking. Your most daring idea may still work, but it needs a location your clothes won’t punish.
Test your usual waistband
Wear the clothing you actually reach for, not only the loose outfit you’ll use on appointment day. The tattoo placement guide can help you compare exposure, movement, and friction before you settle on one position.
6Choose Side Placement for Bold Silhouettes
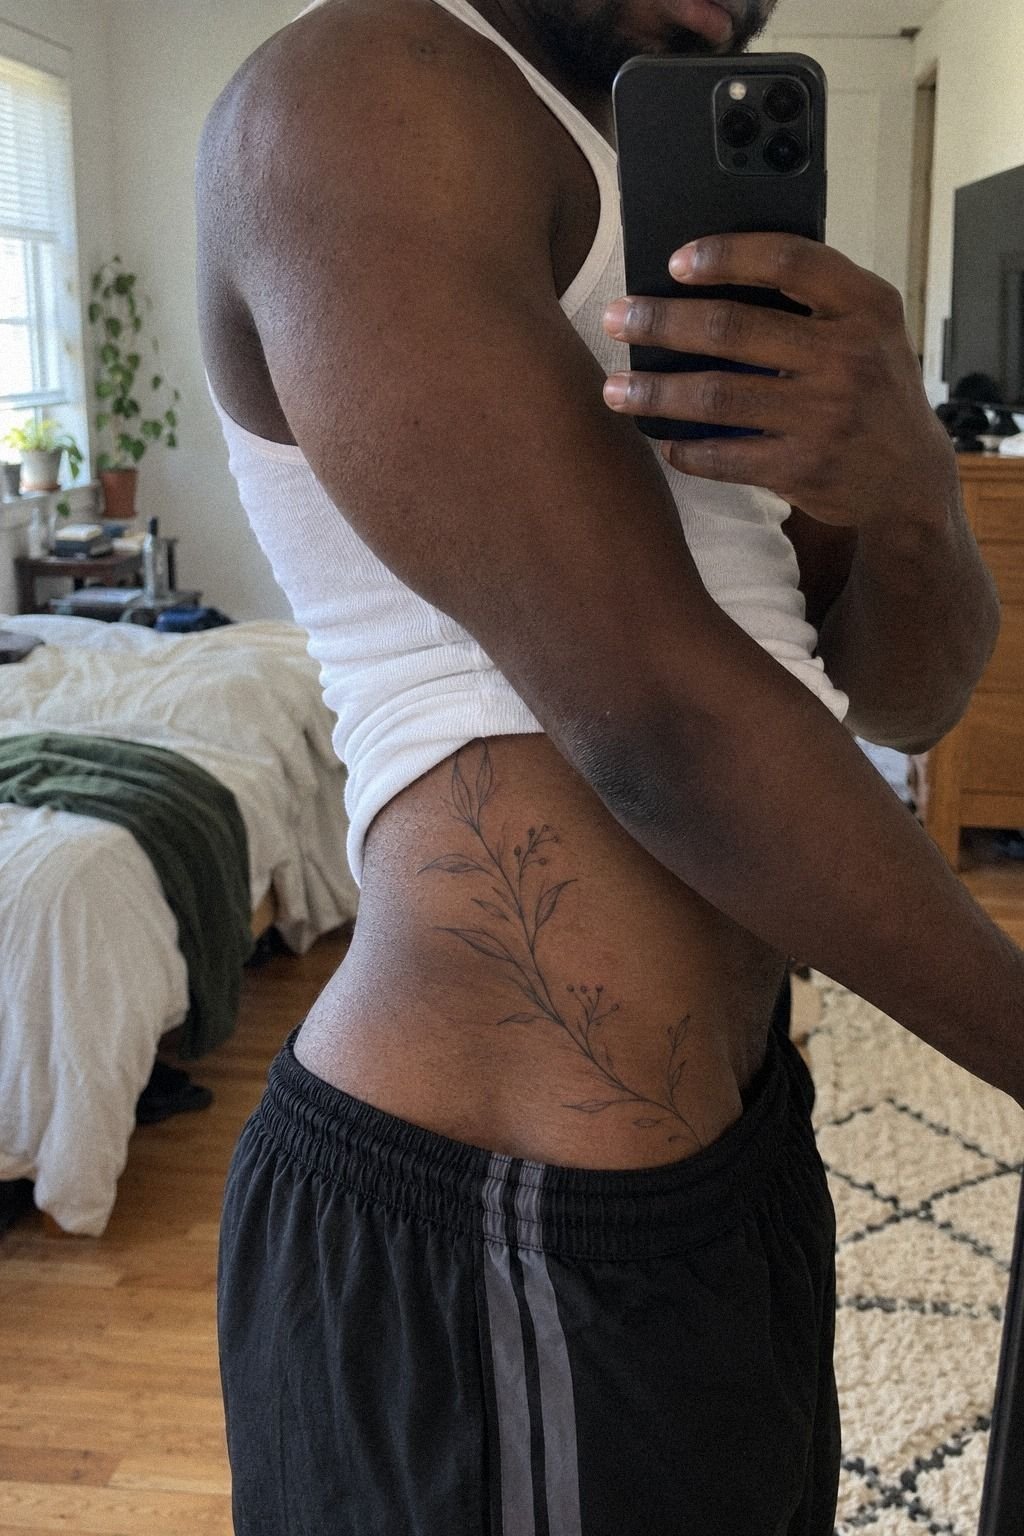
Side placement works well when you want a bold silhouette that follows the outer hip and remains easy to reveal or cover. Ask for a side-hip stencil that leaves enough room from the waistband and the sharpest part of the bone.
7Align Floral Linework With Your Pelvis

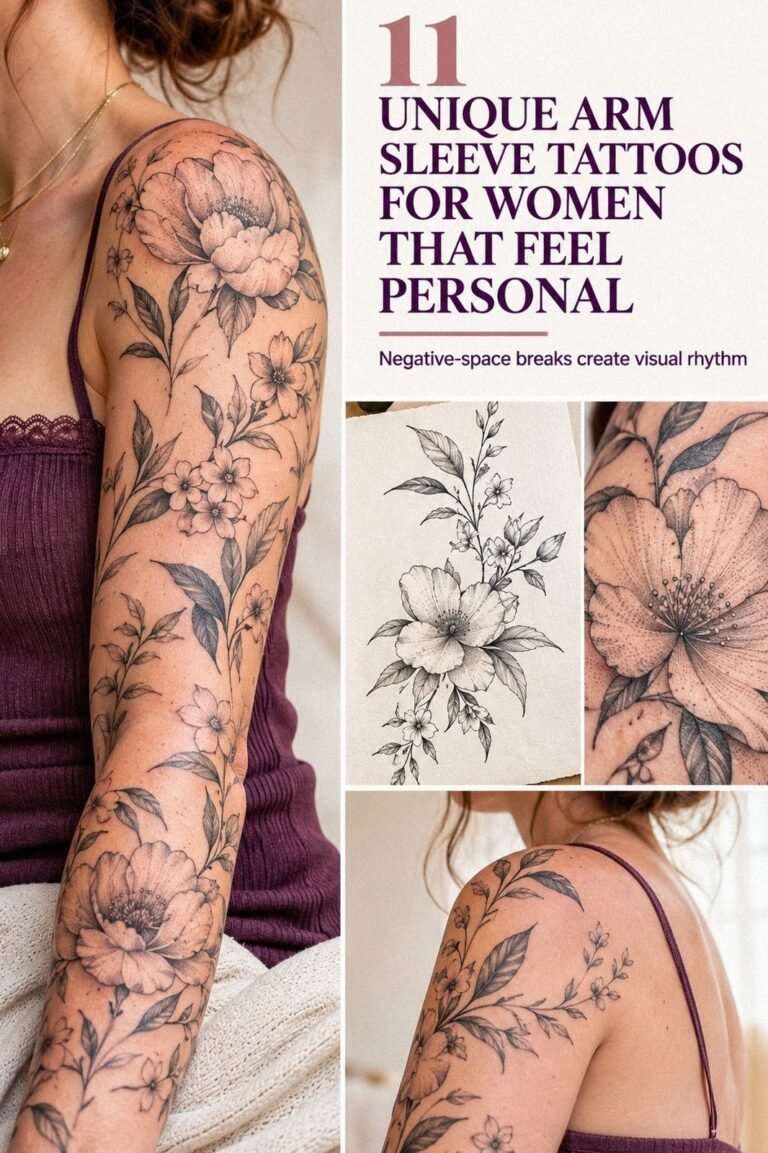
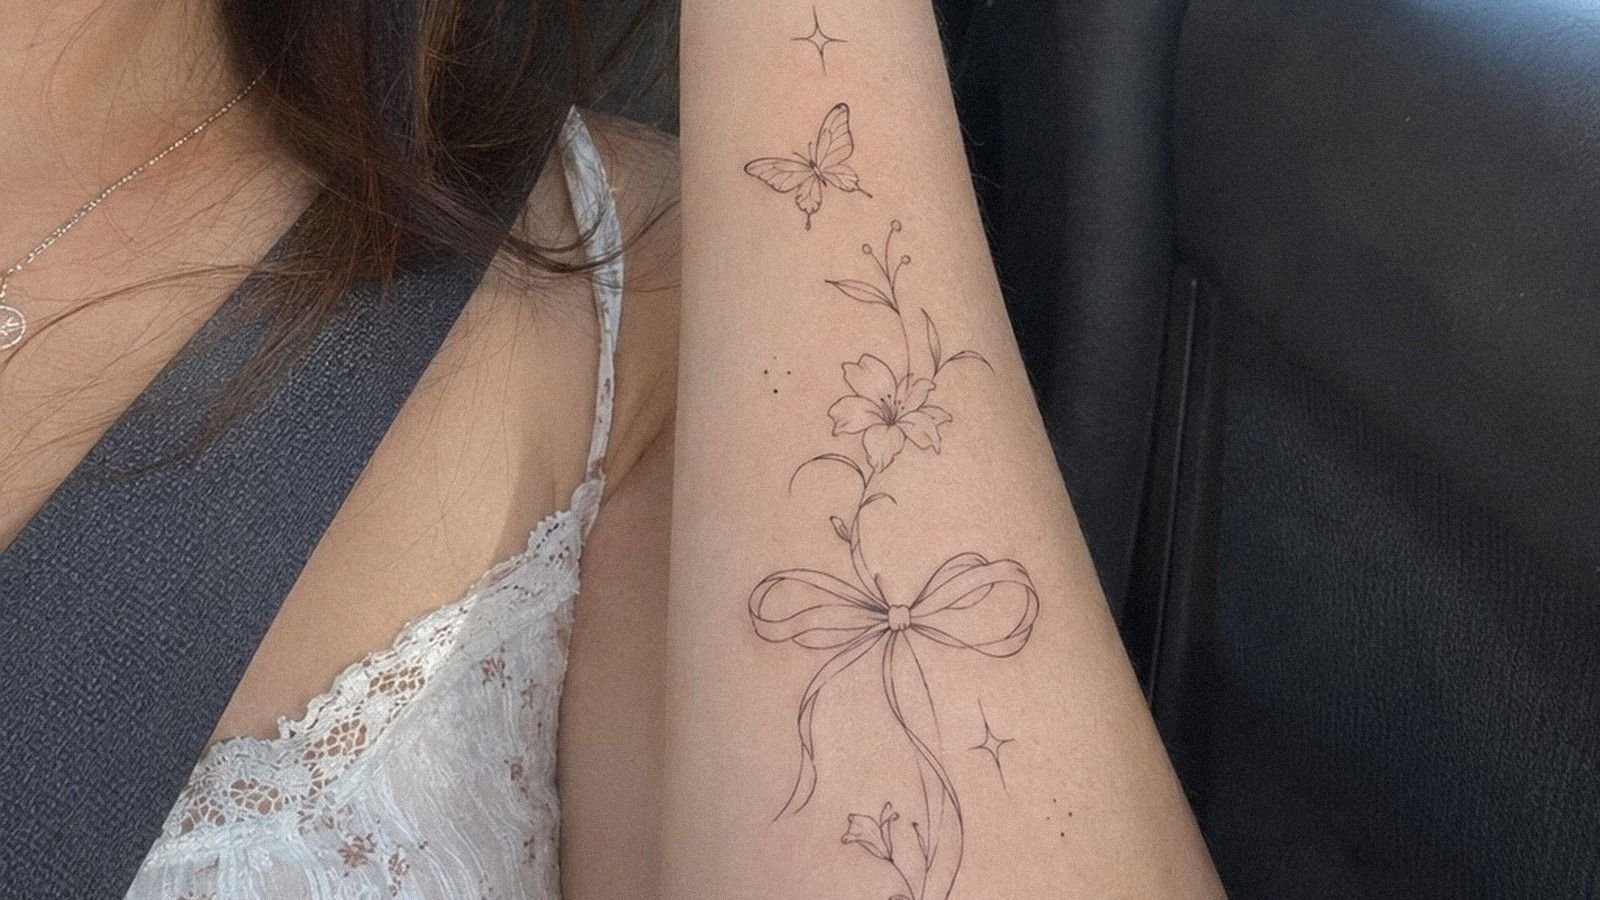
Floral linework needs a direction, and the pelvis gives you one. Let the stem travel along your natural angle instead of forcing it straight. That makes the design feel flowing and helps the flowers look connected to your body.
Ask for the stem stencil first. Check whether the blossoms point toward your waist, thigh, or center. I’d point the flower heads slightly upward if you want a lighter, more lifted look.
Downward-facing blooms can feel heavier, especially when the design sits close to a crease.
A botanical fine-line stencil should preserve the open spaces between petals. Don’t let your artist pack every leaf into the smallest section.
Fine lines may spread with age, so your future self will appreciate a little room. You’ll also find the session easier when the artist isn’t trying to place dozens of tiny marks in one sensitive patch.
The Pelvis Direction Rule keeps the design elegant without making it formal. If you’re comparing flowers, vines, and branches, look at pelvic hip tattoo ideas and mark the direction each design takes. Your favorite should support your body’s movement, not compete with it.
Give the stem a clear route
One strong stem often reads better than several competing branches. If you want a more romantic effect, let the flowers open toward the softer side of the curve rather than crowding the center.
8Should Both Hip Bones Match?

Matching both hip bones requires more than copying one stencil twice. Decide whether you want true symmetry or coordinated difference. Both can work, but your choice should be clear before the appointment.
Use a soft measuring tape to record the distance from each hip bone, navel, and waistline. Your artist can transfer those points without pressing hard. I’d avoid measuring only from the outer edge, because bodies aren’t perfectly mirrored and the tattoo can look uneven even when the numbers match.
For a symmetrical pair, keep the main shapes equal in scale and let tiny natural differences remain. For a mirrored-but-different pair, repeat one feature such as a star, leaf, or dot cluster.
That approach can feel timeless without becoming stiff. You’ll still recognize the relationship when you stand naturally.
The Two-Side Agreement is my preferred method: match the anchor, then allow each side to breathe. If you’re planning a larger collection, compare this with the hip bone tattoo guide before committing. Your design doesn’t need to be identical to feel intentional!
9Test Visibility With Temporary Placement

Temporary placement is the fastest way to learn whether you’ll love seeing the tattoo every day. Use a temporary tattoo marker or paper stencil and live with it for a full day.
Take notes in natural and indoor light. You’ll notice whether the lines feel too faint, too high, or too close to your waistband. I’ve changed my mind after seeing a stencil during an ordinary morning, when the placement felt less exciting than it did during planning.
Ask your artist to test two sizes if you’re between options. A smaller design may feel minimal and discreet, while a slightly larger version can create a more readable silhouette. Don’t assume the bigger one will hurt more simply because it covers more skin.
Placement, density, and session length all affect the experience.
This is the Temporary Truth Test. If you stop noticing the stencil after a few hours, that may be a good sign.
If you keep adjusting your clothes around it, shift the location. Your final choice should feel natural, and how to plan tattoo placement gives you another way to record those observations.
Wear-test the outline
Check the stencil from the front, side, and a natural seated position. That quick movement test can show whether the design still feels understated when your posture changes.
10Consider Healing Before Tight Clothing
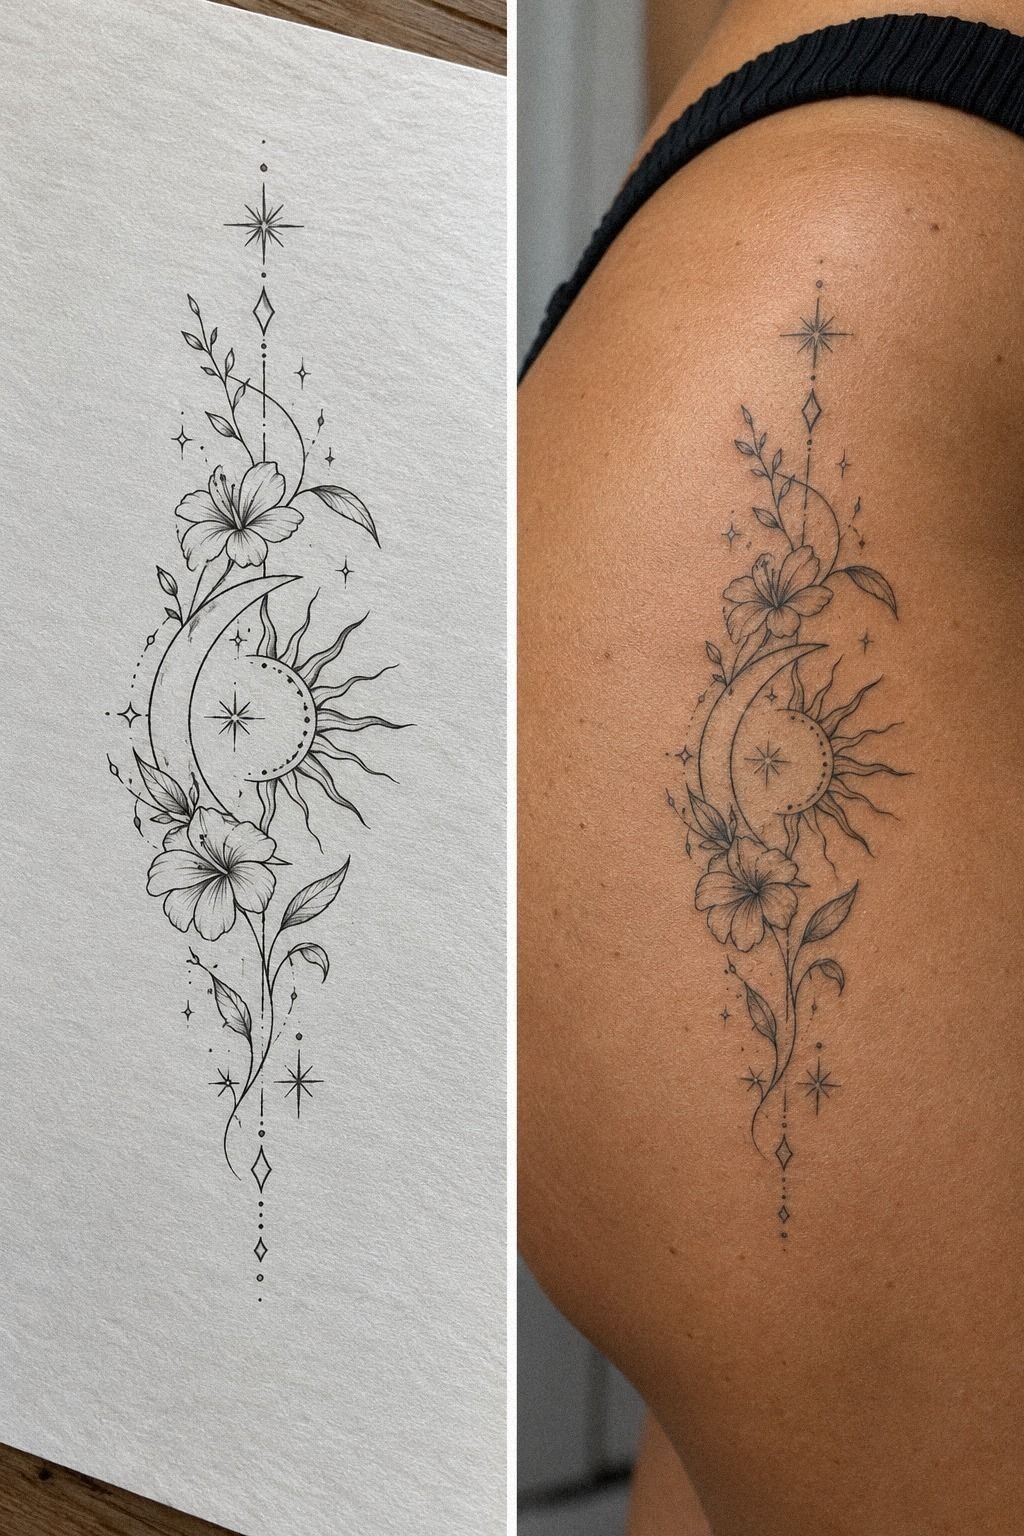
Healing changes the way you plan hip placement. Choose breathable clothing for the first days, and remember that a tight waistband can rub a fresh tattoo even when the placement looked perfect during the consultation.
Ask your artist about healing instructions before the appointment. I’d plan several days without restrictive fabric, intense sweating, or repeated friction. A patient approach can protect a vibrant result and make the early discomfort easier to manage.
11Match Tattoo Scale to Your Body Shape
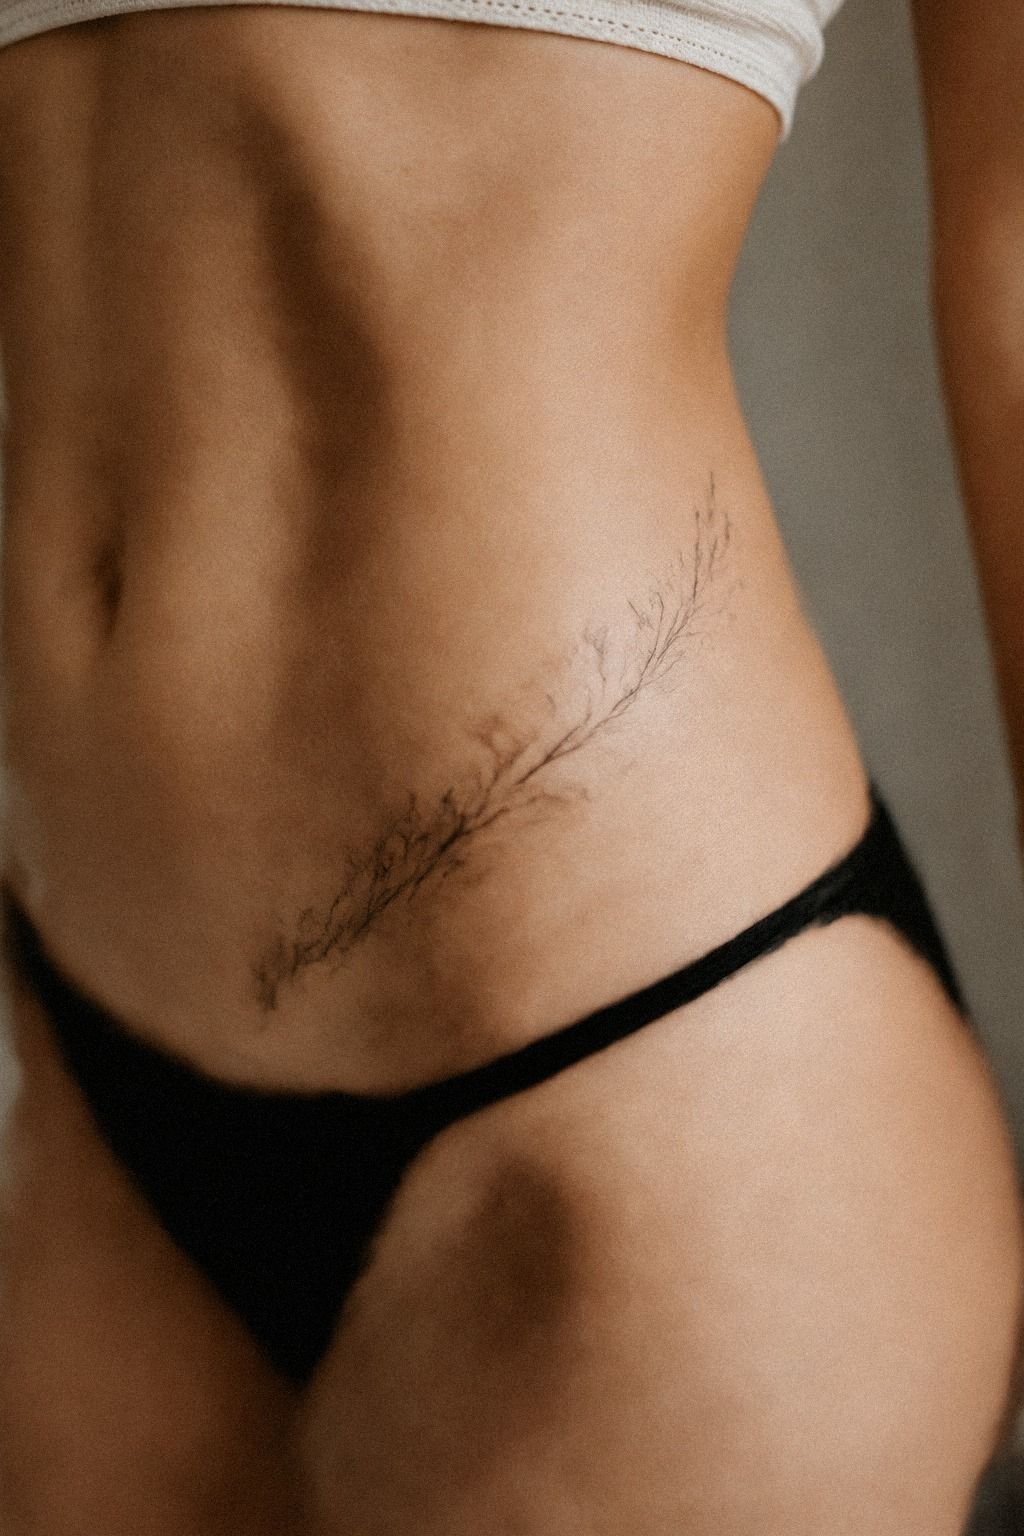
Scale should respond to your body shape, not to a trend reference. A small tattoo can feel dainty on one body and disappear on another. Your proportions deserve an honest test.
Ask for the design printed at the intended size, then hold it against your hip while standing. Check the distance between the tattoo and your waist, thigh, and navel. I’d rather enlarge a simple shape than shrink a detailed one, because reduced detail can turn an intricate drawing into a difficult-to-read cluster.
Use enough contrast for your skin tone, and ask how the line weight may age. Very thin lines can soften or spread over time, while solid black areas tend to hold their presence more reliably when the placement and aftercare are good. You’ll want the future version to remain legible, not merely pretty.
The size also affects the final price. A smaller design may fit a modest budget, but the cheapest option isn’t automatically the best value if it loses the details that made you want it. Ask whether simplifying the design would be worth it before reducing the scale.
The Scale-to-Skin Rule is the final check: the tattoo should look intentional from several feet away and rewarding nearby. If you’re still deciding, review hip tattoo placement ideas alongside the wrist tattoo placement guide. Your best choice may be less ornate than your first idea, but it can feel more iconic for longer.
Check the scale from two distances
A design that looks lovely nearby may vanish when you stand normally. Give the outline a vintage postcard-sized test and then view it from across the room.
Why Hip Placement Rewards Patience
I used to think the fastest way to choose a tattoo was to find one design that made me stop scrolling. That approach is tempting, but it ignores how skin bends, how clothing rubs, and how a design reads when your body isn’t posed. Hip placement rewards a slower decision because the area changes shape every time you sit, walk, or twist.
The part I care about most is the stencil. A tattoo can be empowering and personal, but the stencil tells you whether the design belongs on your body or only in your imagination.
Stand naturally. Sit normally.
Look at it under ordinary lighting. If the placement still works there, you’ve learned something valuable.
I also prefer a smaller, clearer design over a crowded one. That’s not because large tattoos are wrong. It’s because fine lines need room to remain readable, and hip skin sees constant movement.
A black ink accent can anchor a delicate design better than six extra details that blur together later.
Pain deserves an honest place in the decision. You don’t have to prove anything by choosing the most sensitive spot.
A fleshier side placement may feel gentler than the hip bone, while ribs, feet, hands, and sternum can be more intense. Your comfort is part of the design process, not a weakness. The sensation can be raw, but it should never become a contest.
And yes, your artist’s communication matters. I’d choose someone who explains stencil changes, line weight, and aftercare without rushing you.
A clean studio setup should include fresh barriers, organized supplies, and clear hygiene practices. Good communication makes the appointment feel more controlled!
If you’re still weighing cost against quality, ask what the quote includes. A consultation, custom drawing, deposit, touch-up policy, and aftercare guidance can change the real value. The lowest number may not be worth it if the artist can’t show healed work.
But don’t let a trend choose the final spot for you. A symbolic tattoo can be quiet, visible, hidden, symmetrical, or slightly off-center. Mine would always favor the placement that still feels right in ordinary clothes, on an ordinary morning, years after the trend stops circulating.
The best hip tattoo isn’t necessarily the largest or most dramatic. It’s the one that respects your movement, your pain tolerance, your clothing, and your reasons for getting it.
That balance can feel sacred without becoming precious. You’re allowed to pause, redraw, and return to the idea when the placement finally makes sense.
The Questions Worth Answering First
How much does a hip tattoo placement usually cost?
A hip tattoo placement usually costs about $100 to $300 in the US, depending on size, detail, artist, and region. Small pieces may meet a boutique minimum of about $50 to $100, while hourly rates often run around $100 to $250. Your quote will vary, so ask what the deposit and aftercare include.
– Small fine-line design – Regional studio pricing
Is hip tattoo placement worth it for a first tattoo?
Yes, hip placement can suit a first tattoo when you choose a tolerable area and a design that isn’t overloaded with detail. A side or upper hip may feel easier than ribs or sternum. Your first piece should be meaningful, clear, and manageable.
– Moderate visibility – Simple linework
How do I choose a tattoo artist for hip placement?
Choose an artist with clean linework, healed examples, and a portfolio that includes skin tones similar to yours. Ask about hygiene, stencil adjustments, and aftercare. You’ll want someone who can explain why a placement works, not someone who simply agrees to every idea.
– Healed portfolio examples – Single-needle experience
How much does hip tattoo placement hurt?
Hip pain varies by exact placement. The softer side or upper hip may feel more tolerable, while bone-adjacent areas can feel sharper. Ribs, feet, hands, and sternum are often more sensitive than the forearm, thigh, or shoulder.
Your session may feel intense without being unbearable.
– Fleshier side placement – Shorter session length
How long does hip tattoo placement take to heal?
The surface usually heals in about two to three weeks, while complete settling can take around two to three months. Wash gently, moisturize as directed, avoid strong sun, and skip pools while the skin is healing. Your artist’s aftercare instructions come first.
– Gentle unscented washing – Pool avoidance
What’s the best placement for a hip tattoo?
The best placement depends on your visibility preference, clothing, pain tolerance, and design shape. Side hip works well for a readable silhouette, while upper hip can suit a small symbol. Your artist should test the stencil in motion before starting.
– Side hip silhouette – Upper hip symbol
Can I test the placement before booking?
You can test the position at home with a temporary marker or paper stencil, but the tattoo itself requires a trained professional and sterile equipment. Use the preview to compare size and visibility. Don’t puncture your skin or attempt home tattooing.
– Temporary marker preview – Printed size comparison
Where I’d Start First
If I had to pick one step, I’d start with the natural hip curve. It keeps the design aligned when you stand, sit, and move, which matters more than chasing a reference.
Test that stencil for a full day. Then book with confidence.
My favorite result would be classic, comfortable enough to live with, and clear enough to stay recognizable. That kind of choice can feel romantic without being overly precious.
You don’t need to rush it. Waiting for the placement to feel right is worth it!