Tattoo transfer paper lets you move a drawn design from paper to skin as a blue or purple guideline. You print or draw on one side, press it against the skin, and the stencil transfers. Most shops use thermographic or hectograph paper. The trick isn’t the transfer itself, it’s getting the stencil to last through wiping, stretching, and a long session without turning into a smudged mess.
What Transfer Paper Actually Is
There are two main types you’ll see in shops. Thermographic paper is the kind that works with a thermal printer, you feed it through, and heat transfers your design from a regular sheet onto the purple carbon side. Hectograph paper, sometimes called freehand transfer paper, is the old-school purple sheet you draw on directly with a ballpoint pen. It has three layers: the backing, the carbon middle, and the top sheet you draw on.
Some artists swear by thermal printers for crisp, clean lines. Others prefer hectograph because they can sketch directly, adjust on the fly, and the slight pressure variation actually helps them feel the design. Both work. What matters is your pressure and your skin prep.
Thermal vs. Hectograph: When to Use Each
Thermal is faster for complex designs with fine detail. You can resize, mirror, and print multiples. Hectograph shines for custom freehand work, walk-ins where you’re drawing on the spot, and situations where the printer is broken or you just don’t want to deal with it. I’ve watched veteran artists knock out a perfect sleeve stencil with a hectograph pad and a pen in two minutes while the thermal printer jammed for the third time that day.
Skin Prep: The Step Everyone Rushes
Clean skin isn’t enough. You need skin that’s clean but not freshly moisturized, shaved smooth, and slightly tacky. Most artists use green soap or alcohol to wipe the area, then let it dry completely. If the skin is oily, sweaty, or has lotion residue, the stencil beads up or fades within minutes.
Shaving matters more than people think. Hair creates tiny gaps between paper and skin. Use a fresh razor, shave against the grain gently, and wipe again. Some artists follow with a product like Stencil Stuff or Green Gold, these are stencil solutions, not medical products, that help the transfer adhere and last longer. They create a thin, slightly sticky layer that grips the carbon.
- Wash the area with plain soap, rinse thoroughly
- Shave with a fresh disposable razor
- Wipe with alcohol or green soap, let air dry
- Apply stencil solution if you use it, let it get tacky
- Transfer the design, then let it set for 5-10 minutes before starting
The Transfer Process Step by Step
Print or draw your design. If it’s on regular paper, you need a sheet of thermal transfer paper underneath, purple side down against the skin, printed side up. For hectograph, draw on the top sheet with firm, consistent pressure. Ballpoint pens work best; sharpies can bleed through unpredictably.
Position the paper on the skin. This is where you check flow, how it wraps around muscle, whether it sits right when the client moves. Press firmly and evenly. Some artists use a credit card or similar edge to burnish the back, working from the center outward to avoid air bubbles. Hold it for 30 seconds to a minute, then peel back slowly from one corner to check if it transferred fully.
Fixing a Weak Transfer
If lines are patchy, don’t just press harder on the same spot, you’ll ghost the image slightly offset and confuse yourself later. Wipe the area, let it dry, and re-transfer with fresh paper. Trying to touch up a faded stencil with a pen directly on skin almost always ends with the ink washing away during the first pass. I’ve learned that the hard way on a rib piece that started looking like a connect-the-dots halfway through.
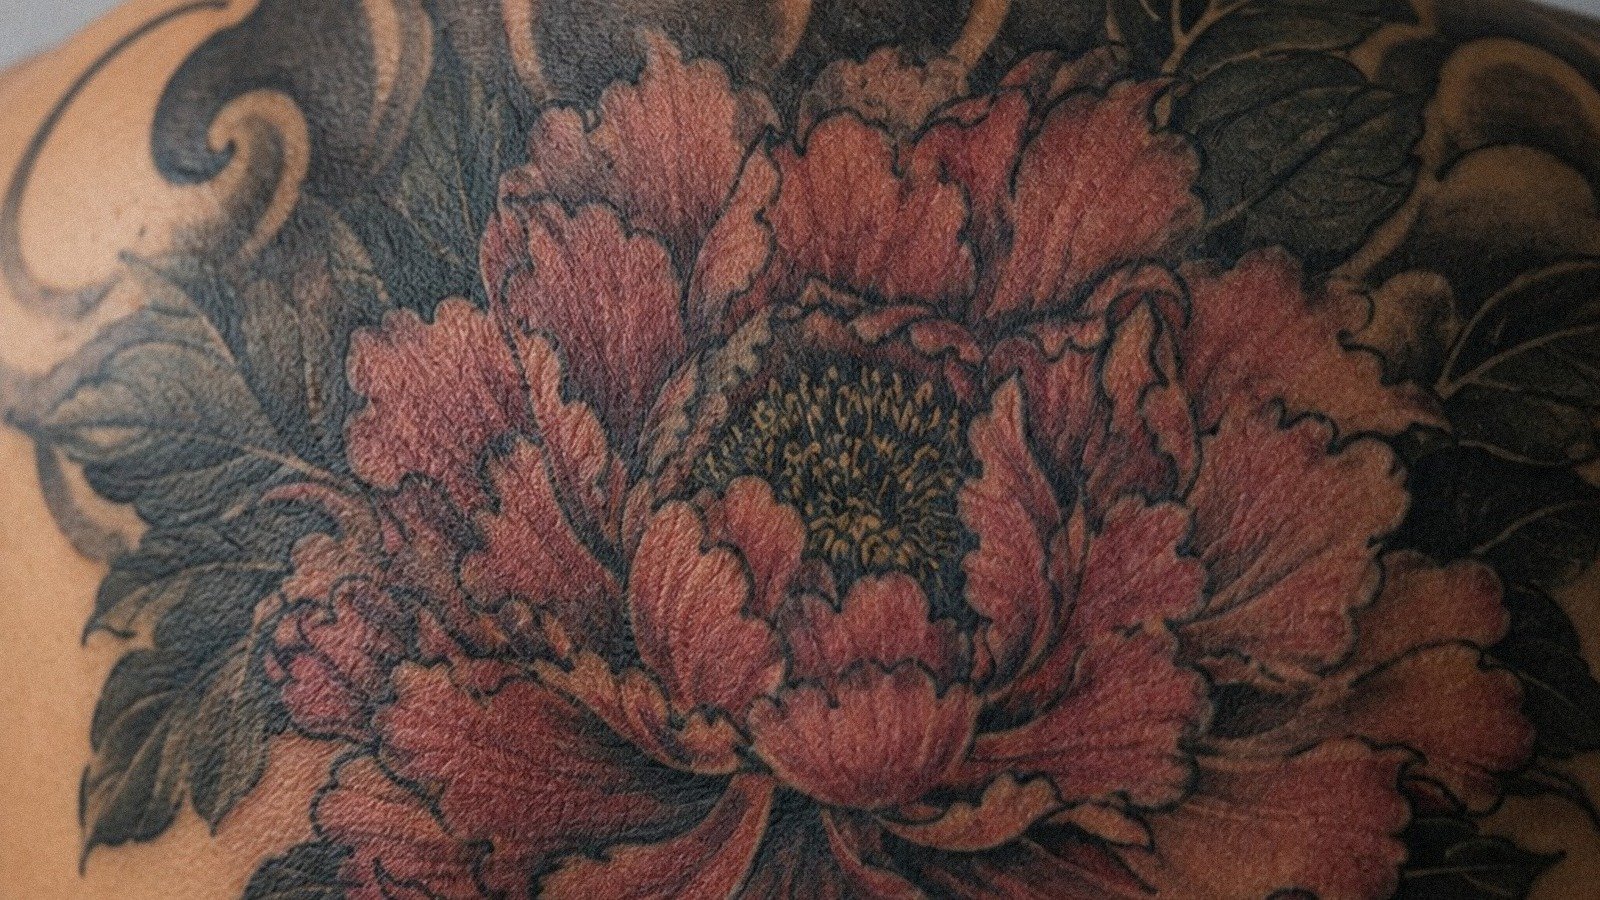
Making the Stencil Last Through the Session
Even a perfect transfer fades if you don’t manage it. Wipe gently. Excessive wiping with watery green soap will lift the stencil faster. Some artists use witch hazel or distilled water for early passes to preserve the lines. Others work in sections, covering finished areas with a thin layer of petroleum jelly to protect from cross-contamination and wiping.
Body placement affects stencil life dramatically. Inner arms, ribs, and anywhere sweat accumulates, the stencil degrades faster. Hands and feet are notorious; the skin there sheds and regenerates quickly, and the stencil can be gone in an hour. For these spots, experienced artists often work faster, use heavier stencil solutions, or accept that they’ll need to freehand more than usual.
- Pat, don’t rub, when wiping ink
- Use thicker soap ratio or witch hazel early in the session
- Apply thin petroleum jelly over completed sections
- Work from the bottom up if possible, so you’re not leaning on fresh stencil
- Keep the room cool; sweat is your enemy
Common Mistakes and How to Avoid Them
Mirror images wrong. Happens to everyone at least once. Double-check your design before printing, especially for text. Nothing quite like starting a script piece and realizing the letters are backward.
Stretching the skin during transfer. If you pull the skin tight to apply the stencil, then release it, the design compresses and warps. Position on relaxed skin, or if you must stretch, account for how it’ll settle. This is huge on curved areas like shoulders and calves.
Transferring over existing stencil ghosts. Old stencil residue repels new carbon. Wipe thoroughly with alcohol, let dry completely, then re-prep. Layering stencils creates a muddy reference that’ll slow you down and throw off your line confidence.
When the Stencil Just Won’t Stick
Some clients have skin that seems to reject everything, usually very dry, very oily, or recently sun-exposed. In these cases, stencil solution is almost mandatory. Let it dry to a tacky film before applying. If that fails, some artists lightly abrade with a washcloth during prep, but go easy; broken skin and stencil chemicals don’t mix well, and you don’t want to tattoo over irritated skin.
Aftercare Considerations for Stenciled Work
The stencil itself doesn’t affect healing, but how you tattoo over it does. Heavy-handed lining to follow faint stencil marks causes more trauma. Thin, confident lines heal cleaner and hold better. The stencil is a guide, not a mandate. If it’s fading, stop and reapply or freehand, don’t grind skin trying to see your reference.
Healing varies by placement and individual. Generally, keep it clean, don’t soak it, let it breathe. The first few days it’ll weep plasma and ink, that’s normal. Around day three to five, it’ll start flaking. Don’t pick. The stencil lines were gone before you even finished tattooing; what you’re seeing heal is your actual tattoo work, not residual carbon. That purple or blue was just a roadmap.
Pain levels depend on placement, not stencil method. Ribs, feet, inner biceps, and anywhere bone sits close to skin hurts more. The transfer itself feels like nothing, just pressure. If a client asks whether the stencil hurts, that’s your cue they might be nervous about the whole process. Reassure them, but be honest that the needle is a different sensation entirely.
Cost and Shop Reality
Transfer paper runs about $15-40 for a pack of 100 sheets, depending on brand and type. Thermal printers are a few hundred dollars plus ongoing paper costs. Most shops build this into overhead; it’s not a line item clients see. What clients do see is your efficiency. A clean, fast transfer means less time in the chair before needle hits skin, which clients appreciate even if they don’t articulate it.
Shop culture around stencils varies. Some places have apprentices handle all transfers and setup. Others expect every artist to manage their own. Either way, your stencil quality reflects your professionalism. Sloppy transfers lead to sloppy tattoos, and that’s what clients remember and photograph.
Key Takeaways
Transfer paper is simple technology that demands respect for the details. Prep skin properly, clean, dry, smooth. Apply with firm, even pressure. Let it set before starting. Manage the stencil during the session with gentle wiping and smart sectioning. Fix mistakes by re-transferring fresh, not by improvising over ghosts. The stencil is your foundation; take it seriously, and your linework will show the difference. Every artist develops their own small rituals around this process. Find yours, refine it, and trust it when the session gets long and the light gets weird.
Related Tattoo Guides
- How Much Does Tattoo Removal Cost in 2024?
- How Much Do Tattoo Artists Make in 2024
- How to Become a Tattoo Artist: A Complete Guide
- Explore more
Frequently Asked Questions
Do you need a special printer for tattoo transfer paper?
No, you can use a standard thermal or dot-matrix printer, but never use an inkjet printer. Thermal printers are the most common choice because they use heat to create the stencil without ink that could smudge or cause irritation on skin.
Which side of the transfer paper do you draw on?
You draw on the white or cream-colored side, which is the layer that will actually transfer to the skin. The purple or dyed side is the backing sheet that gets peeled away and should not be drawn on.
How do you get the transfer to stay on oily or sweaty skin?
Clean the skin thoroughly with rubbing alcohol and let it dry completely before applying the stencil. You can also apply a thin layer of deodorant or stencil solution to help the transfer adhere better and last longer during the tattoo session.
Can you reuse tattoo transfer paper if the stencil comes out faint?
No, transfer paper is designed for single use only and cannot be reused for another clean impression. If your stencil is too light, check that your printer settings are correct, the paper is loaded properly, or try applying more pressure when hand-tracing the design.