Most painful tattoo spots are not painful for one single reason. Thin skin, bone, nerves, long sessions, awkward body position, and anxiety can all make a placement harder.
Quick answer: The most painful tattoo spots often include ribs, sternum, spine, feet, fingers, hands, elbows, knees, armpits, head, neck, and inner bicep. Pain varies, but bony, thin, high-nerve, or hard-to-hold areas are usually tougher.
Painful tattoo spots at a glance
Pain is personal, but certain placements repeatedly show up as difficult.
| Idea | Best use | Watch-out |
|---|---|---|
| Ribs | Large private designs | Breathing movement adds stress |
| Sternum | Ornamental center pieces | Thin skin and body tension |
| Spine | Vertical designs | Bony pressure |
| Feet | Small symbols | Friction during healing |
| Elbow or knee | Bold work | Swelling and bending |
The spots that consistently wreck people are ribs, sternum, spine, inner elbow, back of the knee, and top of the foot. No muscle or fat cushion means the needle is basically working against bone or tight tendons. Inner wrist and inner forearm are spicy too, especially during shading passes when I’m whip shading and covering more ground fast. Ankles and the side of the neck surprise people every time.
Fleshy zones like the outer thigh, outer upper arm, and upper back are where most clients zone out and scroll their phone. Those spots hold ink well, heal nice, and let me pack color or build solid black and grey without a fight. If this is your first tattoo and you want clean, crispy lines that read from across the room, start there.
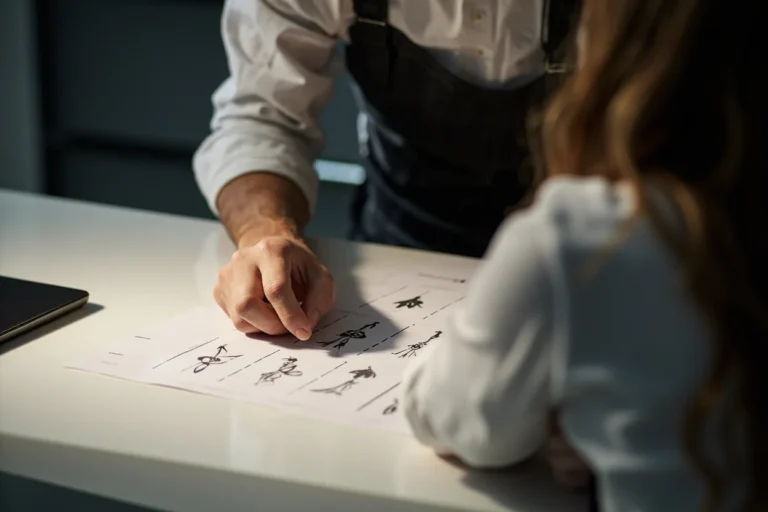
Pain is a planning problem too
The spot you choose matters as much as the design, pick wrong and you'll know it.
A painful tattoo gets harder when the session is too long, you arrive hungry, you slept badly, or the design is more detailed than the placement can comfortably handle.
For a first tattoo, consider saving ribs, sternum, feet, and fingers for later. Learning how you sit through tattooing matters.
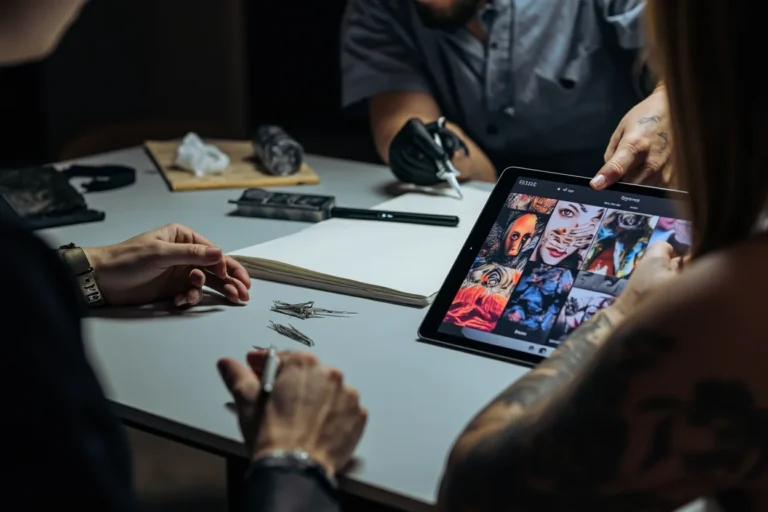
Pain affects how still you stay on the table, and that directly hits the quality of your tattoo. A client who’s tensed up and flinching through every pass makes fine line work nearly impossible to keep tight. I’ve had to stop sessions on ribs and sternum pieces mid-shading because the person was done, and we had to book a second appointment to finish saturating the background properly.
Pain also determines session length. A heavily shaded thigh piece might be a five-hour sit. That same design dropped onto the ribs might need to be split into two three-hour sessions. Factor that into your budget, because two sessions means two healing rounds and potentially two touch-ups. Talk to your artist before you commit to a placement that’s going to cap out your pain tolerance at the two-hour mark.
How to prepare
Preparation will not make a painful placement painless, but it can keep the appointment from falling apart.
- Eat before the appointment and bring water.
- Ask whether the design can be split into sessions.
- Wear clothing that gives easy access without tension.
- Ask about breaks before you need one badly.
Eat a real meal two hours before you sit, not a granola bar, actual food with protein and carbs. Your blood sugar crashing mid-session is one of the fastest ways to go lightheaded or get nauseous. Drink water the day before and the morning of. Show up hydrated and your skin takes ink better, the needle glides cleaner, and saturated areas look tighter right off the bat.
Wear loose clothing over the area getting tattooed and skip the numbing cream unless your artist approved it first. Some creams swell the skin slightly and make it harder to pack ink, especially for fine line or detailed black and grey work. If you want a topical, ask your artist what brand they’ve used with good results. For high-wear zones like hands or feet, plan your session around a week where you’re not on your feet all day, because friction during early healing wrecks fresh ink fast.
Pain mistakes
Do not choose a painful placement just to prove you can handle it. The best placement is the one that supports the tattoo and the healing process.
Do not hide pain from the artist until you are shaking. Calm communication makes the session safer and cleaner.
The biggest pain mistake is picking a brutal placement for your first tattoo because you love the placement on someone else. A full sternum piece on a first-timer almost never goes well. You don’t know yet how you respond to the needle, how to breathe through it, or when to call a break. Start somewhere forgiving, learn your pain tolerance, then work toward the spots that demand it.
Coming in sleep-deprived or hungover makes pain hit two to three times harder, and alcohol thins your blood so you bleed more and the ink doesn’t set as clean. That means more passes, more irritation, and a higher chance of blowout on delicate areas. Skipping aftercare on a high-pain placement like a hand or foot is another mistake because those areas already heal slow and rough. Skip the lotion for two days and you’re looking at cracking, ink loss, and a touch-up you’re paying for.