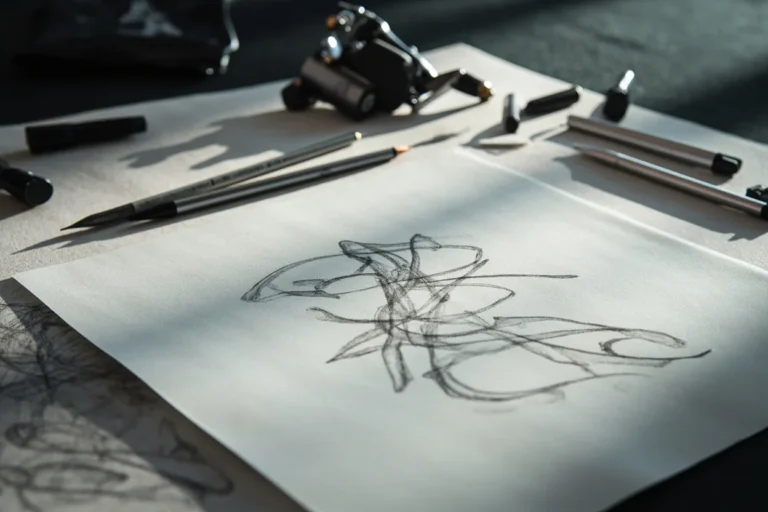
Yes, you can absolutely make a tattoo stencil without transfer paper. In my shop, I’ve freehanded directly onto skin, used old-school carbon paper, traced with a ballpoint pen, and even hand-painted stencils with markers when the thermal printer jammed or a client walked in with a sketch on a napkin. These methods work. They’re messier, slower, and demand more skill, but they’ve been getting tattoos on skin since long before thermal machines existed. Here’s how to do it right.
Freehanding Directly on Skin
This is the oldest method, and honestly, it’s still my favorite for certain pieces. I freehand a lot of organic flow, snakes, floral, anything that needs to wrap around an armpit or kneecap where a flat stencil just lies wrong.
Markers and Pens That Actually Work
Sharpie Fine Points are the shop standard. I keep a rainbow pack in my station. For darker skin tones, silver or gold Sharpies show up better than black. Some artists swear by Staedtler Lumocolor markers, they wipe off less easily during a long session. I tell clients: “This is going to smell like a high school art room.” The ink sits on top of the skin, so you need to work clean. Wipe with green soap, not alcohol, or you’ll strip your guide right off.
Ballpoint pen works in a pinch. I’ve seen old timers do entire traditional sleeves with a Bic. The trick is light pressure, you’re not trying to tattoo through the pen marks, just leaving a ghost line to follow. It smears if you sweat, so work fast and keep the skin dry.
Technique Tips From the Chair
- Draw the outline first, then fill in detail as you go, don’t try to render the whole design before picking up your machine
- Stand back. I step back every few minutes to check flow and placement; up close you’ll drift
- Have the client move. A stencil on a relaxed arm means nothing when they flex
- Take a photo with your phone. I do this constantly, it’s my safety net if the marker fades mid-session
Freehanding fails when you’re tired or rushed. I’ve had to stop sessions, redraw, and restart. It happens. The skin doesn’t lie, and neither should you about your energy level.
Carbon Paper and Tracing Methods
Before thermal printers, this was how every stencil got made. I still keep a roll of hand-stencil carbon in my drawer for when the power flickers or I’m working a convention booth with one outlet.
How to Layer It Right
Carbon paper goes face-down on the skin. Your original drawing goes on top. You trace with a ballpoint pen or stylus, hard enough to transfer, not so hard you bruise the client. I’ve seen apprentices press like they’re signing a mortgage and leave red welts. Lighten up.
The transfer is usually fainter than thermal. I go over the carbon lines with a Sharpie to reinforce before I start tattooing. Double work, but it beats losing your outline halfway through a back piece.
Old carbon paper can get greasy and smudge. Store it flat, not rolled, and replace it when the transfer gets patchy. I mark the back of my sheets with dates; anything over a year starts degrading.
Hand-Painted and Brush-On Stencils
This is the niche stuff, but it’s beautiful when it works. I learned it from a Japanese tebori artist who painted his stencils with sumi ink and a thin brush, then let them dry before tattooing.
For machine work, I dilute India ink with a little witch hazel and paint with a fine watercolor brush. It stays put better than marker, especially on sweaty skin or long sessions. The downside: it stains. If you mess up placement, that ink is going to linger for days, maybe longer. I’ve had clients walk around with my “practice lines” for a week.
Brush-on stencils shine for dotwork and stipple pieces where you need exact placement of each cluster. I can’t imagine trying to thermal-print a 200-dot mandala and keep it from smearing. Paint each dot, let it dry, tattoo. Slow. Precise. Worth it.
What Actually Goes Wrong (And How to Fix It)
I’ve ruined stencils every way possible. Here’s what living in a shop teaches you.
Smearing and Fading
Markers hate moisture. A nervous client sweats, your stencil ghosts. I keep a fan pointed at my station and use green soap sparingly, just enough to clean, not soak. If the stencil fades mid-session, I stop, re-mark with Sharpie, and check my photo reference. Never guess. A half-inch drift on a script piece turns “Mom” into a different word entirely.
Carbon transfers can blur if the paper shifts. Tape everything. I use medical tape, not Scotch tape, Scotch leaves residue that repels ink and causes patchy healing.
Placement Disasters
- Always mark your centerline and key landmarks before any detail
- Have the client stand naturally; sitting changes everything on ribs, thighs, stomach
- Check the mirror image. I once stenciled a name backwards because I was tracing off a phone screen. Client caught it. I wanted to die.
- Account for swelling. A tight stencil on a fresh tattoo will spread; leave breathing room on lettering
Aftercare When You’ve Gone Off-Standard
Stencils made without transfer paper sometimes sit heavier on the skin or use inks that react differently during healing. I’ve noticed Sharpie residue can make the first wash look dramatic, dark runoff that freaks clients out. I tell them: “That’s marker, not your tattoo falling out.”
Keep the first wash gentle. No scrubbing. No alcohol-based products. The stencil marks will fade over 3-7 days, sometimes leaving a faint shadow if the marker penetrated deeply. This is cosmetic, not harmful, and it passes.
Pain levels don’t change with stencil method. What changes is session length, freehand and brush work often take longer, which means more time under the needle, more swelling, more endorphin crash. I budget breaks differently for hand-stenciled pieces. Your body doesn’t care how the guide got there; it cares about cumulative trauma.
Cost-wise, artists who work freehand or hand-stencil usually charge more, not less. The time investment is real. Don’t expect a discount for “old school methods.” I price by the piece, and a freehand back piece takes me 30% longer to map than one with a clean thermal stencil. That’s reflected in the quote.
When to Just Use Transfer Paper
I’m not a purist. If a piece is geometric, lettering-heavy, or needs exact replication of a printed design, I reach for the thermal printer. Stencils without transfer paper are tools for specific jobs, not replacements for technology that works.
That said, knowing these methods makes you flexible. I’ve salvaged conventions when luggage got lost, finished pieces in power outages, and taken walk-ins with nothing but a sketch and a Sharpie. The skill lives in your hands, not your equipment.
Key Takeaways
Sharpies and markers are your fastest no-transfer option, work clean, work dry, and photograph your progress. Carbon paper gives you a truer line transfer but needs reinforcement and careful storage. Hand-painted stencils offer precision for dotwork and organic pieces, though they stain and demand patience. Every method risks smearing, placement errors, or fading; the fix is slowing down, checking your work, and having reference photos ready. Aftercare stays standard regardless of stencil type: gentle washing, no picking, and patience through the marker residue phase. These techniques aren’t relics. I use them weekly. They connect you to how tattooing functioned for decades before thermal machines, and they keep you working when modern convenience fails.
Frequently Asked Questions
Will Sharpie stencil marks affect how my tattoo heals?
Not in any meaningful way. The marker sits on the skin surface and washes away within days. What matters for healing is your aftercare routine, gentle cleaning, keeping it moist, not picking scabs. The stencil method doesn’t change that process.
Can I use regular printer paper with carbon paper instead of transfer paper?
Yes, that’s exactly how carbon stencils work. Regular paper with your drawn design on top, carbon paper face-down against the skin, and a firm trace with a pen. The carbon transfers the image. It’ll be lighter than thermal, so reinforce with marker before tattooing.
How do I keep a freehand stencil from washing off during a long session?
Work in sections and wipe minimally with green soap, not alcohol. Keep a fan on the skin to reduce sweat. Stop and re-mark faded areas rather than tattooing from memory. I always keep the reference photo on my phone screen, locked so it doesn’t time out.
Is it safe to use ballpoint pen for stenciling?
Ballpoint pen ink isn’t designed for skin, but as a temporary guide that gets tattooed over, it’s common practice. The tiny amount of ink involved doesn’t pose a risk for most people. I wouldn’t use it on broken skin or clients with known ink allergies, but as a surface mark, it’s standard in the industry.
Related Tattoo Guides
- How to Plan Tattoo Placement: A Real Shop Guide
- How to Take Care of a Tattoo: A Working Artist s Guide
- How to Tattoo for Dummies: A Real Shop Guide
- Explore more