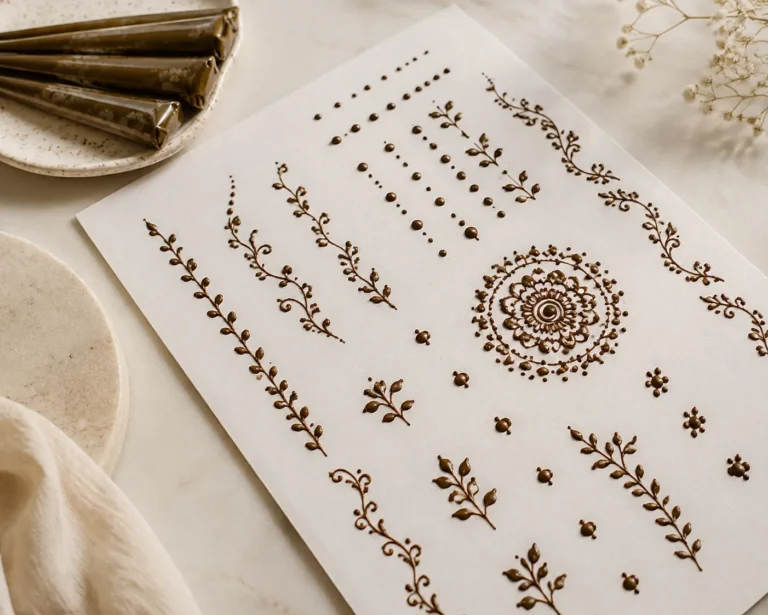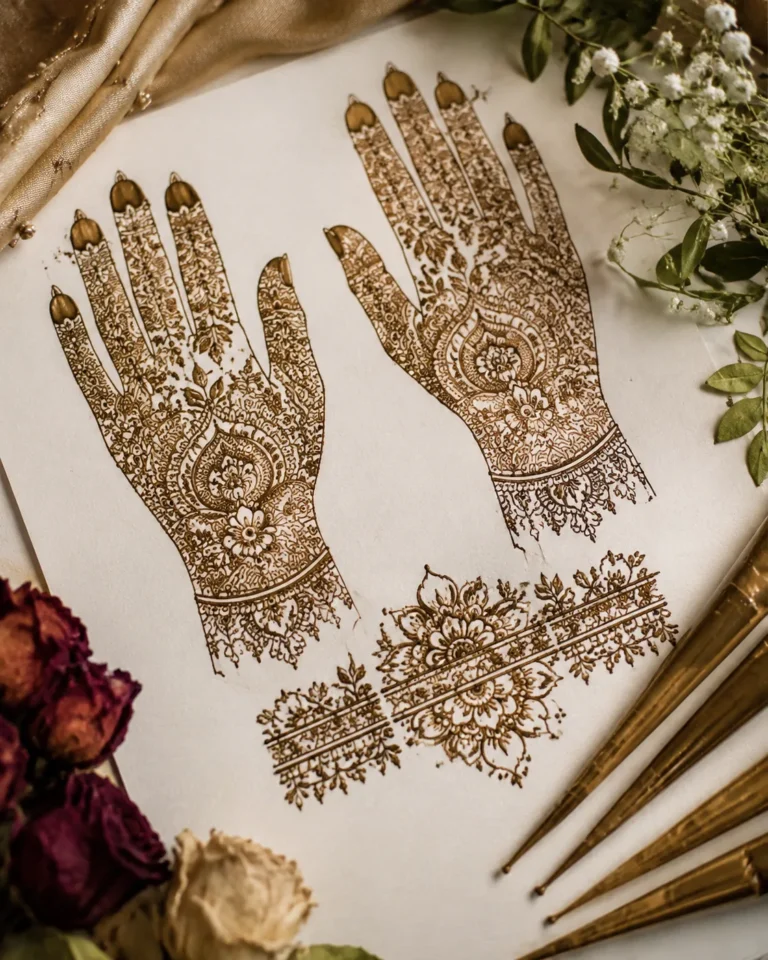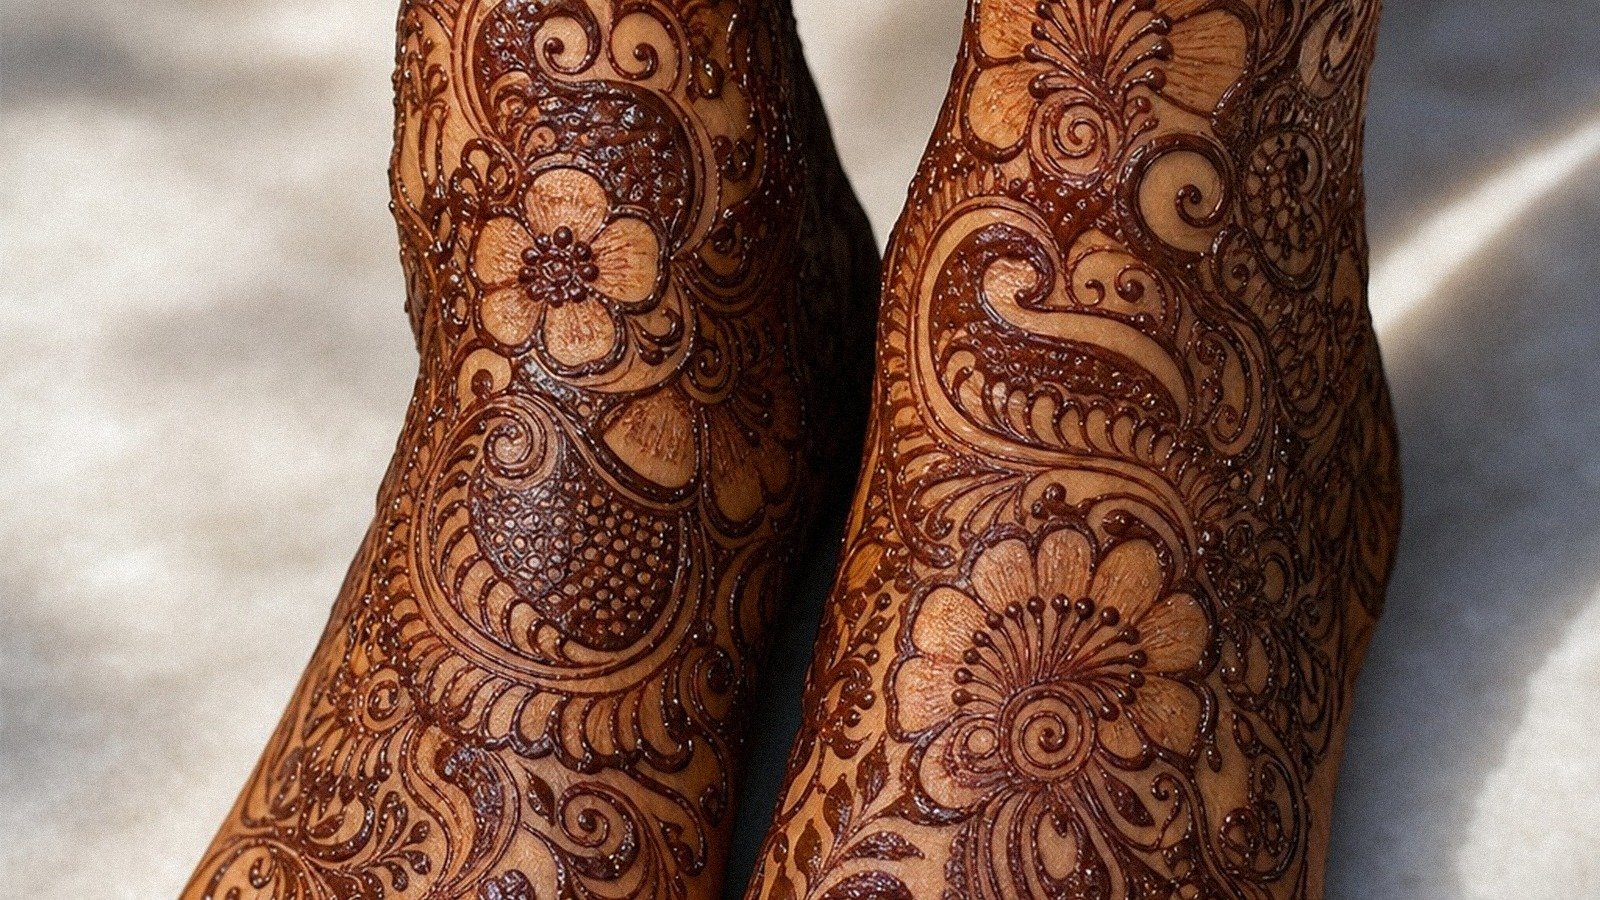
Pakistani mehndi designs can read striking on skin when you build them around flowing shapes, not a rushed transfer. Henna is not a tattoo; it is a temporary paste applied through a cone, left to dry, and allowed to stain the skin reddish-brown. I almost talked myself into going tiny the first time I drew out a mehndi-inspired piece for a bride, and it would’ve looked muddy after the paste spread. Bigger flow. Better breathing room. That is the whole game!
Don’t overthink: Build a Front Hand Mandala That Breathes.
If you’re using Pakistani mehndi for a wedding, Eid, Diwali, or a sangeet, these are the patterns I would show you first because they stay readable, photograph crisp, and fade gracefully. They also give you better value for the money, because a clean layout usually means fewer reapplications and less disappointment later.
- Bridal Density Rule for Pakistani Palm Mehndi
- Build a Front Hand Mandala That Breathes
- Let a Simple Finger Trail Do the Work
- Across the Knuckles, Pakistani Arabic Vine Wins
- Go Full Hand, But Keep the Floral Fill Open
- Wrap the Wrist Like a Bracelet
- Negative Space Pakistani Mehndi Palm Design
- Lotus Centerpiece, Cleaner Finish
- Eid Fingertips That Hit Fast
- Stretch a Net Pattern Across the Back Hand
- Tikka Medallion for the Center Palm
- Want a First Mehndi Design? Start Minimal
- Wrist-to-Finger Bridal Flow That Actually Moves
- Dotwork Halo vs Scratchy Filler on Finger Joints
- Let One Rose Cluster Lead
- Modern Pakistani Mehndi With Open Skin
- Should You Hide the Groom’s Name?
- Ask for Clean Linework Before More Detail
- Stylish Pakistani Mehndi That Photographs Cleanest
1Bridal Density Rule for Pakistani Palm Mehndi
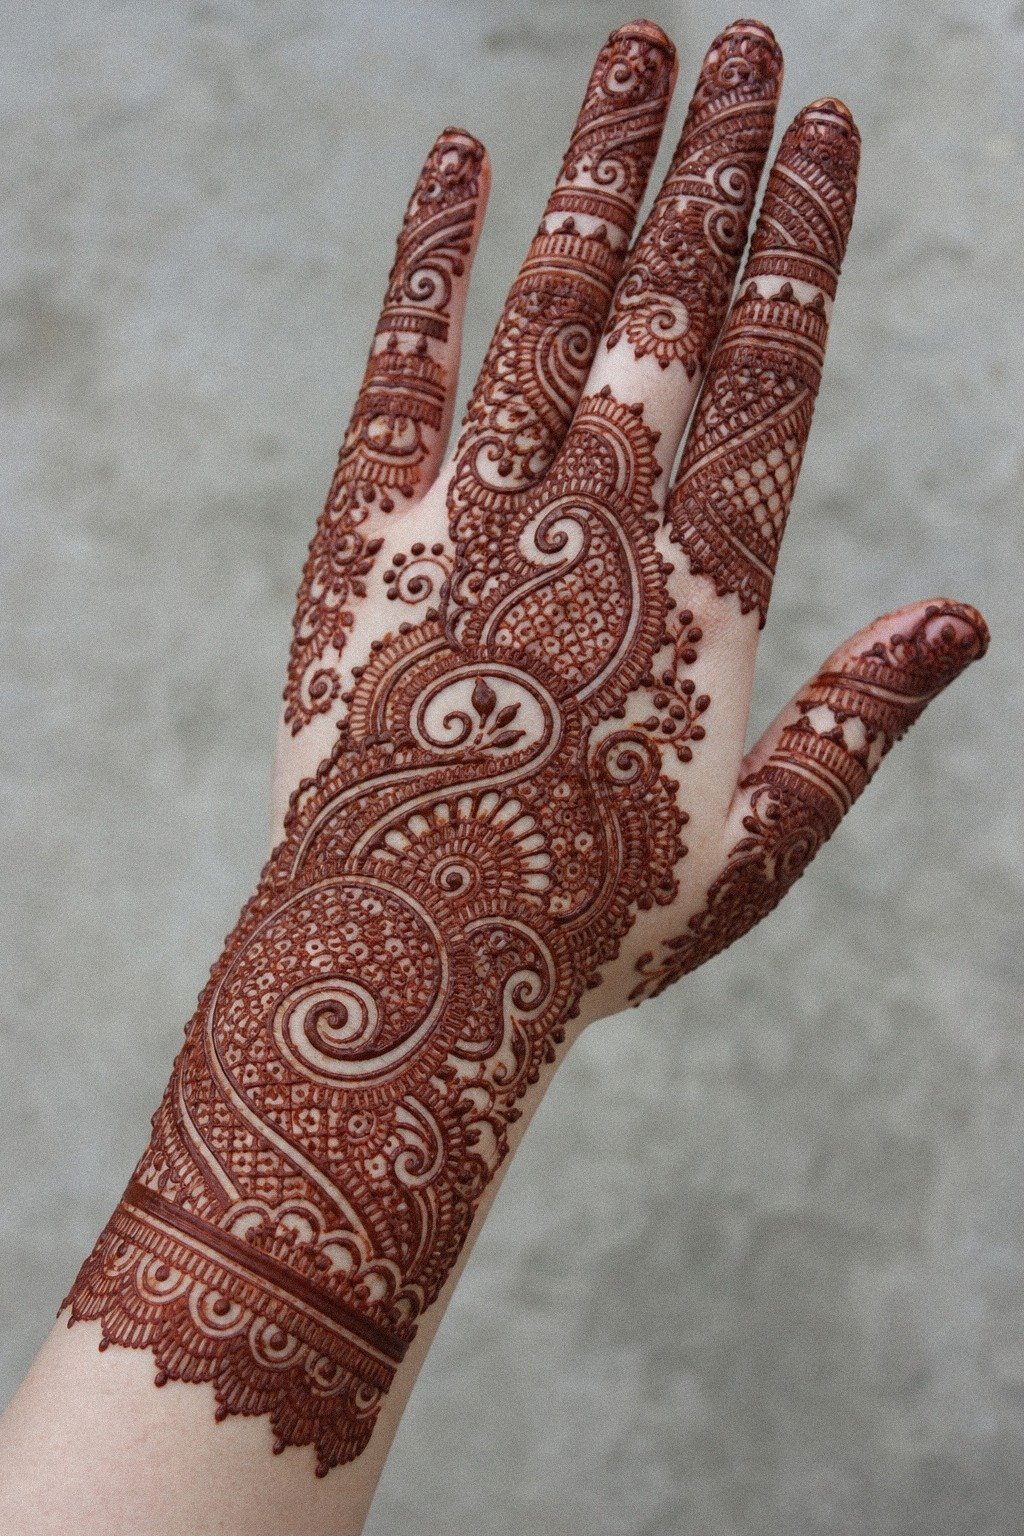
Start with density only if you’re ready to size it up. A bridal palm layout packed with paisley clusters looks ornate because every curl has breathing room between the heavy shapes, not because the mehndi artist jammed fifty details into two inches.
I like this when you want that full, dressed-up feel across the back of the hand and fingers. On warm skin, a reddish-brown stain reads delicate and graceful, but the paste still needs clean edges and consistent pressure to keep the pattern from spreading while it dries.
Ask your mehndi artist to place the big paisleys first, then tuck the tiny fills into the gaps. That is the Bridal Density Rule I use in consults.
If the paisleys aren’t readable from arm’s length, you need more skin left open. For more wedding-heavy reference, look at 24 Pakistani mehndi designs built for bridal season.
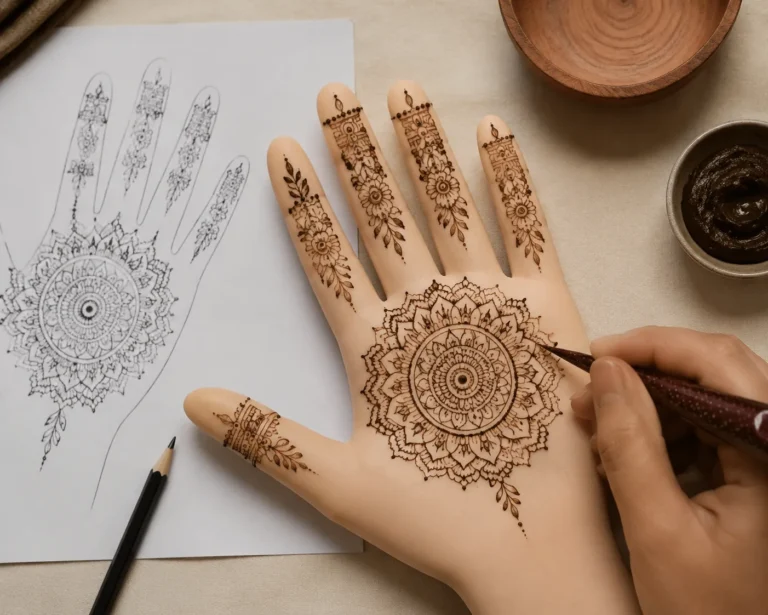
2Build a Front Hand Mandala That Breathes
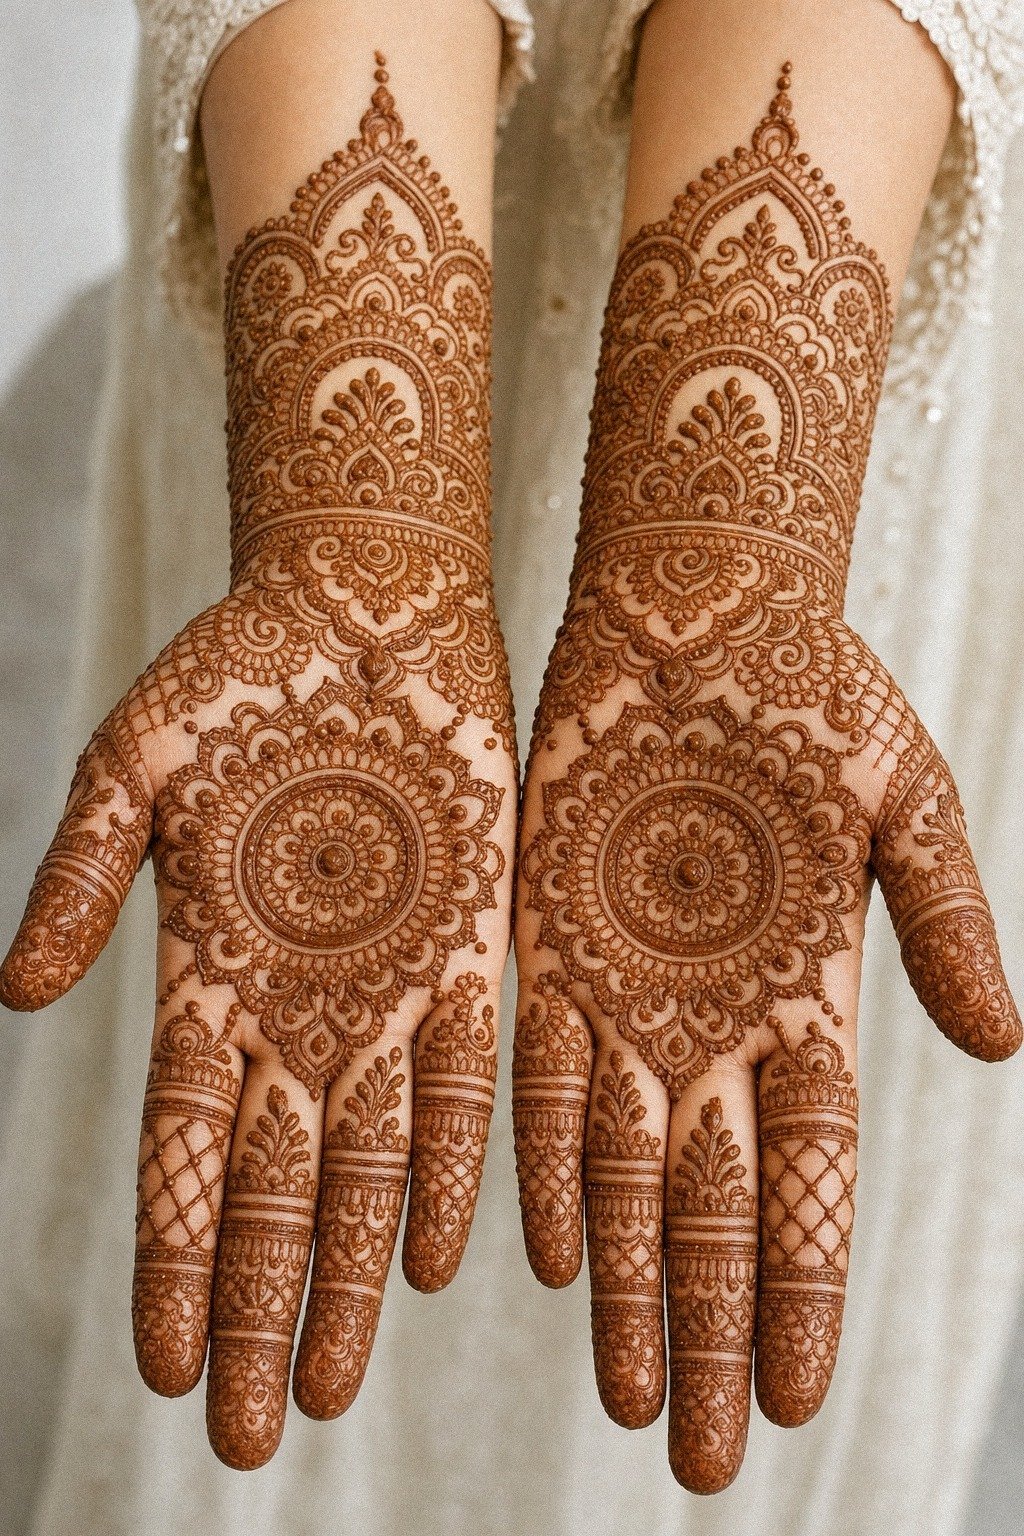
Anchor the whole design with a center mandala rosette on the front hand, then let the fingers carry lighter repeats. The result feels graceful, dainty, and easy to read while the paste dries.
3Let a Simple Finger Trail Do the Work
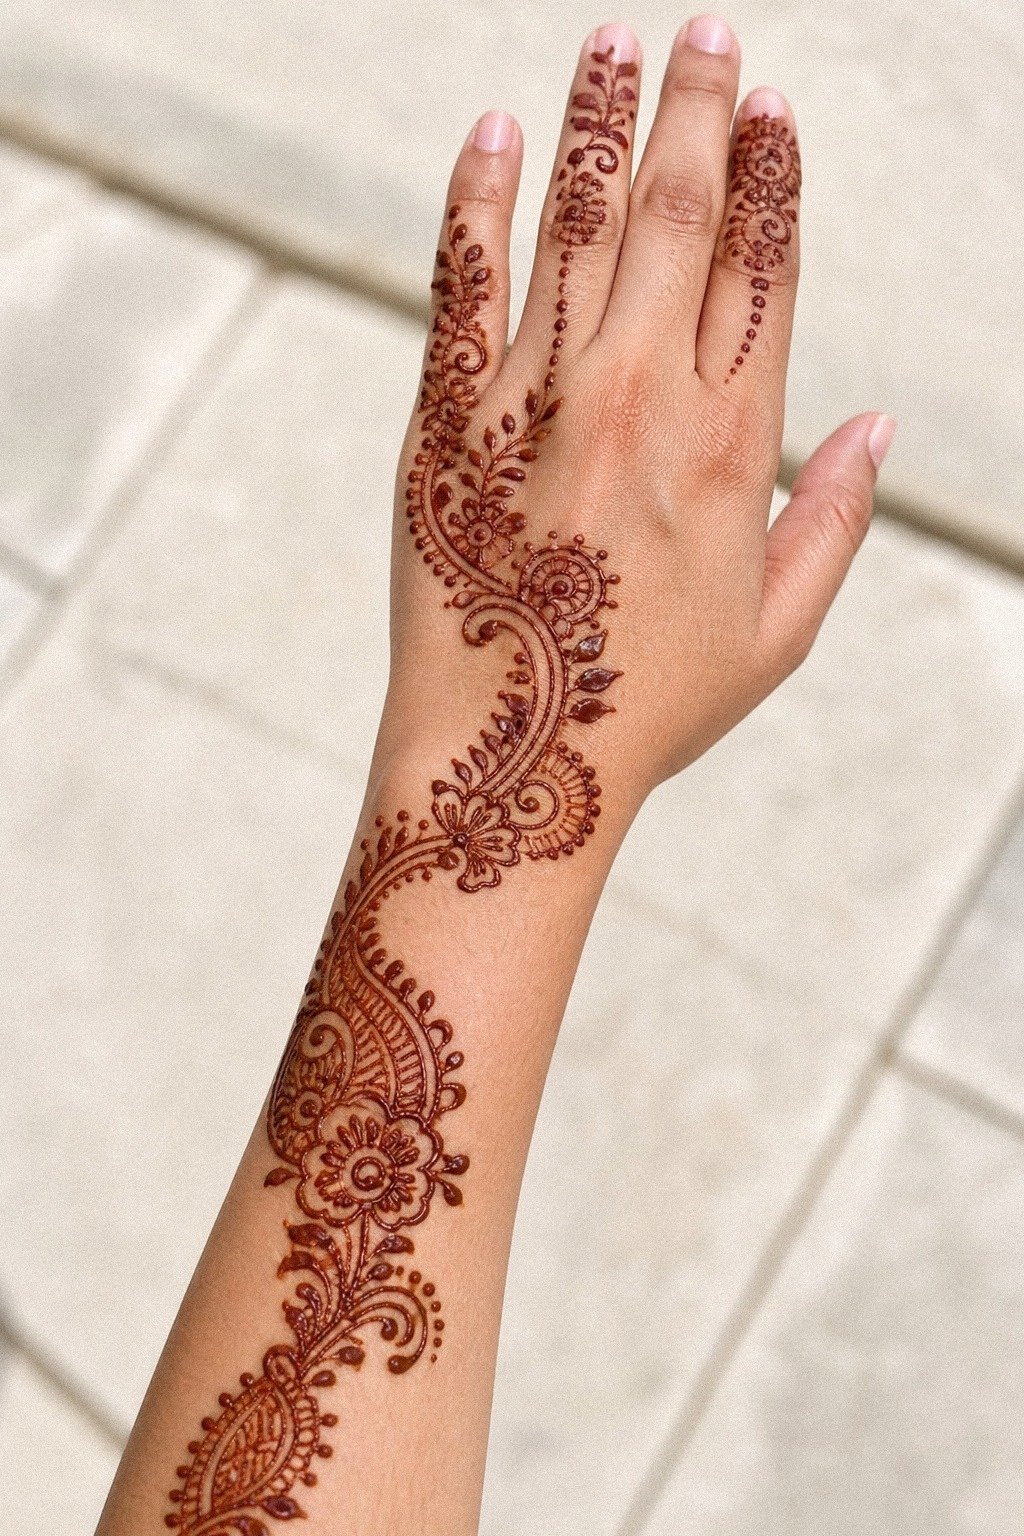
Strip it back and let the fingers do the talking. A finger trail motif with tiny leaves, dots, and one wrist connection is one of the sleekest Pakistani mehndi ideas for a quick appointment.
You get movement without overworking the skin, especially on medium olive tones where a fresh stain can look bold almost immediately. I would rather see one expressive pull down two fingers than ten fuzzy little detours. Why crowd the whole hand if the fingers already give you the drama?
Keep the trail narrow and let it taper before the wrist bone. Fingers are high-wear zones, so you need solid spacing if you want the design to fade evenly. And if you’re still deciding how much detail your hand can take, compare it with these finger mehndi designs.
4Across the Knuckles, Pakistani Arabic Vine Wins
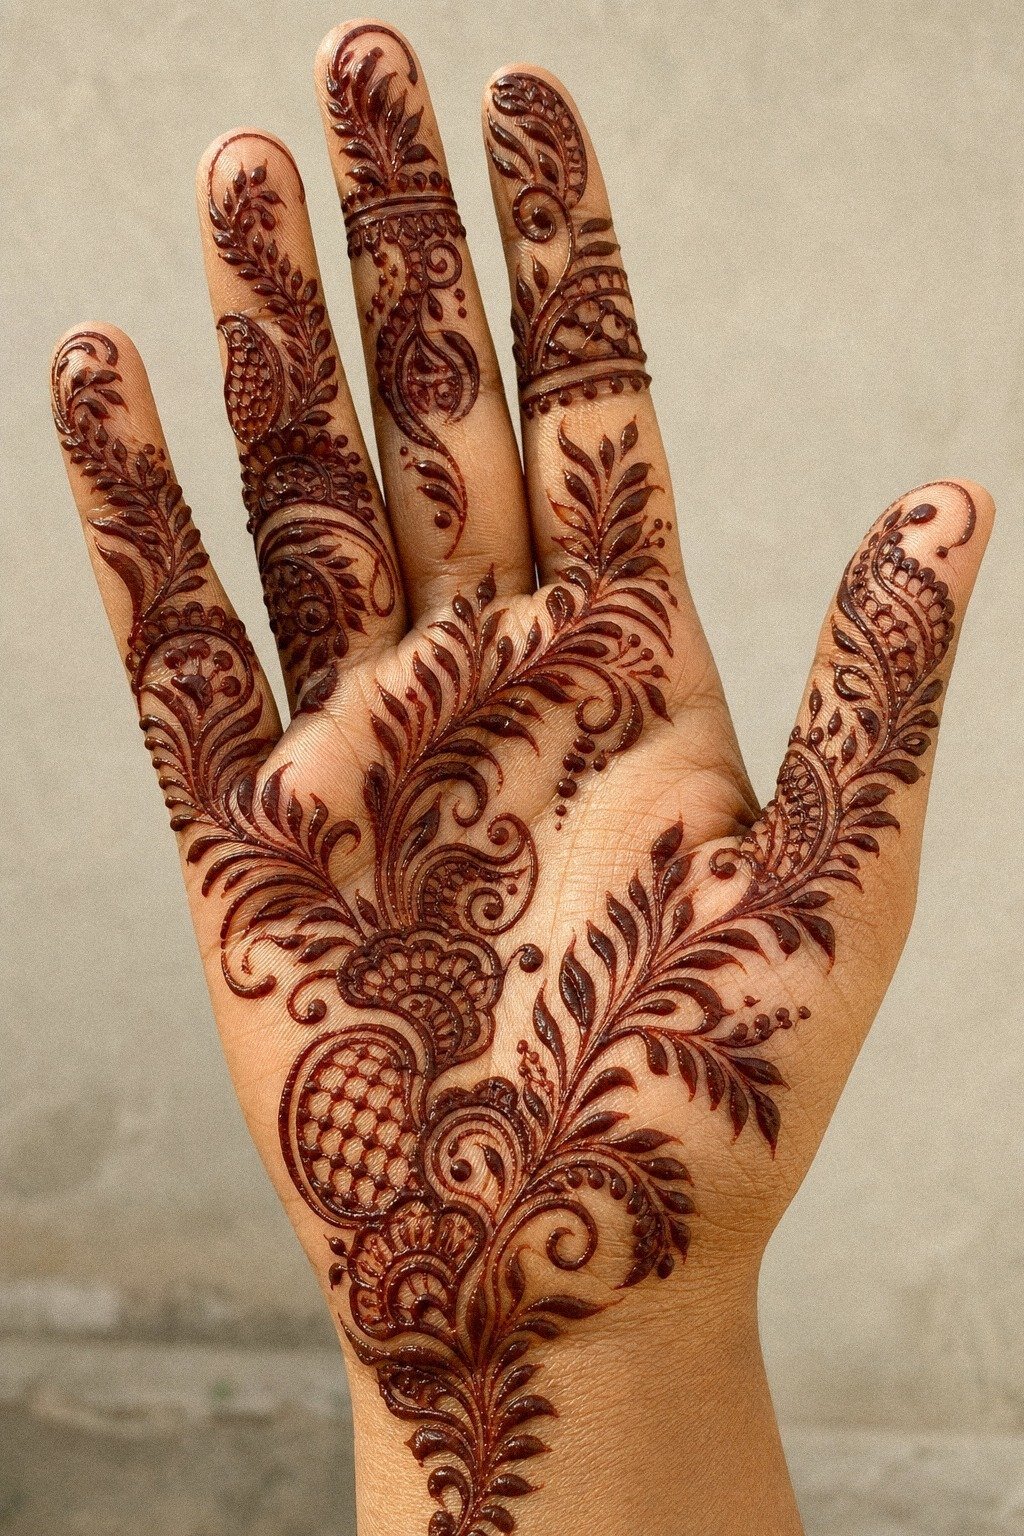
Sweep an Arabic vine chain straight across the knuckles if you want the hand to look longer and cleaner in photos. Vines work because the eye follows the curve instead of stopping at every finger joint.
I love this for golden tan skin because the pattern can stay flowing while still reading vibrant. Keep the leaf clusters simple and skip micro petals that may lose their shape when the paste dries. One clean pull!
That is the goal.
This is where your mehndi artist’s cone control matters. One confident pass. Not ten fuzzy ones.
The vine should glide over the joints, then open wider on the palm so the whole layout doesn’t feel pinched. If you like that softer flow, you’ll probably also save henna mehndi designs.
5Go Full Hand, But Keep the Floral Fill Open
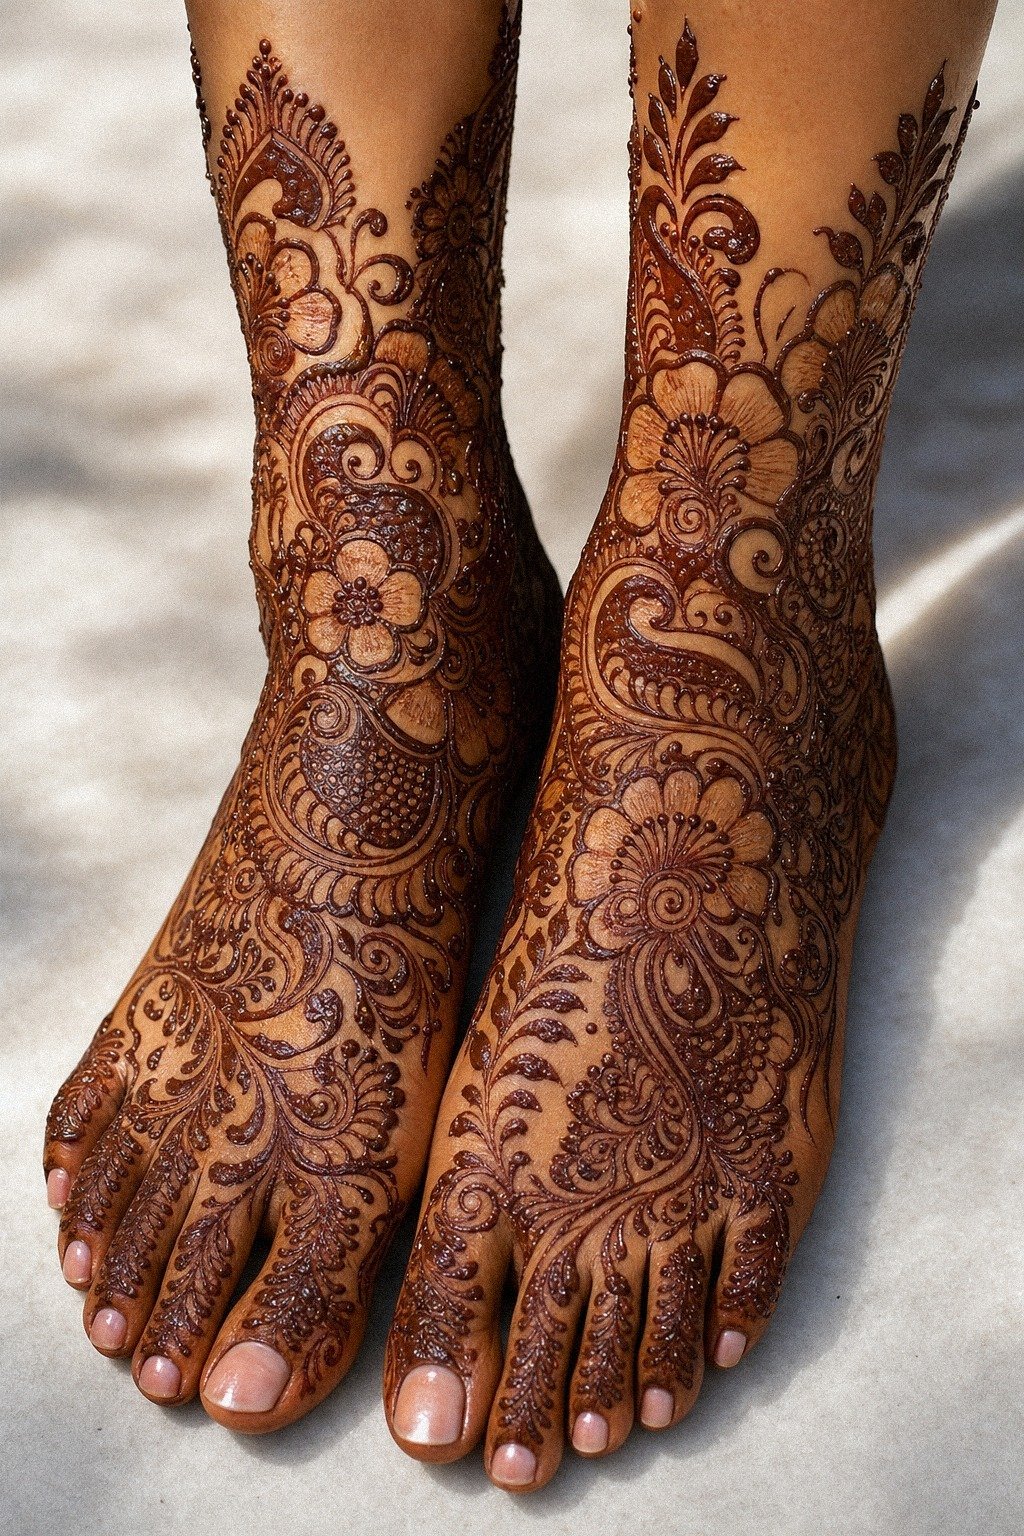
Build the coverage from wrist to fingertips, then use floral fill panels to keep the packed areas from turning into visual soup. Full hand work only stays elegant when the flower heads are big enough to separate from the filler mesh around them.
This is one of those looks that seems easy to copy from Pinterest and gets muddled fast in inexperienced hands. I would rather see six larger blooms with clean leaf breaks than twenty tiny flowers squeezed into the paste just because the reference looked busy.
And if you’re booking this for a wedding, be honest about time. A full hand bridal application can run 1 to 3 hours depending on density and whether you’re doing one side or both.
That service cost is real, so I only call it worth it when the floral coverage still reads from across the room. For more lush coverage ideas, open front hand mehndi designs and compare how the fills breathe.
6Wrap the Wrist Like a Bracelet
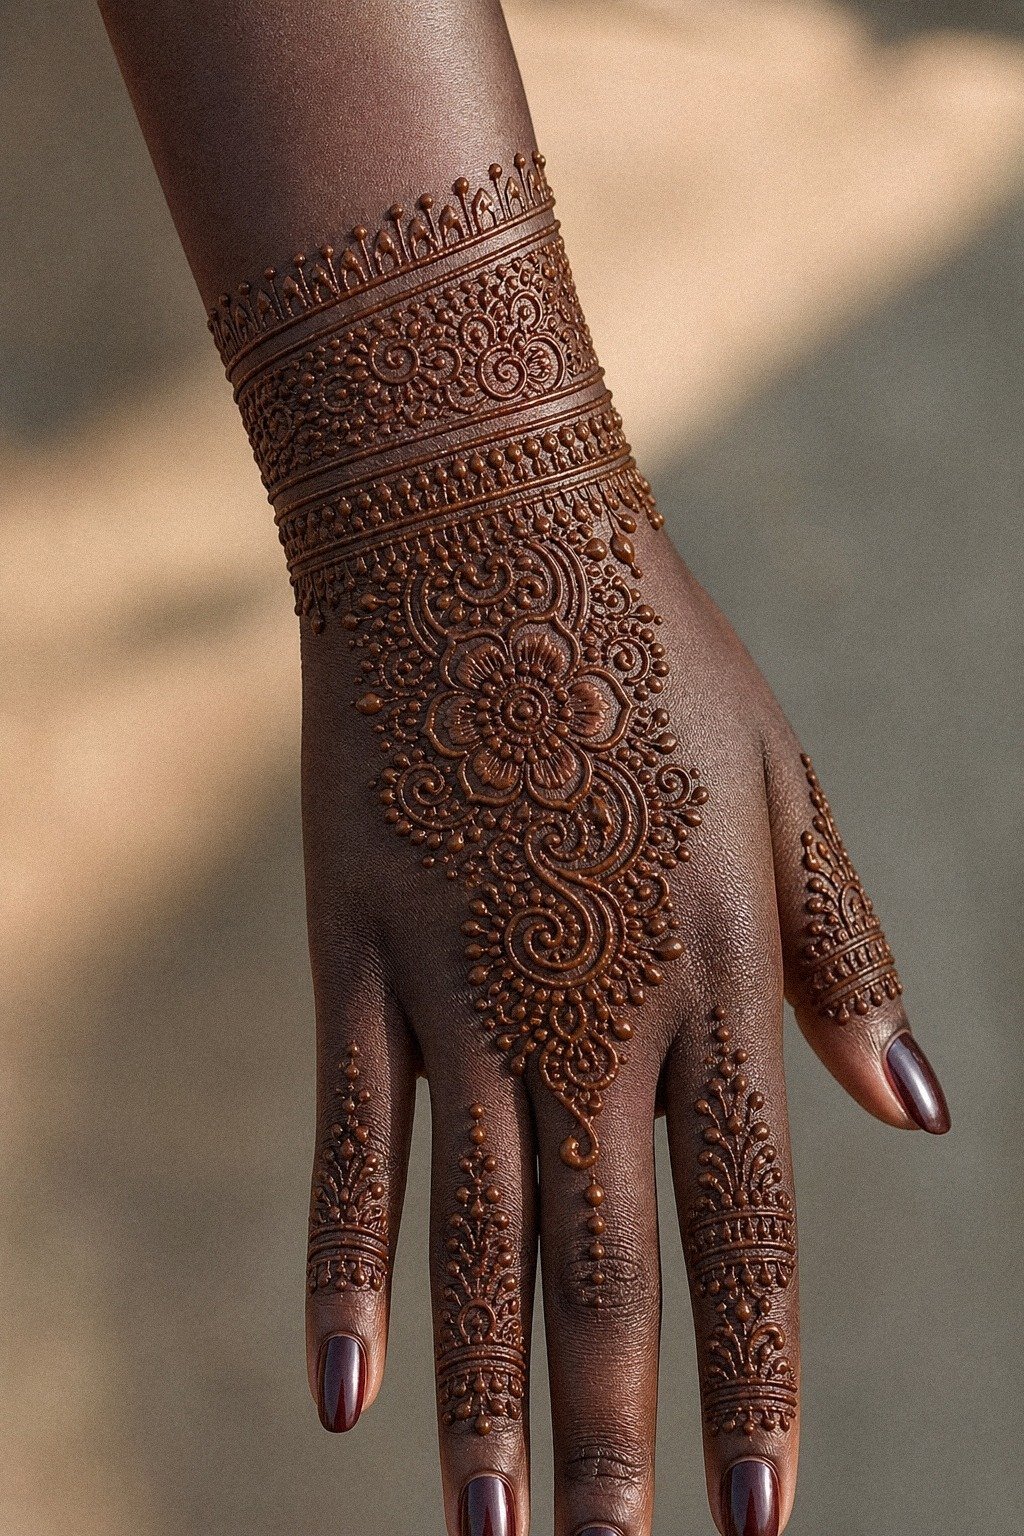
Wrap the wrist first, then let the hand stay lighter with a wrist-first wrap. It gives the design an understated frame without making the fingers feel crowded.
7Negative Space Pakistani Mehndi Palm Design
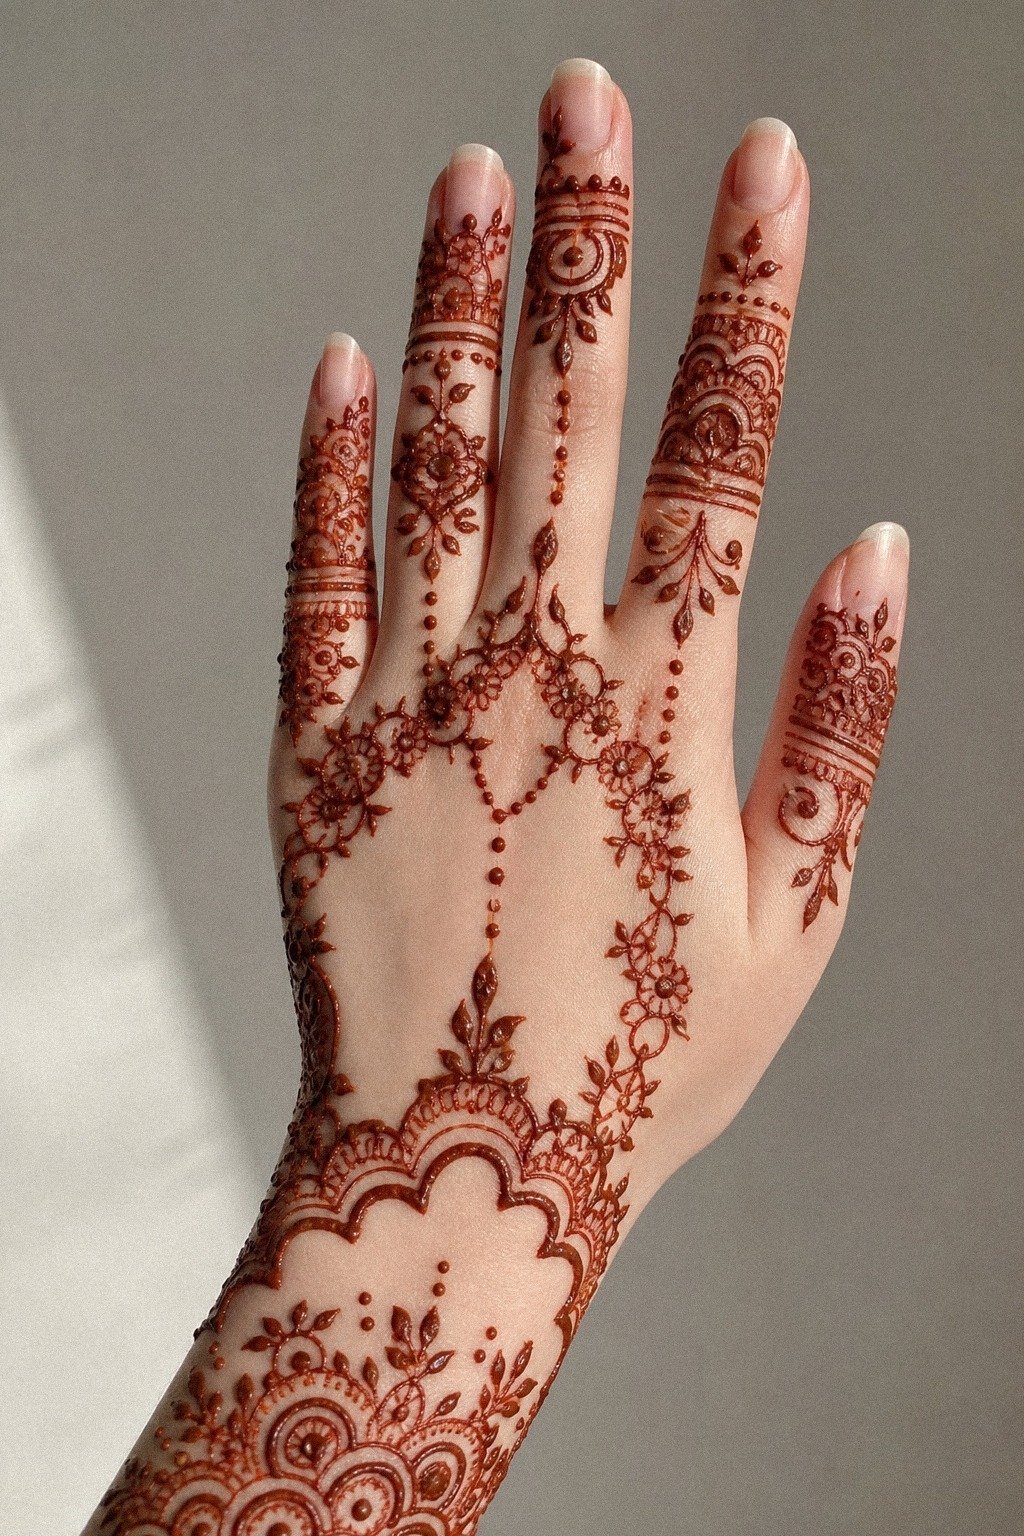
Leave skin open on purpose. A negative space lattice across the palm or back hand reads cleaner than an overfilled pattern every single time.
This is the Open Skin Method I keep coming back to when someone wants the design to stay sharp as the stain fades. A dark stain is your best friend for contrast, but open skin is the part that keeps all those shapes from merging. You need both.
But don’t scatter the gaps randomly. Big open pockets near the center, tighter texture toward the fingers, then one strong border to lock it in.
That is what makes the design feel symbolic instead of unfinished. If that balance is your thing, save modern mehndi designs.
8Lotus Centerpiece, Cleaner Finish
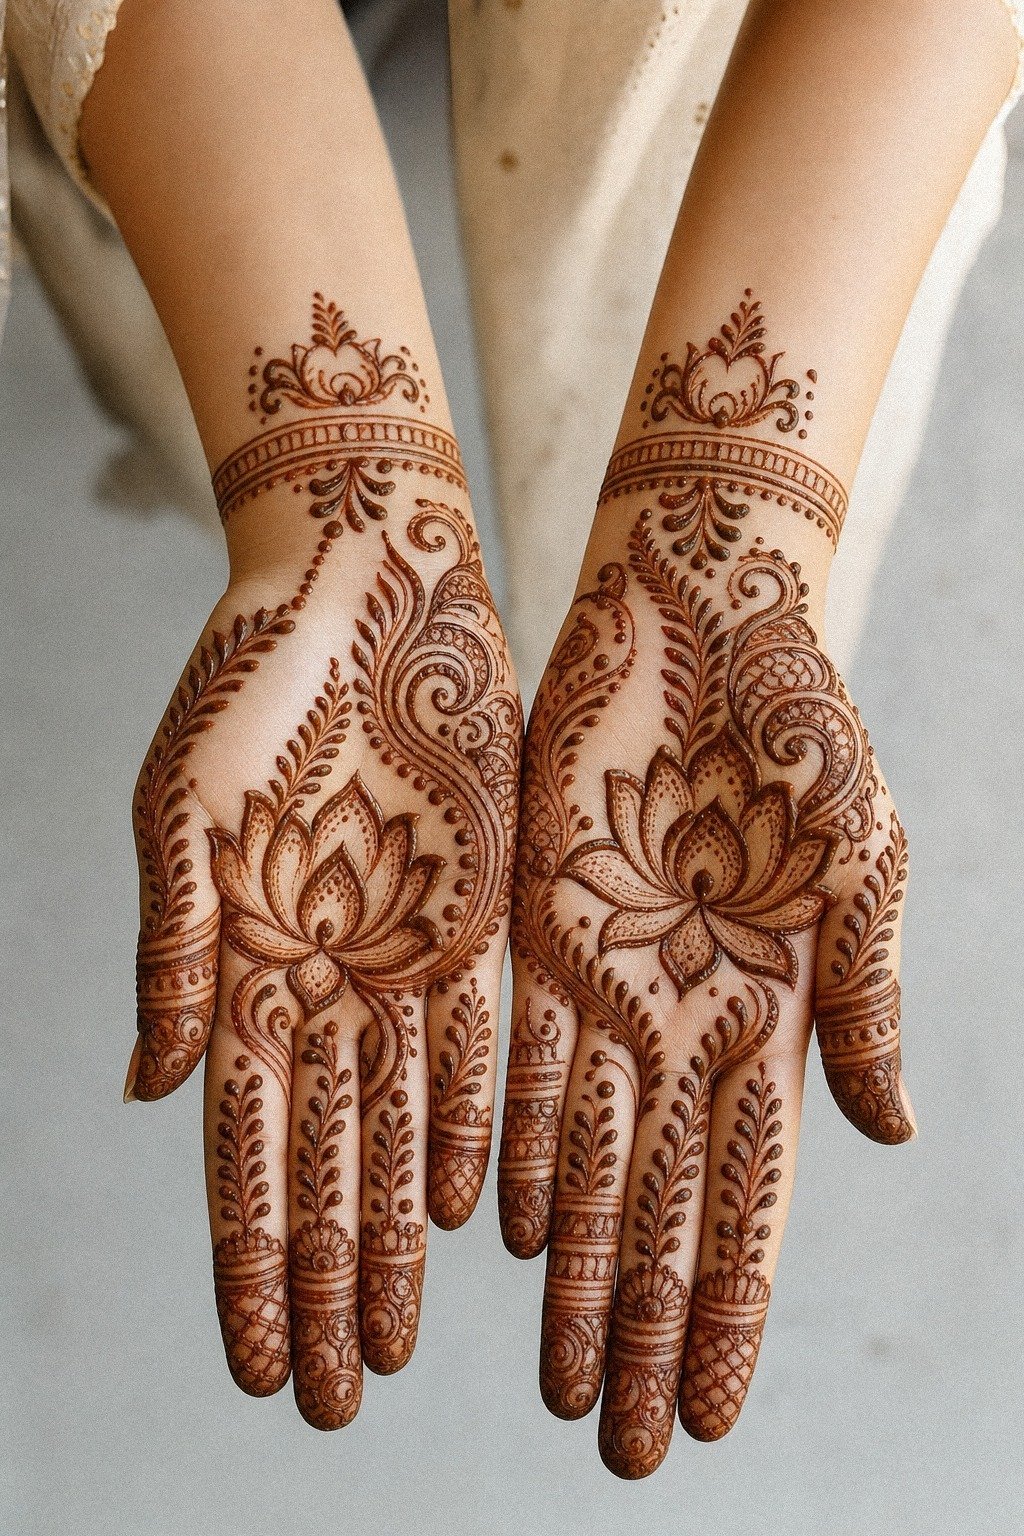
Use a lotus centerpiece when you want the softness of mehndi with a cleaner, more feminine silhouette. It can carry a meaningful center without asking the rest of the hand to compete.
9Eid Fingertips That Hit Fast
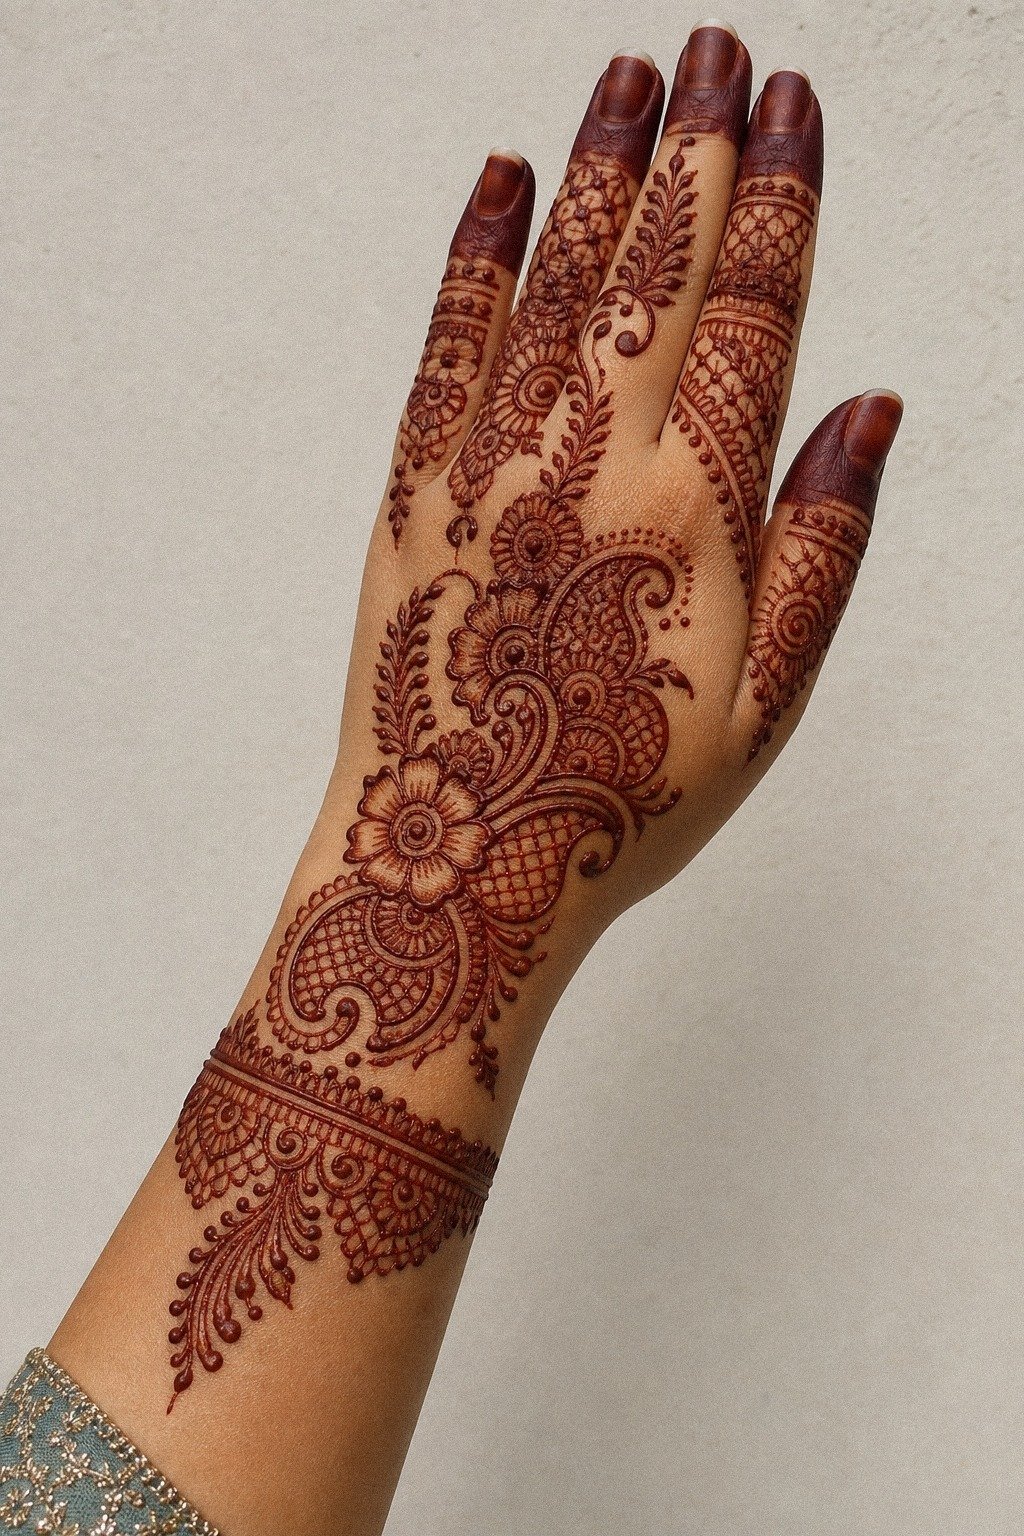
Go bold at the fingertips and quiet through the middle if you want that Eid look to hit fast in photos. Filled fingertip caps give you instant contrast, especially when the rest of the hand stays more open.
This is a daring move for medium olive skin because the dark tips frame the hand without needing dense coverage everywhere else. I wouldn’t copy the cap too far down the finger, though. Stop before the second joint or the whole design can feel heavy and short.
And yes, fingertips fade quickly. Hands meet water, soap, and friction all day.
You should go into that knowing a fresh application may be part of the occasion. Still, for pure impact, this placement works, and the visual payoff can feel worth the upkeep if you love a bold Eid-style finish.
If you want more festive reference without losing readability, scroll through 24 Pakistani mehndi designs built for bridal season.
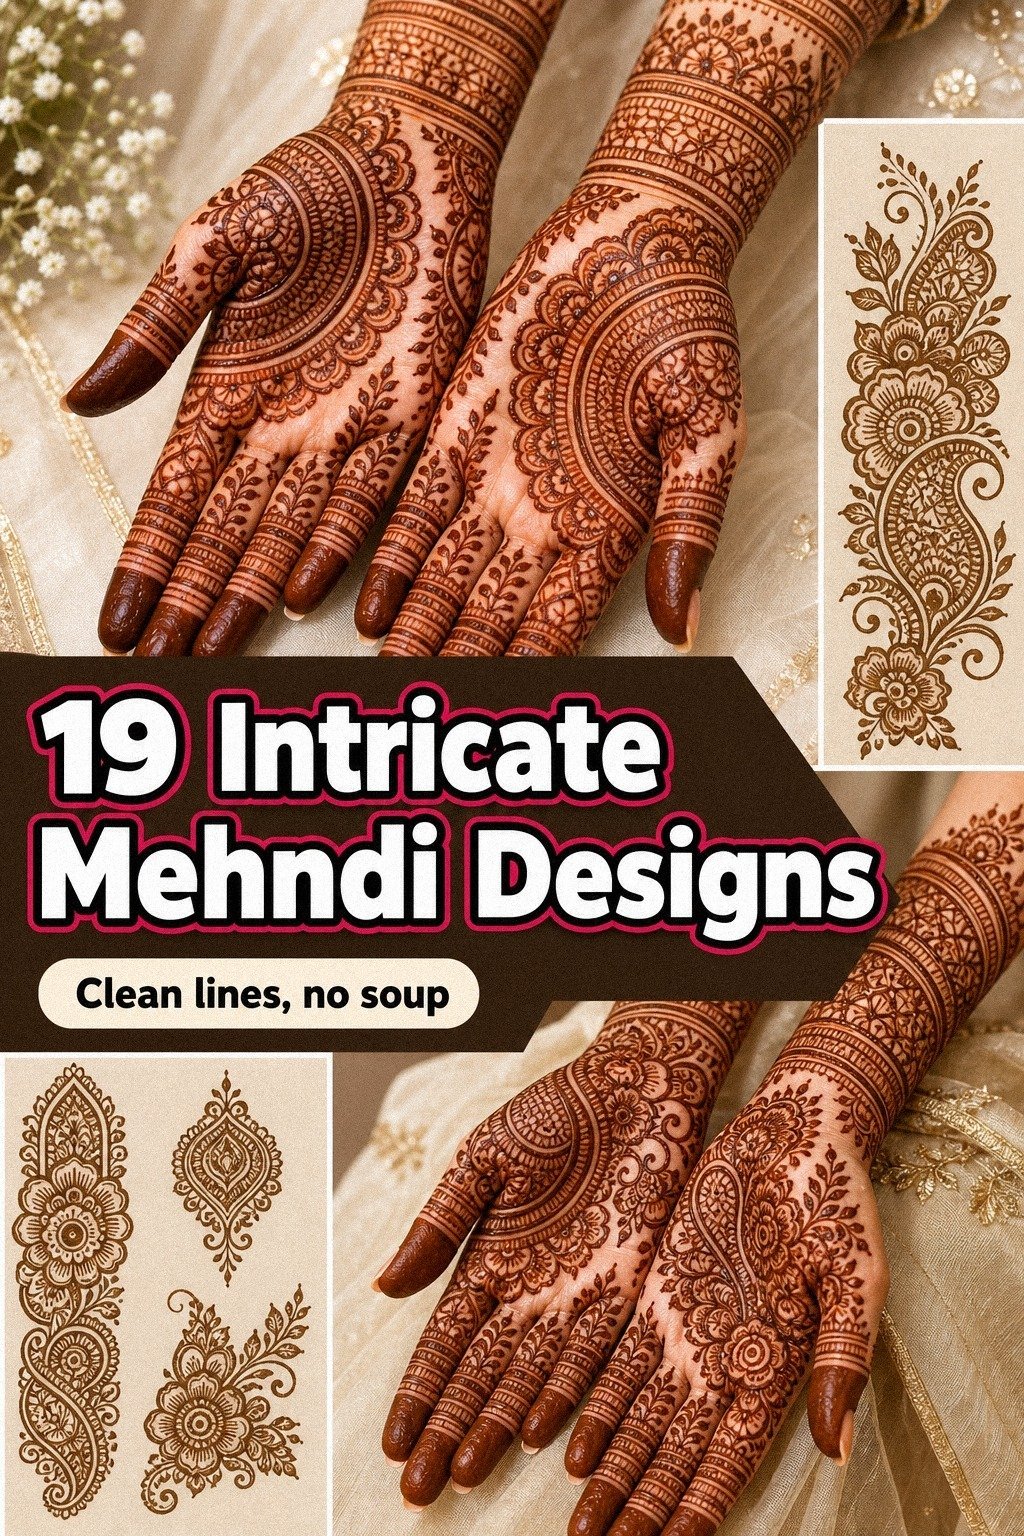
10Stretch a Net Pattern Across the Back Hand
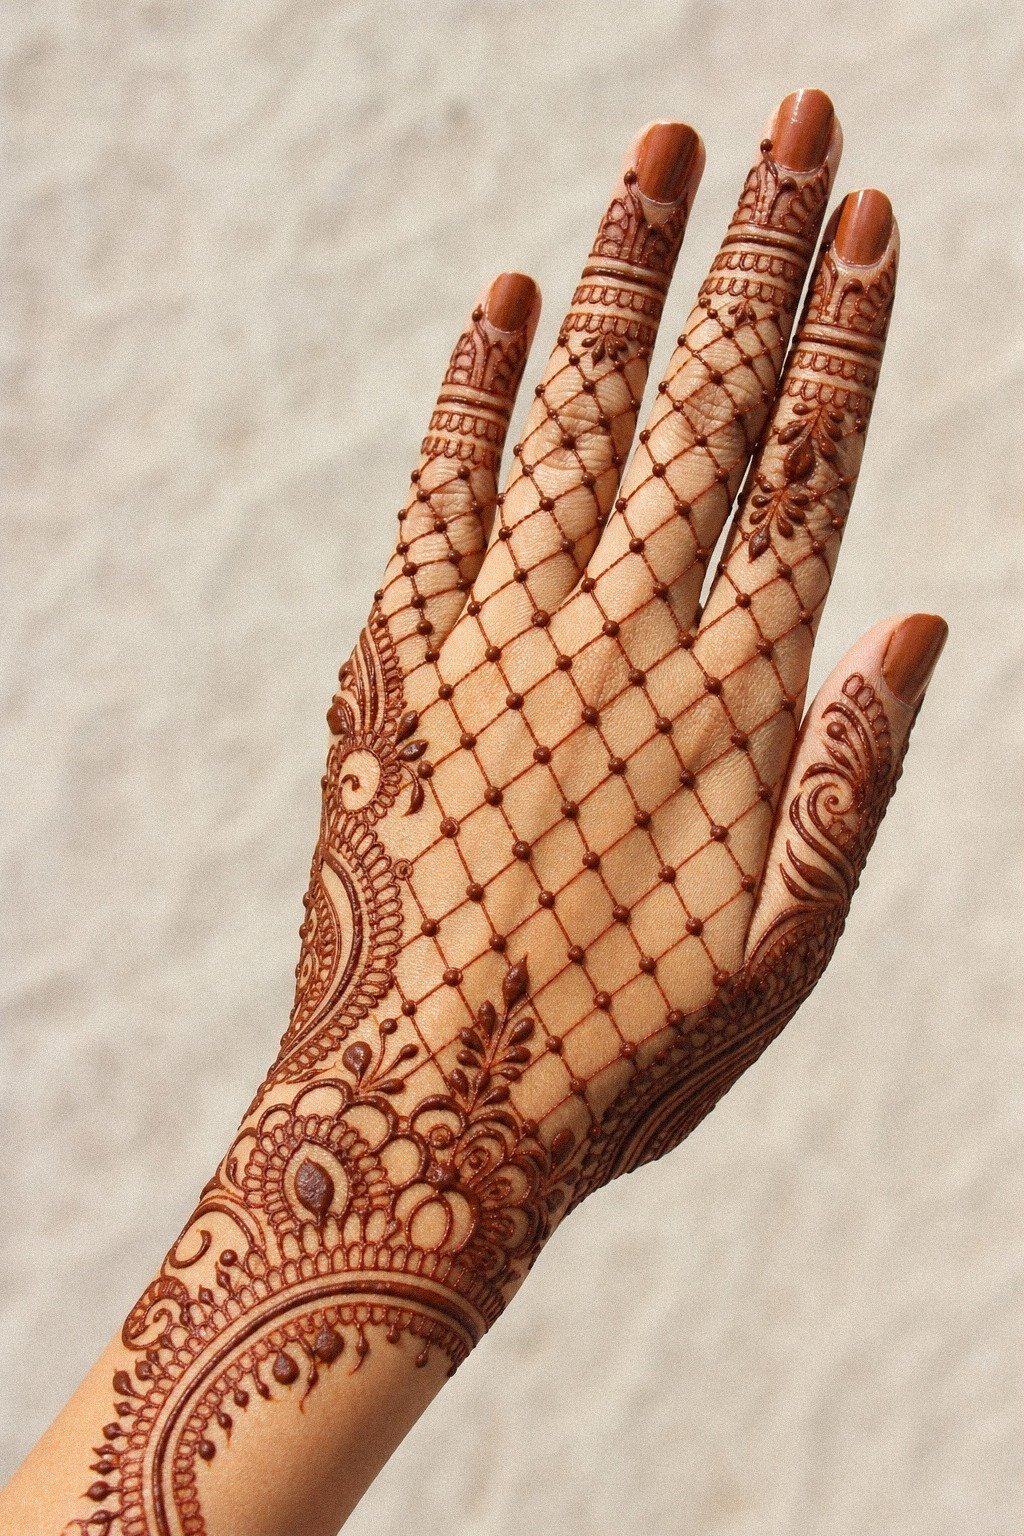
Lay a netted mesh pattern over the back hand if you want texture without full coverage. The key is making the diamonds large enough that each one keeps its shape after the paste dries.
I usually tell clients to think in 4 to 5 main mesh rows across the hand, not fifteen tiny ones. More rows sound fancier, but they can merge as the paste settles. The cleaner version nearly always wins, especially if your mehndi artist adds dots or leaf buds at the intersections instead of extra crosshatching.
This is also one of the easiest patterns to pair with rings or bracelets because it doesn’t fight them. Keep the net snug over the hand, then loosen it as it moves to the fingers. For more back-hand heavy inspiration, check back hand mehndi designs, then compare how the geometry shifts.
11Tikka Medallion for the Center Palm
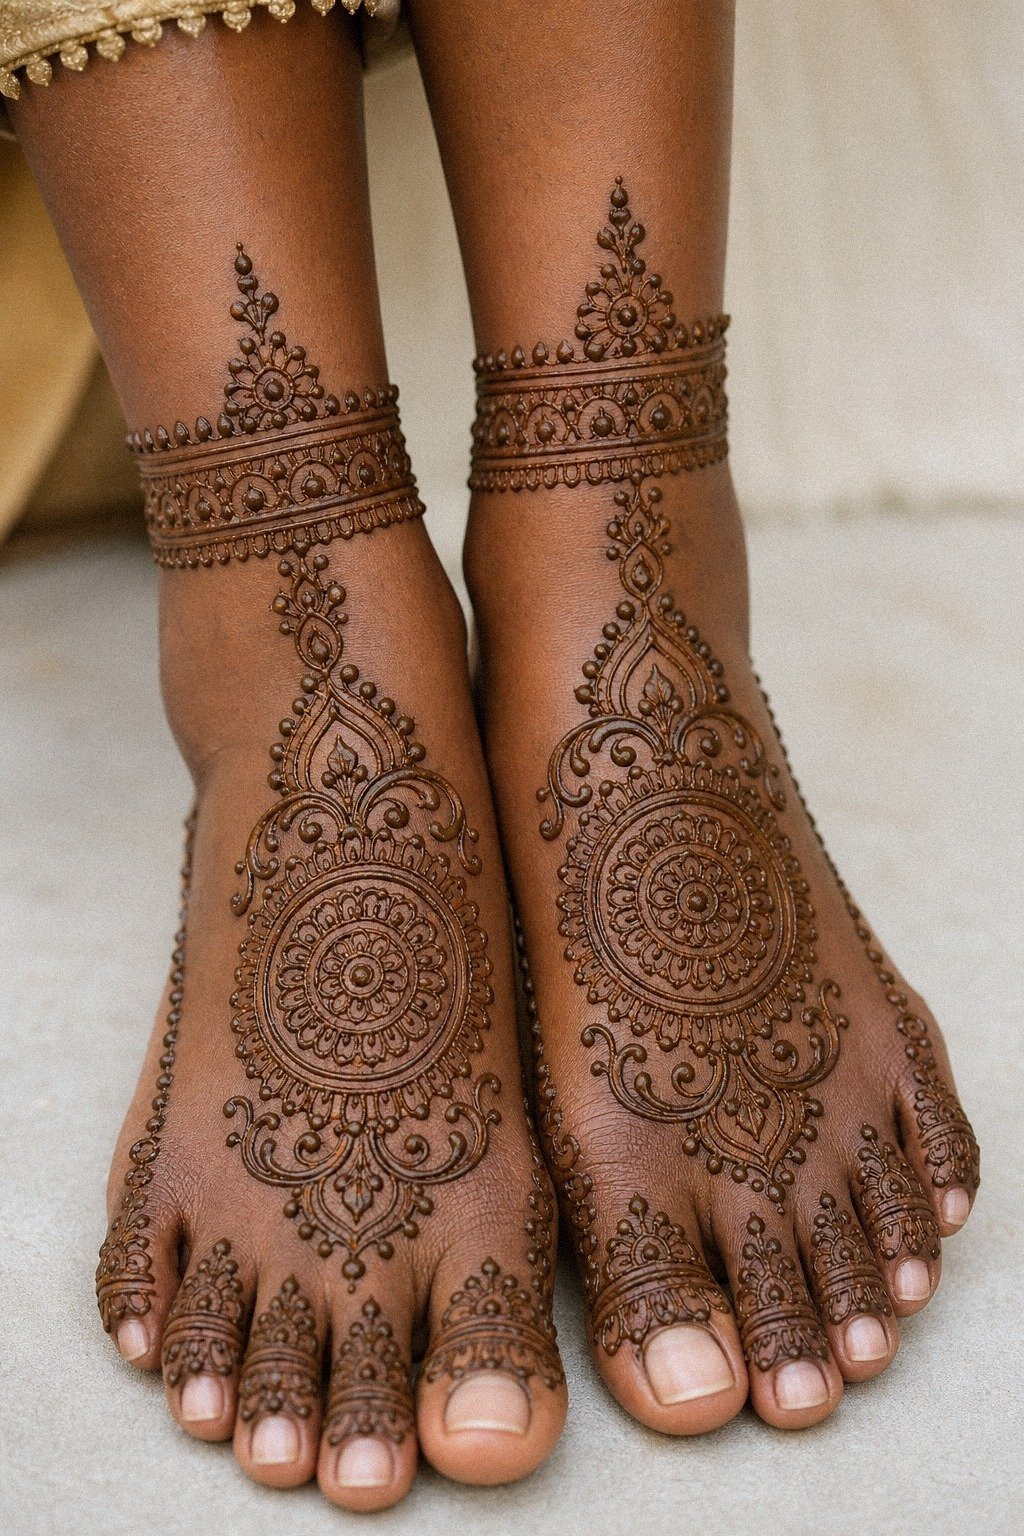
Drop one tikka medallion in the center of the palm and let everything radiate from there. If you want a design that feels sacred without going full dense bridal, this is a classic starting point.
I like center-palm motifs because they give your eye a place to land fast. You can build simple dot halos, tiny arches, and short finger trails around the medallion without needing to fill every inch. That keeps the look graceful and much easier to apply evenly.
And if you’re a first-timer, this is a smart reference because it teaches restraint. One strong center. Small repeats.
Enough contrast to hold. You can see that same logic done a few different ways in henna mehndi designs.
12Want a First Mehndi Design? Start Minimal
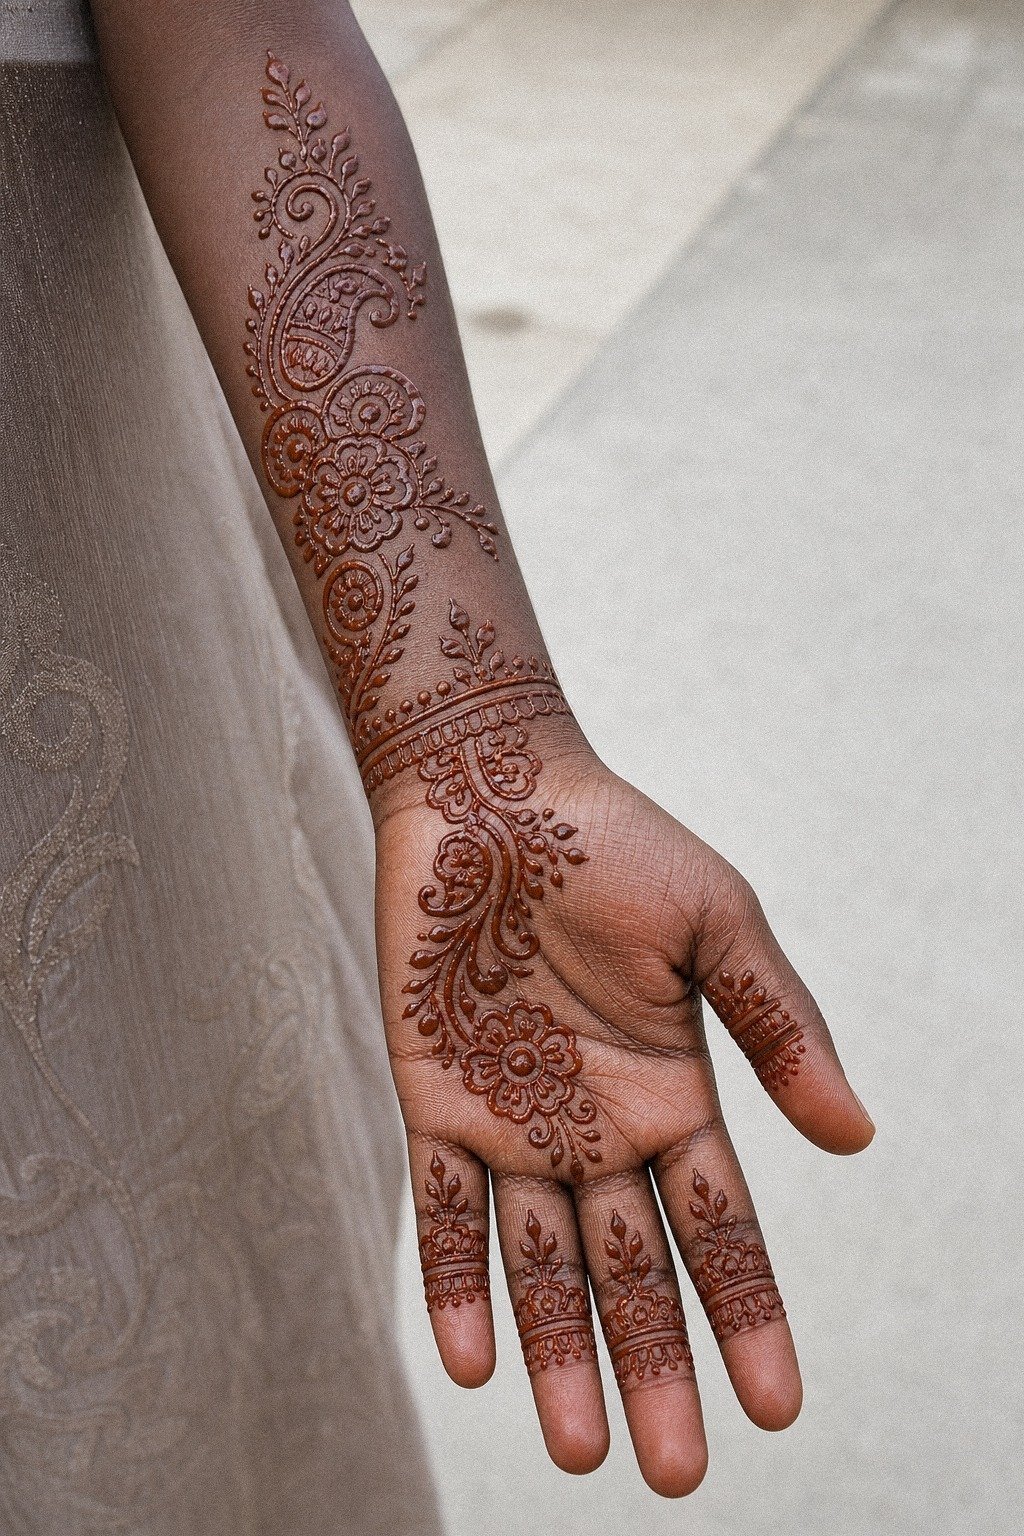
Start smaller than you think. A minimal ornamental strip from wrist to hand or a tiny palm accent gives you the mood without making your first appointment feel overwhelming.
This is the first piece I would show someone who’s nervous about sitting still or committing to hand work. Outer forearm, upper arm, or calf versions of mehndi-inspired patterning are much more comfortable than fingers or feet, and they still keep that ethereal flow you came for.
But minimal doesn’t mean empty. You still need crisp paste lines, one anchor motif, and enough negative skin for the pattern to breathe.
That is what keeps it from looking unfinished. If you’re shopping references for a lighter start, save latest simple mehndi designs.
13Wrist-to-Finger Bridal Flow That Actually Moves
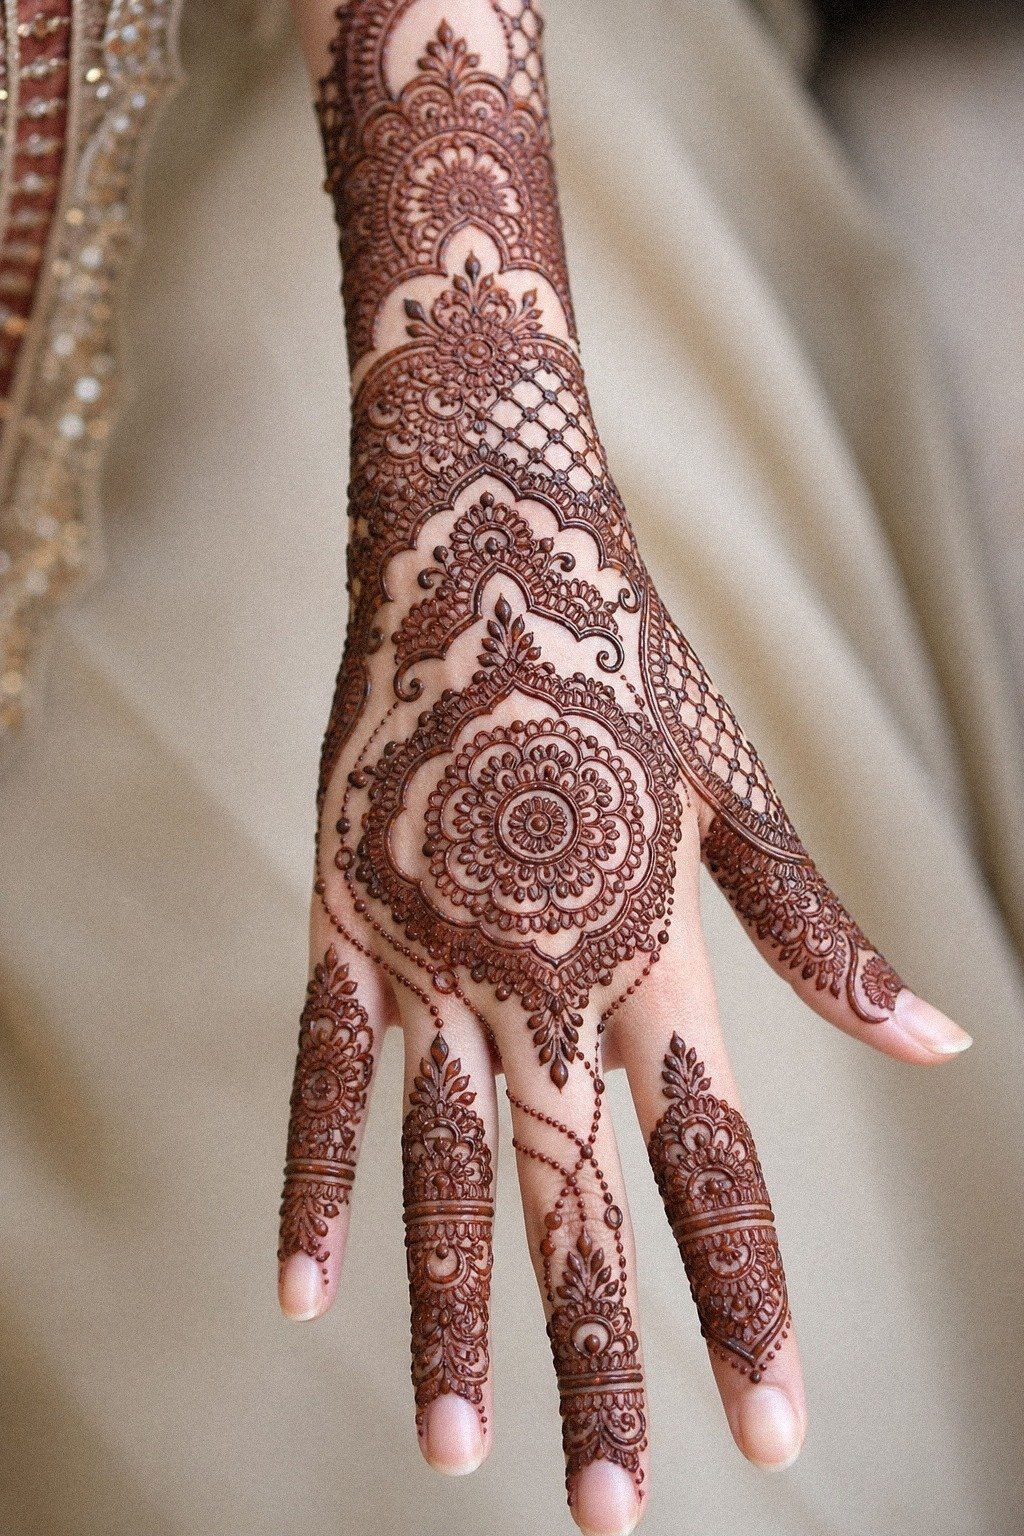
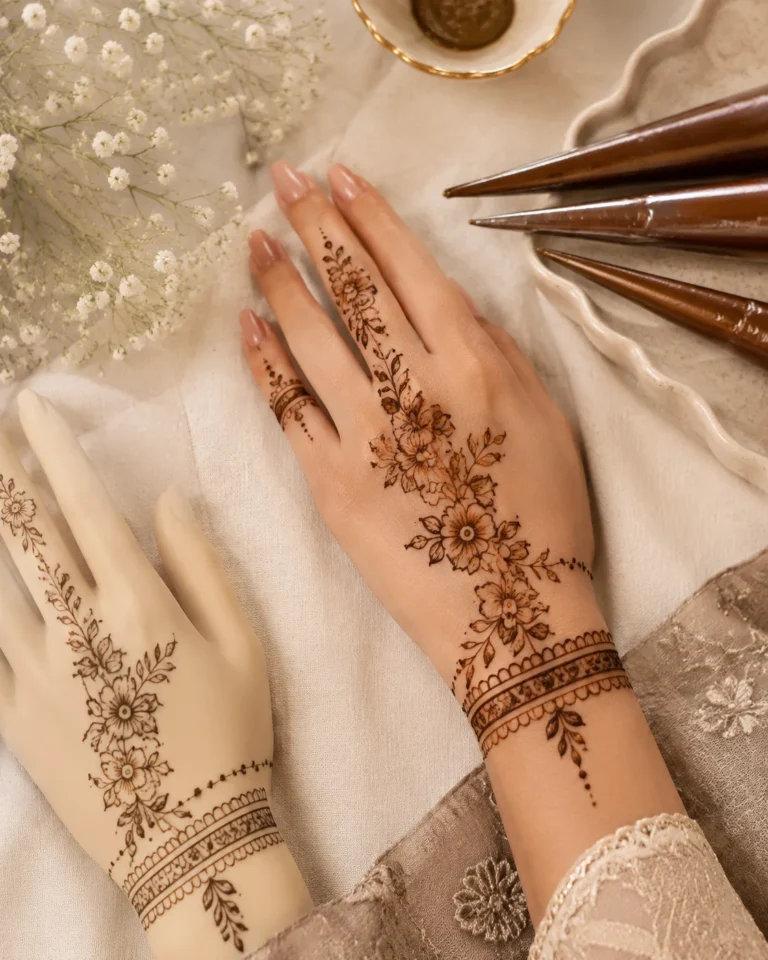
Pull the design from wrist to finger in one continuous bridal chain layout if you want movement more than coverage. This flow reads elegant because the eye travels instead of stopping at separate blocks.
I prefer one main route, usually starting at the wrist cuff, crossing the back of the hand, then ending on the middle or ring finger. Too many routes and the pattern gets busy fast. One single-path flow with side details feels cleaner, more intentional, and far easier to apply smoothly.
This is also flattering on fair skin because the contrast stays crisp even when the pattern isn’t packed. That single-path flow helps your mehndi artist map the design around tendons and joints without awkward breaks.
If you’re balancing cost against impact, this kind of bridal flow gives you a lot of visual return without needing every inch filled. For similar bridal rhythm, open peacock mehndi designs.
14Dotwork Halo vs Scratchy Filler on Finger Joints
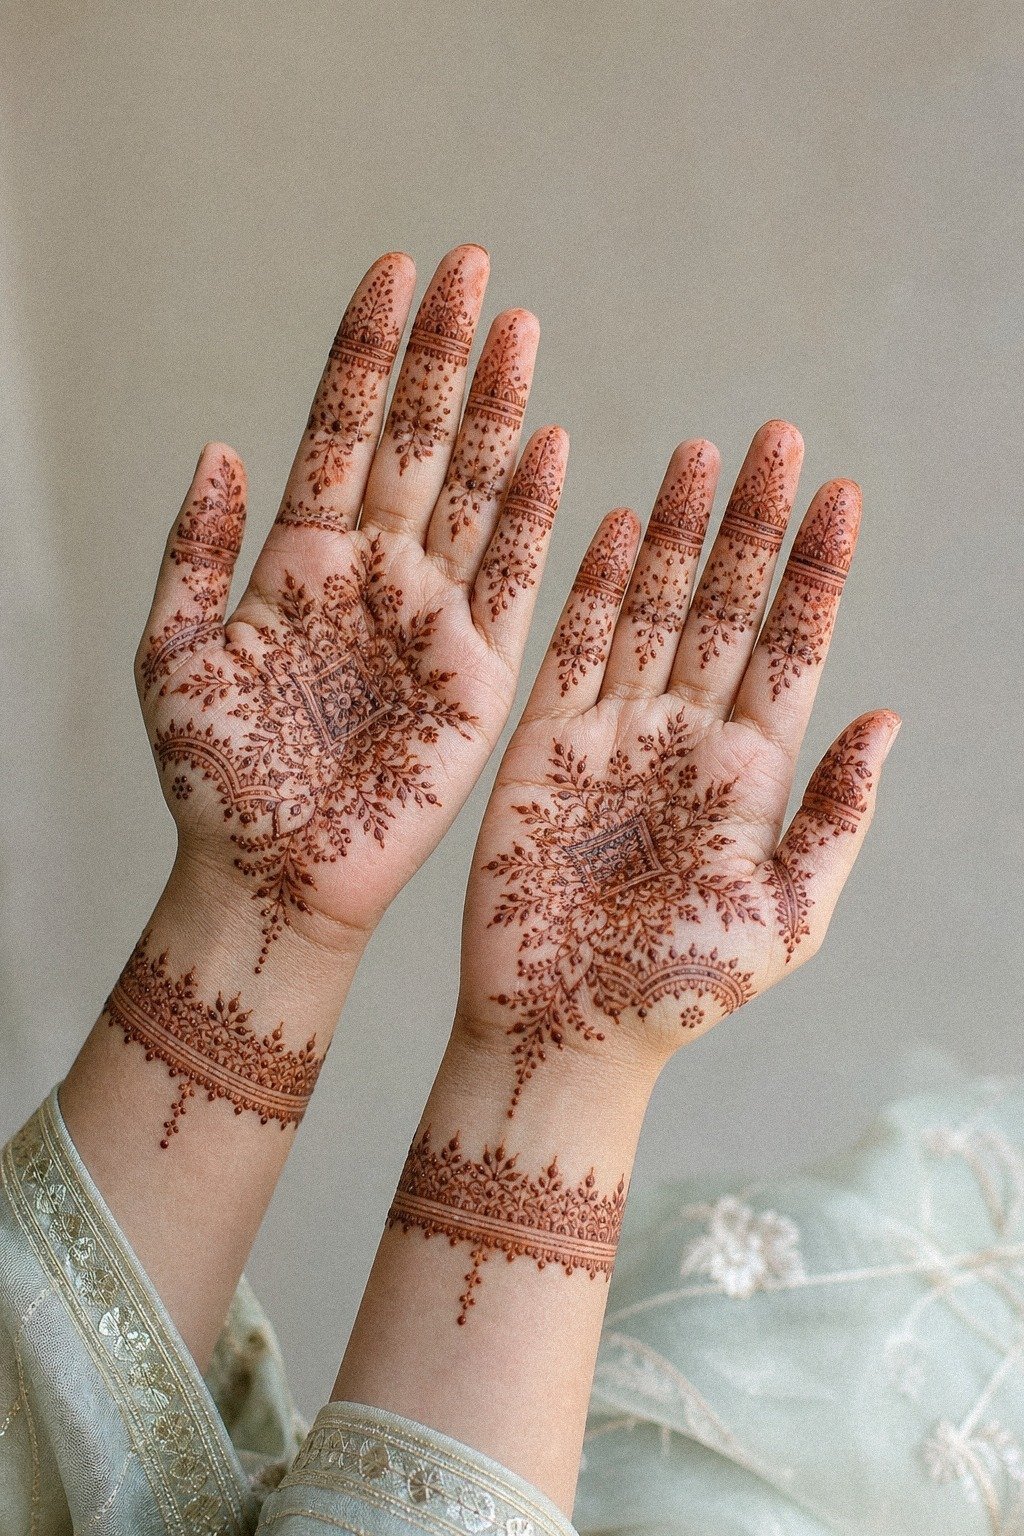
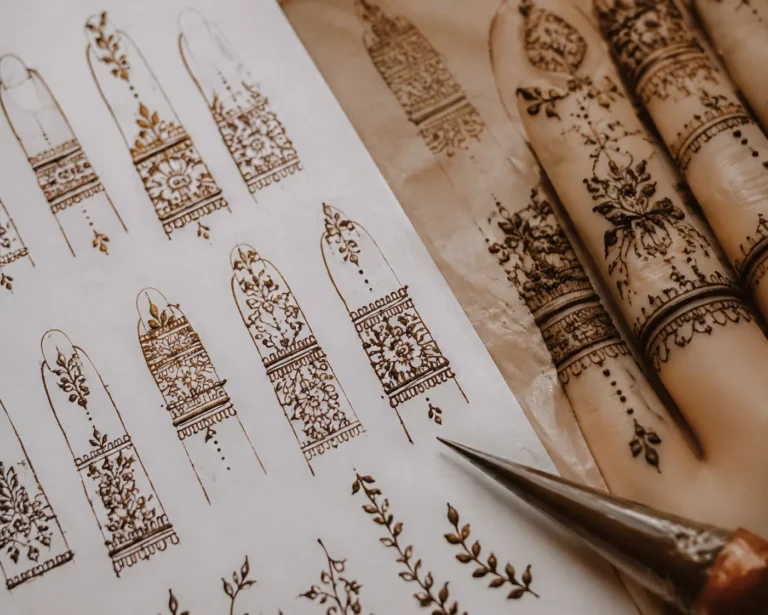
Use dotwork halos around the finger joints when you want texture that still feels light. Dots can soften a hard geometric pattern, but only when they support the main lines instead of replacing them.
I like dotwork here because it makes the joints feel finished without choking them with detail. Tiny clustered dots stay distinct when the mehndi artist keeps the spacing even and doesn’t squeeze too much paste into one spot.
And here’s the blunt truth: crooked dot spacing shows immediately. So if the artist’s portfolio doesn’t show clean ornamental or fine-line mehndi, skip it.
Your best bet is someone with clear photos taken after the stain develops, not just pictures of wet paste. For more finger-heavy patterns, compare them with mandala mehndi designs.
15Let One Rose Cluster Lead
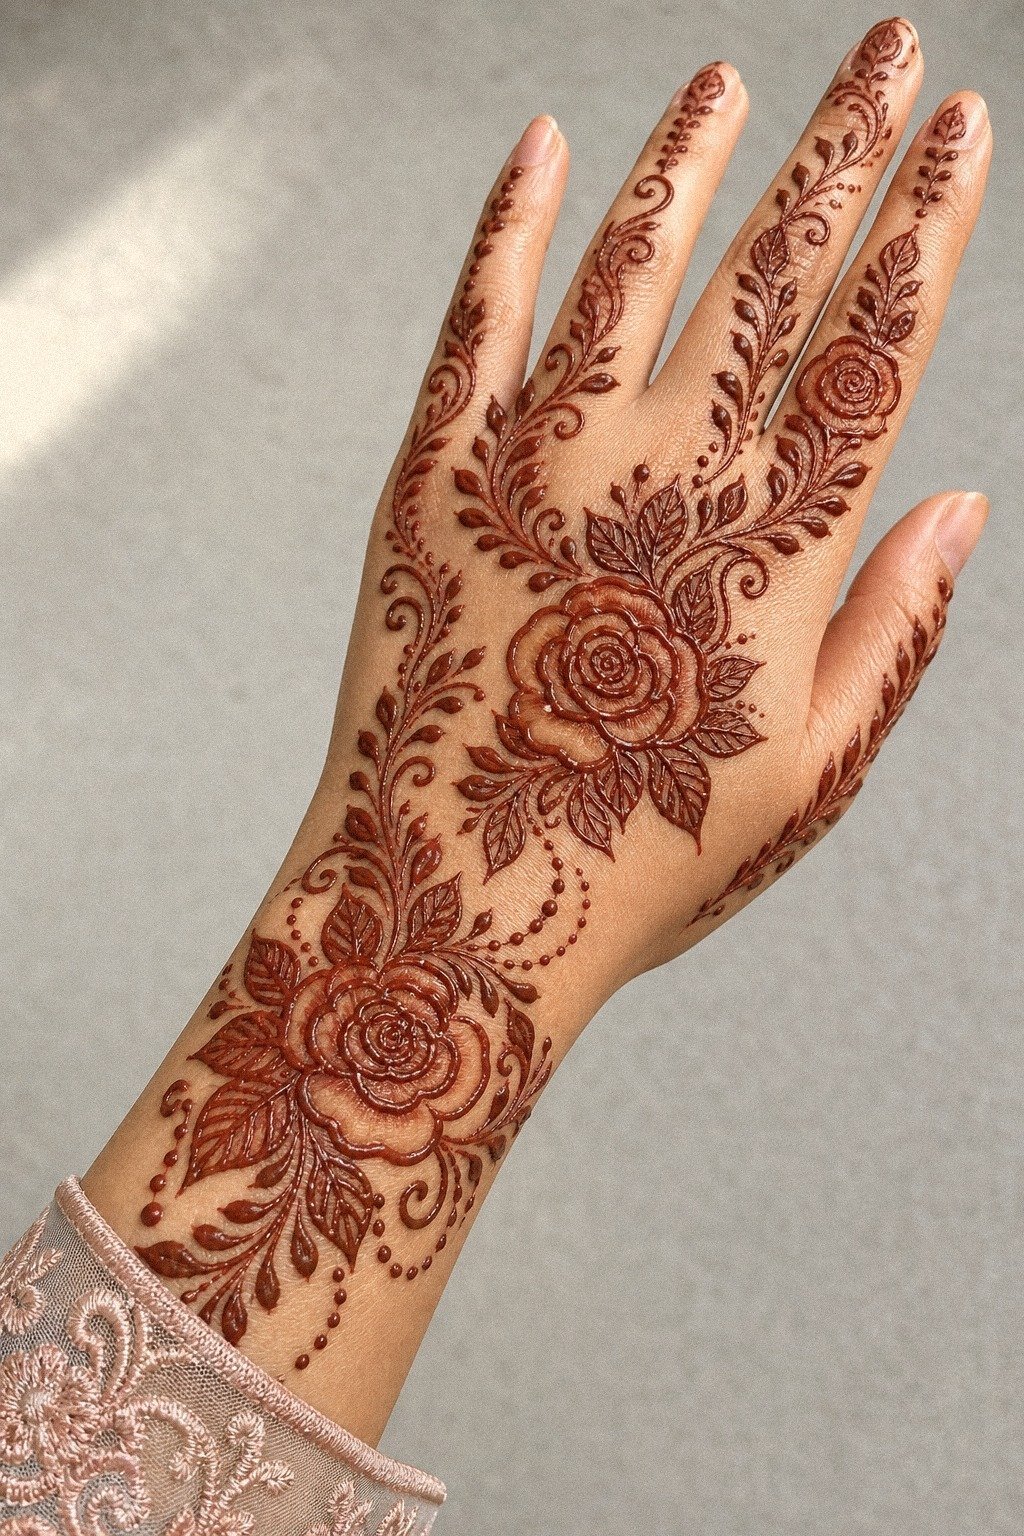
Anchor the design with one rose cluster and let the leaf trails pull the eye outward. It feels iconic without demanding a dense pattern across the entire hand.
16Modern Pakistani Mehndi With Open Skin
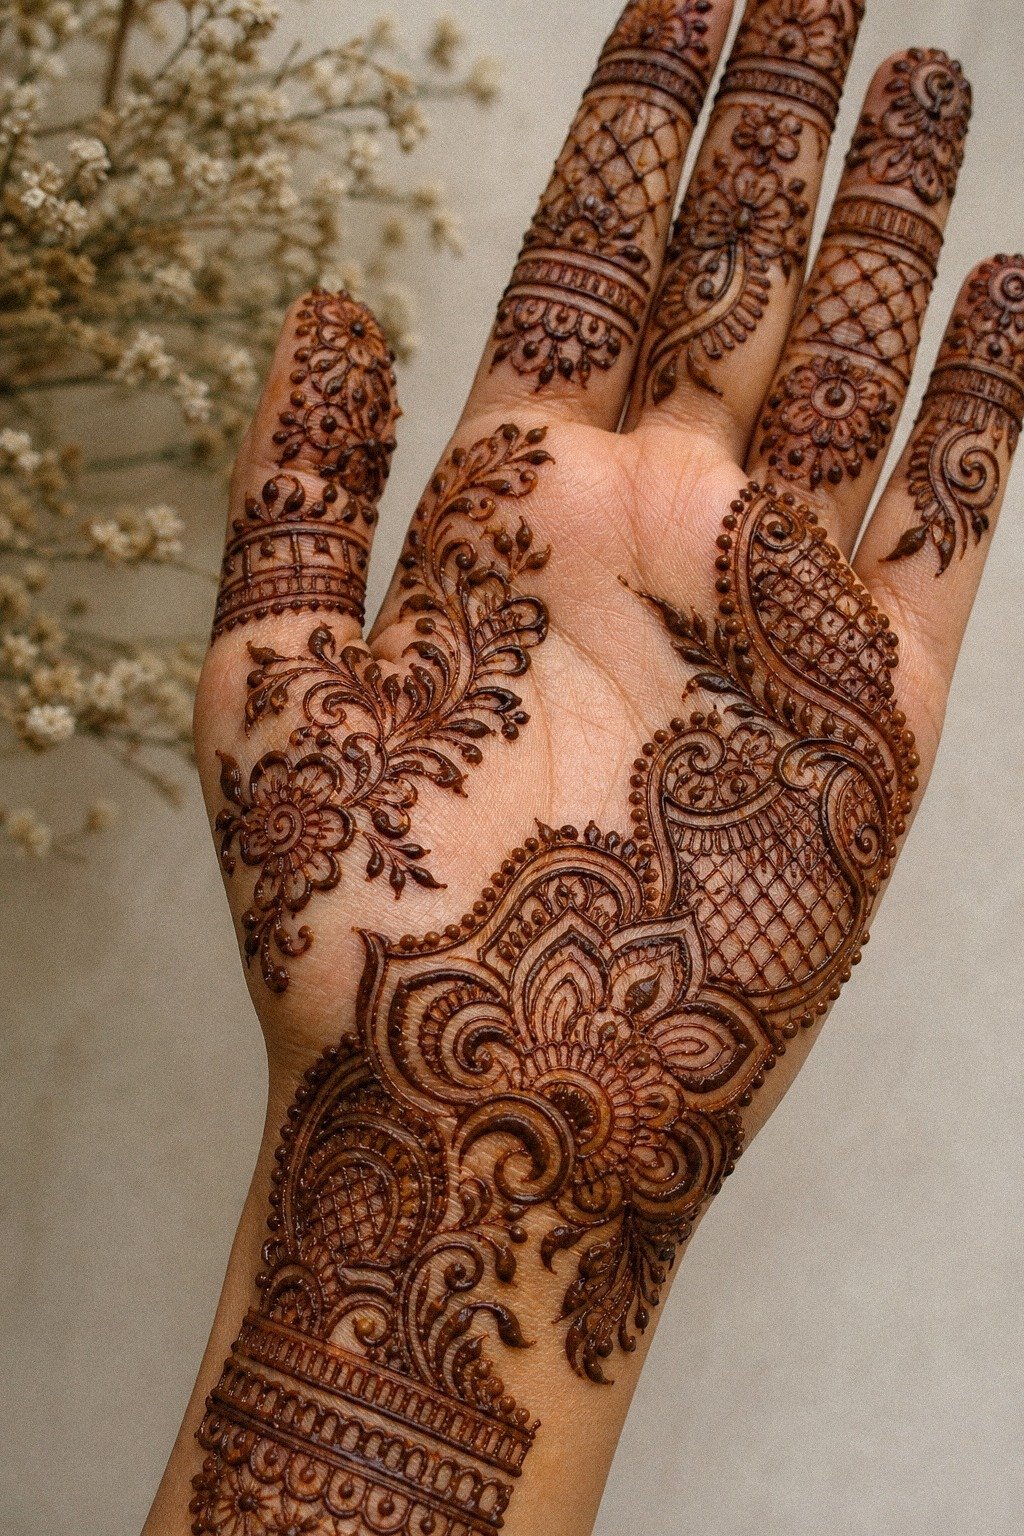
Cut the filler and let the shape speak. A modern open-frame layout gives you all the Pakistani mehndi rhythm with far less visual clutter.
This is my pick when you want something current, sleek, and easy to photograph. Open skin makes the pattern look sharper while the stain is fresh and keeps the design legible as it fades. It’s also a safer call if you know your skin tends to soften delicate details a little.
But modern doesn’t mean cold. You can still keep leaf arcs, tiny dots, and soft scallops. You just stop before the hand looks crowded.
That is the whole point! For more striking references that don’t feel empty, save arabic mehndi designs.
17Should You Hide the Groom’s Name?
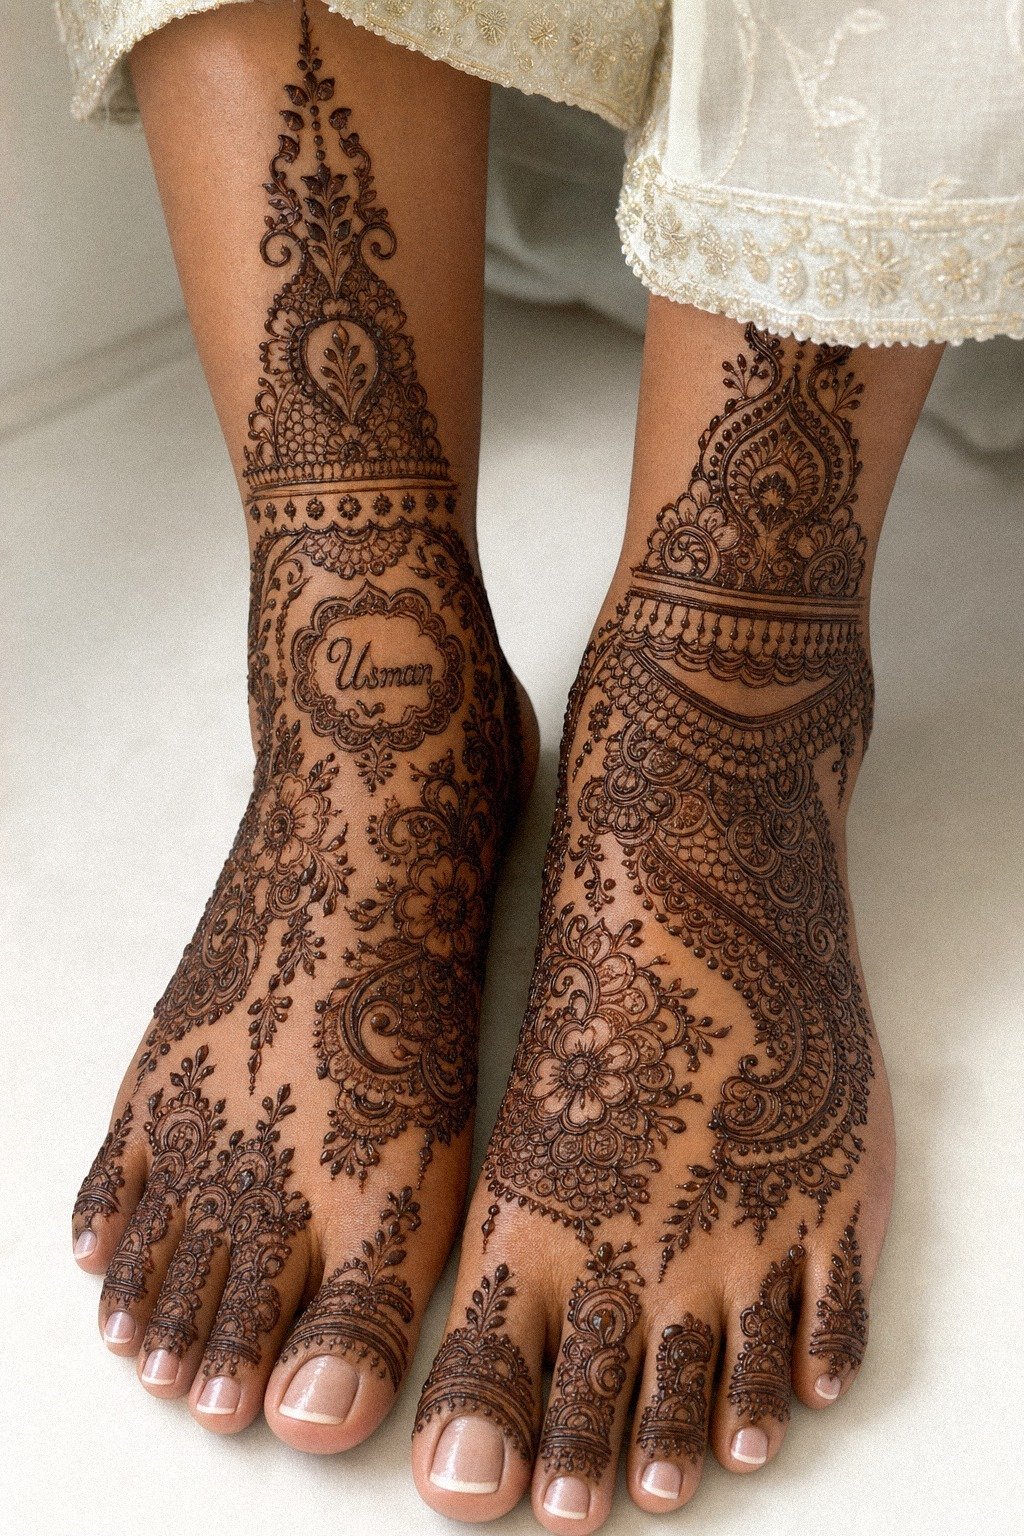
Hide the name inside a micro lettering detail only if you’re willing to make the whole piece slightly bigger. Tiny names tucked into ornamental work look romantic fresh, but too small and they can merge into a dark mark as the stain develops.
I prefer placing the hidden name along a wrist band, inside one larger paisley, or in a clean side panel where the letters can stay at least 0.25 inch tall. That is not me being dramatic. That is me trying to keep you from losing a meaningful detail inside the paste.
And if you want the hidden detail to stay private, don’t put it on the finger joints. Too much wear.
Better to hide it where the calmer skin gives it a chance to remain readable. For more bridal-reference layouts, 24 Pakistani mehndi designs built for bridal season gives you good examples to borrow from.
18Ask for Clean Linework Before More Detail
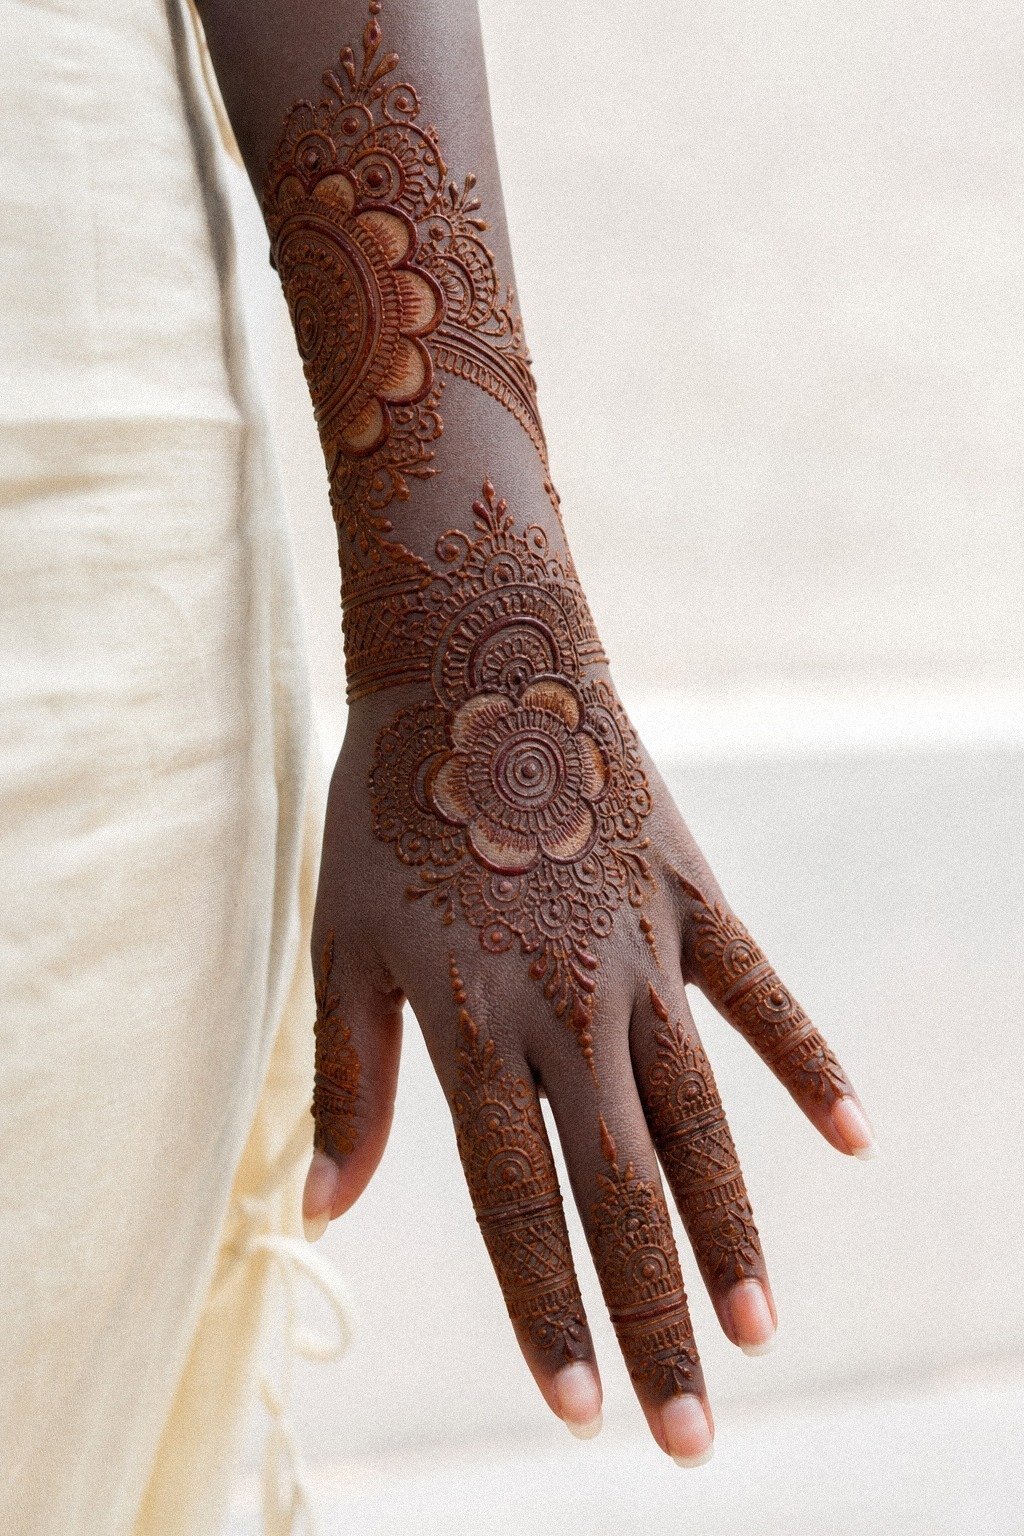
Ask for clean linework before you ask for more detail. A single-pass ornamental outline is what makes the latest Pakistani mehndi designs look polished, even when the pattern itself is pretty simple.
You can fake complexity with filler, but you can’t fake line confidence. If the mehndi artist needs ten fuzzy passes to get around one curve, you’ll see the difference once the paste dries. I would rather see a simpler pattern with sharp edges than a hyper-detailed one that turns patchy and flat.
This is also where references help most. Bring two or three, not twenty.
Show the flow you love, the finger density you like, and the amount of open skin you want. Then let the mehndi artist draw.
That is how you get solid value from your booking, because the custom redraw is what makes the design feel personal. For strong clean references, start with latest simple mehndi designs.
19Stylish Pakistani Mehndi That Photographs Cleanest
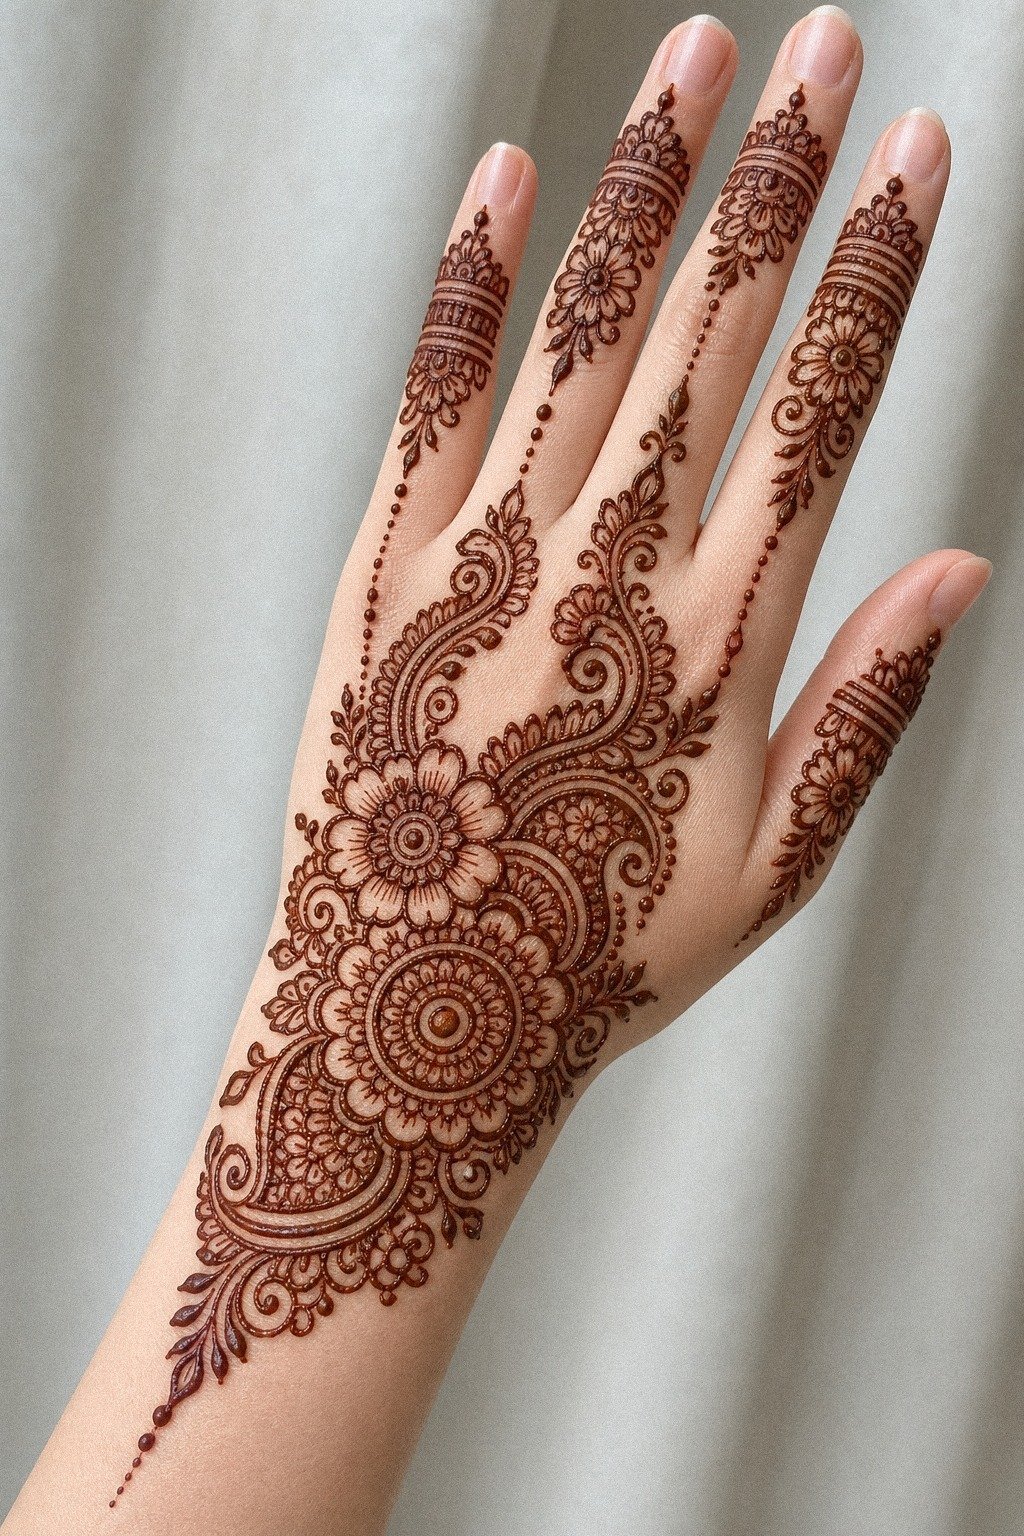
Prioritize contrast if photos matter to you. A high-contrast back-hand composition with bold anchors, open gaps, and clean finger finishes will nearly always photograph better than a super packed design.
This matters on fair skin, medium skin, deep skin, all of it. Cameras flatten detail.
So if the design only works when you’re six inches away, it’s not built right yet. You want photo readability the second you lift your hand.
The cleanest photo result usually comes from three things: one strong focal motif, negative space around it, and fingertip details that don’t overrun the joints. That is the Photo-Read Rule, and it has saved more than one design in my chair. If you want more image-friendly references, browse peacock mehndi designs.
What I Tell Clients Before They Copy Mehndi Too Literally
I’ve seen Pakistani mehndi references turn into gorgeous bridal patterns, and I’ve seen them turn into a mess because somebody tried to copy the photo line for line. That is the mistake. Mehndi paste behaves differently from a drawn-on transfer, and if your mehndi artist doesn’t translate the pattern instead of tracing it, the result can spread, dry unevenly, or feel way too busy.
Here’s how I frame it in the studio. Keep the flow. Keep the rhythm. Keep the ceremonial feel.
But simplify the smallest filler, widen the backbone lines, and decide what the eye should notice first. With henna, you need hierarchy.
You need big shapes, medium shapes, then the tiny spice. If everything is tiny, nothing reads. It just turns to soup!
I also want you thinking about placement before style. Hands, feet, and fingers are high-wear zones.
They look expressive, yes, but they fade faster because of washing and friction. The outer forearm, calf, thigh, and upper arm are much more forgiving if you want mehndi-inspired patterning that stays crisp longer.
If you’re stubborn about the hands, fine. Just go in honest about reapplication and sun exposure.
And bring references for vibe only. I mean that.
If you want Pinterest-exact, I’m not your mehndi artist. Show the paisley density you love, the lotus shape, the wrist-to-finger route, and the amount of open skin.
Then let the artist redraw it for your hand. That is how you get a piece that dries nicely, flows with the body, and still feels like you during the occasion.
It also saves money in the long run, because a smarter custom layout usually needs less correcting.
What People Always Want to Know
How much does a Pakistani Mehndi Designs usually cost?
Usually about $25 to $75 for a small to medium design, while bridal work can range from $100 to $500 or more depending on coverage, travel, detail, and the occasion. A DIY cone costs far less. Typical service pricing changes quickly around Eid, weddings, and destination events.
Are Pakistani Mehndi Designs a good idea for a first mehndi application?
Yes, if you keep the layout clean and pick a smart placement. Simple ornamental flow works well for first-timers because it can stay elegant without needing huge coverage. The back of the hand, forearm, or calf will be easier than dense fingers or feet.
How do I choose a mehndi artist for Pakistani Mehndi Designs?
Look for photos taken after the paste is removed and the stain has developed. Clear paste lines matter more than fancy filler. You want an artist who shows ornamental, fine-line, or Pakistani mehndi work with clean spacing, safe skin practices, and consistent color.
How much do Pakistani Mehndi Designs hurt?
Henna paste should not hurt when applied correctly. A comfortable application may feel cool or slightly tight as the paste dries, especially under a thick bridal design. Stop if a product burns, stings, or causes a rash, and ask exactly what is in the cone before application.
How long does a Pakistani Mehndi Designs take to dry and fade?
The paste usually needs 1 to 2 hours to dry, and a lemon-sugar seal can help it stay in place longer. After removal, the stain often darkens on the second day and fades in one to three weeks, depending on washing, friction, skin chemistry, and placement.
What’s the best placement for Pakistani Mehndi Designs?
If you want a slower fade, try the outer forearm, calf, or upper arm. Lower-friction skin holds a clear stain longer than fingers or palms. If visibility matters more than maintenance, the back of the hand is beautiful, but expect faster fading from water and daily use.
Where I would Start First
If I had to pick one, I’d start with Build a Front Hand Mandala That Breathes. The center anchor gives you order without stuffing the whole design, so it stays readable as the color deepens and gives you solid value for the occasion. Pin that one for later and compare it with mandala mehndi designs.