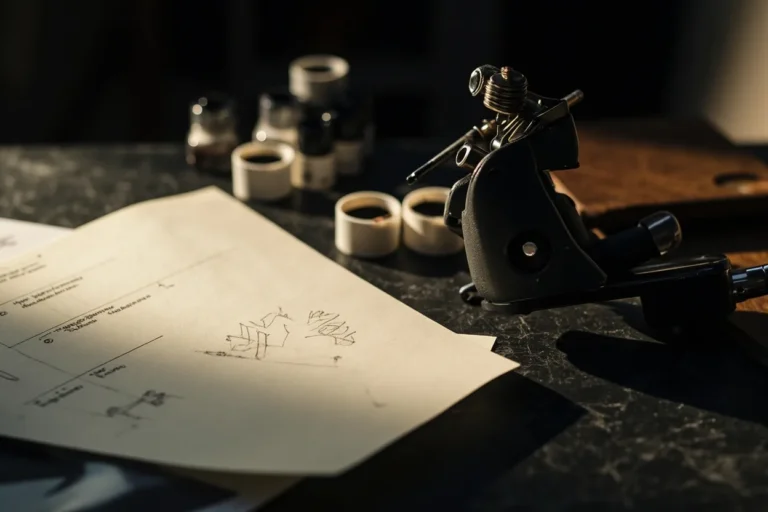
Realistic horror tattoos are where technical precision meets the stuff that actually keeps people up at night. I’m talking about portraits of Pennywise that look like they’re breathing, biomechanical flesh that seems to peel back from real muscle, or a zombie’s rotting face where you can count the individual teeth and see the wet shine in dead eyes. This isn’t cartoon spooky. This is the tattoo equivalent of a jump scare that lasts forever. I’ve done pieces where clients flinch looking at their own healed arm. That’s the point.
The style demands everything photorealism does, perfect values, smooth gradients, understanding how light falls on form, then twists it into something disturbing. It’s harder than straight realism because you’re often inventing anatomy that doesn’t exist, or distorting what does. A regular portrait has reference. A demonic portrait has reference plus imagination, and the seams have to be invisible.
Origins & History
Horror imagery in tattooing goes back to Sailor Jerry’s flash sheets and the classic “spook” imagery of the 1950s, skulls, snakes, devils with pitchforks. But realistic horror? That’s a much younger beast. It really found its legs in the late 1990s and early 2000s when artists like Paul Booth were already doing dark, surreal black and grey, and photorealism was maturing as a technical discipline.
The Cinema Connection
What pushed realistic horror into mainstream demand was film. Clients started walking in with screenshots from The Exorcist, Hellraiser, The Thing. They didn’t want a stylized Cenobite. They wanted Pinhead’s actual face, every nail, every pore, that specific dead-eyed expression Doug Bradley nailed. I remember the first time a client brought me a hi-res still from Event Horizon, Sam Neill with his eyes gouged out. “Can you make this look real?” That question changed how I approached the style. Film reference became our new flash sheets.
From Subculture to Staple
For years, realistic horror lived in the underground. Biker shops, metal album covers, the kind of work that didn’t get into mainstream tattoo magazines. Around 2010, social media changed that. Suddenly a hyperrealistic split-face portrait of a woman and her skeleton got fifty thousand shares. Artists like Carlos Torres and Paul Acker were getting recognized for technical mastery in explicitly dark subject matter. Now I book horror pieces year-round. October’s slammed, sure, but I’ve got a waiting list for a biomechanical sleeve starting in March.
Key Characteristics & Motifs
Realistic horror isn’t one look. It’s a technical approach applied to frightening subject matter. Here’s what defines it:
- Anatomical accuracy within distortion: Even when you’re tattooing a demon, the underlying bone structure, muscle attachment points, how skin stretches over form, all of that has to read correctly or the piece falls apart. I tell clients: “The horror works because the realism grounds it.”
- Extreme value range: Deep, velvety blacks against bright highlights. Horror lives in contrast. That single catch-light in a dead eye. The wet gleam on exposed bone. You need your darkest darks to actually go black, not dark grey.
- Texture obsession: Rotting flesh, torn skin, wet muscle, dry bone, mucus membranes, hair matted with blood. Each texture reads differently on skin and heals differently too.
- Negative space as absence: Missing eyes, hollow sockets, gaps where teeth should be. What’s not there creates the unease.
Popular Motif Categories
Portrait horror, film characters, original demonic faces, the “split” or “peeling” face revealing something beneath. Biomechanical, Giger-influenced fusion of flesh and machine, pistons where tendons should be, organic meets cold metal. Gore and trauma, wounds that look fresh, surgical, violent. The “ripped skin” reveal, something crawling out or visible underneath. And occult/satanic imagery rendered with photographic rather than symbolic treatment: not a cartoon goat head, but a photorealistic goat’s skull with actual ritual candles, actual smoke, actual blood that looks like it could still be warm.
Color vs Black and Grey
This is the question I get most in consultations. Here’s the honest breakdown from someone who’s done both extensively.
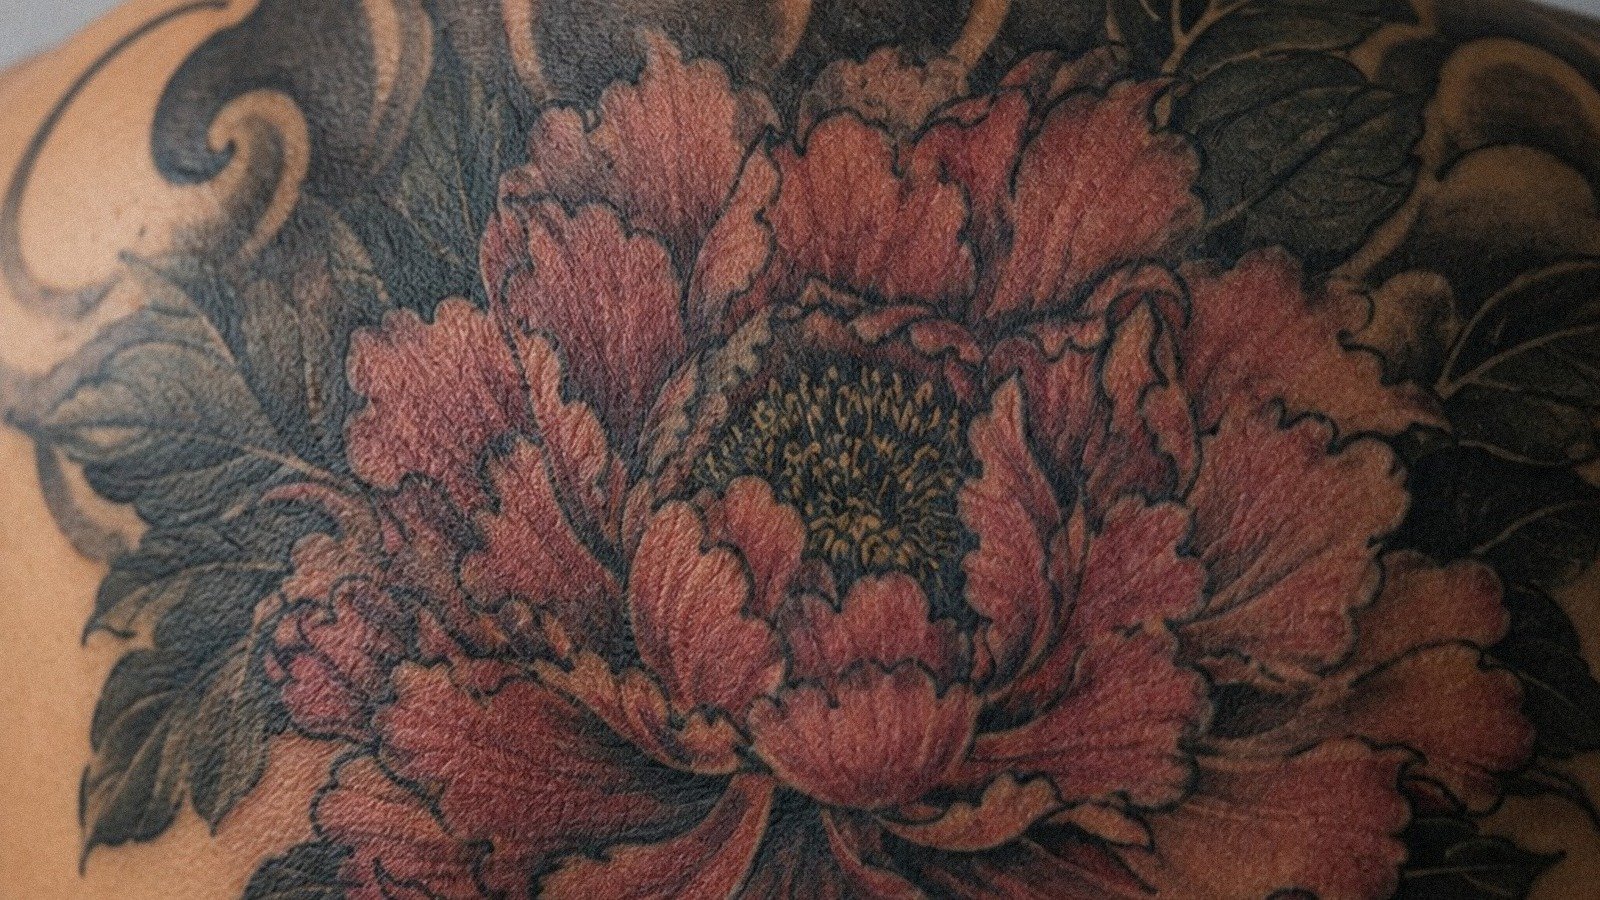
Black and grey dominates realistic horror for good reason. It ages cleaner. Those deep blacks and smooth grey washes create the moody, cinematic atmosphere that most horror references already have. Film noir lighting, underexposed shots, shadows swallowing half the face, black and grey translates that directly. It also heals more predictably. Color saturation in horror work often means blood reds, sick greens, corpse yellows. Those pigments can be finicky. I’ve seen a beautiful fresh piece with arterial spray look like brown mud after two years because the red wasn’t stable in that client’s skin.
That said, color realistic horror hits different when it’s done right. A full-color portrait of the Pale Man from Pan’s Labyrinth with those actual fleshy pink tones and the specific sick yellow of the eyes, it’s arresting. But it demands more maintenance, more touch-ups, and an artist who really understands color theory in skin, not just on paper. I usually steer clients toward black and grey for large pieces, color for smaller accent work or if they’re committed to the upkeep.
Best Placements
Where you put this matters more than with most styles. Realistic horror needs room to breathe. The detail density is high, and cramming it into a spot that warps or moves too much kills the illusion.
- Thigh: Flat, stable, plenty of real estate. I’ve done full horror portraits here that read like gallery pieces. The muscle doesn’t distort much with normal movement.
- Upper arm/shoulder: Classic for a reason. The deltoid and outer bicep stay relatively flat. Sleeve potential if you want to build a narrative scene.
- Chest: Bold choice. The pectoral gives you a canvas that feels like a movie poster. Be aware: sternum and center chest hurt, and the skin there moves with every breath. I did a ribcage-reveal piece there once where the client’s actual ribs showed through torn skin, he wanted it over his heart. Dramatic. He tapped out twice.
- Back: The full back piece is where realistic horror becomes epic. I’ve seen (and done) back pieces that look like stills from a film you don’t want to watch alone. The flat plane lets you build real depth.
- Forearm: Visible, which is the point for some clients and the problem for others. The radius/ulna area can be tricky, tight skin, lots of nerve endings, and it twists, so the image has to work from multiple angles.
Hands, feet, neck, I’d discourage these for serious realistic horror. The detail gets lost, the healing is rough, and the subject matter in a highly visible spot has genuine social consequences I want clients to consider.
Who It Suits
Not everyone should get realistic horror, and I say that as someone who loves doing it. You need to think about your daily life. I’ve had clients cover their forearm horror piece for job interviews for years. Some don’t care. Some regret not thinking it through.
Personality-wise, the best clients for this work are genuinely into the genre. Not dabblers. They can name directors, they have favorite effects artists, they understand why Tom Savini’s work matters. That passion shows in the collaboration. They give better reference, they understand why certain choices work, they don’t panic when I say “this needs to be bigger to read properly.”
Pain tolerance matters too. These sessions run long. A palm-sized realistic horror portrait is still four to five hours minimum. A full sleeve? We’re talking twenty to thirty hours over multiple sessions. The detail density means constant needle-on-skin time. I had a client pass out during a rib piece, not from the pain directly, but from the duration and tension. We finished it, but it took three extra sessions because we had to work shorter.
Modern Variations
The style keeps evolving. Right now I’m seeing three directions that excite me.
Neo-Traditional Horror Fusion
Artists taking the bold outlines and limited palettes of neo-traditional but rendering horror subjects with more realistic shading and form. It’s not full photorealism, but it’s not flat either. Think Mike Mignola’s compositions with actual dimensional modeling. Stays readable longer, heals great, travels well between shops since the style is established.
Micro-Realism Horror
Tiny, tiny pieces. A single hyperrealistic eye, maybe an inch across, with something wrong in the iris. Or a miniature mouth with too many teeth. This is technically brutal, any wobble is catastrophic at that scale, but the impact is intense. Instagram loves it. I find it challenging but satisfying. The healing is actually easier than large work, less plasma, less scabbing.
Horror with Abstract Elements
Realistic central image, but the background or edges dissolve into brush strokes, geometric fragments, or negative space. It modernizes the look, makes it feel more “tattoo” and less “airbrushed van mural.” I’ve been experimenting with this on recent pieces, photorealistic face in the center, but the surrounding skin torn away to reveal not muscle but abstract black shapes, ink splatter, geometric patterns. Clients respond to it.
Choosing an Artist
This is where I get serious with you. Realistic horror is unforgiving. A bad portrait tattoo is embarrassing. A bad horror portrait tattoo is embarrassing and disturbing in the wrong way. You don’t want a demon that looks like a melted candle.
Look at healed work, not just fresh photos. Fresh horror work looks incredible because of the blood and plasma swelling, everything looks wetter, more intense. Healed is the truth. Ask to see pieces a year old. Check how the blacks held, whether the greys stayed smooth or got muddy, if the “wet” textures still read as wet or just look grey.
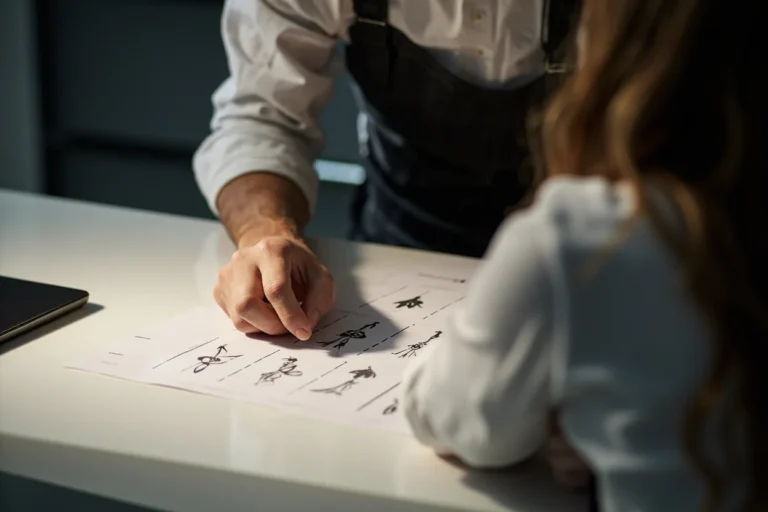
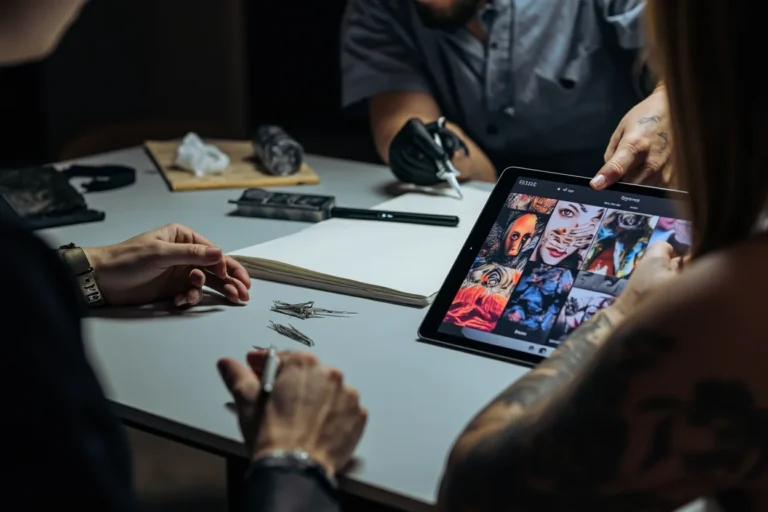
Ask about their reference process. Do they work from single images or composite? For horror, I often build references, this face from this film, but with this lighting setup, and this specific wound pattern from medical reference. An artist who can’t explain their reference strategy is winging it. You don’t want winging it on your arm forever.
Budget realistically. This work is slow. My hourly rate is standard for my region, but a realistic horror sleeve might take thirty hours where a traditional sleeve takes fifteen. The detail density demands it. Anyone quoting you cheap and fast for this style is either inexperienced or cutting corners you’ll see in six months.
Final Thoughts
Realistic horror tattoos are some of the most technically demanding, emotionally loaded work in contemporary tattooing. They require an artist who can handle photorealistic technique and isn’t afraid of dark subject matter, and a client who knows why they want this specific image on their body permanently. I’ve watched clients cry in my chair, not from pain, from the intensity of seeing their nightmare rendered real. I’ve also watched them laugh, show everyone in the shop, plan the next piece immediately.
The style isn’t a phase or a trend, despite what mainstream tattoo publications might imply when they cover it every October. It’s a legitimate technical discipline with a dedicated community of artists pushing what’s possible. If you’re drawn to it, do your research, save your money, find someone whose healed work makes you uncomfortable in the right way, and commit to the process. The result is something that genuinely doesn’t exist anywhere else in visual art, a realistic nightmare you carry with you, that ages and changes as you do, that becomes part of your actual body. That’s not decoration. That’s transformation. And that’s why I still love doing this work after fifteen years in the chair.
Frequently Asked Questions
How long does a realistic horror sleeve typically take?
Plan for twenty to thirty hours minimum, often spread across six to eight sessions. The detail density in realistic horror means slower needle time compared to bolder styles. Healing breaks between sessions add to the calendar time too.
Do realistic horror tattoos fade faster than other styles?
Black and grey realistic horror actually ages well if the blacks are solid. The risk is in the subtle grey washes, those can soften over time. Color horror pieces with reds and yellows tend to need touch-ups sooner. Sun protection matters enormously for longevity.
Can you cover up an old tattoo with realistic horror?
Sometimes, but it’s limited. Realistic horror needs clean skin to achieve those smooth gradients. Very dark or heavily lined existing work restricts what’s possible. I usually assess these in person, occasionally we need laser fading first to make it workable.
What’s the most challenging realistic horror subject you’ve tattooed?
Transparent or wet surfaces, like a ghostly figure with visible organs through semi-transparent skin, or fresh blood that has to read as liquid. Getting those values right so it doesn’t just look like grey or red mush takes serious planning and usually multiple sessions of refinement.