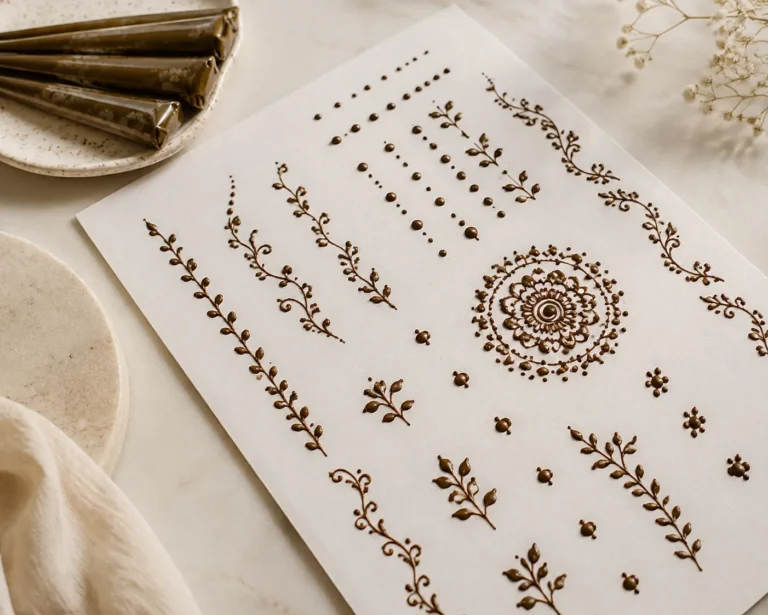
Beautiful mehndi design front hand ideas can hold up beautifully, but only if you respect the placement and let the paste breathe. I almost talked myself into a tiny wrist version years ago, and it would’ve blurred into a brown patch fast. Now I tell clients the same thing every time: front hand mehndi can look striking and intricate, but you can’t force too much detail into a high-wear zone. Henna is not a tattoo. The paste dries, stains the skin reddish-brown, darkens on the second day, and fades in one to three weeks.
- Build a Front Hand Mandala That Breathes
- Why does Arabic vine flow look so clean?
- Full Palm Floral, but Keep One Bloom in Charge
- Protect the Negative Space
- Jaipur Bracelet Flow on the Front Hand
- Let the Lotus Stay the Hero
- Bold Fingertips, Softer Palm
- Stack the Jewelry Illusion Without the Noise
- Paisley Done the Smart Way
- Could minimal dotwork be enough?
- Bridal Wrist-to-Finger Drama That Still Dries Nicely
- Mahendiii Finger Lines Need Breathing Room
- Mesh That Reads Chic, Not Cheap
- Crescent Palm Layout for First-Timers
- Use the Three-Foot Test Before You Book
- Here’s What Front Hand Mehndi Is Really Worth
1Build a Front Hand Mandala That Breathes
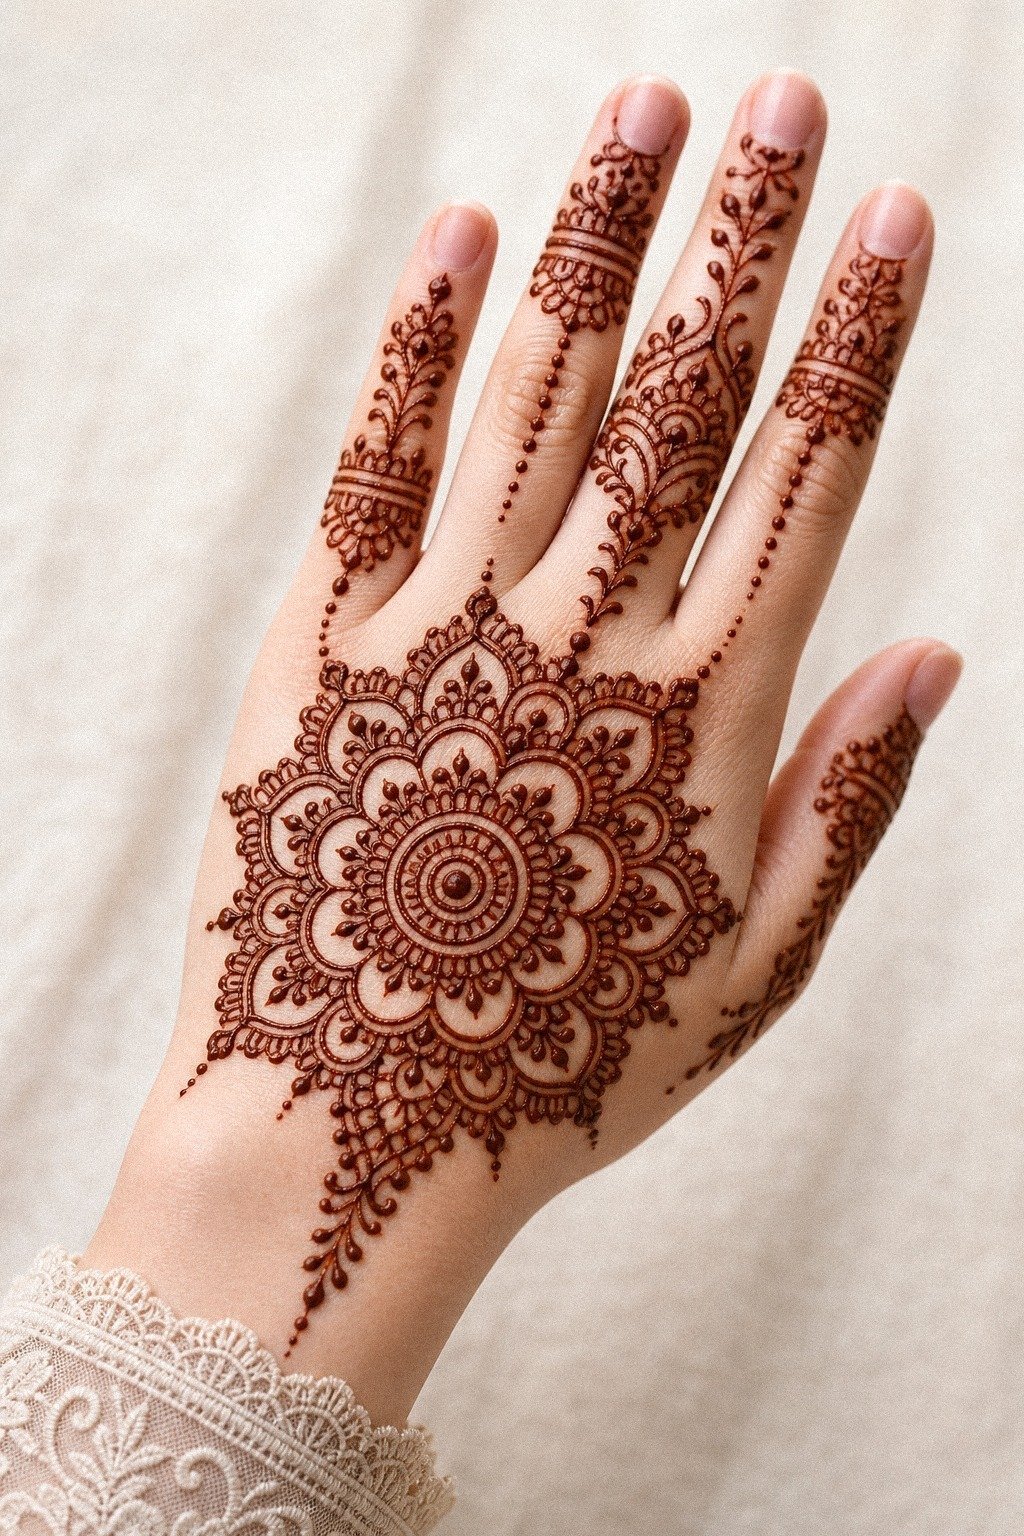
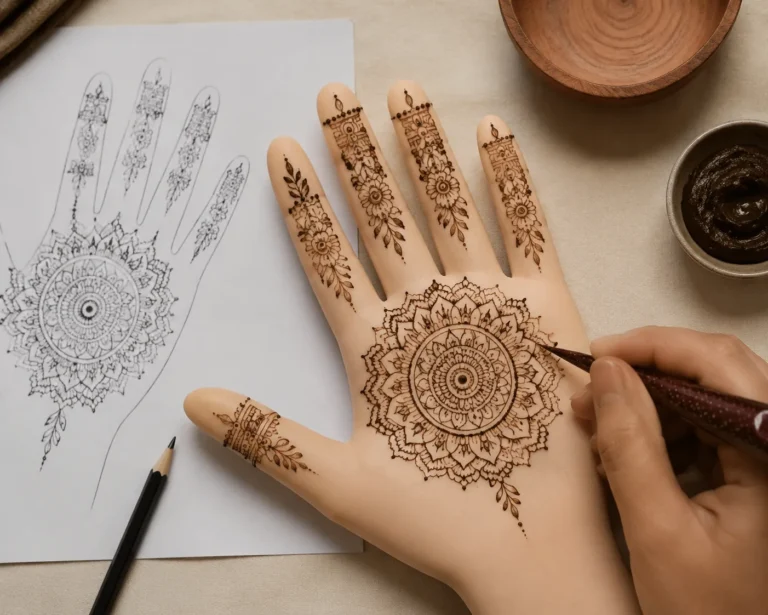
If you want a front hand design that reads delicate from day one, start with a centered mandala and let it bloom across the palm. I like this layout because it gives your eye an anchor point right in the middle, then lets the finger details taper out instead of screaming for attention. On fair cool-pink skin, a natural henna paste test shows quickly whether the symmetry is solid or wobbly.
You should keep the core circle around 2.5 to 3.5 inches wide so the petals can breathe. Smaller than that, the inner lace gets too tight and the paste can dry into a muddy patch.
I have seen people beg for micro-detail here, but I would skip it. One crisp mandala center, not ten crowded flourishes. If you want more reference shapes before you book, look at front hand mehndi designs and compare how much open skin the strongest pieces leave.
If you are weighing cost against value, this is one of the safest meaningful layouts in the whole group because the center carries the design without forcing your mehndi artist into hours of tiny filler. A clear mandala core gives you impact fast.
2Why does Arabic vine flow look so clean?
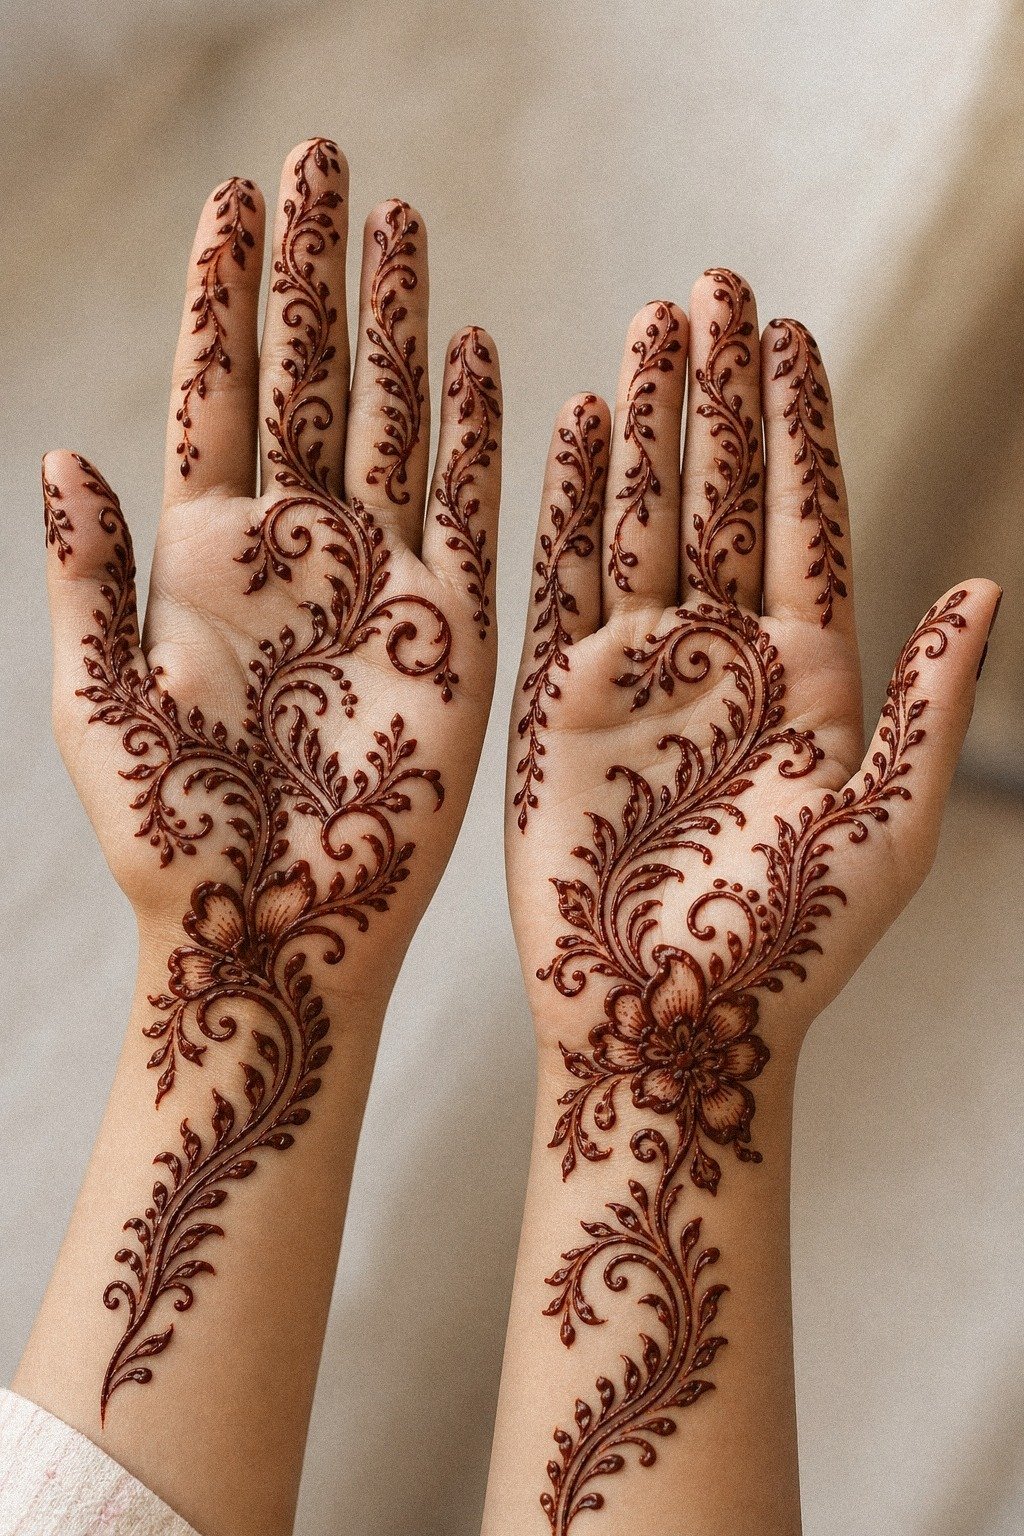
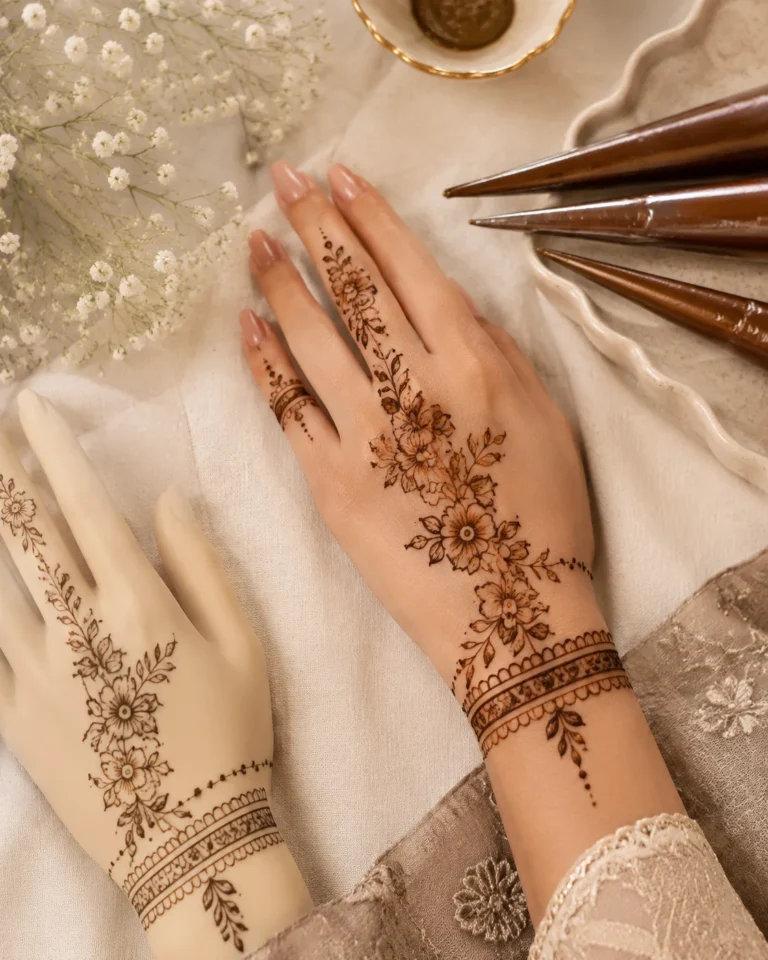
This flowing Arabic vine works because it doesn’t try to fill every inch of skin.
3Full Palm Floral, but Keep One Bloom in Charge
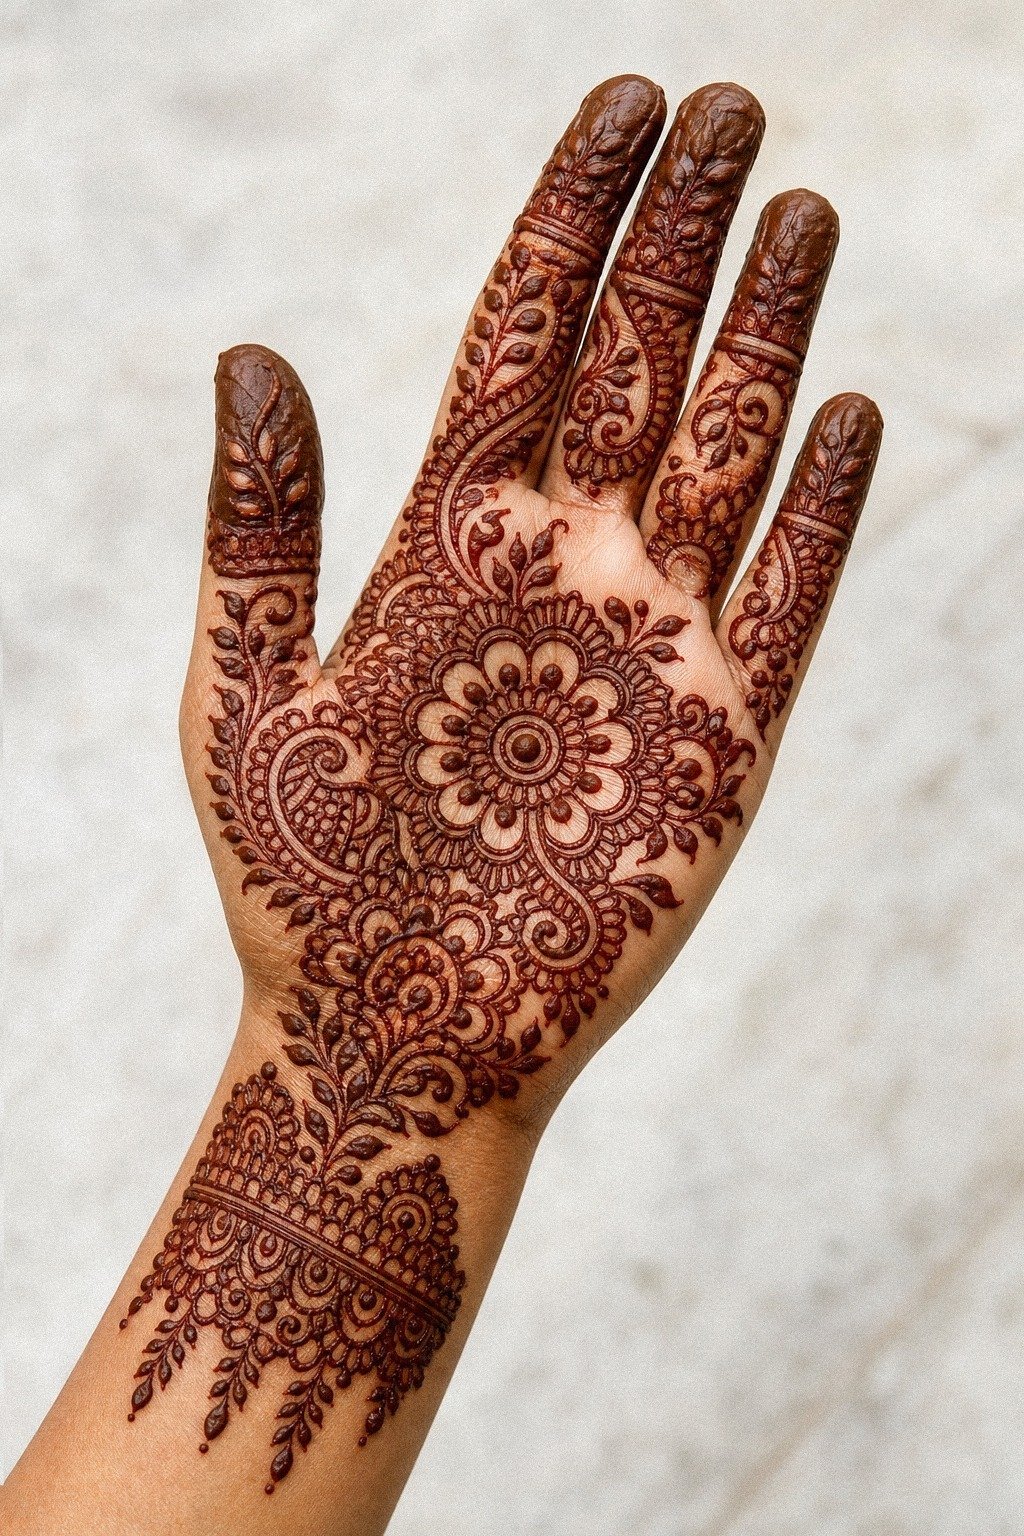
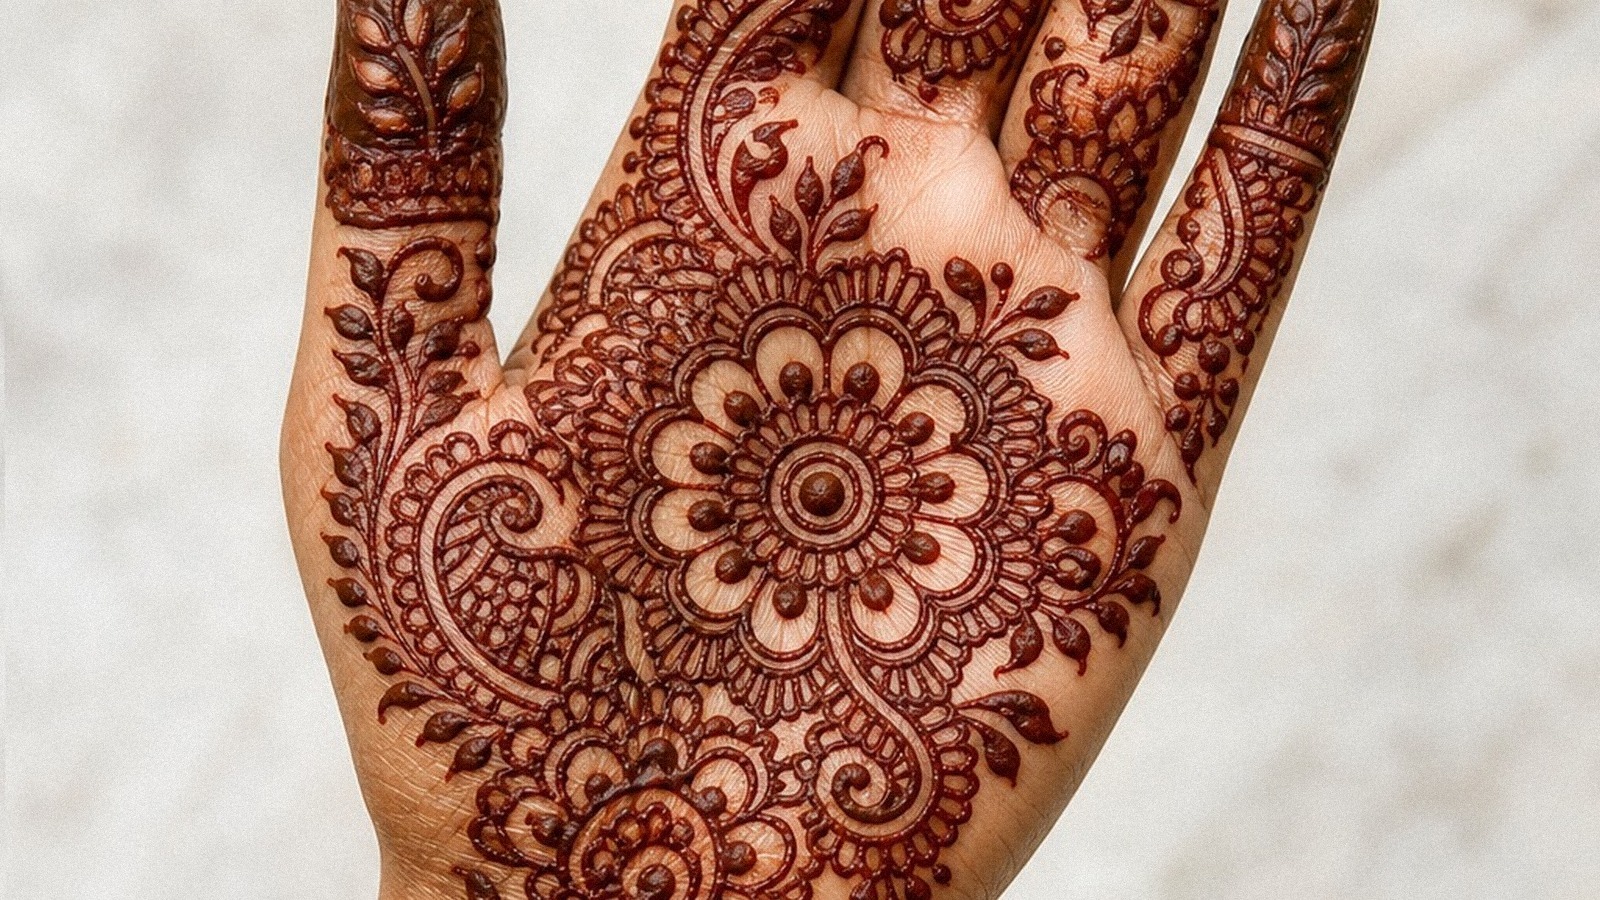
A full palm floral layout is for you if you love coverage and do not mind a busier read. Big petals, layered leaves, a wrist extension, the whole thing. On medium olive skin, that reddish-brown henna stain looks velvety when the flowers are spaced right, and it gives the palm a bold look instead of random filler.
But here is my rule: keep at least one flower head dominant. If every bloom is the same size, your eye has nowhere to land and the design starts reading flat.
I usually tell clients to pick one hero flower in the center of the palm, then let smaller petals echo toward the wrist. That’s what makes it feel ornate and styled, not crowded.
If you are deciding between palm-heavy and broader coverage, 23 full hand mehndi designs to show your artist first is a useful side-by-side check.
For pure visual payoff, this one can look rich and vibrant. Still, I would only call it smart when the hero flower stays obvious from arm’s length.
4Protect the Negative Space
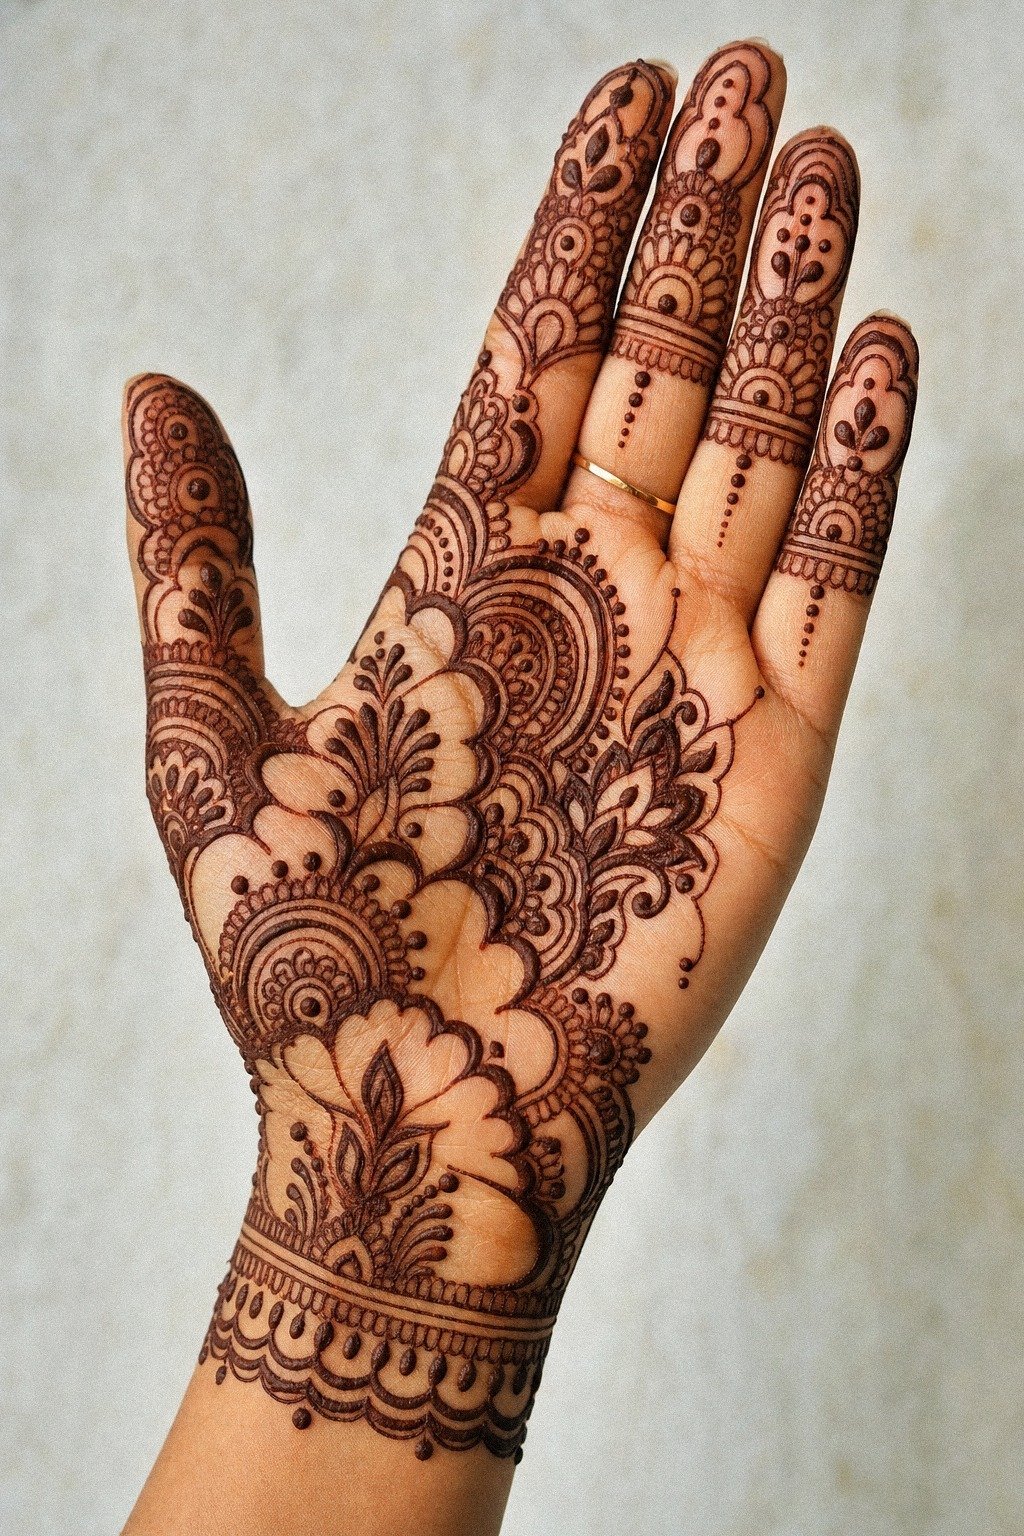
Negative space is the part a lot of people underrate, and it’s the reason this design feels modern and understated.
5Jaipur Bracelet Flow on the Front Hand
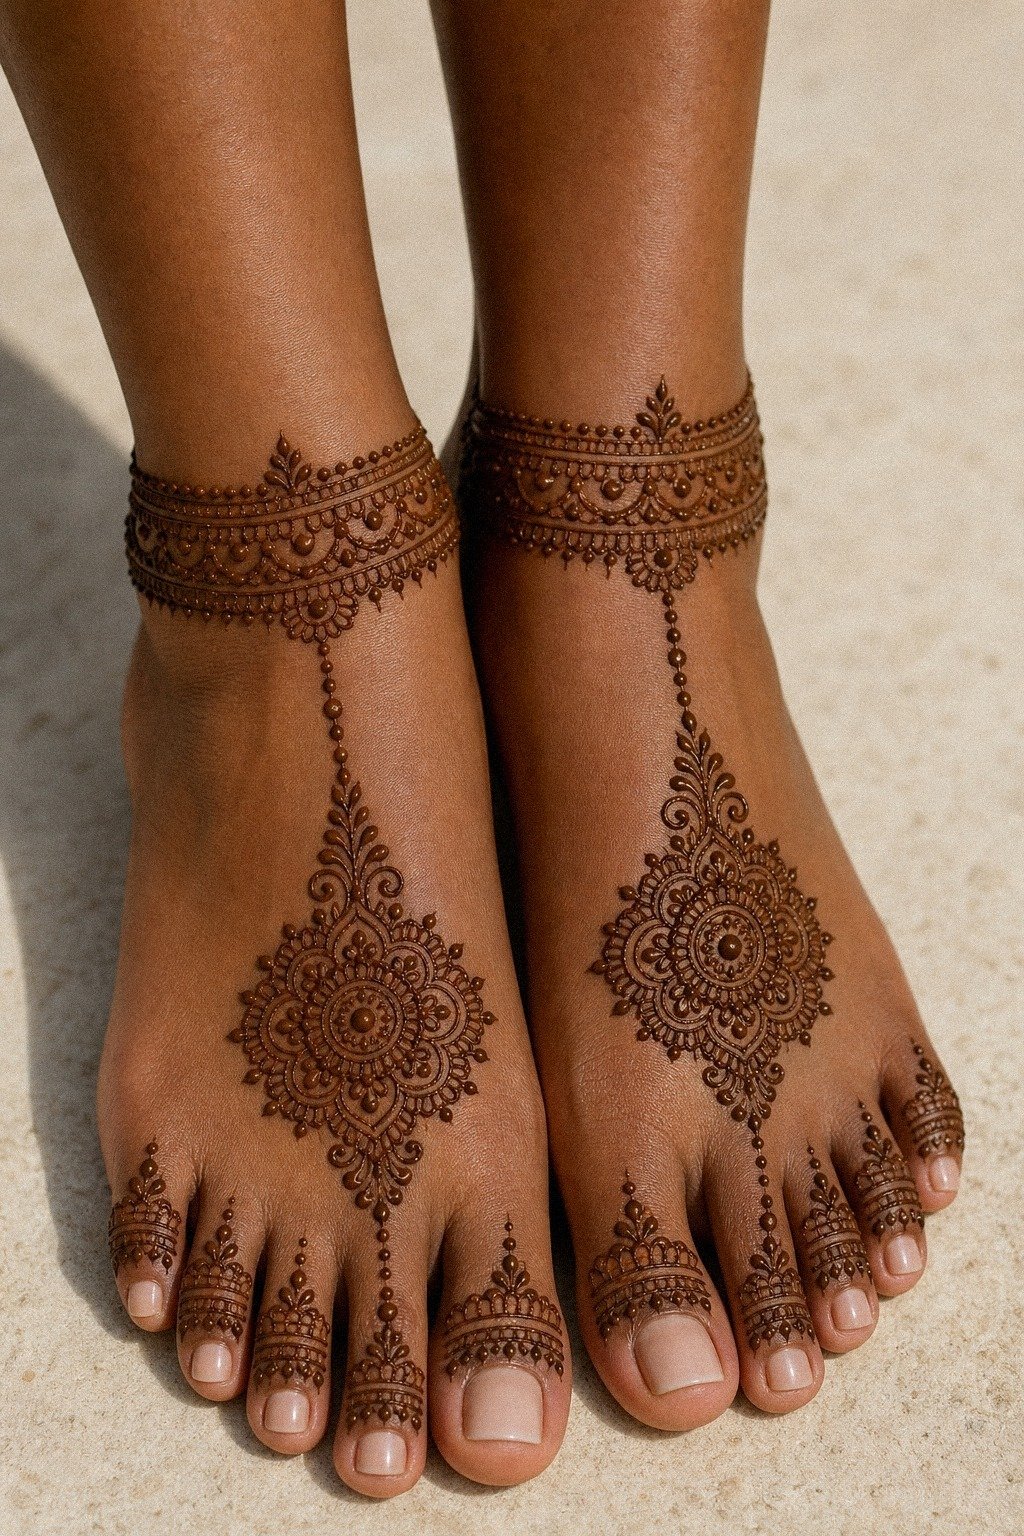
This one has jewelry energy first, pattern second, and that is why it works. The chain effect from wrist to finger feels like a bracelet with a connected ring, which gives the design movement even before you add detail. The reference reads almost anklet-like, and on deep brown skin a warm henna stain can make that linked pattern look extra polished.
If you are adapting this flow onto a hand, keep the bracelet band a little bolder than the chain line running to the finger. That contrast stops the piece from looking scratchy while the paste is being applied. I have seen people keep every line the same weight, and it loses the jewelry illusion right away.
But when the wrist anchor is stronger, the whole thing feels more sleek and graceful. For more connected layouts, 15 stylish mehndi designs for front hand that flow right is worth a look.
And when that bracelet section hits clean, the whole design snaps into place! A stronger wrist anchor usually gives you better visual payoff than chasing extra finger filler.
6Let the Lotus Stay the Hero
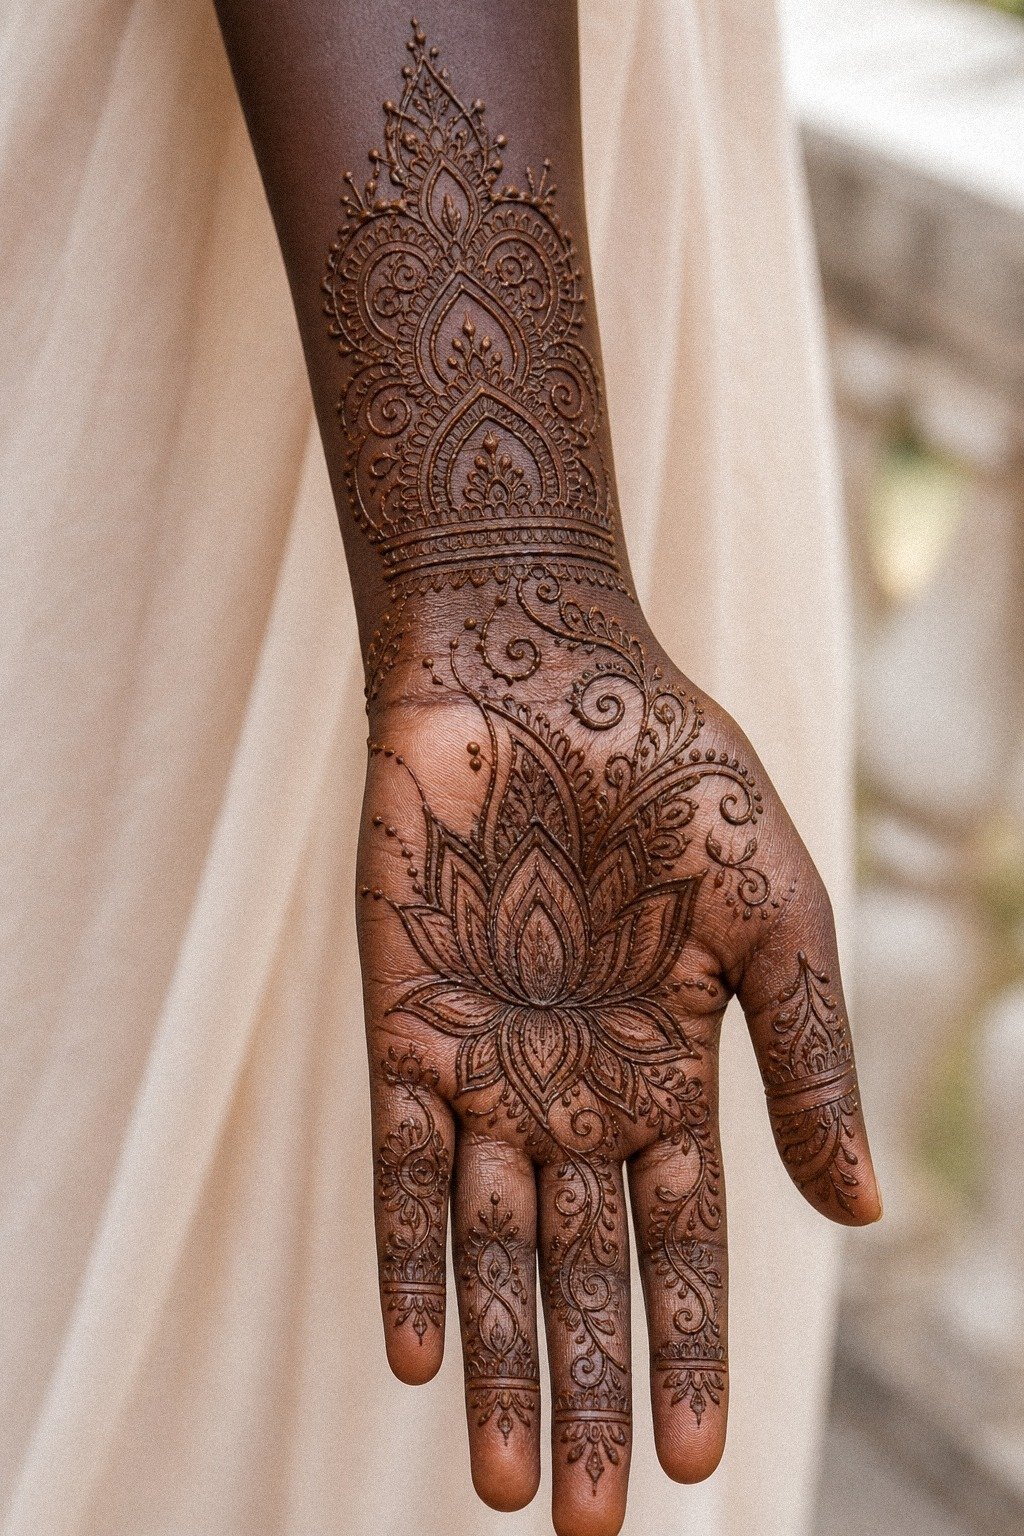
A lotus on the palm can go soft and elegant fast, but only if the petals stay readable. The best versions do not overload the center.
They build out from a clean lotus core, then stretch supporting lines toward the wrist and lower forearm. On deep ebony skin, a rich henna cone mix gives enough warmth that the petal layering still shows instead of disappearing into one dark patch.
I would keep the lotus itself around 3 inches tall if you want the shape to remain clear as the stain fades. Tiny petal cuts look dainty on Pinterest and then disappear into the overall pattern.
If you are practicing at home, use a fresh cone and a steady hand, then let the paste dry before brushing it away. You will get a cleaner result if the artist treats the flower as the hero and the surrounding filigree as backup.
If you’re still editing the idea, 24 simple henna designs to practice before going bold makes it easier to spot which lotus shapes stay airy.
That’s one reason this can be worth the cost. A readable lotus silhouette carries more than a pile of tiny cuts ever will.
7Bold Fingertips, Softer Palm
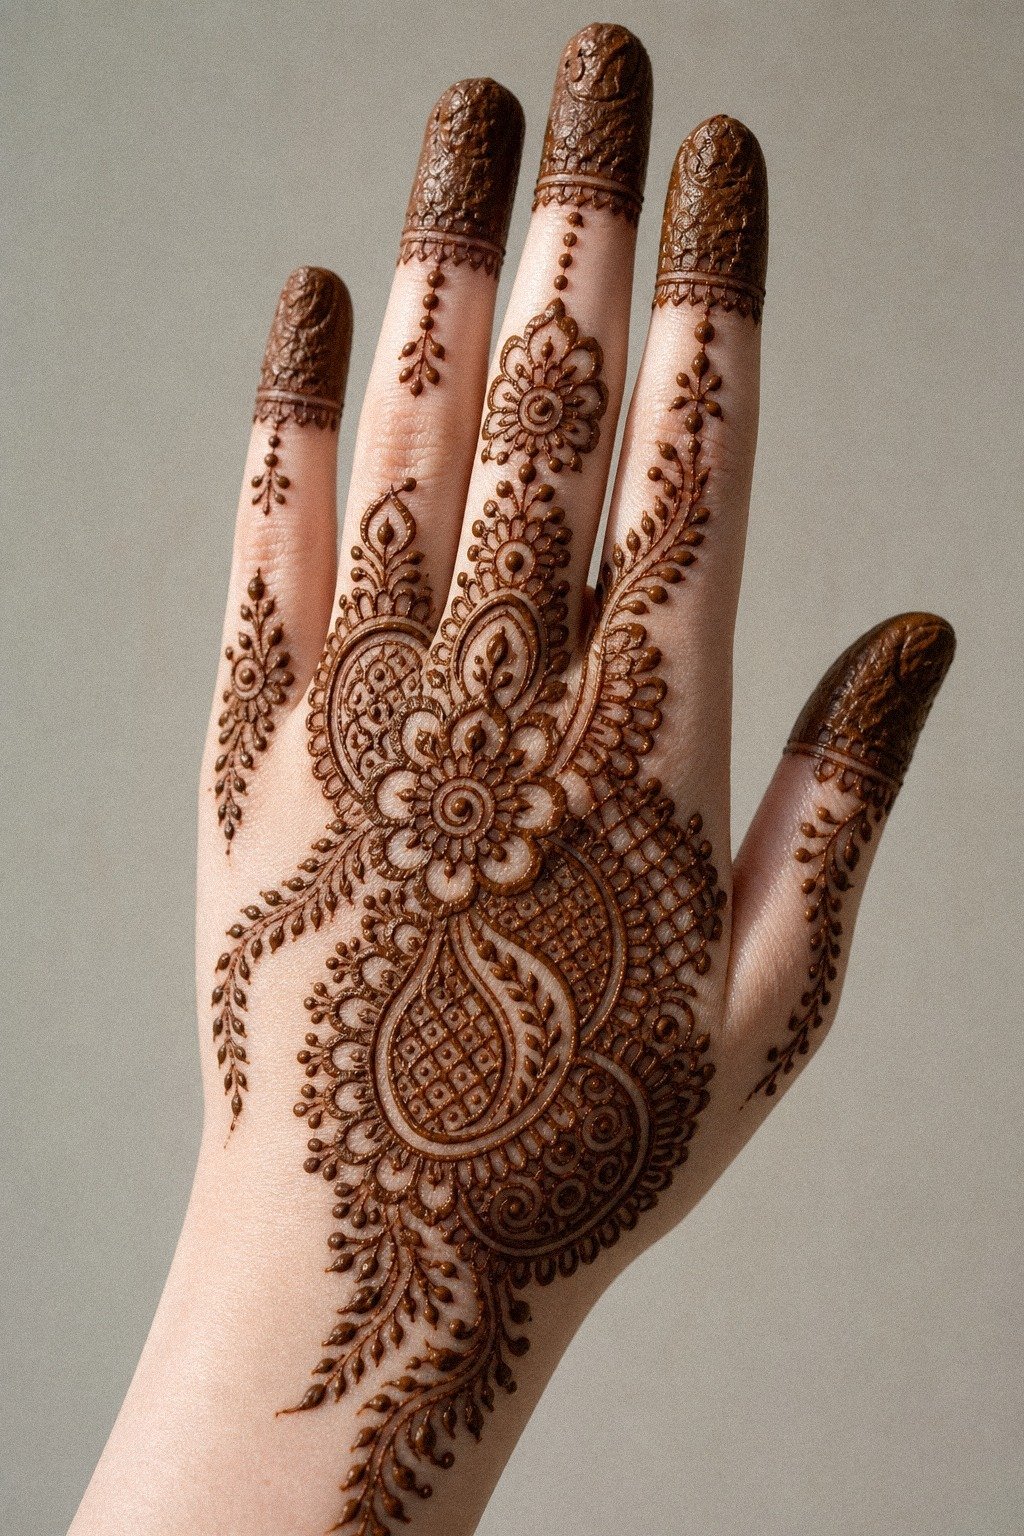
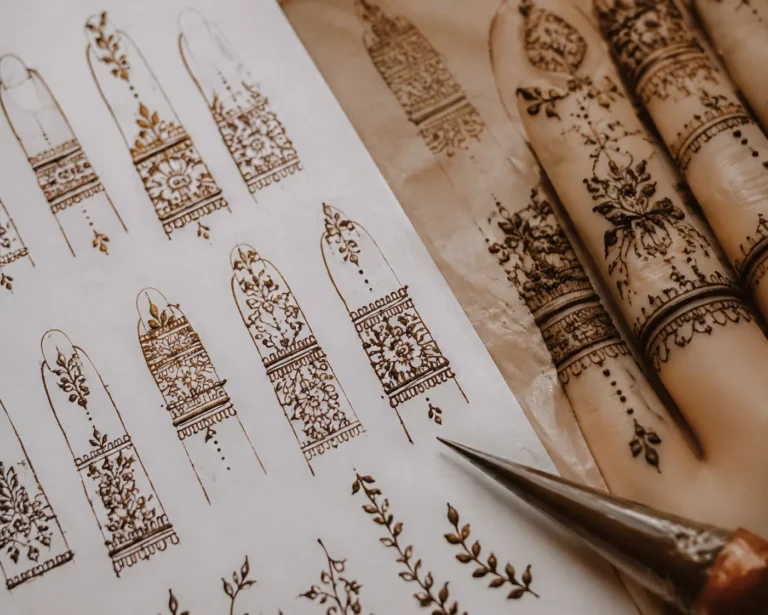
Bold fingertip caps are one of the easiest ways to make a front hand design read from across the room. You cover the fingertips more heavily, then balance them with lighter structure across the hand so the look feels grounded. On fair cool-pink skin, a fresh ornamental henna pattern makes it obvious how strong that fingertip contrast can be.
But I am gonna be blunt: fingertips and hands are high-wear zones. The stain can fade faster there because of washing, friction, and daily movement.
So if you love this look, go fierce with the caps and keep the rest less fussy. Bold will read.
Tiny fingertip lace can disappear quickly. For more durable-looking references, back hand mehndi designs can help you compare heavier versus finer finger coverage.
Extra aftercare matters here, so this only feels solid if the fingertip contrast is strong enough to remain visible through ordinary wear.
8Stack the Jewelry Illusion Without the Noise
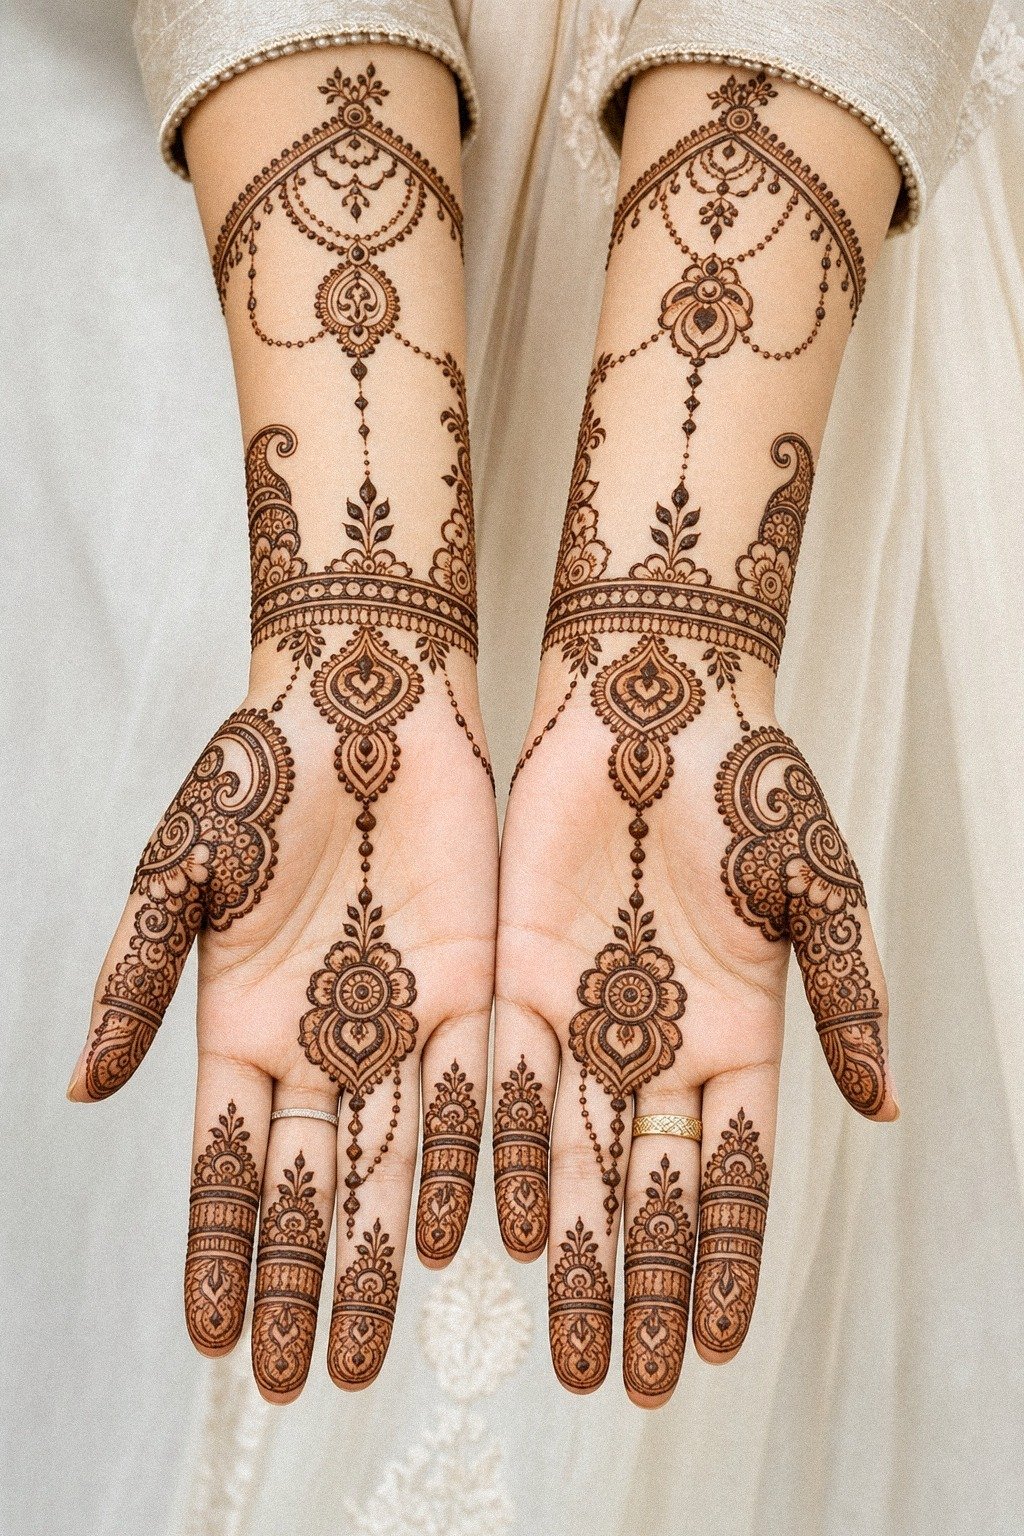
This layout mimics stacked rings, chains, and little hand jewelry drapes, which is why it feels stylish without being stiff.
9Paisley Done the Smart Way
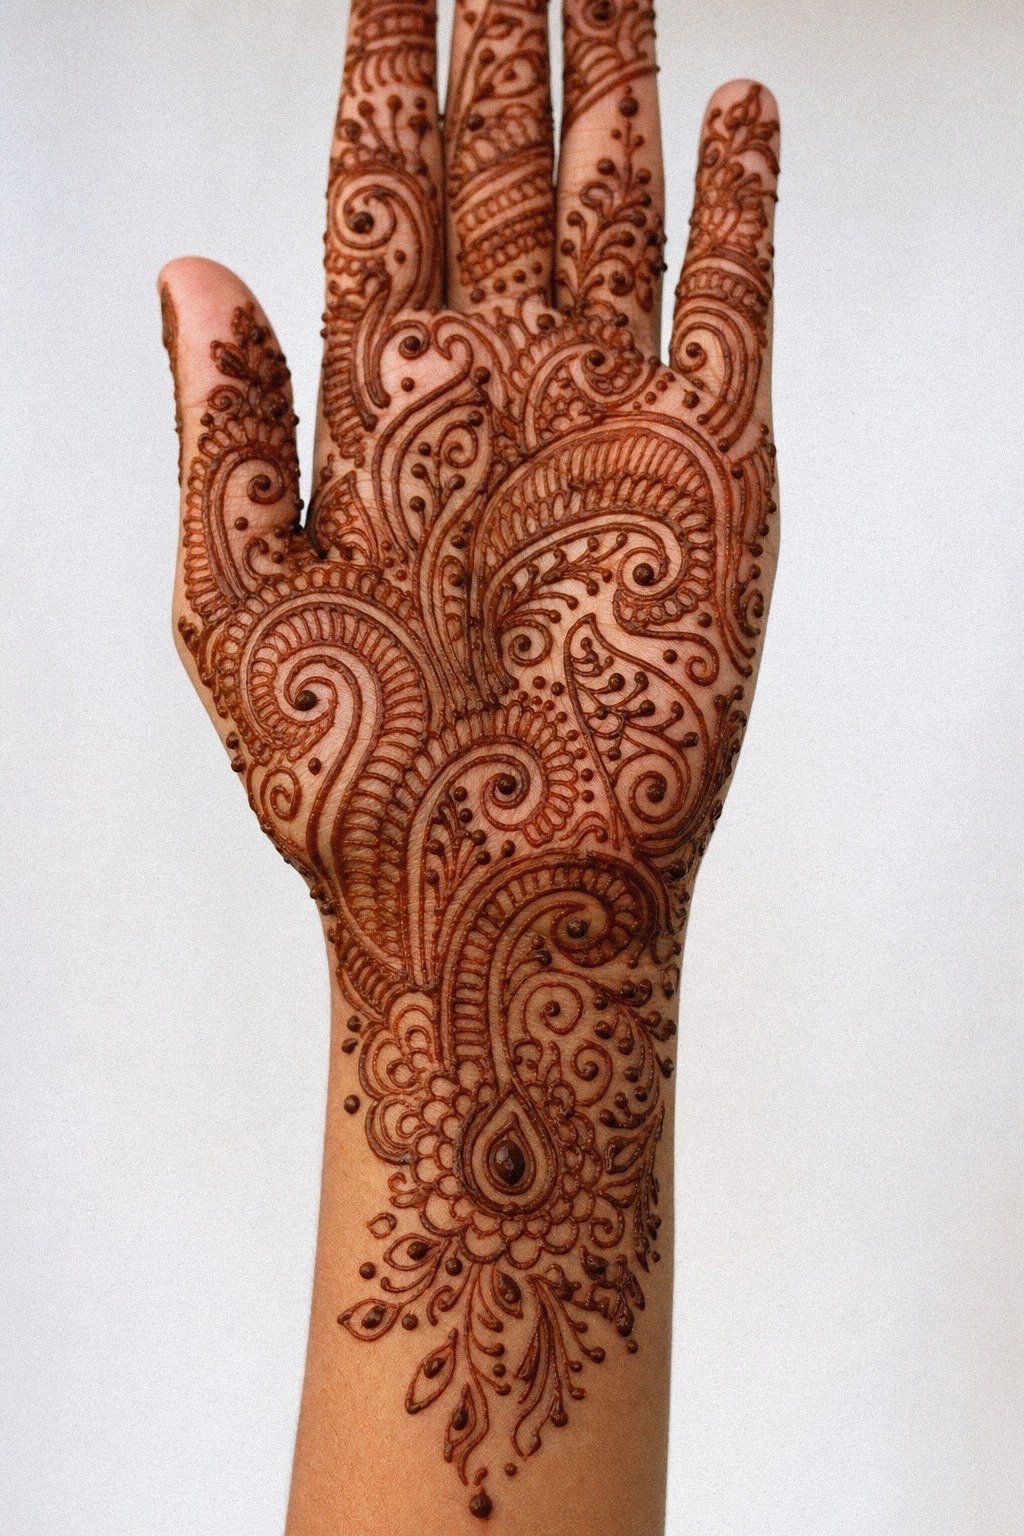
Paisley is a classic for a reason. It curls, stretches, and fills awkward palm space better than almost any other motif.
When you build a full palm design around one large paisley and supporting micro-shapes, the composition feels timeless in the best way. On medium olive skin, a saturated botanical henna blend can make those inner paisley fills look deep instead of dusty.
I would never cram five equal paisleys into one palm. One hero paisley, maybe two supporting shapes, then dots, leaves, and mesh around them.
That hierarchy matters. If you are practicing, simplify the inner detailing so each curl still reads after the dried paste flakes away.
You can see similar composition logic in 18 simple mehndi designs front hand you can copy fast, even when the overall pieces are lighter.
That keeps the price honest too, because a strong paisley hierarchy usually needs less correction while the design is being applied.
10Could minimal dotwork be enough?
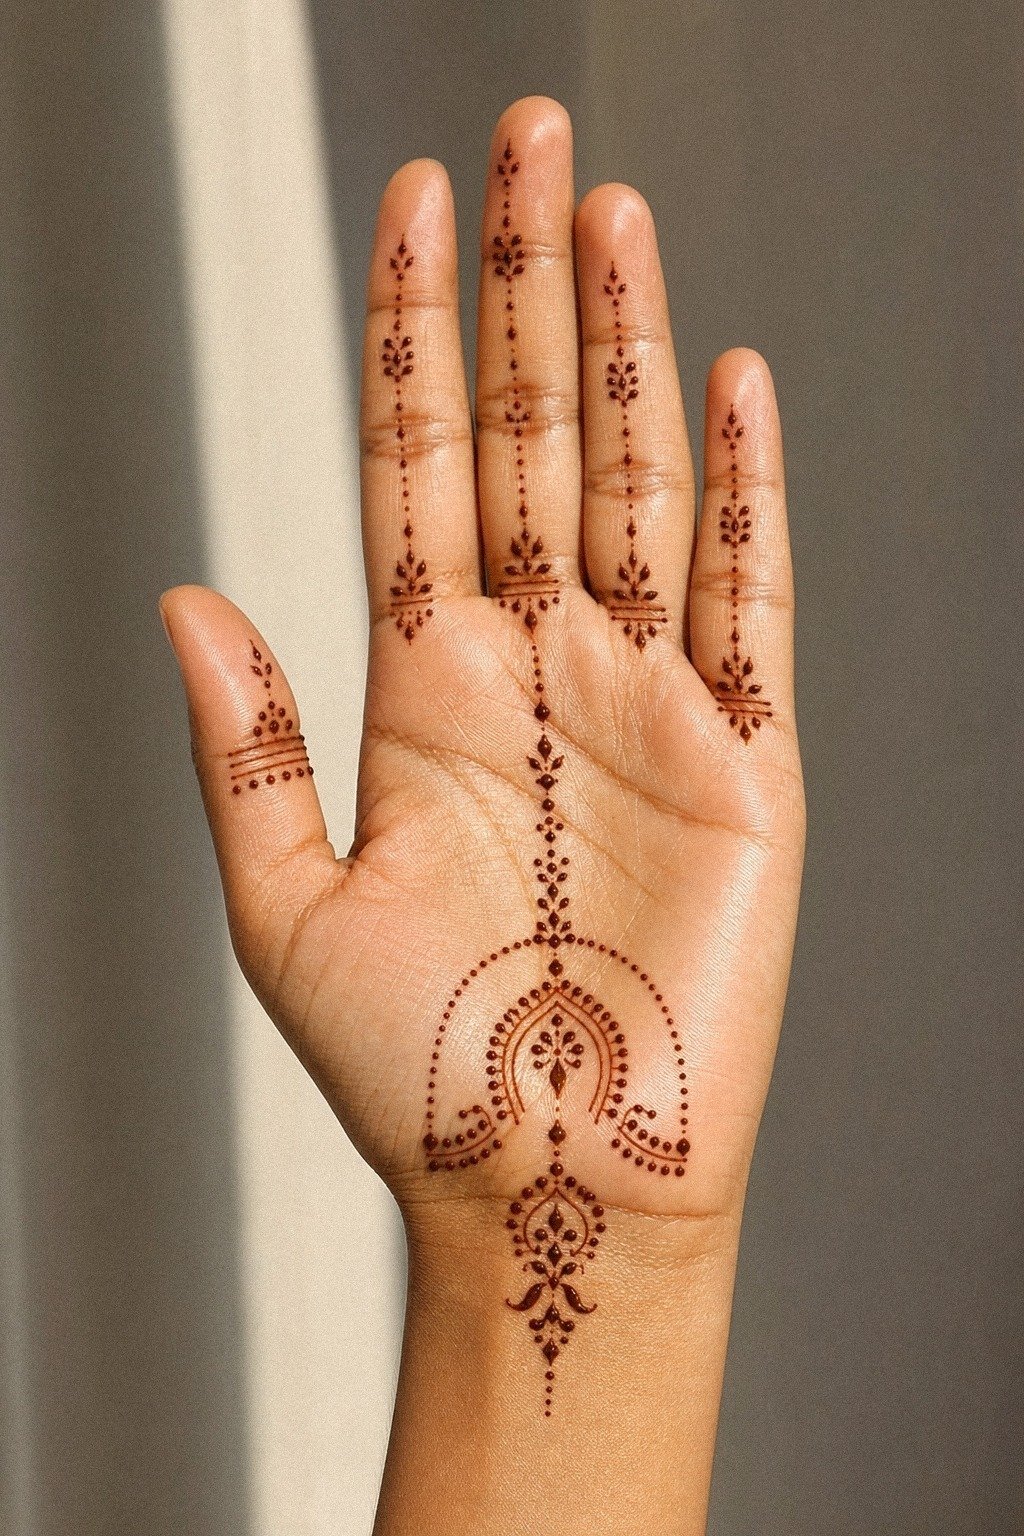
Minimal dotwork can look playful, modern, and very intentional if you keep your spacing disciplined. A few dots around a palm motif or finger line can soften the structure and give it rhythm. On golden tan skin, a clean dot cluster pattern is useful because dot placement is either confident or messy, there’s really no middle ground.
You should use dot clusters to support the main shape, not replace it. That’s the mistake I see all the time.
People go too tiny, too scattered, and the design starts looking unfinished instead of minimal. But when the dots echo a crescent, floral stem, or finger trail, they work.
If you’re drawn to stripped-back work, very simple mehndi designs is a solid reference set for cleaner spacing.
And yes, minimal can be a smart move when the dot clusters frame a real anchor instead of pretending to be the whole design.
11Bridal Wrist-to-Finger Drama That Still Dries Nicely
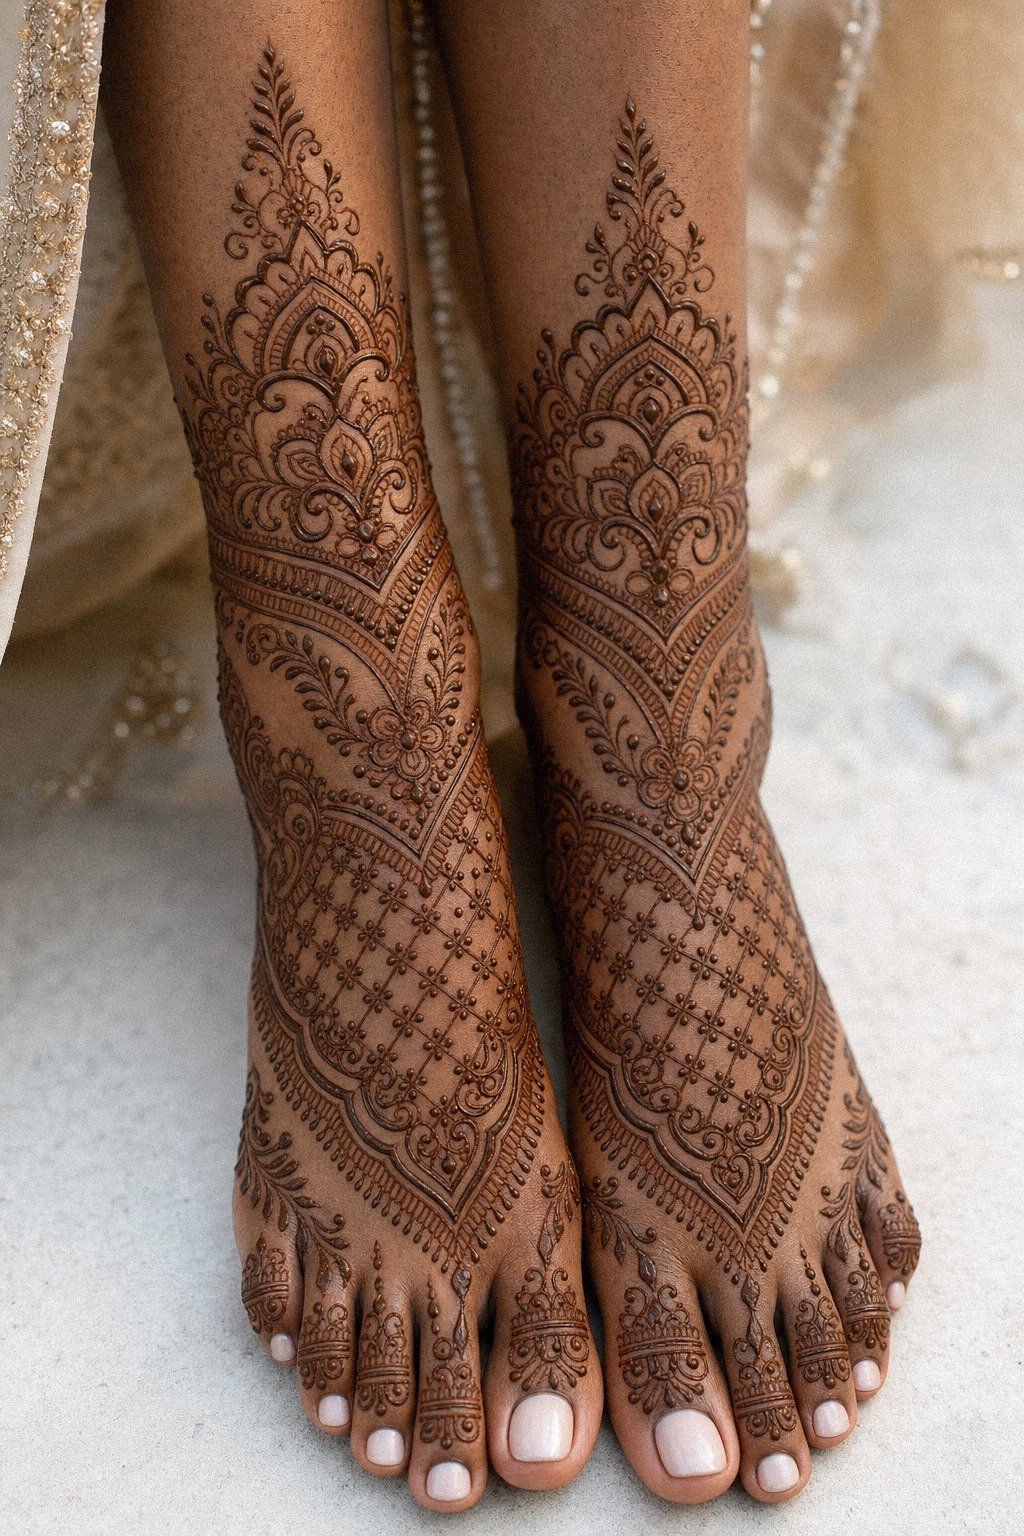
Bridal wrist-to-finger work is fuller, richer, and more sacred than your average everyday layout.
12Mahendiii Finger Lines Need Breathing Room
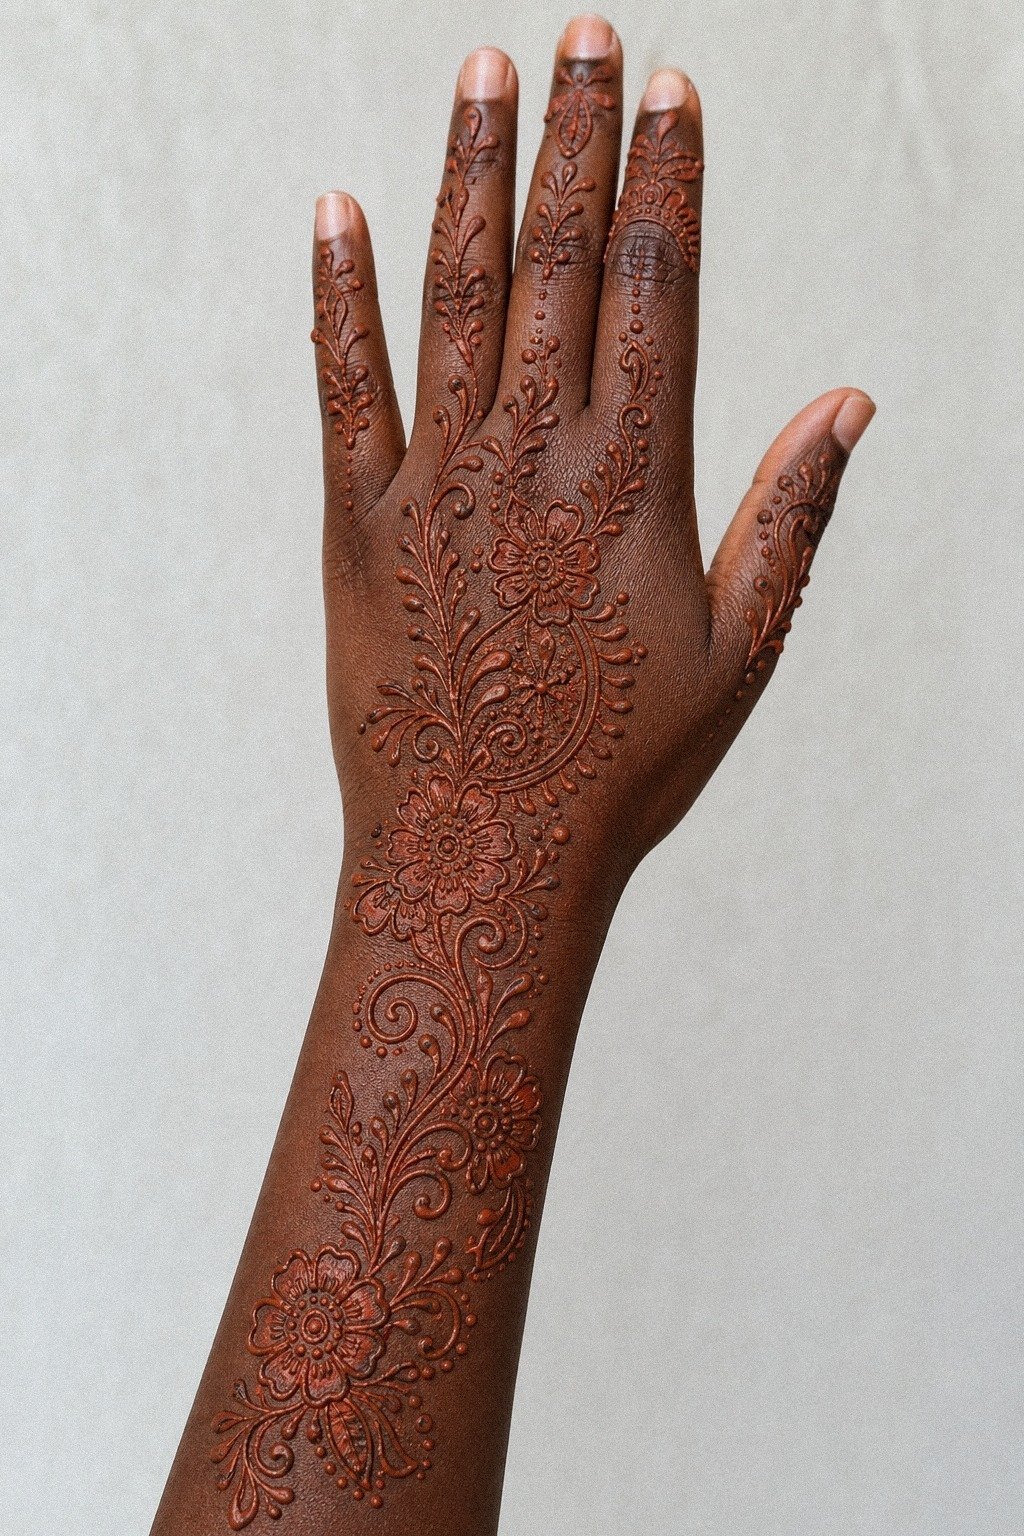
This design leans into long floral finger lines, and that vertical pull is what makes it flattering. It draws the hand out instead of widening it.
On deep ebony skin, a crisp fresh cone application can help you test the spacing first, because these finger trails need confidence. One shaky leaf chain and the whole thing loses that clean, lifted feel.
I tell clients to keep each finger different, but related. Same family, not clones. Maybe one finger gets a fuller bloom, another stays mostly leaf-led, another keeps negative space near the knuckle.
That variety is what keeps the hand alive and expressive. But you still need restraint. If every finger gets the same dense pattern, the design stiffens up.
For more finger-focused ideas, finger mehndi designs is a good place to compare spacing.
But keep the knuckle breaks visible, or the finger spacing loses that lifted look fast.
13Mesh That Reads Chic, Not Cheap
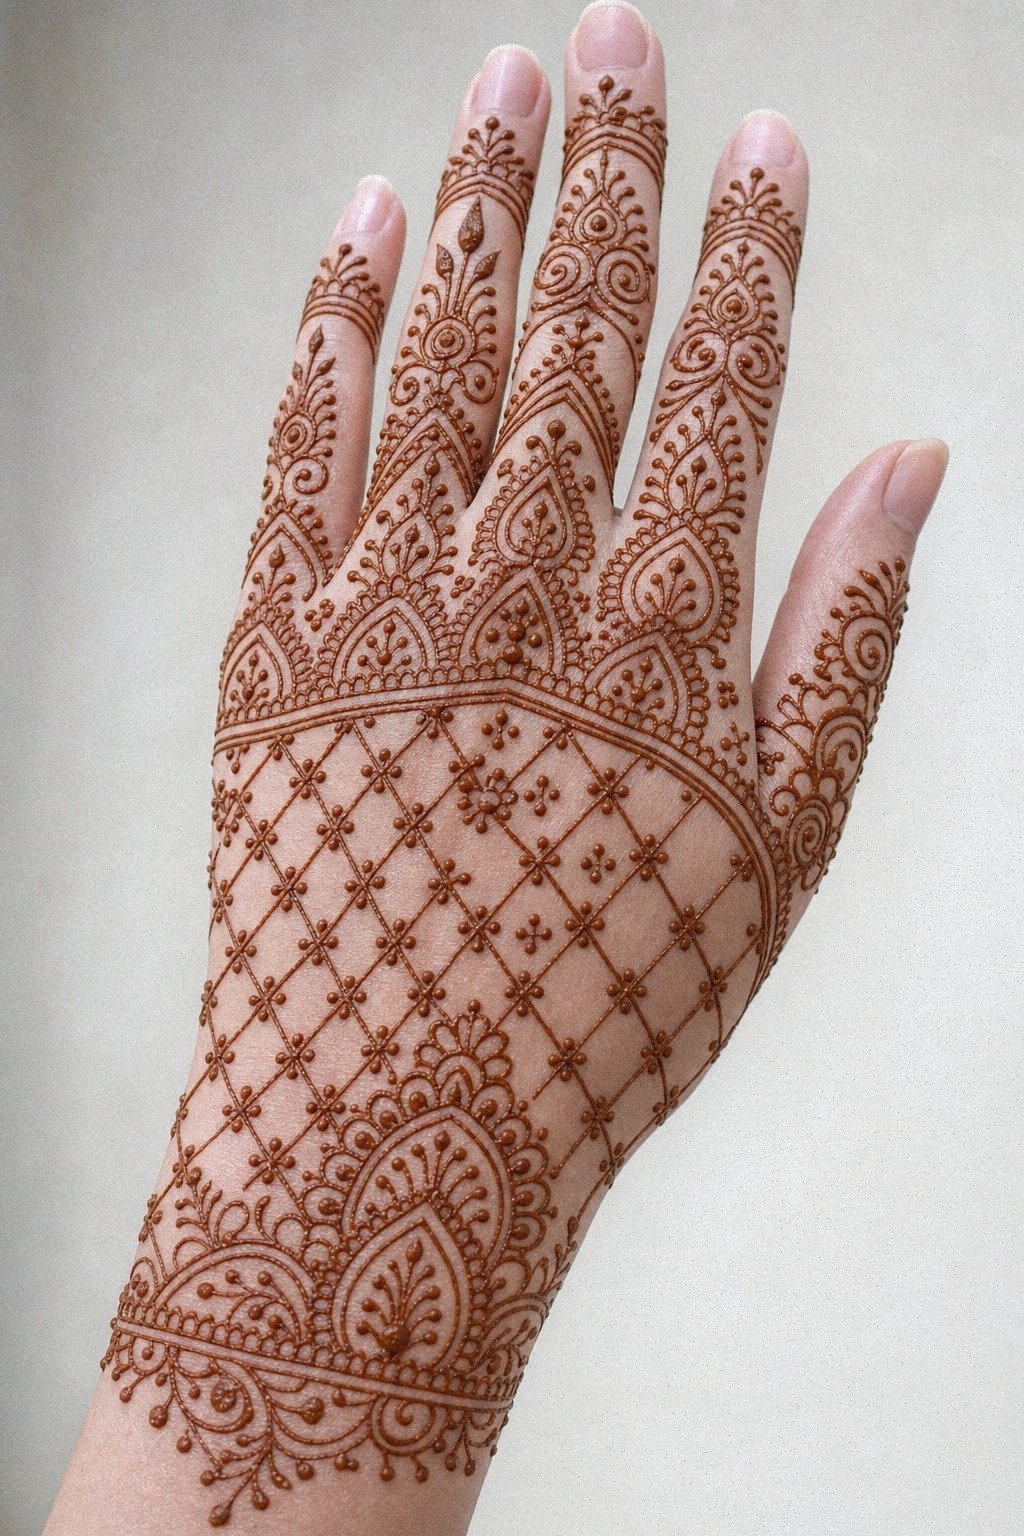
Mesh can go graceful or tacky, and the difference is line confidence. A strong front hand mesh pattern lays a net across the palm, then breaks it up with florals, dots, or tiny petal nodes so it doesn’t feel like fishnet slapped on skin. On fair cool-pink skin, a fresh mesh henna design shows the same lesson clearly: the lattice needs open diamonds, not cramped ones.
The Mesh-and-Breath Rule is simple. Keep the lattice open enough that each crossing stays visible as the stain gradually fades.
I’d also let the fingers stay lighter if the hand itself is heavily netted. Too much mesh everywhere gets visually loud fast.
But a restrained mesh with one floral interrupt? So good!
If you want lighter grid ideas before going full coverage, simple mehndi designs front hand easy can help you edit down.
For the money, a cleaner mesh lattice usually wins over a packed one because it stays readable longer.
14Crescent Palm Layout for First-Timers
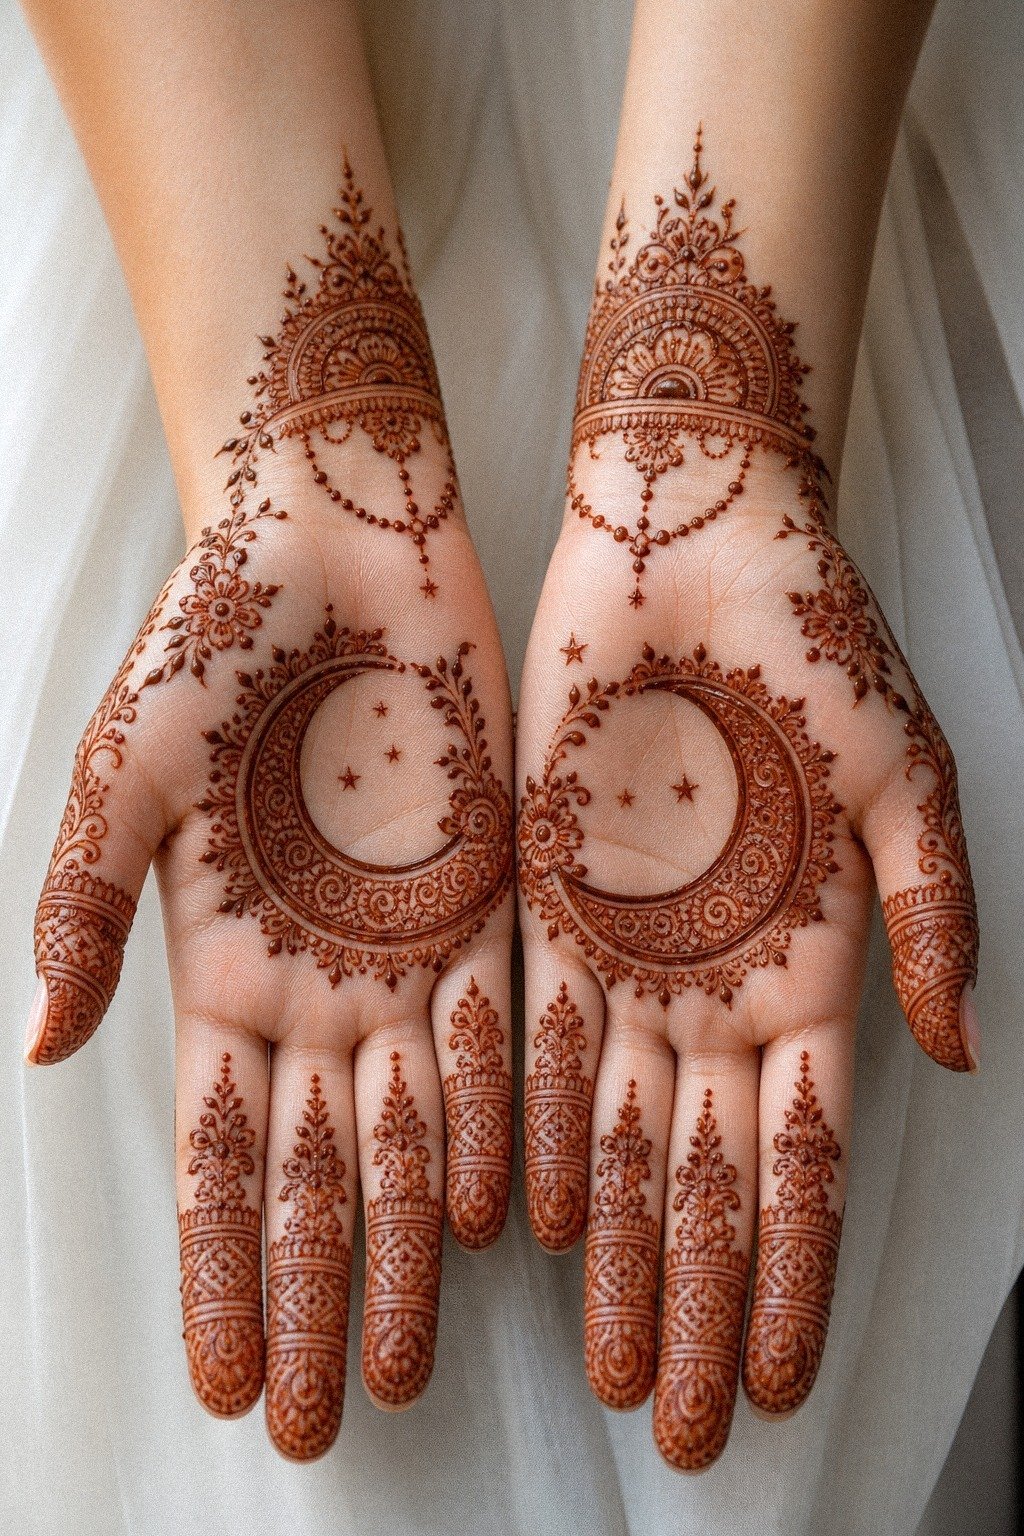
A crescent palm design gives you shape without the heaviness of a full central medallion. The curve sits beautifully in the palm, then opens room for dots, leaves, and fine finger accents to orbit around it. On medium warm ivory skin, a smooth henna cone practice mark can be useful if you are still deciding how much detail to include.
I love this one for first-timers because the shape is easy to read and easy to scale. You can keep it around 2 to 3 inches, let the fingers stay lighter, and still get plenty of visual payoff.
The Crescent-Flow Method also fades more evenly than overfilled palm work because it respects open skin. If you like cleaner crescents and less density, modern mehndi designs is the right comparison set.
It is one of the safest picks here, honestly, because the crescent shape looks intentional without demanding a huge appointment.
15Use the Three-Foot Test Before You Book
Here is my fast filter when you are stuck between two mehndi references: step back about three feet and see what still reads.
16Here’s What Front Hand Mehndi Is Really Worth
Here is the honest part most Pinterest roundups skip: front hand mehndi looks ethereal, but the planning shouldn’t be delicate at all. You need to make hard choices early.
Size, spacing, finger coverage, where the eye lands first, how much open skin you’ll protect, whether you’re choosing temporary henna for a wedding, sangeet, Eid, Diwali, or an ordinary weekend. I’ve watched clients get stuck because they kept trying to combine five reference photos into one design. Don’t.
That’s how meaningful ideas get muddy.
What works best? Contrast, breathing room, and a clear hero shape.
If the hand has a centered mandala, let it lead. If the fingers are bold, let the palm relax.
If the wrist cuff is dramatic, do not make every finger fight for attention too. This sounds obvious, but when you’re excited, you stop editing yourself.
I do too. And then I have to pull back and ask the only question that matters: what should read first from three feet away?
That question saves people from weak decisions all the time. Tiny filler, extra mesh, miniature petals between already-tight lines, all of that feels tempting because it looks rich up close.
But hand work is a high-wear zone. You wash it, bump it, sun it, dry it out, move it all day.
The design needs enough structure to survive that life. A rich brown stain helps the pattern show, but spacing still does the heavy lifting.
If you’re still torn between ornate and edited, latest simple mehndi designs makes the value difference pretty obvious.
My favorite front hand pieces are never the busiest ones. They’re the ones with confidence. A strong center.
Soft support. Crisp floral lines.
Maybe one bold fingertip cap. Maybe a floral finger trail that leaves the palm mostly open.
That’s the sweet spot. If you want Pinterest-exact, I’m probably not your artist. But if you want a design that keeps its shape while the stain gradually fades, edit harder than you think you need to. Your future self will thank you!
What People Always Want to Know
How much does a Beautiful Mehndi Design Front Hand usually cost?
About $15 to $50 is typical in the US for a small front hand application, while bridal or full-hand work can run from $75 to $250. A DIY cone may cost only $5 to $15.
If your design pushes into denser custom work, the final mehndi application price climbs with time and detail. For more size comparisons, 15 mehendi designs for hands simple enough to diy is a helpful restraint check.
– Design size – Finger coverage – Artist experience – Regional mehndi rate
Are Beautiful Mehndi Design Front Hand a good idea for a first henna application?
Yes, if you keep the layout readable and don’t go too tiny. A simpler front hand flow can teach you fast how the cone feels, how long the paste takes to dry, and how the stain changes over two days. If you are unsure, compare it with very simple reference sets before you commit.
– Clear motif first – Less filler – Strong contrast – Easy paste removal
How do I choose a mehndi artist for Beautiful Mehndi Design Front Hand?
Pick someone whose dried designs still look clean, not just someone with pretty fresh photos. You want an artist with solid mehndi portfolio work, safe ingredients, and enough restraint to edit your reference down.
I would also ask whether they use fresh henna and explain drying and aftercare clearly. If you need more placement context, finger mehndi designs helps you see where line confidence matters most.
– Recent portfolio shots – Fresh natural henna – Hand placement experience – Clear ingredient information
Does Beautiful Mehndi Design Front Hand hurt?
No, the application should not involve needles or broken skin. You may feel the cool henna paste on your hand, and keeping the fingers still while it dries can become mildly inconvenient. If you’re planning around an event, back hand mehndi designs gives you a useful visibility-versus-wear comparison too.
– Cone pressure – Still fingers – Short drying breaks – Comfortable hand position
How long does a Beautiful Mehndi Design Front Hand take to dry?
The paste usually needs 1 to 2 hours to dry, though a dense bridal design may need longer. After the dried paste flakes away, the stain often starts orange, deepens to reddish-brown on the second day, and fades over one to three weeks. The biggest aftercare benefit is keeping it dry and protected from heavy friction at first.
For softer reference sets that do not overload the skin, simple henna designs for beginners is worth saving.
– Let paste dry fully – Brush off gently – Avoid soaking early – Limit heavy friction
What’s the best placement for Beautiful Mehndi Design Front Hand?
The front hand gives you maximum visibility, but it is also a high-wear zone. If you want the same vibe with a more open pattern, the forearm option gives the design extra room while keeping that ornamental flow.
If visibility matters most, the palm and fingers make a powerful choice, while the back of the hand gives the motif more space. If you are comparing placements, modern mehndi designs shows why open flow works so well beyond the palm too.
– Front hand for impact – Forearm for open flow – Back hand for visibility – Fingers for delicate detail
Where I’d Start First
If I had to pick one, I would start with the crescent palm layout. The personal crescent flow gives you a strong return, and it doesn’t need a ton of tiny filler to look finished. Pin that one for later and compare it with simple henna designs for beginners.