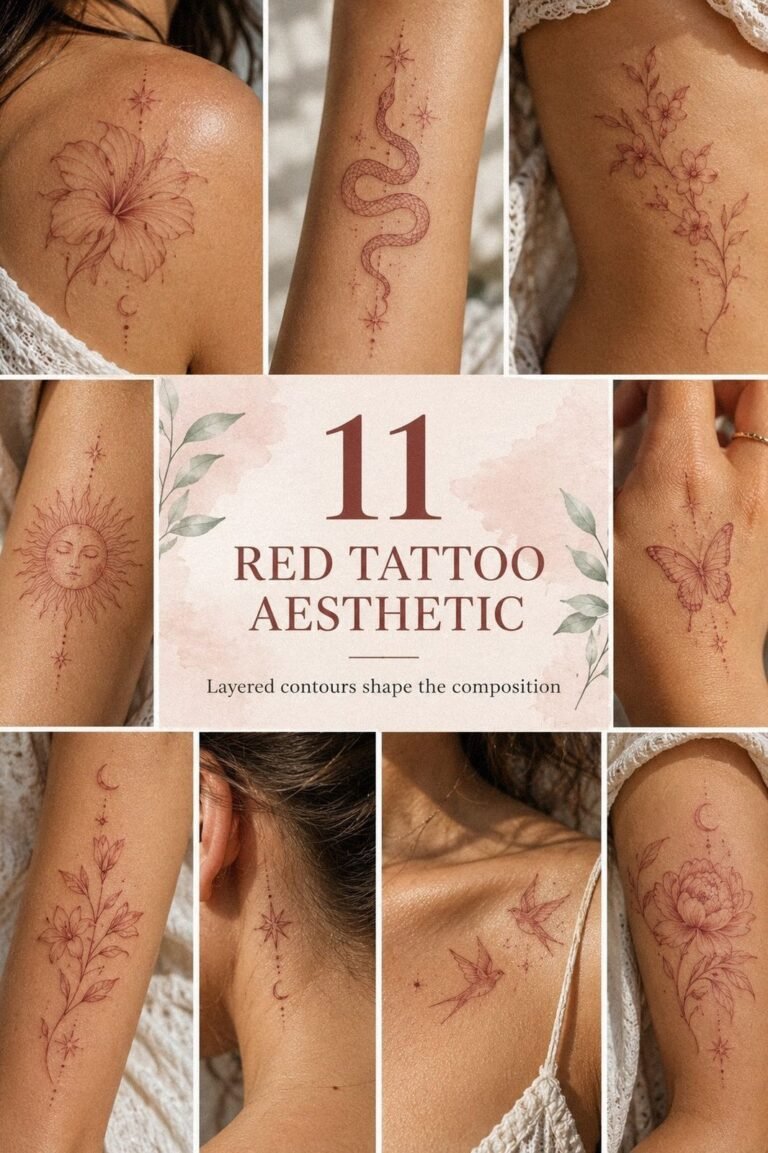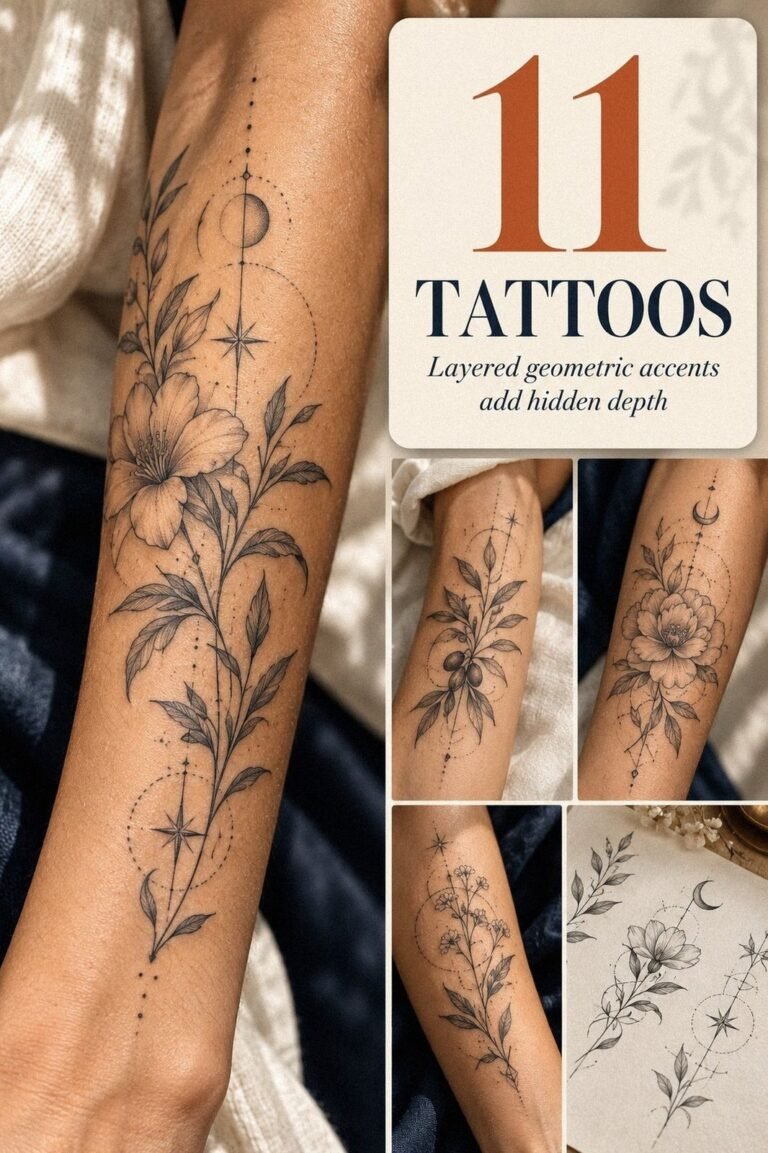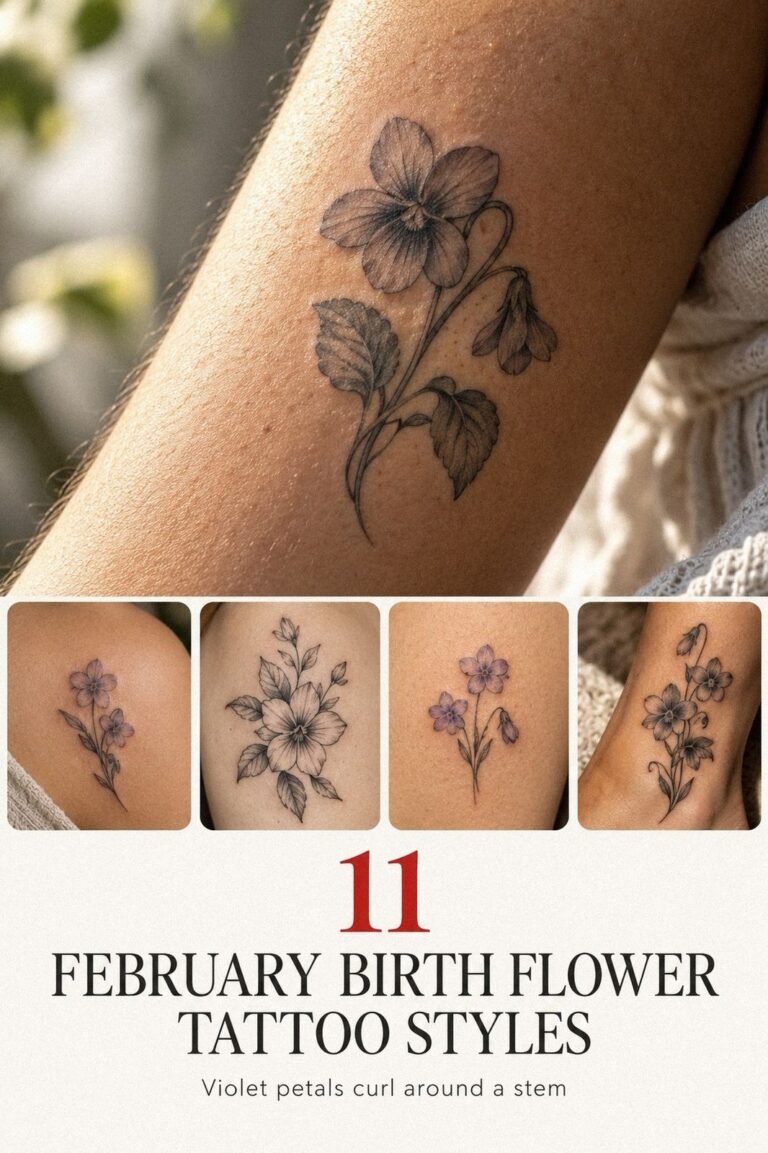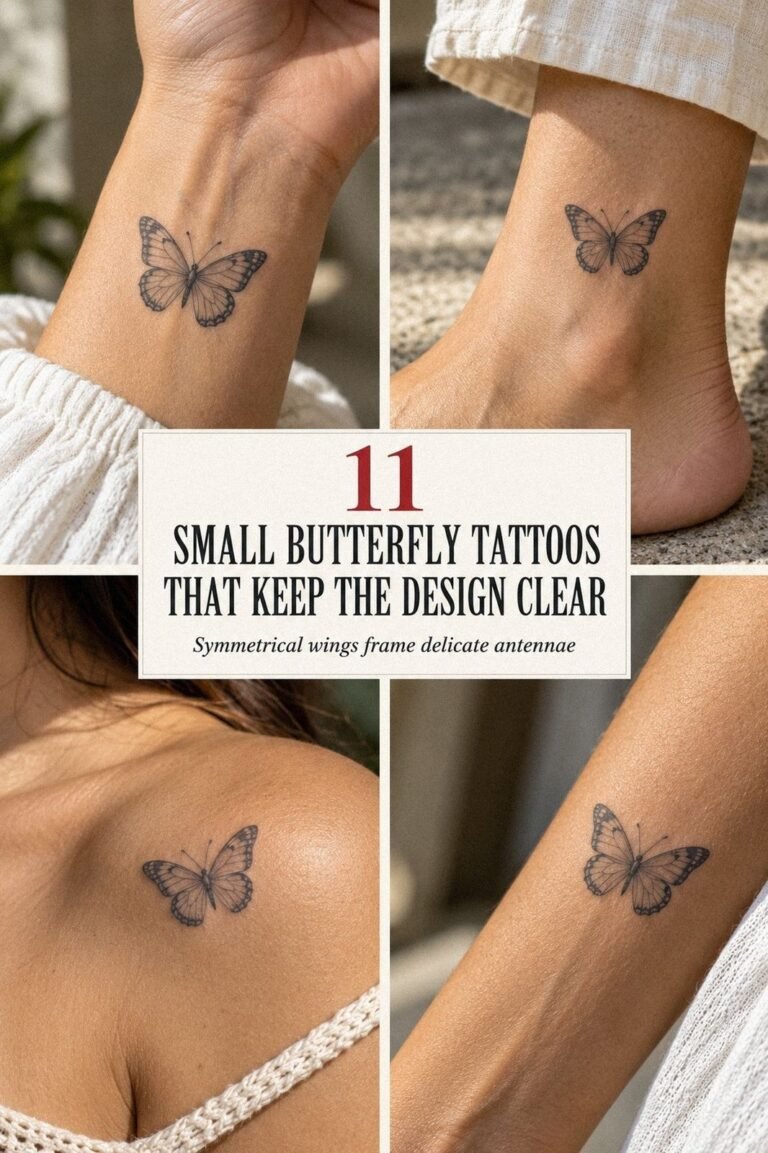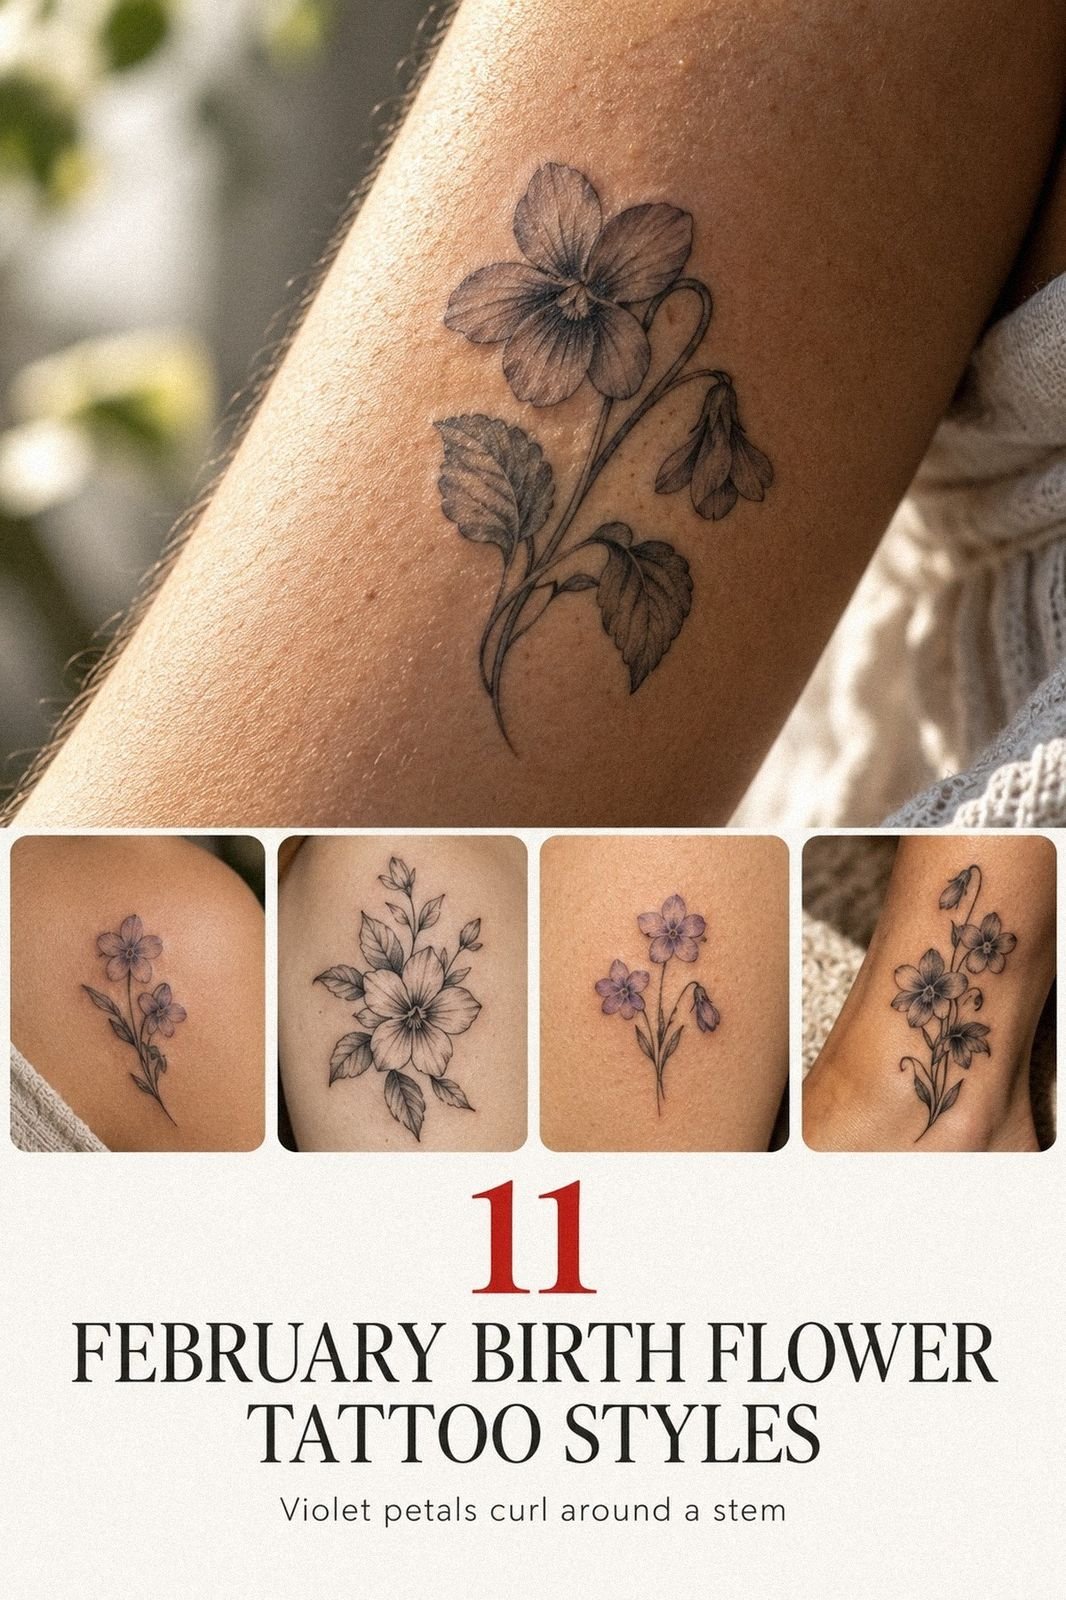
Dream Tattoos sat in my notes app for almost two years before I let one touch skin. I got the first version the week I turned 30, after scrapping three fussy sketches that would’ve blurred fast. Small, clean, delicate, and finally mine.
Pick References That Age Well: The Reference Trap
[IMAGE: close crop of a reference notebook beside a fresh tattoo stencil on skin]
Before I booked anything, you’d have seen the same mess most clients bring me: thirty screenshots, five saved captions, one vague idea about meaning, and no real plan for how the tattoo should age on skin. I had a wrist saved for something tiny, an ankle I kept circling back to, and a rib idea I knew would be spicy if I rushed it. You may be in that exact stage now, and that’s normal.
What changed it for me was getting brutal about fit. I stopped asking whether a design looked good on Pinterest and started asking whether it’d still read clean at 2 to 3 inches, whether the line weight made sense, and whether the placement was low-wear or high-wear. That filter saves you money, protects your plan, and keeps the tattoo solid long after the fresh photo.
If you are already thinking about longevity, read why tattoos blur over time before you lock anything in.
- I Chose A Tiny Dream Script Wrist Tattoo
- I Sketched A Sleeping Moon Forearm Design
- I Added Stars Around The Dream Linework
- I Picked Fine Line Clouds For Softness
- I Placed A Dreamer Quote On My Rib
- I Kept The Dream Tattoo In Black Ink
- I Added A Whimsical Moth Shoulder Tattoo
- I Used A Tiny Eye For Meaning
- I Wrapped A Dream Constellation Around My Ankle
- I Asked For Soft Shading Behind The Moon
- I Checked The Healed Dream Tattoo Edges
- Dr. Bronner’s, SPF 50, And The Boring Care That Saves It
- Pinterest-Exact Versus Skin-True: The Custom Cut
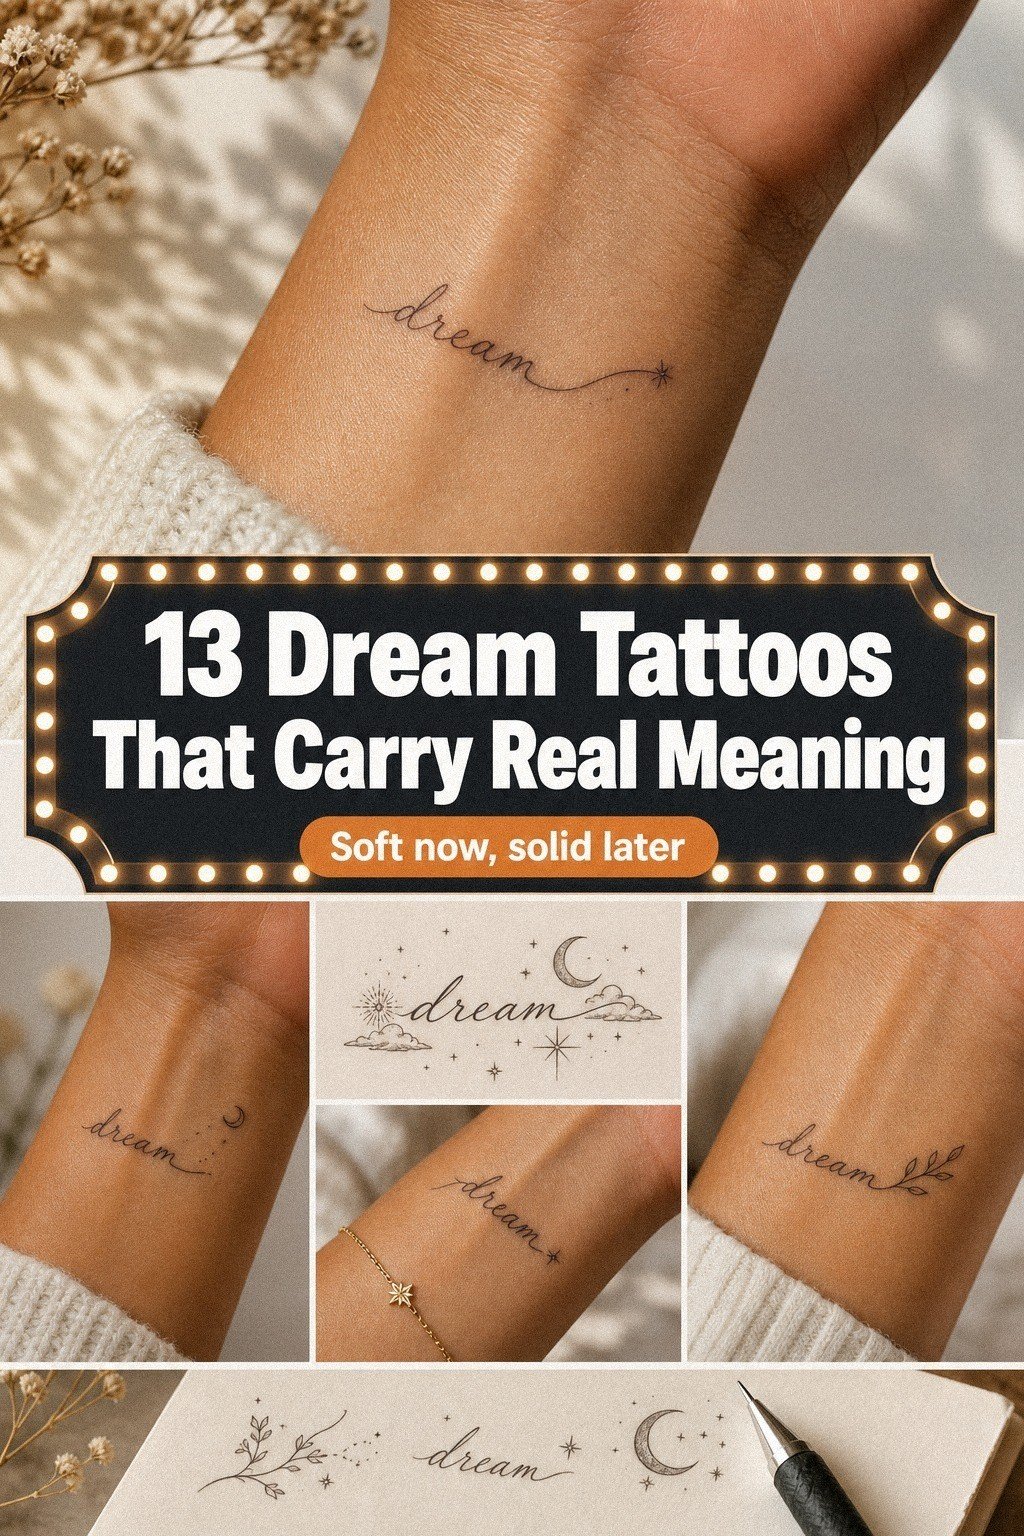
1I Chose A Tiny Dream Script Wrist Tattoo
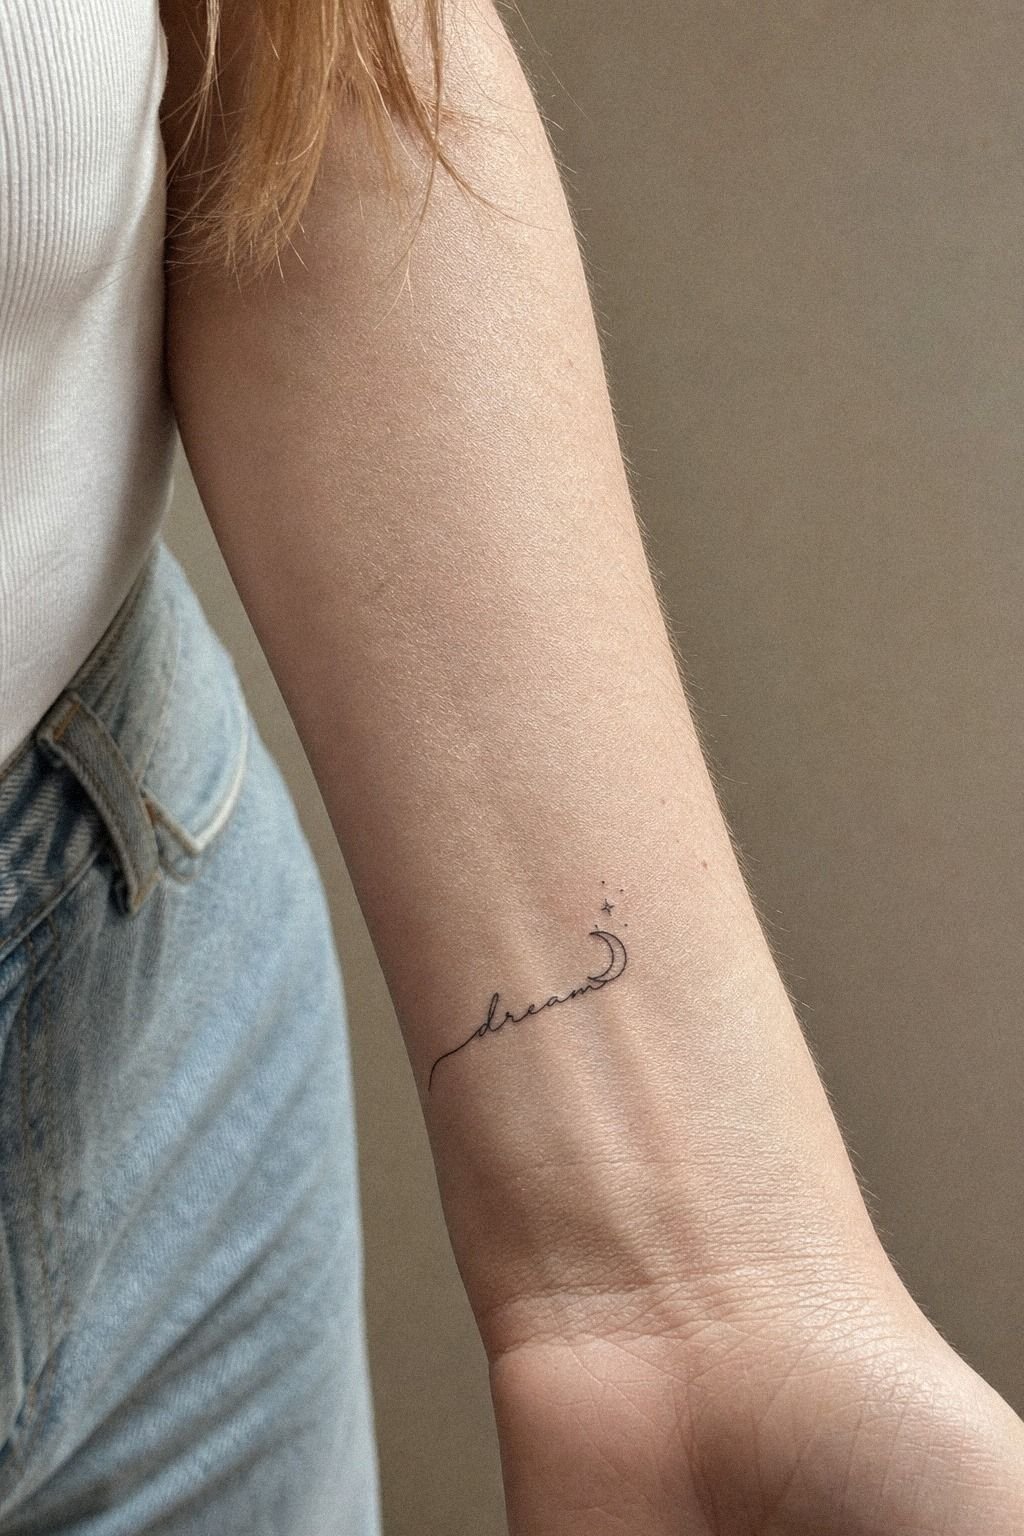
[IMAGE: tiny script wrist tattoo with clean black lettering above the crease]
I started with the wrist because I wanted a Dreamy Tattoo Idea I could clock at a glance without making it my whole personality. The final script sat just above the crease, about 2 inches wide, done in black lining ink with a true fine line grouping and a slim script baseline.
If you want tiny script here, keep the counters open and the loops boring. Boring heals nice.
Clean beats clever every time.
But you don’t want hairline cursive packed too tight on a wrist. That’s where good intentions turn fuzzy. I told my artist to open the spacing, keep one clean pull through each letter, and skip extra flourishes.
I also knew wrist skin is a little high-wear, so I treated this as a piece that may need a touch-up later. If you are comparing placements, where tattoos hurt less helps you weigh pain against visibility.
2I Sketched A Sleeping Moon Forearm Design
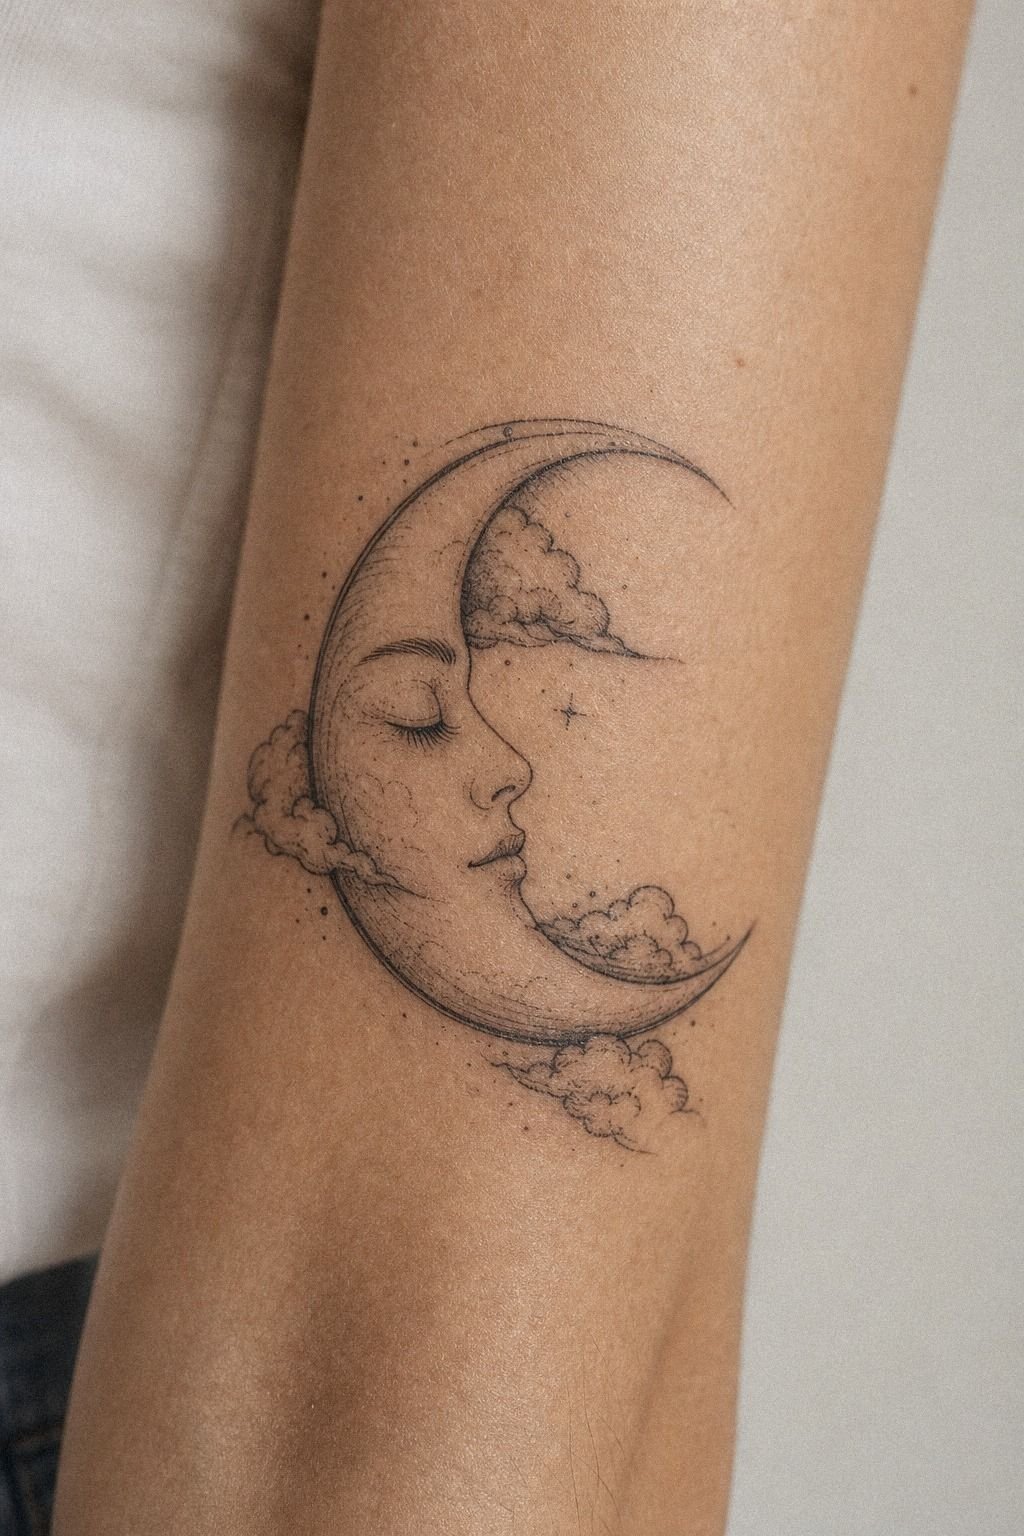
[IMAGE: simple sleeping moon tattoo stenciled along the outer forearm]
Next, I moved the moon to my forearm because Dreams Tattoo Ideas with a little extra clearance age better there than they do on tiny, bendy spots. The sketch was drawn right on skin with purple stencil marker first, then tightened with a clean black outline so I could see if the crescent felt sleepy instead of sharp. Forearm placement gives you enough flat skin for shape, not just symbol.
You can feel the difference when a design finally gets enough clearance. Mine landed around 3.5 inches tall, which meant the sleeping face could stay simple and still read.
I skipped extra lashes, dots, and texture because too much detail at that scale gets chewed up later. And forearm pain is usually pretty chill compared with ribs or sternum, so if you are testing your first meaningful tattoo, this is a solid place to start!
For more pain context, where tattoos hurt less lays it out clean.
3I Added Stars Around The Dream Linework
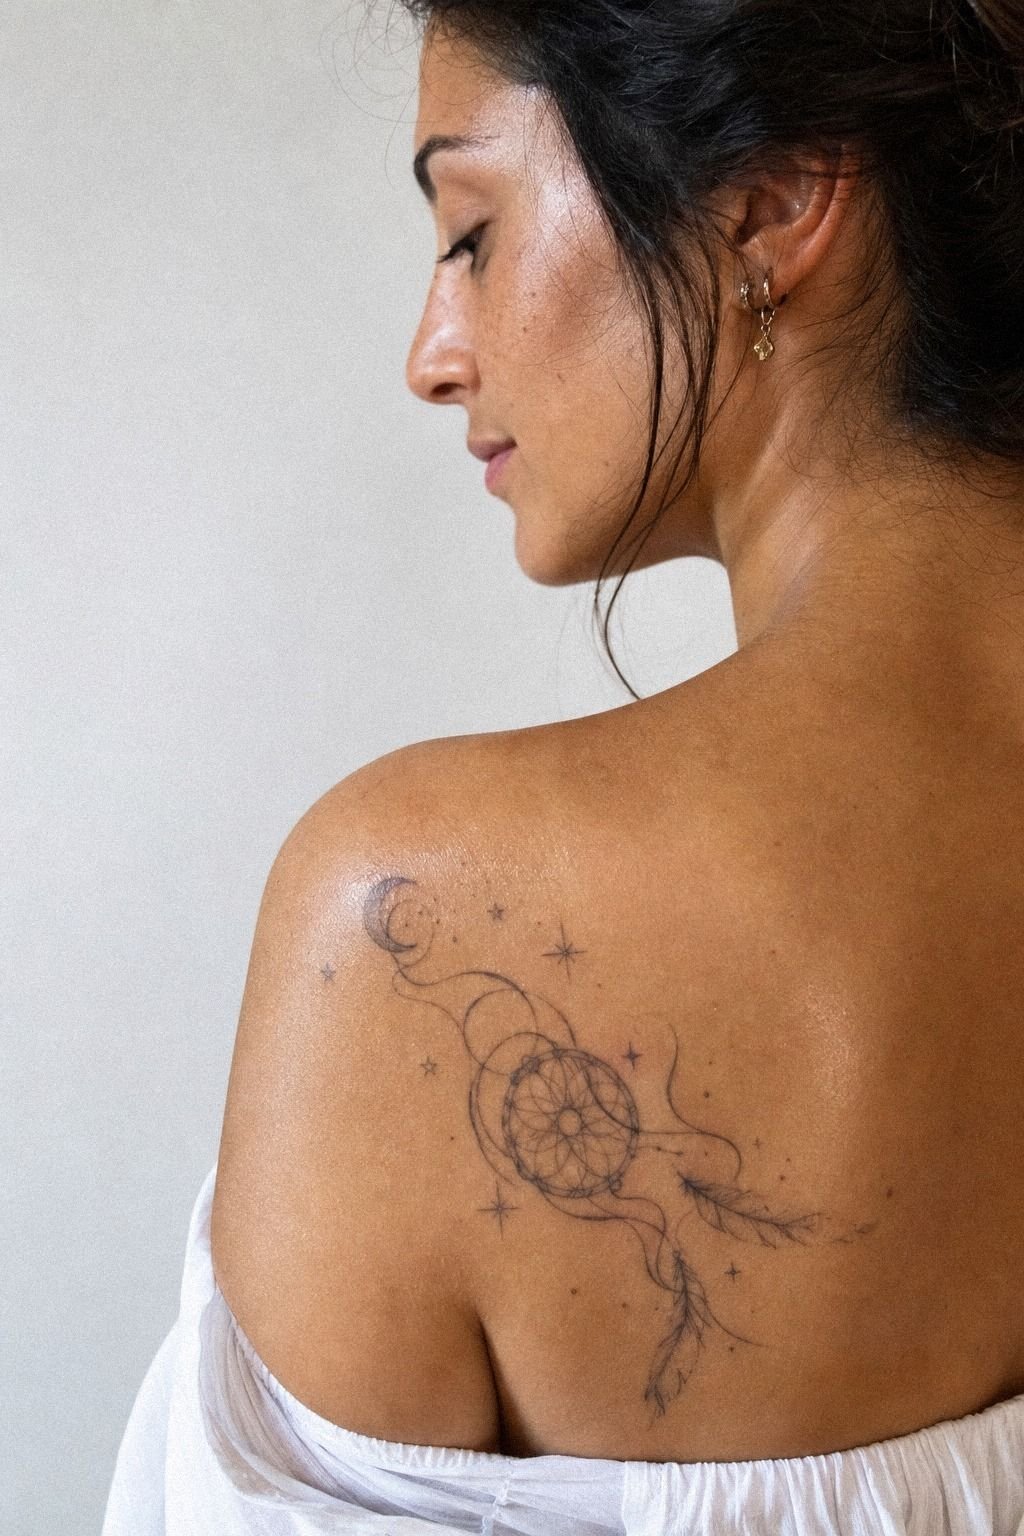
[IMAGE: airy star linework orbiting a small moon tattoo on healed skin]
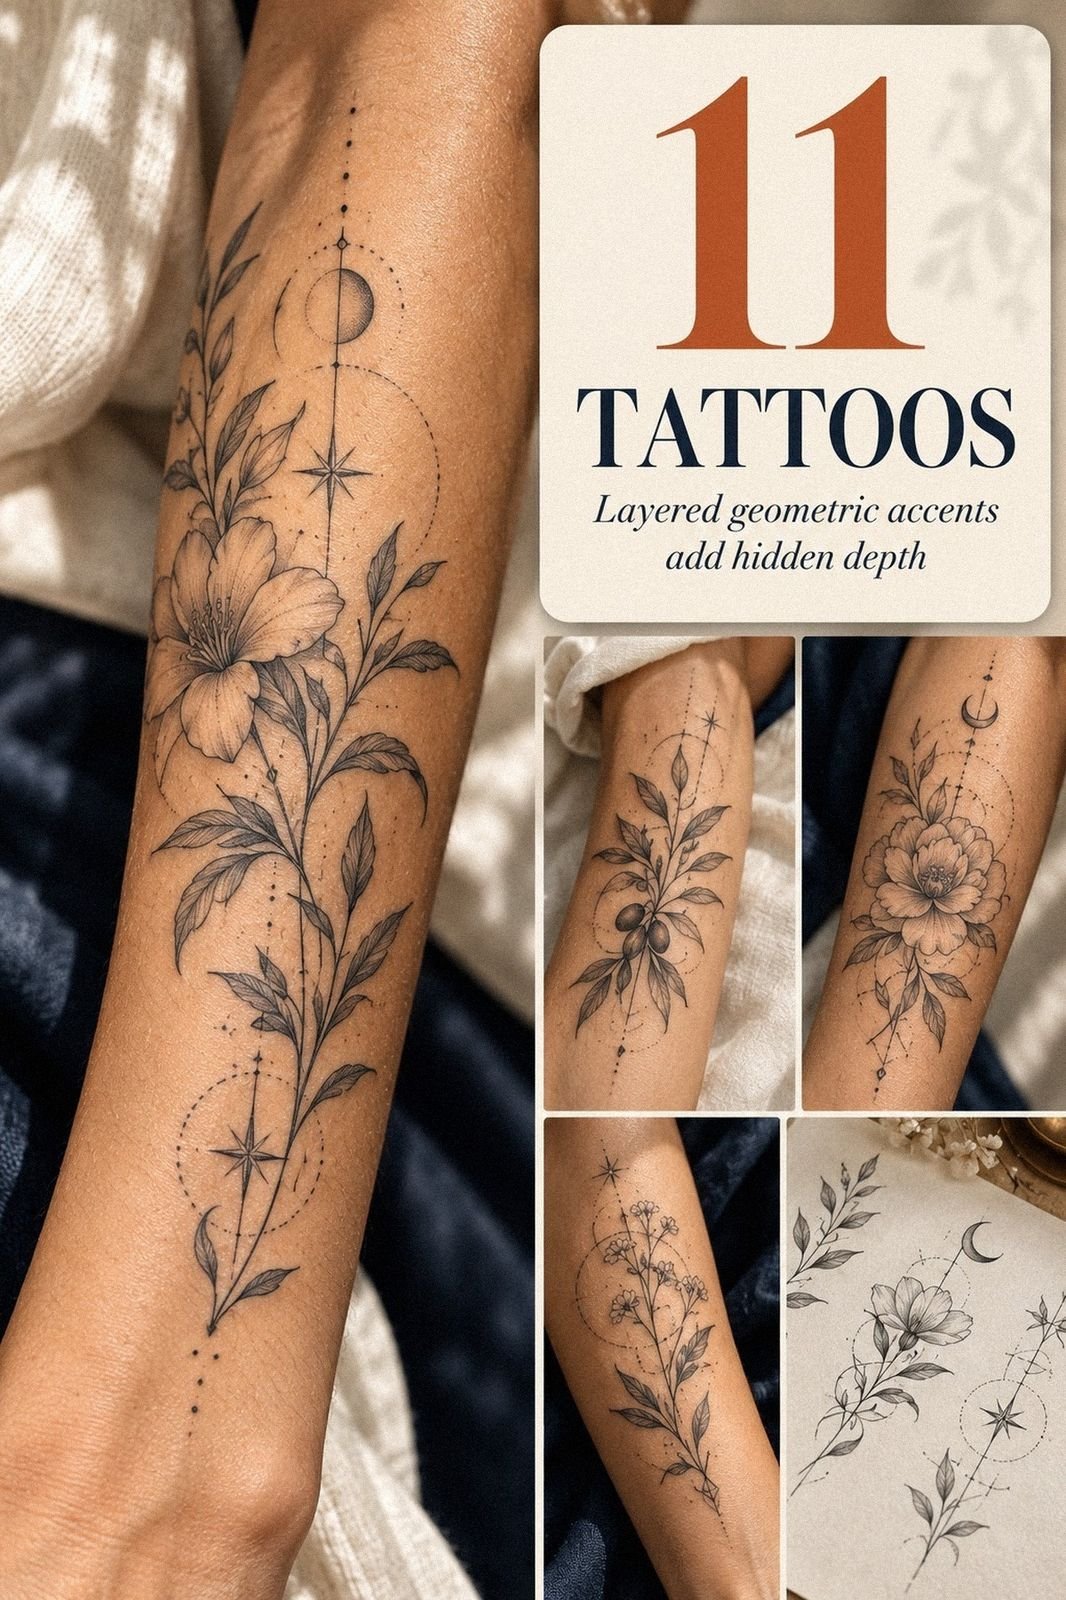
Once the moon felt right, I added stars because Whimsical Tattoos can go flat if the main linework doesn’t have a little rhythm around it. I kept the stars uneven on purpose, with one brighter point, two tiny accents, and enough blank skin that the cluster still breathed.
That’s the difference between dreamy and busy. Airy beats cramped when you want a soft, luminous finish.
The best part was how cheap this detail stayed compared with reworking a muddy design later. A few clean stars add visual payoff without blowing up the session total, and they make the whole tattoo feel more finished. If your artist starts turning every gap into another sparkle, pull it back.
Tiny filler is where a sweet tattoo starts heading toward soup.
4I Picked Fine Line Clouds For Softness
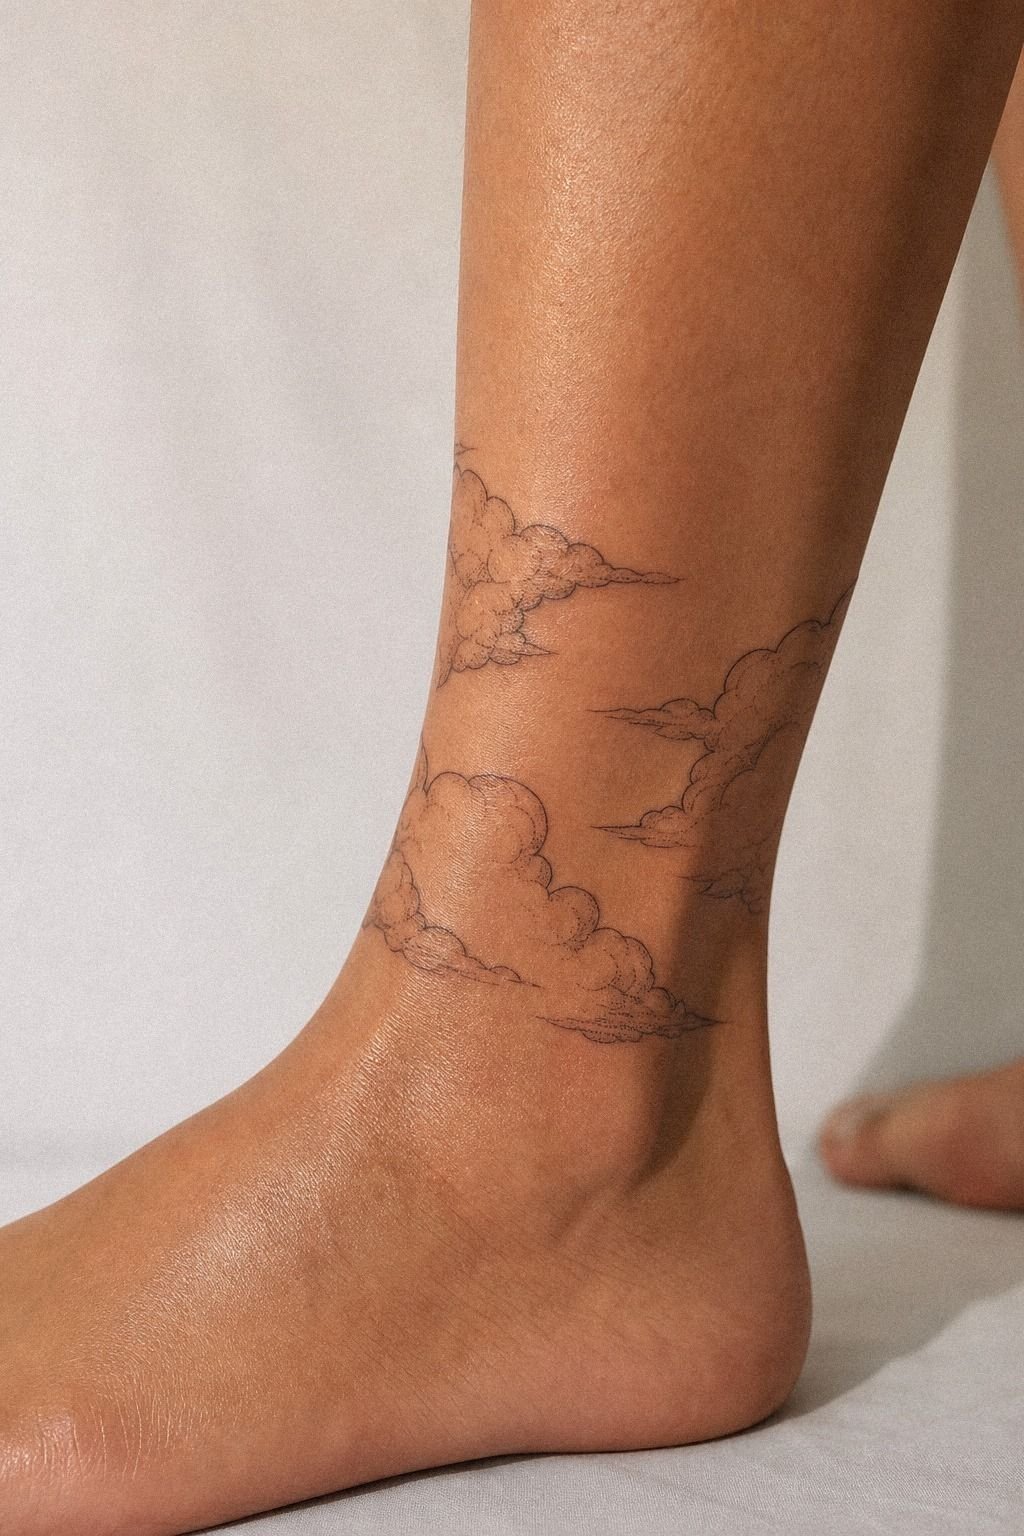
[IMAGE: flowing fine line cloud tattoo wrapping softly around the ankle bone]
Clouds were the point where this stopped feeling like just script and started feeling like Dream Tattoos For Women that could flow with the body. I wrapped soft cloud lines around the ankle, keeping the design long instead of tall, with fine line blackwork, a gentle ankle wrap placement, and a soft cloud contour that hugged the bone rather than fighting it.
Placement matters more than people think here. Ankle tattoos need flow or they look stuck on.
And I kept telling myself not to overdraw the clouds. One clean contour. A little opening.
Done. Ankle skin is a high-wear zone, and if you let an artist stack too many tiny scallops into a narrow band, it’ll mush faster than you expect. You also feel every pass more near the bone, so yes, this one was spicy. Still worth it!
If your pain tolerance is lower, you may want to bump this idea higher. If you want the longevity side first, why tattoos blur over time is useful homework.
5I Placed A Dreamer Quote On My Rib
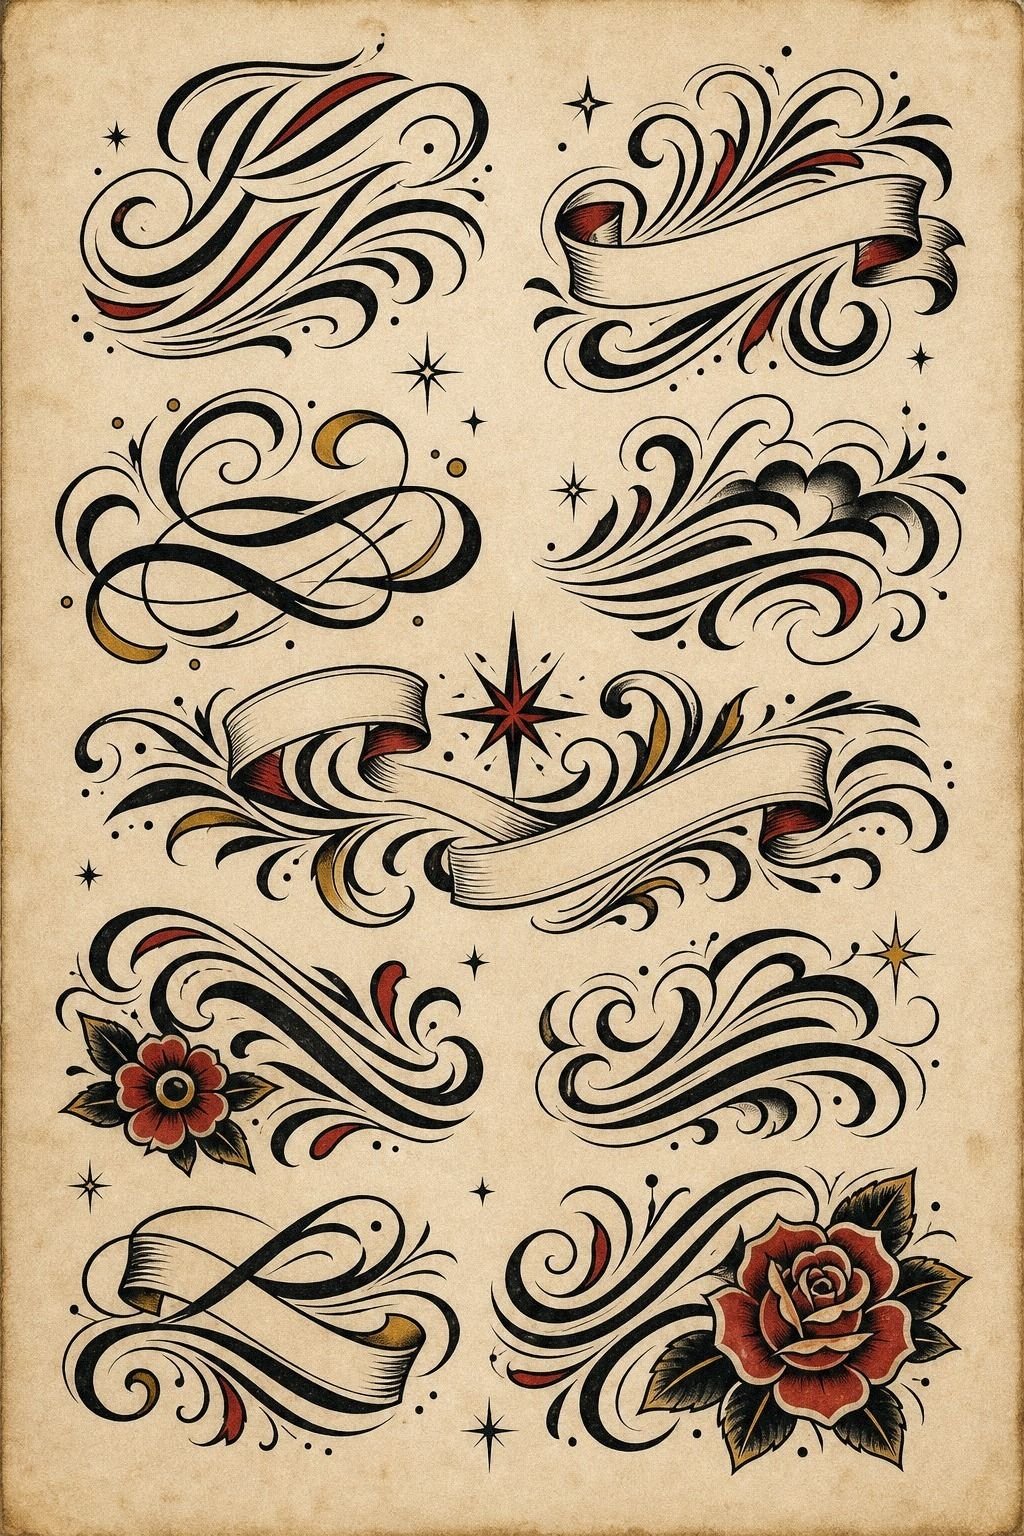
[IMAGE: slim rib quote tattoo in clean lettering following the body line]
The rib quote lived in flash-sheet form for a while before I committed, and I am glad it did. Ribs punish rushed decisions. Lines feel sharper there, breathing changes the stretch, and overlong quotes get ugly fast if you don’t edit them down.
I cut my original phrase from seven words to three, switched to a cleaner lettering shape, and let rib placement do the emotional heavy lifting. That move made the tattoo hit harder than extra words ever would’ve.
Short, sharp, and a little haunting wins on ribs. It also kept the session inside a sane spend range, because long quotes on spicy skin always eat more time than clients expect.
6I Kept The Dream Tattoo In Black Ink
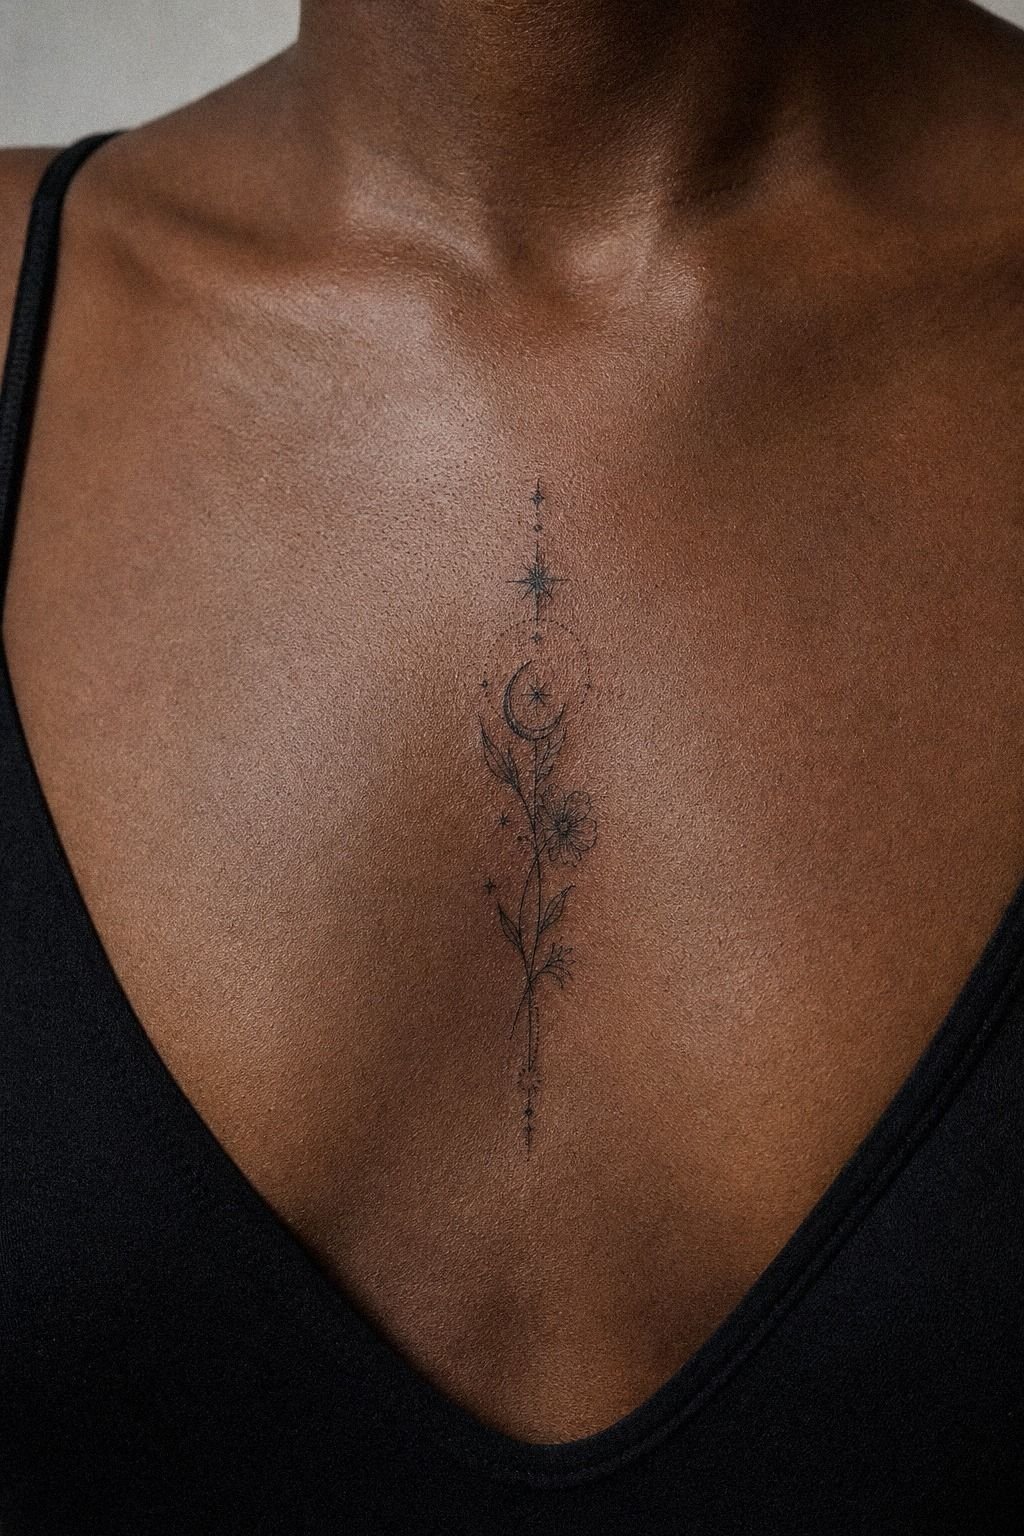
[IMAGE: healed black ink tattoo showing crisp contrast on sternum skin]
Keeping it black was the easiest good decision I made. Meaningful Tattoos with airy linework can look gorgeous in red or white at first, but black pigment is still your best friend if you want the piece to hold. On deep skin, especially around the sternum, clean black gives you contrast, legibility, and a much safer long game than trendy pale tones.
That matters more than novelty.
I didn’t want this tattoo relying on trend color to feel special. I wanted it to heal clean, settle soft, and stay visible when the surface sheen dropped.
That’s why I skipped color entirely and treated solid black ink and sternum placement like the anchor, not the fallback. If you’re tempted by pale ink for a delicate feel, look at white ink tattoos first so you know what that tradeoff really looks like.
Bold will hold, and sometimes the least flashy choice is the grown one.
7I Added A Whimsical Moth Shoulder Tattoo
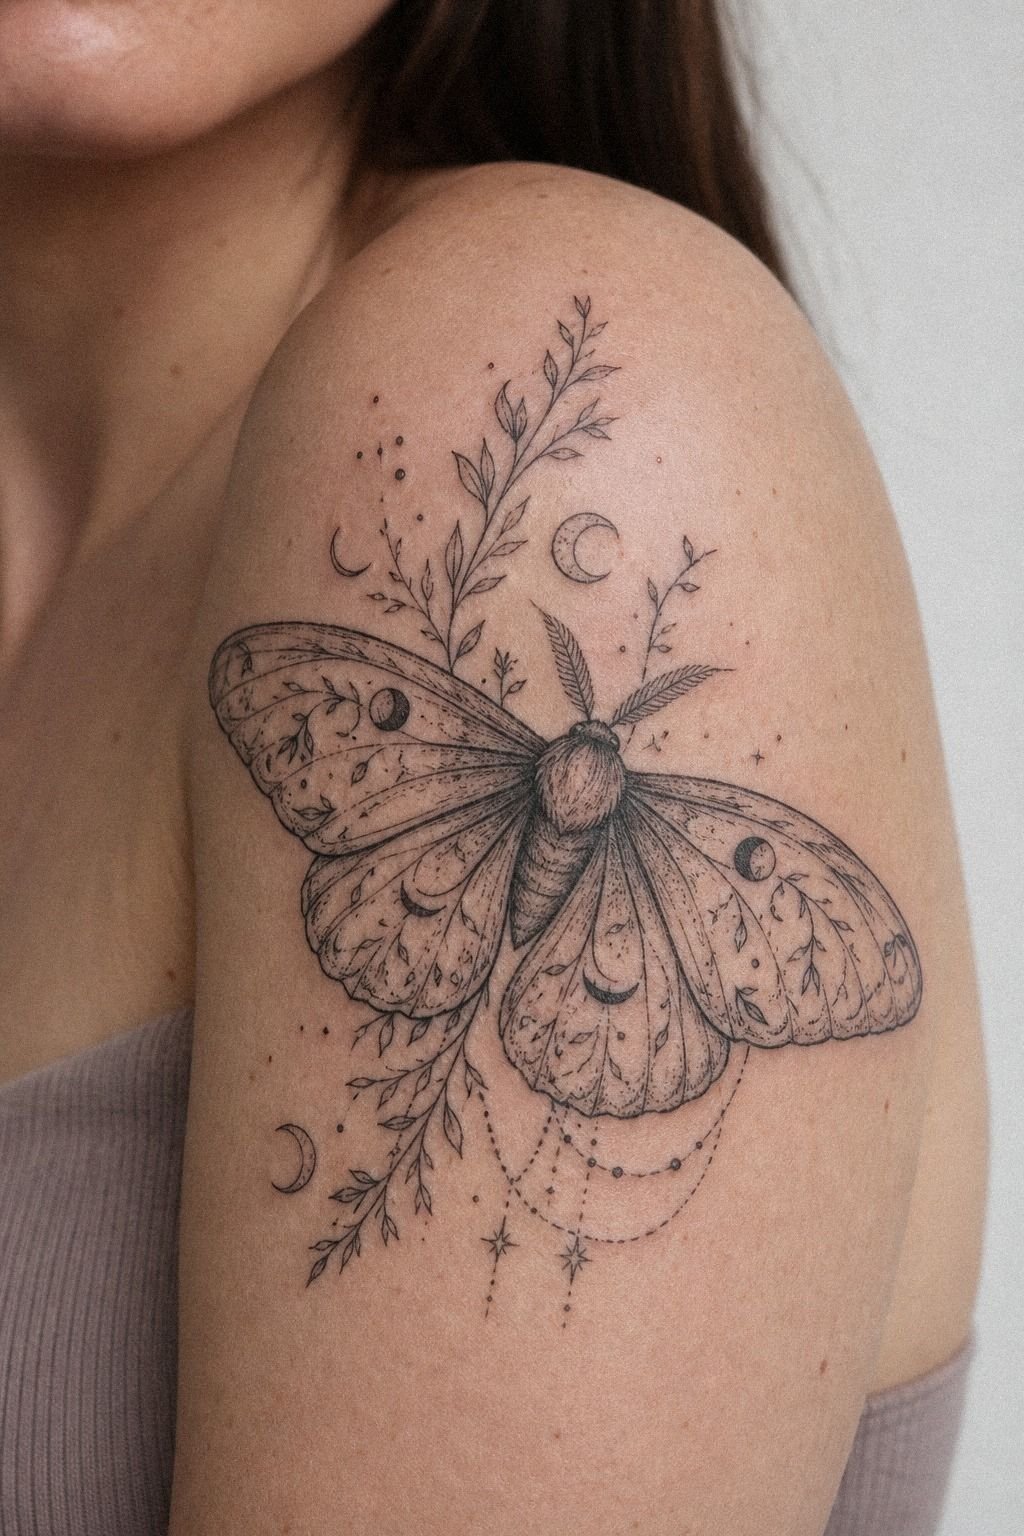
[IMAGE: soft moth shoulder tattoo with open wings and simple line detail]
The moth was where I let the design get a little stranger. Shoulder skin gave me enough width for wider wings, cleaner symmetry, and a silhouette that still read from a few feet away. I kept the body dark, the wings open, and the details sparse so the moth felt mysterious instead of fussy.
This was also the point where custom work felt fully worth it. Flash can be great, but a moth that follows your collarbone and shoulder cap lands better when it is drawn for your anatomy.
I told my artist to skip extra dotwork and let outer shoulder placement carry the movement. That kept the tattoo soft, crisp, readable, and a little eerie in the best way.
8I Used A Tiny Eye For Meaning
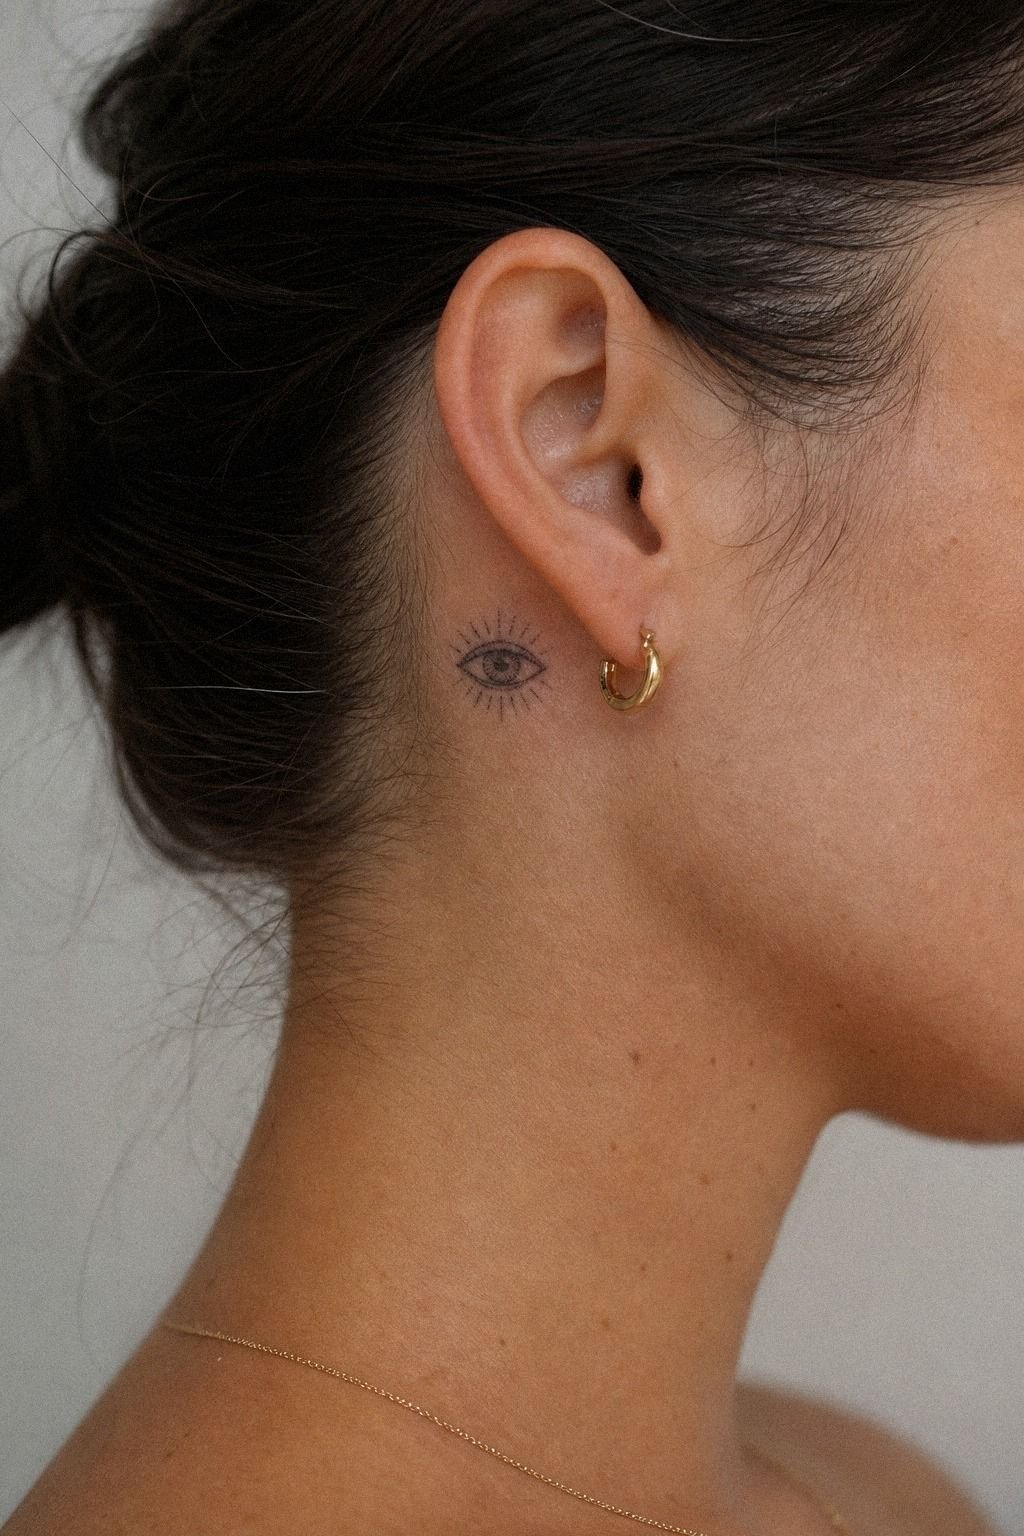
[IMAGE: thumbnail-size behind-the-ear eye tattoo tucked into the hairline]
The tiny eye behind the ear was my most private pick, and that’s why it worked. Whimsical Tattoos do not all need to be soft.
Sometimes you need one symbol with a little edge, placed where only the right people catch it. This healed piece sat just behind the ear on warm ivory skin, no bigger than a thumbnail, with enough open skin that the lid and iris didn’t collapse together.
Behind-the-ear tattoos are cute, sure, but they aren’t zero-maintenance. That area rubs against hair, pillowcases, hats, and all your absentminded touching. I kept the eye stripped down to the essentials and avoided extra rays, tears, or script around it.
And I told myself the truth up front: if you choose a hidden high-friction spot, you choose the possibility of maintenance too. For people who want meaning without a huge visual footprint, this placement still hits hard.
If you’re comparing tiny symbolic work to louder flash, traditional pirate tattoos guide is a good contrast study.
9I Wrapped A Dream Constellation Around My Ankle
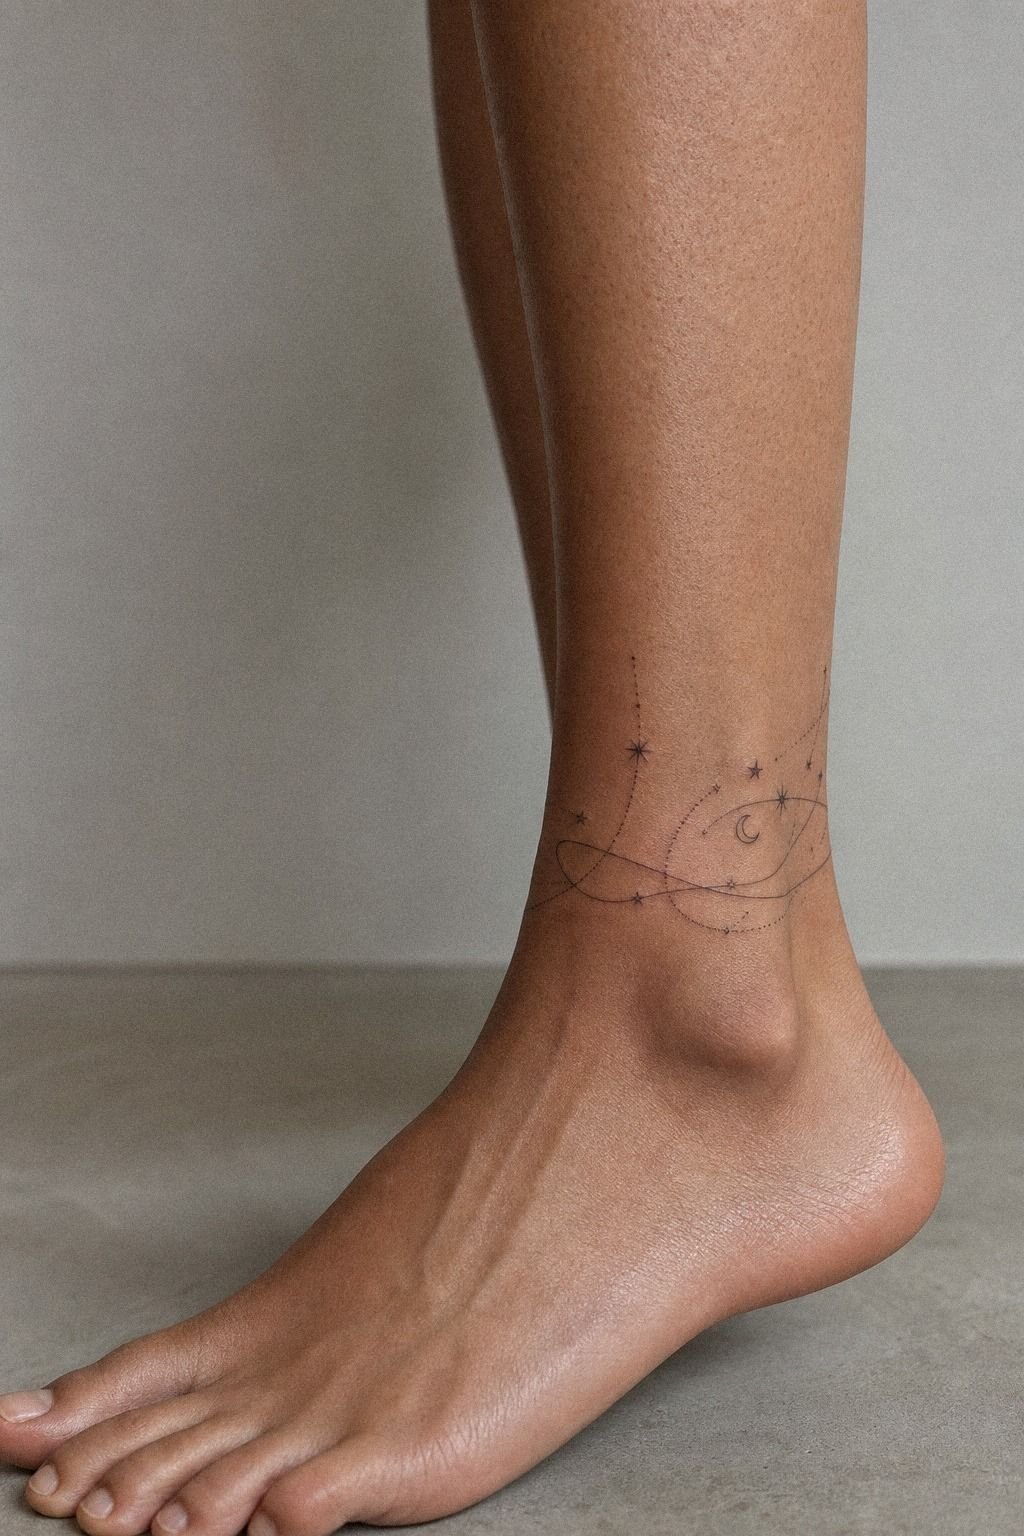
[IMAGE: delicate constellation ankle wrap with three bright star points]
By the time I got to the constellation, I knew I needed a rule or I’d keep adding stars forever. So I used what I call the Three-Point Orbit Rule: three main stars, slim connector lines, and nothing so tiny that it disappears once the ankle starts living its real life. Dreams Tattoo Ideas around the ankle need editing more than imagination.
That is the whole game.
This wrap sat about 4 inches around the outer ankle, with each point slightly offset so the shape moved with the joint instead of cutting across it. You need that kind of placement logic if you want a wrap tattoo to feel intentional on the body.
But again, ankles are high-wear and a little unforgiving. Sun, socks, friction, all of it matters.
If you know you’re rough on that area, move the same constellation higher and let it age with less drama. And if pain is your main question, where tattoos hurt less will save you some guesswork.
10I Asked For Soft Shading Behind The Moon
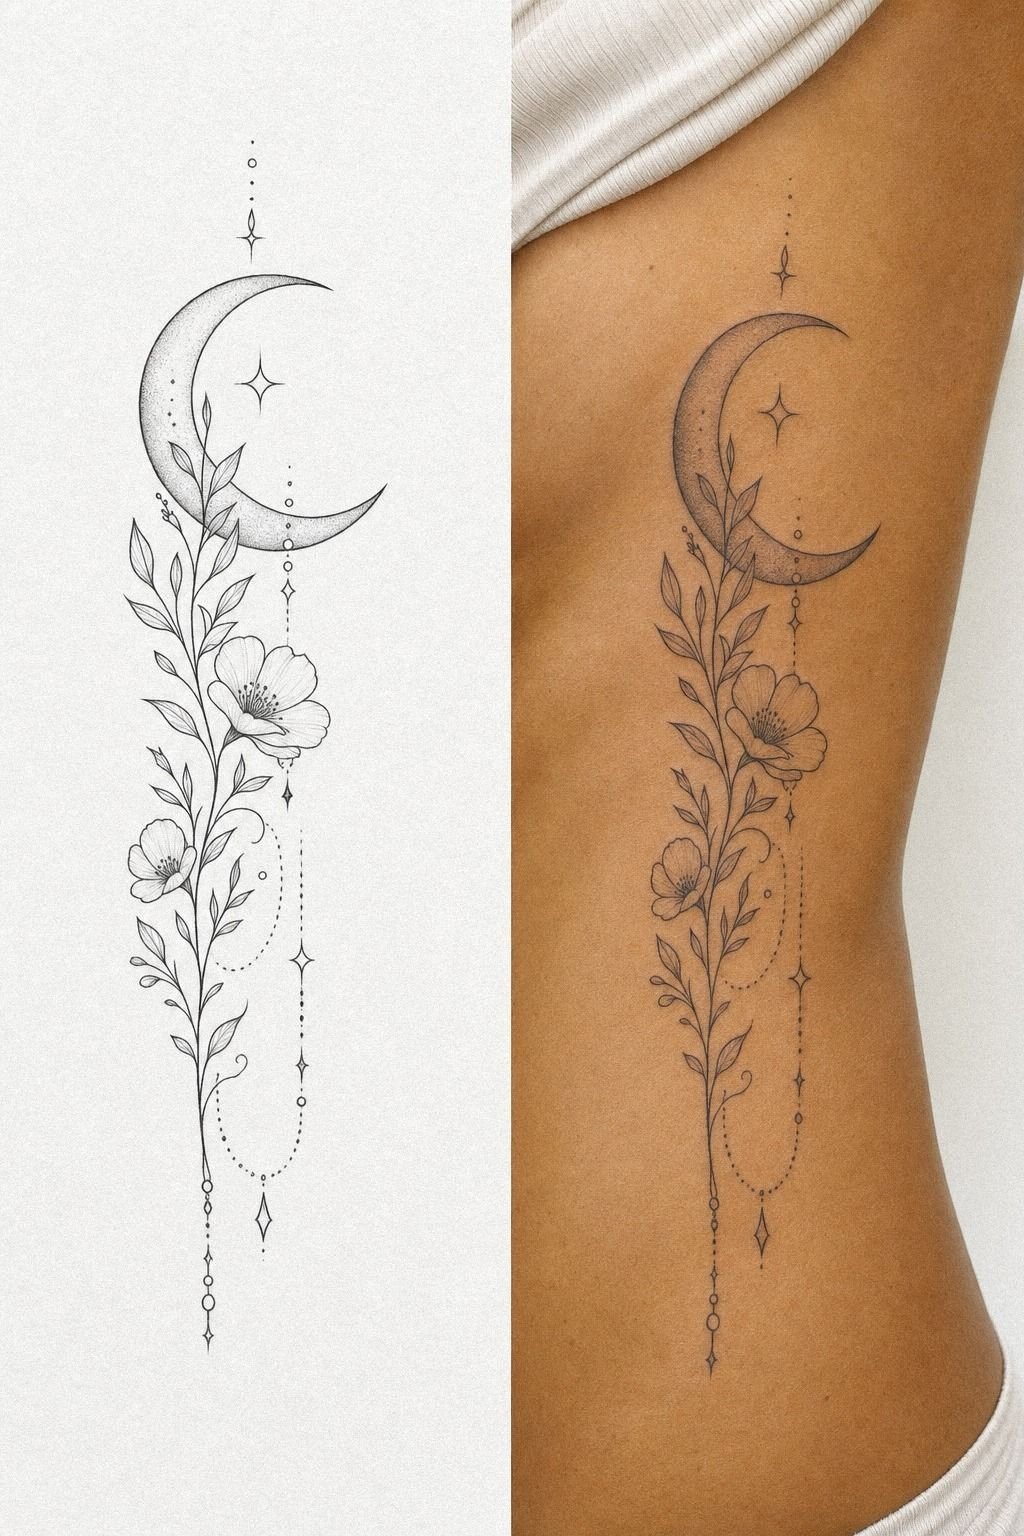
[IMAGE: crescent moon with misty grey wash shading feathered behind the outline]
Soft shading was the last thing I added, and only after the linework proved it could stand alone. That’s the rule. I call it the Line First, Mist Second Rule, because if your moon needs shading to make sense, the drawing wasn’t strong enough.
We tested the look from stencil to healed piece, using grey wash shading behind the crescent so the moon stayed the hero.
You don’t need heavy packing for this. You need soft whip shade that heals velvety, not patchy.
I asked for a fade that sat behind the design instead of touching every edge, and that decision kept the tattoo airy. But shading on small fine line work can get muddy if the artist chases softness by overworking the skin.
One pass. Light hand. Walk away. That’s how you get atmosphere without turning the whole thing into a bruise.
For contrast-heavy inspiration, traditional military tattoos guide shows the opposite philosophy.
11I Checked The Healed Dream Tattoo Edges
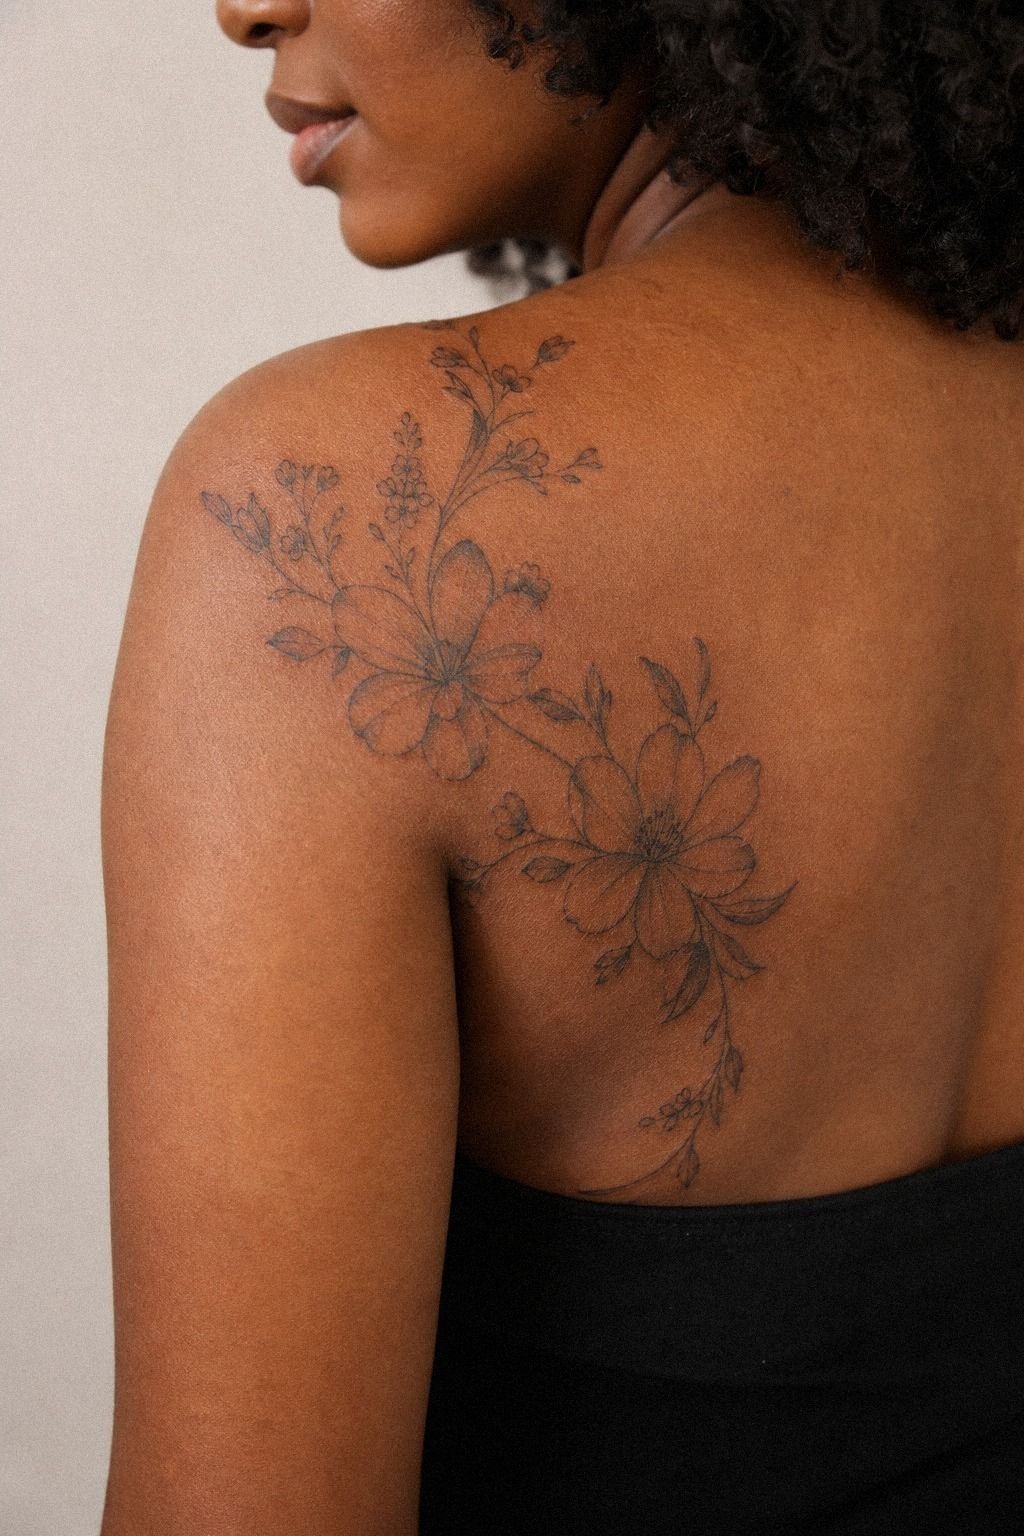
[IMAGE: six-week healed fine line tattoo edges shown in natural window light]
The healed check matters more than the fresh photo, and I wish more people said that out loud. My final shoulder piece on deep brown skin looked cleaner at the six-week mark than it did on day two, because the swelling dropped and the true line settled in.
Dream Tattoos only count as good if the edges stay crisp after the shine phase, not just under ointment and ring light. That’s how you separate hype from craft.
But when you review healed work, look for smooth line consistency, no obvious blowout, and enough contrast that the tattoo still reads without the fresh-tattoo gloss. I also check whether tiny details still separate at a glance, because that’s where scratchy work tells on itself. And if the edge looks fuzzy too early, don’t panic and don’t pick at anything.
Let it finish healing first, then ask your artist what needs a touch-up. That’s a much smarter move than spiraling over a tattoo that’s still mid-process.
For more on that softening, why tattoos blur over time breaks it down clean.
12Dr. Bronner’s, SPF 50, And The Boring Care That Saves It
[IMAGE: healing tattoo beside unscented soap and sunscreen on a clean counter]
Aftercare is not the glamorous part, but it’s where the tattoo either holds up or doesn’t. First few days, it’s an open wound, so treat it like one. Wash with gentle soap, pat dry, use a whisper-thin layer of aftercare, and leave it alone.
Then comes the part clients love to ignore: sun and friction. A tiny dream tattoo on healing skin can look sweet on day one and get chewed up by gym straps, pools, and picking before week two. If you spend good money on fine line work, protecting it is what makes the piece worth it and keeps those delicate lines looking polished.
Cheap aftercare mistakes are expensive later, and they can make a pretty tattoo heal dull and patchy.
13Pinterest-Exact Versus Skin-True: The Custom Cut
[IMAGE: side-by-side custom tattoo stencil and a messy phone screenshot mood board]
This is where a lot of dream tattoos either sharpen up or fall apart. A screenshot can show vibe, but it can’t tell you what your skin folds, your pain tolerance, or your time limits are going to do to the final design. That gap matters.
I tell clients the same thing I finally told myself: references are for direction, not duplication. The tattoo gets better when the artist redraws it for custom placement and edits out the filler you were emotionally attached to.
That is the real payoff, a cleaner, smarter, more personal version that heals nice. If the only version you love is the microscopic Pinterest one, the design probably isn’t ready yet.
Price Black Ink Against Trend Ink: My Clean Line Budget Map
[IMAGE: healed dream tattoo set next to a simple tattoo budget chart on cream sketch paper]
I kept the budget realistic because Dream Tattoos can be tiny and still cost real money. Most US shops have a minimum around $50 to $100, and many custom fine line artists charge about $100 to $250 per hour depending on region, demand, and whether you’re booking private studio time. You should expect placement, detail level, and revisions to change the total.
My own set was not done in one marathon. I split ideas across sessions, spent the most on placement tweaks and custom redraw time, and saved money by keeping the tattoos black and readable instead of overcomplicating them. If you are comparing line longevity too, why tattoos blur over time is worth reading before you go smaller just to shave the quote.
Why Did These Finally Feel Real? The Hold-Up Rule
[IMAGE: mixed set of healed dream tattoos on wrist, forearm, ankle, and shoulder]
Here is the rule I give clients now, and the one I finally used on myself: if a dream tattoo only works when it is microscopic, ultra-detailed, and placed on a high-wear spot, it doesn’t work yet. That’s not me being harsh.
That’s me respecting how skin behaves. Tiny tattoos can be gorgeous, but only when the artist edits for flow, spacing, contrast, and long-term readability instead of chasing the exact screenshot.
I learned this the annoying way. I kept saving references that looked delicate because they were photographed fresh, zoomed in, and filtered within an inch of their life. But real skin doesn’t freeze.
It moves, peels, swells, gets sun, rubs on clothes, and changes every single year. The designs that held up in my notes were never the busiest ones.
They were the ones with open spacing, fewer lines, one clear idea per tattoo, and a calmer, cleaner silhouette.
You can use that rule on any of these placements. Wrist script?
Open the letters. Ankle clouds? Lose half the bumps.
Rib quote? Cut the extra flourish. Shoulder moth?
Make the silhouette strong before you fuss with wing texture. Behind-the-ear eye? Keep only the marks that still matter if the tattoo softens a little in five years. That’s what good editing looks like.
And this is where choosing the right artist matters more than choosing the right motif. A good fine line artist won’t just copy what you saved.
They’ll tell you when your line weight is too thin, when your stars are too close, when your sternum placement is too tight for the anatomy, and when your favorite idea needs to move an inch to heal better. If you want Pinterest-exact, I am not your artist.
References are for vibe. Your skin gets the custom version.
Healing is part of the design too. First few days, it’s an open wound, so treat it like that.
Wash with gentle unscented soap, use a thin layer of aftercare ointment or lotion, and don’t suffocate it. Around week 2 or 3, most surface healing is done, but full settling still takes about 2 to 3 months. Pools, sun, picking, hard gym friction, all of that can mess with a tattoo before it ever gets the chance to show you what the work really is.
That’s the boring part nobody wants to hear. It’s also the part that saves the tattoo.
The Questions I Get Asked Most
[IMAGE: healed fine line tattoo FAQ collage showing wrist, forearm, rib, and ankle placements]
How much does a Dream Tattoos usually cost?
[IMAGE: clean small dream tattoo set on wrist and forearm beside a simple studio price card]
About $100 to $300 is a fair range for many small dream tattoos in the US, though some shops start with a $50 to $100 minimum. You pay for placement, artist demand, and custom drawing time too.
– Tiny script or symbol – Fine line moon or stars – Rib and ankle placements taking more time
Are Dream Tattoos a good idea for a first tattoo?
[IMAGE: fresh first tattoo placement on outer forearm with open spacing and soft black lines]
Yes, if you keep the design clean and place it smart. A simple black fine line piece on the forearm or shoulder usually heals more predictably than tiny, overworked detail on fingers or feet. Where tattoos hurt less can help you choose your starting zone.
– Low-wear placements – Open spacing between lines – One clear idea instead of five
How do I choose a tattoo artist for Dream Tattoos?
[IMAGE: close look at healed fine line tattoo portfolio pages in a bright studio consult]
Pick an artist whose healed fine line work still looks crisp. You want clean line consistency, healed photos, and a studio that takes hygiene seriously, not just a cute fresh photo feed. And you want someone who will edit your idea for skin, not flatter you into a future touch-up.
– Healed results, not only day-one shots – Confident lines, not scratchy ones – Placement advice that protects longevity
How much do Dream Tattoos hurt?
[IMAGE: simple tattoo pain map marked on forearm, ribs, ankle, and shoulder zones]
It depends on the zone. Ribs, sternum, hands, feet, and ankles are usually the spicier spots, while forearm, outer shoulder, and thigh are often more tolerable for most people. Where tattoos hurt less gives you a more detailed pain map.
– Lines feeling sharper – Shading reading as a dull burn – Breaks before you get shaky
How long does a Dream Tattoos take to heal?
[IMAGE: week-by-week tattoo healing stages on a small black line tattoo]
Surface healing is usually about 2 to 3 weeks, while full settling can take 2 to 3 months. The best aftercare move is keeping it clean, lightly moisturized, and out of sun and pools early on. Why tattoos blur over time also explains why picking is such a bad bet.
– Gentle unscented soap – Thin lotion layer – No picking, no soaking
What is the best placement for Dream Tattoos?
[IMAGE: dream tattoo placement lineup across forearm, shoulder, wrist, ankle, and ribs]
Forearm and outer shoulder are two of my favorite placements because they give fine line work enough flat skin and usually age better than higher-friction areas. If you want tiny detail to last, choose lower-wear skin first. Traditional tattoos females guide is useful if you want to compare delicate versus bold reads.
– Forearm for readability – Shoulder for easy healing – Wrist and ankle with maintenance in mind
Where I’d Start First
[IMAGE: single forearm moon tattoo photographed healed and settled on outer forearm skin]
If I had to pick one, I would start with the forearm moon. It gives fine line work enough flat skin to stay readable, the tattoo ages cleaner over time, and you don’t have to fight ankle friction or rib pain on day one.
Save that one first. Then build the sweeter, softer details around it!