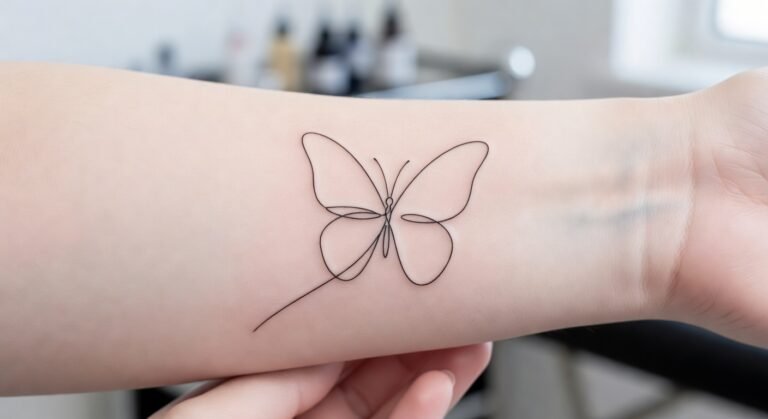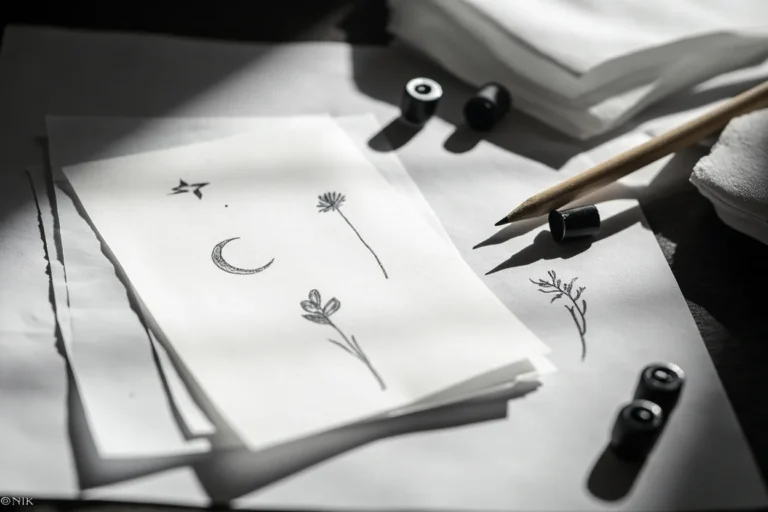
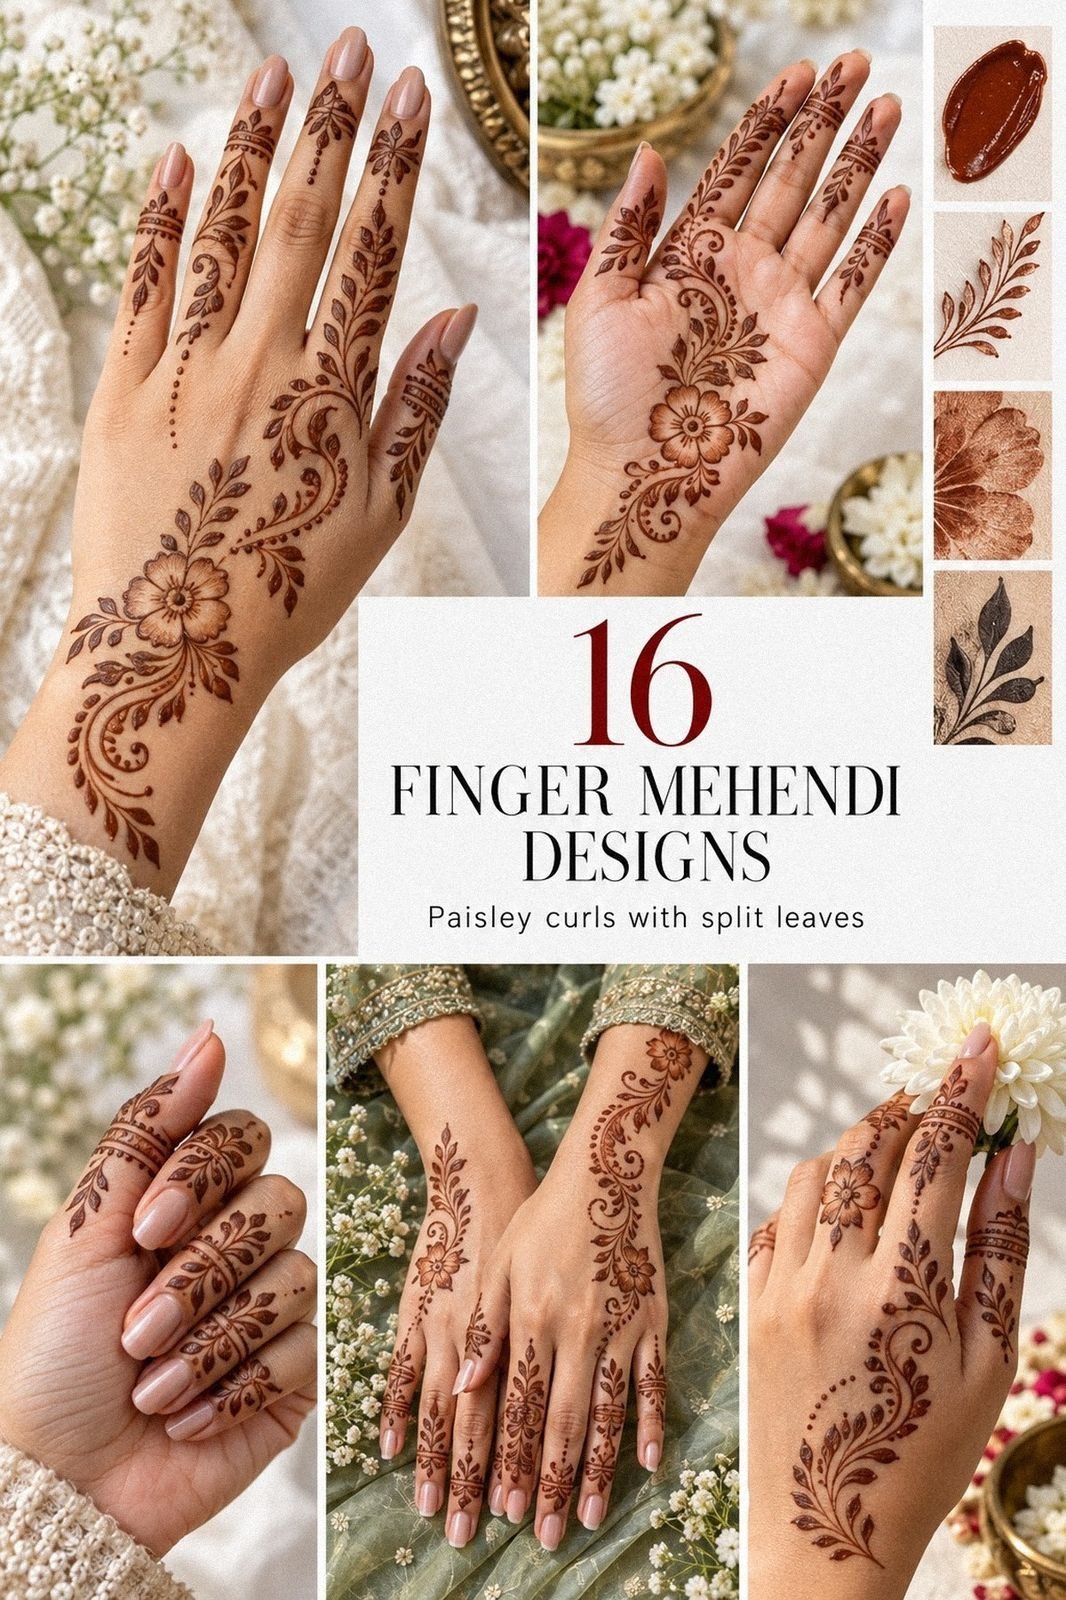
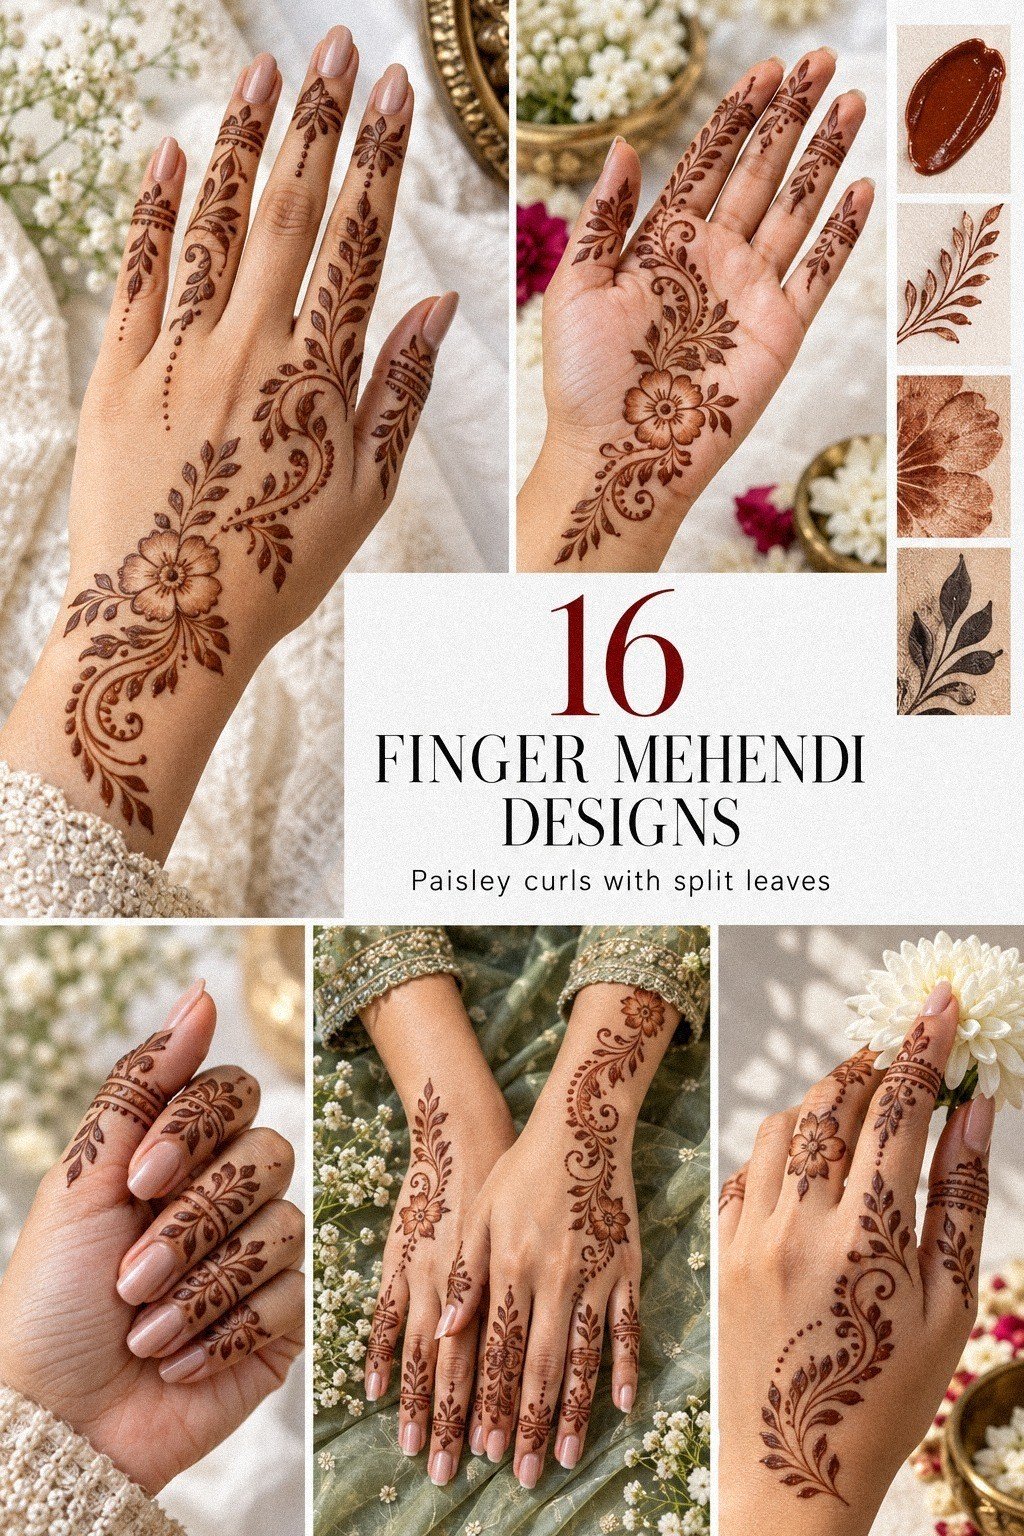
Finger mehendi designs were the first hand pattern I let become part of my routine, and I picked them because tiny, clean details can still look striking when you respect placement. I booked mine for a family celebration, kept the design under 2 inches, and ended up with finer detail than I expected. Small move. Big payoff!
The best part was the temporary commitment. Real mehndi paste gives you a rich brown-red stain, dries on the skin, darkens on the second day, and gradually fades within one to three weeks.
No permanent promise. Just a delicate, personal design that can change with the occasion.
Here’s what it looked like before: The Blank-Skin Check
Before this piece, my hands were bare except for the spots I’d been mentally saving. I knew I wanted something that read like mehndi but stayed refined, not a paste pattern that looked crowded after the color deepened.
That meant thinking about movement, drying time, and how the design would look once the stain reached its darkest point. You do too.
The part people skip is flow. Fingers bend all day, and every mark has to work around knuckles, creases, soap, sun, and ordinary hand movement.
I stood there looking at that blank skin and realized a crowded plan would lose its clarity fast. So I went smaller, cleaner, and more directional.
If you want more tiny references first, start with small finger tattoos and then come back.
A henna cone gives you more control than people expect, but control does not replace planning. A henna cone should be tested on paper first, especially when the design includes narrow curves, dots, or repeated borders. I also checked that the paste was fresh, smooth, and free of dry lumps before it touched my hand.
- I Started With Minimal Finger Mehendi Lines
- I Mapped Tiny Dots Around Each Knuckle
- I Chose Simple Vines Across Two Fingers
- I Added Fine Leaf Trails On Ring Fingers
- Aesthetic Negative Space Finger Bands
- Cuticle Florals, Pretty But Risky
- I Built A Clean Arabic Finger Trail
- I Used Dotwork Chains Between Finger Joints
- Simple Henna Caps Over Full Tips
- Small Mandala Accent At Centerline
- I Tested Trending Stacked Mehendi Finger Rings
- The Bare-Finger Balance Rule
- I Extended A Vine Toward The Wrist
- Nail-Edge Cleanup, Not More Detail
- I Checked Smudging Before The Paste Dried
- Which Finger Design Read Cleanest?
1I Started With Minimal Finger Mehendi Lines
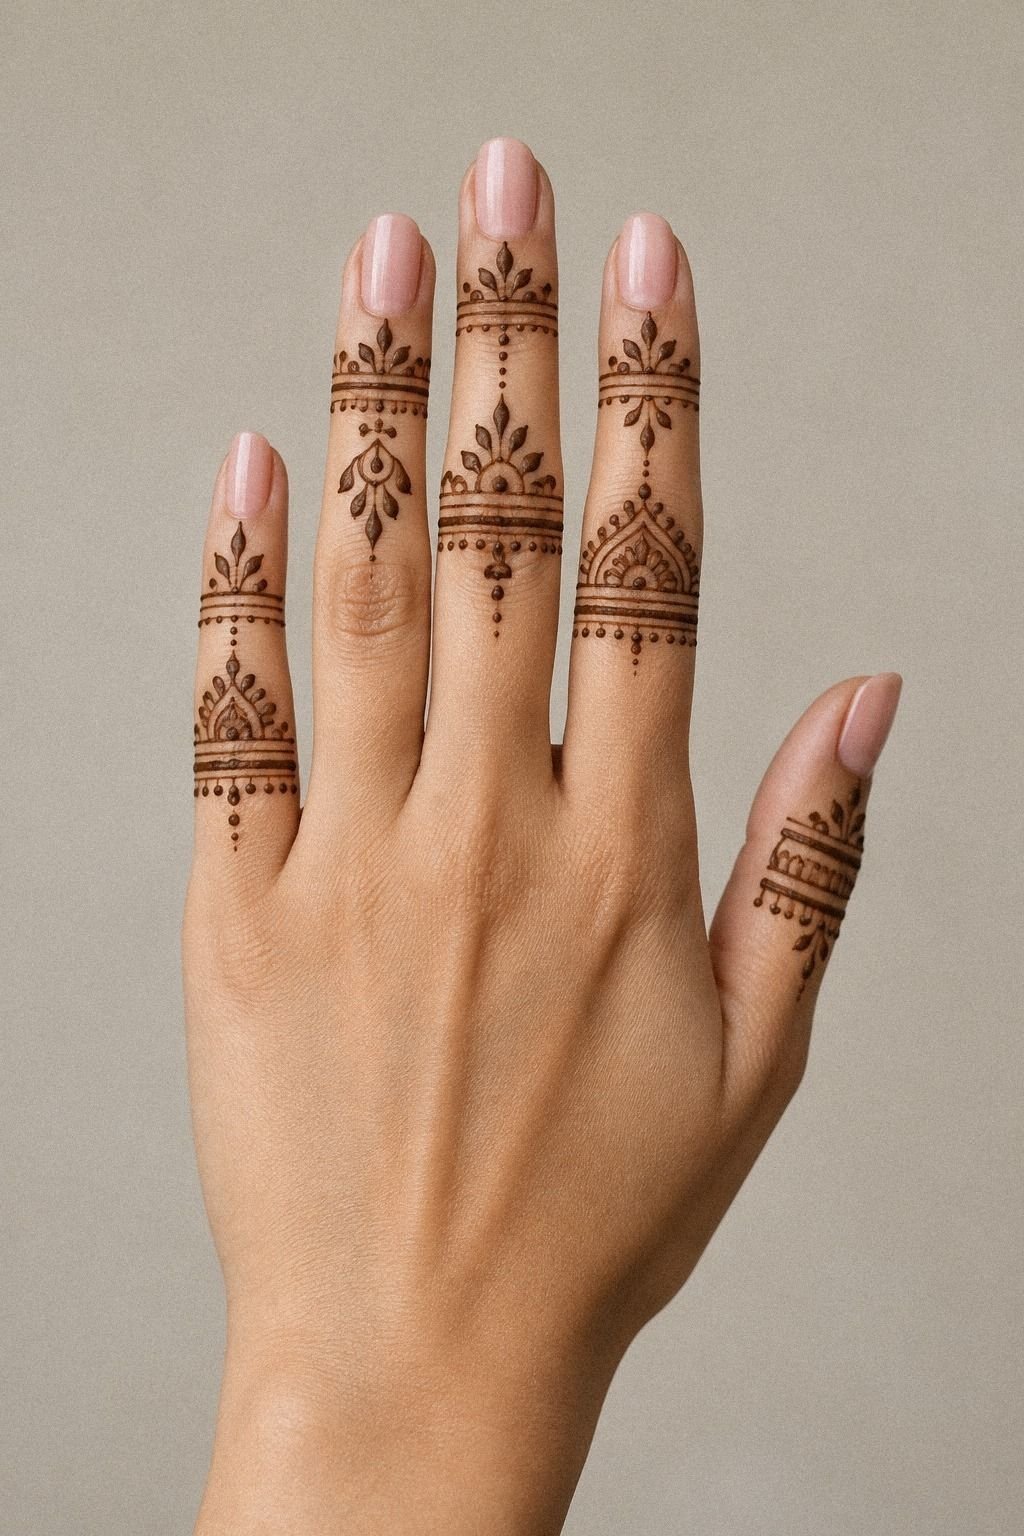
I opened with the thinnest possible road map: two fine lines running lengthwise on one finger, with enough skin left untouched so the whole thing could breathe. On clean skin, those fine lines looked crisp while the paste was wet, then softened into a graceful brown-red stain as it developed. If you’re starting small, keep the active design around 1 to 1.5 inches so the pattern remains readable.
What made this work was restraint. I asked for a fresh natural henna paste and a narrow cone opening, not a thick stream pretending to be delicate.
But I didn’t chase impossible hairline marks either, because a little body helps henna develop an even stain. You want clean, not timid.
I tell first-timers the same thing I told myself: give the design a little air, let your mehndi artist keep the paste flow steady, and it will look more elegant when the color deepens. The cone tip should glide without scraping the skin or stopping repeatedly. For more stripped-back references, 15 minimal mehendi designs that prove less lands harder is a solid mood board.
2I Mapped Tiny Dots Around Each Knuckle
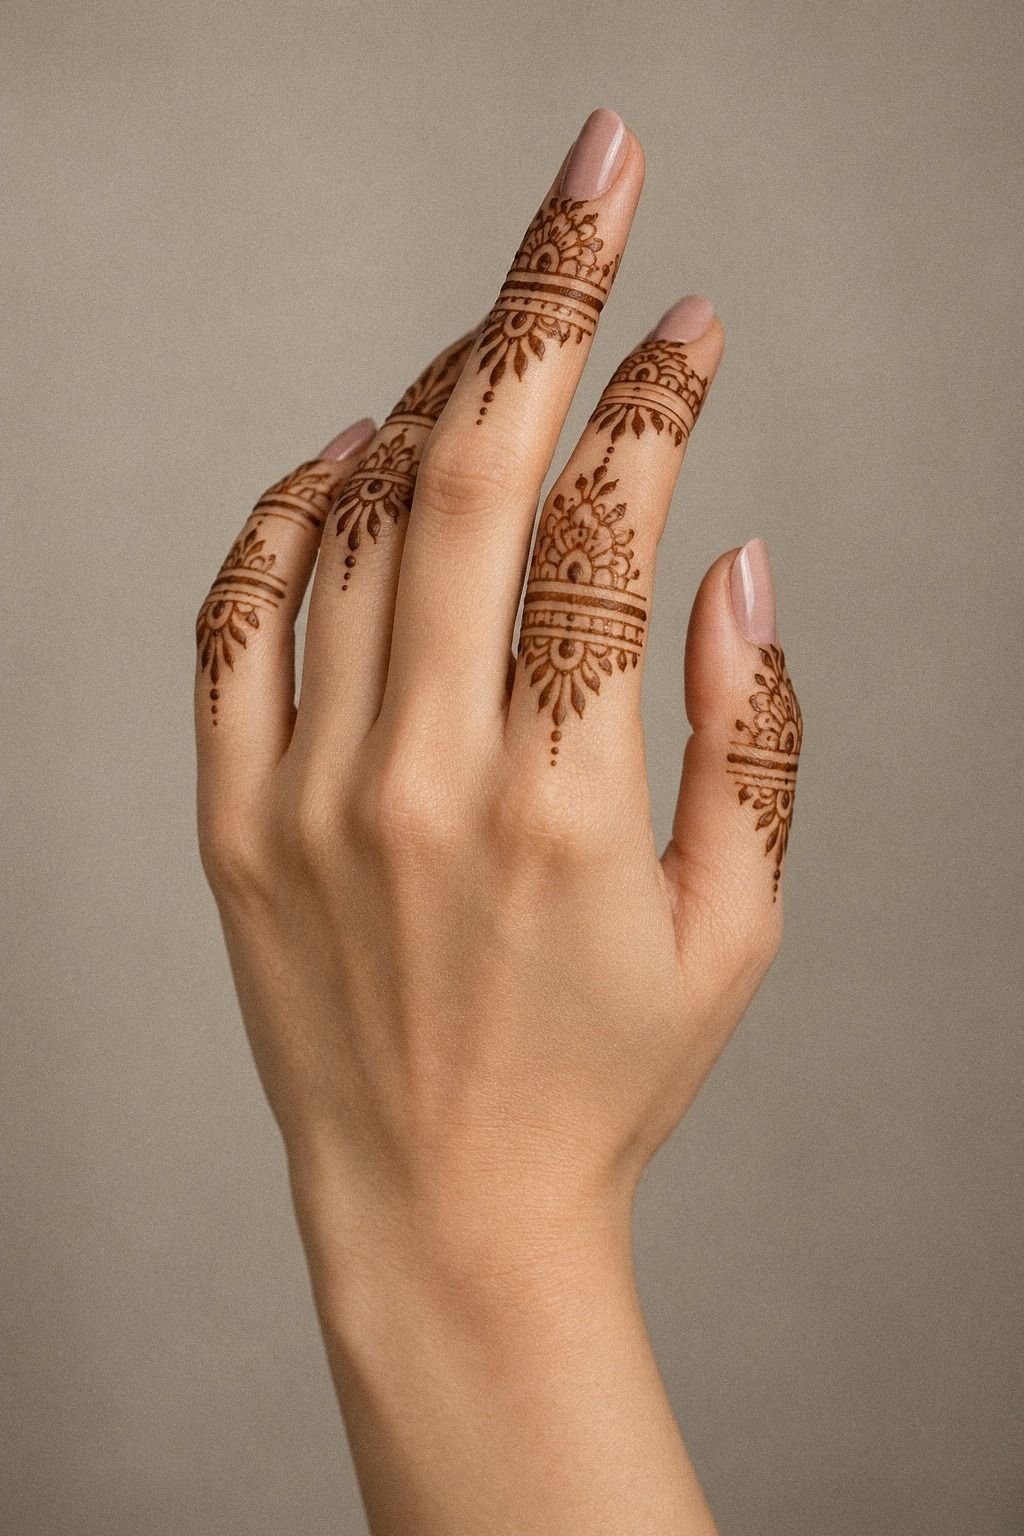
Next, I used tiny dots to break up the finger so each knuckle looked intentional instead of interrupted. On warm ivory skin, those dot clusters became more expressive as the stain darkened, especially when the spacing stayed consistent. I kept each cluster loose enough that you could still read skin between the marks.
That’s what stops it from becoming muddy later.
But here’s the catch: dots around joints need discipline. If your mehndi artist packs the marks too tightly, the movement of the knuckle bends can make the pattern look crowded once the paste dries. I like three-dot or five-dot clusters with obvious breathing space, then a small pause before the next section starts.
You can sketch placement with a skin-safe pen first if you need to see the rhythm on your own hand. It sounds simple because it is, but simple is where weak spacing gets exposed. If you like finger-focused pattern work, finger mehndi designs gives you more ways to keep it light.
3I Chose Simple Vines Across Two Fingers
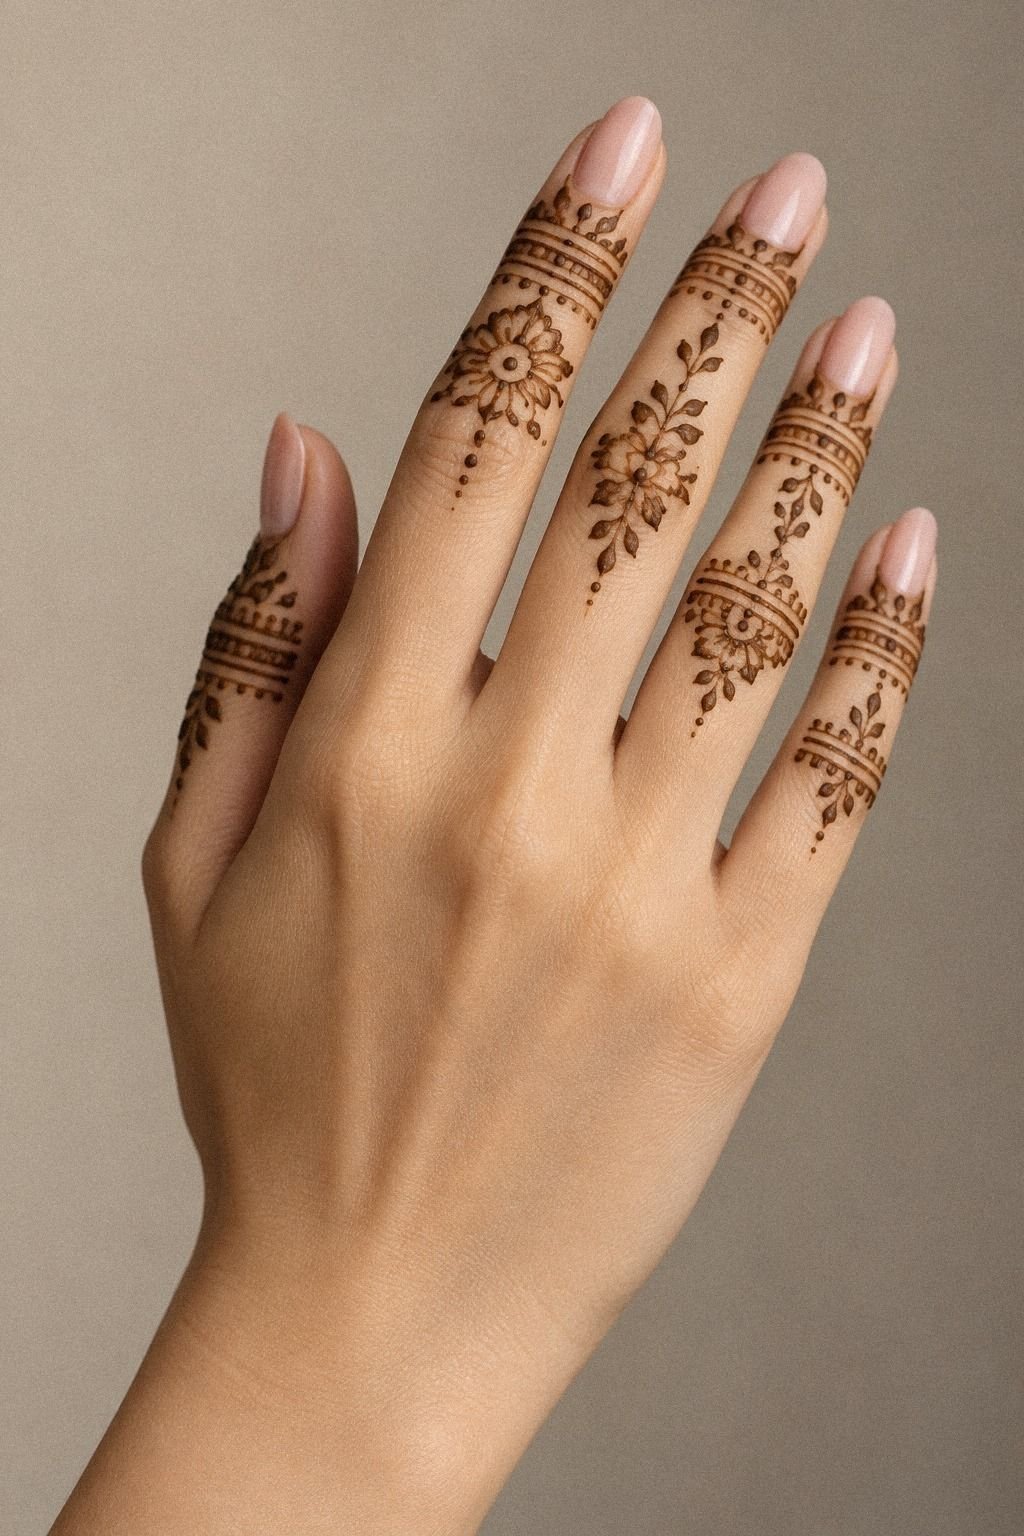
Then I tested a vine that crossed two fingers instead of forcing everything onto one. A narrow vine motif looks more graceful when it follows the natural direction of the hand, so I kept the leaves slim and angled the stem with the finger’s movement.
I also stopped the crossing before the deepest crease instead of forcing a line directly through it. That one choice changed everything.
And yes, you can go too cute here. If every leaf is tiny and overworked, the stain can blur visually once it reaches its deepest color. I prefer four to six leaf moments total across two fingers, with the main stem carrying the rhythm and the small details acting like spice.
The result felt botanical without getting fussy. Leaving negative space around the vine gave it a sleek, understated quality, and it made the temporary design feel more considered. If you want similar placement ideas, 16 finger mehendi designs that stay delicate under pressure lines that up well.
4I Added Fine Leaf Trails On Ring Fingers
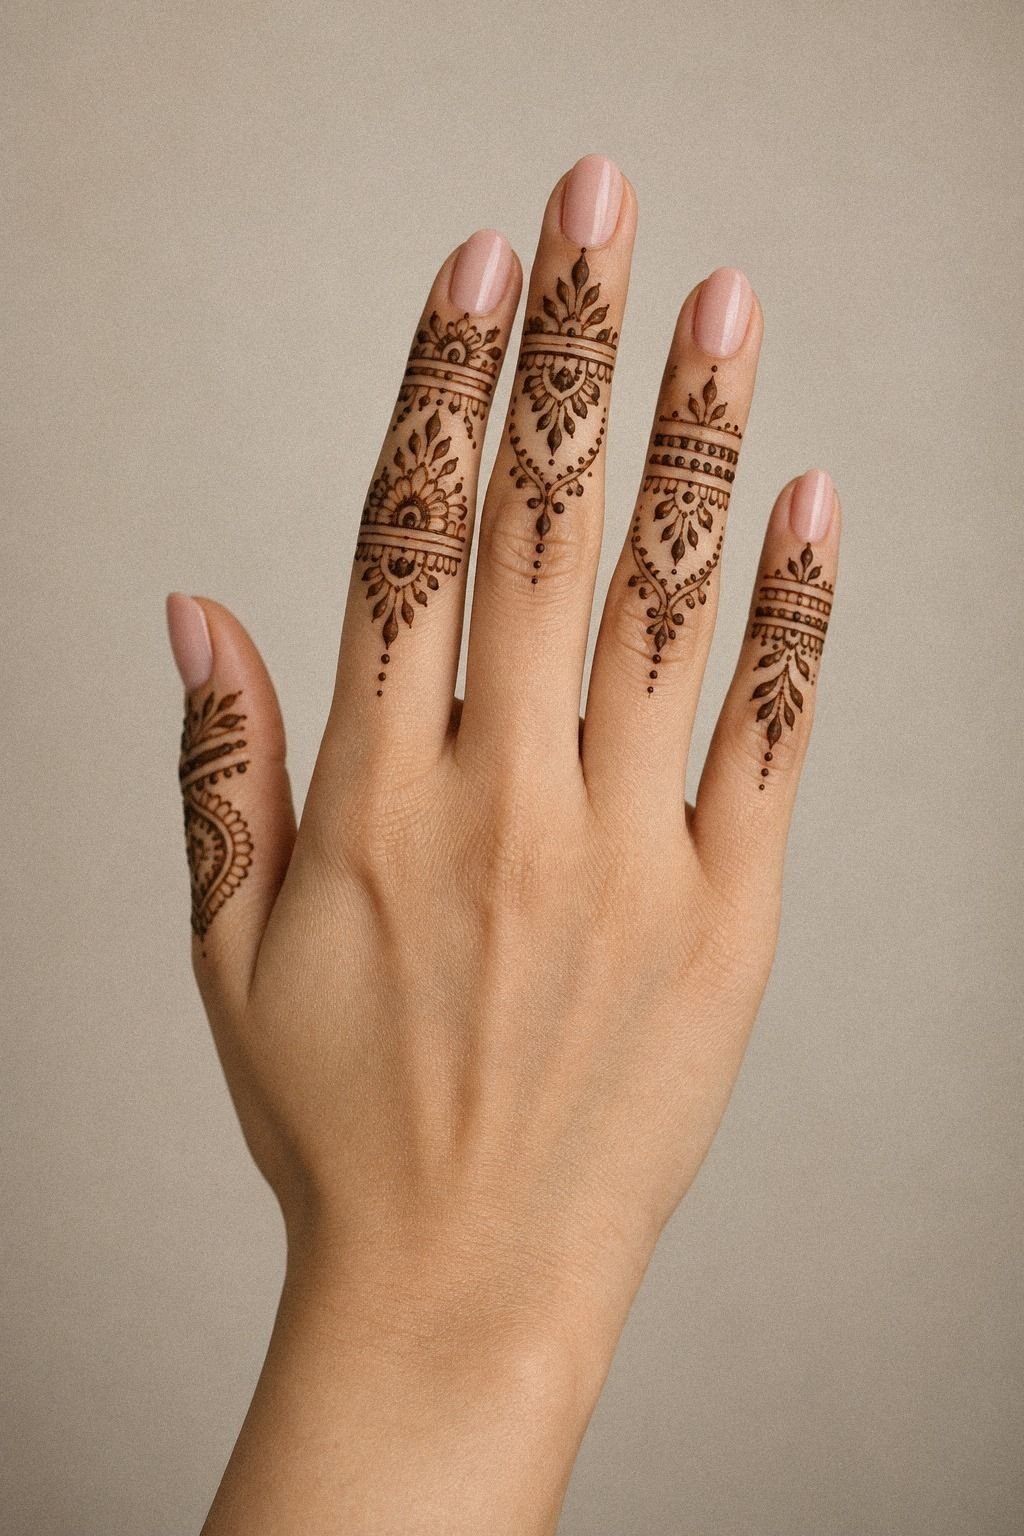
On the ring finger, I wanted the trail to wrap just enough that it looked placed, not stamped. A soft leaf trail can follow the curve of the finger beautifully when the marks stay narrow and the paste is not piled too high.
I had my mehndi artist taper the leaves as they moved toward the base of the finger so the design didn’t stop with a hard edge. You feel that difference even when you can’t explain it.
This is one of those placements where less pressure matters. Ring fingers take plenty of daily friction, and if the paste is applied unevenly, the stain can develop patchy. I like a gentle cone flow, a little breathing space near the joint, and no fake shading where a crisp contour would do better.
If you’re deciding between hand-heavy patterns, 15 mehendi designs for hands simple enough to diy helps you see what belongs on fingers versus the full hand. The strongest references feel polished because they know when to stop.
5Aesthetic Negative Space Finger Bands
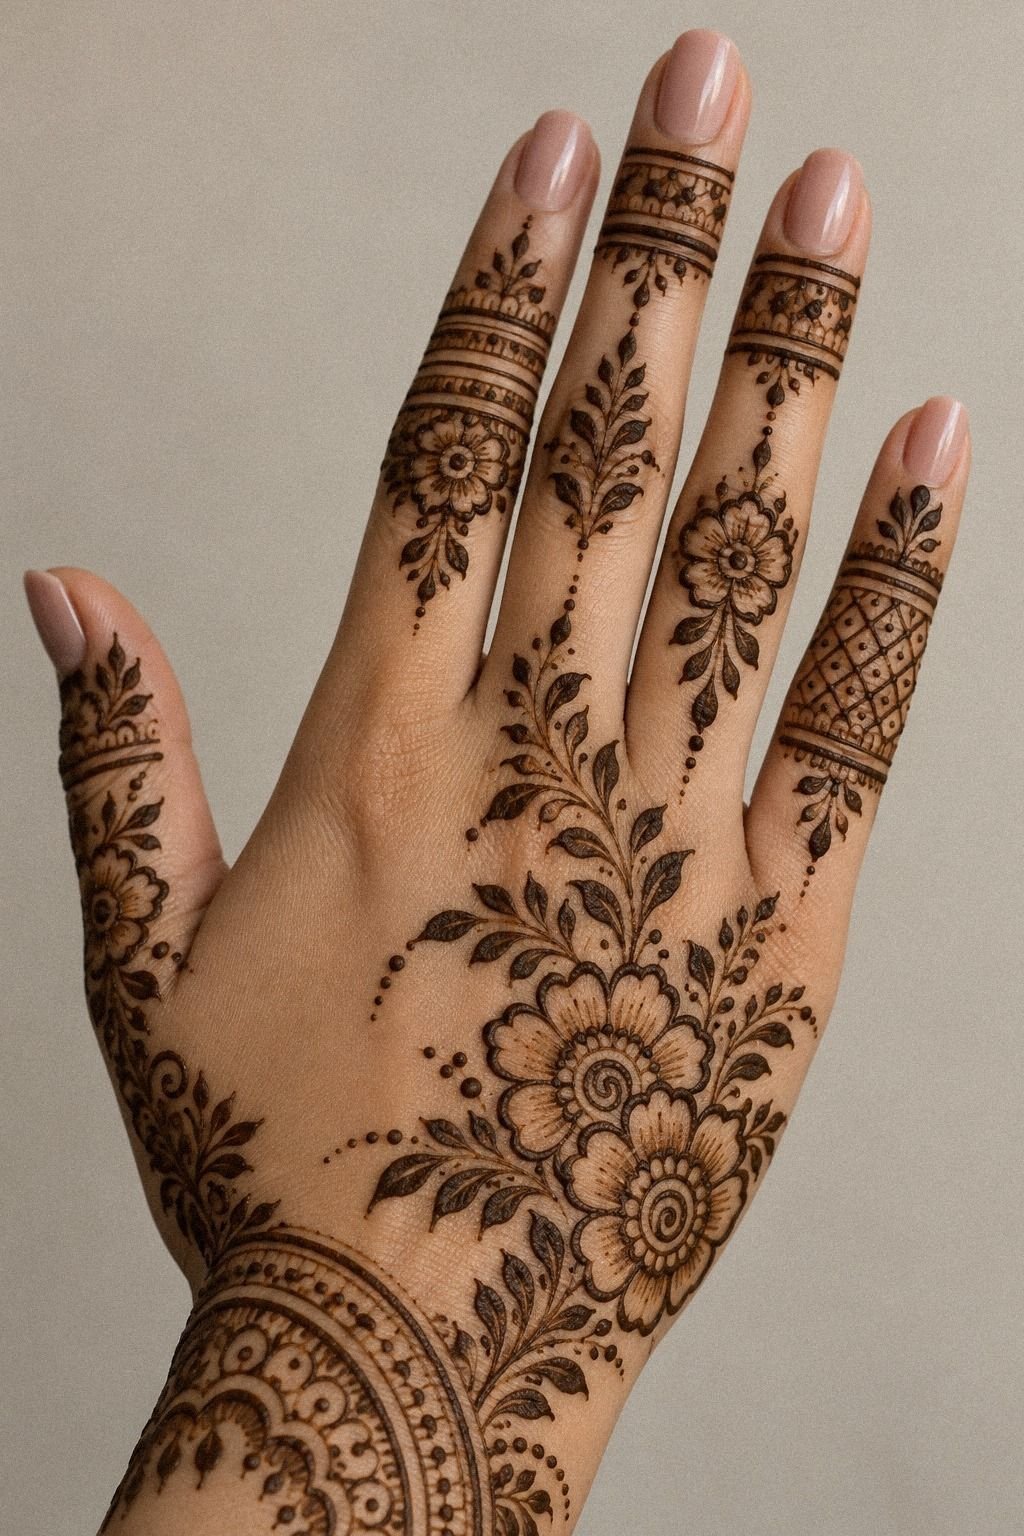
When I hit the reference-sheet stage, open-skin bands were the first idea that felt smart instead of trendy. Open-skin bands give you the look of a finger ring pattern without covering the whole finger in paste. On paper, I liked designs that used gaps, repeated dots, and just enough symmetry to feel deliberate.
A band made from separated marks also dries more evenly than one thick, continuous stripe. The gaps let you see the natural skin underneath, and they keep the pattern readable after the brown-red color deepens. That is the difference between a striking design and one that becomes a dark block.
I skipped fully solid bands on purpose. A broken band with visible skin breaks feels more delicate, keeps the mehndi reference intact, and makes the result easier to adjust for different occasions. You can see that thinking in modern mehndi designs too, where the best looks use air as hard as they use paste.
6Cuticle Florals, Pretty But Risky
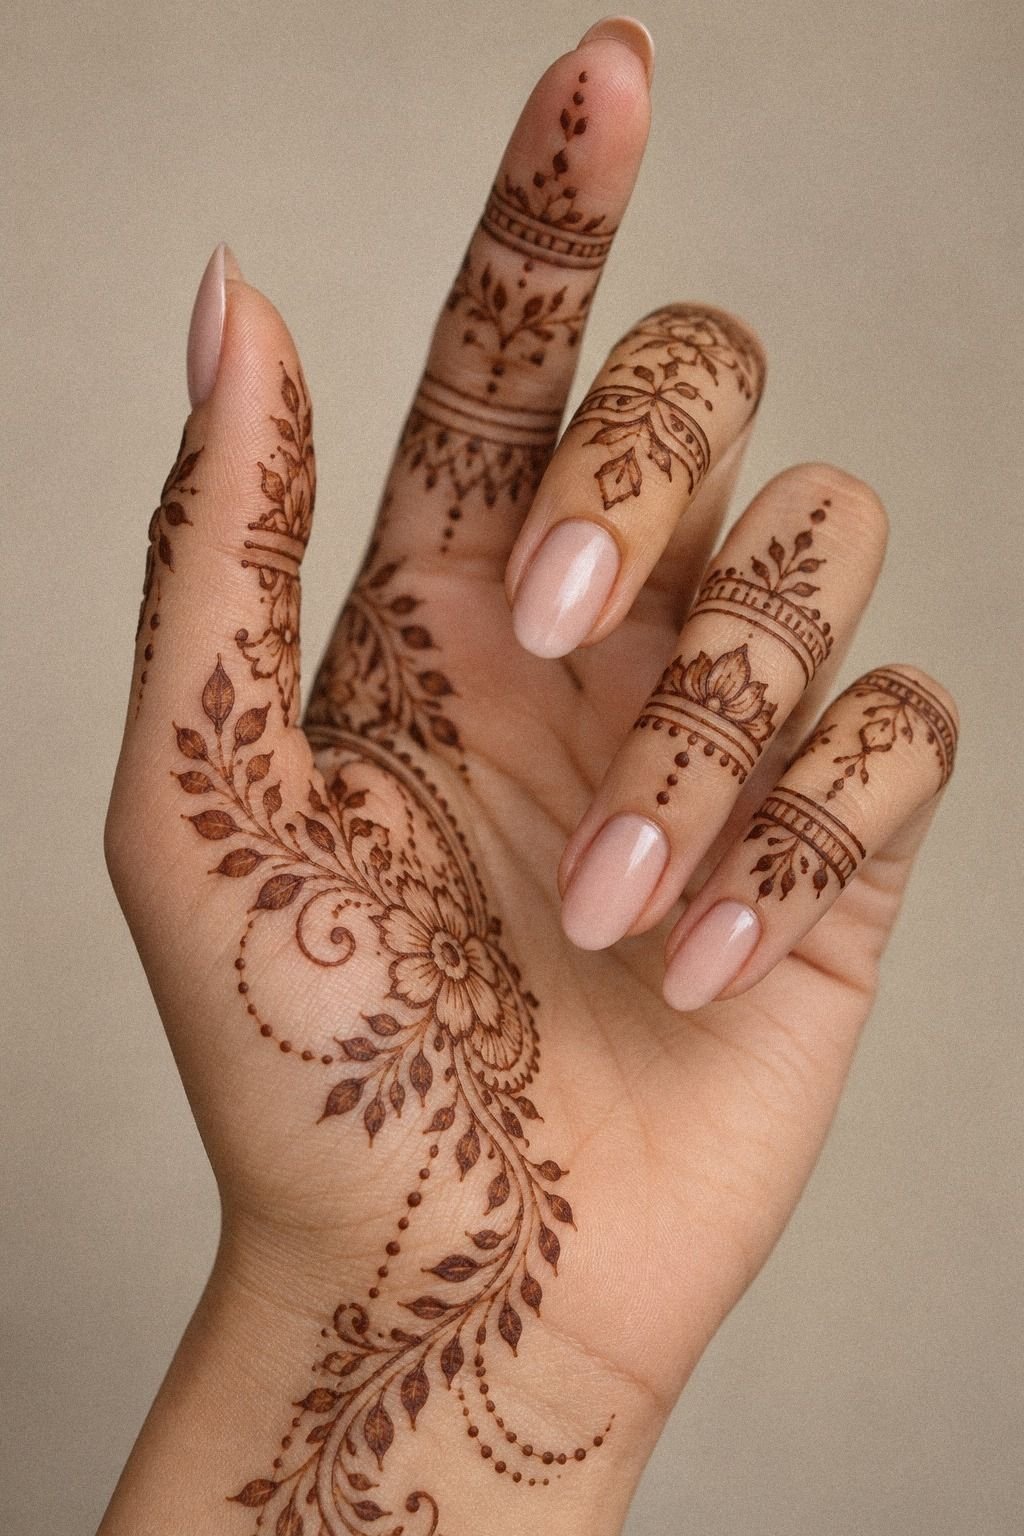
This was the prettiest section and also the one that needed the most self-control. Tiny flowers near the cuticles can look dainty, but the area is close to the nail, where hand washing and friction happen constantly. I kept the tiny florals open in the center instead of filling every petal.
The key was leaving a small gap from the cuticle edge. That gave the pattern a sharper boundary and kept paste away from the nail fold. I used three or four petals, one central dot, and a short stem rather than trying to build a full bouquet on each finger.
For a richer stain, I waited until the paste was fully dry before sealing it with a thin lemon-sugar seal. I did not flood the design. A light touch was enough to help the paste stay in place while I finished the rest of the hand.
7I Built A Clean Arabic Finger Trail
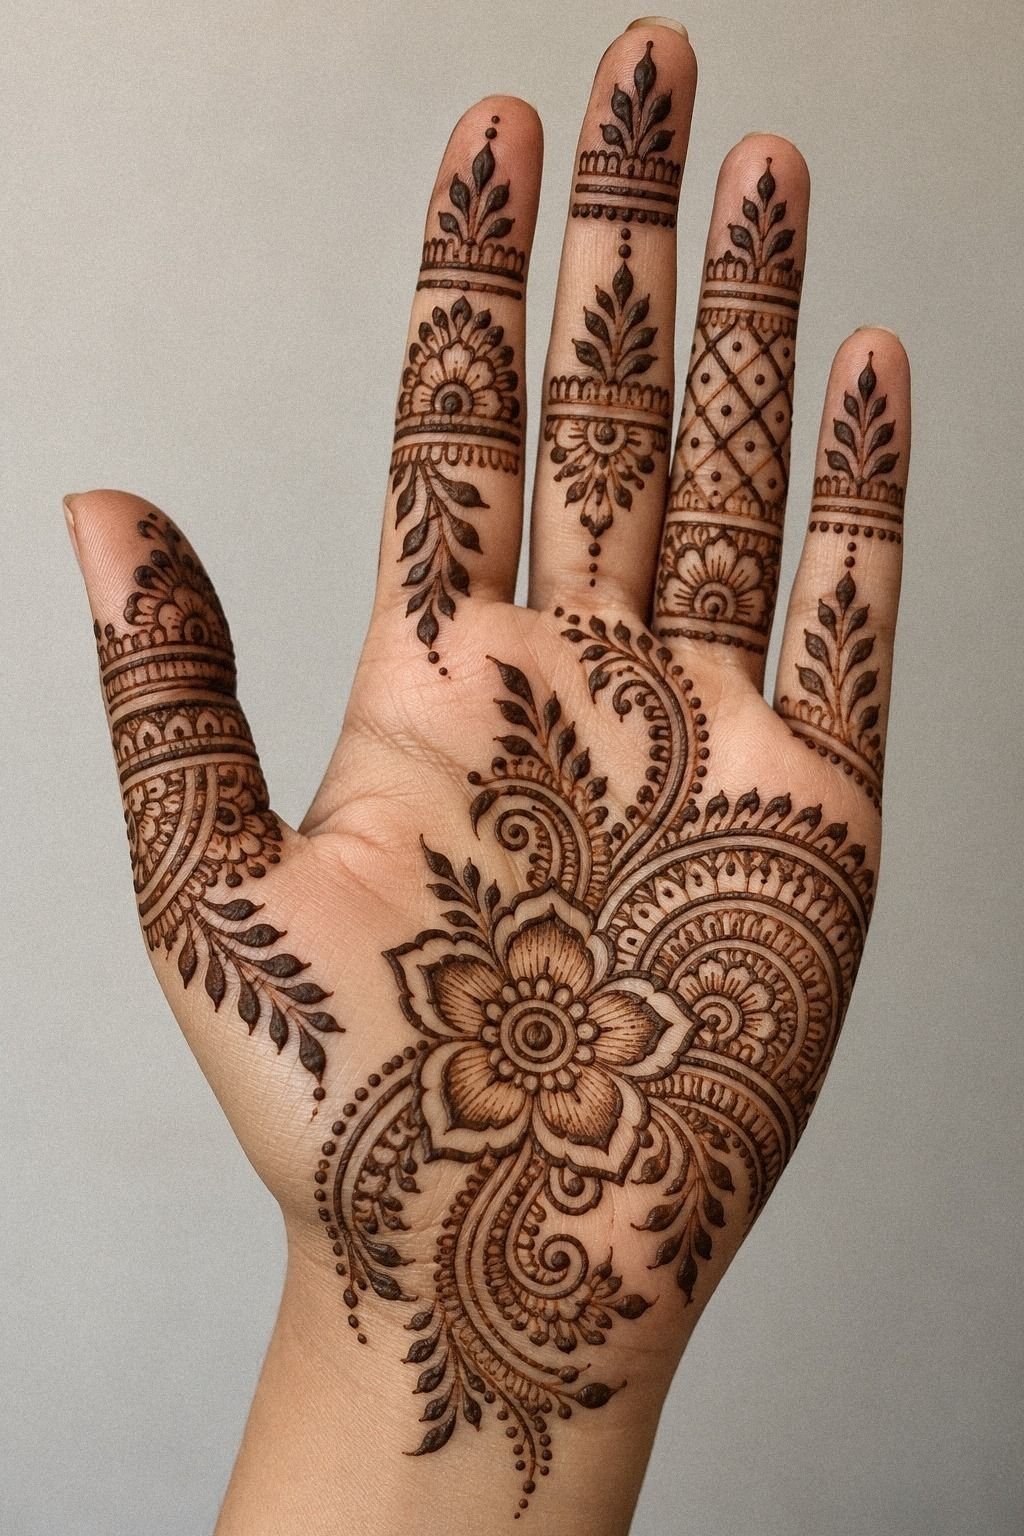
For the Arabic-inspired trail, I didn’t go literal with script because lettering on fingers gets risky fast unless the mehndi artist is excellent at tiny forms. Instead, I borrowed the vertical elegance and built a clean trail that moved like calligraphy without pretending to be readable language. The result felt romantic, expressive, and easy to understand at a glance.
Why fake script when you can keep the movement and lose the risk?
This is where your artist choice matters a lot. You want somebody whose dried designs still show clear spacing at miniature scale, not someone who hides uneven paste under excessive detail. I asked for longer strokes, fewer interruptions, and no decorative clutter between the key marks.
The final trail looked intentional, feminine, and clean instead of overly themed. I kept the flowing stem slightly off-center so the finger still had room to move visually. If you like that kind of restraint, finger mehndi designs and modern mehndi designs are both worth saving.
8I Used Dotwork Chains Between Finger Joints
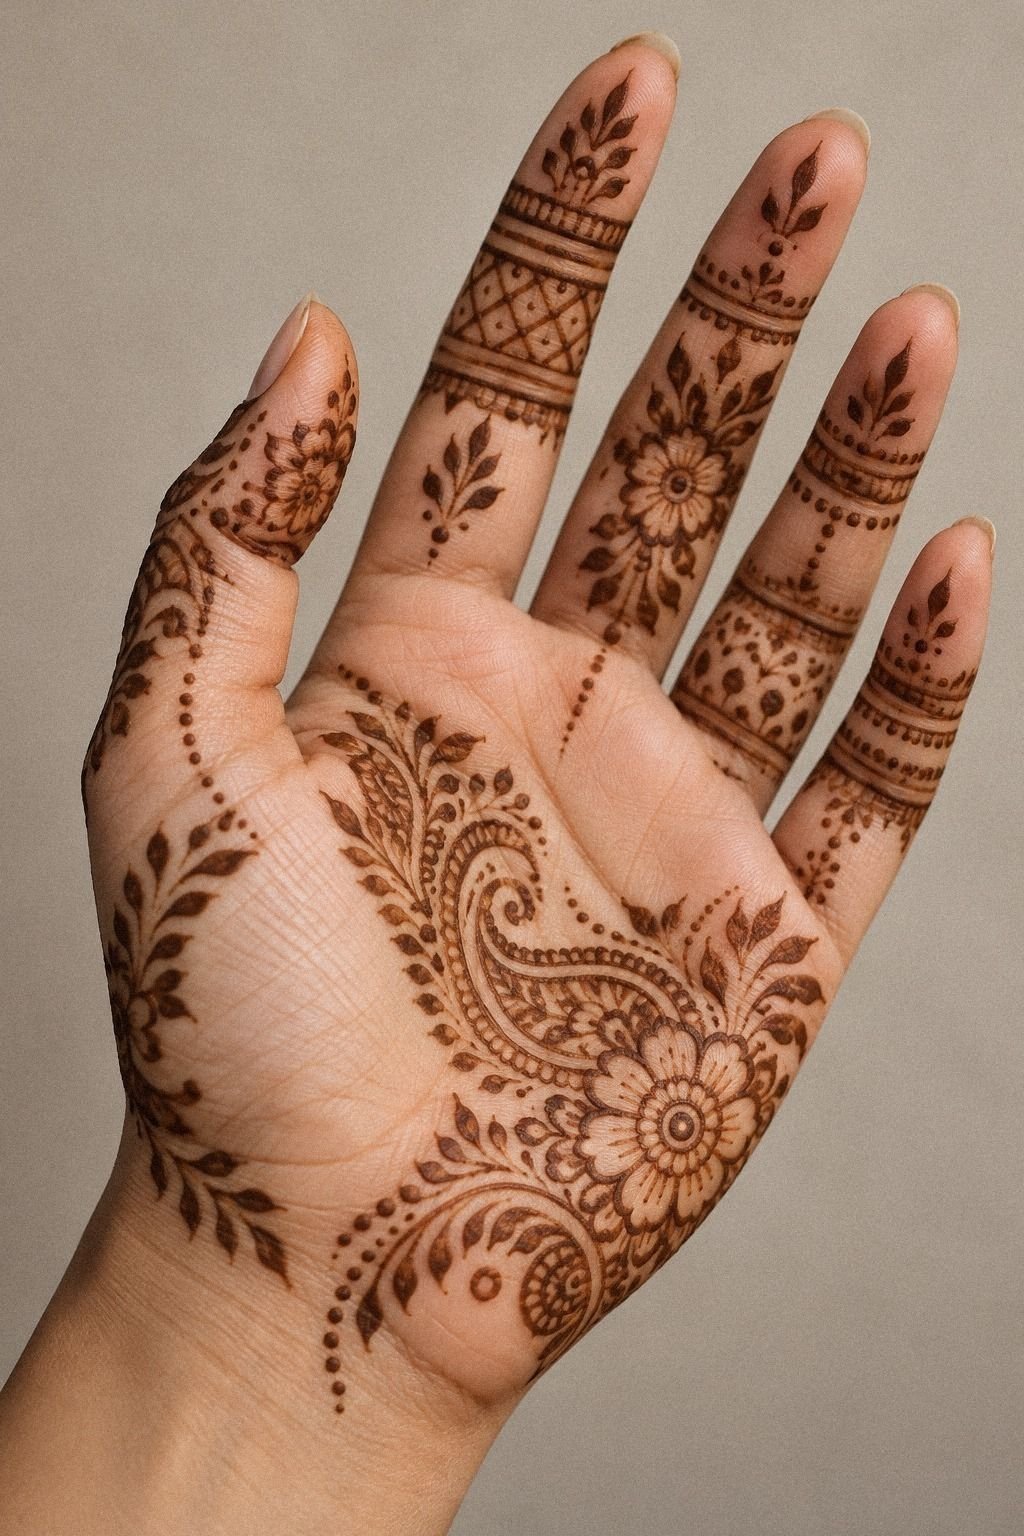
This was my safest way to connect sections without dragging one unbroken line through every crease. A dotwork chain between joints gives you movement, but it lets each finger bend without forcing the design into an awkward path. On warm ivory skin, dried dots can look velvety in the best way if they were spaced with intention.
And the technique matters more than the idea. I wanted peppery dots, not stamped circles, so the mehndi artist had to keep the cone steady and the spacing even.
The chain looked delicate, but it wasn’t weak. That’s the sweet spot!
I also kept the densest part away from the palm side because that area gets more rubbing and washing. For more pattern-driven inspiration, 16 finger mehendi designs that stay delicate under pressure shows similar balance between detail and survival.
9Simple Henna Caps Over Full Tips
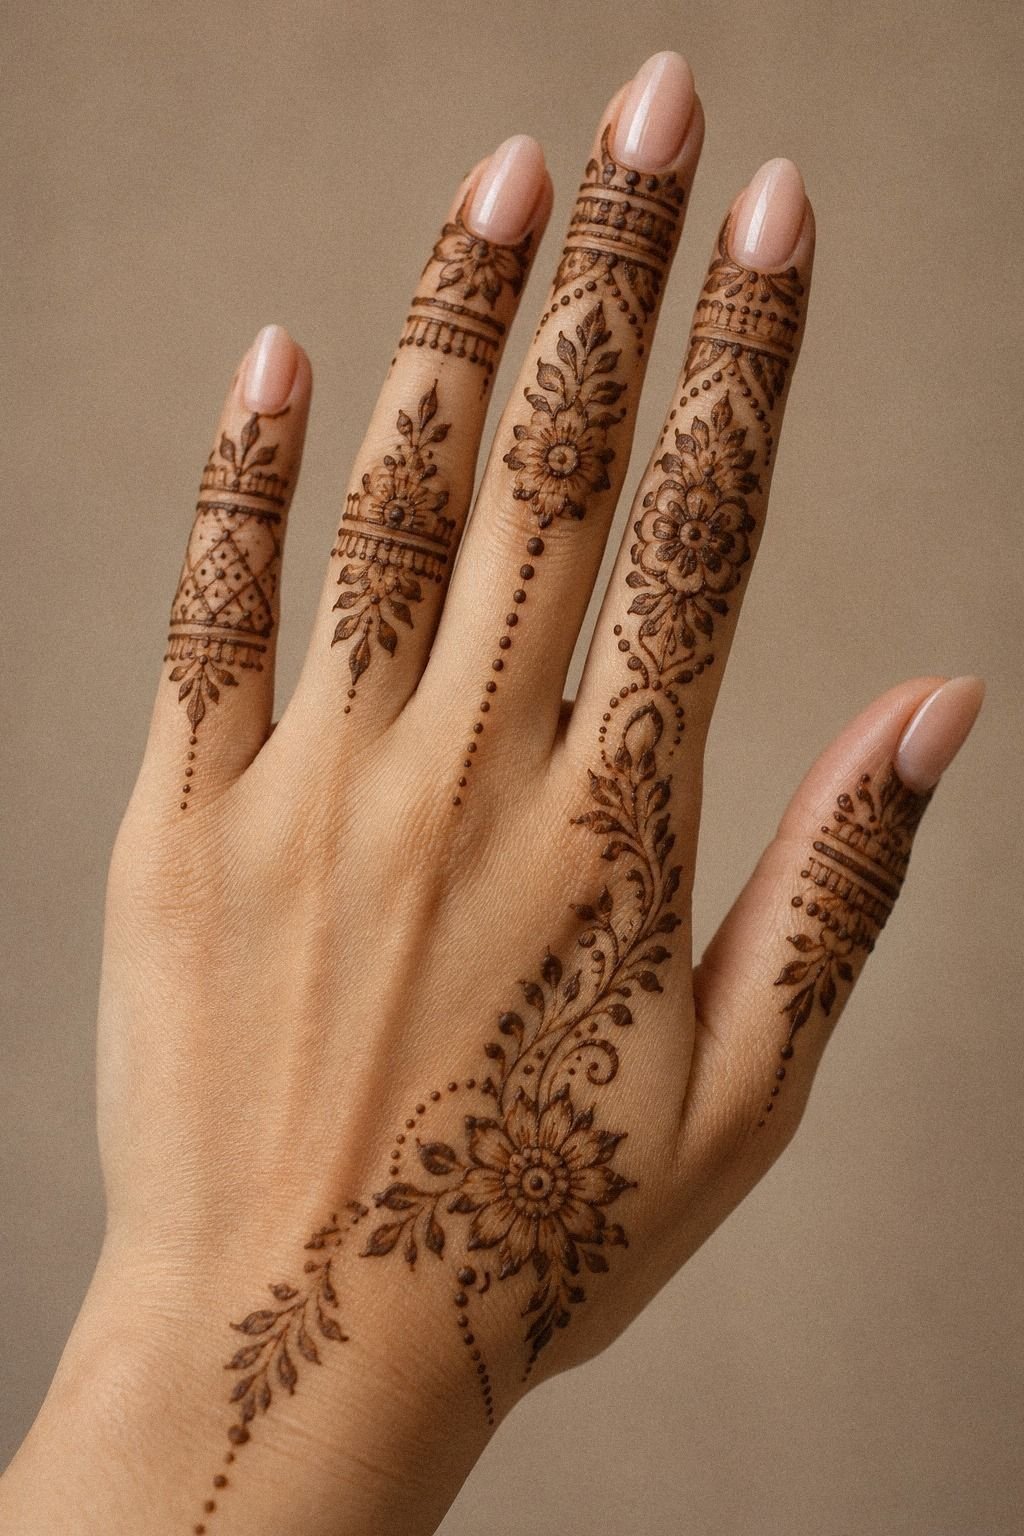
Fingertip caps look dramatic in a reference image, but I had to edit them down before they made sense as henna. A simple cap that hugs the top of the finger reads sharper than a fully filled fingertip. I kept the top edge curved and the lower edge broken, which made it feel like henna without turning the whole tip into a dark block.
That one edit kept it elegant.
The henna caps also needed time to dry without rubbing against anything. I held my hands still for the first stretch, then left the paste on for roughly one to two hours before gently flaking it away. Water came later, after the stain had time to develop.
I only liked this because the cap was partial, airy, and anchored with a partial fill rather than a dense fingertip. If you want a finger-forward look with less maintenance during the day, move the same motif slightly lower and let the fingertip stay cleaner. Small finger tattoos makes that tradeoff easier to picture.
10Small Mandala Accent At Centerline
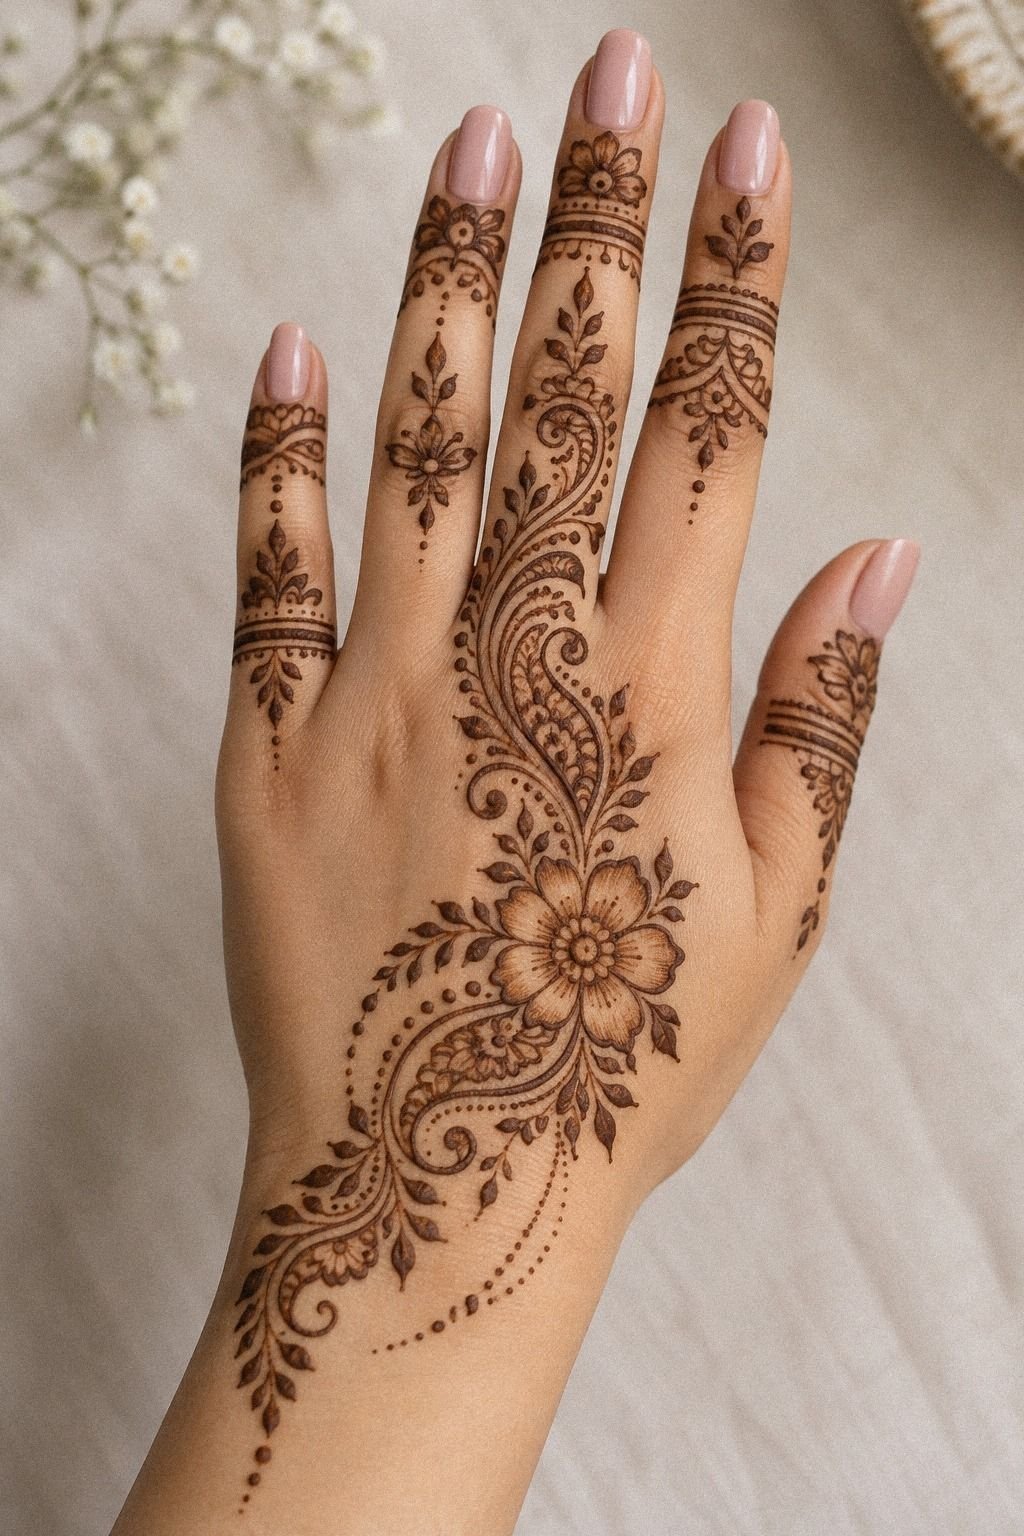
The mandala accent started as a stencil drawing, and honestly, that’s exactly how it should start. Geometric micro-details don’t belong in guesswork. I looked at the paper version first, checked whether the points stayed open at tiny scale, and only then placed it on the finger.
When the design still looked balanced after the paste dried, I knew it had enough structure to hold.
I kept the mandala accent tiny, centered, and backed by a clear transfer sketch that was easy to read before the cone touched skin. But I skipped ultra-micro filler marks because those are the first to disappear visually when the stain softens.
You want one strong center, a few clean radiating shapes, and contrast that won’t turn flat. The best references in latest simple mehndi designs work for the same reason: they know when to stop.
11I Tested Trending Stacked Mehendi Finger Rings
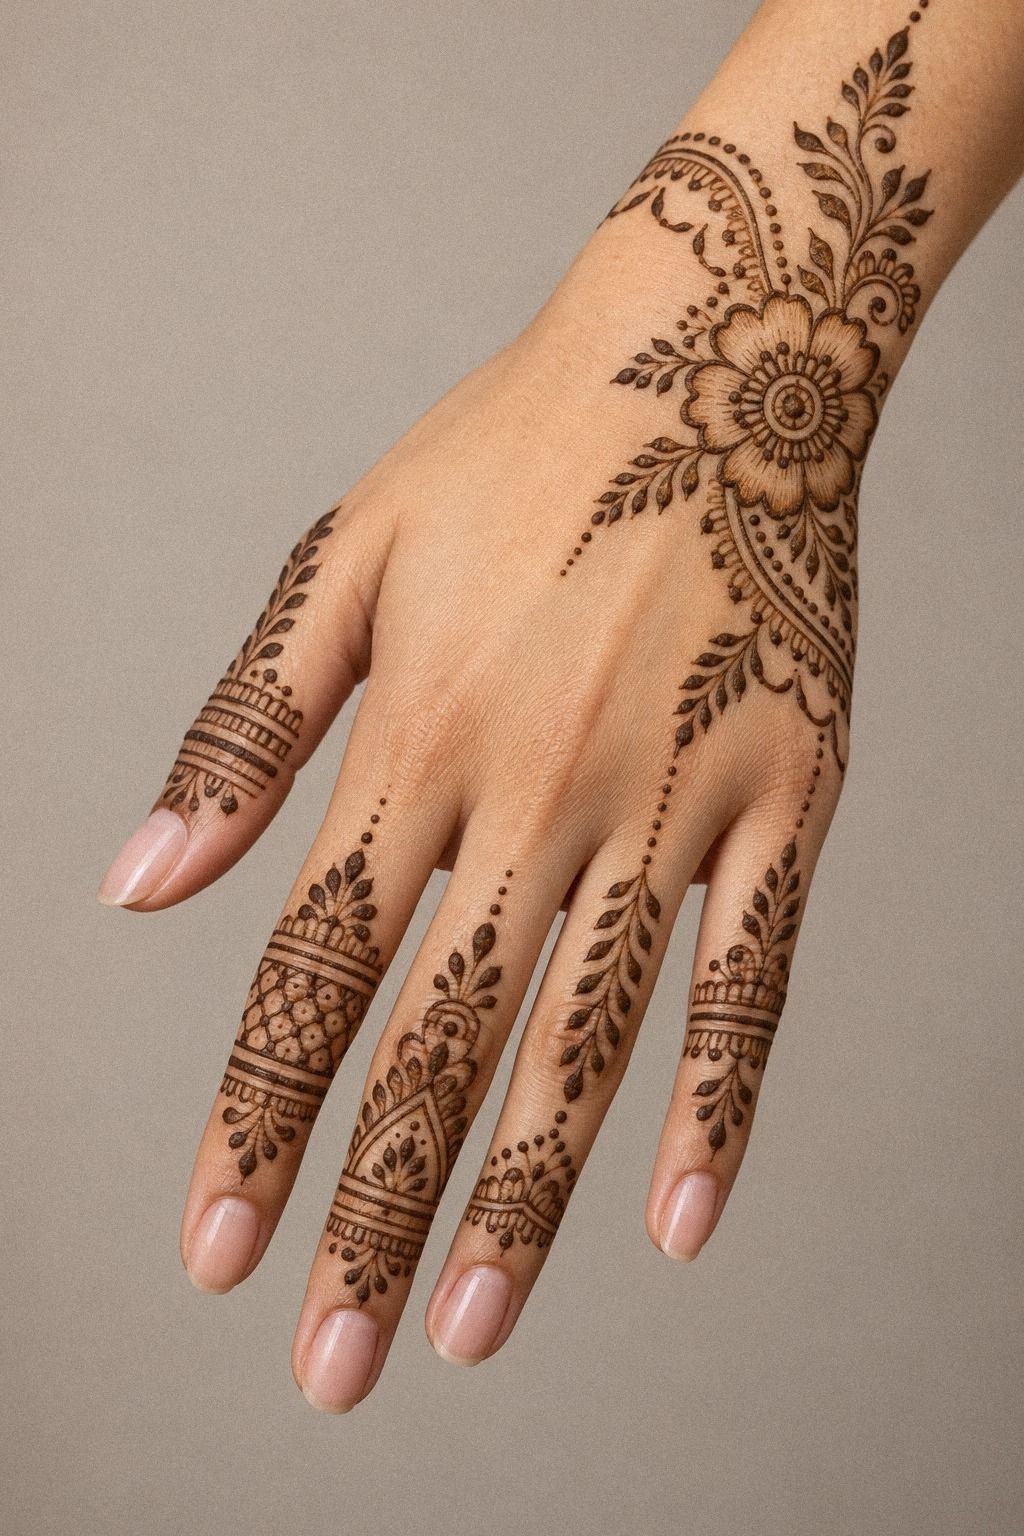
Stacked finger rings are everywhere right now, and some of them deserve it. A set of separated rings can look polished, graphic, and playful because each band catches attention at a different point on the finger. I tested mixed widths instead of identical rings, and that gave the whole look more movement.
The move that saved it was spacing. I left enough plain skin between each band that the design didn’t read like one dark tube when my hand rested naturally. But I also avoided random gaps.
Repetition still needs rhythm.
I like two slim bands and one slightly bolder accent rather than five tiny ones fighting for attention. That balance felt stylish without becoming ornate. If you want to compare styles before you commit, 15 minimal mehendi designs that prove less lands harder is the better benchmark than a messy inspiration dump.
12The Bare-Finger Balance Rule
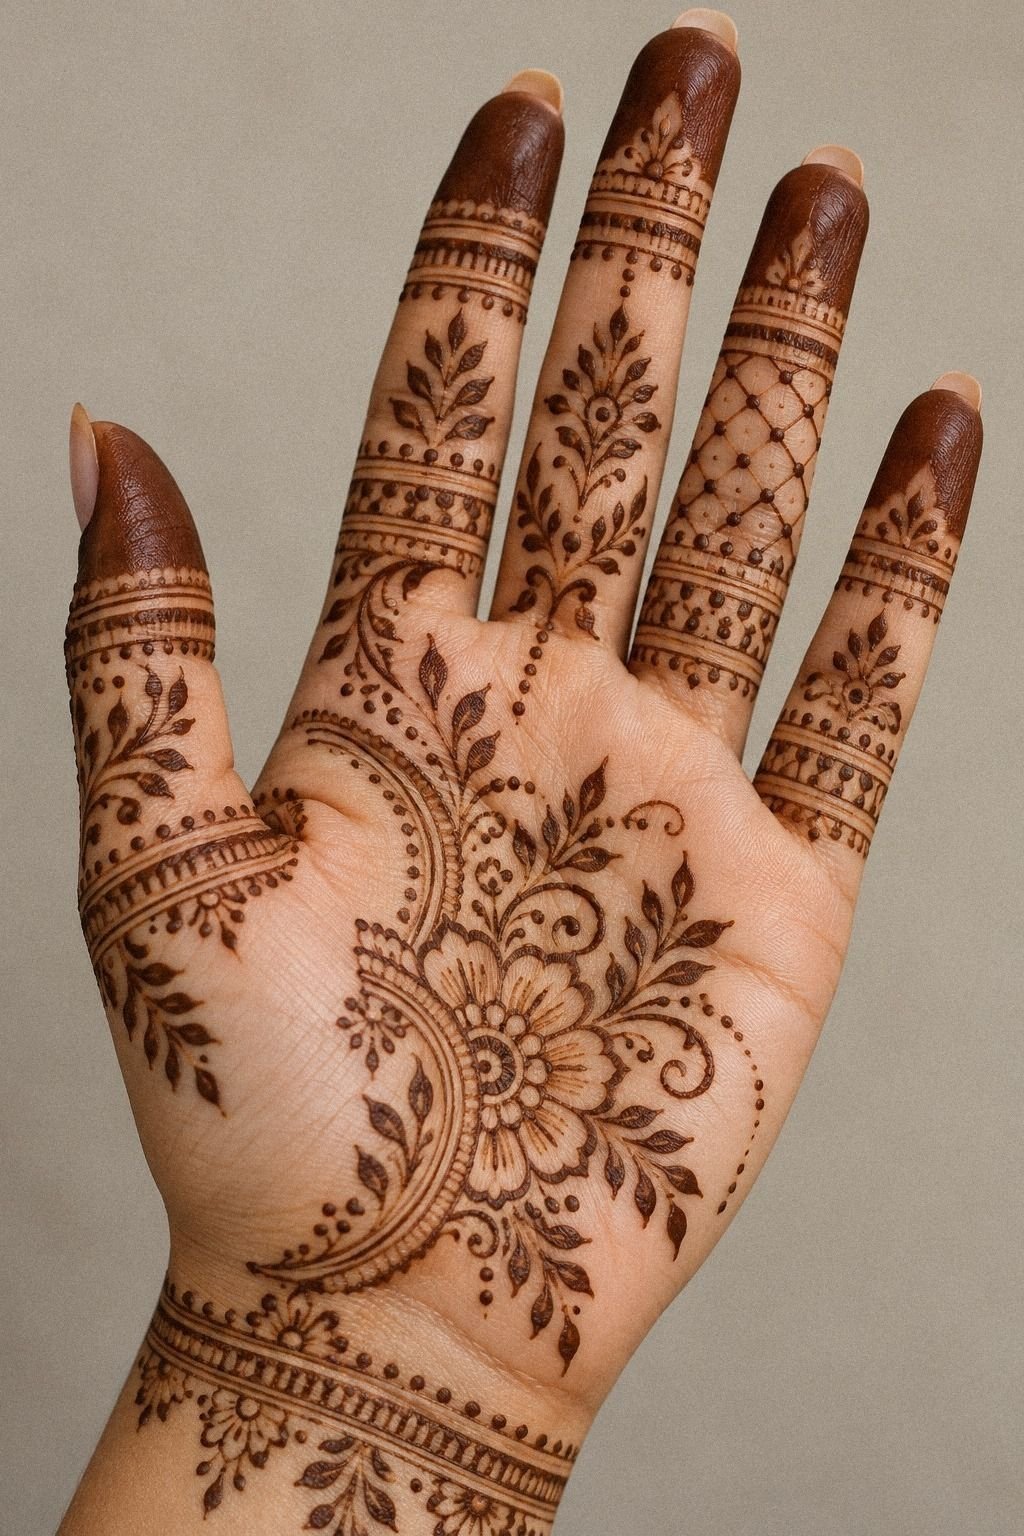
This turned out to be the smartest decision in the whole design. Leaving one finger bare made every other detail look cleaner, richer, and more intentional.
You do not need to fill every finger to make a set feel complete. Sometimes the untouched finger is what gives the pattern extra room to read.
I call this the bare-finger rule, and I use it whenever someone wants mehndi-inspired placements that won’t feel busy too quickly. If one finger holds the visual rest, the decorated fingers can stay intricate without tipping into confusion.
That untouched finger became the design’s visual rest. It made the bold sections feel more meaningful and gave the whole hand a classic rhythm. You can build more later.
You cannot make a crowded stain look sparse once it has developed.
13I Extended A Vine Toward The Wrist
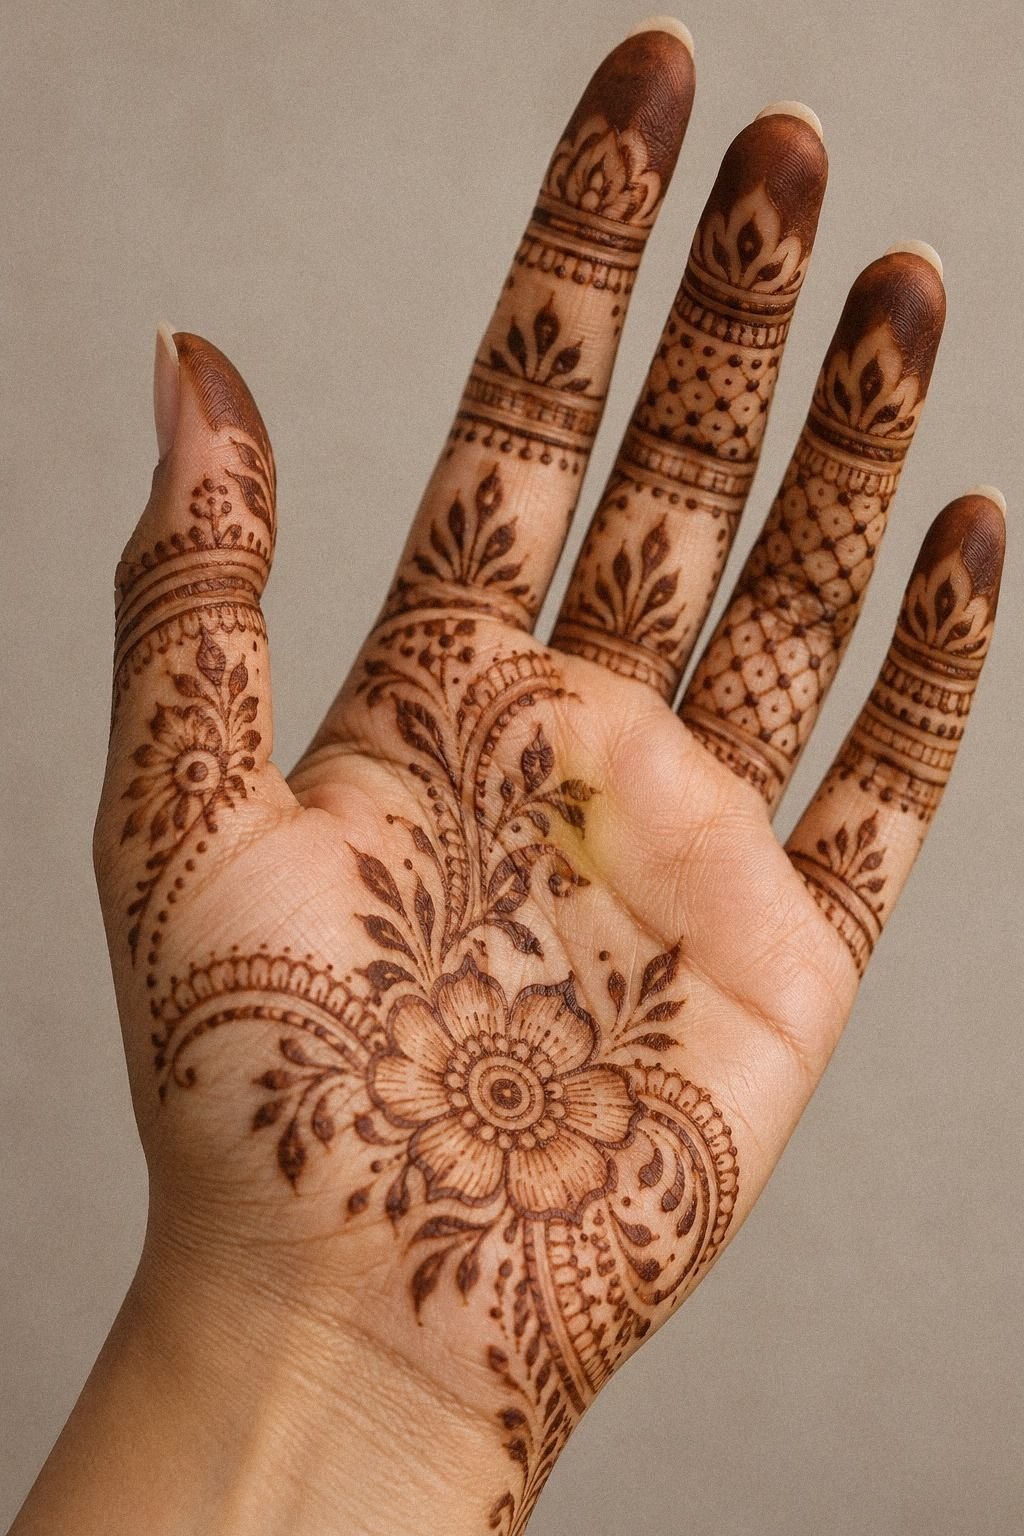
Once the finger details were set, I tested a vine that trailed softly toward the wrist. That wrist extension made the whole design feel less like separate finger marks and more like one flowing idea. I kept it light and narrow so it didn’t compete with the finger work, and I stopped it at the lower wrist instead of dragging it too far up the arm.
This is where placement really affects the result. Fingers bend and wash constantly, while the lower wrist gives the vine a steadier path.
I like that contrast. You get the charm of finger mehendi and a calmer place for the pattern to continue developing.
If you’re building a larger flow, 15 mehendi designs for hands simple enough to diy and peacock mehndi designs both show how motifs can travel without getting chaotic.
14Nail-Edge Cleanup, Not More Detail
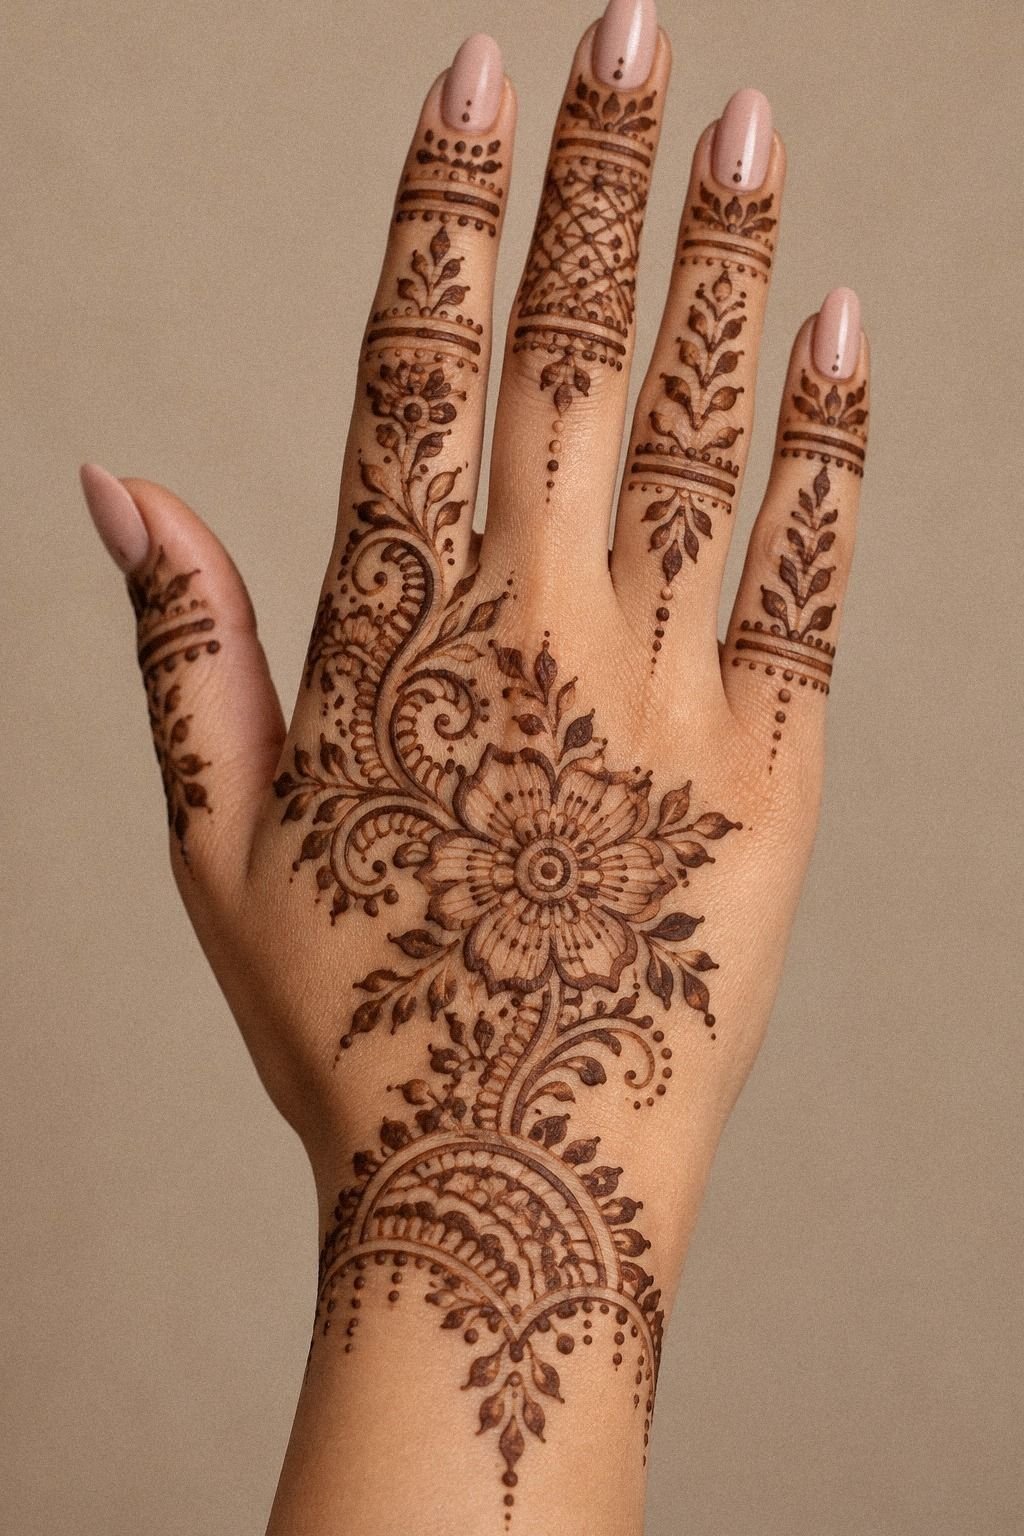
The line cleanup around each nail was tiny work, but it changed the finish more than the bigger motifs did. I added a slim nail-edge border on two fingers and left the others untouched so the hand did not feel overly matched.
A narrow curve worked better than a filled crescent. I used a fine comb of short marks, checked the distance from the nail, and wiped away one section that sat too close to the edge. That small edit made the final result sharper.
This is a good place to slow down. The border should echo the nearby pattern, not compete with it. If the finger already has dots or leaves, a single curved mark may be enough.
15I Checked Smudging Before The Paste Dried
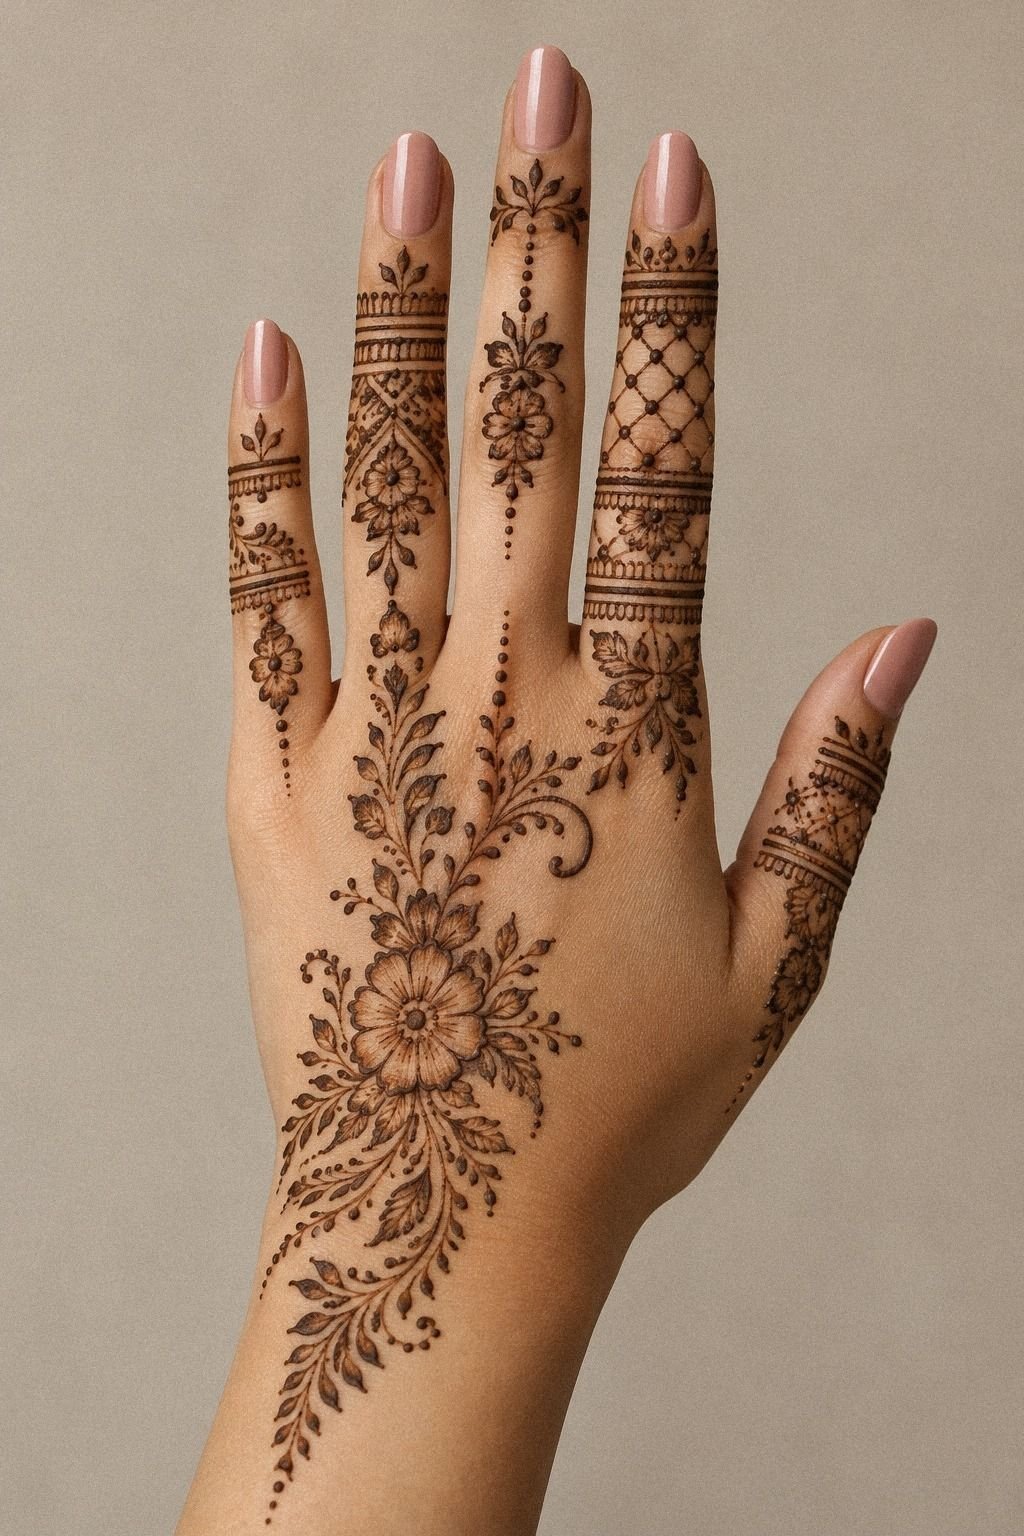
Even though this was a henna design, I still borrowed the old habit of checking every section while the paste was drying. That pause helped me catch the spots where marks were too close, too repetitive, or likely to read muddy once the stain deepened.
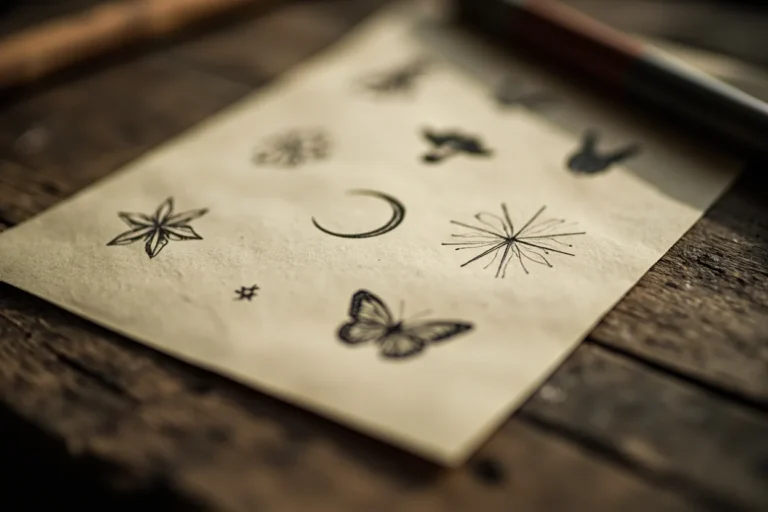
Looking at multiple reference variations on aged paper made those problems obvious fast. You should do the same before the paste has set.
I call this the smudging check. If a design only works when you squint, it’s not ready for finger skin. But if the shape reads instantly with your hand relaxed, then the details have a fair shot of staying clear.
I crossed out a couple of filler ideas right here, and thank God I did! They would’ve made the whole set fussier, not better.
This is also why I tell people references are for vibe only. Your finger is not a flat drawing.
16Which Finger Design Read Cleanest?
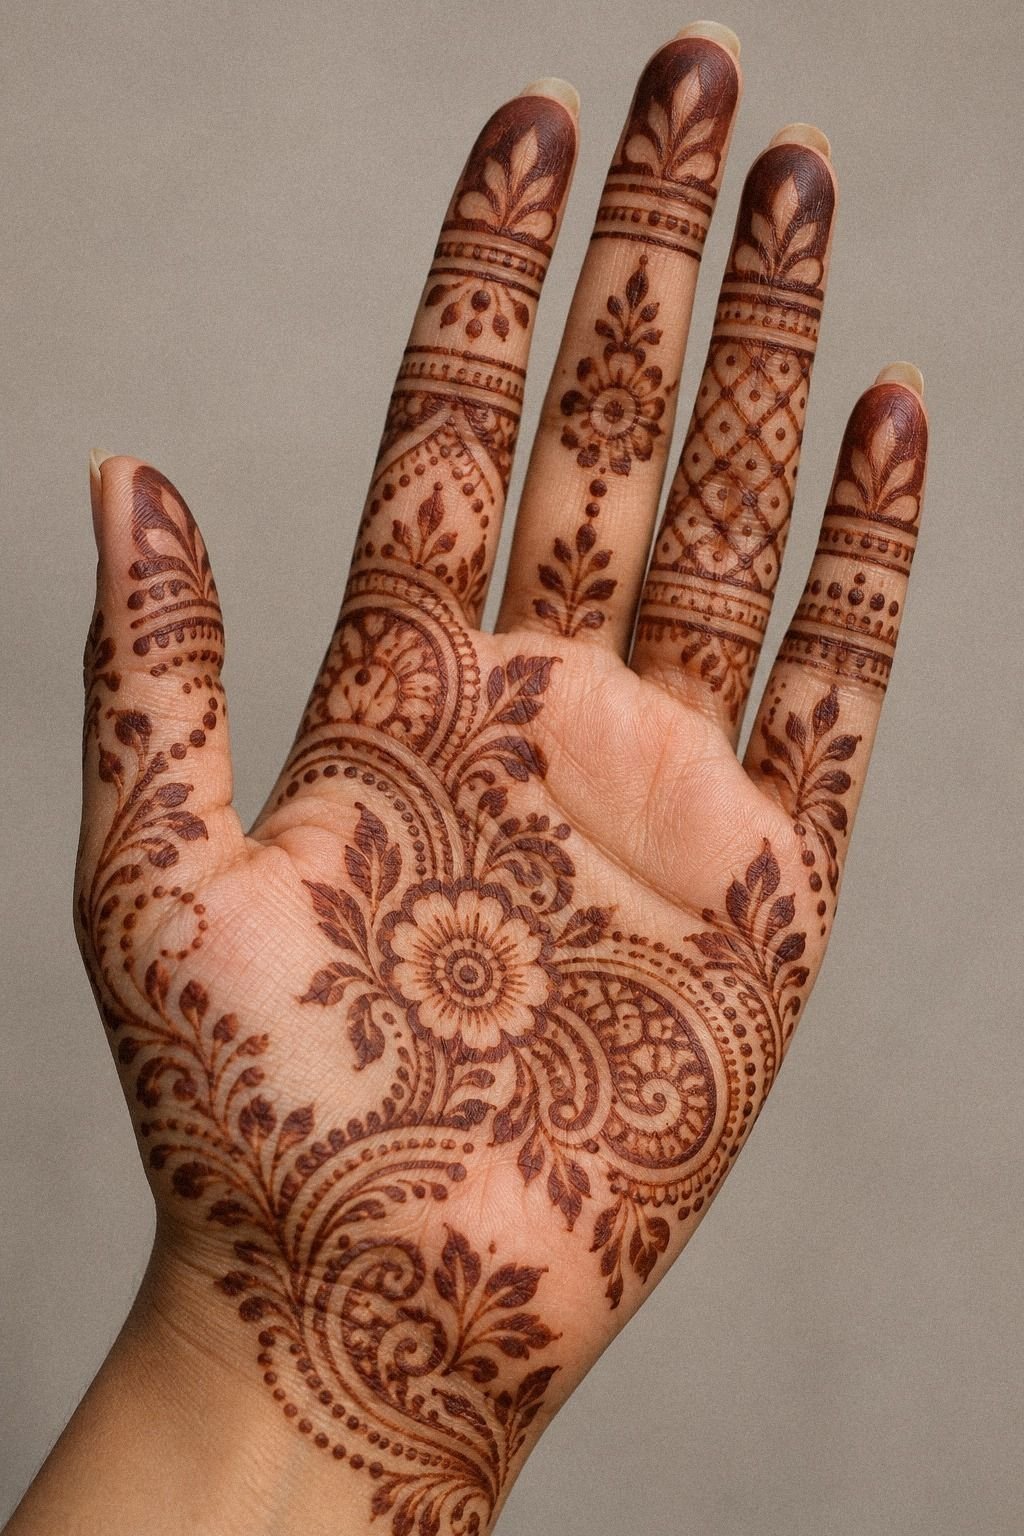
In the end, the winner wasn’t the most detailed one. It was the pattern with the clearest spacing, the fewest competing marks, and the most confident shape.
The darkest stain appeared on the design with slightly thicker curves and more paste left in place during drying. That was useful to notice because a delicate wet pattern can look entirely different on the second day.
I chose the final choice based on clarity, not trendiness. The tiny vine and separated ring marks won because they stayed graceful while the paste developed, then faded gently over the following weeks.
How much does finger mehendi cost?
I didn’t want this project to turn into mystery math, so I kept the numbers simple and close to how independent mehndi artists usually price small hand work. Finger mehendi may be priced by design, by hour, or by the occasion. A simple personal pattern costs far less than elaborate bridal work.
Here are the numbers I used as practical benchmarks:
In my case, the booking landed at about $35 because the design stayed compact and my mehndi artist could finish it without adding unnecessary detail. That’s the key point. You save money by choosing a pattern that fits the hand, not by chasing the cheapest option.
I would rather pay a little more for fresh paste and confident cone work than accept a weak stain that needs constant reapplication. Worth it!
Is Finger Mehendi Actually Worth It?
Yes, if you like visible hand art and understand the temporary nature. Finger placement gives you daily impact for a small spend, but it only feels worth it when the design is edited hard. A cluttered finger pattern may look impressive while wet, yet it can become difficult to read once the color deepens.
The sweet spot is a clean design with obvious spacing, a rich brown-red stain, and a shape that still reads after the paste flakes away. That’s where the money and wear time start lining up.
If you want the look without covering every finger, move part of the motif onto the lower hand or wrist and let the highest-friction edges stay lighter. That tweak keeps the whole thing prettier and usually makes the plan feel smarter too.
The Clean-Line Decision Framework
What changed my mind on finger mehendi was not trend pressure. It was realizing that the cleanest version is usually the most confident version too.
Tiny designs get called fragile all the time, but that is not really the issue. The real issue is editing.
A finger pattern has almost no margin for clutter, and that’s why it teaches good design fast.
I’ve seen people try to cram a full henna panel, script, micro flowers, bands, dots, and symbolism onto one hand because they want the first appointment to do everything. It never dries as cleanly as the simpler draft. The fingers bend, the paste darkens, and suddenly all that tiny ambition turns into visual noise.
If you keep the brown-red stain as your best friend, push contrast, and let skin breaks do real work, the design still reads clearly while it develops. You do not need every leaf, dot, and flourish to make the pattern feel complete.
And there is a bigger lesson here. When you choose a tiny motif that respects anatomy, you stop designing for a single occasion and start designing for the full life of the stain. That means fewer leaves, cleaner bands, slower dotwork, and a hard no to filler that only exists to make the paper sketch look complete.
I made peace with empty skin in this piece, and that decision gave the whole design more confidence than another decorative flourish ever could. It felt empowering, sharp, and surprisingly timeless.
You can use the same framework with your own hand. Ask whether the line has room to stay visible after the color deepens.
Ask whether the spacing survives a knuckle fold. Ask whether the design still makes sense if the stain looks slightly softer on day ten.
If the answer is no, edit it now. If the answer is yes, you’re probably close.
Because here’s the part nobody respects enough: finger mehendi doesn’t reward overexplaining. It rewards shape, contrast, and nerve.
Clean beats crowded. Confident beats clever.
And the design you leave out is often the reason the design you keep feels beautiful. No hero points!
A Few Things Worth Answering
How much do Finger Mehendi Designs usually cost?
About $10 to $75 is a normal range for a simple personal design, though an artist minimum or special event booking can raise the price. Bridal and detailed hand mehndi costs more because the artist spends longer on coverage, symmetry, and drying support. If you’re comparing options, think about fresh paste and design clarity together.
– Simple booking – Artist minimum common – Higher cost for bridal detail
Are Finger Mehendi Designs a good idea for a first occasion?
Yes, they can be, especially if you keep the pattern simple and let the marks stay clean and readable. You get a small commitment, a short appointment, and a style that still feels personal. For the right person, that is worth it.
– Small scale – Strong first choice – Temporary result helpful
How do I choose a mehndi artist for Finger Mehendi Designs?
Look for an artist whose dried examples show crisp fine detail, not only wet paste designs. You want clean spacing, confident cone control, fresh ingredients, and a portfolio that proves they understand fingers instead of treating them like a flat hand. See also small finger tattoos.
– Dried work first – Fine detail specialty – Clean preparation matters
How long does Finger Mehendi take to dry?
Most small finger designs need about 1 to 2 hours before the paste is ready to flake away. Keep the hand still, avoid rubbing the marks, and let the stain develop naturally afterward.
The color usually deepens on the second day. A little patience makes a striking difference!
– Still hand helps – Drying time matters – Second-day color deepens
How long does Finger Mehendi last?
A finger mehendi stain usually lasts one to three weeks, depending on washing, friction, sun, the paste quality, and how often the hands are used. The darkest color normally arrives around the second day, then the stain gradually softens from the outer skin layers.
– Gentle washing – Less friction helps – Natural fading expected
What’s the best placement for Finger Mehendi Designs?
The best spot is usually the upper finger or slightly onto the lower hand where the pattern stays visible but less rubbed than the sides and tips. If you want the stain to remain clearer for longer, let the design breathe and avoid packing the highest-friction edges.
– Upper finger sweet spot – Sides fade sooner – Wrist extension works well
Where I’d Start First: The Bare-Finger Balance Rule
If I had to pick one, I’d start with the bare-finger balance move. It keeps the whole set from turning muddy, gives every line more air, and makes the final stain look cleaner as the color develops. Pin that idea first, then build around it.
{ “title”: “16 Finger Mehendi Designs Artists Keep Reusing in 2026”,