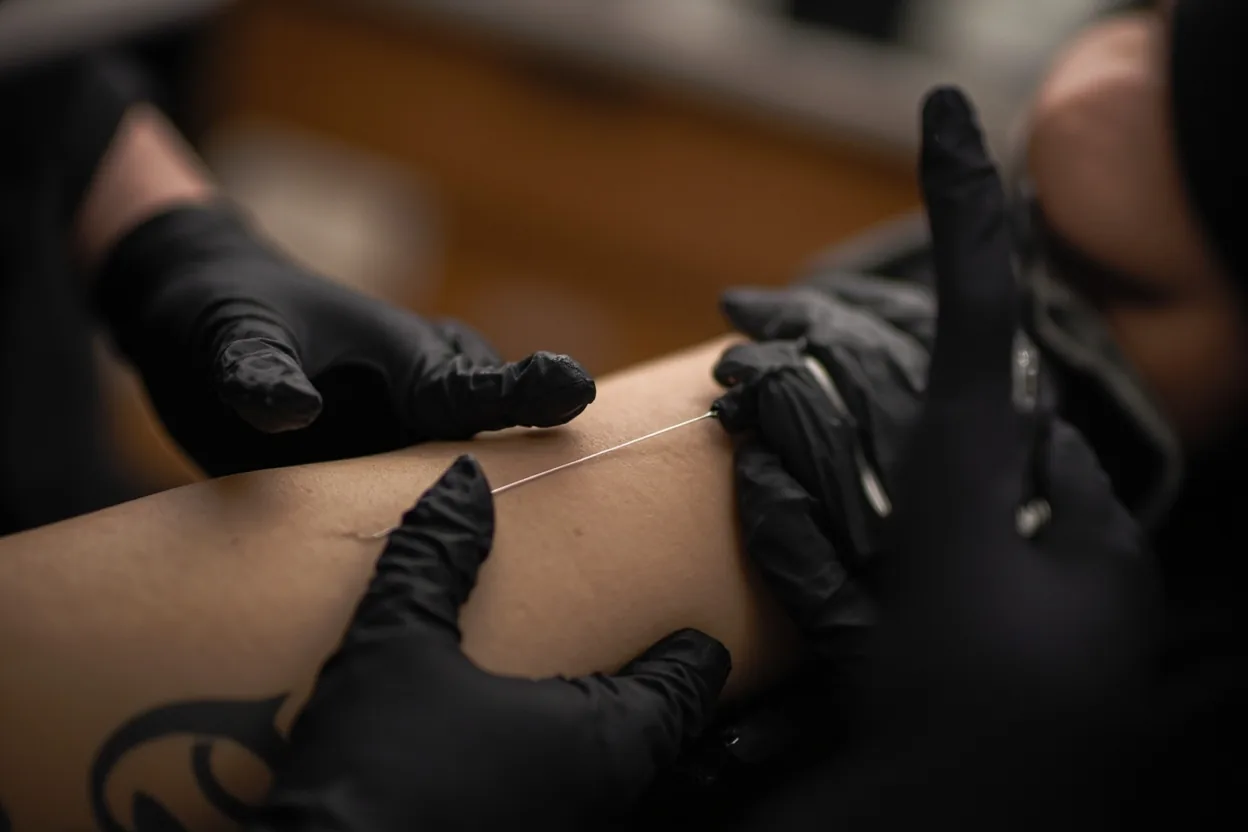
Pain should not choose the tattoo for you, but it should be part of the plan. A first tattoo is easier when the placement lets you stay still, breathe normally, and learn how your body reacts.
Quick answer: The least painful places to get a tattoo are often the outer upper arm, outer forearm, shoulder, outer calf, and thigh. These areas tend to have more padding, workable skin, and fewer sharp bony edges than ribs, fingers, feet, sternum, spine, elbows, and knees.
Least painful tattoo placements
| Placement | Pain level | Why it is easier |
|---|---|---|
| Outer upper arm | Low to moderate | Good padding, easy for the artist to stretch |
| Outer forearm | Moderate | Stable skin and easy positioning |
| Shoulder | Low to moderate | Rounded area, good for small or medium designs |
| Outer calf | Moderate | Decent padding and good space for linework |
| Thigh | Moderate | Large canvas, easier for bigger pieces |
The outer forearm, outer upper arm, and calf are your best bets for a first session. These spots sit over solid muscle with a decent layer of fat underneath, and the skin there is thick enough that the needle doesn’t feel like it’s hitting bone. The outer thigh is another solid choice, especially for larger pieces, because you’ve got a flat, fleshy canvas that stays still and takes ink clean.
The upper back between the shoulder blades reads great from across the room and heals nice without much movement pulling at it. The shoulder cap works too, though the very top of the shoulder gets spicy once you’re close to the bone. Stick to the meaty outer portion and you’ll be fine.
Why these spots feel easier
The right spot turns a nerve-wracking first tattoo into something you actually enjoy sitting through.
Less painful spots usually have more muscle or fat under the skin, fewer nerve-dense edges, and a position that lets you relax. The artist can also stretch the skin cleanly, which helps the tattoo move faster.
That last part matters. A “low pain” placement can feel worse if the design takes six hours. A small, clear tattoo on an outer arm may be easier than a tiny rib tattoo because the session is smoother.
Low-pain zones share a few things in common: plenty of muscle and fat between the skin and bone, fewer nerve endings concentrated in the area, and skin that doesn’t move or flex constantly during daily life. When the artist is working on a stable, padded surface, they can lay down solid, crispy lines without chasing the skin, which means a cleaner tattoo and a shorter session overall.
These spots also tend to heal faster and hold ink better long-term. The outer forearm and calf are low-wear zones, meaning they don’t rub against clothing all day or bend at a joint repeatedly. That combination of easy healing and minimal friction keeps the color saturated and the linework sharp for years without touch-ups.
Spots that usually hurt more
- Ribs: thin skin, breathing movement, bone underneath.
- Sternum: sensitive central placement over bone.
- Spine: bony, nerve-heavy, hard to relax through.
- Hands and fingers: thin skin, high sensitivity, high fading risk.
- Feet: bony and high-friction during healing.
- Elbow and knee: tough skin, swelling, bending, difficult saturation.
Ribs are the most common complaint in the shop. There’s almost no fat buffer there, the skin is thin, and every breath moves your torso while the artist is trying to hold a line. Hands, fingers, and feet are rough for a different reason: the skin is thin over bone, there’s a dense network of nerves, and the high-wear nature of those spots means the ink fades and blows out faster, so you’ll likely be back for touch-ups within a year.
The ditch, which is the inner elbow, and the back of the knee are both extremely spicy because of the veins and nerve clusters close to the surface. Shins hurt more than most people expect since there’s almost no tissue between skin and bone. The sternum and spine are notorious too. Anywhere the needle is essentially bouncing off bone, plan for a tough session.
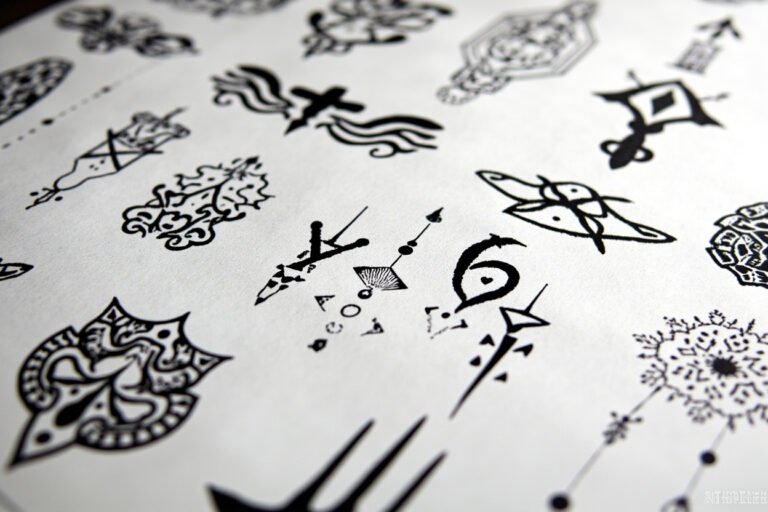
Design choices that lower pain
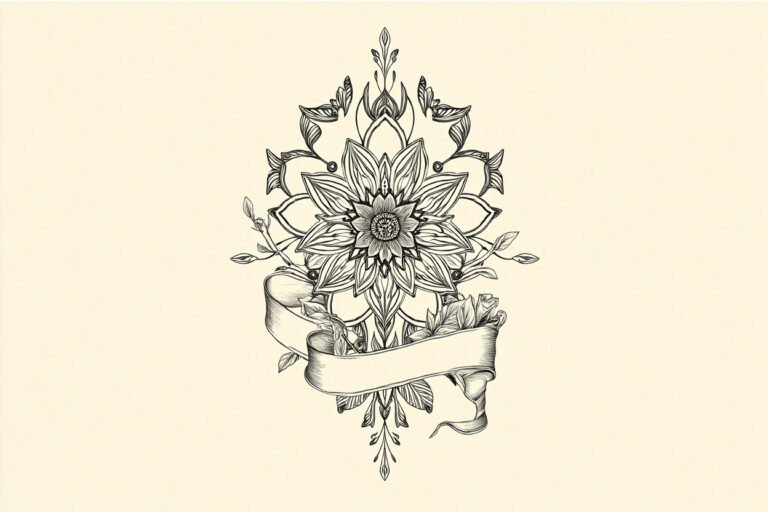
Placement is only half the pain story. A small outline hurts less than a packed blackwork design in the same spot. Color packing, heavy shading, and repeated passes raise the intensity. If pain is your biggest fear, choose a design with clean lines and limited fill for the first session.
For broader placement tradeoffs, use the tattoo placement chart.
Smaller designs mean shorter sessions, and shorter sessions are easier to get through mentally and physically. A simple black and grey piece with whip shading will almost always feel lighter than a heavily saturated color piece, because color packing requires multiple slow passes over the same skin. Fine line work done in a single pass is typically the quickest and least traumatic option for a first-timer, as long as the design has enough weight to age well.
Bold will hold is real advice, not just a shop saying. Designs with solid filled areas and clean outlines are less likely to need heavy rework later, which means fewer future sessions on already-sensitized skin. Avoid anything that requires deep packing of white or very light colors on your first go, since those require the most needle passes to show up properly and add serious time to the chair.
How to make the session easier
- Eat before the appointment.
- Hydrate the day before and the day of.
- Wear clothing that gives clean access to the placement.
- Do not drink alcohol before the session.
- Tell the artist if you feel lightheaded.
Good artists would rather pause than have you pretend you are fine. Moving suddenly is worse than asking for a break.
Eat a real meal two hours before your appointment, not a snack, a full meal with protein and complex carbs. Low blood sugar drops your pain tolerance fast and can make you lightheaded mid-session. Bring a sugary drink like juice or regular soda to sip during breaks if the session runs long. Stay hydrated the day before too, because well-hydrated skin takes ink more smoothly and the session goes quicker when the artist isn’t fighting dry, tight skin.
Wear loose clothing that gives the artist easy access to the area without you having to strip down or hold an awkward position for an hour. Let the artist know if you need a break, good shops expect it and a two-minute pause is always better than someone tensing up or passing out in the chair. Avoid alcohol the night before since it thins your blood and makes you bleed more, which muddies the linework and slows the artist down.
FAQ
What is the least painful place to get a tattoo?
Outer upper arm, outer forearm, shoulder, outer calf, and thigh are often easier because they have more muscle or padding and less thin bony skin.
Are wrist tattoos painful?
Wrist tattoos can be sharp because the skin is thinner and close to tendons and bone. Small wrist tattoos are manageable for many people, but they are not the easiest placement.
What tattoo spots should first-timers avoid?
Many first-timers avoid ribs, sternum, spine, feet, fingers, inner bicep, elbow, and knee for the first session because pain and healing can be harder.