First-time tattoo questions are usually practical: how much it hurts, how much it costs, where to put it, how to choose the artist, and how not to ruin the healing.
Quick answer: First-timers should choose a readable design, beginner-friendly placement, qualified artist, clear budget, and simple aftercare plan. Avoid rushing hands, fingers, ribs, feet, huge pieces, or fragile micro detail for a first tattoo.
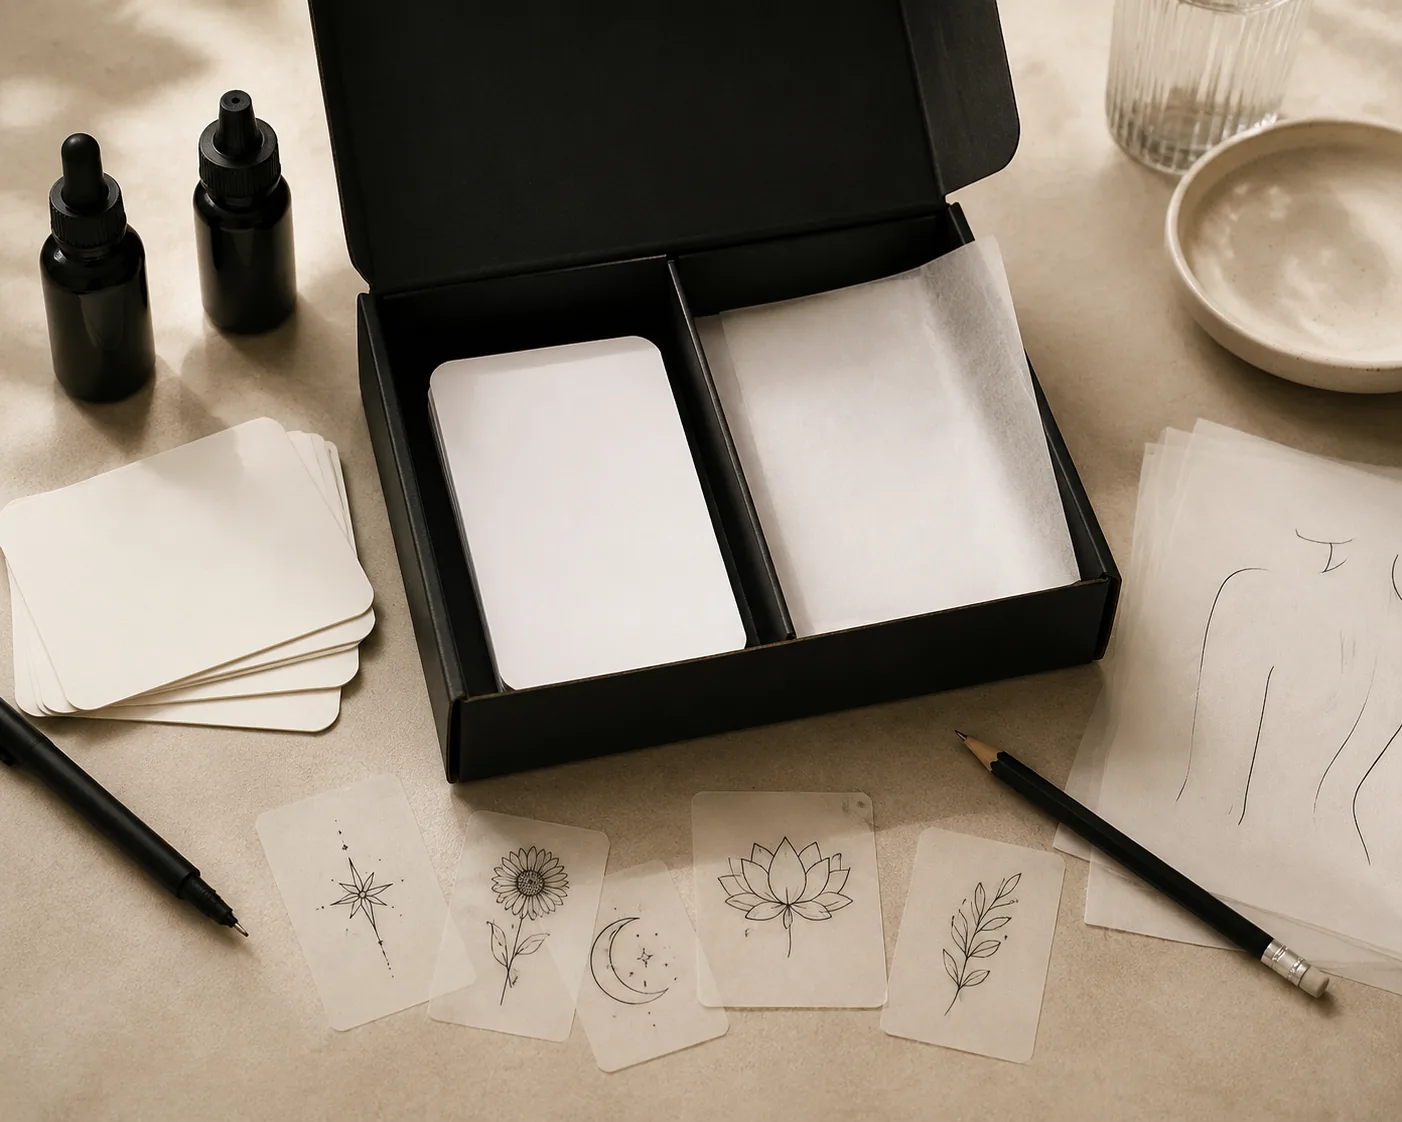
First-timer decisions
The first tattoo should teach you how tattooing feels without making every variable difficult.
| Option | Best use | Keep in mind |
|---|---|---|
| Placement | Outer arm, calf, shoulder, thigh | Avoid hardest spots first |
| Size | Small to medium | Tiny detail can age badly |
| Style | Readable and artist-proven | Do not chase every trend |
| Budget | Tattoo plus tip and aftercare | Cheap can be expensive later |
| Aftercare | Simple healing plan | Follow artist instructions |
Pick placement before you pick a design. Ribs, sternum, and inner bicep are spicy. Outer forearm, calf, and shoulder blade are beginner-friendly and heal clean without a lot of drama. High-wear zones like fingers, hands, and feet fade fast because the skin constantly flexes and rubs against surfaces. If you want the tattoo to still look sharp in ten years, those spots need touch-ups every couple of years.
Size matters more than most first-timers realize. Fine line portraits under two inches lose detail fast on skin because skin isn’t paper. Your artist isn’t upselling you when they say go bigger. A bold, well-spaced design reads from across the room and holds up as the skin ages. Tiny intricate pieces turn muddy within a few years.
What makes this work on real skin
A good tattoo is a permanent decision, treat the artist search like you would a surgeon.
A first tattoo does not have to be tiny, but it should be realistic. You are learning your pain tolerance, healing behavior, and how it feels to see a tattoo every day.
The safest first tattoo idea is one you can explain simply and place on skin that gives the artist room to work.
Skin texture, tone, and placement all affect how ink behaves. Black and grey work on every skin tone, but saturated color pops best on lighter skin and needs heavier saturation on deeper tones to read well. Fine line work looks crispy fresh off the machine, but without enough ink density it can blow out or fade to a blur inside two years. Blowout happens when ink spreads beneath the dermal layer, usually from too-shallow needle depth or fragile placement like the inner wrist.
Whip shading builds smooth gradients and heals nice on fleshy areas like the thigh or upper arm. Bony spots like the shin or spine concentrate trauma, so they take longer to heal and sometimes need a touch-up pass. Bold traditional-style outlines hold better over decades than hairline strokes. Ink in high-movement joints like elbows and knees breaks down faster, plain and simple.
Before you book or apply it
Use the first appointment to make a good decision, not to prove how much pain you can handle.
- Choose an artist with healed work in the style you want.
- Ask about pain, price, deposit, and aftercare before booking.
- Sleep, eat, and hydrate before the appointment.
- Give the tattoo enough size to age clearly.
Hydrate and eat a real meal before your appointment. Tattooing raises your heart rate and burns energy. Low blood sugar mid-session leads to lightheadedness and shaky sessions, neither of which is good for you or the line work. Skip alcohol for at least 24 hours beforehand since it thins your blood and makes you bleed more, which pushes ink out of the skin and muddies shading.
Moisturize the area daily for two weeks leading up to your appointment. Dry, flaky, or sunburned skin holds ink poorly and makes the needle drag. Shave the area the night before if needed, not the morning of, to avoid razor irritation. Wear loose, comfortable clothing that gives your artist easy access to the placement without you having to hold an awkward position for two hours.
Mistakes to avoid
Do not start with fingers or hands just because they look good online.
Do not choose a design you only like because of one edited photo.
Safety source note: This guide keeps safety advice conservative and points readers to primary public-health or dermatology sources.
Don’t pick or peel the scab. It’s tempting, but pulling that layer off takes fresh ink with it and leaves patchy spots that need fixing. Keep the tattoo out of direct sun for the first four weeks. UV light breaks down ink faster than anything, and a fresh tattoo sunburns in minutes. Use fragrance-free lotion, not heavy petroleum products that suffocate the skin and trap bacteria.
Don’t let it dry out completely, but don’t over-moisturize either. A thin layer of unscented lotion twice a day is enough. Submerging in pools, oceans, or baths during the first two weeks introduces bacteria and pulls ink out of healing skin. Showers are fine. Also, don’t let friends touch it with unwashed hands. Infected tattoos are expensive to treat and can permanently scar the design.