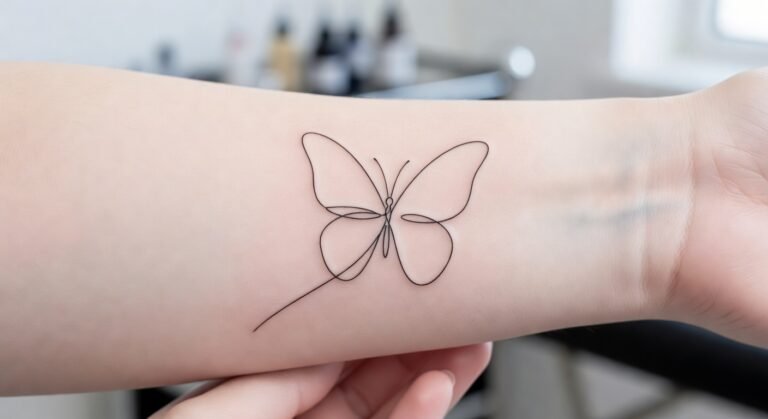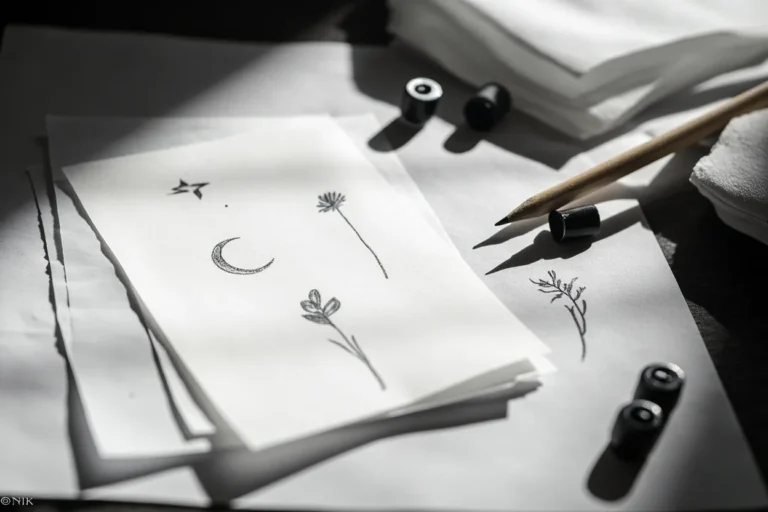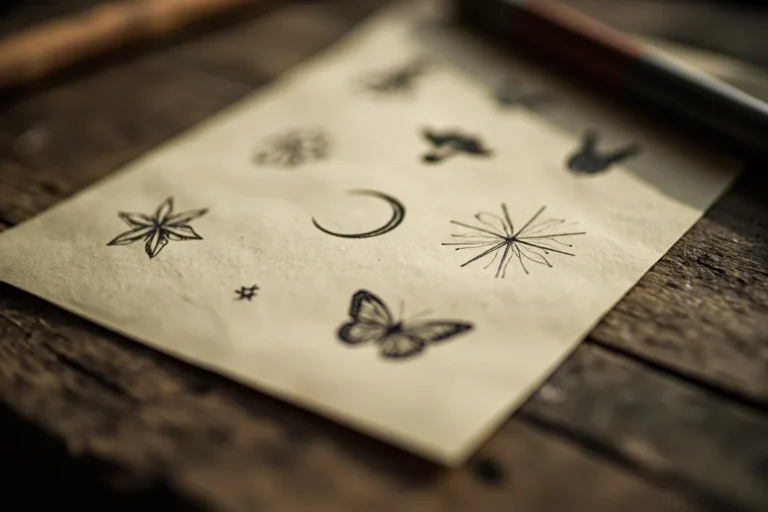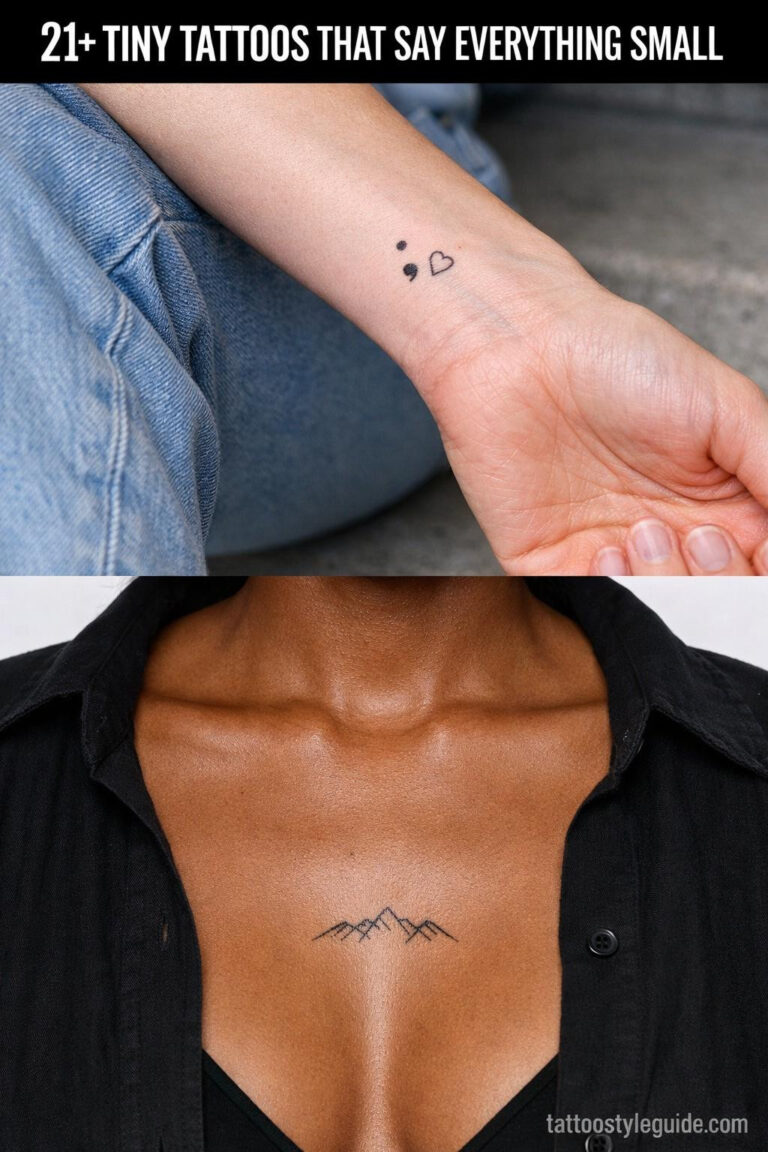
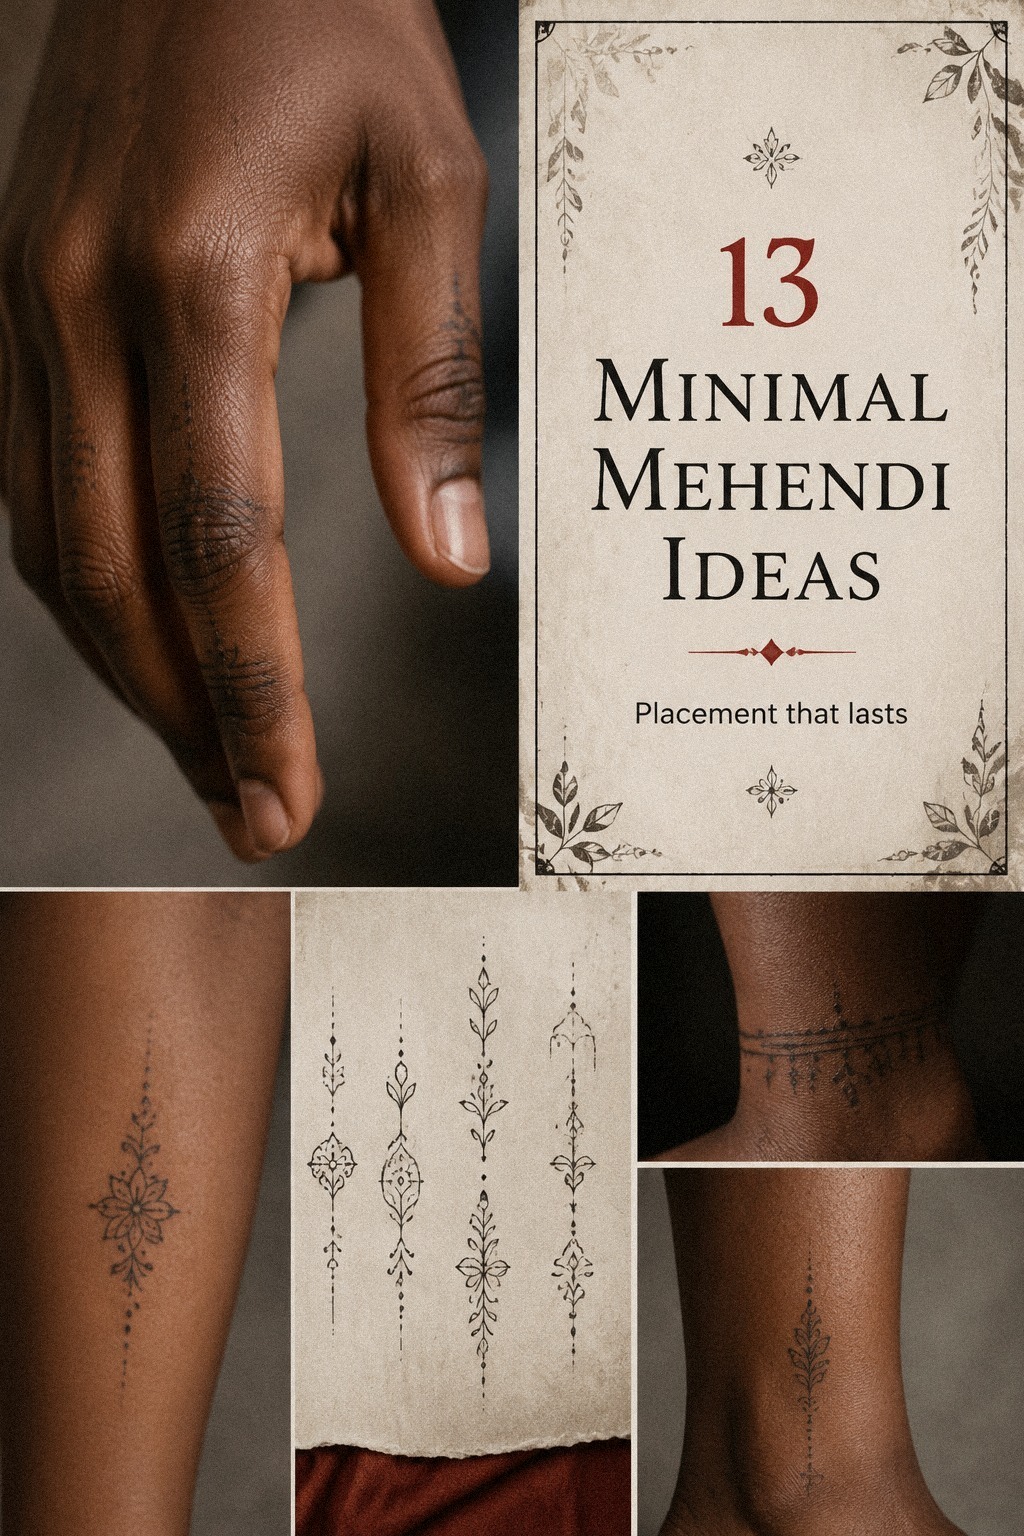
I create a lot of small mehendi pieces, and the ones that stay striking through their short life almost always share three habits: honest line weight, a placement that breathes, and an artist who lets the paste dry properly between passes. The rest is Pinterest magic, and Pinterest magic fades. Here’s the practical framework I’d hand you if you walked into my studio asking why your last delicate design smudged before the color deepened, plus 13 design directions that actually stay elegant when you build them right.
- Start With Tiny Finger Mehendi Trails
- Pick A Simple Palm Mandala
- Place Fine Vines Across The Fingers
My rule is simple: keep the henna cone controlled, keep the pattern open, and respect the stain’s natural rhythm. The paste dries in about 1 to 2 hours, the color deepens on the second day, and the finished reddish-brown stain usually fades in 1 to 3 weeks.
That short window can still feel meaningful. A minimal design should look personal, polished, and expressive from the first wet line to the final soft stain.
- Start With Tiny Finger Mehendi Trails
- Pick A Simple Palm Mandala
- Place Fine Vines Across The Fingers
- Keep Negative Space Around The Wrist
- Plan A Minimal Back Hand Pattern
- Choose Aesthetic Dotwork Mehendi Details
- Trace A Single Floral Mehendi Stem
- Frame The Thumb With Clean Henna Lines
- Add Tiny Leaf Motifs Near Knuckles
- Use Minimalistic Crescent Mehndi Accents
- Balance Both Hands With Matching Details
- Test A Small Bridal Mehendi Accent
- Finish With Clean Bracelet Mehendi Lines
1Start With Tiny Finger Mehendi Trails
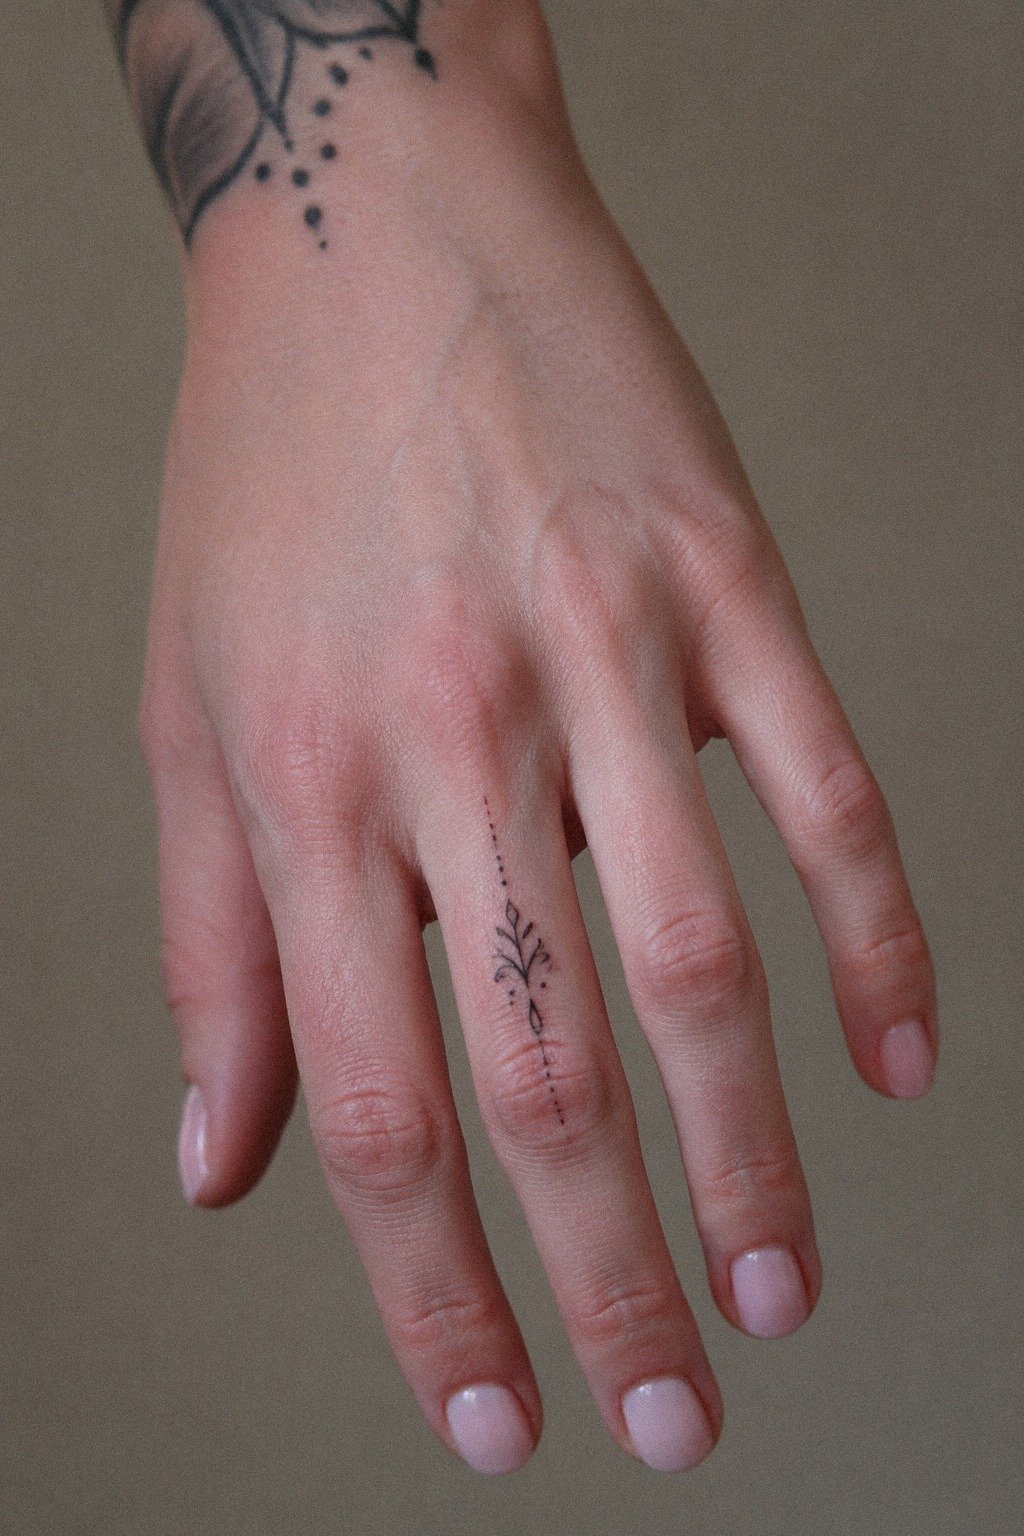
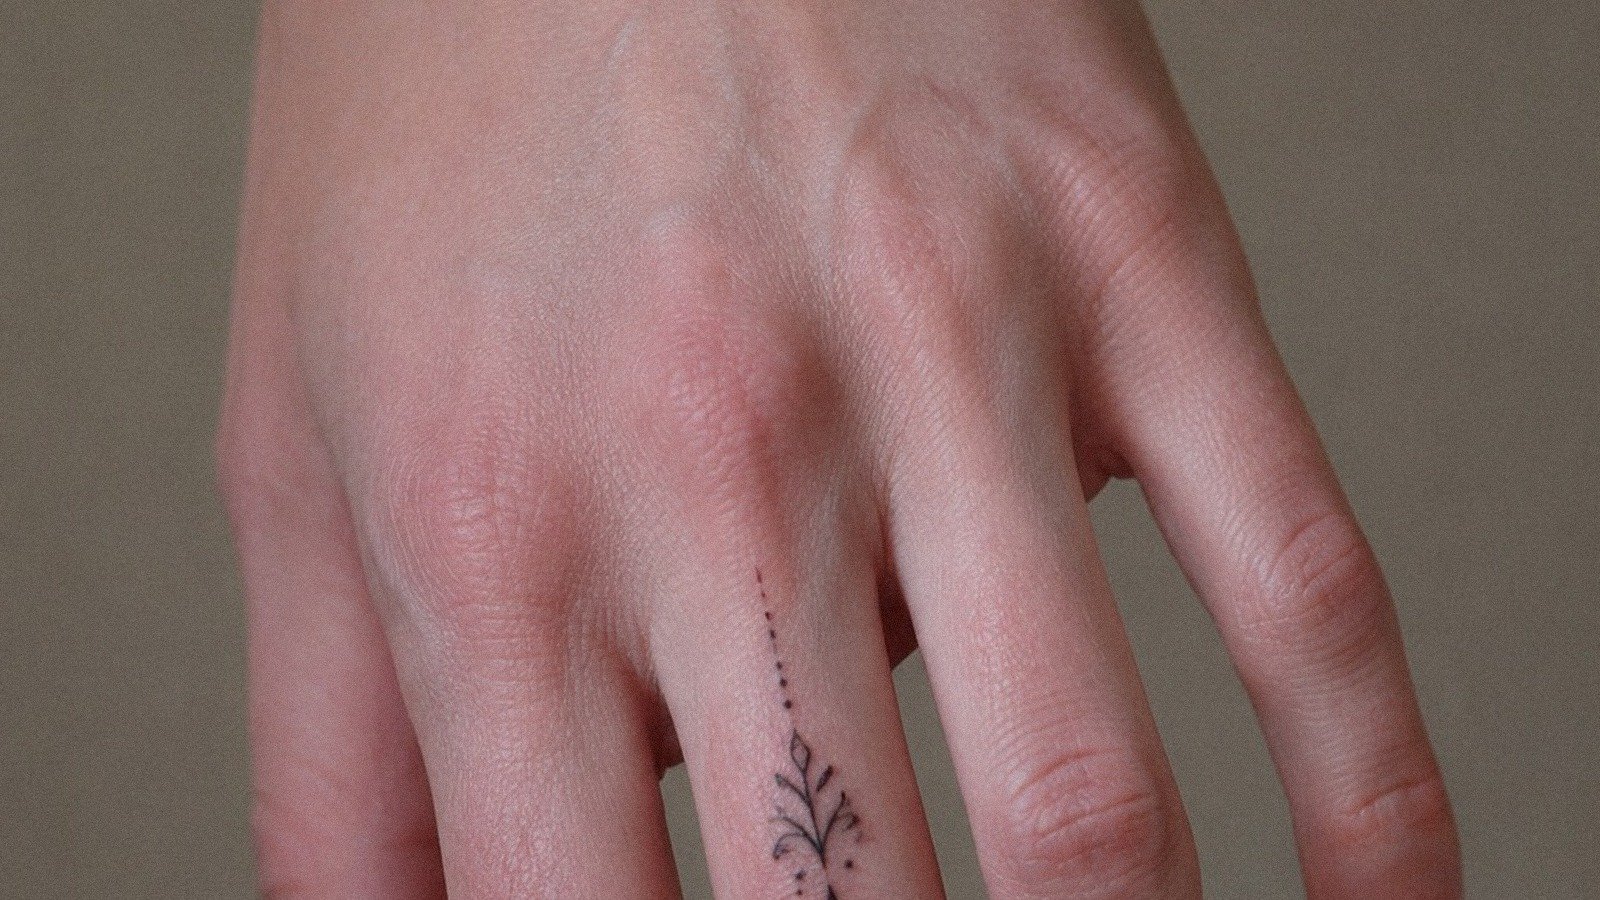
Start with finger mehendi trails only if you’re ready for a high-wear placement and quicker fading. Fingers get washed, bumped, and rubbed all day, so your design needs crisp lines and open spacing from the jump. If you want that dainty chain look, keep each trail closer to 2 to 3 inches total and let deep brown paste do the heavy lifting.
I would rather see you work with an experienced mehndi artist using a steady cone than chase a rushed application that leaves raised paste and uneven edges. One clean pull, not ten fuzzy ones.
For more placement reality, look at 16 finger mehendi designs that stay delicate under pressure and minimal mehendi designs that stay crisp. If your artist wants to cram six loops into a knuckle, say no.
That is how a tiny pretty pattern turns muddy.
Give the lines room to dry before you touch anything. A 1-to-2-hour drying window helps preserve the delicate edges, especially around knuckles that bend constantly.
2Pick A Simple Palm Mandala
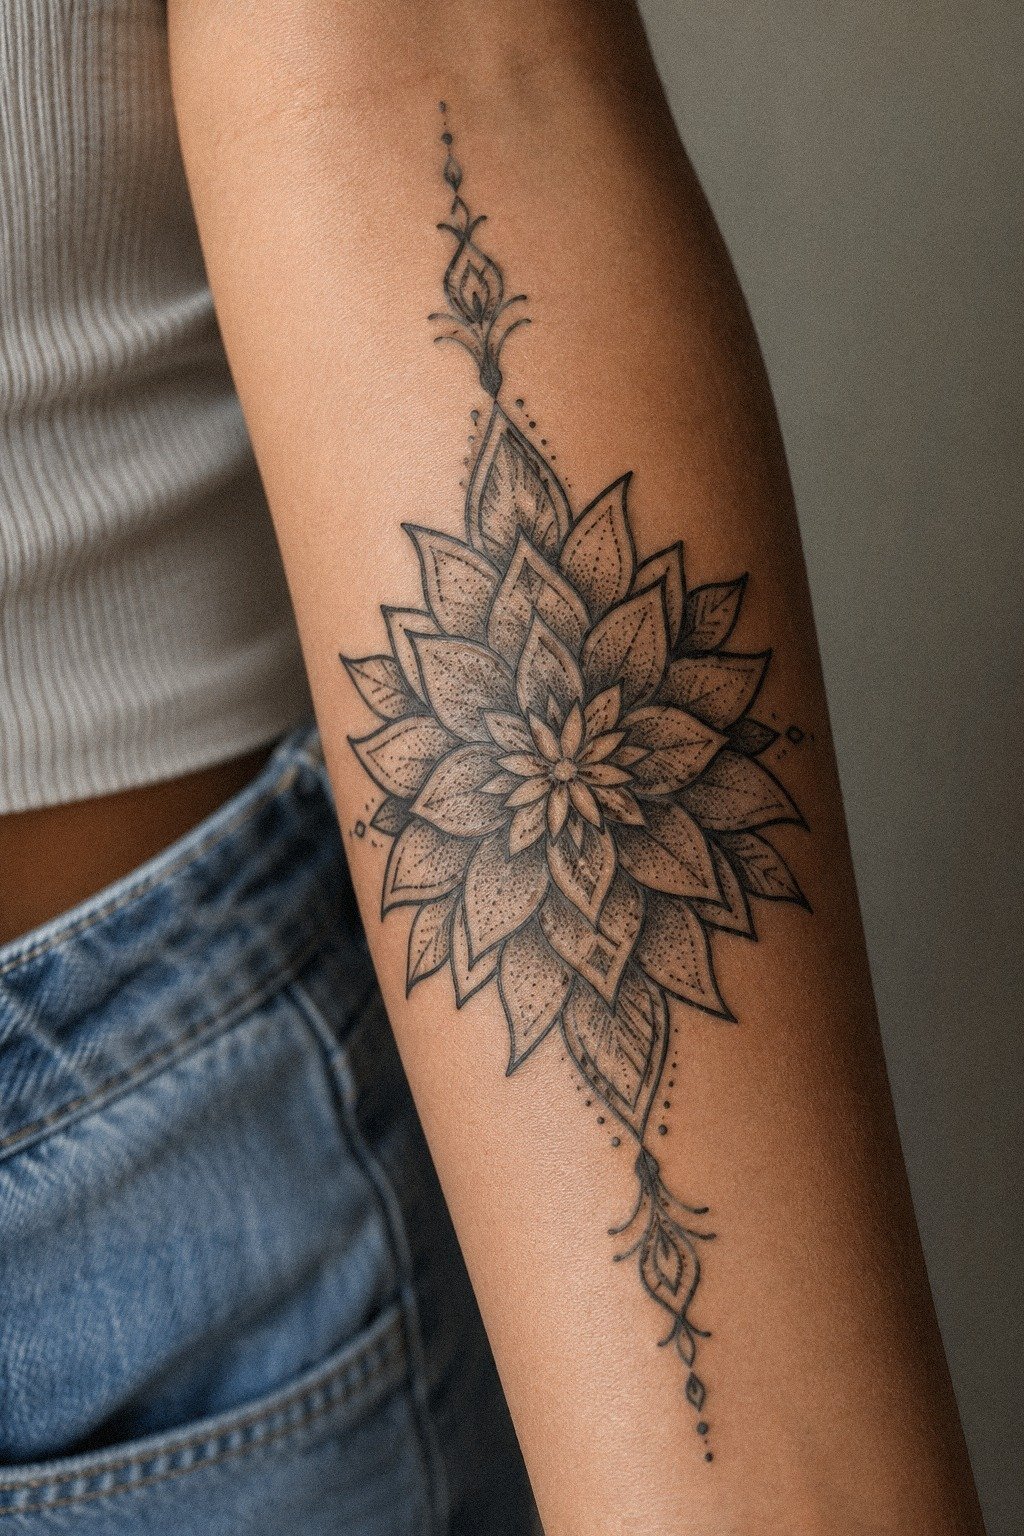
Pick a simple palm mandala by stealing the balance, not the overload. A palm can carry a centered circular motif beautifully, but only if the rings have room to breathe and the central dot isn’t fighting a dozen identical satellites. I’ve watched people screenshot an intricate Pinterest mandala, then jam it onto a palm where every line is one millimeter apart, and they wonder why the wet paste merges into a brown smudge.
Pull the design apart before you apply it. Count the rings.
If there are more than four concentric layers, drop one. If the central motif touches the second ring, separate them by at least the width of the dot itself.
A smooth mehndi paste consistency gives cleaner edges here because the palm takes plenty of friction before the stain has fully developed.
Compare the symmetrical logic in mandala mehndi designs with the airy layouts in 15 minimal mehendi designs that prove less lands harder. If the design looks busy on paper, it will be worse once the paste spreads slightly.
Keep the central circle powerful but restrained. A few open gaps can make the whole mandala feel more iconic than another layer of decoration.
3Place Fine Vines Across The Fingers
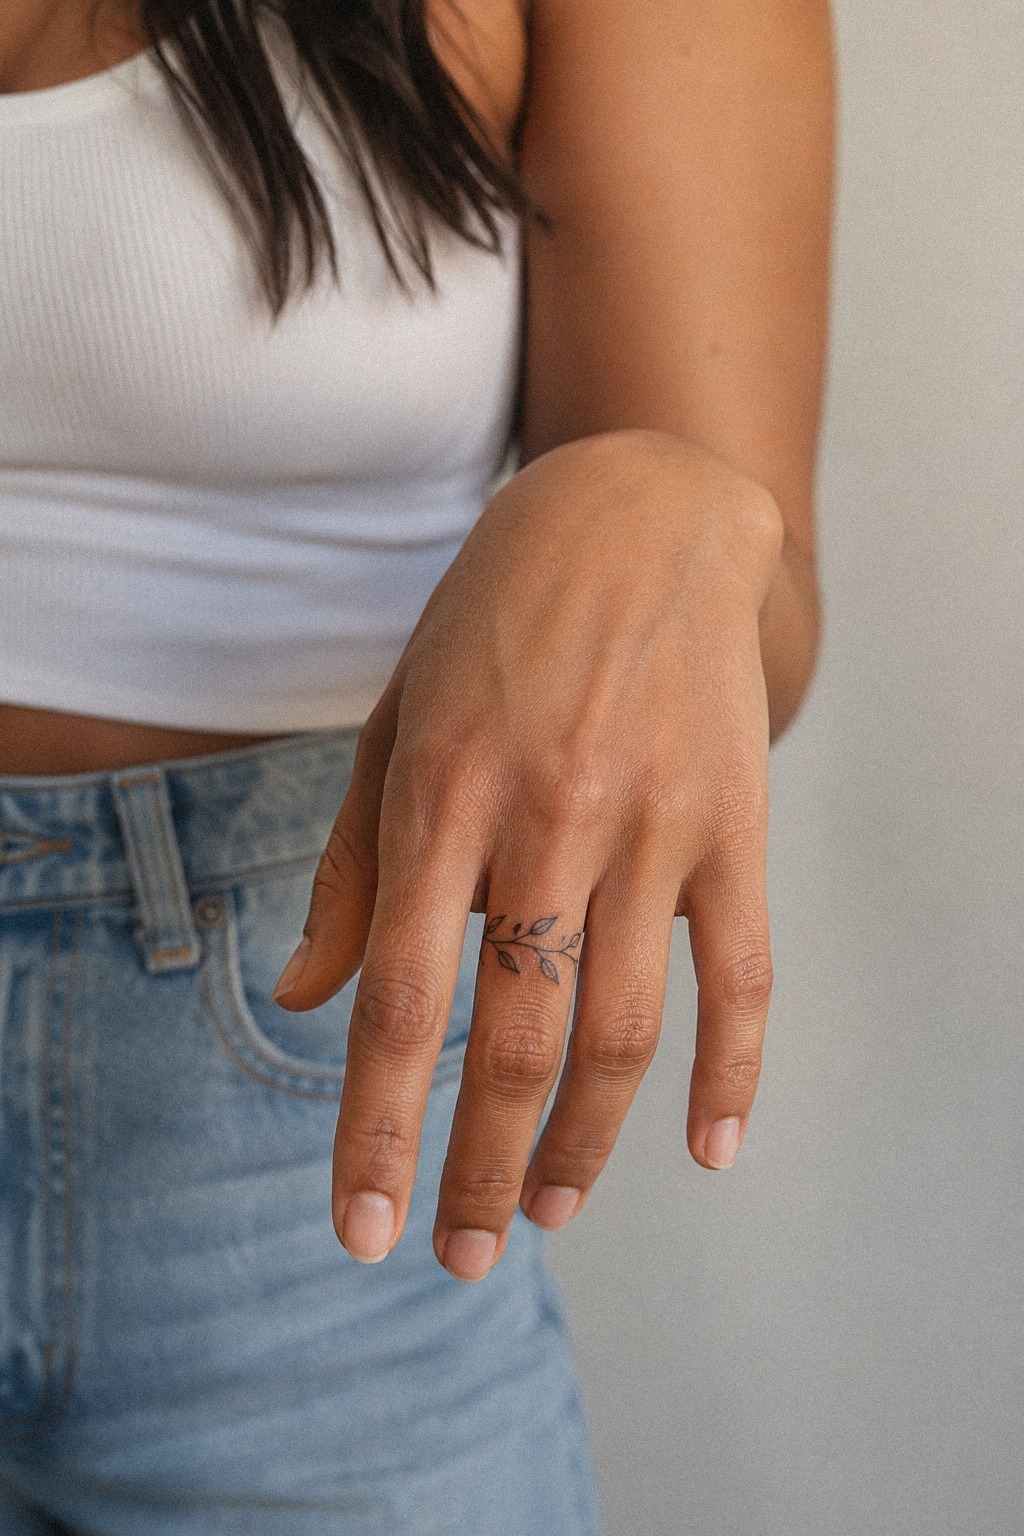
Place fine vines across the fingers only after you decide where the breaks will land when your hand bends. That’s the part people skip. A vine that crosses every crease in one unbroken line can smudge quickly, especially if you work with your hands or use lotion, soap, and friction during the first day.
I like a flowing finger vine that steps over the joints instead of fighting them, with tiny leaves no smaller than a grain of rice once the paste has dried. Use a fine cone tip for the stems, then let the leaves stay airy so the whole design remains graceful on you.
You can compare the hand-heavy compositions in 15 mehendi designs for hands simple enough to diy with the softer flow in 15 minimal mehendi designs that prove less lands harder. But do not copy Pinterest exactly. References are for mood and proportion only.
A little asymmetry can make the result feel more personal. Let one leaf turn slightly outward, and the whole vine becomes playful instead of mechanically repeated.
4Keep Negative Space Around The Wrist
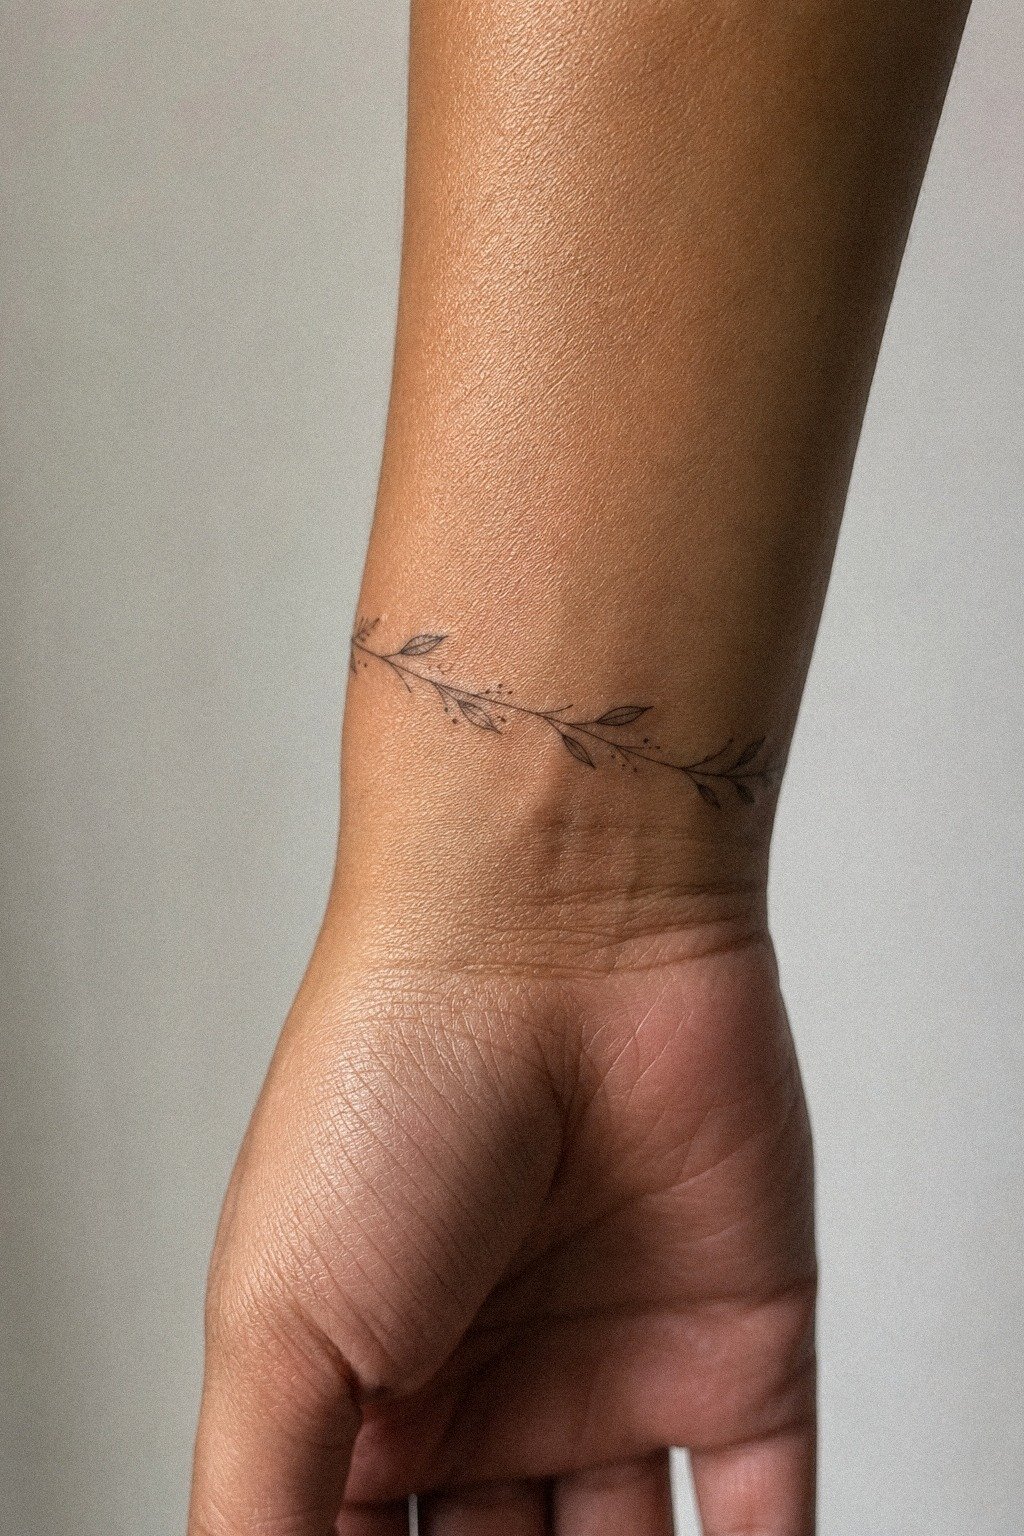
Keep negative space around the wrist, because bracelet-style mehendi needs clear air more than extra detail. A solid band of pattern looks gorgeous on day one, then the eye gets tired of it as the stain softens.
The fix is not a thinner band. It is intentional gaps where the skin shows through, little breaths in the rhythm, so the pattern still reads as design instead of a dense brown strip.
Aim for breaks that match the natural wrist shape. Two small gaps in line with the wrist crease and a third over the vein line give the eye somewhere to rest. If you want contrast, run a single lemon-sugar seal line through the gap rather than a chain of dots, because wet dots can merge at wrist scale before they dry.
Compare the breathing room in modern mehndi designs with the tighter bracelet style in simple henna designs for beginners. If your mockup already looks full at thumbnail size, lighten up before the cone touches skin.
The strongest bracelet patterns feel understated, not empty. Negative space is doing real design work here.
5Plan A Minimal Back Hand Pattern
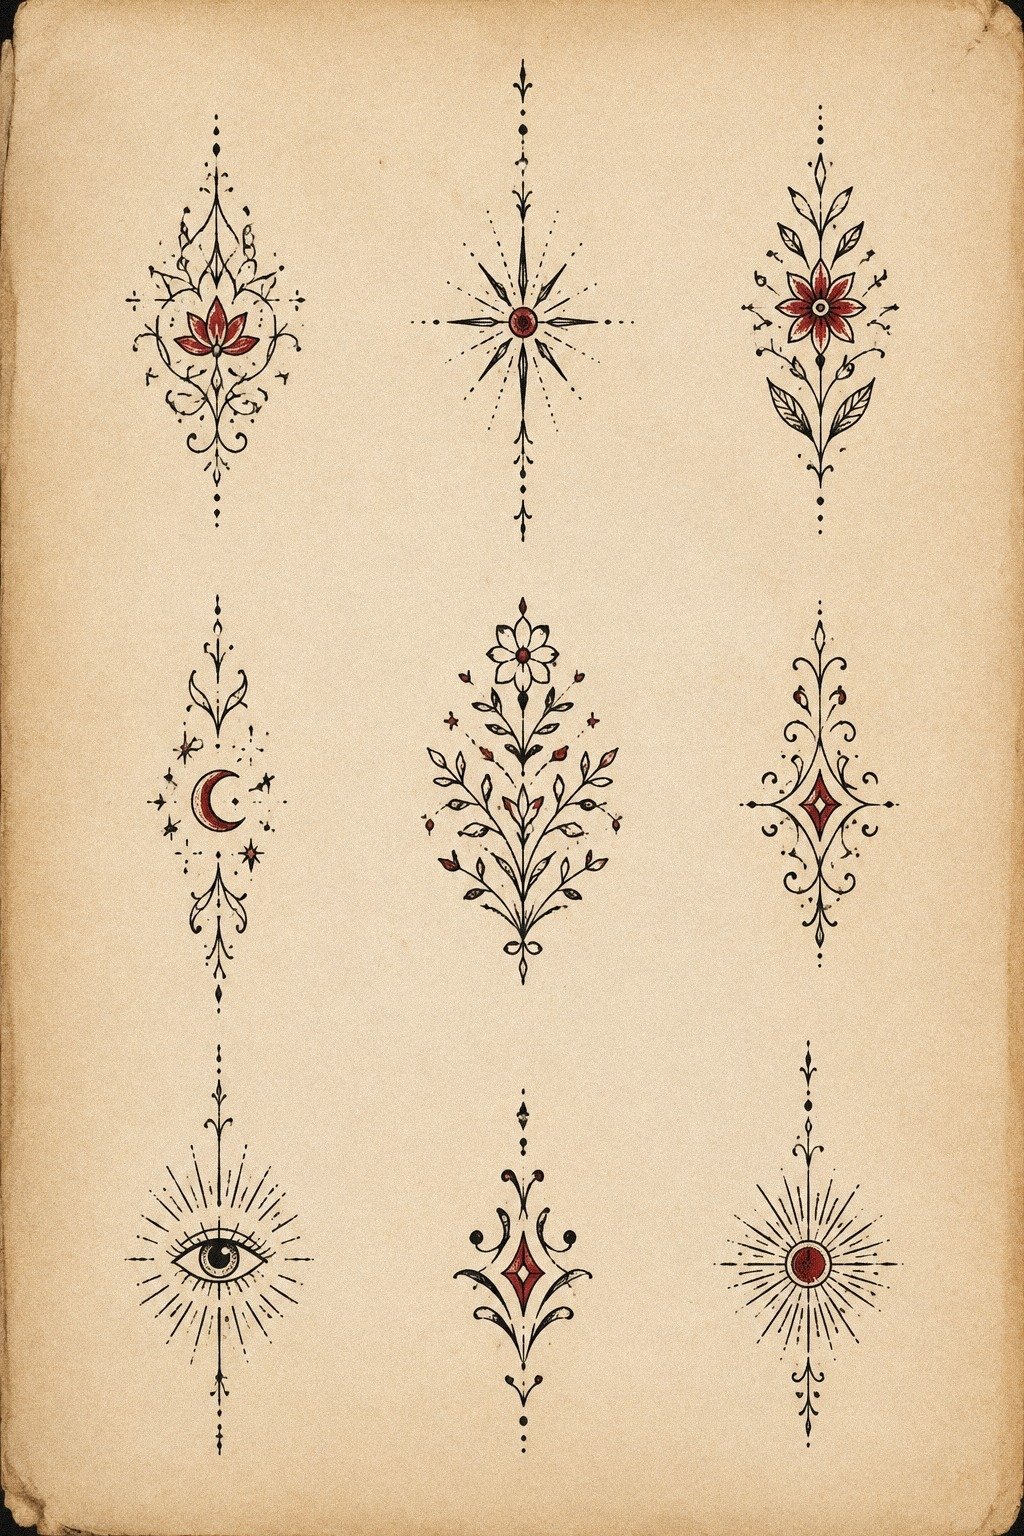
Plan a minimal back hand pattern on paper before you ever begin the application. Flash-sheet thinking helps here because it forces you to see the design as a shape, not a fantasy zoomed in on your phone. Back-of-hand mehendi needs flow from knuckle line to wrist line, and it needs enough empty skin so the pattern still reads when your hand is moving.
I will sketch three versions fast, then kill the one with the most tiny filler. Why?
Because the busiest draft almost never dries the nicest. A clean Micron 05 mockup on off-white paper will tell you more than endless pinning, and the hand layouts in 15 minimal mehendi designs that prove less lands harder and modern mehndi designs are solid for spotting where patterns start to choke.
Try the design once with only the major shapes. If the silhouette already feels polished, the smaller details become optional rather than necessary.
But if the sheet already looks crowded flat, it will be worse on skin. Start again with fewer leaves, fewer dots, and one clear focal point.
6Choose Aesthetic Dotwork Mehendi Details
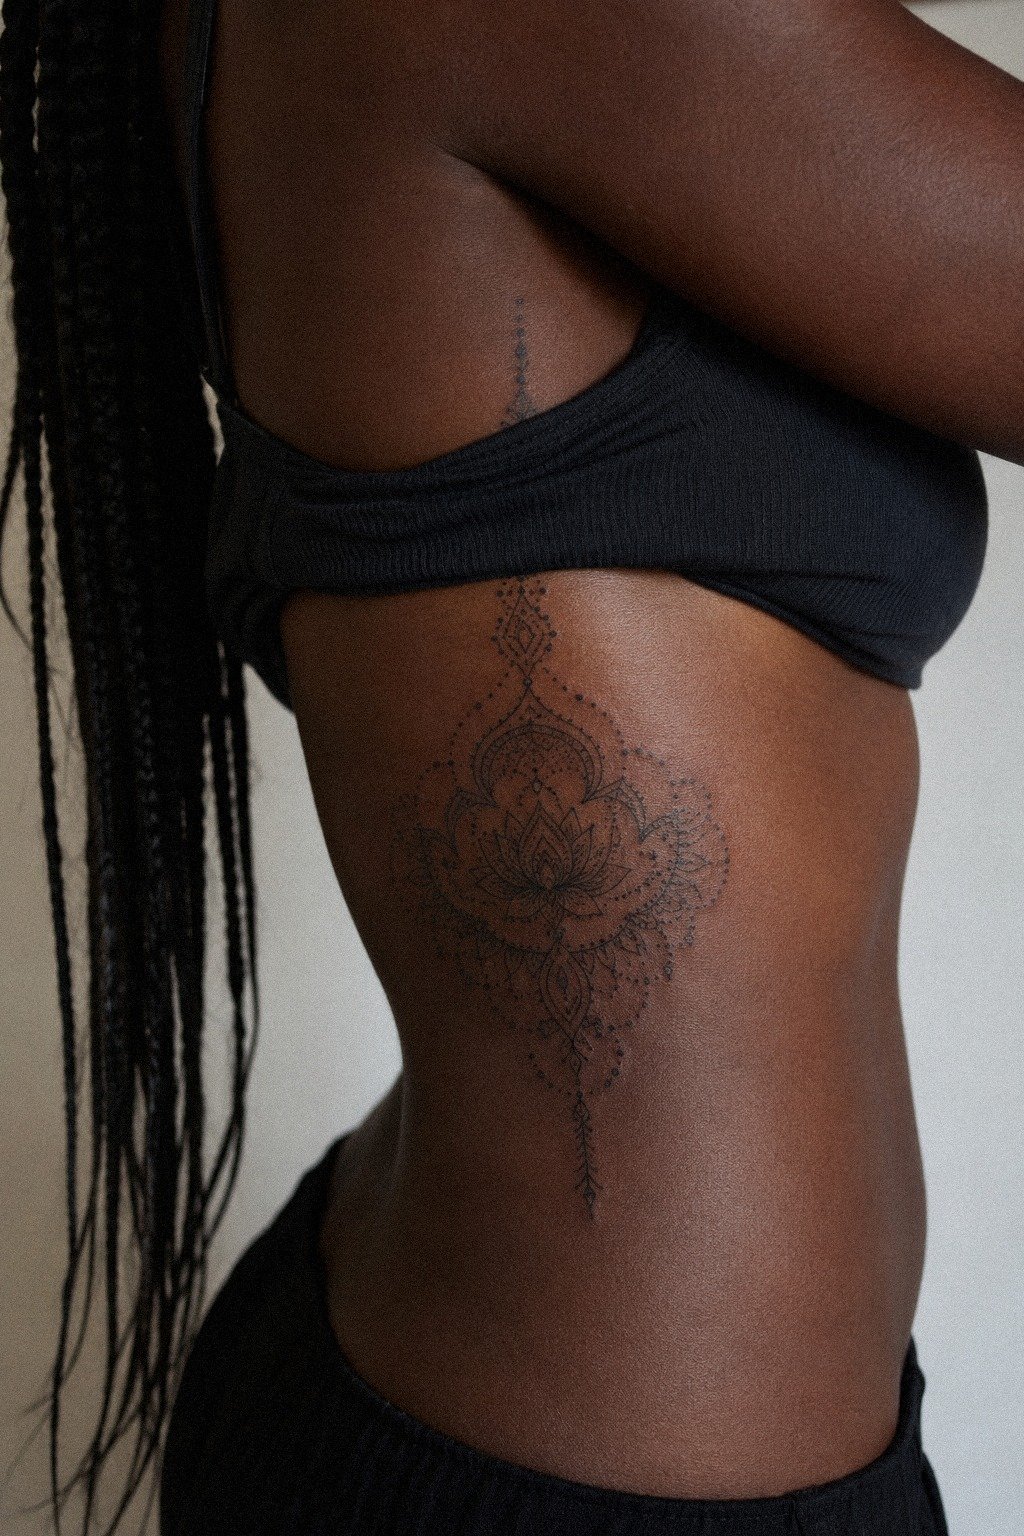
Choose aesthetic dotwork mehendi details with restraint, especially on ribs. A scattered dot pattern can feel modern and airy in a screenshot, then spread into uneven spots on a high-movement zone because each dot needs enough paste to stay distinct while drying.
The skin is not a vector file. It is alive, and crowded dots are the first thing to merge.
Keep the dot sizes consistent. One size, one spacing, one rhythm.
If you mix three different dot sizes in one piece, the smallest ones disappear first and the piece looks broken as the stain fades. On ribs, where the skin stretches with every breath, I’d cap the cluster at maybe twenty dots total and let the negative space do the heavy lifting.
A fine cone opening gives more controlled dots than squeezing one large bead and hoping it settles neatly. Pair the dot restraint in minimal mehendi designs with lasting clarity with the cluster logic in trash polka mehndi designs. If the dots look like a constellation while wet, they may become one blotch after drying.
Keep the pattern bold enough to read, but leave it enough breathing room to remain crisp. That balance is what makes dotwork feel sleek rather than noisy.
7Trace A Single Floral Mehendi Stem
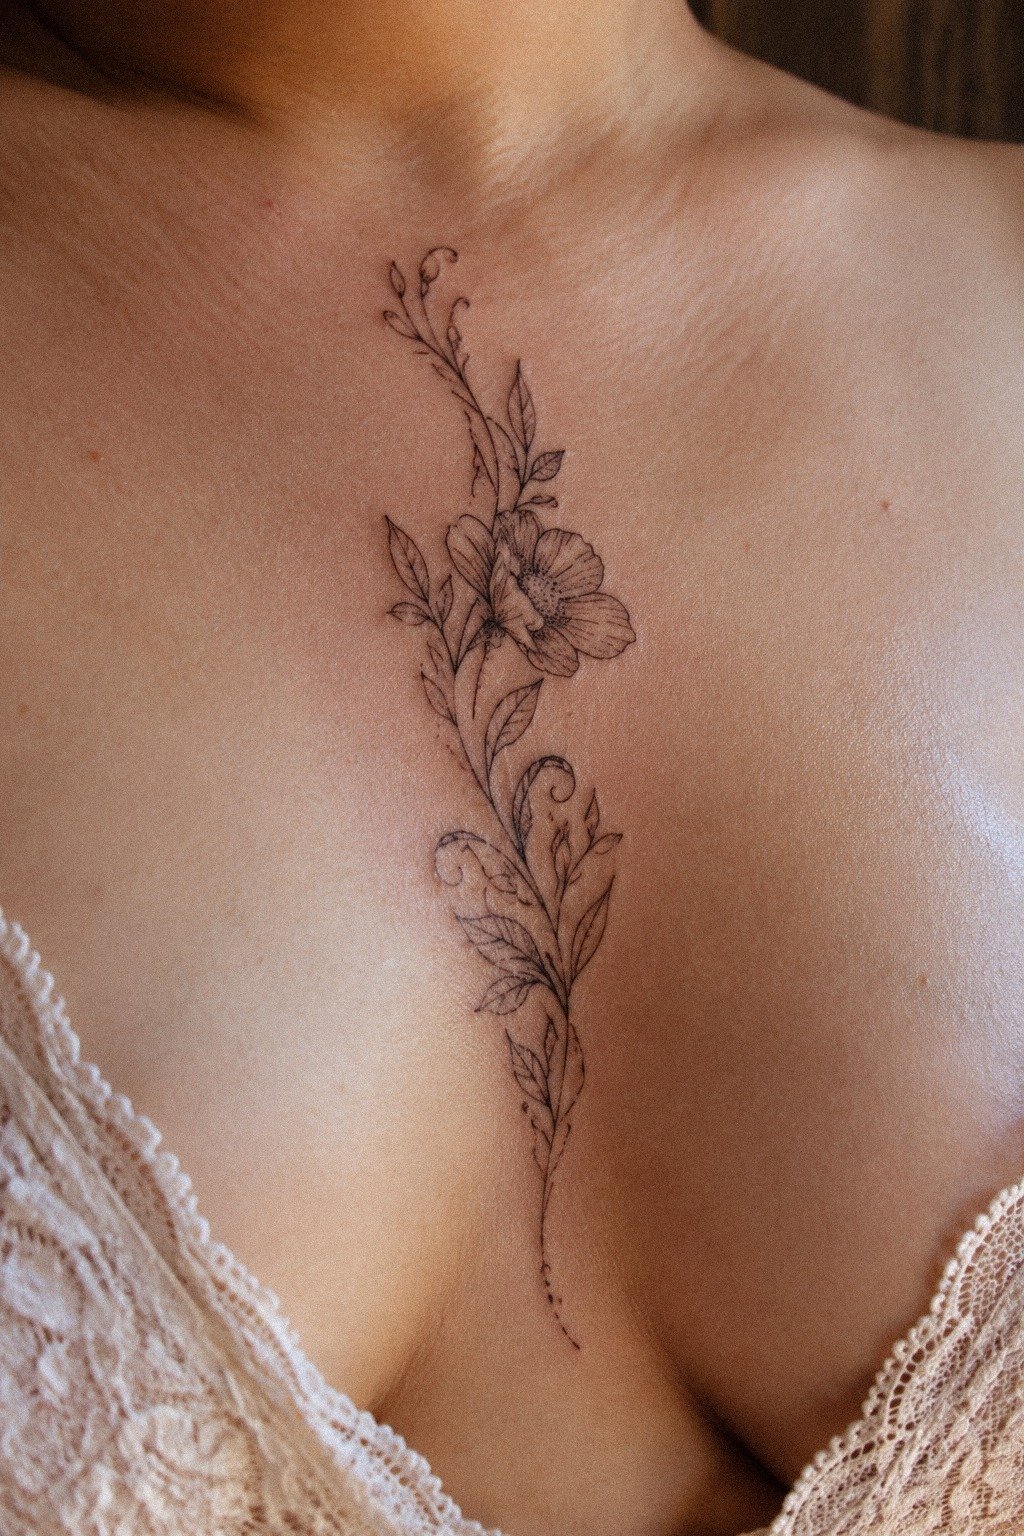
Trace a single floral mehendi stem when you want something feminine, soft, and still easy to read. One stem down the sternum can be gorgeous, but only if you keep the bloom count low and the line weight honest. The sternum is an awkward placement, so this isn’t where I’d test ten petals, six bead strings, and extra shading you didn’t need.
I would rather draw one elegant stem with a fine cone line and let the petals stay open than overwork the paste chasing fake delicacy. Thin floral work looks most graceful when you can still see the path from top to bottom without squinting.
For reference, mix the floral restraint in 15 minimal mehendi designs that prove less lands harder with the symmetrical logic in mandala mehndi designs. If your design feels too plain, good. Plain on day one often means elegant once the stain settles.
A single bloom can feel romantic without becoming sugary. Give the stem one memorable turn and stop there.
8Frame The Thumb With Clean Henna Lines
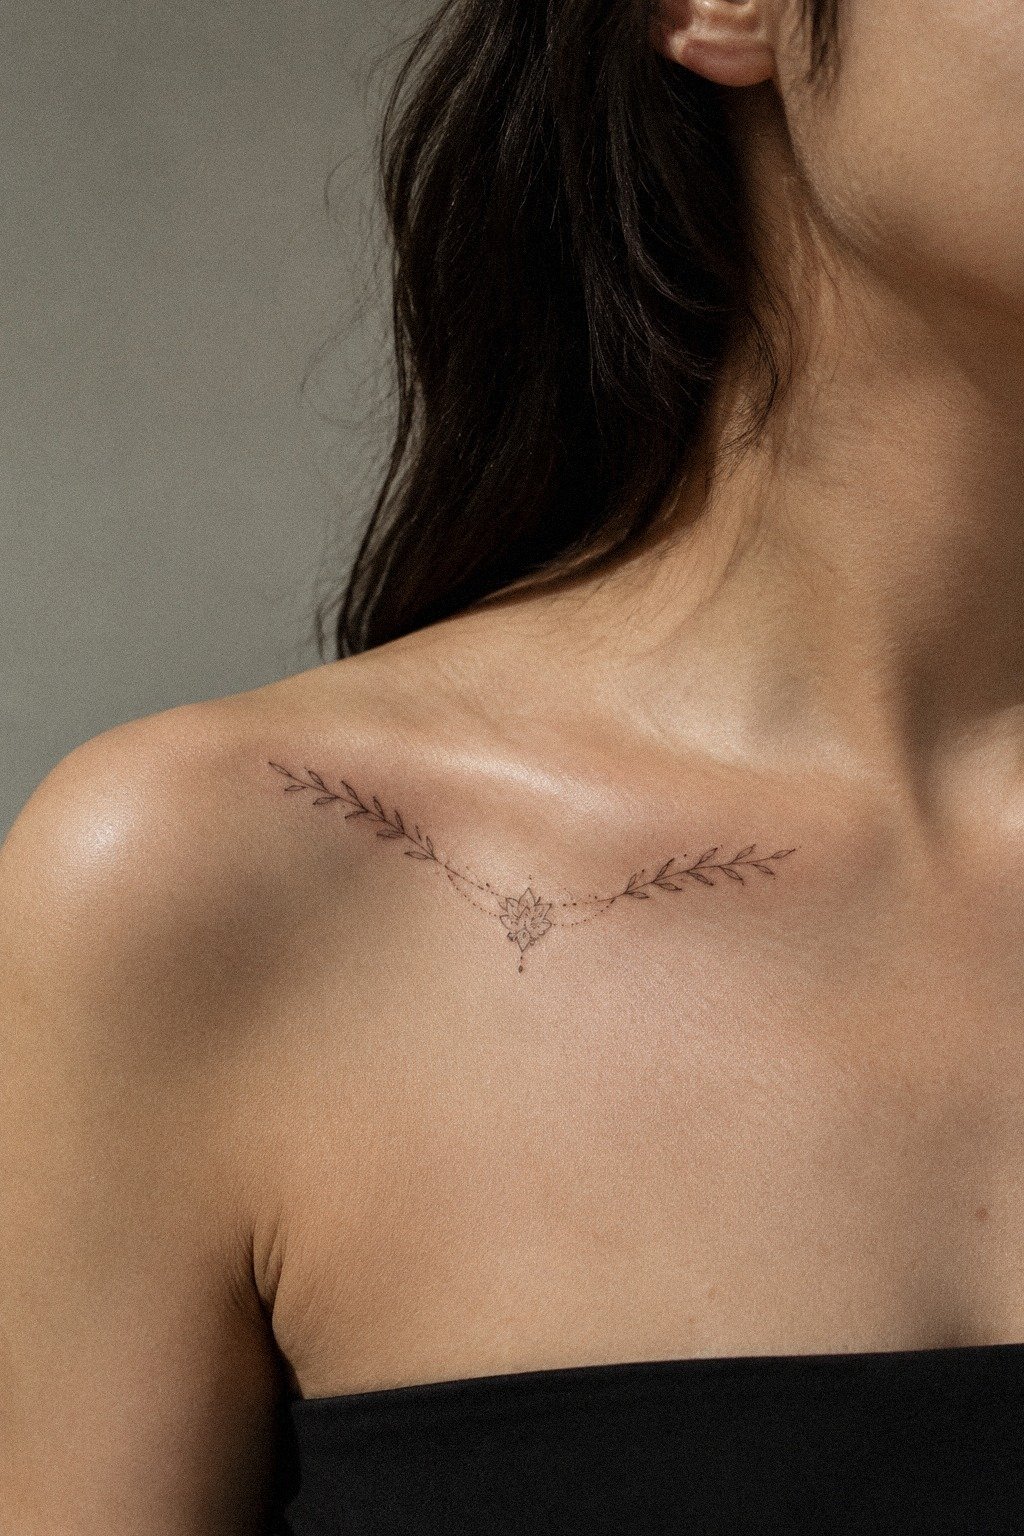
Frame the thumb with clean henna lines by thinking about curve, not clutter. Even if your saved inspiration shows a different body spot, the lesson is the same: minimal lines need a shape they can ride. Around the thumb base, that means following the natural sweep instead of boxing it in with little ornaments that fight the joint.
Here’s where the Clean Pull Rule matters most. Ask for confident lines, visible spacing, and no last-minute filler if the design already sits well. A gentle lemon-sugar finish will help protect the dried paste during the first few hours, while avoiding water gives the stain time to develop.
You can compare simple flows in simple henna designs for beginners and 16 finger mehendi designs that stay delicate under pressure. But don’t draw a thumb like it’s flat paper. It isn’t.
A sleek thumb frame should follow the hand’s movement. One graceful curve can say more than a crowded border.
9Add Tiny Leaf Motifs Near Knuckles
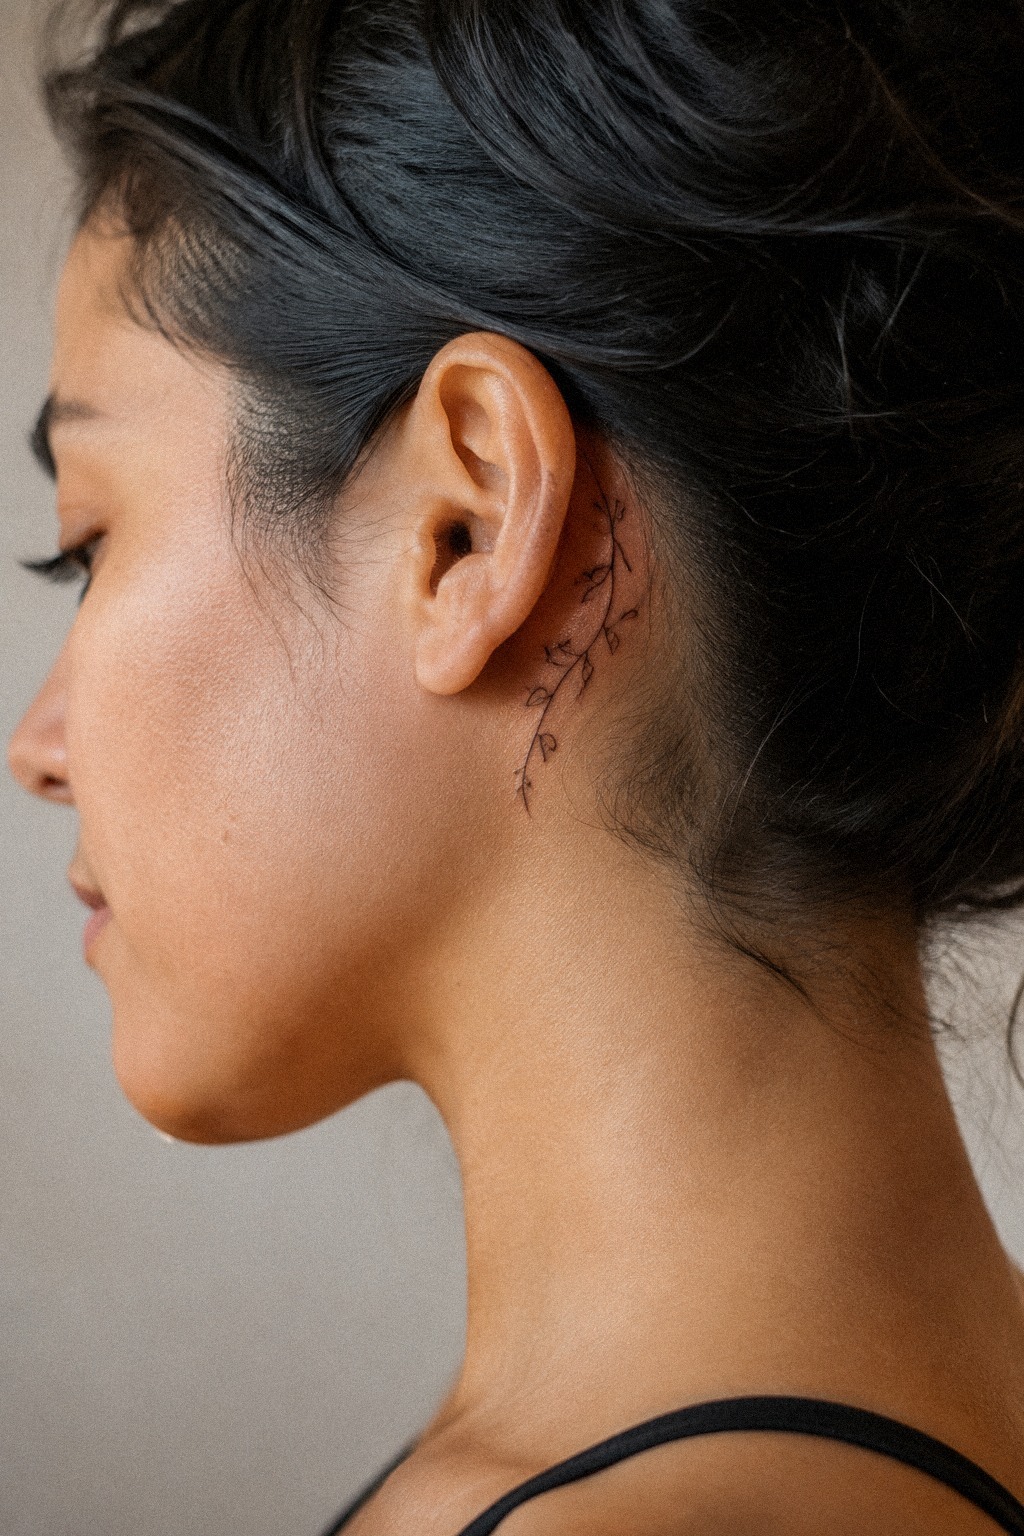
Add tiny leaf motifs near knuckles only if each leaf can survive on its own. That sounds obvious, but I see too many mehendi designs where every leaf is shaved down until it’s just a blur waiting to happen.
Knuckles flex, skin there takes wear, and paste can transfer before it dries. Each little leaf needs enough body to stay visible after the flakes come away.
If you love the look, keep the count low and choose a few well-spaced leaves instead of a crowded garland. I would put a placement like this behind the ear or along the hand edge before I would jam it between every joint, and I would mark the spacing with a transfer-free cone guide before applying the paste.
For more delicate references, see minimal mehendi designs with strong spacing and 15 mehendi designs for hands simple enough to diy. But if the leaves look like confetti, you have lost the plot.
Tiny leaves can feel whimsical when they are spaced with intention. Let each one have its own outline and a little room around it.
10Use Minimalistic Crescent Mehndi Accents
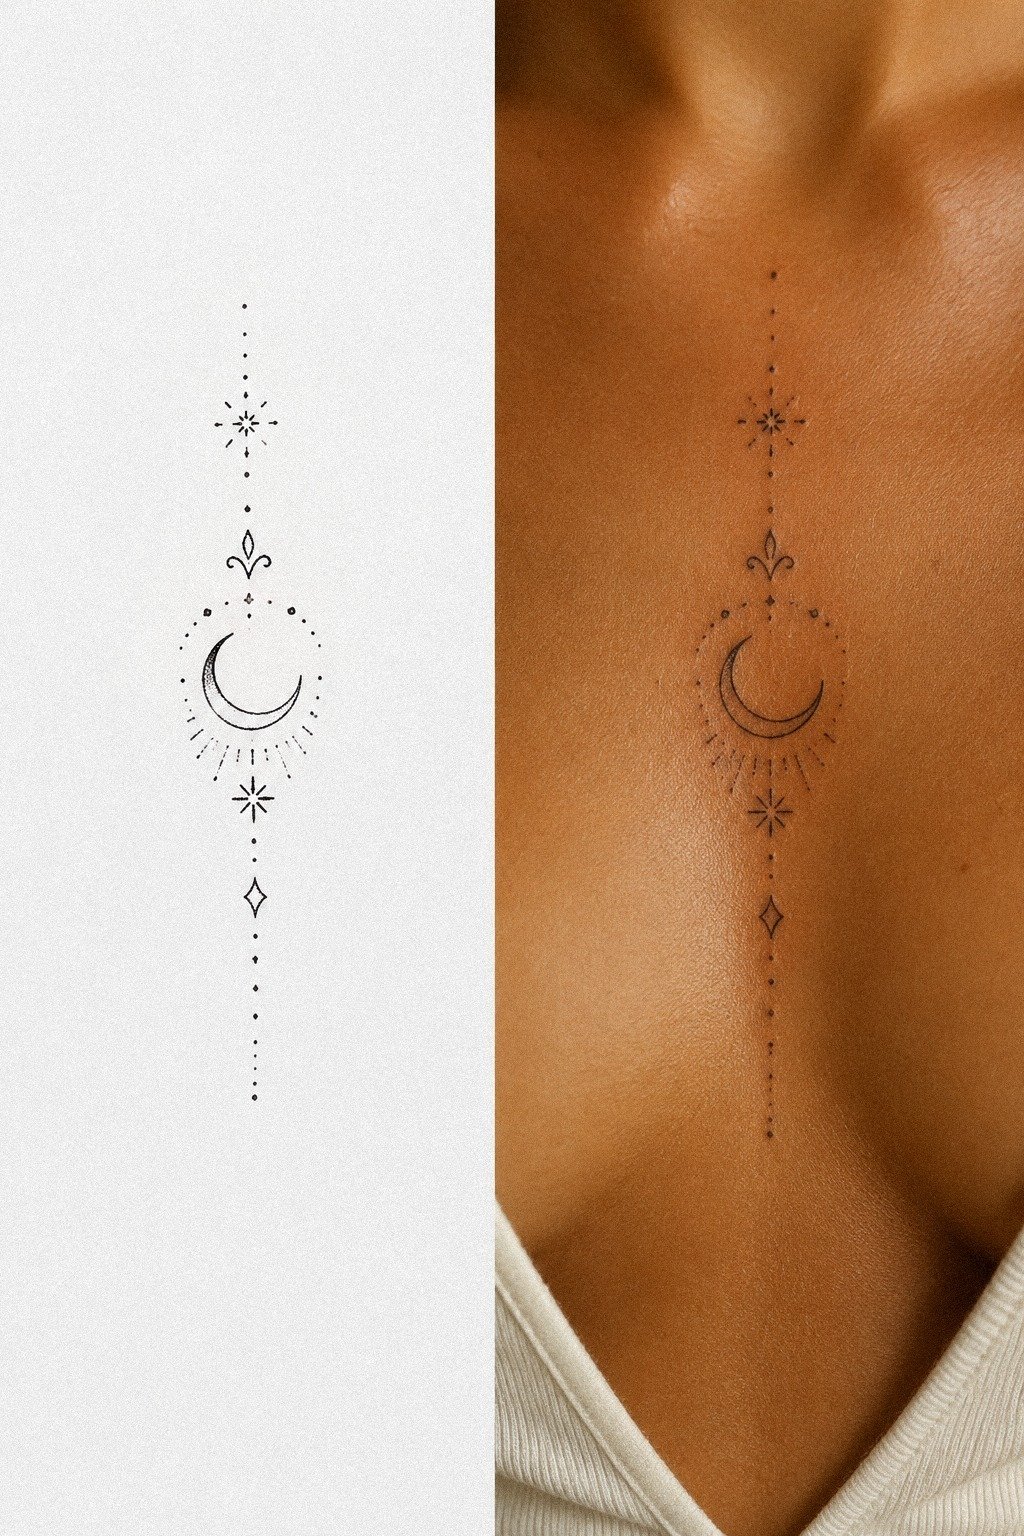
Use minimalistic crescent mehndi accents when you want the design to feel symbolic without getting heavy. A crescent carries a lot of cultural weight, but it needs to be drawn as a shape, not a logo. That means a clean outer curve, a clean inner curve, and enough width in the band that the form stays readable as the stain softens.
Anchor the crescent to a body part that does not rub against it constantly. Behind the ear, the side rib, or the outer shoulder all work. Wrists and fingers fight the curve, and you may end up with a soft horn instead of a moon before the color fades.
If you want to add a star or a tiny dot accent, place it on the inside curve, not floating in random space, because floating accents can read as mistakes once the stain lightens. Compare the symbolic pulls in crescent mehndi designs with the geometry in minimal mehendi designs with strong shapes.
A sacred crescent does not need a dozen satellites. One star is often enough, especially when the main curve is striking.
11Balance Both Hands With Matching Details
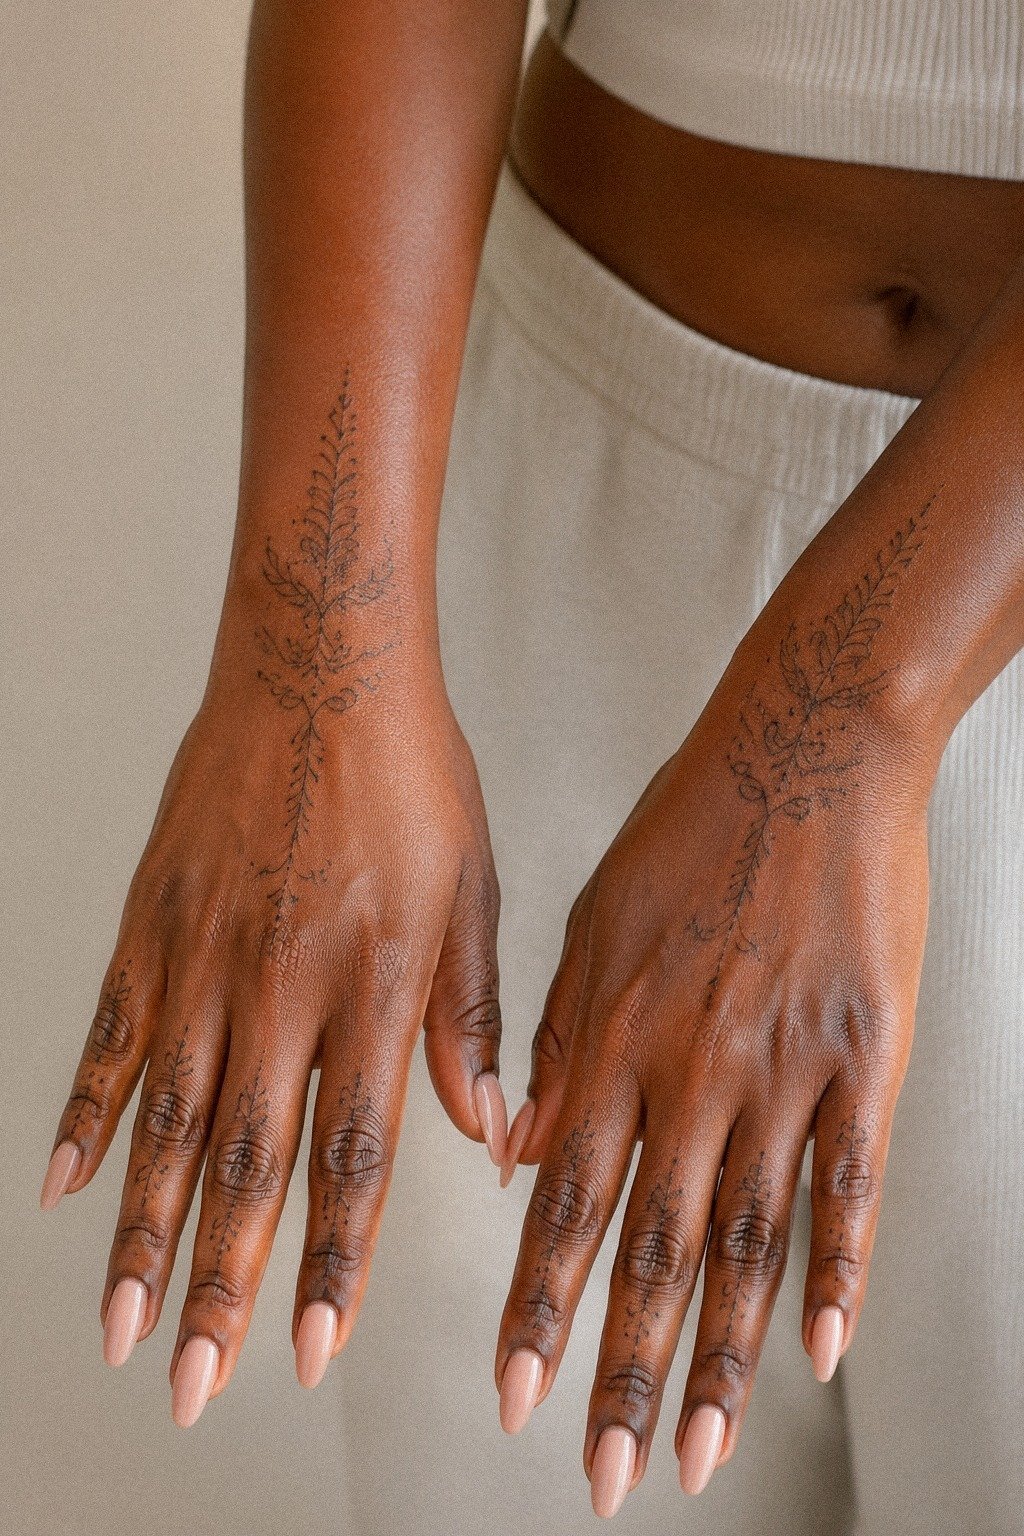
Balance both hands with matching details, not mirror-image perfection. Matching hand mehendi looks strongest when the weight feels even, even if the motifs aren’t identical line for line.
Maybe one hand carries a central bloom and the other holds the smaller support details. That kind of pairing feels intentional and keeps both sides from looking like a costume set.
This is my Twin Flow Rule for aesthetic mehendi designs: match the visual weight, match the spacing, then let the small differences breathe. Deep brown skin with warm undertones can make a rich brown stain look especially vibrant, so don’t be scared of contrast here.
Use references from 15 minimal mehendi designs that prove less lands harder and 16 finger mehendi designs that stay delicate under pressure to compare paired layouts. If one side already feels stronger, stop there instead of forcing symmetry.
The result should feel empowering and personal. Matching does not mean identical.
12Test A Small Bridal Mehendi Accent
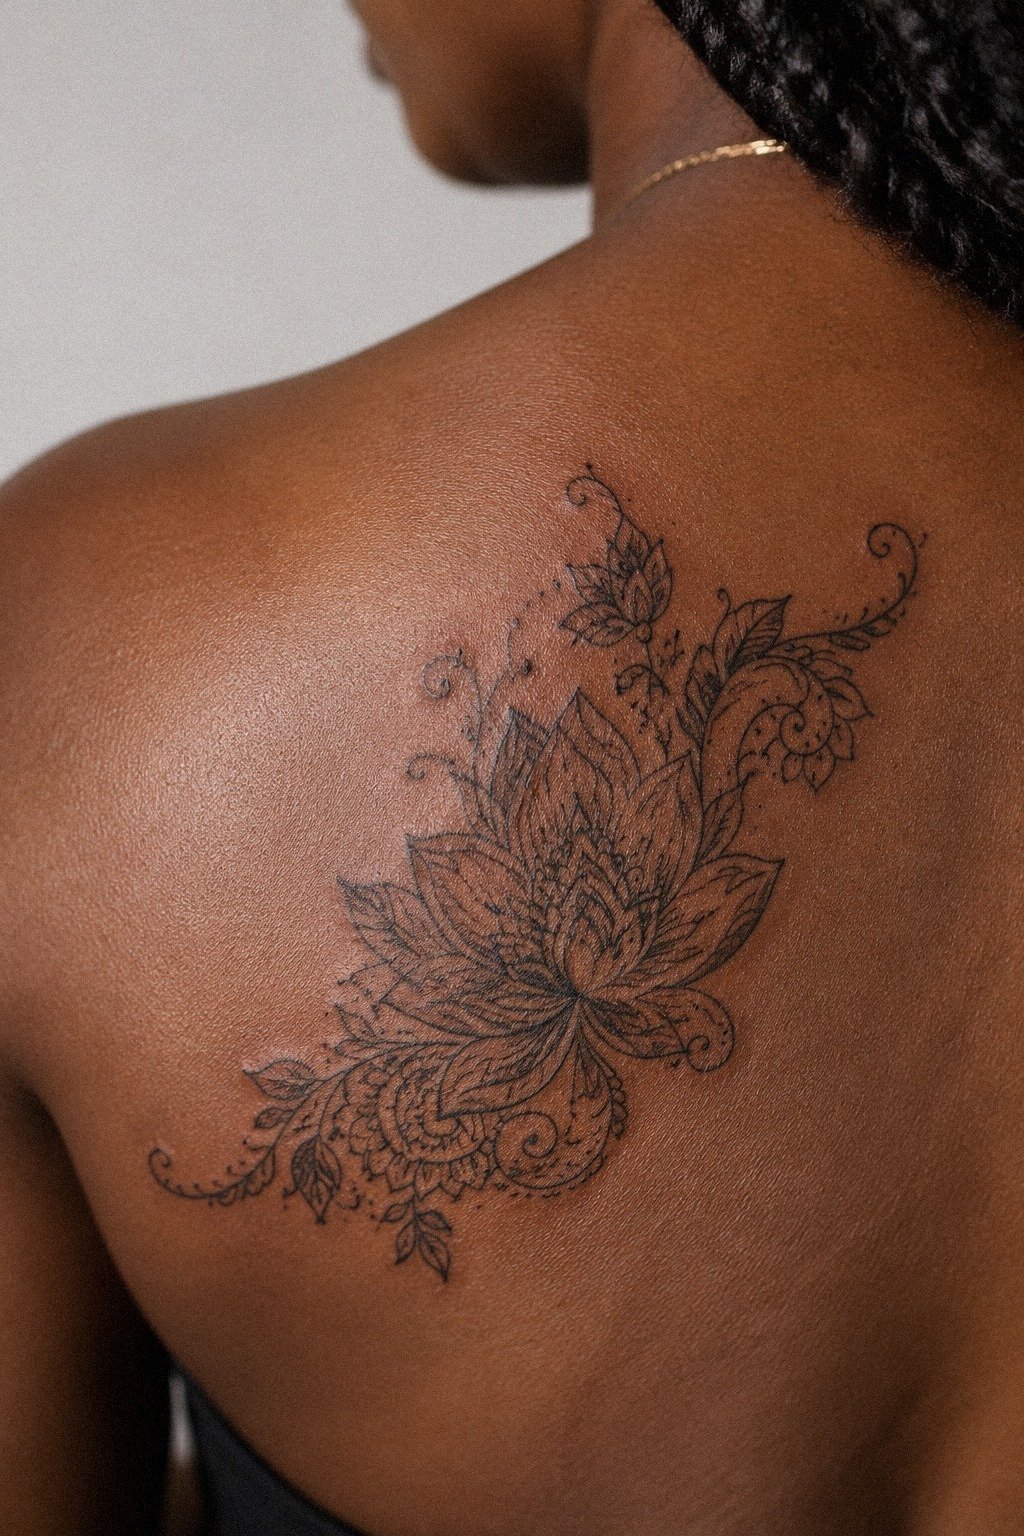
Test a small bridal mehendi accent before committing to a larger ceremonial-inspired layout. Upper back placement gives you enough flat skin to see the motif clearly without the daily friction hands and wrists take. If you love bridal linework but you’re worried about ending up too busy, this is a smart middle path.
I would keep the accent around 2 to 4 inches wide, use a central ornament with two soft side details, and skip the extra chains unless the design still feels clean from a few feet back. A crisp cone-applied outline helps because upper-back mehendi can tempt you into going wider than you need.
For inspiration, compare the ornamental pull of peacock mehndi designs with the restraint in minimal mehendi designs with strong spacing. But bridal doesn’t have to mean crowded. Not even close!
A meaningful bridal accent can be ornate and understated at the same time. Let the central motif carry the emotion.
13Finish With Clean Bracelet Mehendi Lines
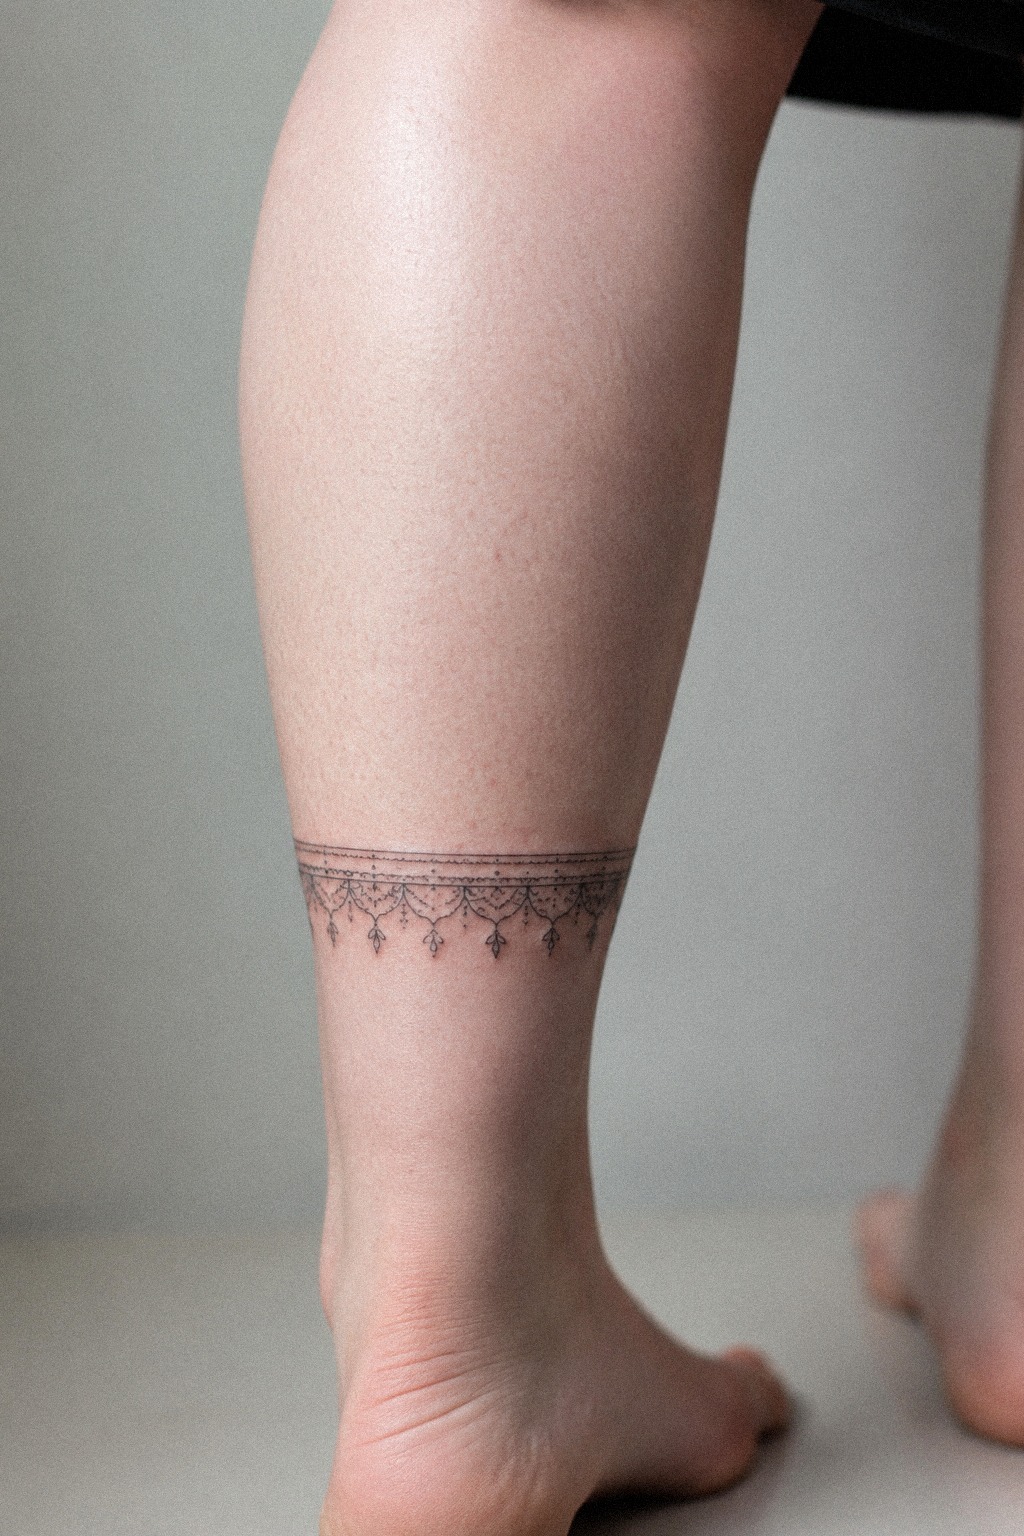
Finish with clean bracelet mehendi lines only after you’ve checked how the band reads from the back of the leg or arm, not just straight on. Most people design for the front-facing view and forget that the back side of the band is what people see when you walk away. A bracelet that dies at the edges looks like a mistake, even if the front is gorgeous.
Build the band as a continuous loop, not two mirrored halves. Decide the front motif first, then let the back carry the supporting pattern at maybe sixty percent of the visual weight. That keeps the wrap feeling intentional instead of front-heavy.
If you want a charm or a hanging element, place it on the inside of the wrist where it sits closer to the pulse point, not the outside where it catches on sleeves. Compare the wraparound logic in modern mehndi designs with the band approach in simple henna designs for beginners.
The best bracelet designs feel timeless because every edge has a reason. Keep the loop clean, and the whole piece stays polished.
The Crisp Line Framework
When clients ask me why one minimal mehendi design dries clean and another one goes flat, the answer usually is not mystical. It is mechanics.
Tiny paste lines need enough clearance, enough body, and enough respect for how skin behaves while the cone work dries. You can absolutely get delicate work and have it stay crisp for its natural life, but you’ve got to quit treating every saved image like it was designed for your exact body.
Here’s the practical version I use in the studio. Hands, fingers, ribs, sternum, and feet are high-wear zones, so they ask more from you and from the artist.
Outer forearm, calf, upper arm, and upper back are more forgiving. If you’re new, those lower-drama placements usually stay sharper and let you enjoy the design instead of guarding every wet line.
And yes, henna aftercare counts. Let the paste dry for 1 to 2 hours, gently scrape it away rather than washing it off, and keep water away for several more hours when possible. A lemon-sugar seal can help hold the dry paste in place.
The color often darkens on day two, then gradually fades over 1 to 3 weeks.
The money side matters too, because rushed application can get expensive when you are correcting uneven work later. A small minimal mehendi design may take 15 to 45 minutes, while a bridal layout can take much longer.
I would wait for someone with clear healed-looking stain photos than rush into a same-day opening with a shaky cone hand. Bold motifs will stay readable.
Timid paste lines usually will not.
So if you want the short version, here it is. Size up a touch.
Choose a lower-wear placement if you can. Let the paste breathe. Find an artist whose finished stains still look crisp in natural light.
That is not flashy advice, I know. But it is the advice that saves your mehendi design.
The Low-Wear Rule
But here is the piece people fight me on. If your goal is clean drying and short-term readability, lower-wear placements beat trendy ones more often than not. Outer forearm, calf, upper arm, and upper back do not get rubbed as constantly as fingers, side-of-hand placements, or wrist edges.
That does not mean you cannot choose the high-wear zones. It means you should choose them with your eyes open.
And if you are a first-timer, I would rather see you nail one clean low-drama piece than gamble on a tiny hand design just because it photographs well. Your skin is the final canvas, not your Pinterest board. Save the edgy zones for later if you want.
You are not less committed for starting smart!
A minimal pattern can still feel daring when the placement is thoughtful. Begin with the surface that lets the design breathe.
What People Always Want to Know
How much does a Minimal Mehendi Designs usually cost?
Usually about $20 to $100 for a small clean piece, though bridal work or a private appointment can reach $100 to $300. You are paying for cone control, design planning, and a clean stain, not just minutes of application.
Are Minimal Mehendi Designs a good idea for a first mehendi application?
Yes, if you choose a forgiving placement and keep the design simple. A small fine line motif on the outer forearm, calf, or upper back gives you cleaner drying, easier care, and less risk of the paste rubbing away during the first few hours. And that first good result builds confidence fast!
How do I choose a mehndi artist for Minimal Mehendi Designs?
Look for finished stain photos, clean placement, and crisp lines in natural light. A strong portfolio should show small work on real skin, not only wet paste under ring lights. I’d also ask how they size tiny motifs so they stay readable as the stain fades.
How much do Minimal Mehendi Designs hurt?
They generally do not hurt because the cone places paste on the skin’s surface. Ribs, sternum, and hands can feel ticklish or awkward during application, while outer forearm, shoulder, calf, and thigh are usually easy. Surface application feels gentle, even when the design is detailed.
How long does a Minimal Mehendi Designs take to dry and fade?
Most paste dries in 1 to 2 hours, the color deepens over 24 to 48 hours, and the visible stain usually fades in 1 to 3 weeks. Gentle aftercare matters during that window. Keep the paste dry while it sets, avoid rubbing, and let flakes come away naturally.
What’s the best placement for Minimal Mehendi Designs?
For the cleanest longevity, I like outer forearm, calf, and upper back. Those are lower-wear zones, so your linework has a better shot at staying sharp through the stain’s natural life. If you choose fingers or hands, go in knowing the color may fade sooner.
The One-Line Start Rule
If I had to pick one step, I would start with keeping negative space around the wrist. Tiny mehendi loses clarity when you cram every millimeter, and clean skin between lines is what keeps the whole design readable later. Pin that rule first, then build from there.
My favorite version is still the quiet one: a minimal mehendi pattern with one graceful curve, one meaningful motif, and enough room for the skin to show. Start there!
{ “title”: “13 Minimal Mehendi Designs Ideas Artists Say Stay Crisp in 2026”,