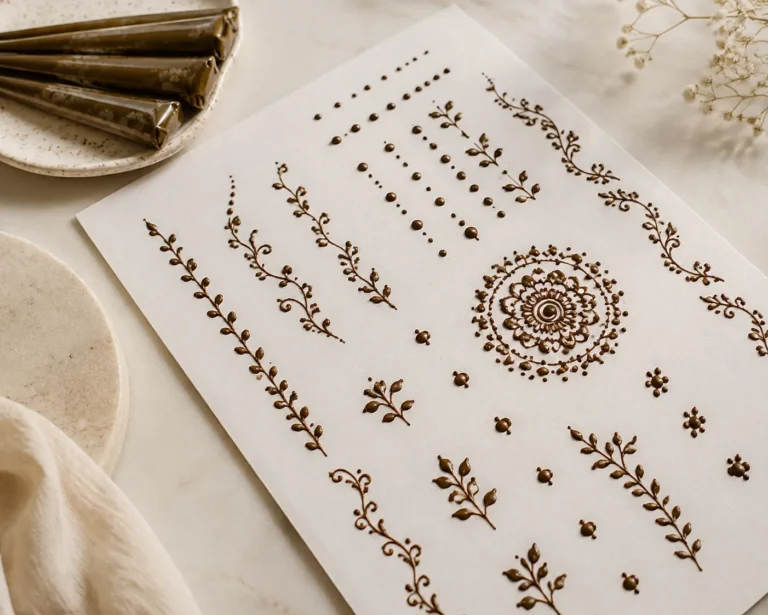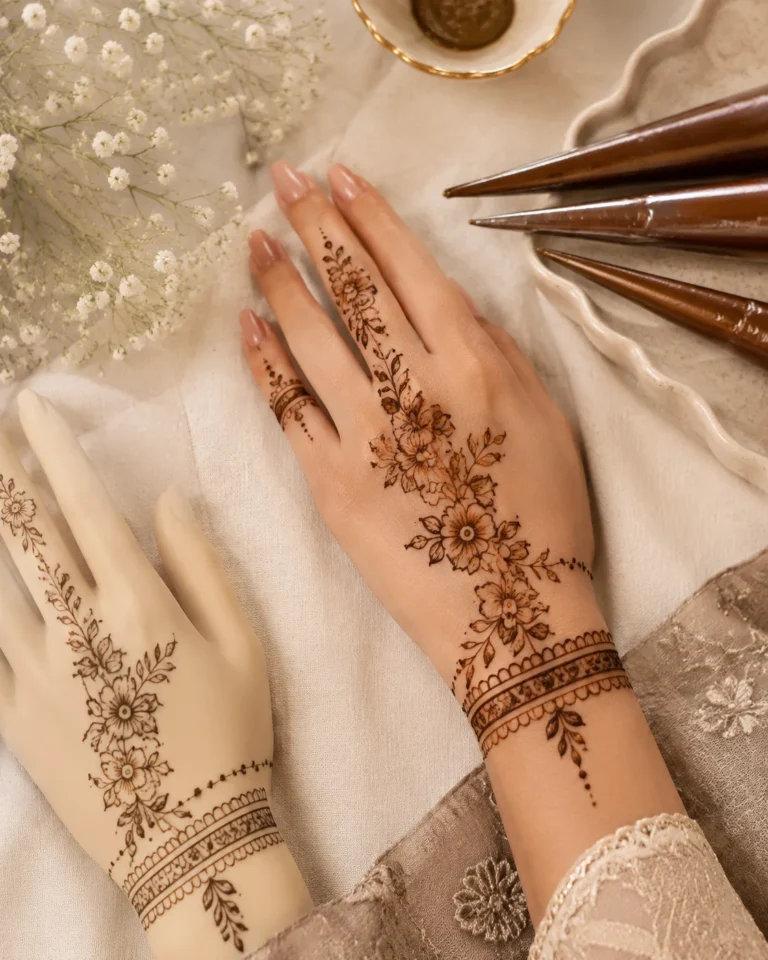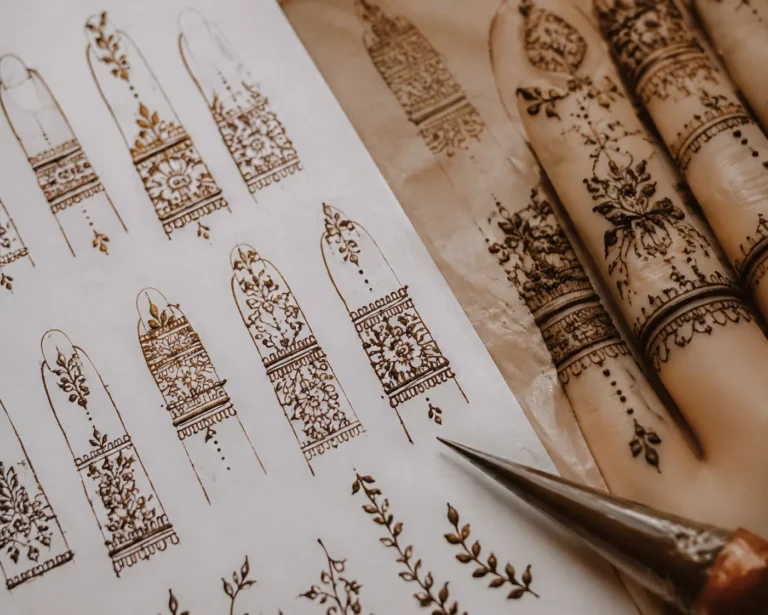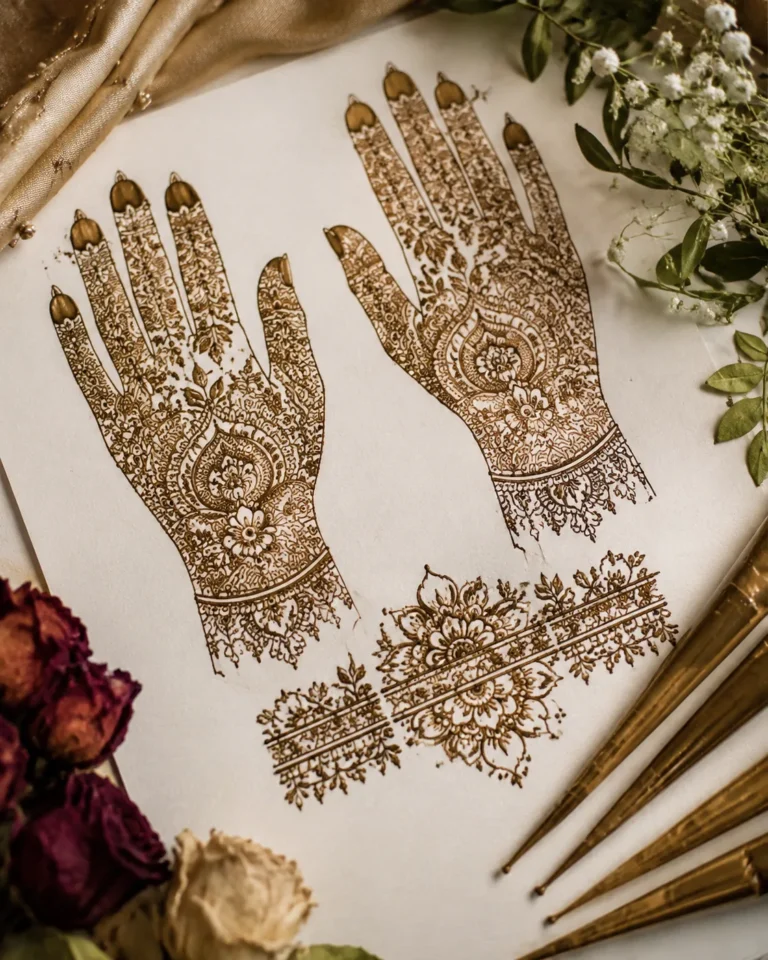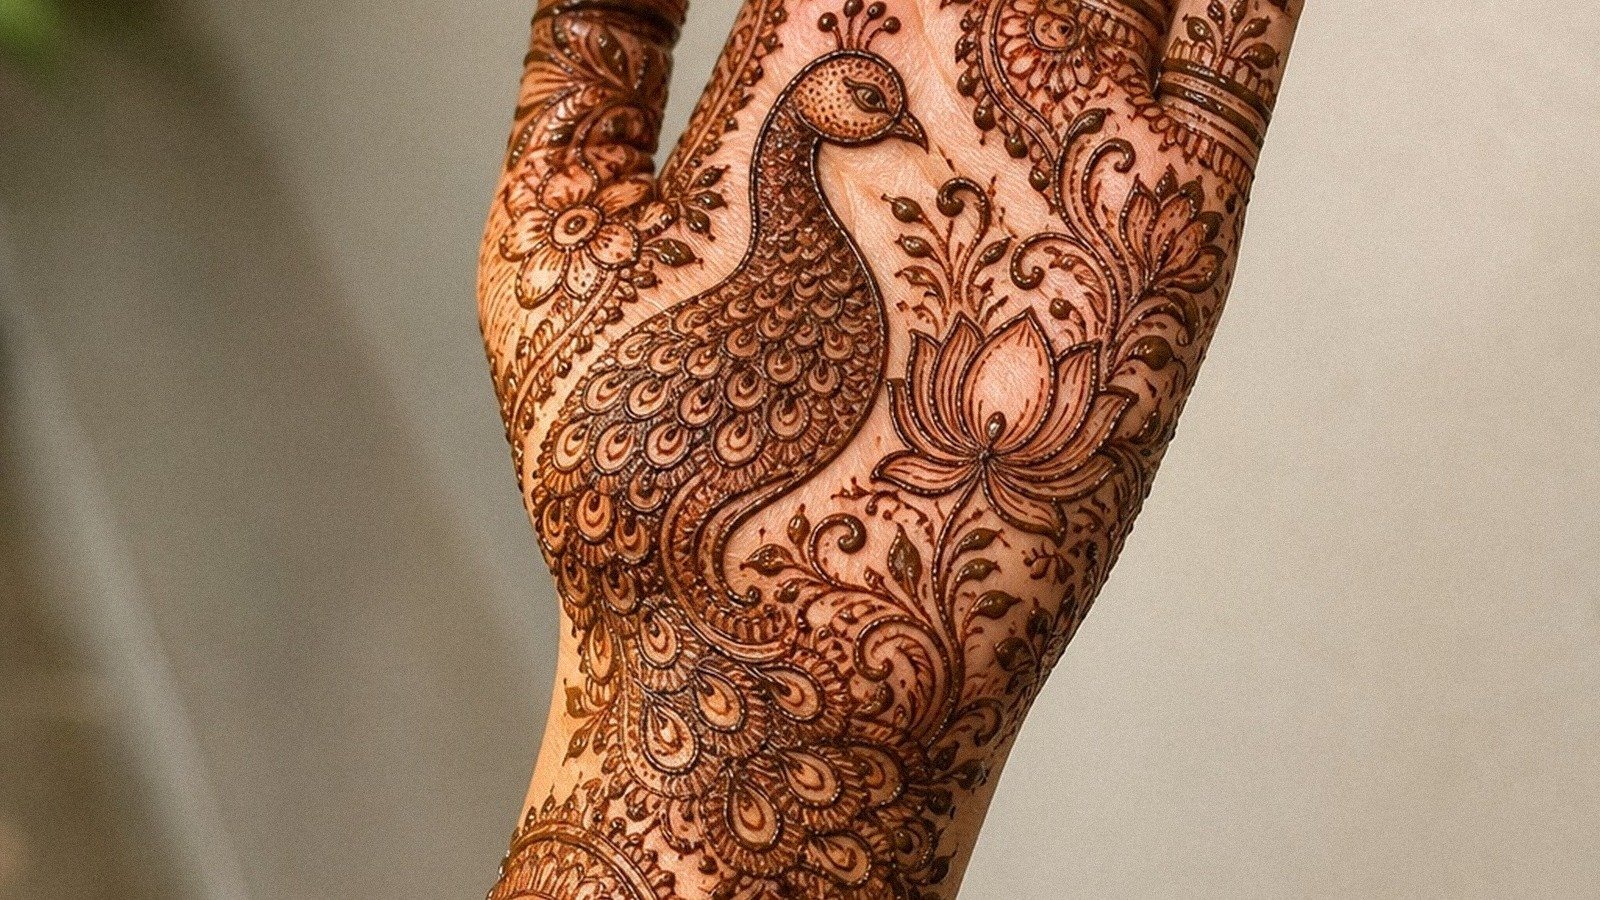
Peacock mehndi designs read clean when the body stays simple and the feather work gets room to breathe. I almost overworked my first peacock layout, and it looked busy fast.
Mehndi is not a tattoo. It is a temporary paste design applied with a cone, dried on the skin, and left to stain a reddish-brown shade.
Since then, I keep the tail lighter, the fingertip fill tighter, and the open skin intentional. That’s what makes these 16 ideas easy to wear, easy to photograph, and easy for you to copy without turning the whole hand into soup.
You’ll feel the striking difference fast, and you’ll get better mileage from the time you spend on the application.
- Peacock Front Hand Mehndi With Feather Trails
- Why Keep Peacock Mehndi Minimal On The Palm?
- Bridal Peacock Mehndi With Dense Paisleys
- Let Arabic Peacock Vine Mehndi Travel Across Fingers
- Back Hand Peacock Mehndi With Open Skin
- Build A Peacock Mandala Mehndi Around The Palm
- Fine Line Peacock Mehndi Wrist Accent
- Peacock Feather Finger Mehndi, But Keep It Light
- Full Hand Peacock Mehndi With Lotus Details
- Is Simple Peacock Mehndi Better For First Timers?
- Peacock Bracelet Henna Around The Wrist
- Map Symmetrical Peacock Mehndi Across Both Hands
- Dotwork Peacock Mehndi Around Knuckles
- Swan Inspired Peacock Mehndi Neck Curve
- Cap The Fingertips With Bold Peacock Henna
- Latest Peacock Mehndi That Photographs Cleanest
1Peacock Front Hand Mehndi With Feather Trails
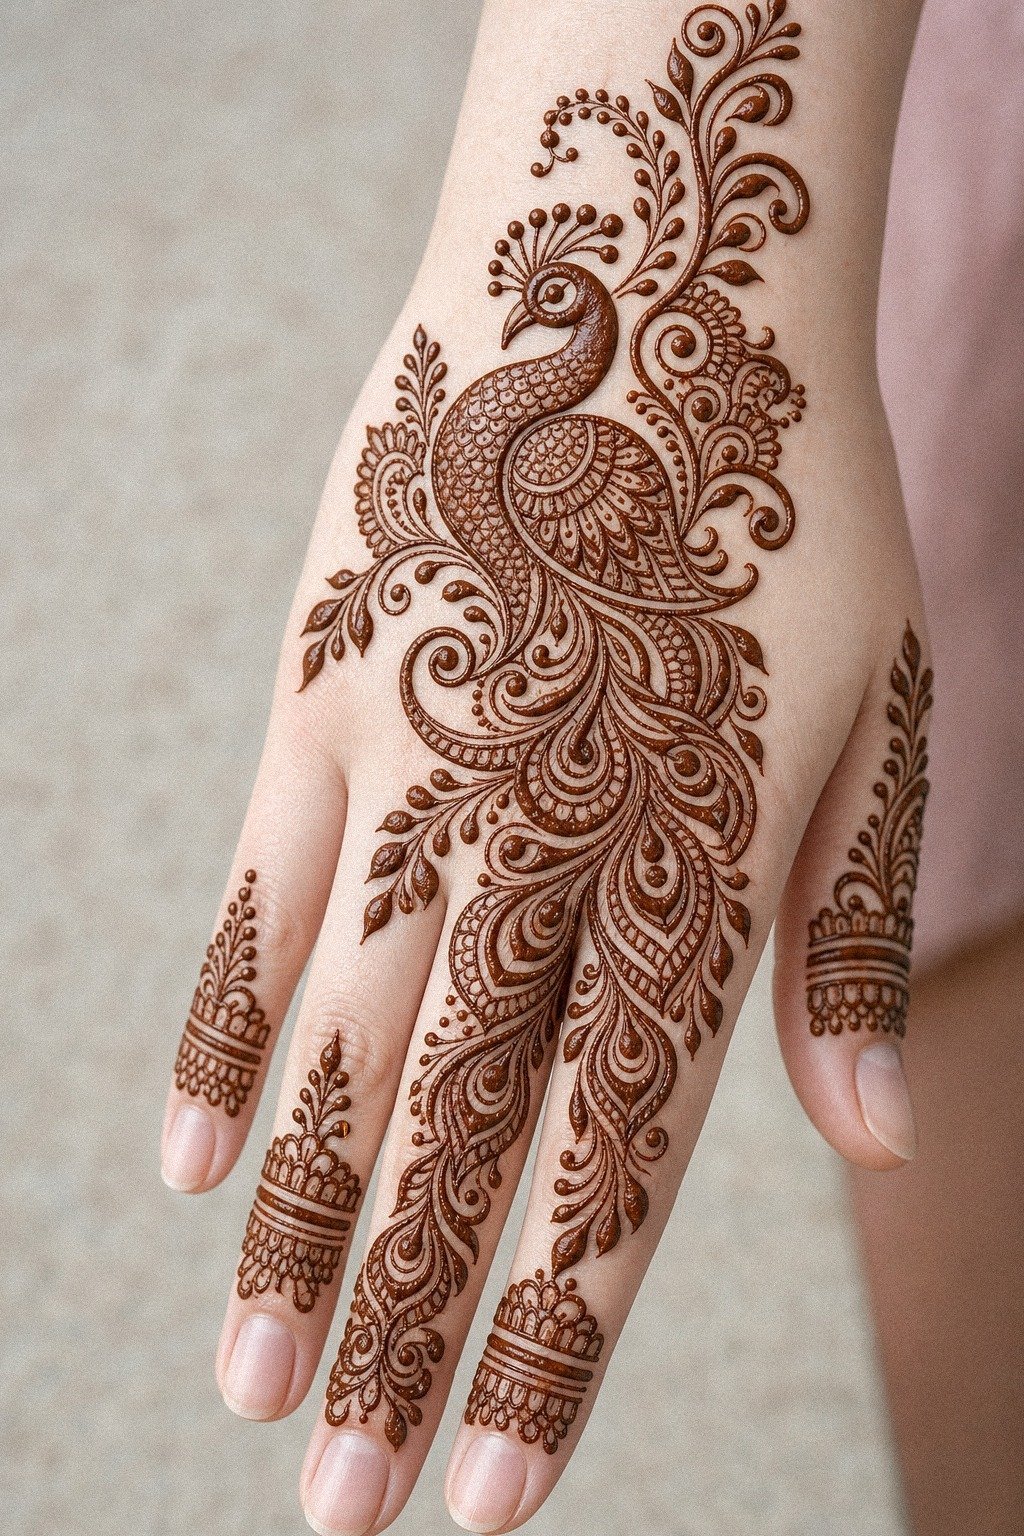
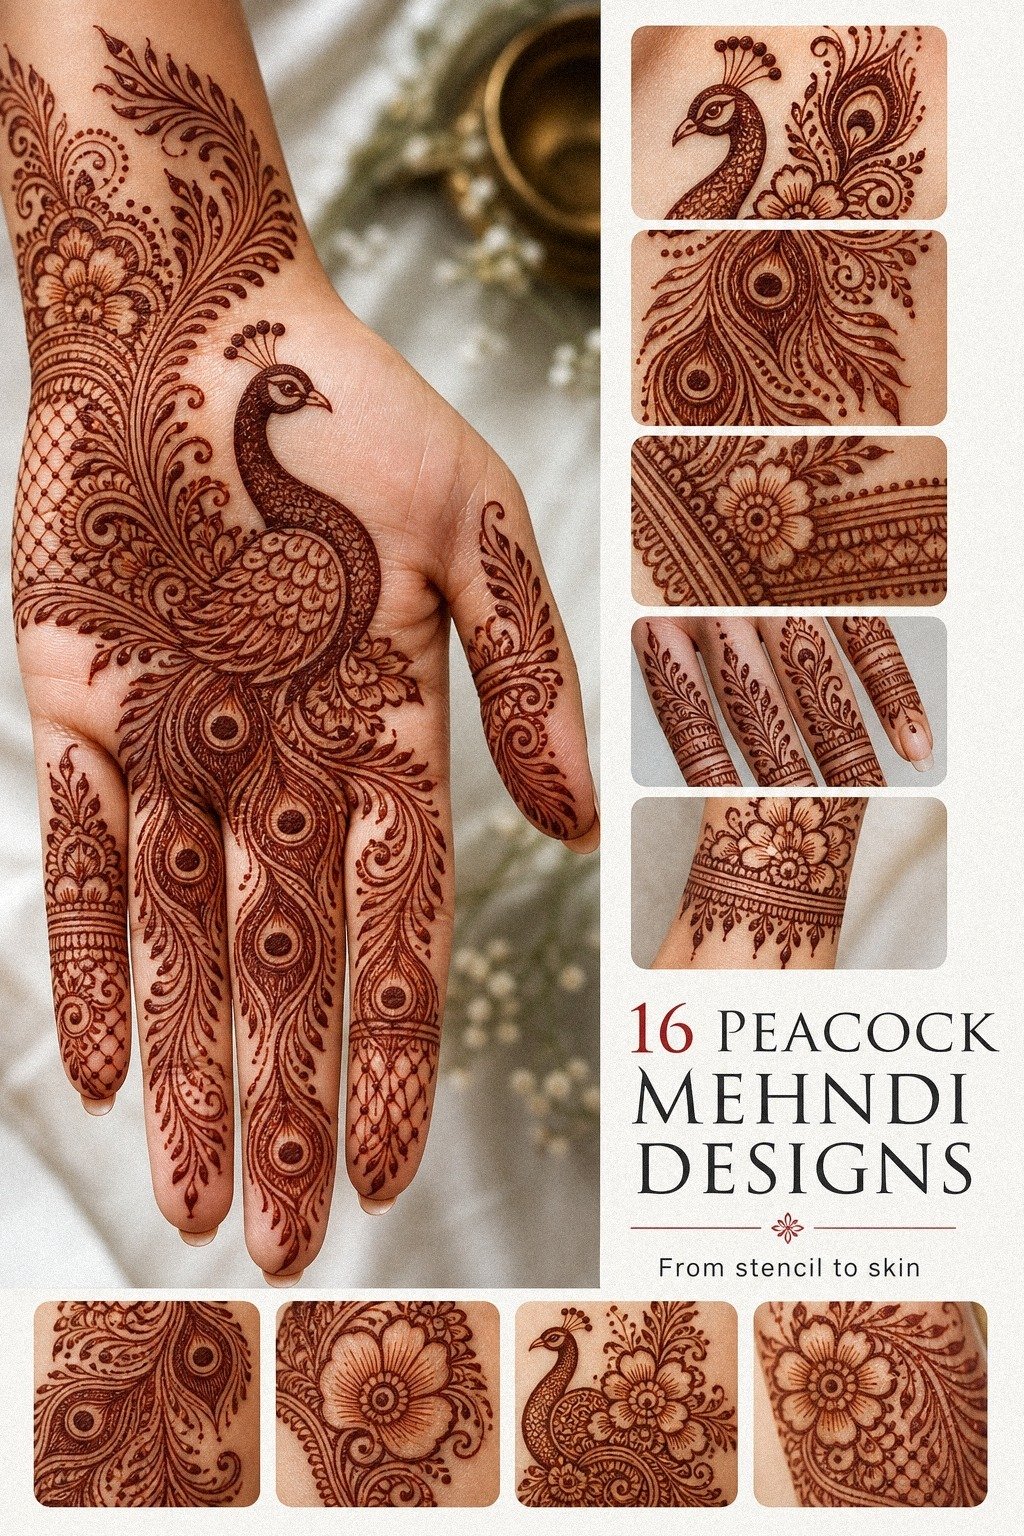
Start with the body of the peacock high on the back of the hand, then let the feather trails run toward the fingers instead of stuffing every gap. That move gives the eye one obvious path to follow, and your henna cone lines stay readable even when you lift your hand for photos.
Keep the feather eyes slightly oversized, about 0.25 to 0.5 inch each, so the reddish-brown stain doesn’t merge later. I like a delicate negative-space lane between the center bird and the outer finger pattern because you get intricate detail without that chewed-up look people regret after one event.
If you want more references for this flow, study the layouts in front hand mehndi designs. And if your mehndi artist starts adding tiny filler curls everywhere, pull it back. Clean peacock work reads better from across the room, and it’s usually more elegant than paying for extra filler that kills the read.
2Why Keep Peacock Mehndi Minimal On The Palm?
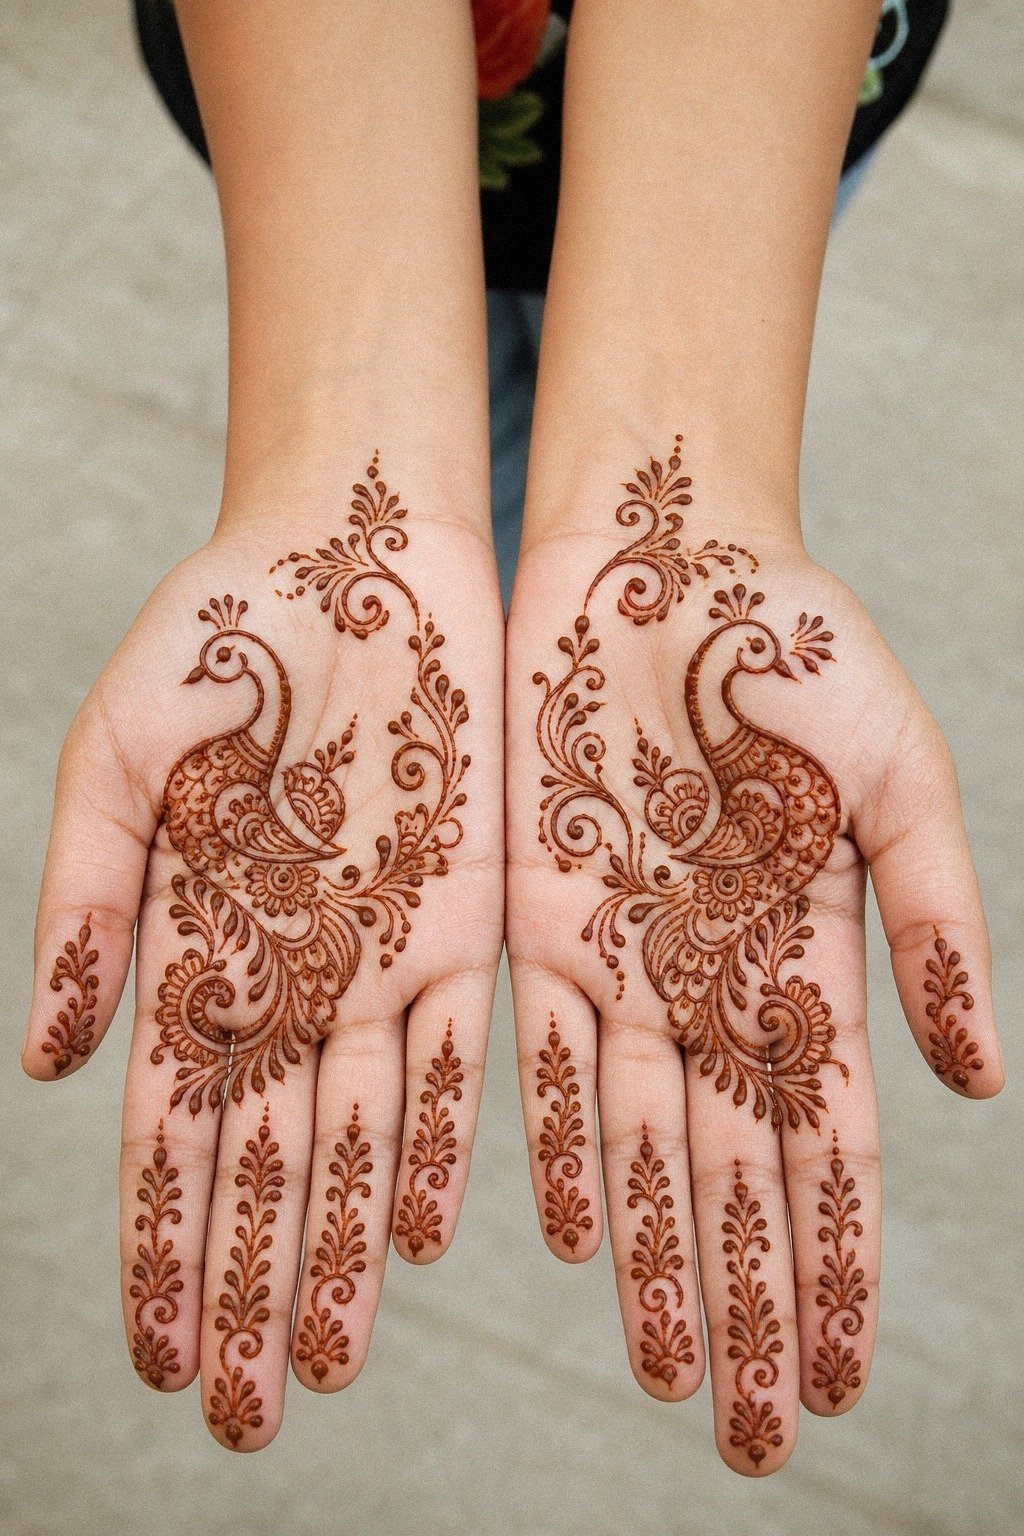
Flip the drama to the palm and keep the bird compact. A minimal peacock can look more expressive than a crowded one because the open skin gives the head and tail a clear voice.
3Bridal Peacock Mehndi With Dense Paisleys
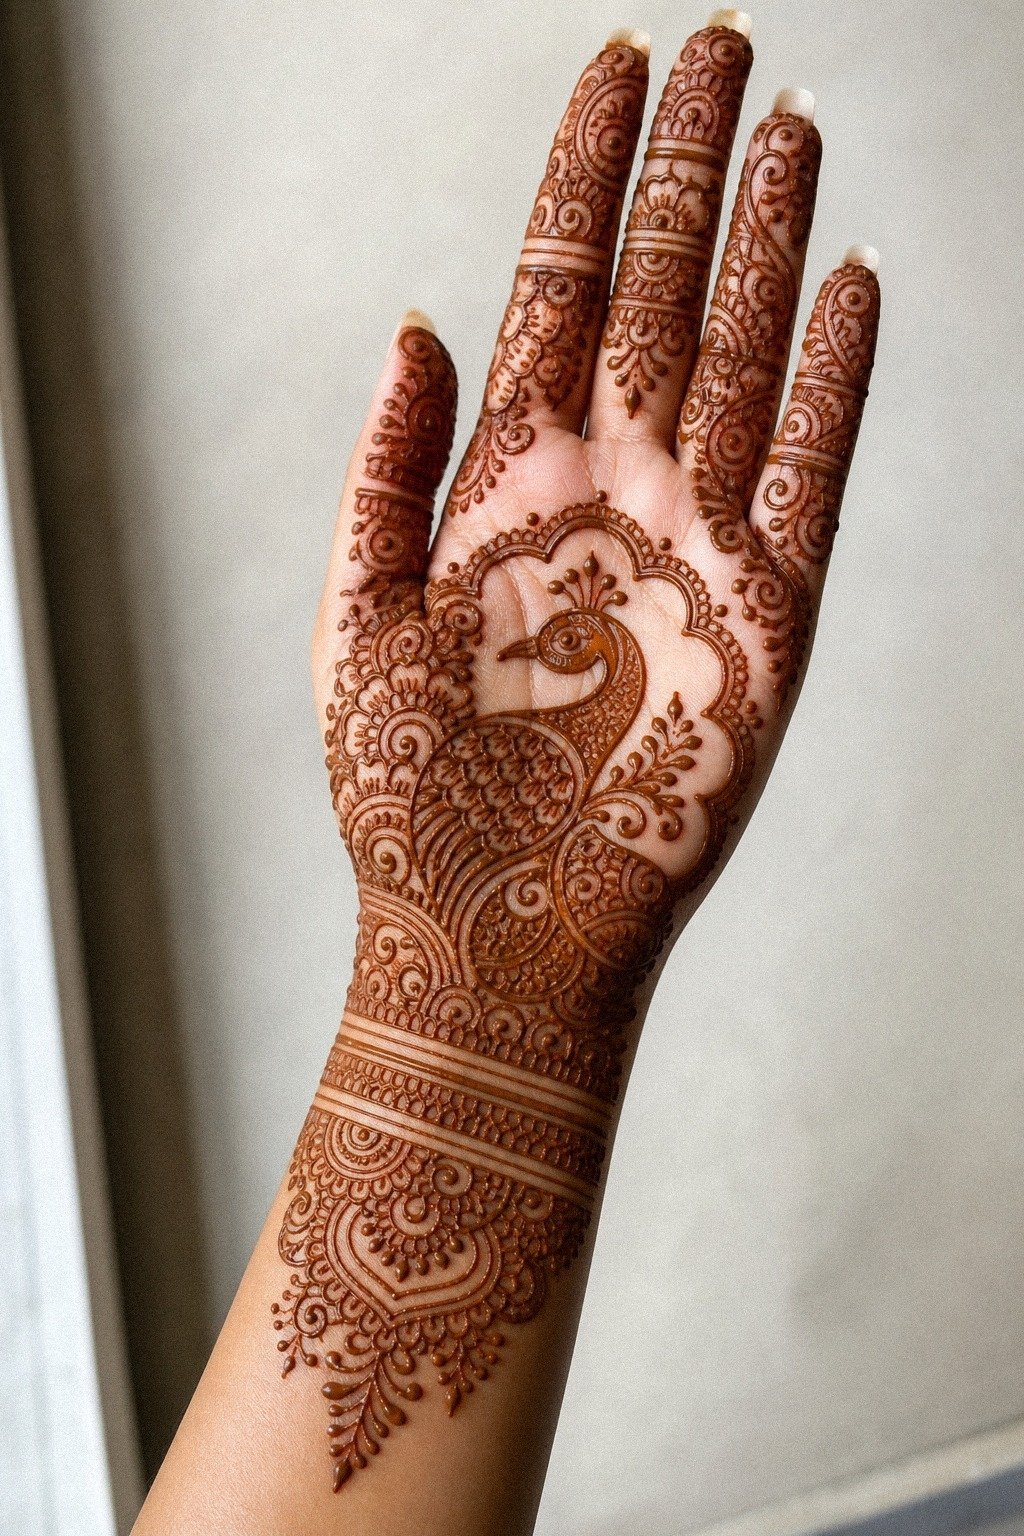
Go dense here on purpose. Bridal peacock work looks strongest when the ornate paisley cluster packs tightly around the wrist and lower hand, then lets the bird head stand out as the main shape instead of hiding it inside a wall of repeating petals.
I tell people to keep the peacock neck longer than they think, usually at least 2 inches on a full hand layout, because that stretch gives the design a graceful quality. The packed fill can stay rich, but the main silhouette still needs crisp breathing edges or the whole thing feels heavy.
If you’re building a fuller wedding mood board, henna mehndi designs is a good comparison page. And yes, dense bridal work takes longer. Expect 1.5 to 3 hours for a balanced hand-and-wrist application when the artist is moving with one clean pull, and know that the extra cost is only worth it if the spacing still reads polished.
4Let Arabic Peacock Vine Mehndi Travel Across Fingers
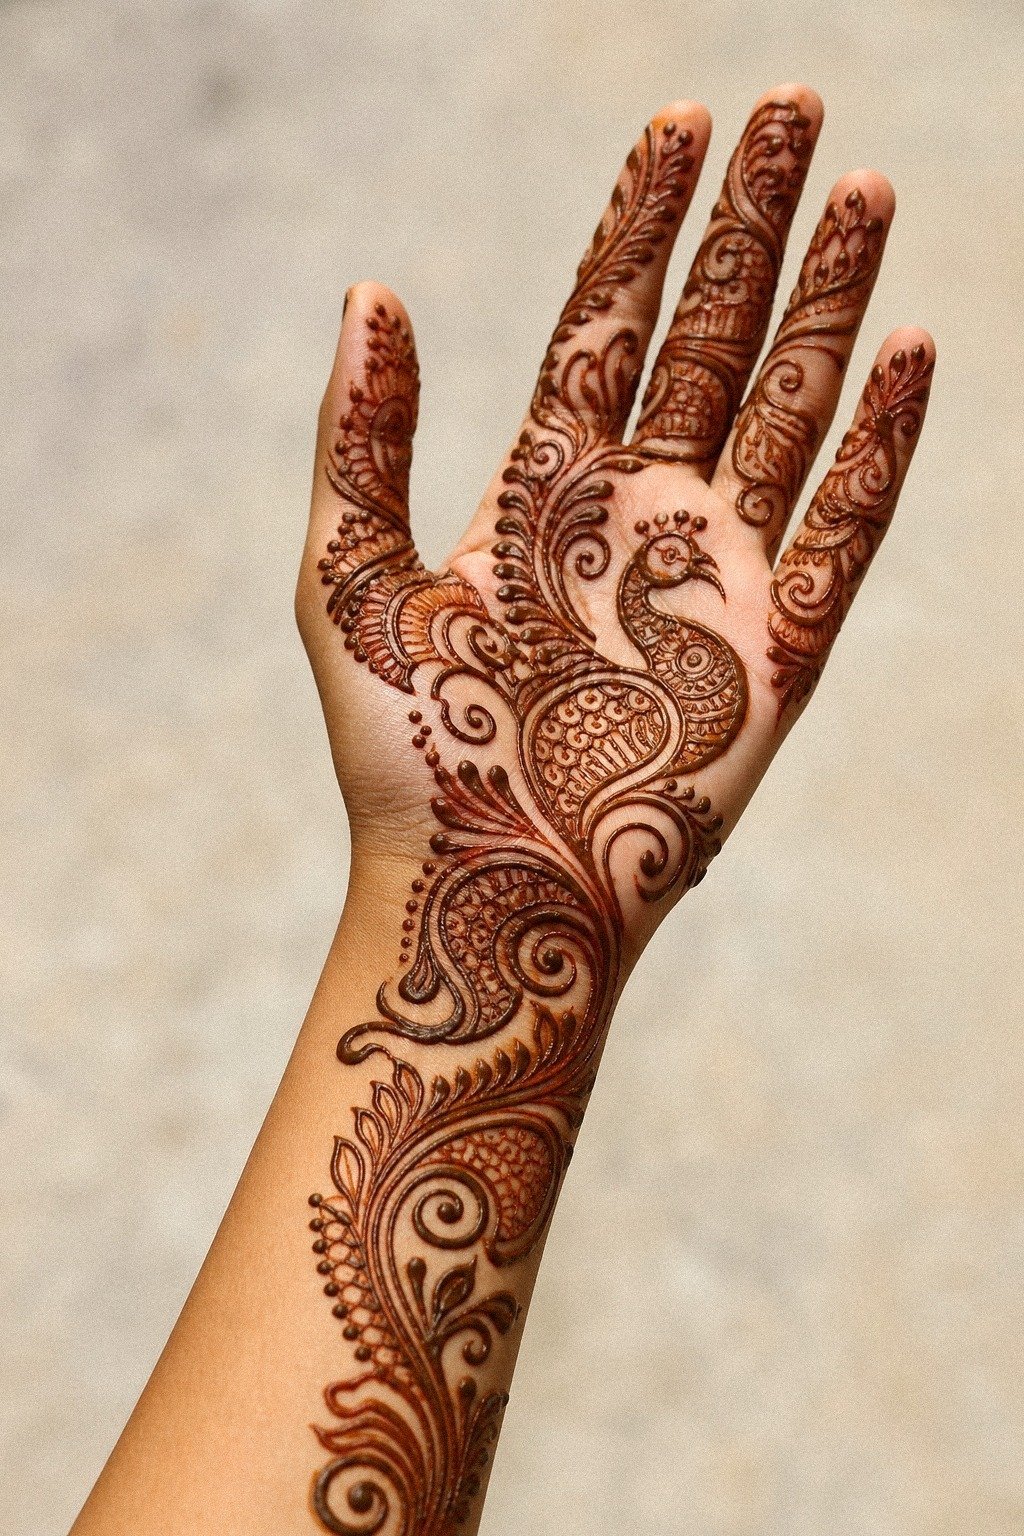
Let the vine do the travel. This style looks best when a slim flowing Arabic vine cuts diagonally across the fingers and palm, with the peacock feather elements dropping in at spaced intervals instead of building one heavy central medallion.
The reason it works is flow. Your fingers already taper, so a diagonal sweep makes them look longer and keeps the pattern graceful.
I wouldn’t crowd every knuckle. Leave at least one open break between finger segments or the whole thing loses that understated Arabic feel.
You can see similar finger pacing in finger mehndi designs. But skip ultra-thin cone work if the event is outdoors in heat. Slightly thicker crisp cone lines give you a cleaner stain and a less patchy photo result.
5Back Hand Peacock Mehndi With Open Skin
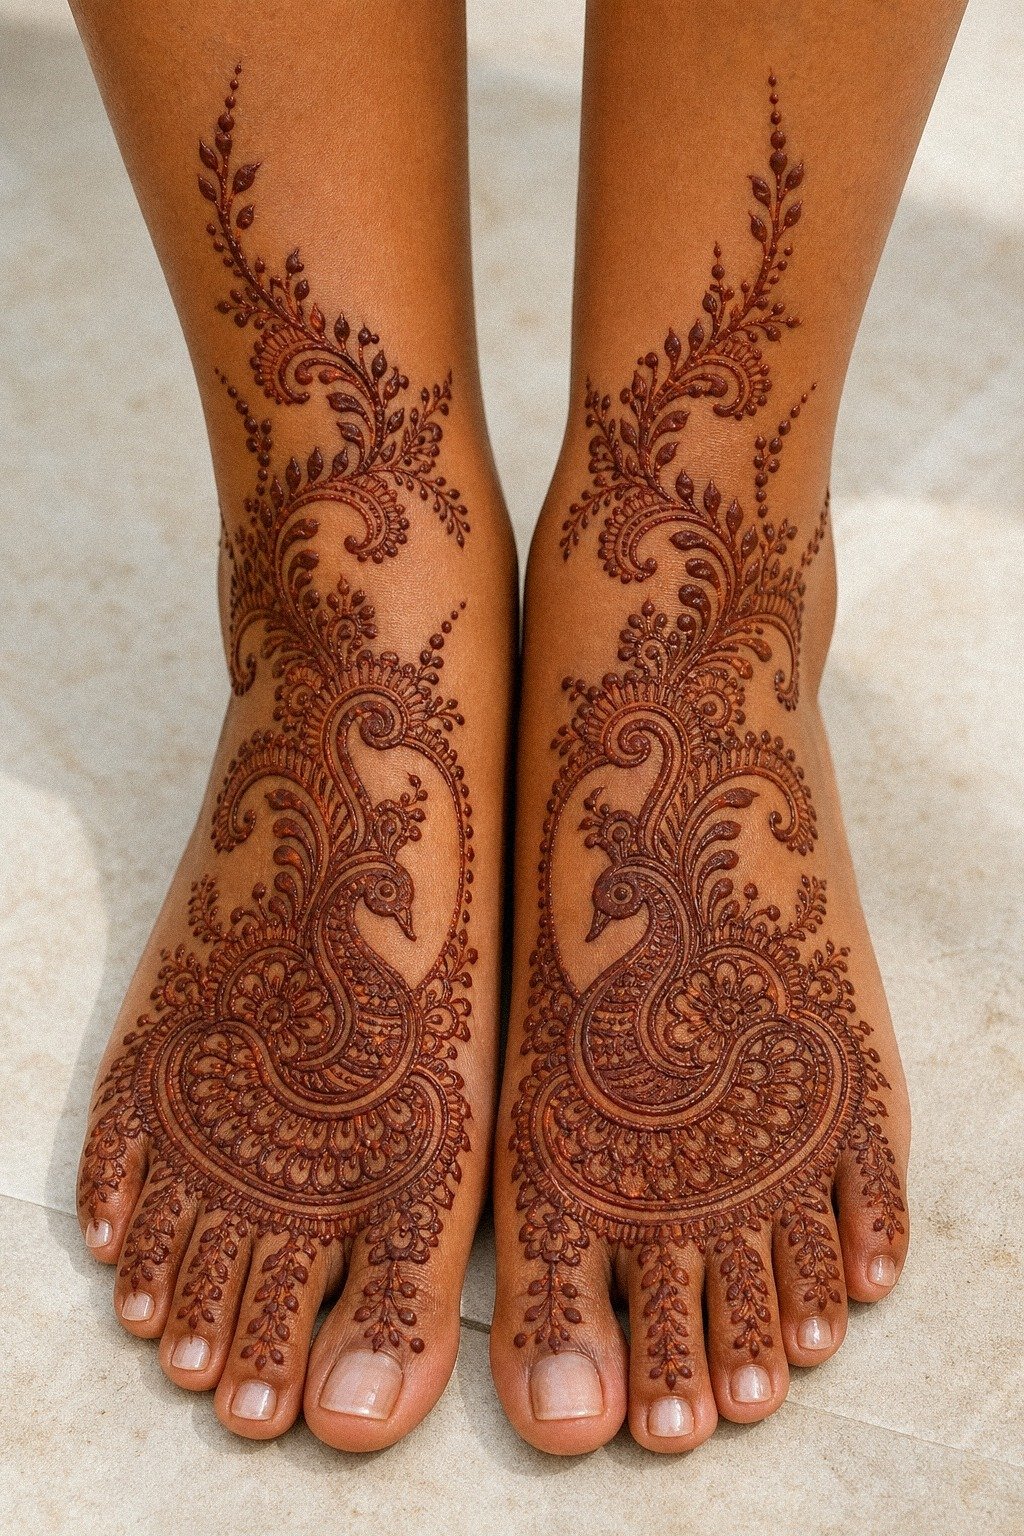
This one wins because it knows when to stop. Put the bird on the back of the hand, frame it with soft feather edges, and leave islands of intentional open skin around the wrist and fingers so the pattern doesn’t feel pasted on.
Open skin is not empty. It’s structure.
When you leave those breaks, the peacock body looks cleaner, the feather fans look sharper, and your hand shape still shows through. That’s huge if you want the design to feel timeless instead of costume-heavy.
If you like that lighter balance, browse modern mehndi designs. But here’s the payoff: back-hand layouts usually photograph better than palms because you aren’t fighting as many deep creases or flash glare.
6Build A Peacock Mandala Mehndi Around The Palm
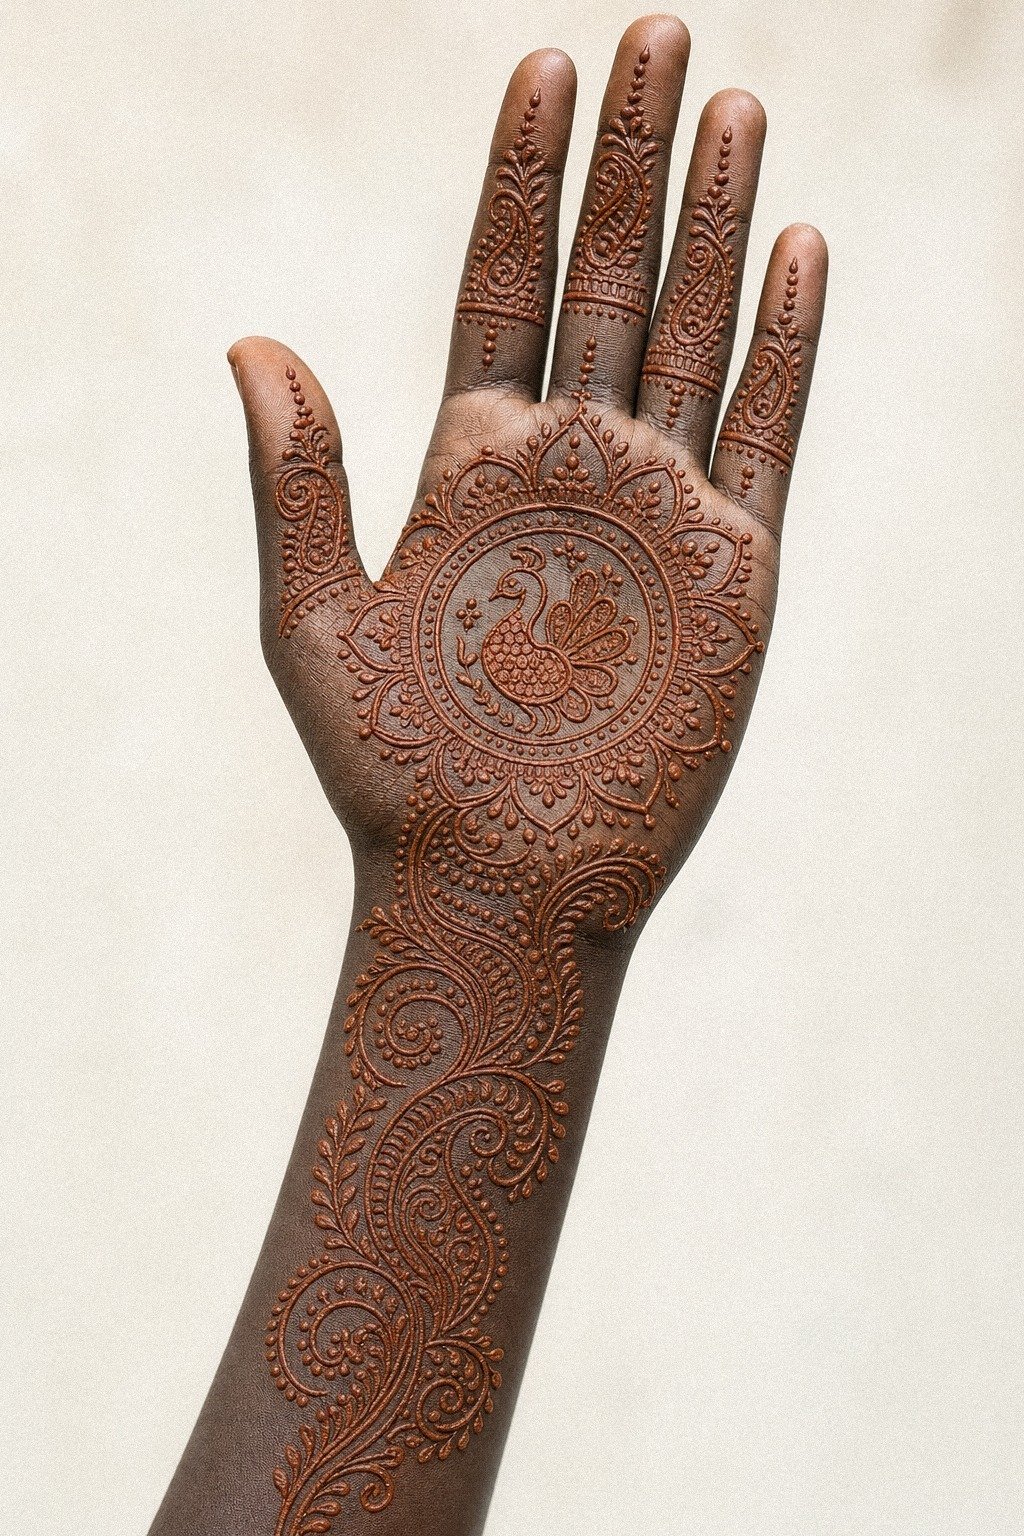
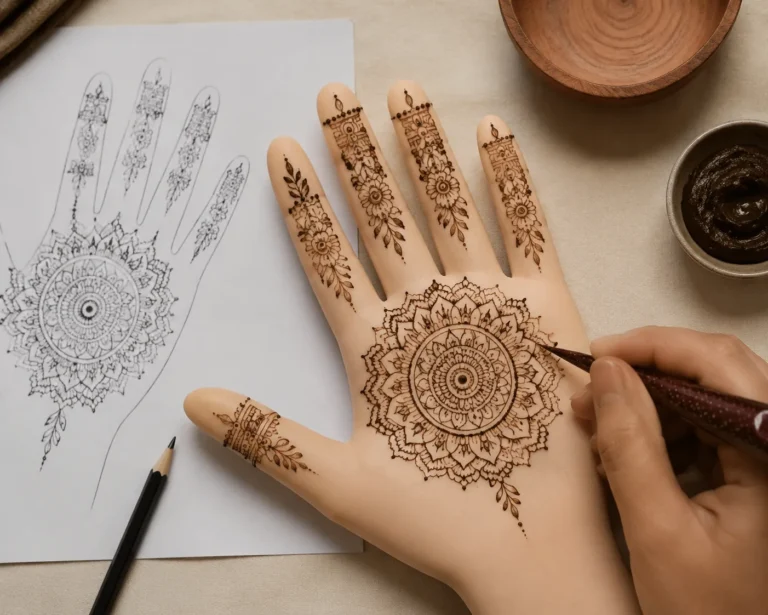
Build the circle first, then nest the peacock into it. A symbolic mandala gives the bird a centered, meaningful frame without forcing every part of the palm to carry equal detail.
7Fine Line Peacock Mehndi Wrist Accent
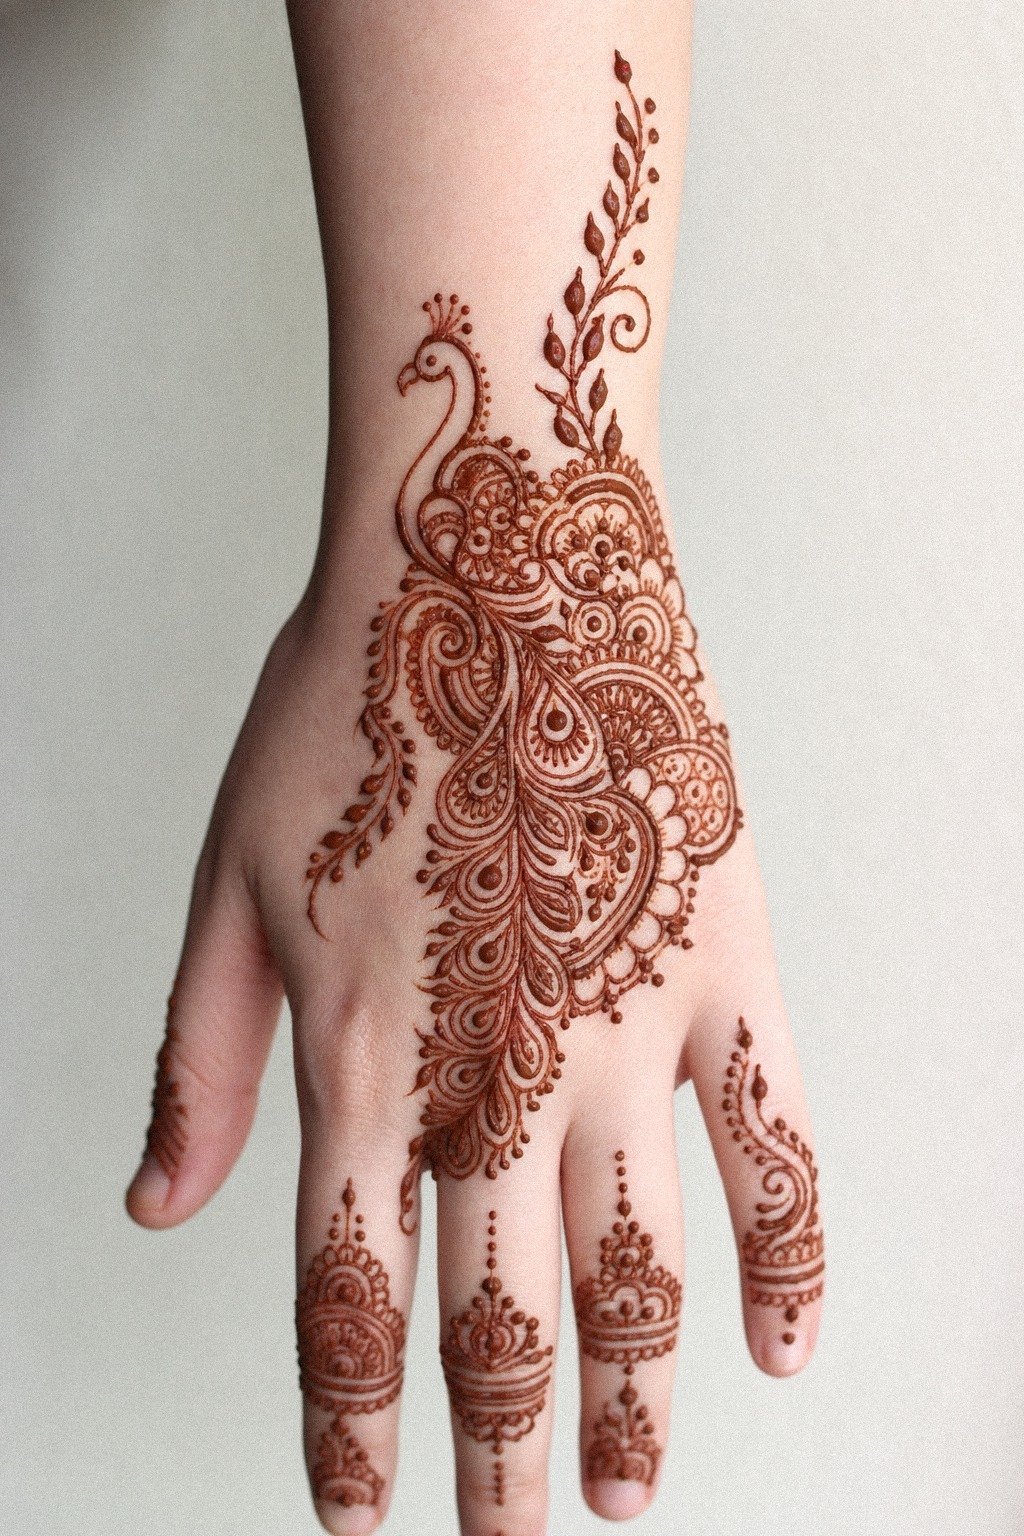
Shrink the whole idea down and wear it like jewelry. A slim dainty wrist accent with one peacock eye feather and a trailing curve feels clean because it respects the scale of the placement instead of pretending a tiny piece can hold full bridal detail.
That size should stay honest, usually 2 to 3 inches wide around the wrist if you want it to breathe. I wouldn’t stack ten micro dots beside it just because there’s room. Small cone work needs sharp choices or it turns into visual soup fast.
If you collect delicate patterns, peacock mehndi designs gives you more scale references. Keep the design temporary and let the reddish-brown stain do the work. A slightly larger version will look more expressive than whisper-thin curves packed too closely together.
8Peacock Feather Finger Mehndi, But Keep It Light
Put the feather on one finger and let the rest of the hand support it. One understated feather can carry the whole idea!
9Full Hand Peacock Mehndi With Lotus Details
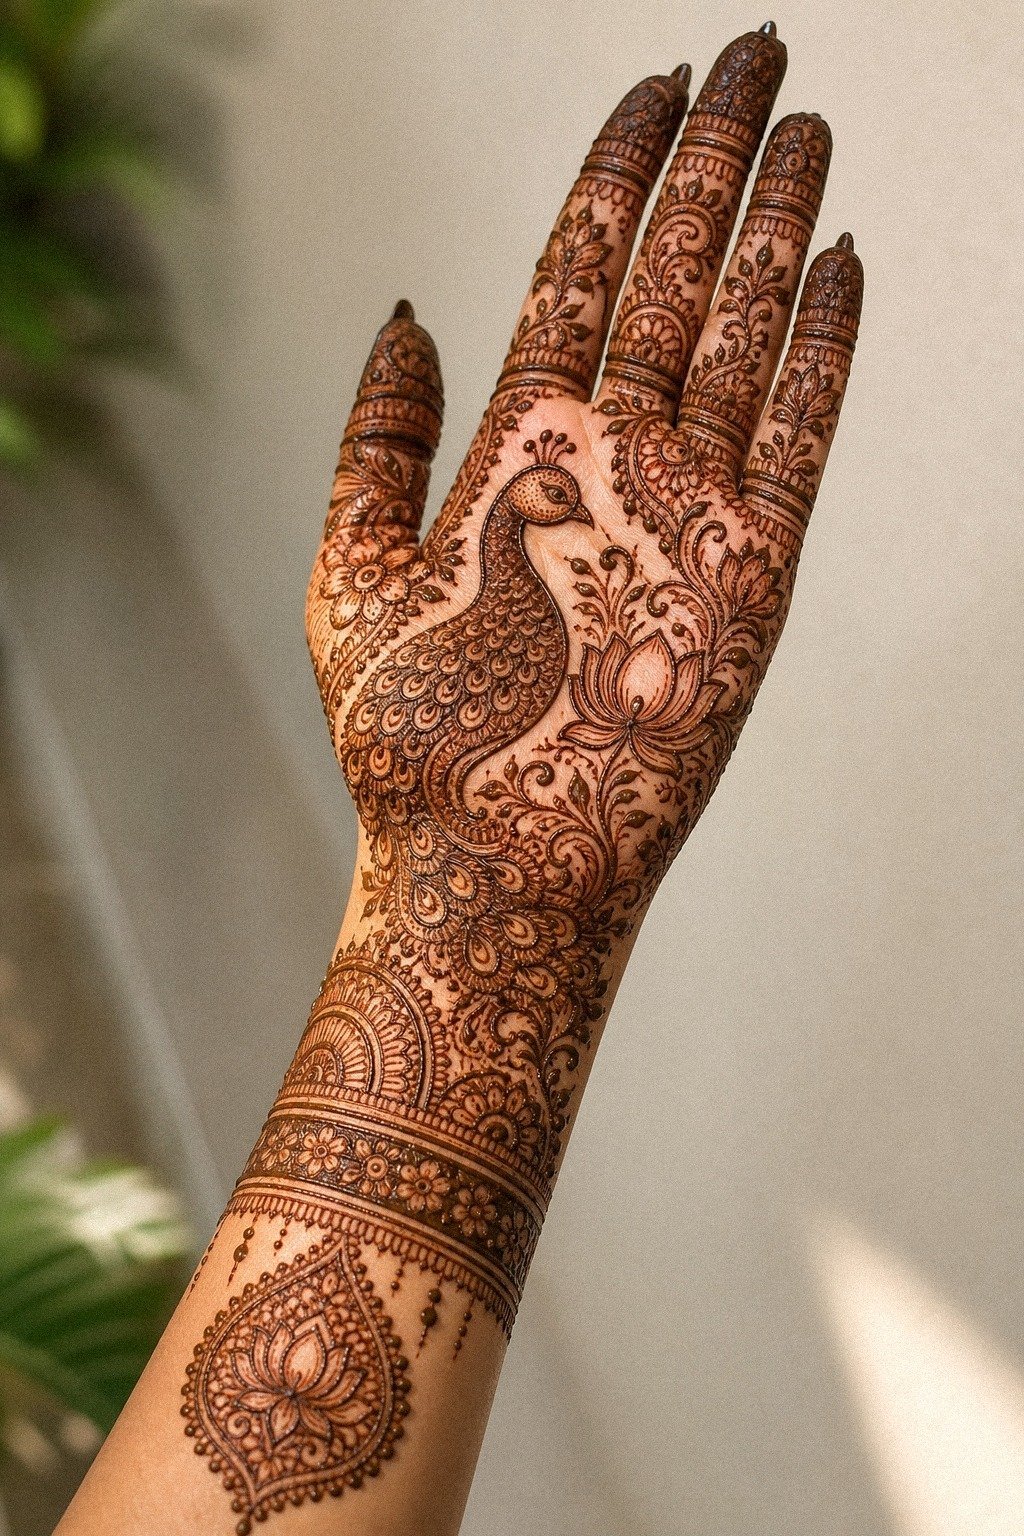
Go full hand only if you still protect the focal points. The smartest version anchors the romantic lotus petals near the wrist and lower palm, then lets the peacock sit higher so your eye reads two strong shapes instead of one dense carpet.
Lotus details help because they soften the bird without competing with it. I like broader petal tips and heavier outer outlines here, especially on medium olive skin, because the stain contrast stays rich and the layout still looks solid from a few feet away.
If you’re choosing between floral-heavy and feather-heavy compositions, compare 16 peacock mehndi designs with feathers worth tracing. And don’t let the fingertips get overpacked. The peacock should still be the reason you stopped scrolling.
10Is Simple Peacock Mehndi Better For First Timers?
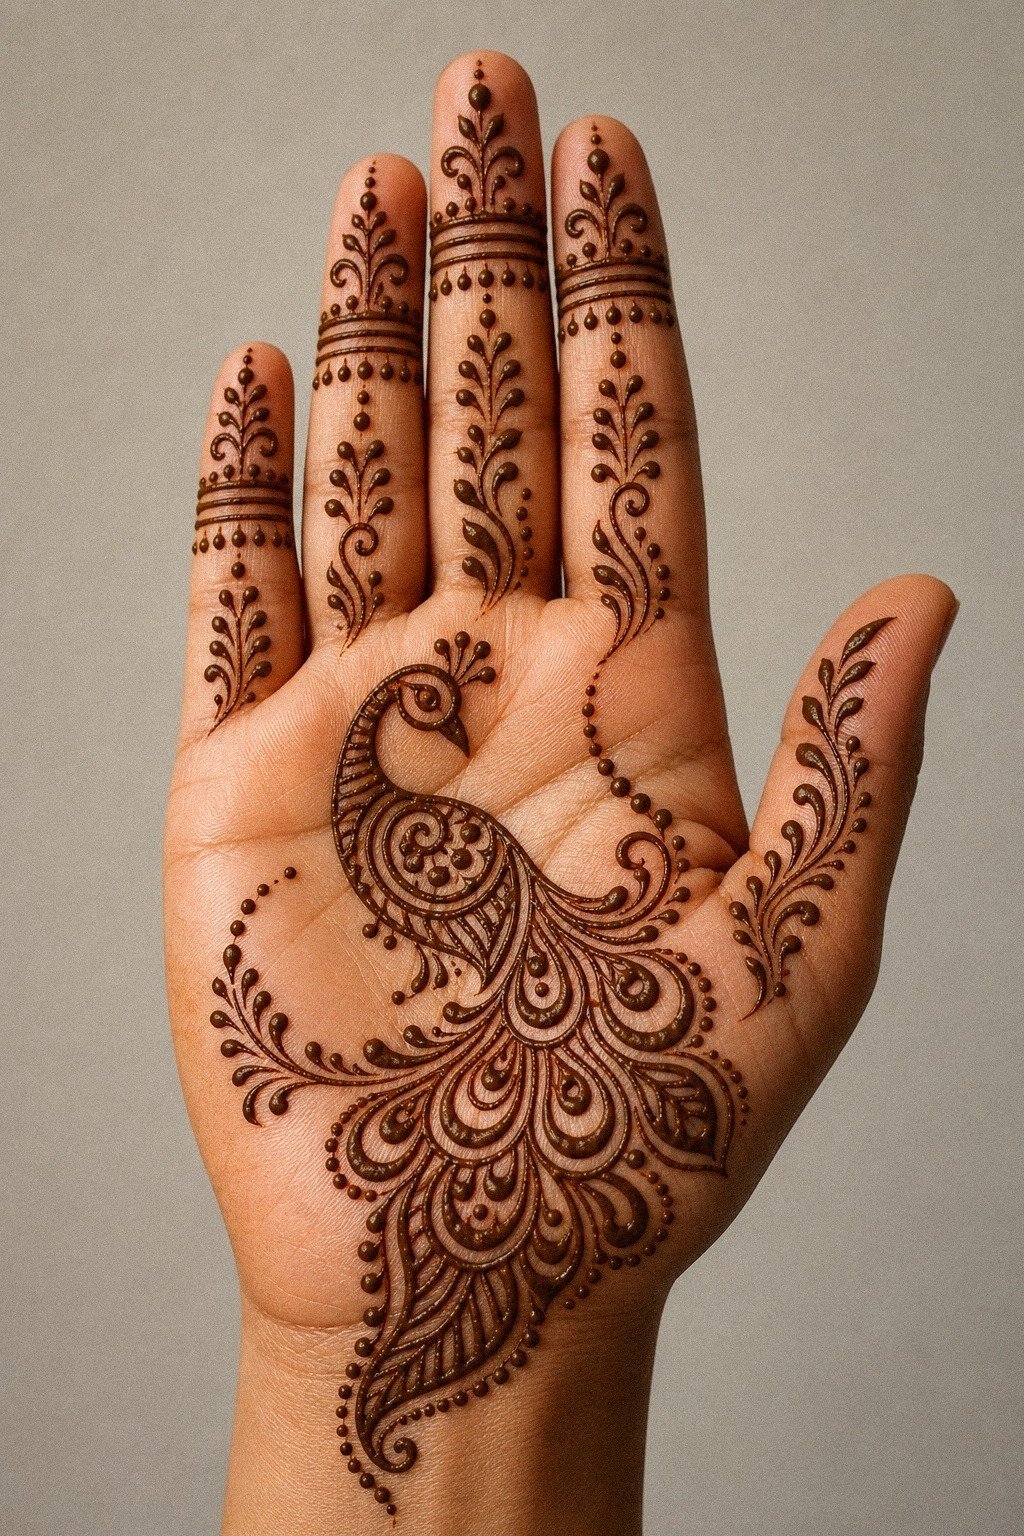
Keep your first one easy on purpose. One small bold bird silhouette near the side of the palm, a short feather trail, and light fingertip echoes are more than enough for you to learn what scale and density you even like on your skin.
I push first-timers toward cleaner spacing because the lesson lands faster. You can see where lines feel elegant, where the hand bends, and where a design starts looking crowded. Why guess with a huge beginner layout before you’ve worn the style once?
If you need more beginner-safe references, latest simple mehndi designs is the right rabbit hole. But keep your expectations real: simple does not mean boring. It means every line has a job, and it keeps the commitment from jumping before you know what you like.
11Peacock Bracelet Henna Around The Wrist
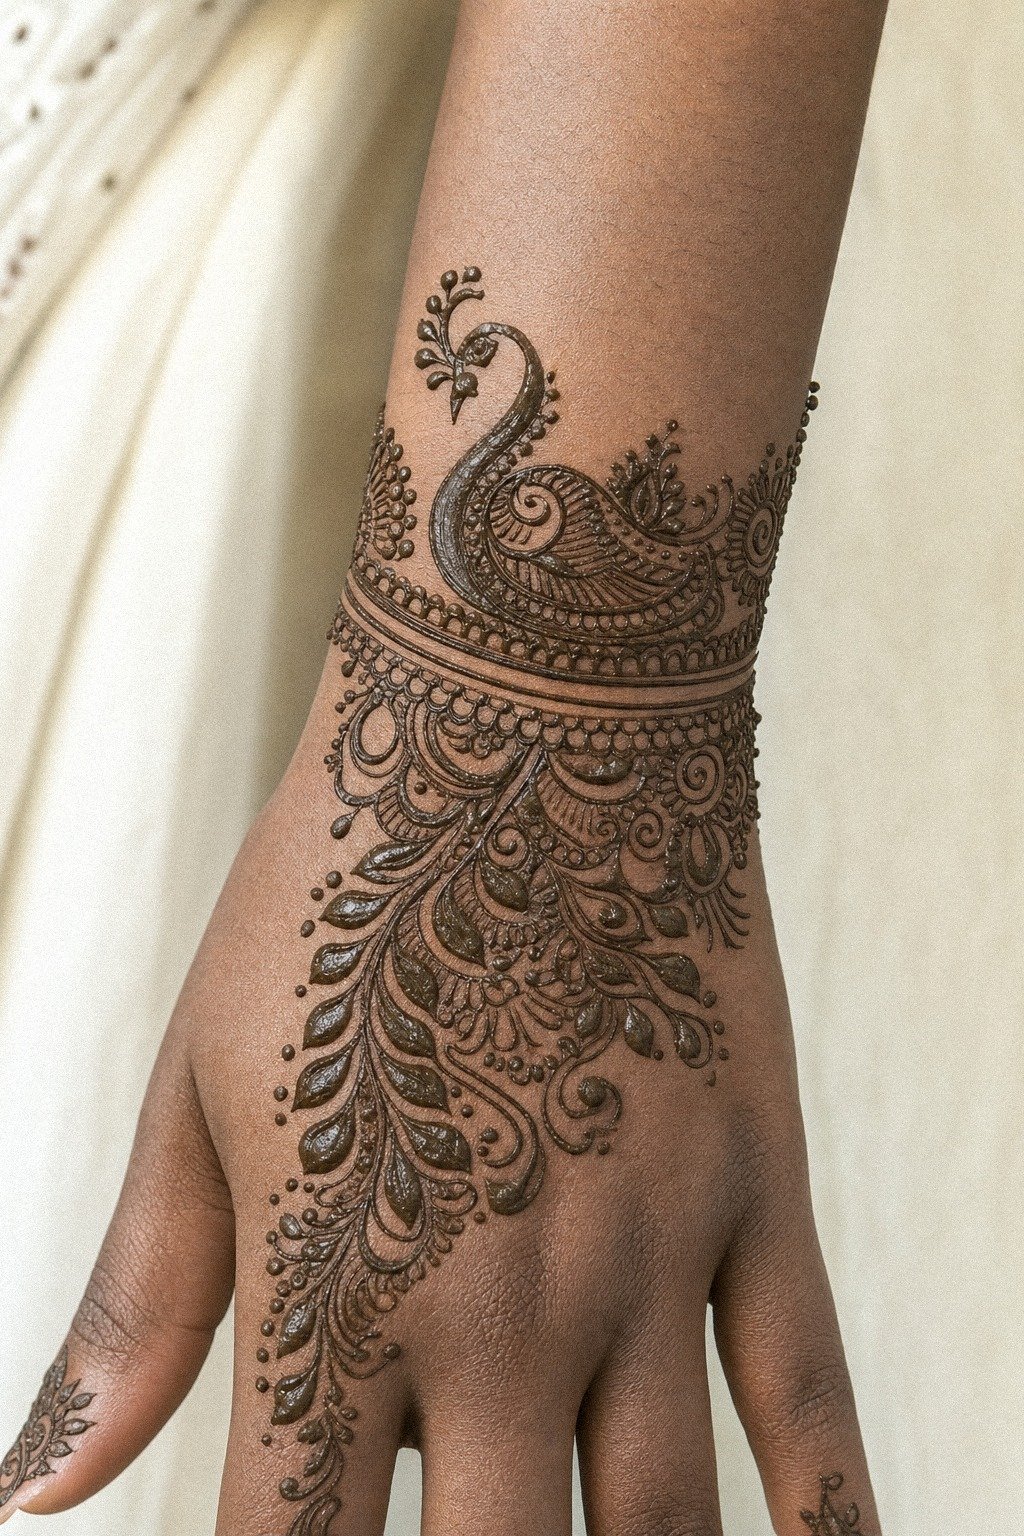
Wrap the idea like a cuff. A repeating stylish bracelet band around the wrist with a small peacock feather centerpiece gives you that dressed-up feel while staying cleaner than a full hand layout, especially if you want the design peeking out under jewelry.
This is one of my favorite placements for people who want symmetry without a stiff mandala. The wrist naturally reads as a border, so your mehndi artist can build a tidy pattern that feels intentional from every angle instead of floating awkwardly in the middle.
You can compare bracelet pacing with henna mehndi designs. But leave a little skin above and below the band. If the cuff is too thick, it starts reading heavy and loses that jewelry effect.
12Map Symmetrical Peacock Mehndi Across Both Hands
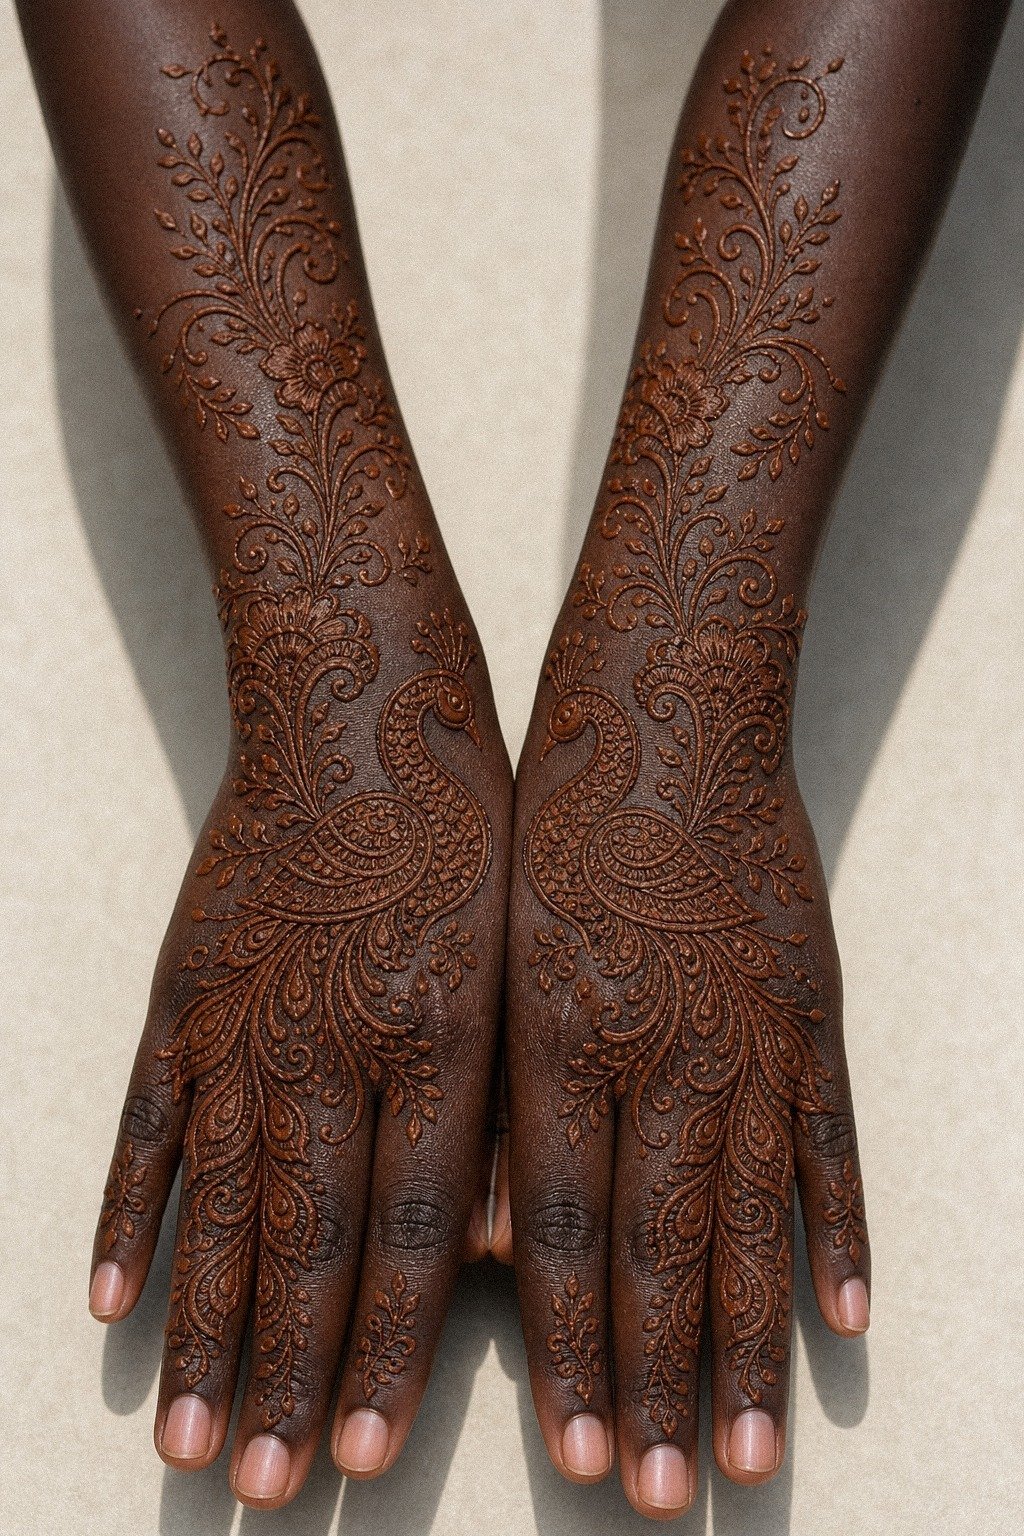
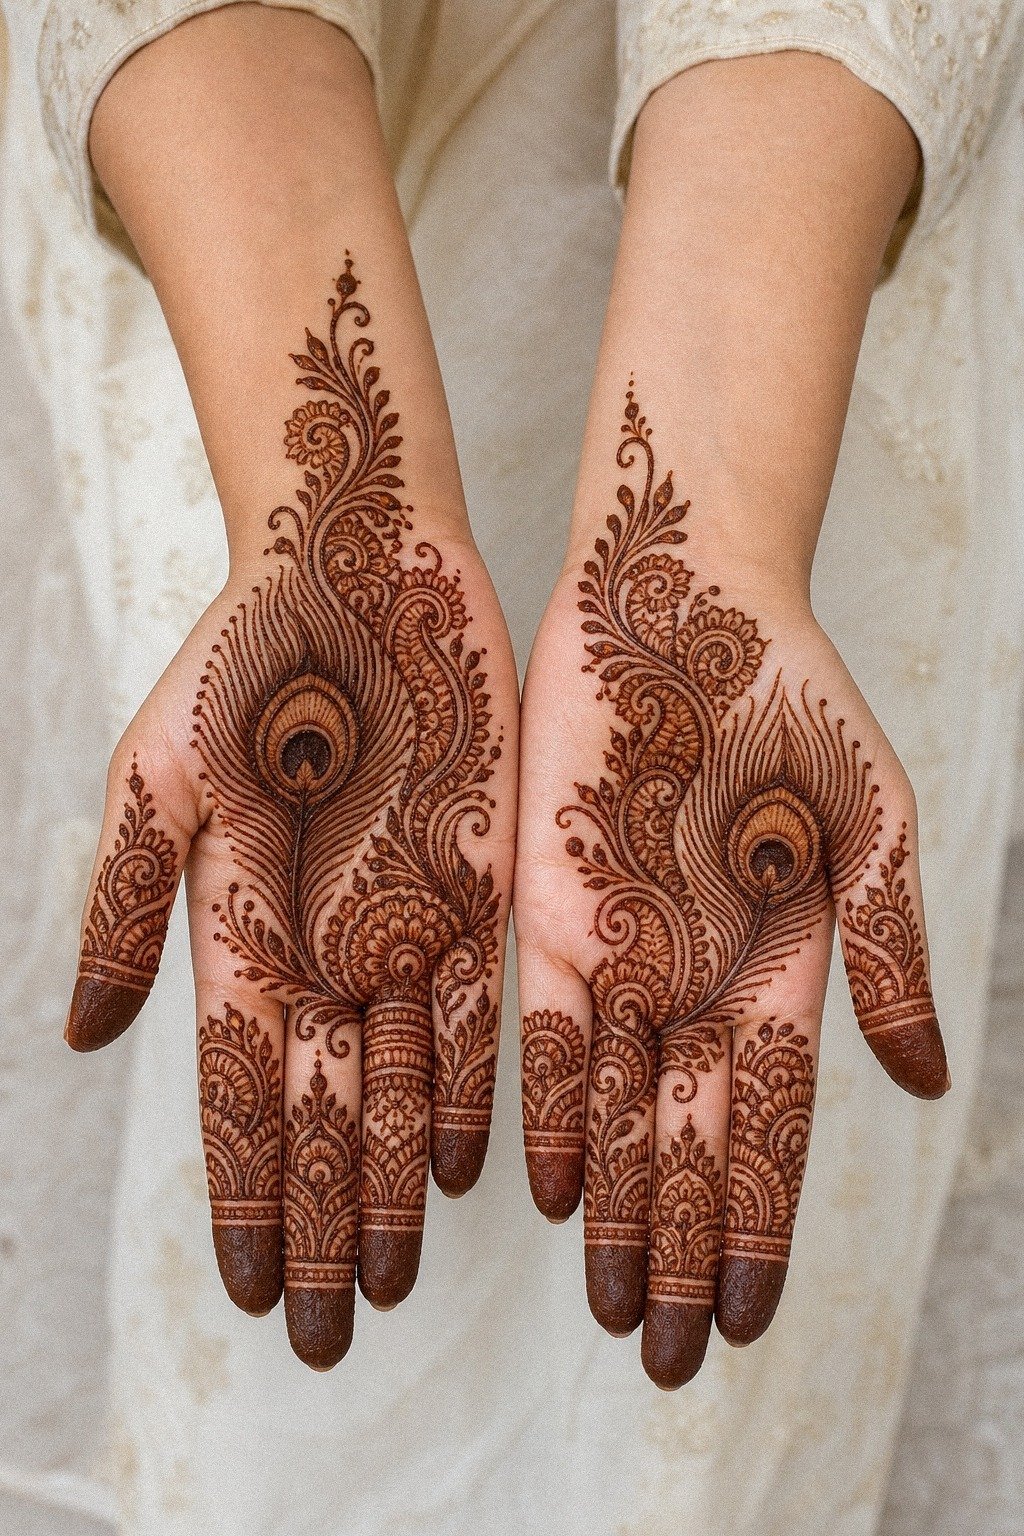
Match the hands, but don’t mirror every single line. The strongest double-hand layouts use graceful symmetry mapping for the big shapes, then let tiny feather details shift slightly so the set feels hand-drawn and alive instead of stamped.
This is where you want discipline. Keep the peacock heads facing inward or outward consistently, keep the major curves balanced, and let the center palms share the same visual weight. But a small variation in dot clusters can make the whole pair feel softer.
For more paired-hand inspiration, front hand mehndi designs and modern mehndi designs are both useful. But keep the pair breathing. Expect the design to feel refined only when both hands have equal breathing room!
13Dotwork Peacock Mehndi Around Knuckles
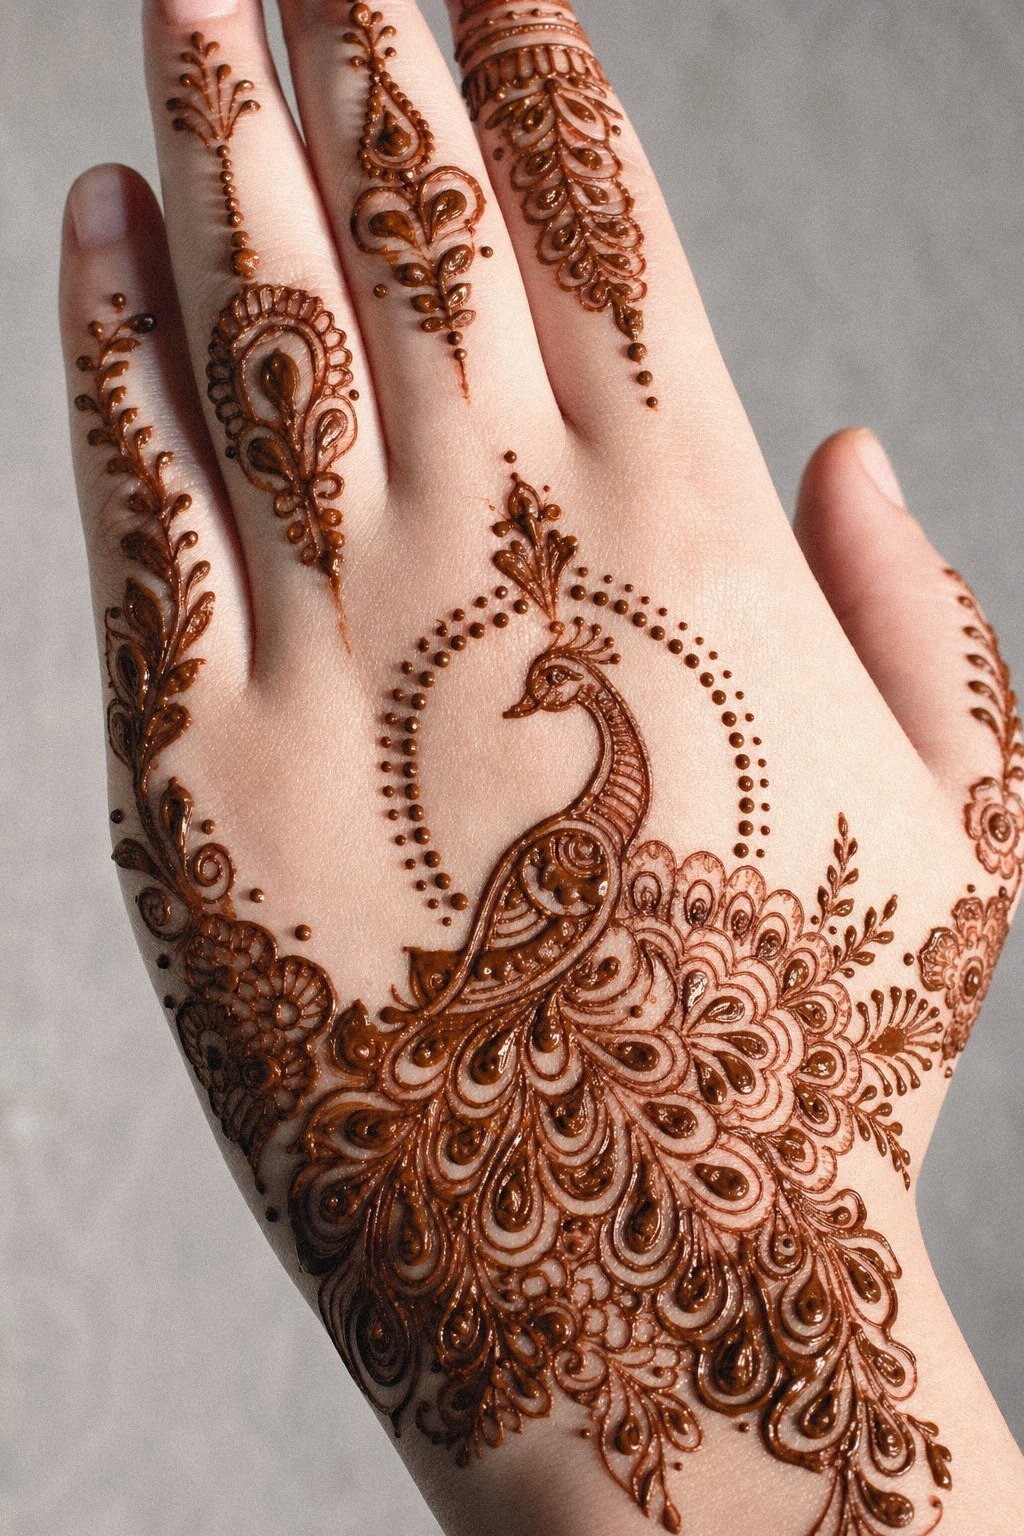
Use dots as texture, not filler. A peacock layout around the knuckles looks best when the intricate dotwork halo supports the feather eyes and finger bands, giving you softness around the joints without covering every bend in the hand.
Knuckles are busy little landmarks, so broad shapes can feel clunky there. Dots solve that. You can taper them, cluster them, and use them to connect separate motifs while still keeping the whole design light.
That’s a clever move if you love detail but hate clutter.
If you want to study this pacing more, finger mehndi designs is useful again. But keep the dots deliberate. Random peppering makes the work look scratchy, not polished.
14Swan Inspired Peacock Mehndi Neck Curve
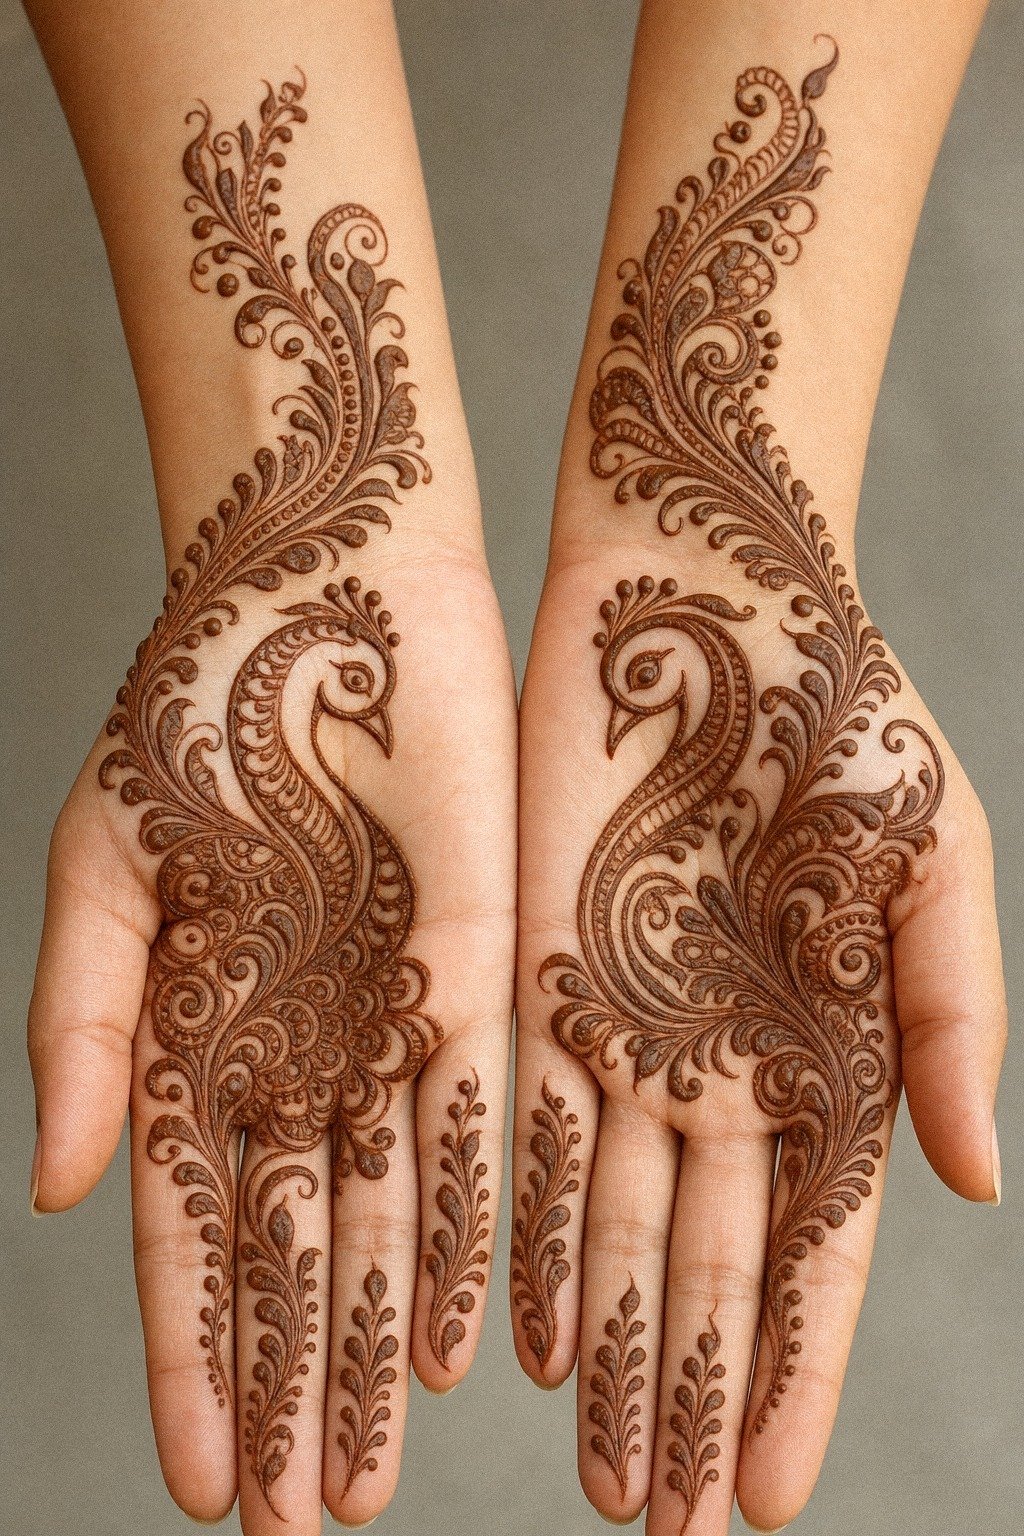
Lean into the neck. A long ethereal swan curve through the peacock throat and head is what makes this version feel graceful, because the line carries the whole design before the tail feathers even start showing off.
I love this when you want something softer than a bold frontal bird. The neck becomes the hero, the head stays small, and the tail can fan out with less pressure. That balance keeps the elegant layout clear on the palm without forcing dense fill into every corner.
If you like bird-led silhouettes, swan mehndi designs is not in this link set, so use peacock mehndi designs and modern mehndi designs as your shape reference instead. But keep the curve smooth. One clean pull beats ten fuzzy corrections.
15Cap The Fingertips With Bold Peacock Henna
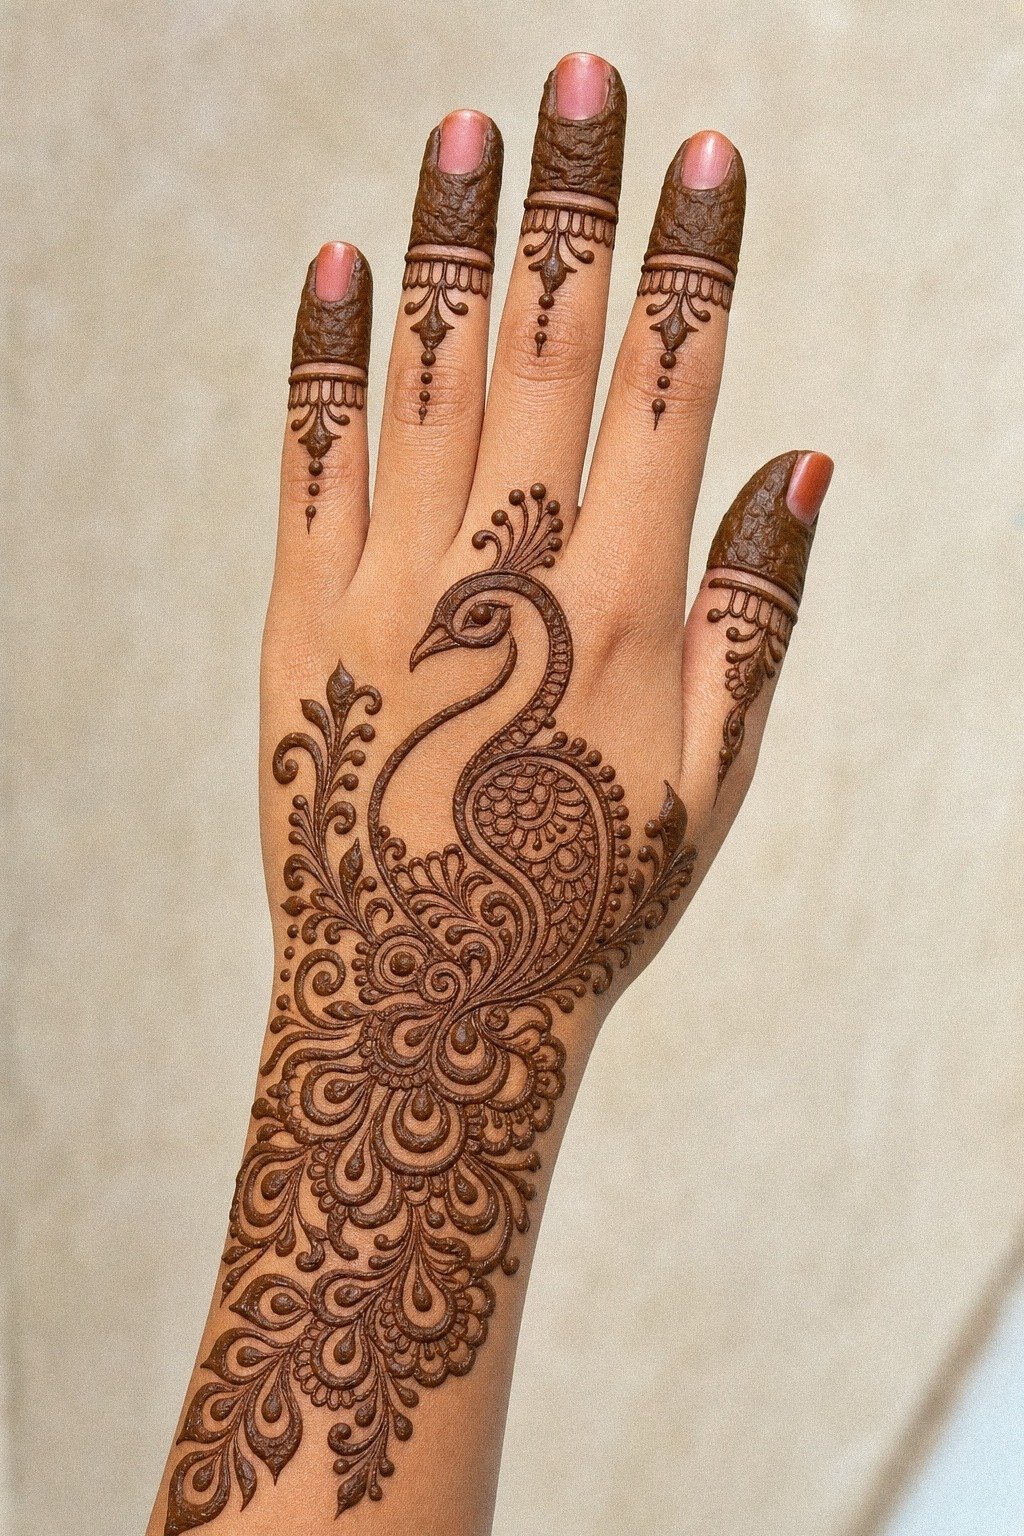
Cap the fingertips on purpose and let them ground the whole hand. Full fierce fingertip fill works best when the rest of the peacock pattern stays organized, because those dark tips already bring a lot of visual weight before the viewer even reaches the palm.
This is the spiciest-looking version, and that’s why restraint matters. Keep the peacock body readable, use clean feather eyes, and leave at least one open pathway through the center. If not, the caps dominate and the bird gets lost.
And if your skin gets dry fast, prep matters. Wash and dry the skin, skip oily lotion before application, and let the paste dry fully so the brown finish looks vibrant in photos!
16Latest Peacock Mehndi That Photographs Cleanest
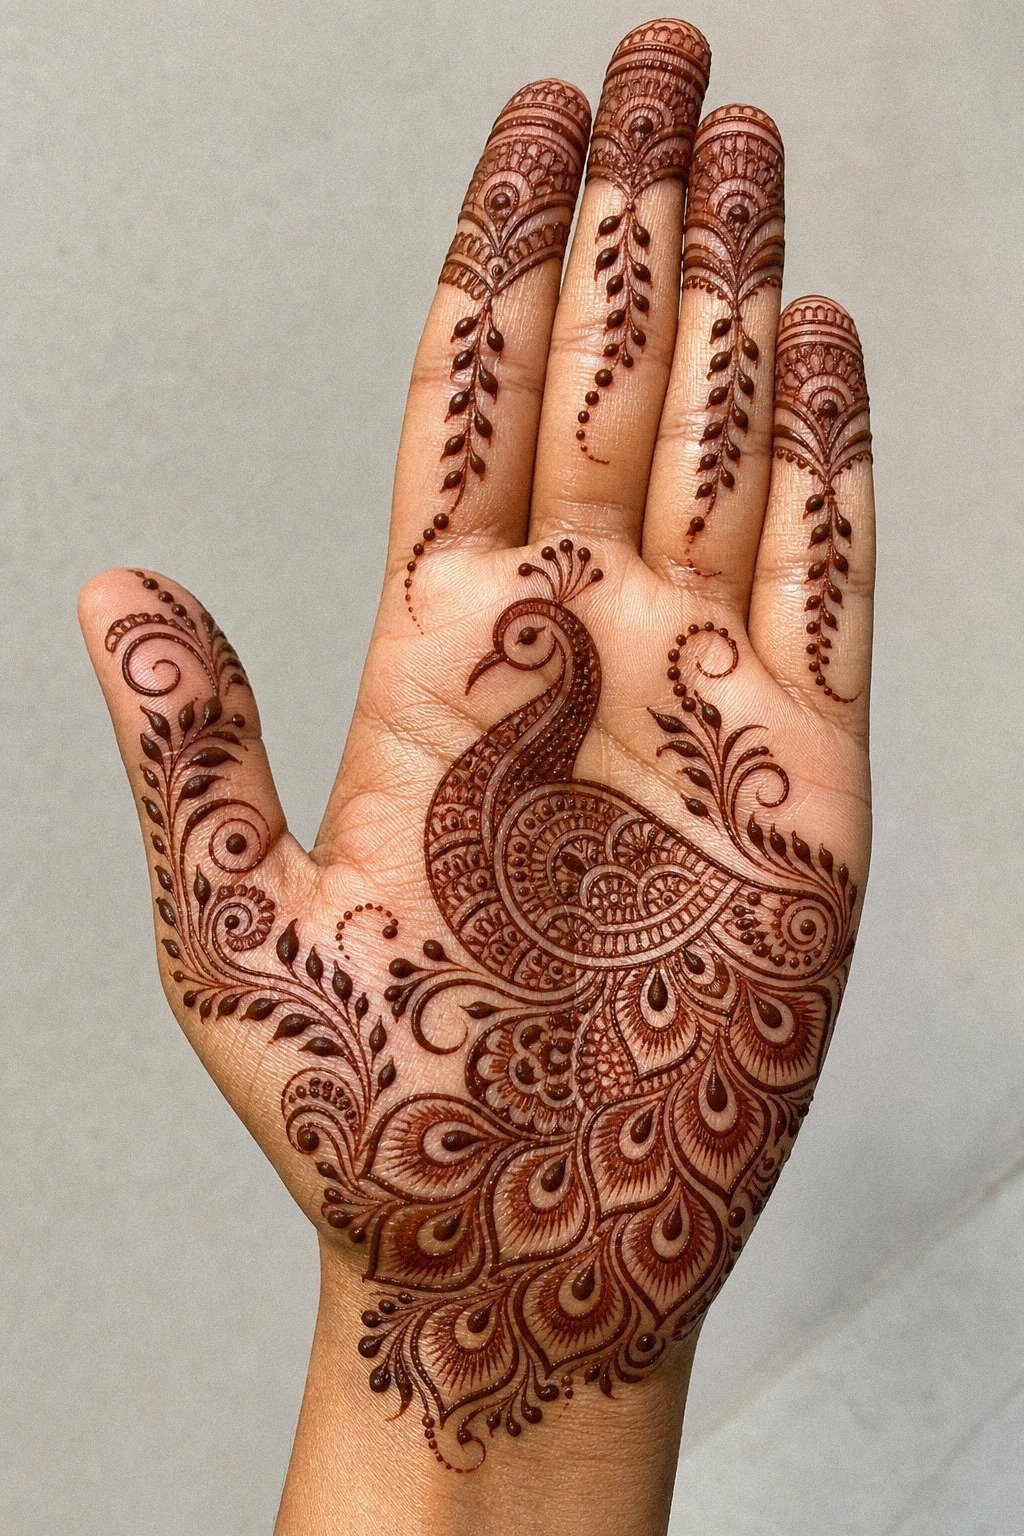
If photo payoff is your priority, choose contrast over complexity. The cleanest camera-ready version uses a centered striking feather fan, medium cone line weight, and clear open skin breaks so the design shows up fast on phones without needing weird angles or heavy editing.
This is where the Three-Zone Read matters: one hero shape on the hand, one support rhythm on the fingers, one quiet border near the wrist. I use that Three-Zone Read framework all the time because it keeps you from overcooking the composition while still giving the pattern enough richness.
For more layouts that stay crisp on a screen, go through 16 peacock mehndi designs with feathers worth tracing. But skip glossy lotion right before photos. A soft matte finish usually shows the stain lines better.
The Open-Skin Buffer
The easiest upgrade in any peacock layout is more breathing room, not more filler. When the hand has visible skin breaks around the bird, the neck curve, feather eyes, and fingertip rhythm all read faster on camera and better in person.
And that matters whether you’re wearing mehndi for one night or adapting the same idea for another temporary celebration. Open skin gives the design structure, keeps the stain from looking crowded, and makes every meaningful clean line feel more intentional.
The Peacock Spine Rule
Peacock work goes wrong when people mistake detail for quality. I did that early on with hand-drawn references and learned fast that the skin doesn’t care how ambitious the sketch looked on paper.
It cares about spacing, pressure, and whether the main silhouette reads first. If the main bird silhouette disappears from 2 feet away, the design was too busy.
That’s true for mehndi, especially when the paste needs to dry without smudging.
Here are the real numbers I give people when they want a clean peacock-inspired application for a wedding, sangeet, Eid, Diwali, or an ordinary weekend. The ranges stay broad because artists, cities, occasion, and placement change the price range.
But broad doesn’t mean vague. You need a working frame before you decide if you want a quick palm design, a bigger wrist-to-hand layout, or a full bridal composition based on the same feather flow.
What people usually need is not more detail. It’s a better editing hand.
The Open-Skin Buffer matters just as much. Leave visible breaks around the focal points so the eye can rest, the stain can show crisp edges, and the whole thing photographs cleanly.
On hands especially, tiny packed marks can blur together because the skin folds, flexes, and catches light unevenly.
If you want the deepest color, leave the dry paste on as long as practical, then gently flake it away instead of washing it off immediately. A little lemon-sugar sealant can help the paste stay in place, while eucalyptus oil may be used carefully by experienced artists.
The stain often looks orange at first, deepens on the second day, and then fades gradually over one to three weeks. That’s the honest temporary rhythm, and I love it because the design can change with the occasion.
The Questions I Get Asked Most
How much do Peacock Mehndi Designs usually cost?
A small peacock design usually lands around $15 to $35, while a fuller hand application may run $40 to $150 depending on coverage and detail. Typical US pricing depends on city, artist demand, occasion, and whether you’re booking simple cone work or fuller bridal detail.
– Artist minimum: $15 to $35 – Hourly rate: $40 to $100 – Best move: cleaner placement, not extra filler
Are Peacock Mehndi Designs a good idea for a first mehndi application?
Yes, if you keep the scale honest and choose a manageable placement. Cleaner cone work lets you learn what you like without covering the whole hand, and a peacock feather flow still feels personal. Latest simple mehndi designs is a solid starting point.
– Palm or back hand: easy to see – Open spacing: better visual read – First-timer win: fewer lines to overthink
How do I choose a mehndi artist for Peacock Mehndi Designs?
Look for clear photos of finished stains, not just fresh paste. Crisp results matter more than flashy presentation, and you want an artist who can show balanced hand placements without smudged edges. Modern mehndi designs helps you compare style direction before you book.
– Portfolio: clean finished stains – Specialty: peacock, bridal, Arabic, or fine cone work – Setup: fresh cones, clean hands, clear aftercare
How long should Peacock Mehndi Designs dry?
Give the paste about 1 to 2 hours to dry before gently removing it, and avoid water for several more hours when possible. Best color usually develops gradually, becoming deeper on the second day instead of appearing fully dark immediately.
– First hour: keep the hand still – Paste stage: don’t rub or scratch – Second day: color usually deepens
How long does a Peacock Mehndi Design last?
Most designs remain visible for one to three weeks, depending on placement, washing, skin chemistry, and how long the paste stayed on. Simple aftercare helps: let the paste dry fully, avoid soaking the design immediately, and use gentle washing as the stain develops.
– First day: orange to reddish-brown – Second day: deepest color – Later days: gradual fading
What’s the best placement for Peacock Mehndi Designs?
The back hand, palm, fingers, and wrist can all work beautifully. Open placement keeps the feather flow clearer, gives the stain room to show, and lets you choose between a visible statement and a more delicate accent. Front hand mehndi designs is useful for short-term inspiration.
– Back hand: visible, easy to photograph – Palm: meaningful and central – Fingers and wrist: graceful accent options
Where I’d Start First With the Three-Zone Read
If I had to pick one, I’d start with Peacock Front Hand Mehndi With Feather Trails. The feather path gives you motion without cramming every inch of skin, so the whole design stays readable. Pin it for later and compare it with front hand mehndi designs.