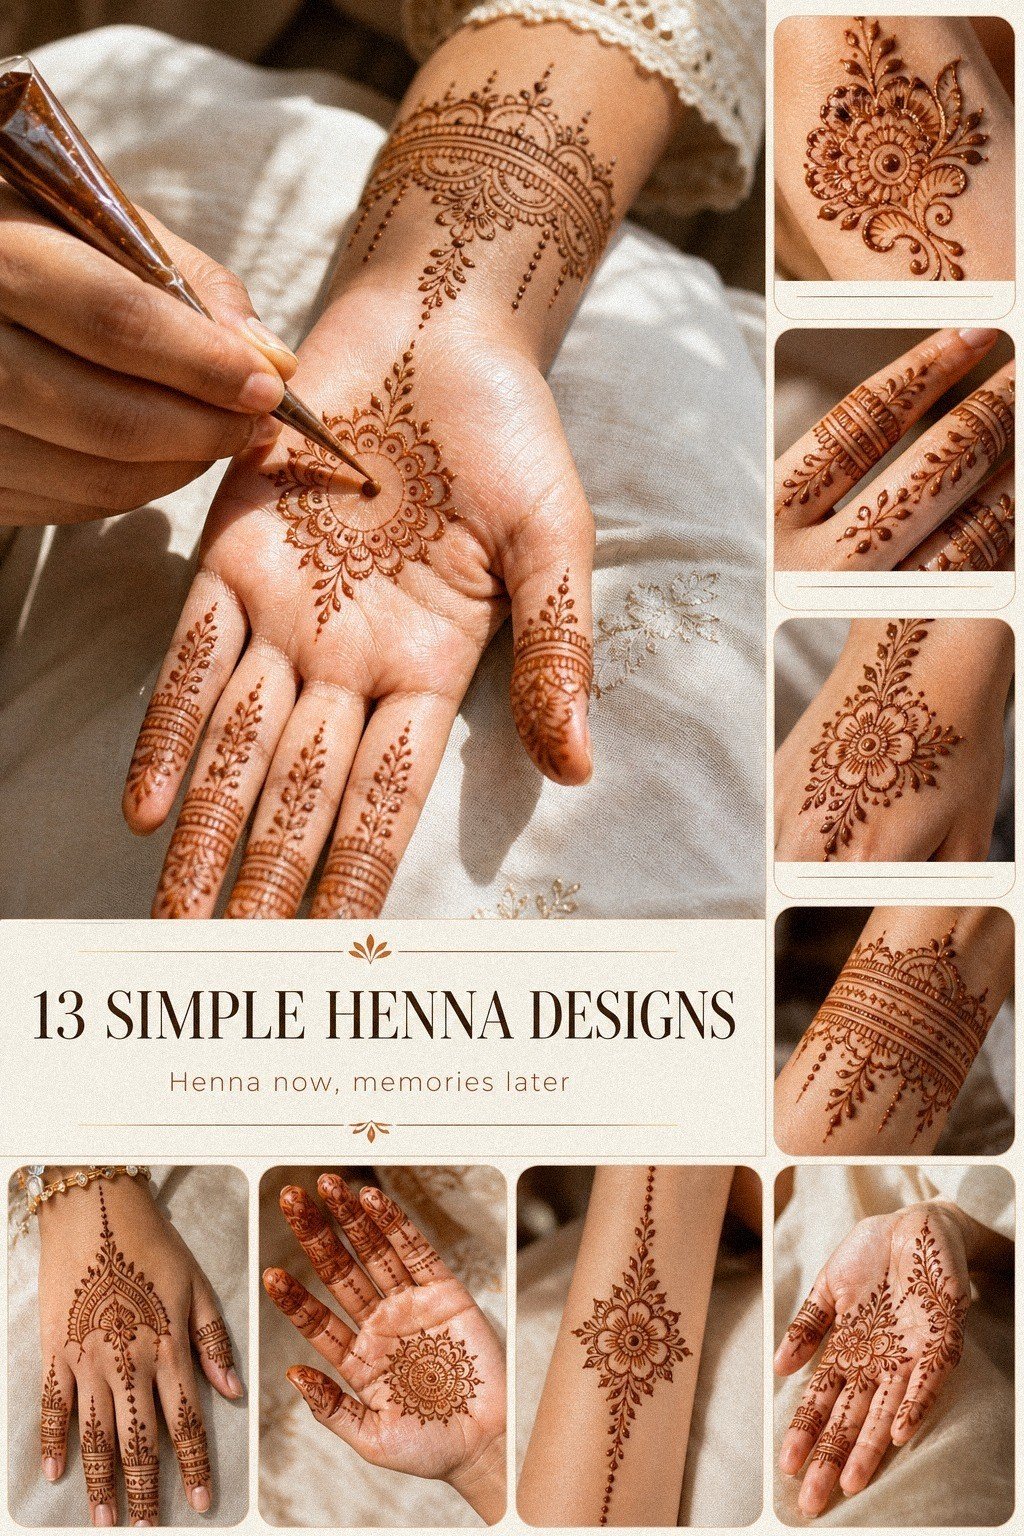
Simple henna designs hand work best when you slow down before the first line. I have watched beginners rush the cone, crowd the fingers, and end up with muddy paste where crisp detail should be. You do not need a giant pattern. You need order, clean pressure, and a hand layout your hand can carry without turning to soup.
Don’t overthink: Pick A Simple Finger Henna Trail.
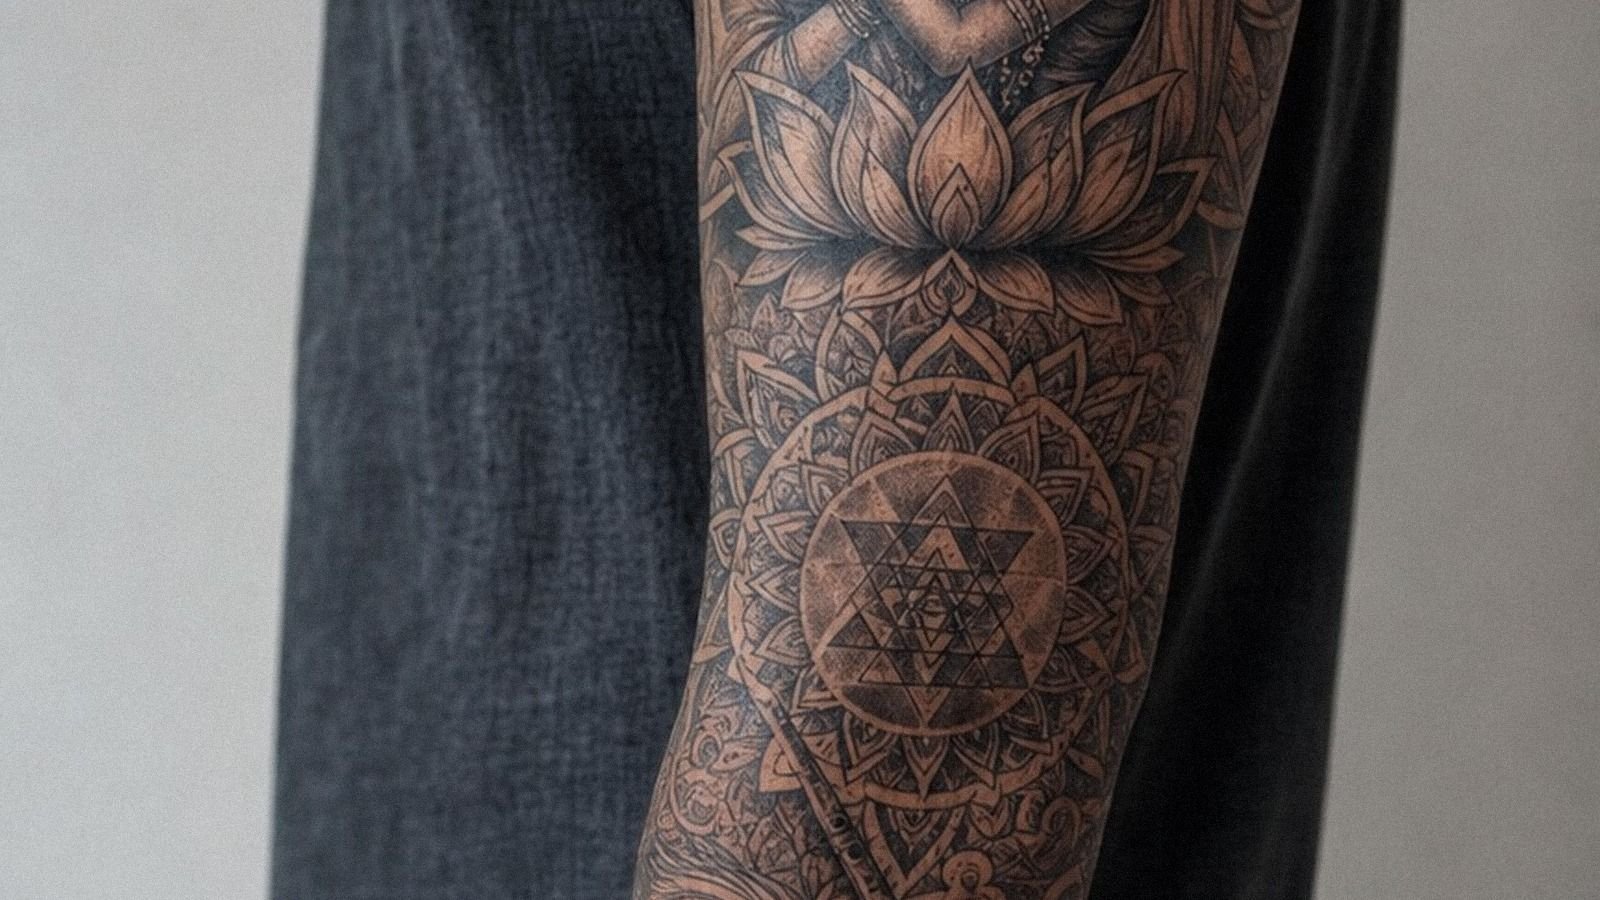
Before You Start: The Clean Cone Rule
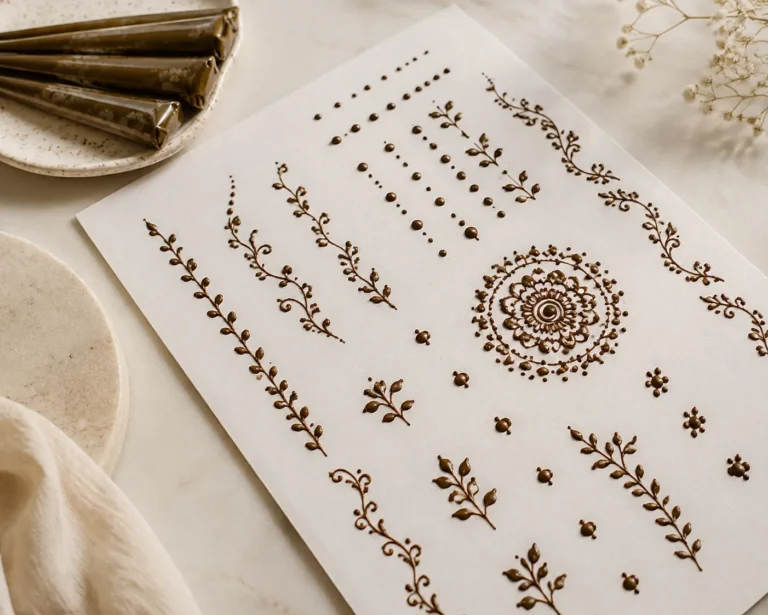
[IMAGE: Flat lay of a henna cone, alcohol wipes, cotton swabs, and test-paper pulls beside a clean hand, bright natural light, tight tattoo-practice setup]
Before you touch skin, set up like you mean it. I like a fresh henna cone, a pack of alcohol wipes, a few cotton swabs, and plain paper for two test pulls.
If your cone burps paste on paper, it’ll do the same on your hand. Fix that first.
If you’re using simple henna as a low-commitment test run before a real hand tattoo, keep the design around 1 to 2 inches through the center and let the fingers stay lighter. That reads cleaner on skin.
It also shows you fast whether you love the placement or just loved it on Pinterest. Need easier warm-ups first?
Try simple henna designs for beginners before you jump into a full hand layout.
And here’s the practical part people skip: a cheap practice cone can save you from booking a hand tattoo placement you don’t really want. The cost is tiny, the feedback is instant, and the lesson is real. You learn what feels elegant on your skin before you pay tattoo money for it.
- Start With A Tiny Palm Center Dot
- Pick A Simple Finger Henna Trail
- Place Fine Lines Across The Back Hand
- Keep The Palm Mandala Clean
- Plan A Minimal Wrist Henna Band
- Draw Tiny Florals Below The Knuckles
- Choose Open Skin Between Henna Lines
- Add Dotwork Chains Around Finger Joints
- Frame Fingertips With Light Henna Caps
- Build A Small Arabic Vine Trail
- Map Matching Accents On Both Hands
- Check Line Thickness Before Paste Dries
- Photograph The Simple Henna Hand Finish
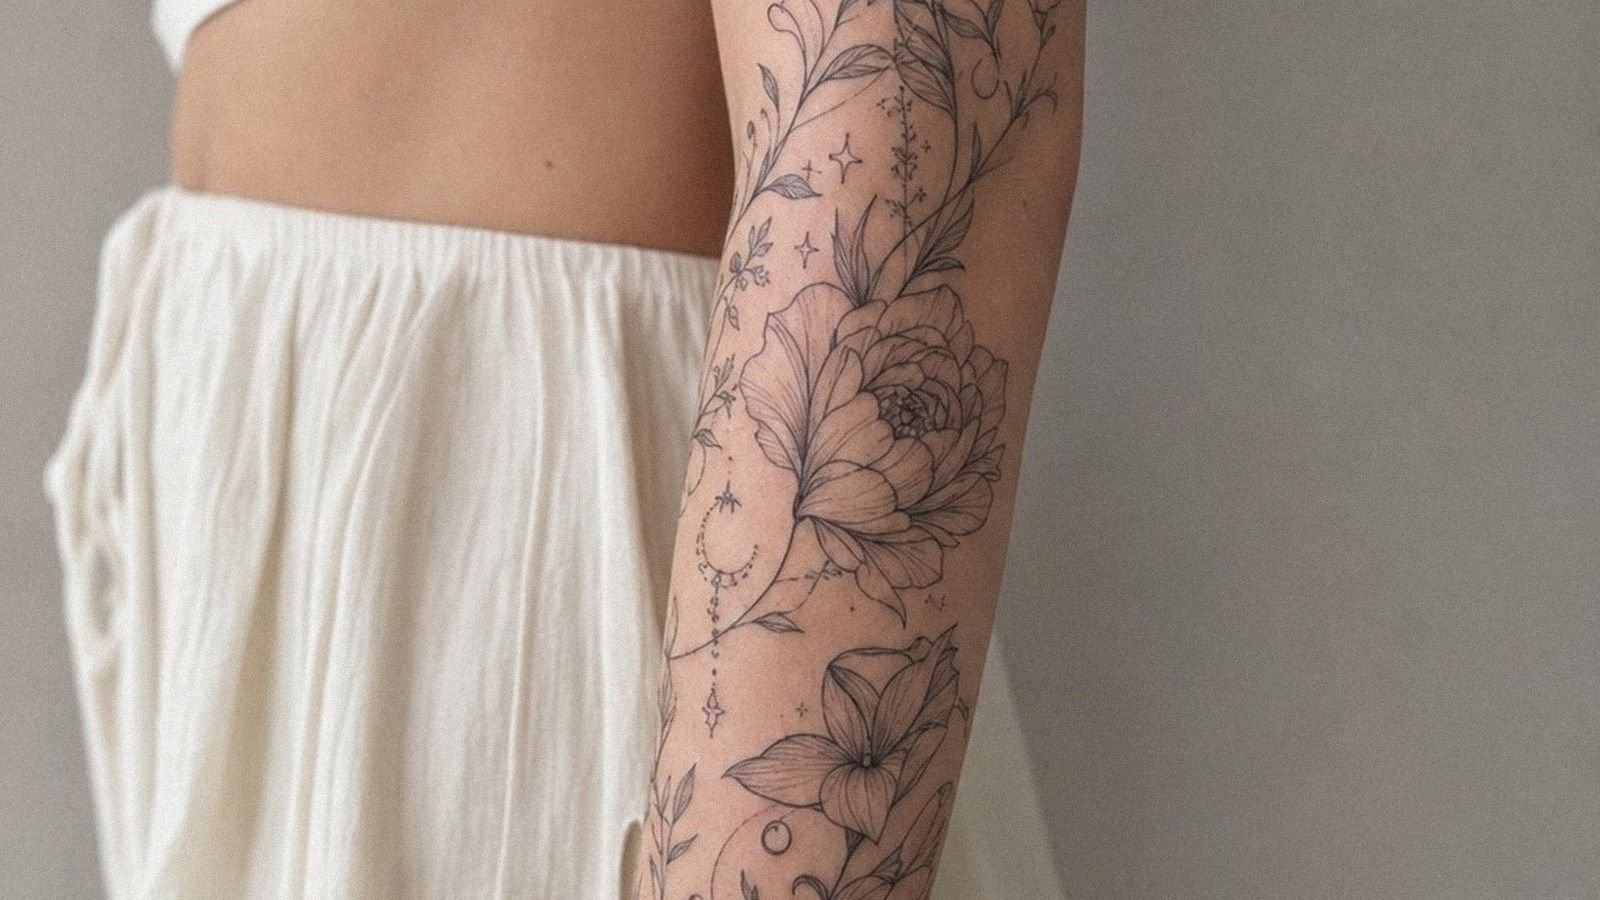
1Start With A Tiny Palm Center Dot
[IMAGE: Close view of a hand with one tiny center dot of reddish-brown paste placed in the palm, clean skin around it, minimal starter layout]
Start dead center with one tiny dot, then stop and look before you add anything else. That first mark is your anchor point.
If it’s off, the whole design will lean, and you’ll spend the next ten minutes chasing the mistake with extra filler. I keep the dot small, almost like a guide mark, because you can always grow it into a flower eye or a tiny mandala hub later.
Use light pressure and let the reddish-brown paste sit on top of the skin instead of forcing it out. You’re not icing a cake.
You’re laying one clean pull. On fair cool skin, that tiny center point shows fast, so you do not need to overbuild it.
If you want another easy center-start reference, 24 simple henna designs to practice before going bold has a few layouts that stay simple without looking empty.
This is also the first smart beginner move that pays off later. If the center dot looks wrong, the whole design usually feels wrong. Catching that early wastes less paste, less time, and way less patience.
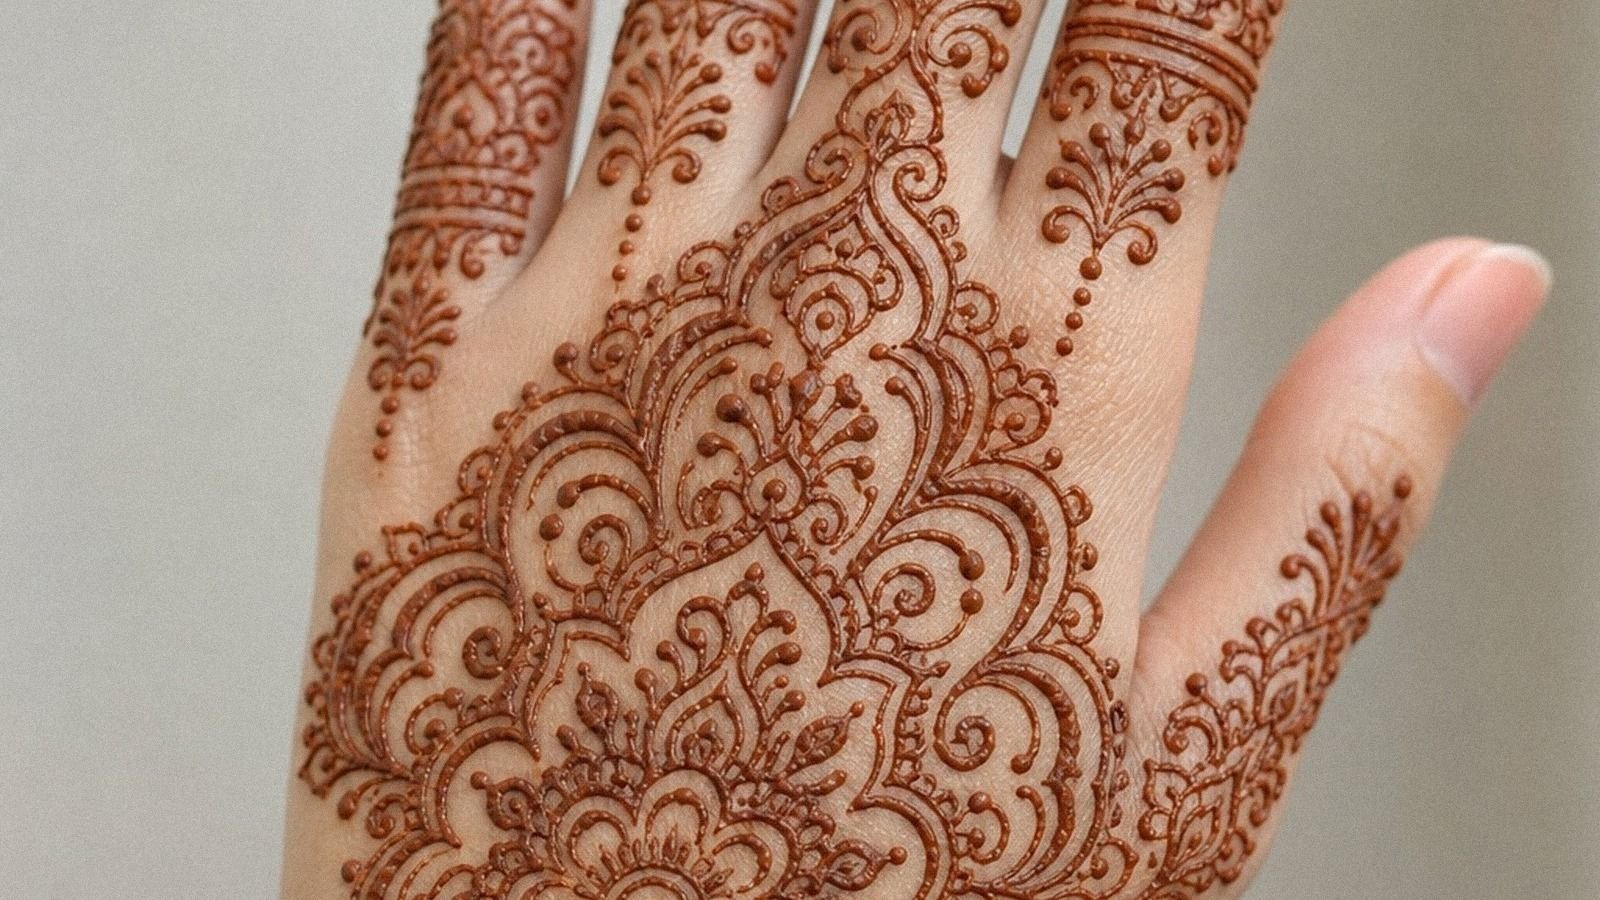
2Pick A Simple Finger Henna Trail
[IMAGE: Single finger trail running up the middle finger with tiny leaves and petal marks, airy spacing, clean back-of-hand composition]
Now choose one finger trail, not all five at once. That’s the move that keeps beginner work clean.
I usually run a soft line up the middle finger or ring finger first because it gives your eye a path to follow, and it keeps both hands from looking busy too early. On medium warm ivory skin, that thin trail reads nice even before you add dots.
Keep the trail made of tiny leaf shapes, short dashes, or micro petals instead of one fat stripe. A heavy finger fill gets messy fast, especially near joints where skin folds.
You want crisp spacing you can still read a few feet away. For more finger-first layouts, 18 simple mehndi designs front hand you can copy fast is a solid practice sheet.
When people ask me what’s worth it for a first hand test, this is the part I point to. One clean finger trail gives you shape, flow, and real visual payoff without chewing up the skin with too much paste.
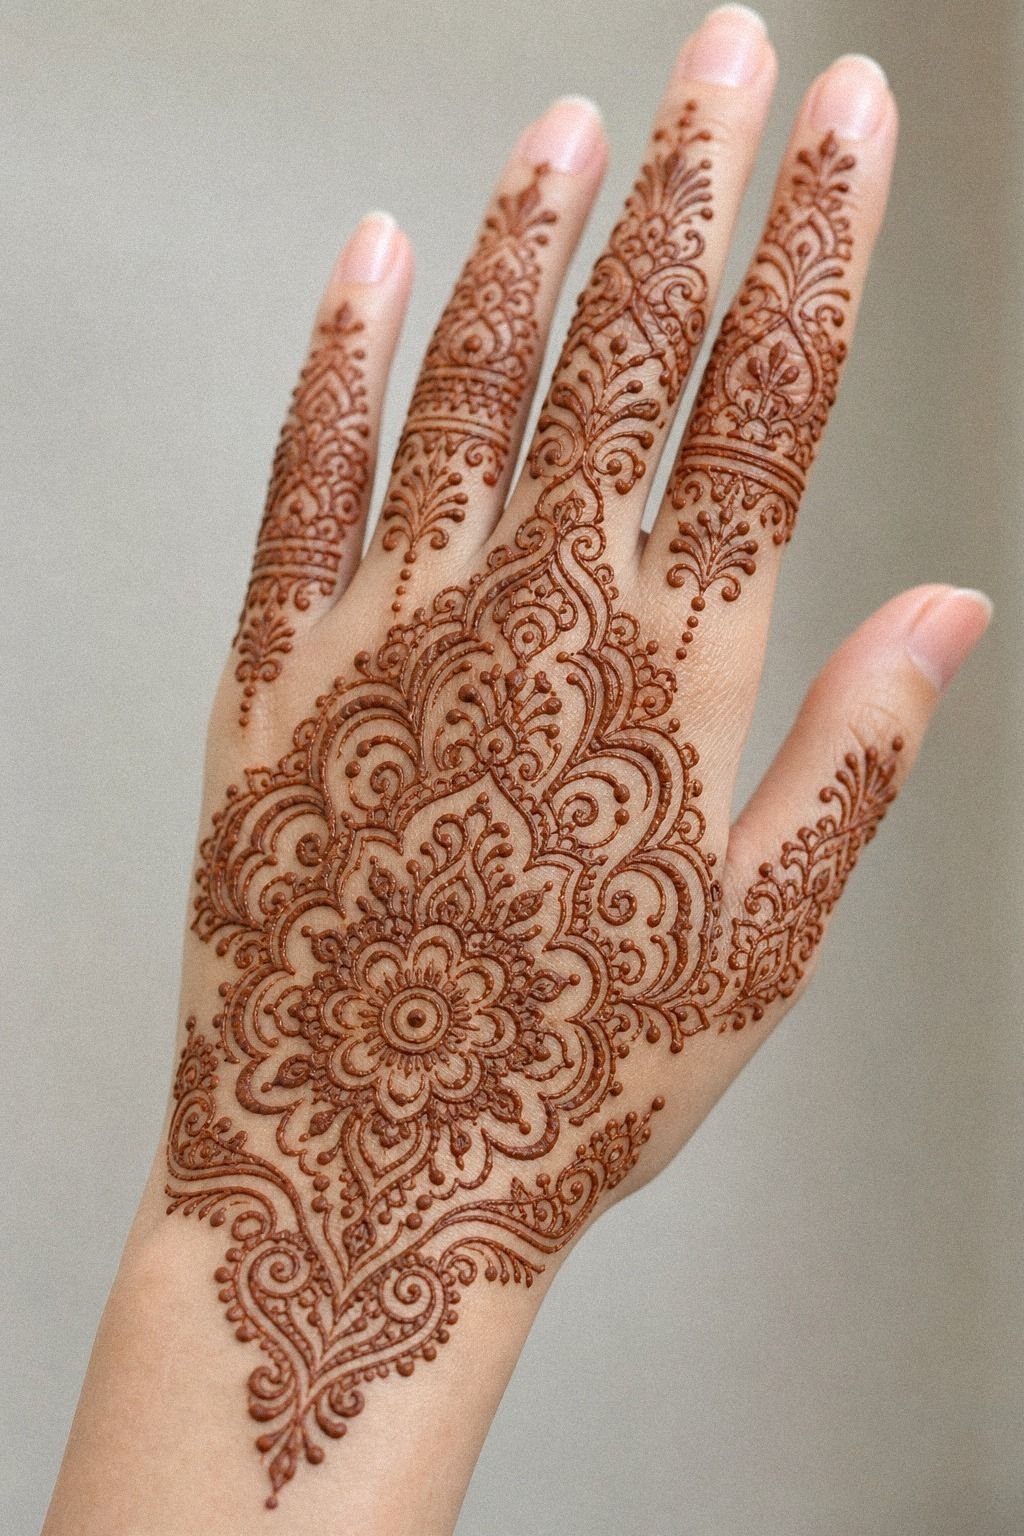
3Place Fine Lines Across The Back Hand
[IMAGE: Back-of-hand layout with two or three fine guide lines crossing diagonally between center motif and finger trail, crisp and balanced]
Once the finger trail is set, pull two or three fine guide lines across the back of the hand.
Keep them thin, spaced, and a little curved so they follow the natural hand sweep from wrist to knuckles. Straight stiff bars can make the design feel pasted on. A soft diagonal reads cleaner and gives your florals or dots somewhere to land without crowding the hand.
I would not stack five or six lines here unless you want a denser bridal look. For a simple everyday layout, less is the better call. You spend less time correcting, the pattern reads cleaner in photos, and the whole hand keeps that airy finish Pinterest readers usually save.
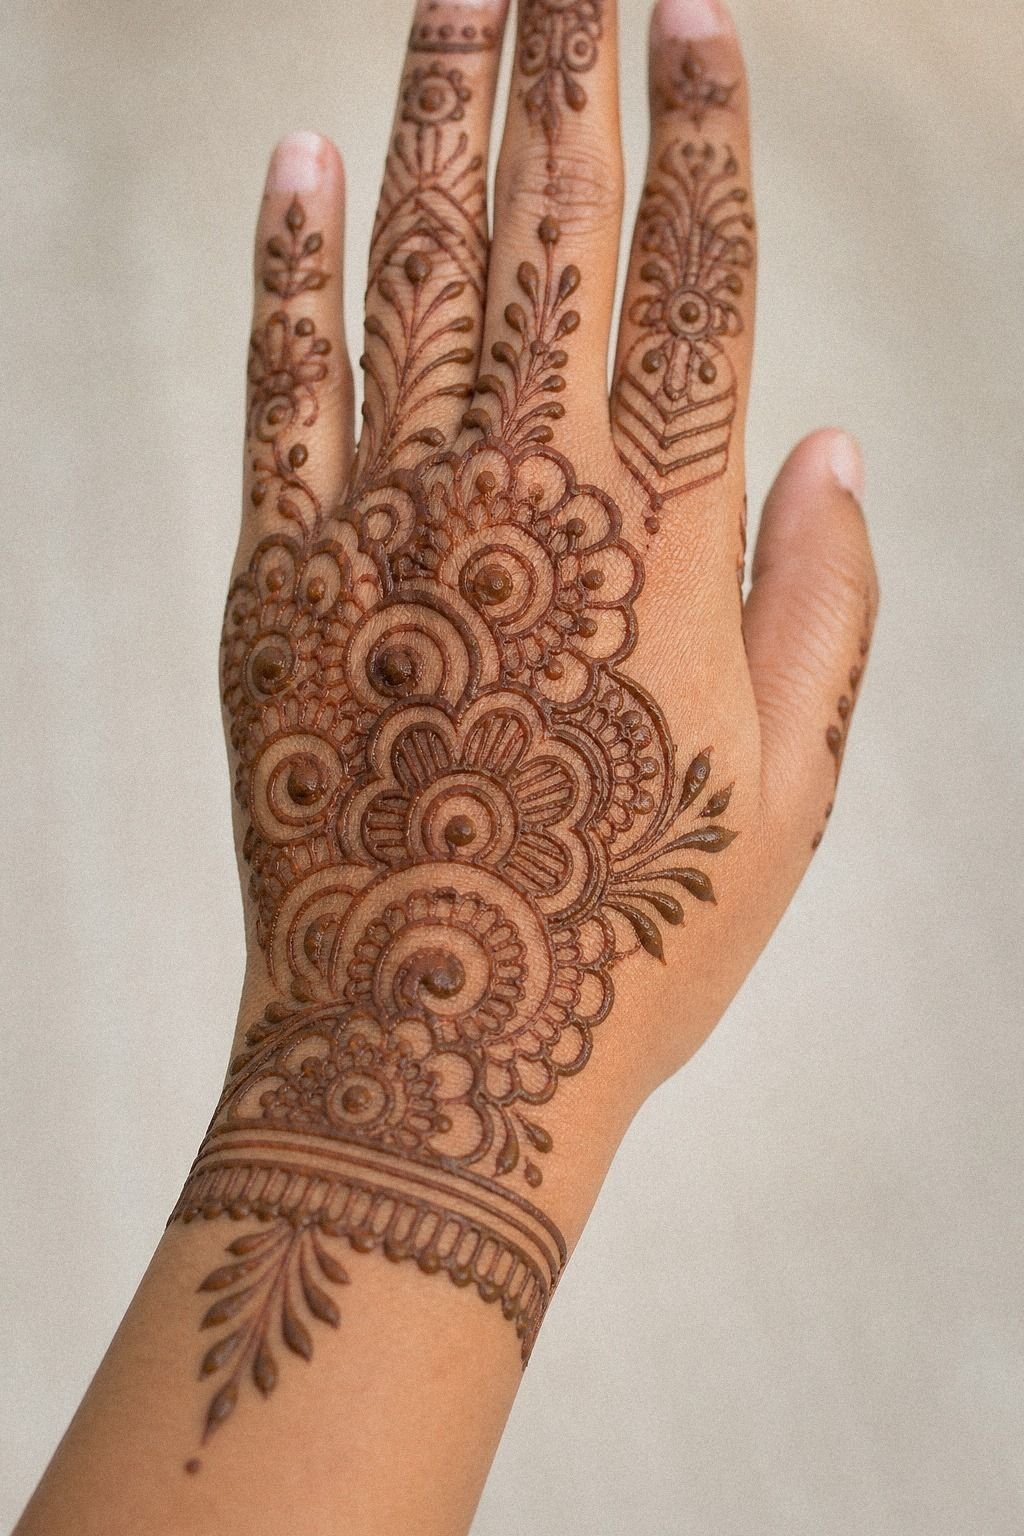
4Keep The Palm Mandala Clean
[IMAGE: Small palm mandala with one neat petal ring, open skin around it, soft scallops and teardrops, tidy hand-centered balance]
If you’re adding a palm mandala, keep it smaller than your first instinct tells you. Most beginners go too wide, then the ring of petals starts colliding with finger details.
That’s when a pretty design turns to soup. I keep the center tight, then build one neat petal ring around it so the motif stays readable and soft instead of chewed up.
Your palm takes movement all day, so clean structure matters more than tiny detail. Use short scallops, dots, and teardrops that repeat evenly.
On golden tan skin, the contrast from fresh henna paste is already doing enough work for you. You do not need ten extra loops.
For cleaner mandala references that don’t get fussy, very simple mehndi designs is worth a look.
If you’re thinking in time and cleanup, a compact mandala is smarter too. It gives you the same visual payoff with less paste, fewer corrections, and a cleaner result than a giant center that turns patchy before it dries.
5Plan A Minimal Wrist Henna Band
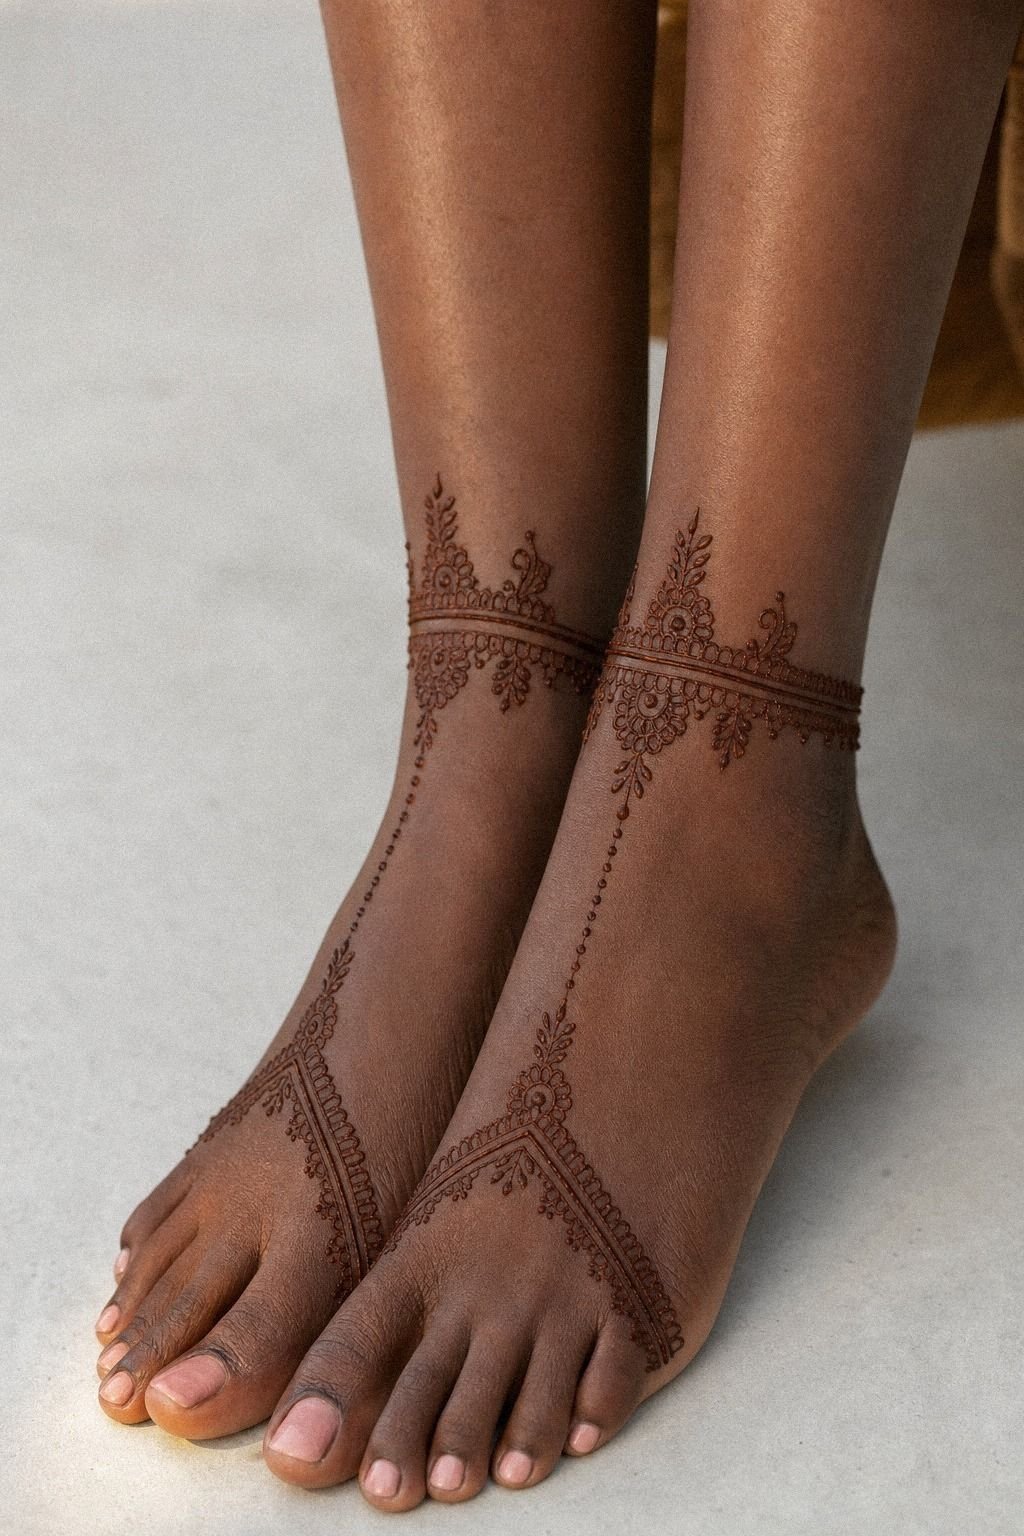
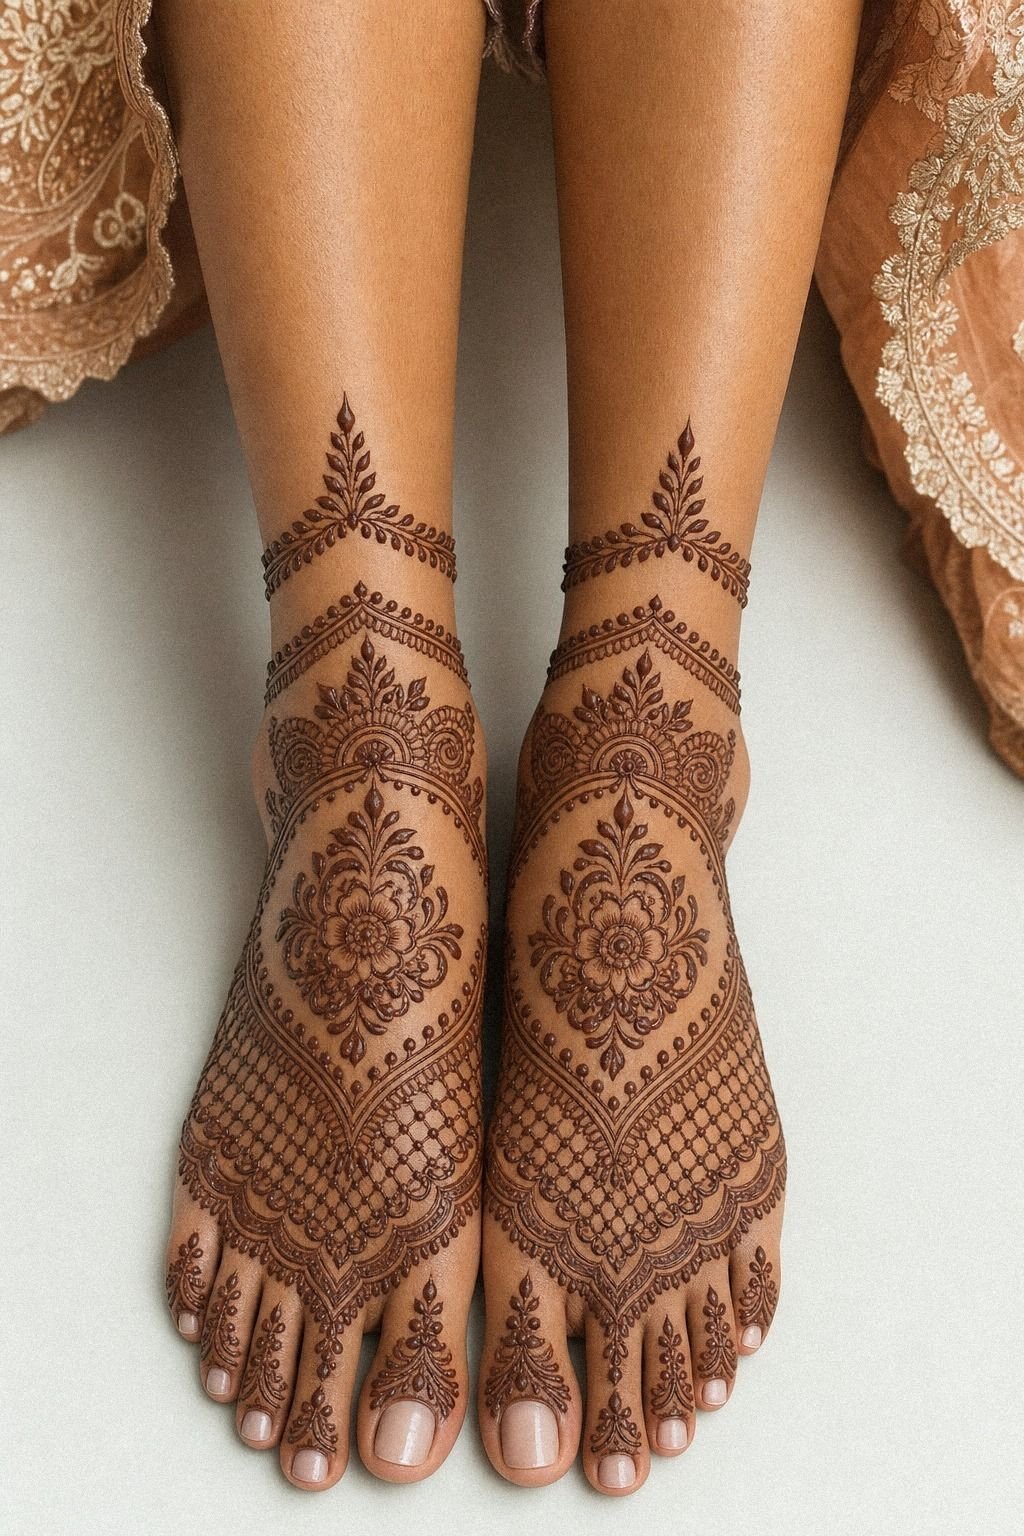
[IMAGE: Narrow wrist henna band with two parallel lines, dots, leaves, and open breaks, delicate cuff effect on skin]
Before you head toward the wrist, decide whether you want a full band or just a suggestion of one. I’d choose the suggestion almost every time.
A light wrist cuff with tiny breaks looks cleaner, photographs better, and gives the hand design a softer taper. A thick bracelet block can look heavy, especially if the rest of your pattern is airy.
Sketch the band with two parallel lines first, then connect them with tiny arches, dots, or little leaves. Even though the reference image leans ankle-like, the lesson still holds on a wrist.
Keep the motif narrow, around a finger-width, so it does not swallow the lower hand. If you’re testing whether you like that wraparound feeling, stylish mehndi designs for front hand shows nice ways to keep the finish light.
This one is worth it because it makes the whole hand look finished without adding a full second design zone. Small move, clean payoff, less time.
6Draw Tiny Florals Below The Knuckles

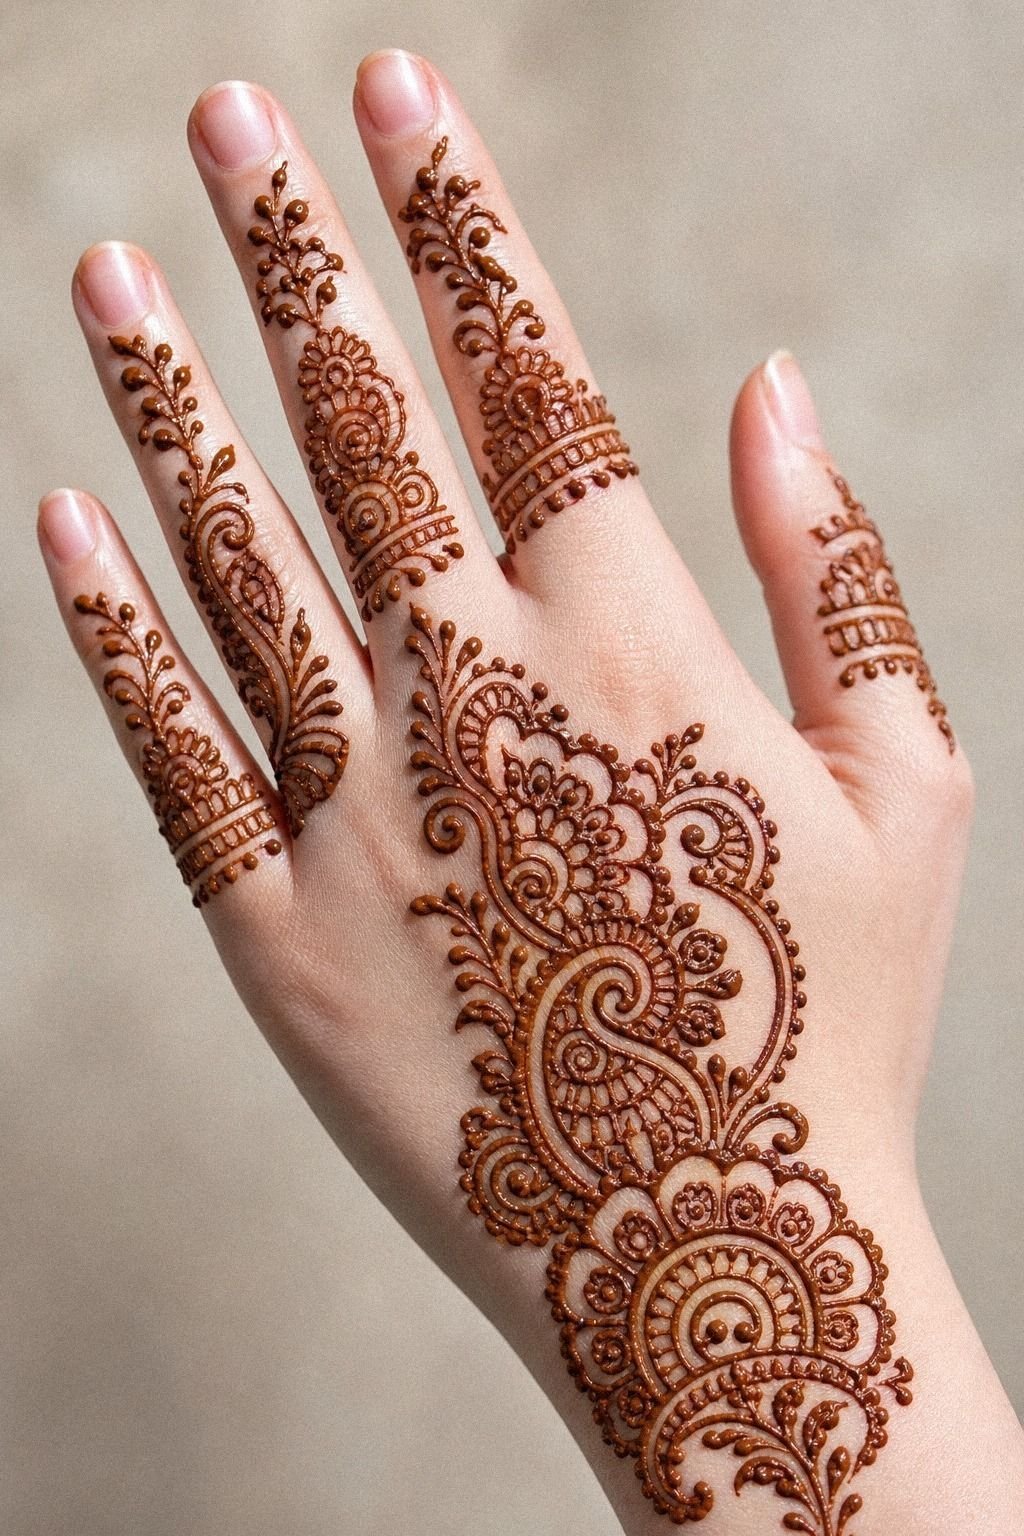
[IMAGE: Four-petal mini florals tucked below the knuckles, tiny dot centers, balanced spacing under finger joints]
This is where you soften the whole pattern. Tiny florals tucked below the knuckles can make simple-henna-tattoo layouts feel finished without adding bulk.
I like four-petal flowers or little rosettes with one dot center. Anything more complex starts fighting the finger joints, and the hand loses that clean, airy read you want.
Place each floral low enough that it does not crash into the knuckle crease when your hand bends. On deep ebony skin, slightly bolder petals can help the shape stay visible, but I’d still skip oversized blooms. Small and intentional wins here.
If you’re practicing petal control, 24 henna designs that reward a steady hand gives you good repetition drills.
These tiny florals are a high-payoff detail. They make the pattern feel polished, but they do not demand the time or precision a packed floral panel would.
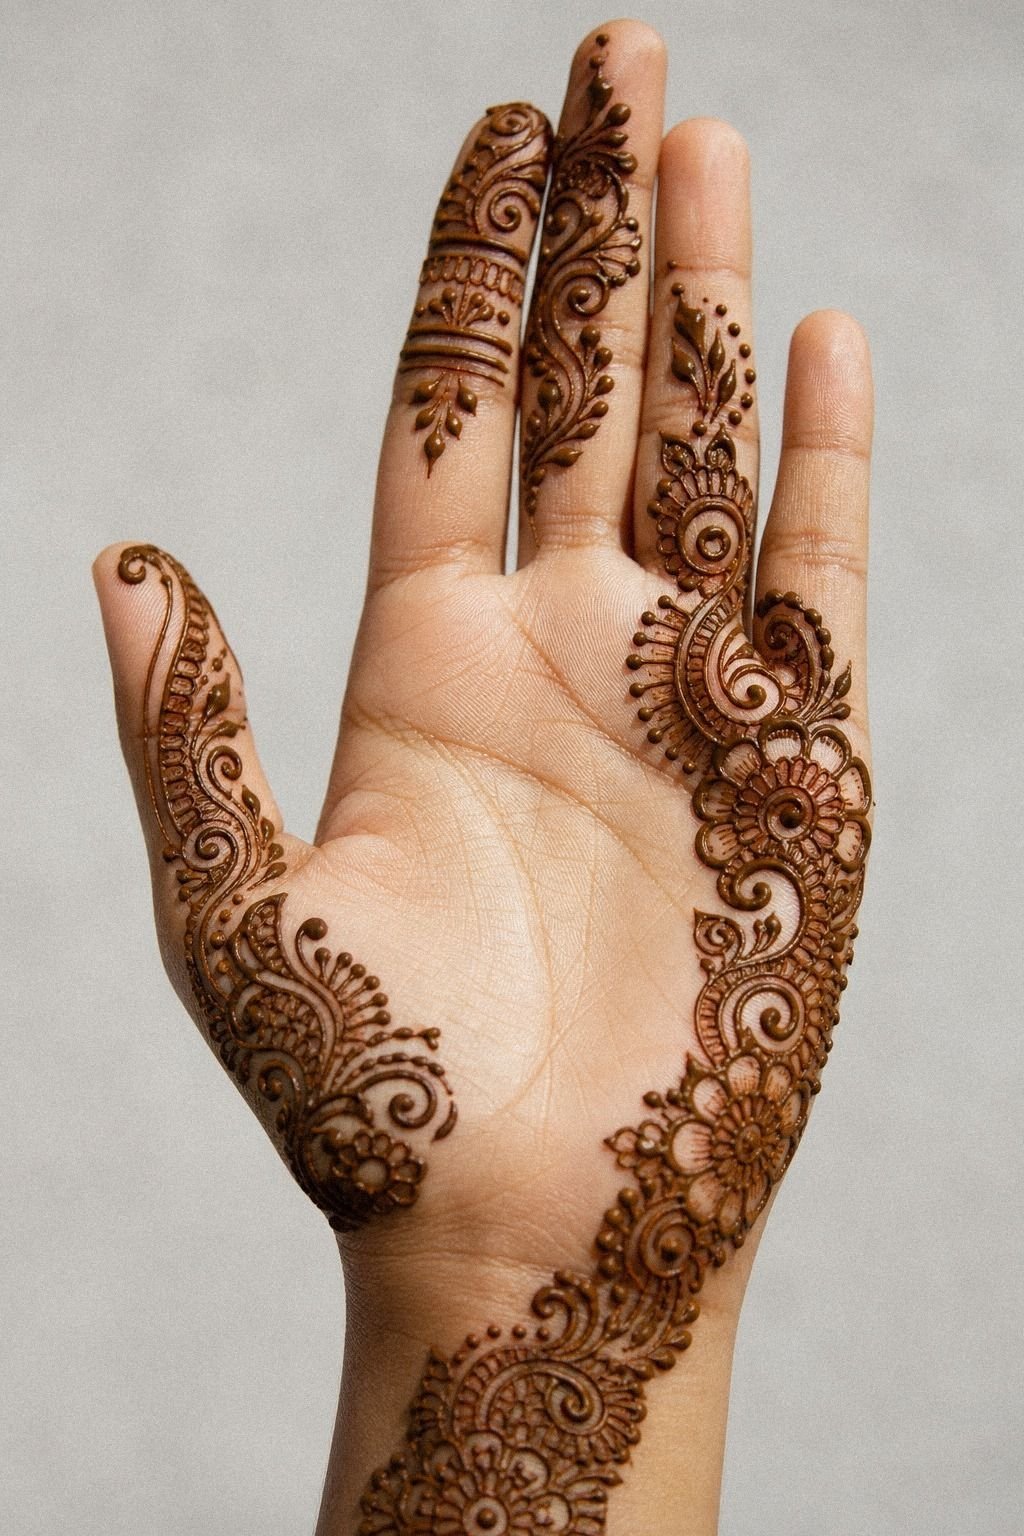
7Choose Open Skin Between Henna Lines
[IMAGE: Hand design with obvious clean skin breaks between center motif, finger trail, and side flourishes, airy open-skin contrast doing the work]
Here’s the part beginners underestimate: the skin showing through is part of the design. The Clean Gap Rule matters as much as the lines themselves.
If every lane gets filled, you lose contrast and the pattern looks flat. I leave visible skin between the center motif, the finger trail, and any side flourishes so each shape can stay clear on the hand.
How much gap do you need? More than you think.
A narrow skin break around every major element keeps aesthetic-mehendi-designs looking polished instead of crowded. This is the same reason tiny hand tattoos age rough in high-wear zones: lines that sit too close start blurring together over time.
For more layouts that use skin as a design tool, 15 arabic henna designs that flow with the hand is a smart reference.
If your goal is the cleanest finish, open skin matters more than extra filler. It sharpens everything and keeps the hand from looking busy.
8Add Dotwork Chains Around Finger Joints
[IMAGE: Fine dotwork chains crossing finger joints like stitched accents, evenly spaced round dots, delicate rhythm across the hand]
Once the main shapes are set, dotwork chains can tie everything together. I use them like stitching, not like filler.
One small row over a finger joint looks delicate and clean. Three stacked rows usually look overdone.
On both hands, a few dots also help you echo the same rhythm without forcing the exact same drawing on every finger.
Keep your dots round and evenly spaced. If paste starts coming out chunky, wipe the cone tip with a paper towel and test one dot off to the side first. Finger joints flex hard, so messy blobs show immediately there.
For finger-henna-designs that stay graceful instead of stiff, simple henna designs for beginners has a few balanced dot chains you can study.
This is one of those cheap details that adds a lot of finish. Tiny dots are easy to fix and surprisingly worth it when the hand still feels unfinished.
9Frame Fingertips With Light Henna Caps

[IMAGE: Two fingertips lightly capped with sheer henna arcs and scalloped edges, other fingers left open for contrast]
Light fingertip caps can finish the design, but only if you keep them sheer and controlled. A full dark cap on every finger can overpower a simple layout fast.
I’d rather cap one or two fingertips lightly and let the others stay open. That gives you contrast without making the hand look dipped in paste.
Use curved lines that follow the fingertip shape, then add one tiny dot or scallop edge underneath. On medium olive skin, those little caps pop clean when the paste sits smooth and even.
But stop before they get bulky! If you love front-hand detail but want a cleaner finish, simple mehndi designs front hand easy shows good restraint.
If you care about effort, this is smarter filling than capping every fingertip. You get the same bold finish, better balance, and less mess.
10Build A Small Arabic Vine Trail
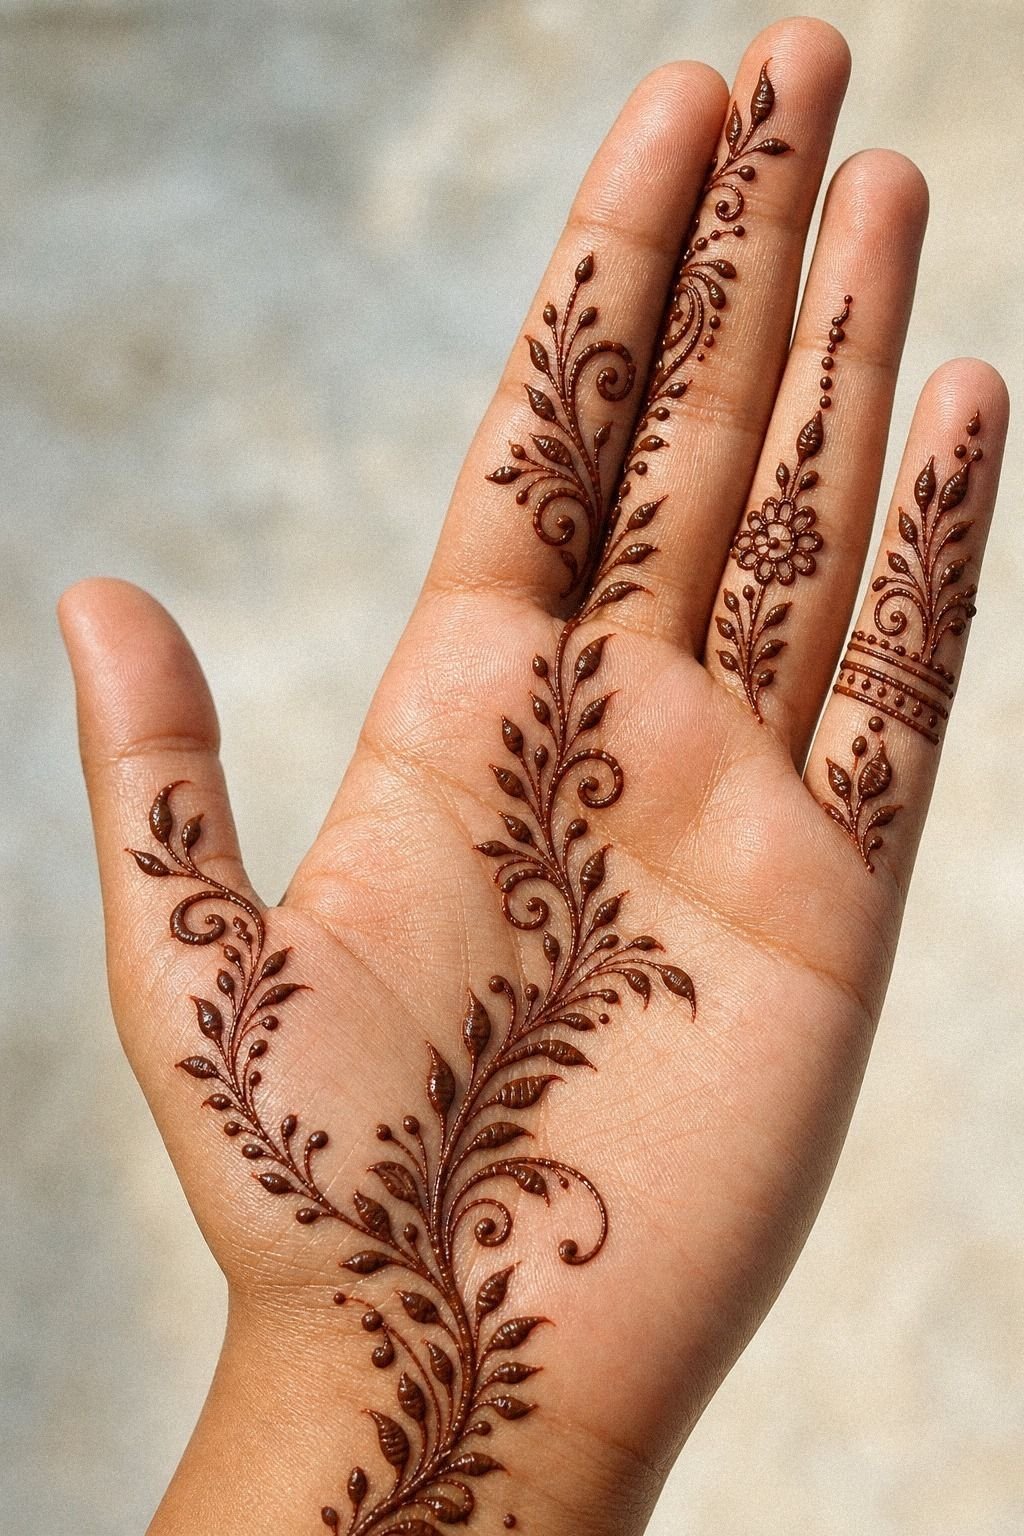
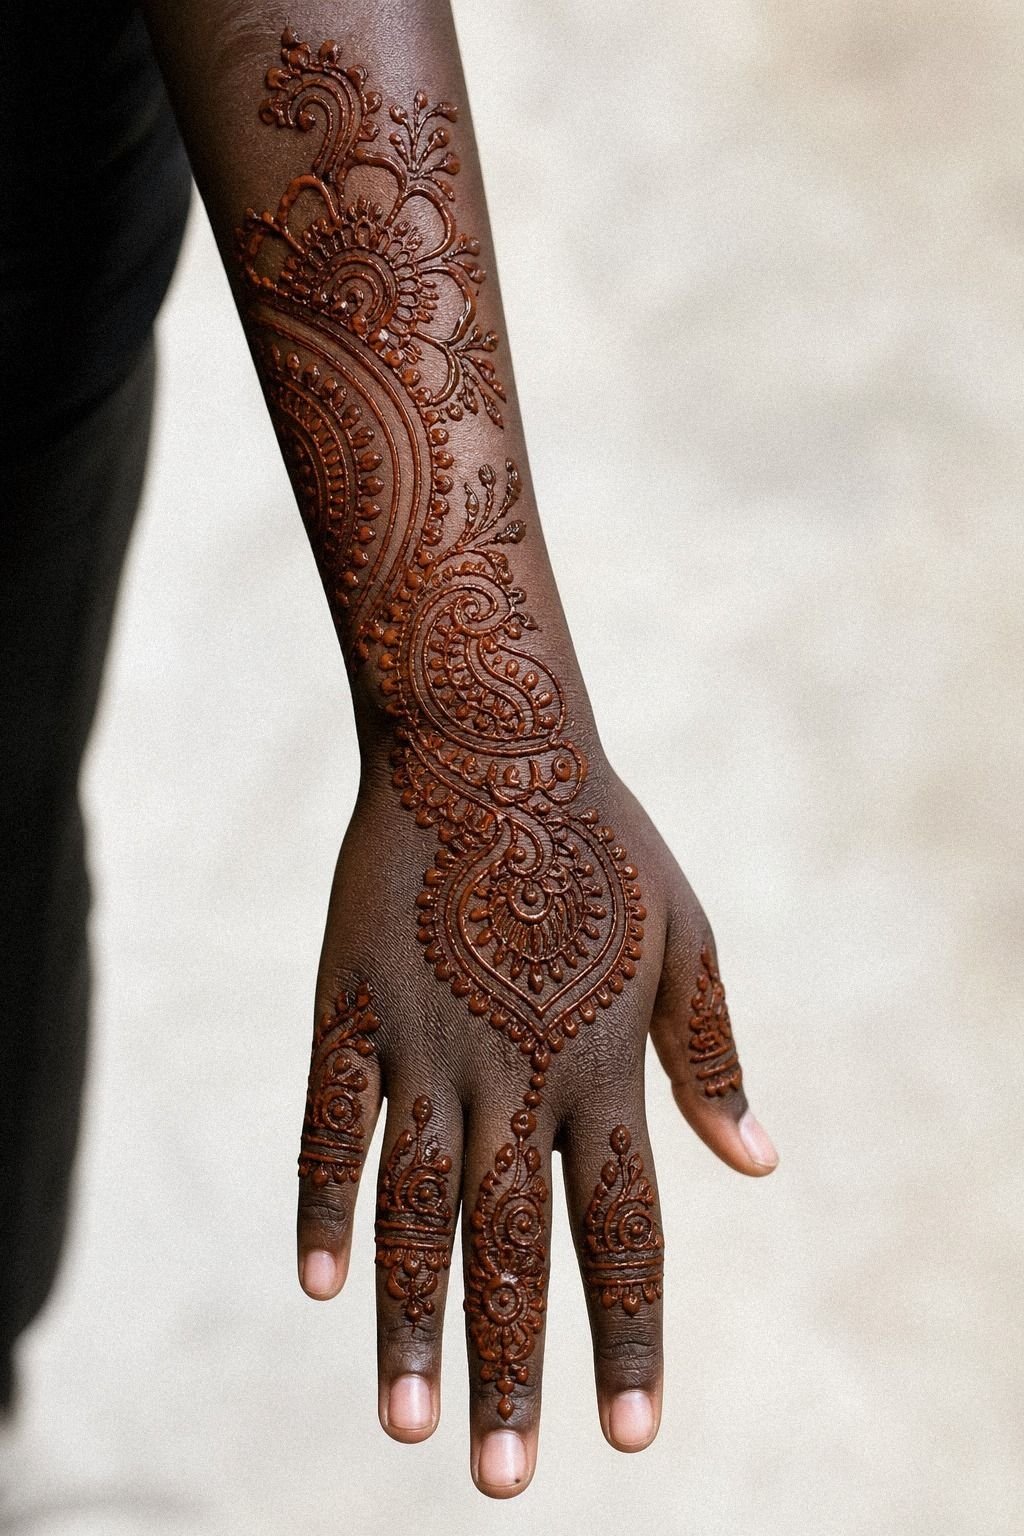
[IMAGE: Small Arabic vine trail curling from wrist toward finger with leaves, soft curve, open skin, and light supporting dots]
Arabic vine work is perfect when you want motion without a full packed pattern.
Keep the vine to one clean vine route, usually from the wrist edge toward the ring finger or index finger. Let the leaves alternate in size so the trail feels alive instead of stamped. A good vine should look fluid, not rigid, and it should leave enough skin around it that every curve still reads clean.
I like this move because it gives you dramatic vine flow for very little paste or planning. It’s worth it when you want a graceful finish as a beginner. And if the vine starts getting too leafy, stop.
That’s usually the second before simple turns to clutter.
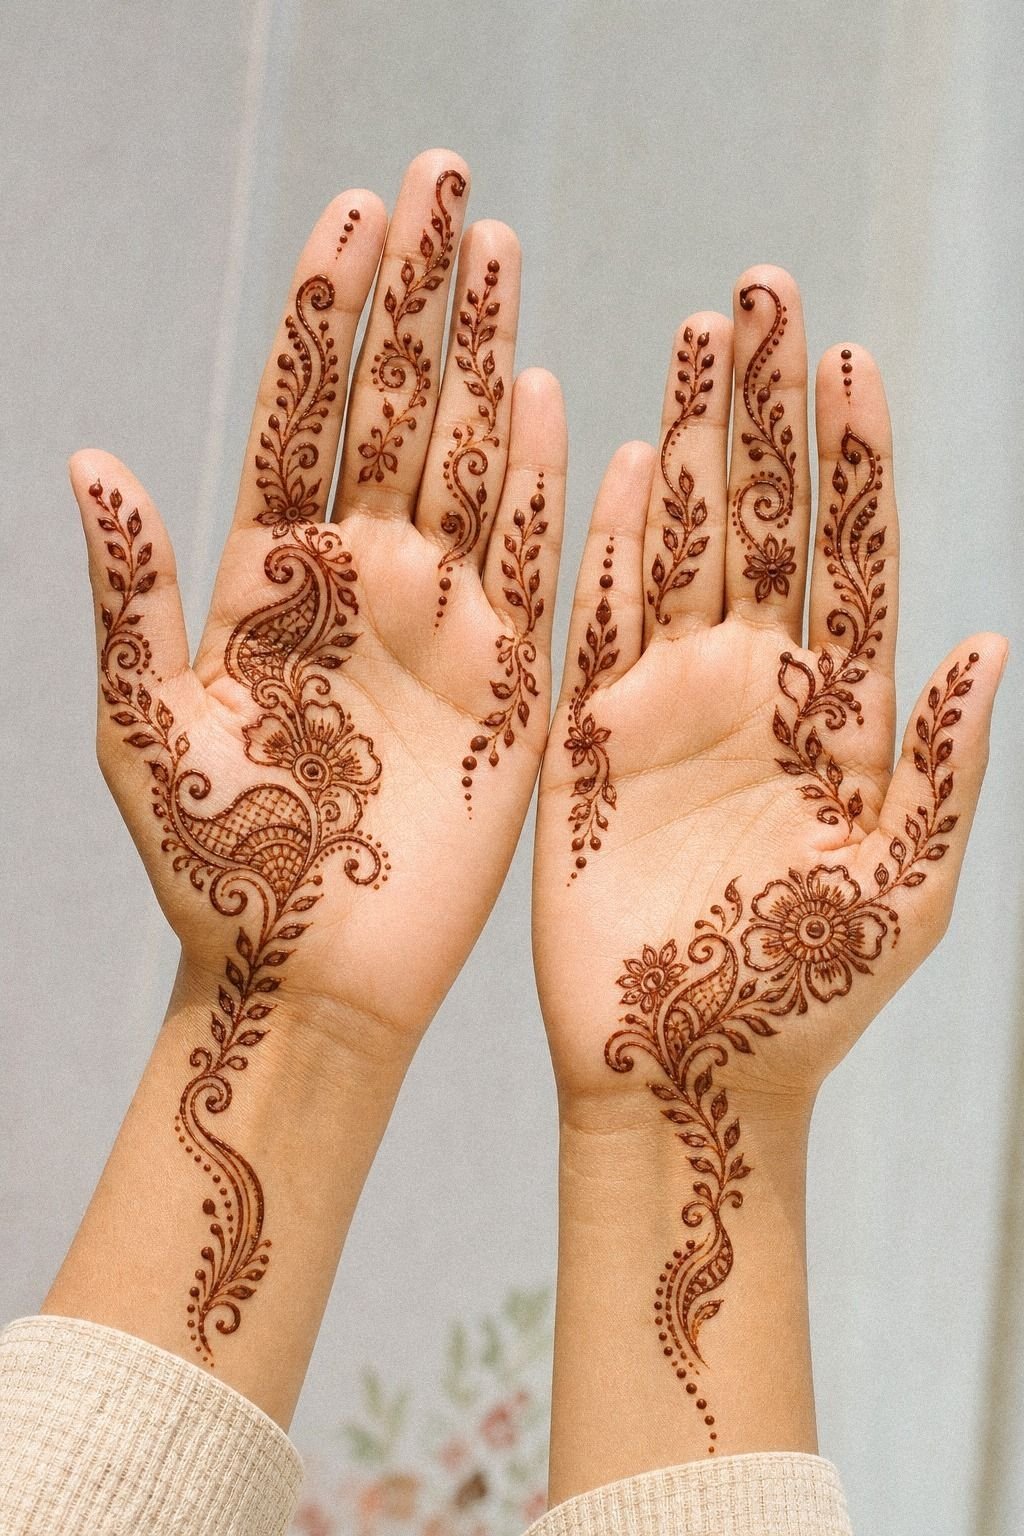
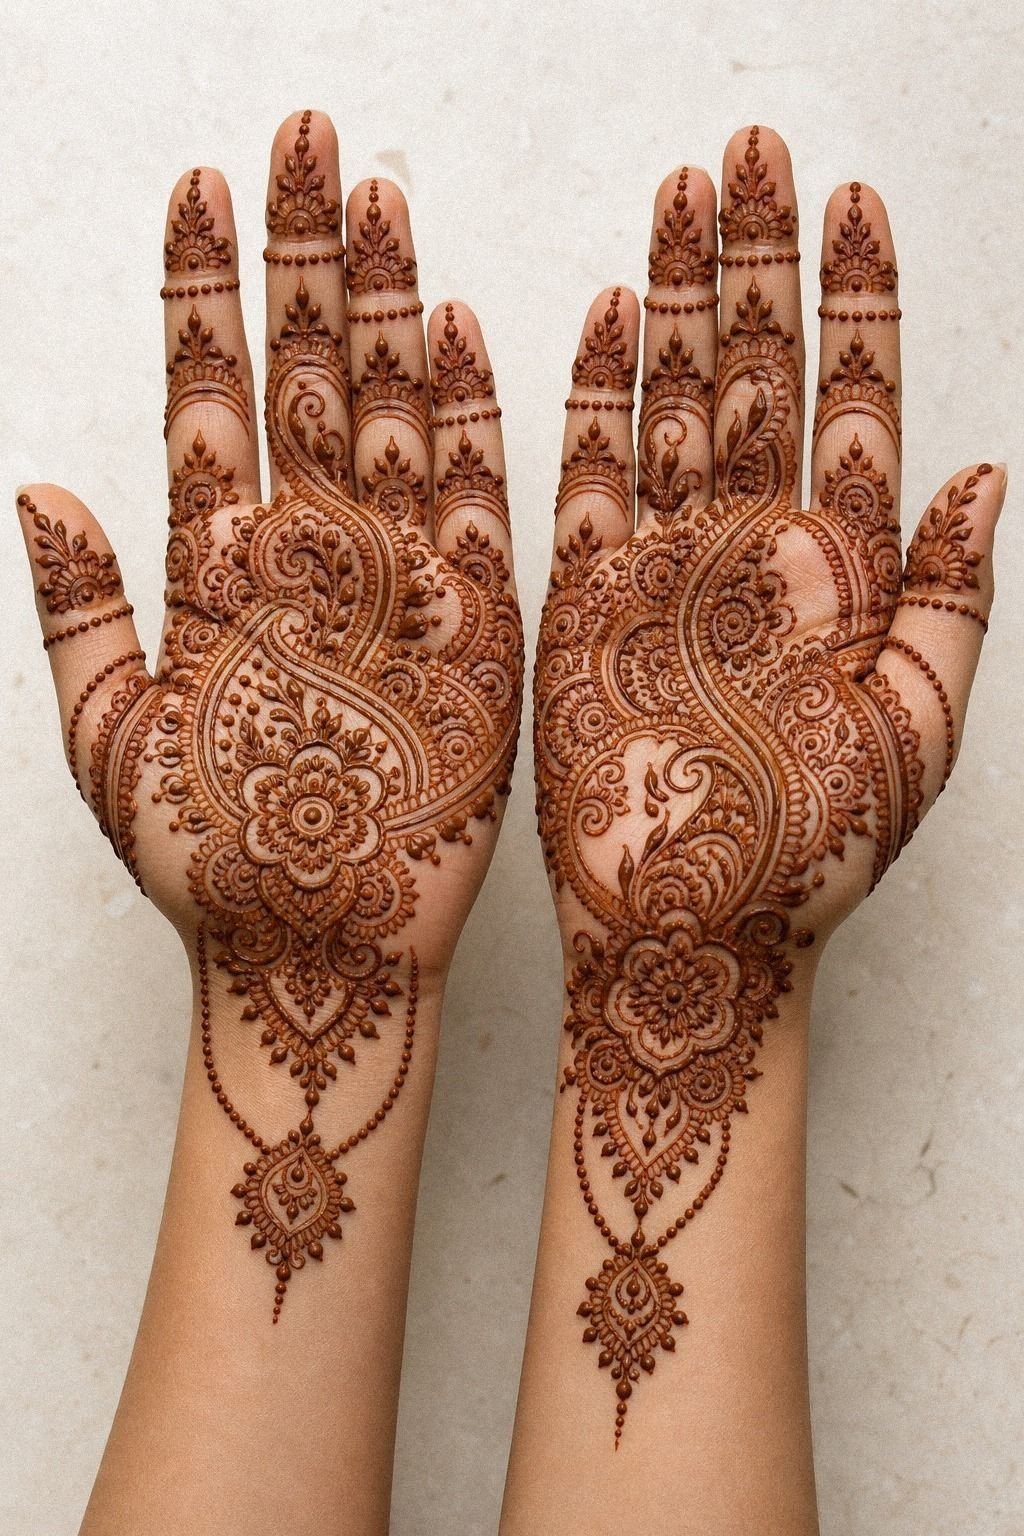
11Map Matching Accents On Both Hands
[IMAGE: Both hands shown together with matching rhythm, similar dot chains, mirrored florals, and slightly different main motifs]
If you’re working on both hands, match the rhythm, not every single line. That’s the Mirror Echo Method I use with beginners. One hand can carry the main motif while the other repeats the same dot chain, floral size, or vine curve in a lighter way.
Perfect symmetry sounds safe, but it usually makes you freeze up and fuss with corrections until both sides get muddy.
Pick two things to repeat and leave the rest loose. Maybe it’s the same band width and the same fingertip cap placement. Maybe it’s the same flower count below the knuckles.
Even if the reference image hints at another body area, the design lesson still works beautifully on hands. For quick pairings that don’t feel pasted on, stylish mehndi designs for front hand has strong mirrored ideas.
This is a smart photo move if you want both hands shown together. You do not have to double the detail to double the impact, and that keeps the timing from getting silly.
12Check Line Thickness Before Paste Dries
[IMAGE: Artist checking line thickness on fresh henna with a toothpick and cotton swab nearby, close-up of careful correction]
Before the paste sets, scan every line for one problem: thickness drift. Some lines get puffy because you squeezed too hard.
Others go faint because you hesitated. I look at the hand from a short distance, then up close, and fix only the lines that truly need it.
This is not the moment to keep adding new design pieces.
And use a toothpick or a clean cotton swab to lift blobs while the paste is still soft. If a line looks shaky but thin, leave it alone unless it’s breaking the shape.
Over-correcting is what makes fresh work look chewed up. And if you need more steady-line drills, 24 henna designs that reward a steady hand is the kind of practice set that helps fast.
This correction pass is a real saver. You rescue the clean parts, avoid a full wipe-off, and keep the whole design inside your timing.
13Photograph The Simple Henna Hand Finish
[IMAGE: Finished simple henna hand photographed in soft daylight, fingers relaxed, clean contrast, crisp details visible from a short distance]
The final photo check tells you what your eyes miss in real time.
Turn your hand slightly, relax the fingers, and shoot in soft daylight instead of yellow indoor light. Harsh overhead glare can flatten the paste and hide spacing mistakes. A clean photo also tells you whether the layout has strong flow or whether one side went heavy.
Honestly, this step is worth it even if you never post the picture. The photo shows the real design read. You can judge scale, balance, and whether the pattern still looks elegant once your hand is moving instead of held stiff for inspection.
The Quiet-Hand Method
[IMAGE: Finished minimalist hand henna showing one anchor motif, one travel line, one support motif, and lots of open skin]
Clean hand henna comes from restraint, not from stacking detail on every open patch. I teach a Quiet-Hand Method for beginners: one anchor, one travel line, one support motif, then stop.
That little rule keeps you from panic-filling the design when you spot a blank patch near the thumb or wrist. And it photographs better because the eye knows where to land.
If you are using henna to test a future tattoo, this matters even more on the hand. Hands are high-wear and visually loud. You see them all day, other people see them fast, and tiny crowded detail can blur sooner if you later choose real ink in the same area.
If you want more examples of clean editing, very simple mehndi designs and simple mehndi designs front hand easy are both useful for spotting what got left out on purpose.
The honest cost lesson is simple: more detail is not always the better move. More detail can mean more cleanup, more visual noise, and a weaker result. A quiet layout choice gives you stronger flow whether this starts as a $10 cone or turns into a later tattoo appointment.
Why does the Quiet-Hand Method keep simple hand henna clean?
[IMAGE: Side-by-side comparison of a restrained henna hand design versus an overcrowded one, same hand angle, spacing difference obvious]
Because the clean version is mostly restraint. That’s the part people do not see online.
The best simple hand henna is not empty, and it is not timid. It’s edited work.
I learned that the hard way when I first practiced on myself and kept stuffing extra curls into every open patch of skin. The design looked fine from two inches away, then muddy the second I held my hand out.
Too many lines, not enough hierarchy.
If you’re using henna because you’re thinking about a future hand tattoo, this lesson matters even more. Hands are high-wear spots.
Tiny close lines can blur, fade, or need touch-ups sooner than cleaner layouts on lower-wear spots like the outer forearm or calf. That’s why I keep telling clients to test the feeling of visibility with henna first.
You get to see whether you love the attention, whether the layout flatters your hand shape, and whether the detail level still reads once you’re moving around all day. Black is your best friend for longevity in real tattooing, but clean spacing is the thing that makes black hold.
But a simple hand design also teaches you where your eye wants to rest. Usually it’s the palm center, the finger trail, or the wrist taper.
Pick one hero. Let the rest support it. If everything screams, nothing lands. But that is true in tattooing too.
The pieces that age cute on you are the ones with contrast, simple shapes, and enough skin left around them that the design can stay readable years later. If you want Pinterest-exact, I’m not your artist.
References are for vibe. Your hand needs its own flow!
The Questions Worth Answering First
How much does a Simple Henna Designs Hand usually cost?
DIY is cheap. A henna cone usually runs about $5 to $15, while pro event or studio henna often lands around $20 to $100+ depending on detail and region.
– Quick practice at home – Pro finish for photos – Tattoo version later can start around $50 to $100, with hourly rates often around $100 to $250
Are Simple Henna Designs Hand a good idea for a first tattoo?
Yes, as a test run they are. Henna lets you trial visibility before you commit to real ink, especially on a high-wear hand placement.
– A few days with the look – Good check on scale and flow – Helpful step before you book a fine line or blackwork hand tattoo
How do I choose a tattoo artist for Simple Henna Designs Hand?
Pick an artist whose healed linework still looks crisp. Clean portfolio shots matter more than trendy flash when you’re planning anything that could move from henna to tattoo.
– Healed photos, not just fresh ones – Solid hygiene and clean station setup – Style match for fine line, blackwork, or ornamental detail
How much do Simple Henna Designs Hand hurt?
Real hand tattoos are spicy. Lines on hands usually hurt more than outer arm or thigh placements because the area is bony, visible, and high-wear.
– Hands, feet, ribs, sternum: higher pain – Outer forearm, shoulder, thigh: more chill – Lines sharper, shading duller, packing the spiciest part
How long does a Simple Henna Designs Hand take to heal?
A real tattoo’s surface usually settles in about 2 to 3 weeks, and deeper healing can take 2 to 3 months. Gentle aftercare keeps lines cleaner while the skin rebuilds.
– Wash with unscented soap – Thin layer of moisturizer – No pools, hard gym friction, or direct sun early on
What’s the best placement for Simple Henna Designs Hand?
For a real tattoo version, I’d move the cleanest part slightly up the forearm if you want it to age better. Low-wear spots hold detail longer than hands and fingers.
– Hand: bold look, more maintenance – Outer forearm: easier healing, better longevity – Upper arm or calf: cleaner aging for very fine detail
Center Dot Over Finger Swirls
[IMAGE: Final finished hand design led by a center dot and light finger swirls, airy spacing, crisp finish, simple flow]
If I had to pick one step, I’d start with the center dot. It forces you to place the whole design before you add flourishes, and that one pause keeps beginners from panic-filling every gap.
Clean layout first. Detail second!