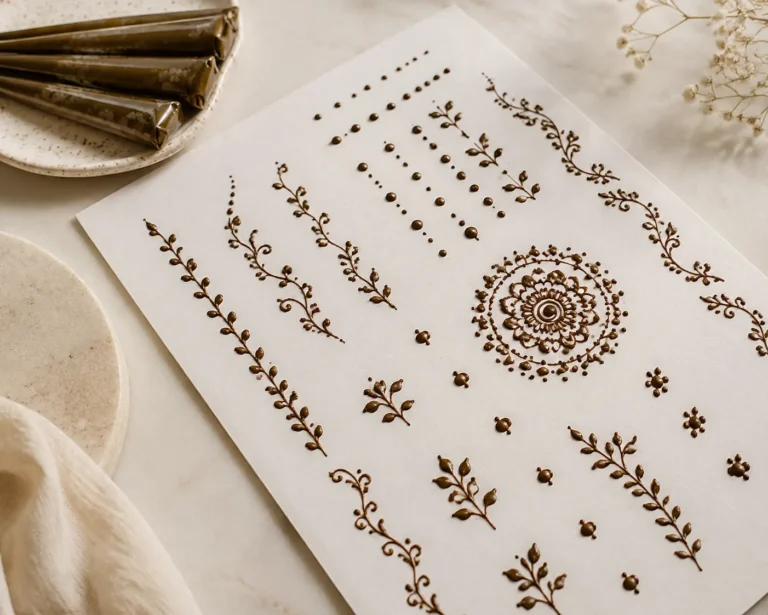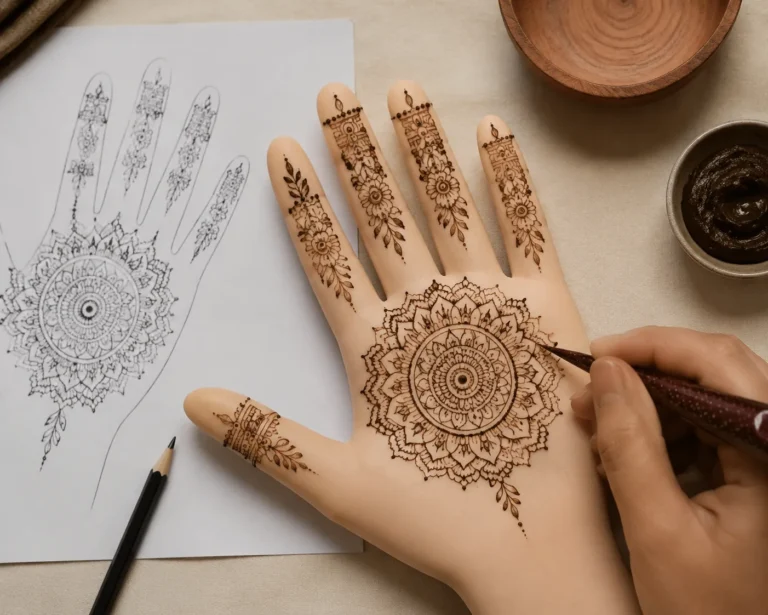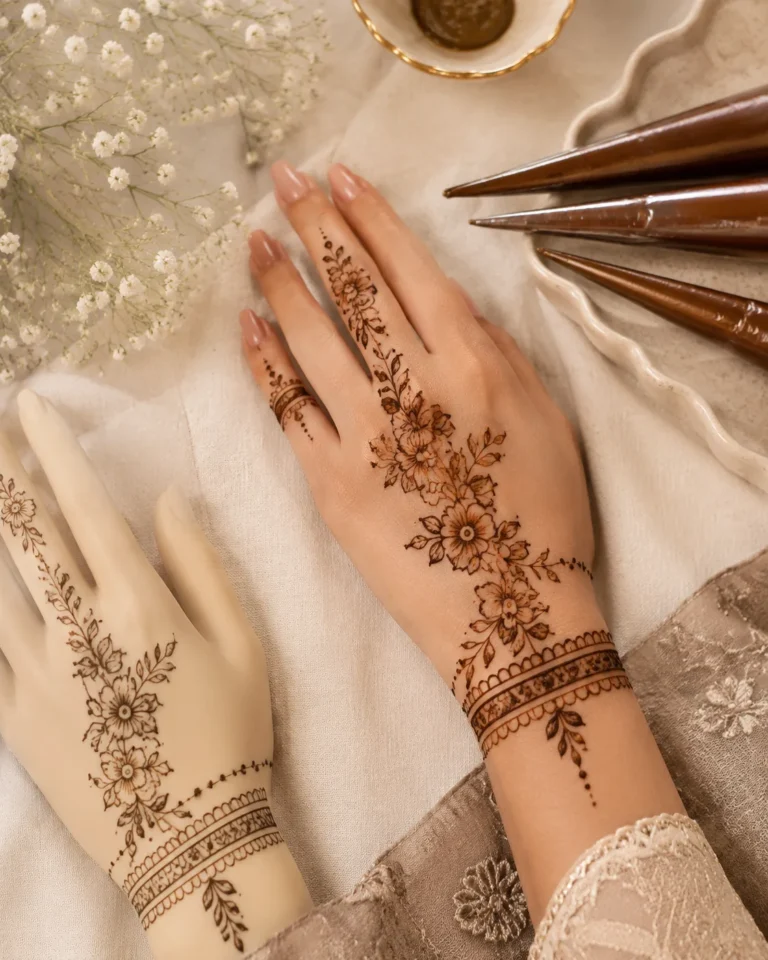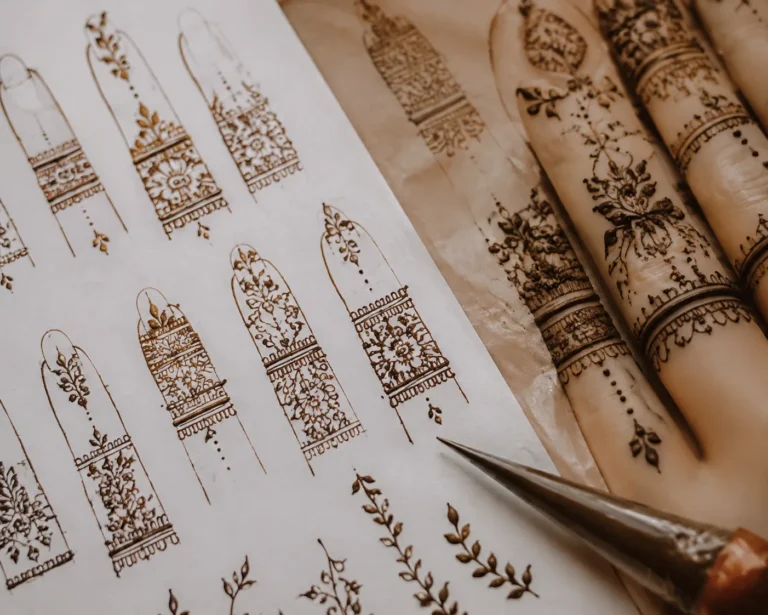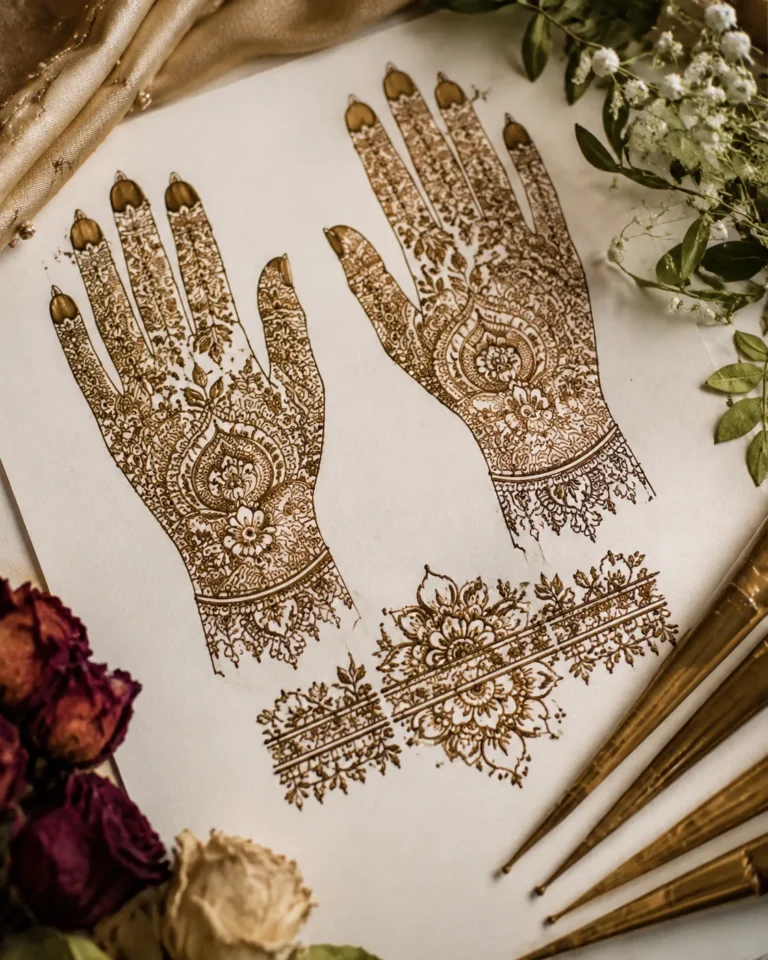
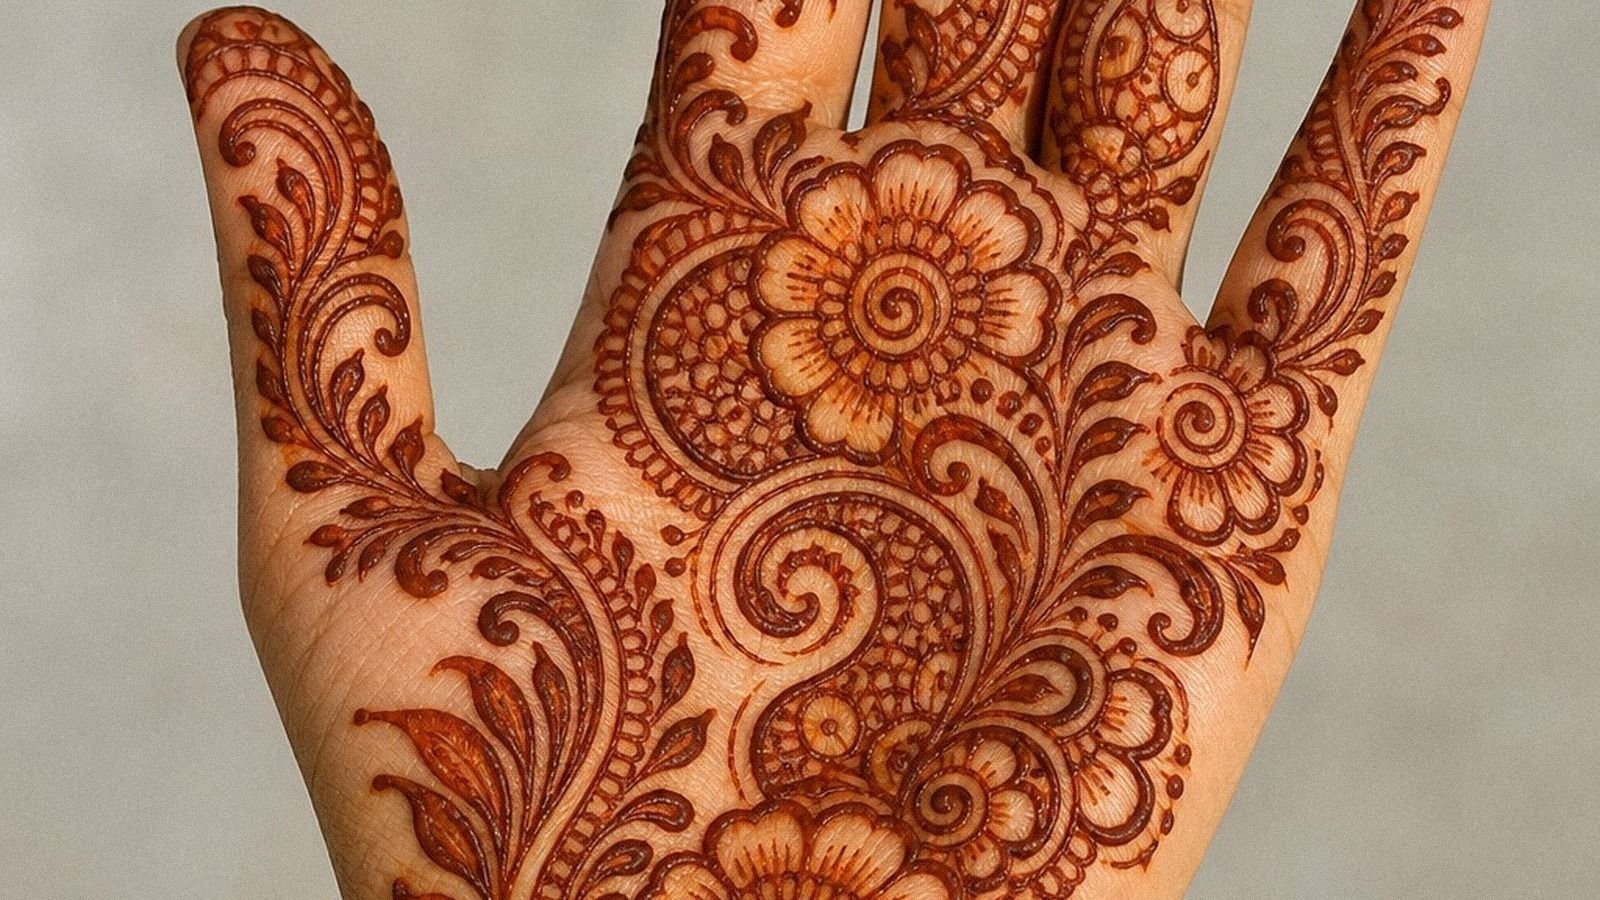
Arabic mehndi designs modern enough for a celebration do exist, especially when you keep the pattern open and stop shrinking every pretty detail onto busy areas of skin. Henna is not a tattoo; it is a temporary paste placed with a cone, dried, sealed, and left to stain the skin. I almost let my first mehndi-inspired hand design get crammed too tight, and the stain would have looked muddy. Now I build these with cleaner spacing, smarter placement, and better planning before the occasion arrives. That is the difference!
- Modern Arabic Vine Front Hand Mehndi
- Bold Arabic Finger Trail Mehndi
- Full Hand Arabic Floral Mehndi Layout
1Modern Arabic Vine Front Hand Mehndi
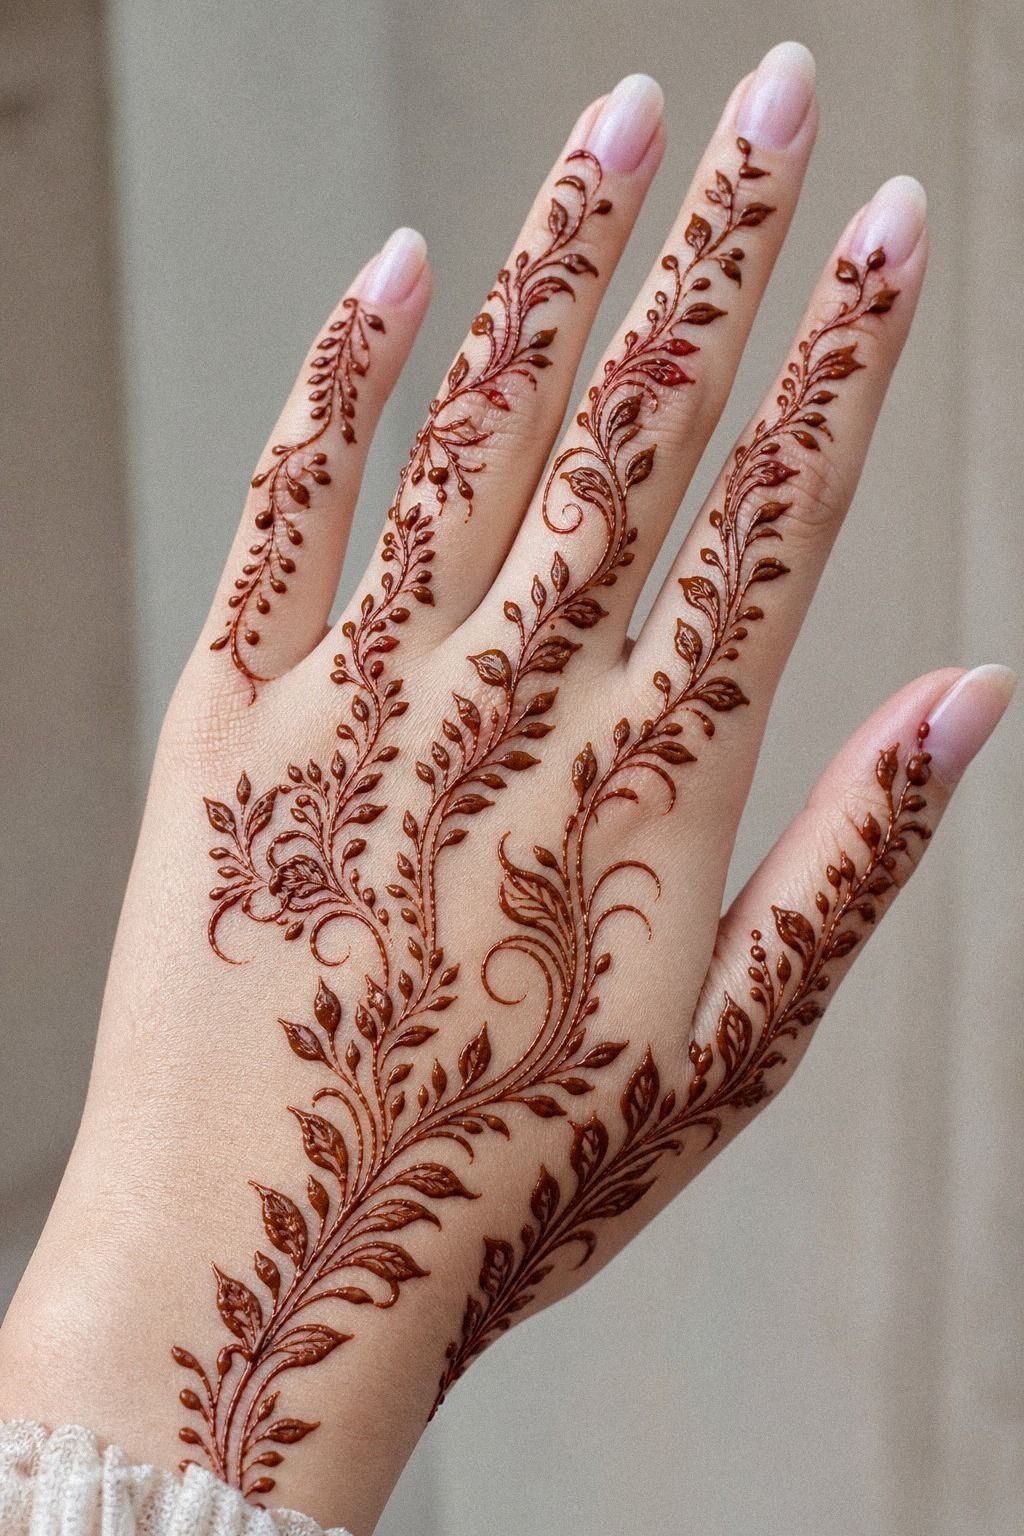
[IMAGE: striking airy Arabic vine henna design flowing from the back of the hand into two fingers, open leaf spacing, reddish-brown stain on warm skin]
Start with a vine that moves from the back of the hand into the fingers instead of trying to fill every inch. On fair cool skin, that reddish-brown henna stain can look delicate in photos, especially after the paste dries and the color deepens on day two.
I would draw it with a fine cone tip, open leaves, and one confident pull through each curve. Keep the main stem around 2.5 to 3 inches so the pattern stays legible while the paste dries.
This is a good pick if you want stylish front-hand mehndi references without committing to a packed bridal layout. Hands are a high-wash area, so I would keep fingertip detail lighter than Pinterest usually shows.
You’ll get a cleaner stain and better definition, especially when the artist takes time to map the design properly. For more reference flow, look at modern mehndi designs and compare how much open skin the strongest patterns keep.
– Cone-drawn leaves. Soft negative gaps. One confident stem. – Outer hand placement. Better visibility than the palm.
Less rubbing than the fingertips.
Why Leave So Much Skin Open?
[IMAGE: modern Arabic mehndi pattern with open negative skin between florals and finger accents, side-hand placement instead of true palm]
Leave more open skin than you think you need. That is what makes this kind of palm-led Arabic layout feel modern instead of muddy. On medium warm ivory skin, the paste pattern works because it breaks up, then reconnects, instead of turning into one dense patch.
If you are planning this design, I would move the boldest motif off the center palm and onto the side of the hand or lower wrist, because those areas give the paste a better chance to dry undisturbed.
What I like here is the balance. You still get Arabic mehndi designs energy, but the layout isn’t trying to prove anything.
That is usually why the stain looks sharper on the first day and more graceful as it deepens. Someone who wants both hands done can test the symmetry with a small design first, then choose only the stronger side for the main occasion. For more stripped-back layouts, very simple mehndi designs show the same minimal restraint without feeling empty.
– Palm-origin florals. Clear breaks between petals. Smaller fill marks. – Side-hand translation.
Smarter drying. Less friction than true palm work.
3Bold Arabic Finger Trail Mehndi
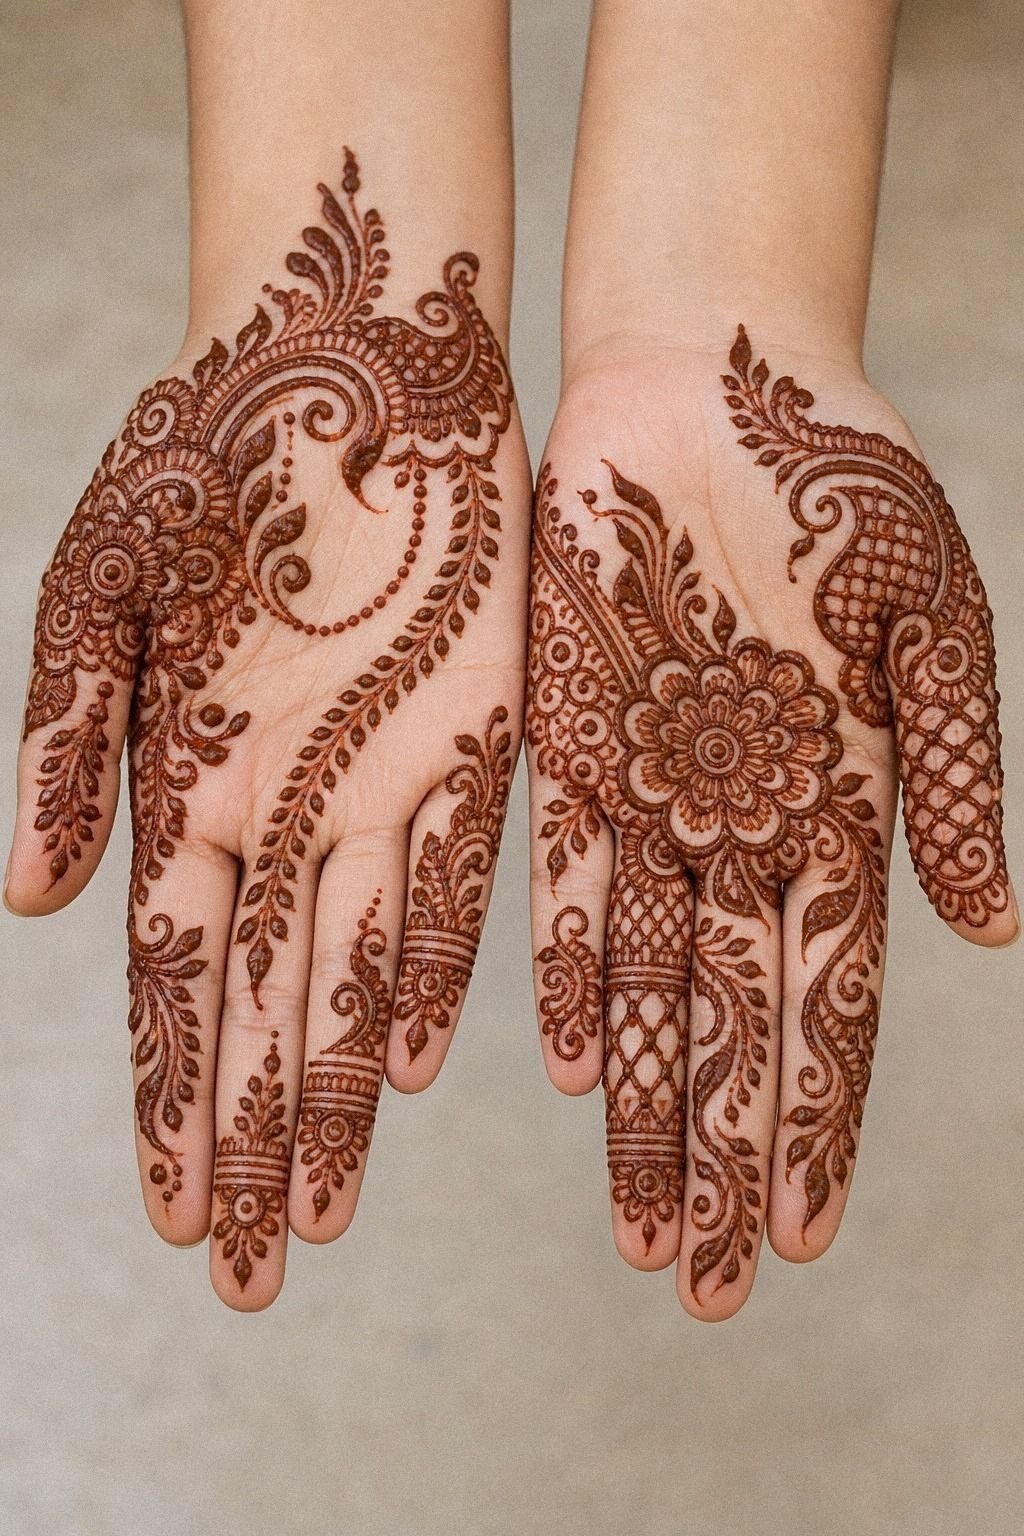
[IMAGE: bold diagonal finger trail henna design with one lead line, tiny dot accents, crisp ornamental flow from wrist to finger]
Push one bold trail from wrist to finger and let it do the heavy lifting. On medium olive skin, that rich henna stain looks strong because the contrast stays clear, and the same rule applies to the paste design. I would use a narrow cone line for the main trail, then add a lighter supporting dot chain so the focal line stays crisp instead of getting swallowed by too much ornament.
If you are tempted to split that trail into ten tiny side motifs, don’t. That is where a fresh, delicate idea turns into soup before the paste has even dried.
I’d rather give you one strong line, a couple of sharp leaf flicks, and enough clean clearance that the design stays crisp, elegant, and readable at a glance. If you want more direction-heavy references, simple mehndi designs front hand easy is worth comparing next.
– Bold trail first. Smaller dots second. No fussy micro-fill. – Wrist extension. Better flow.
Less chance of the fingers looking crowded later.
4Full Hand Arabic Floral Mehndi Layout
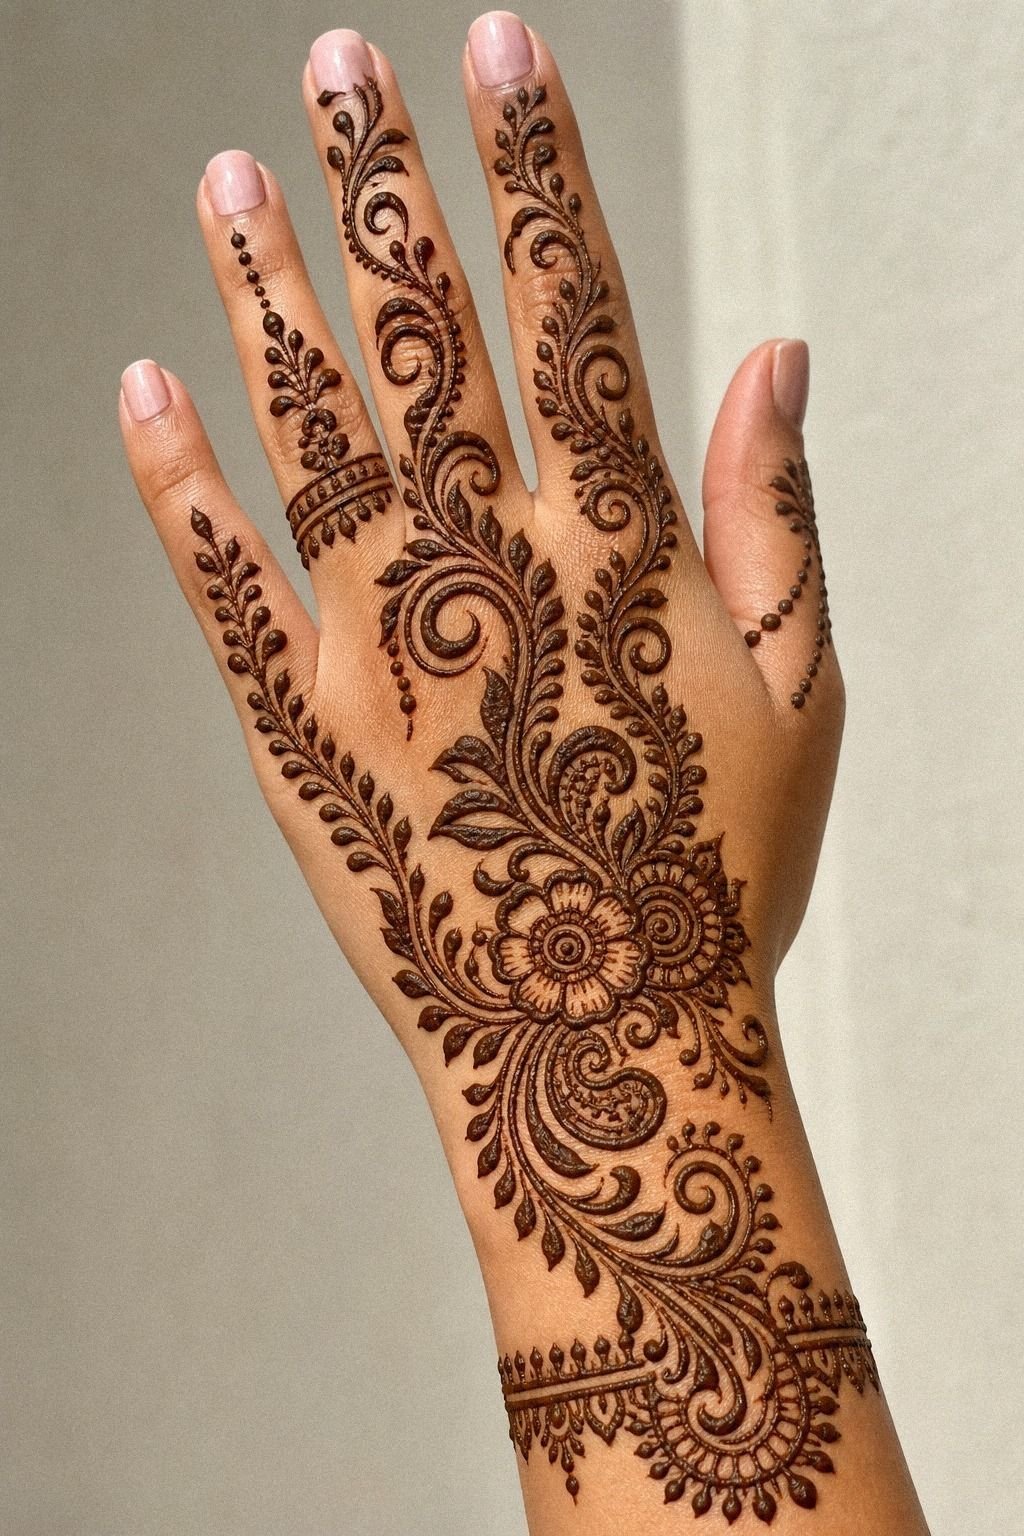
[IMAGE: full-hand floral Arabic mehndi design with one hero flower, open finger tapering, reddish-brown paste lines and light fill]
Go fuller only when the floral map has hierarchy. This golden tan skin reference works because the largest flowers sit on the hand and the finer pieces taper through the fingers, so your eye knows where to land first. I would anchor the flowers in bold paste outlines and keep the lacey fill lighter with tiny dots, not extra lines piled everywhere.
A full-hand layout can look incredible, but it’s not a beginner move if you dislike sitting still for the drying time. Fingers smudge.
Knuckles rub. And if the artist doesn’t know how to leave clearance, the whole pattern can dry flat.
I would tell you to size the main bloom at least 1.25 inches across so it does not collapse into a crowded stain.
This is also where cost and value matter. A bigger layout means more cone time, more redraw time, and more chances to disturb the paste if the artist chases every tiny petal.
If your budget is tight, I’d rather see you book one strong hero panel that dries neatly than spend the whole price range on clutter. For fuller reference sets that still keep structure, 17 modern mehndi designs that translate beautifully into skin is a smart scroll.
– Large floral anchor. Smaller vine echoes. Light dot accents. – Full-hand commitment.
Strong impact now. Longer drying time later.
Turn It Into a Wrist Cuff, Not an Anklet
[IMAGE: Arabic mehndi cuff wrapping the outer ankle like jewelry, repeating leaf arcs with open skin and crisp reddish-brown edges]
Treat this one like jewelry for skin. The image reads as a bracelet wrapping the feet and ankles, and that is exactly why I would shift the same idea into a henna cuff with repeating Arabic leaf curves instead of literal bangles. On deep brown skin, the warm stain makes a deep brown-red cuff line pop beautifully, especially when the ornamental pieces float just above and below it instead of touching every edge.
Ankles can produce a striking stain when the pattern stays open, but they still need care near the bone. I would keep the bracelet band around 0.5 inch wide and let a few leaf points break upward so it doesn’t look like a stamp.
If the goal is a placement that feels dressed up without being too loud, this one makes sense because the shape is simple to wear, easier to apply, and less demanding than a full foot wrap. For more ornamental flow, arabic mehndi designs gives you a broader base.
– Cuff structure. Repeating arcs. Clean edge control. – Ankle placement. Sharp near bone.
Better drying than true foot-center work.
6Diagonal Arabic Mehndi Across Knuckles
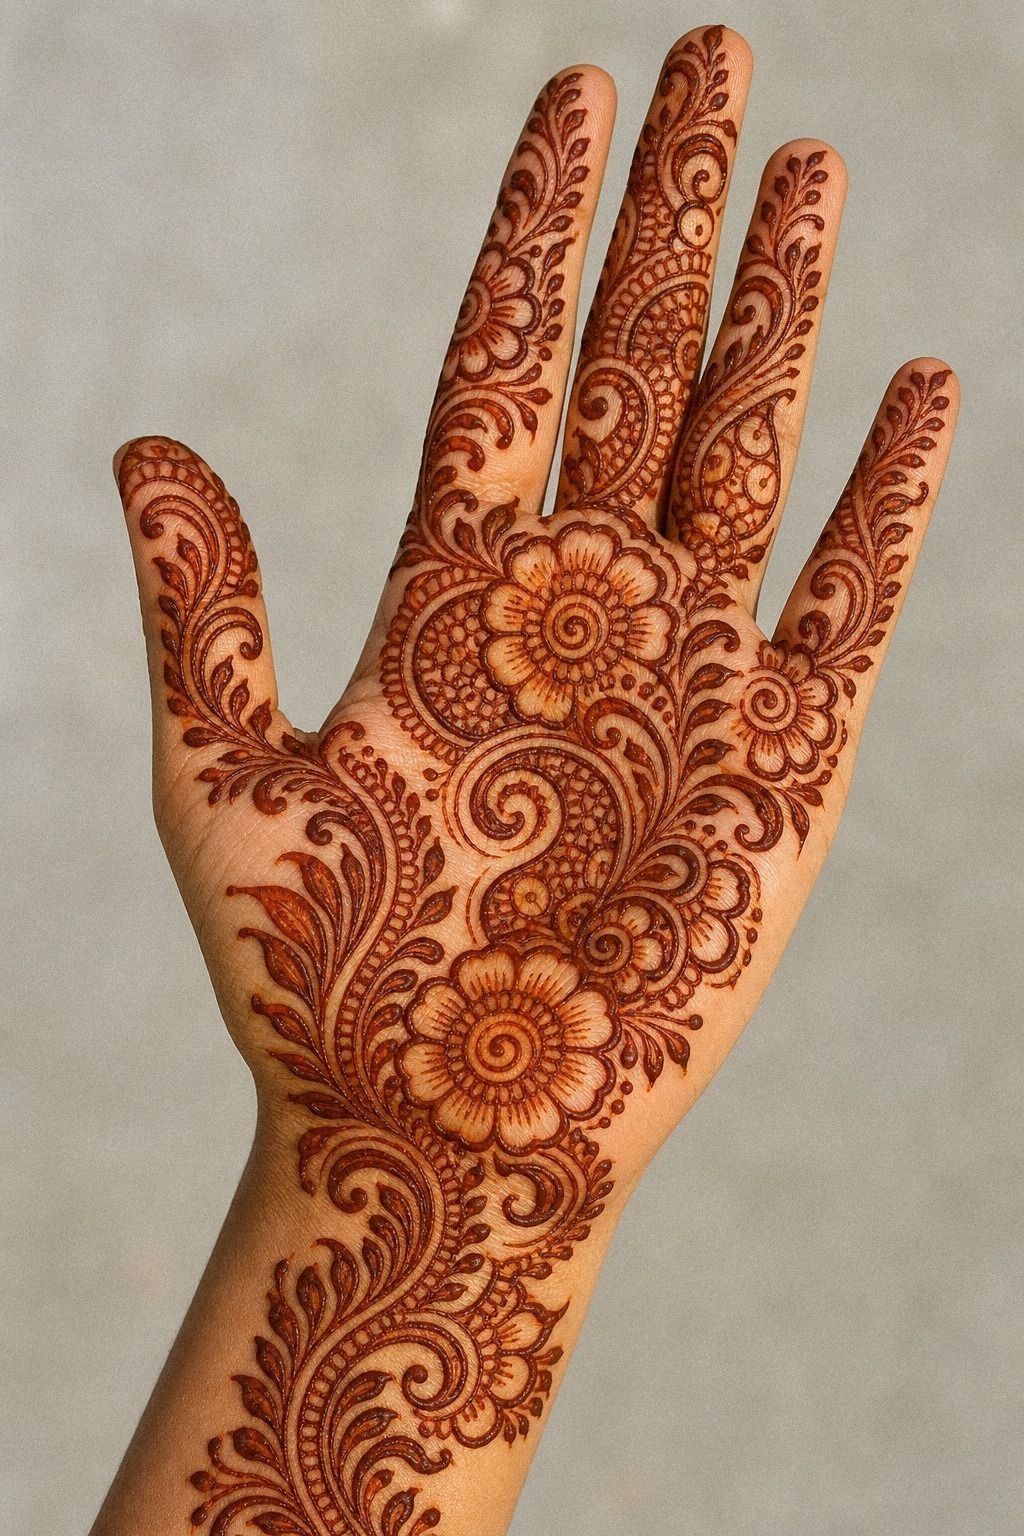
[IMAGE: diagonal Arabic mehndi design sweeping across knuckles with high-contrast reddish-brown lines and spaced finger joints]
Run the pattern diagonally across the knuckles instead of stacking it straight. That diagonal move is what keeps the hand looking longer and less boxed in.
On deep ebony skin, I would lean on high-contrast henna paste and skip overly faint shading, because this kind of design needs clear separation while the stain develops. A diagonal layout also lets you avoid crowding every finger joint with the same motif.
But I am picky about this placement. Knuckles are high-rub, and a rushed application can smudge them fast.
You want crisp lines, not ten fuzzy passes over the same curve. If the goal is a meaningful mehndi design with better definition, move the same diagonal sweep onto the back of the hand and lower wrist.
That version usually dries cleaner and gives better value for the money. For similar movement references, stylish mehndi designs for front hand is a solid comparison.
– Diagonal sweep. Longer visual line. Cleaner finger spacing. – Knuckle caution.
High friction. Best for people who can protect the paste while it dries.
Pinterest Loves This Leaf Pattern, Skin Needs More Air
[IMAGE: fine line Arabic leaf henna design with larger leaf tips, anchored center curve, open spacing on the back of the hand]
Strip it down to leaf rhythm and line confidence. This fair cool-toned hand reference feels modern because the leaf pattern doesn’t over-explain itself.
I would keep the stems slim, the leaf tips pointed, and the repeat spacing consistent, then draw it with fine cone botanical work anchored by a stronger central curve. That balance is what keeps the design from looking flimsy.
I would keep the leaves a little bigger than you think you need, then cut half the tiny filler dots people keep copying from henna screenshots. It’s cleaner, prettier, and usually a stronger call because the paste can dry without the details running together. If you love these delicate motifs but you are nervous about smudging, modern mehndi designs is a useful side-by-side reference.
– Leaf silhouette first. Minimal inner marks. Soft tapering ends. – Forearm translation.
Lower wear. Cleaner stain than finger-heavy placement.
8Stylish Arabic Back Hand Mehndi
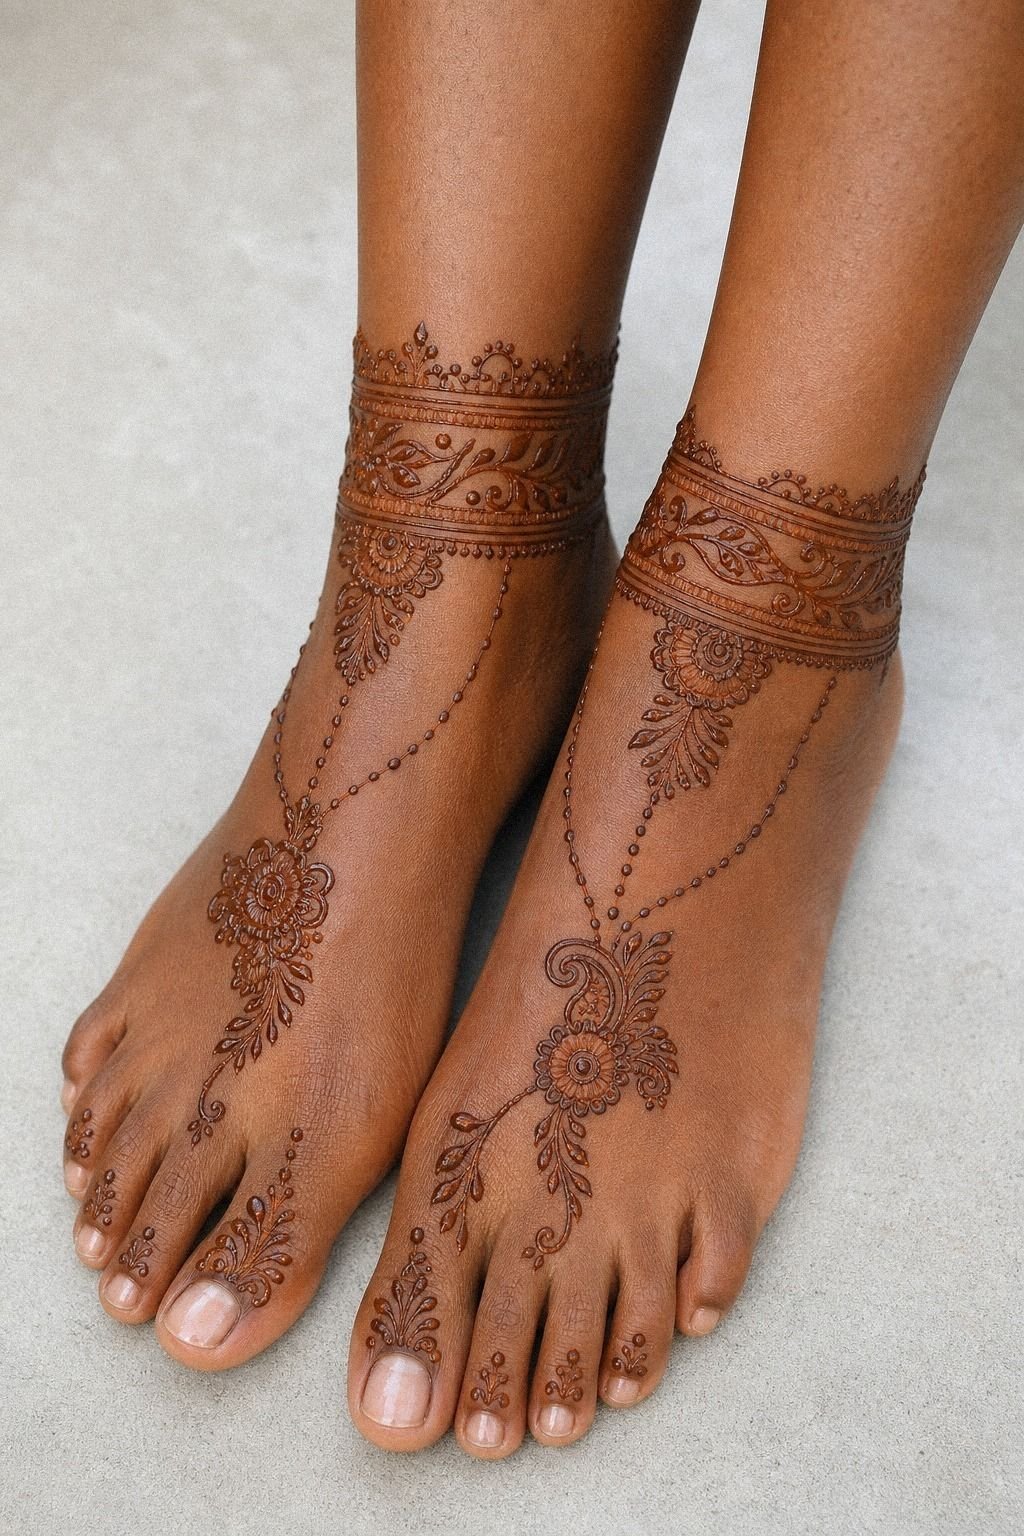
[IMAGE: stylish back-of-hand Arabic mehndi design with one hero motif on the dominant hand and a lighter echo on the other hand]
Use the back hand as your main canvas and let the palms stay out of it. This medium warm ivory reference works because both hands mirror the mood without turning into copy-paste. If I were mapping it for mehndi, I would keep one hero motif on the back of the dominant hand, then echo a lighter variation on the other side with ornamental dotwork instead of full duplication.
That keeps the set looking intentional, not stiff. I know the matched-hands idea is tempting, but exact symmetry can feel forced on skin.
You’ll get a better result if one hand leads and the other supports. For readers saving front-hand inspiration, stylish mehndi designs for front hand and arabic mehndi designs both help when you are sorting out which side should carry the visual weight.
– Lead hand focus. Lighter echo on the second hand. Less forced symmetry. – Back-hand priority.
Better drying than palm detail. Easier daily visibility.
9Arabic Paisley Palm Mehndi Accent
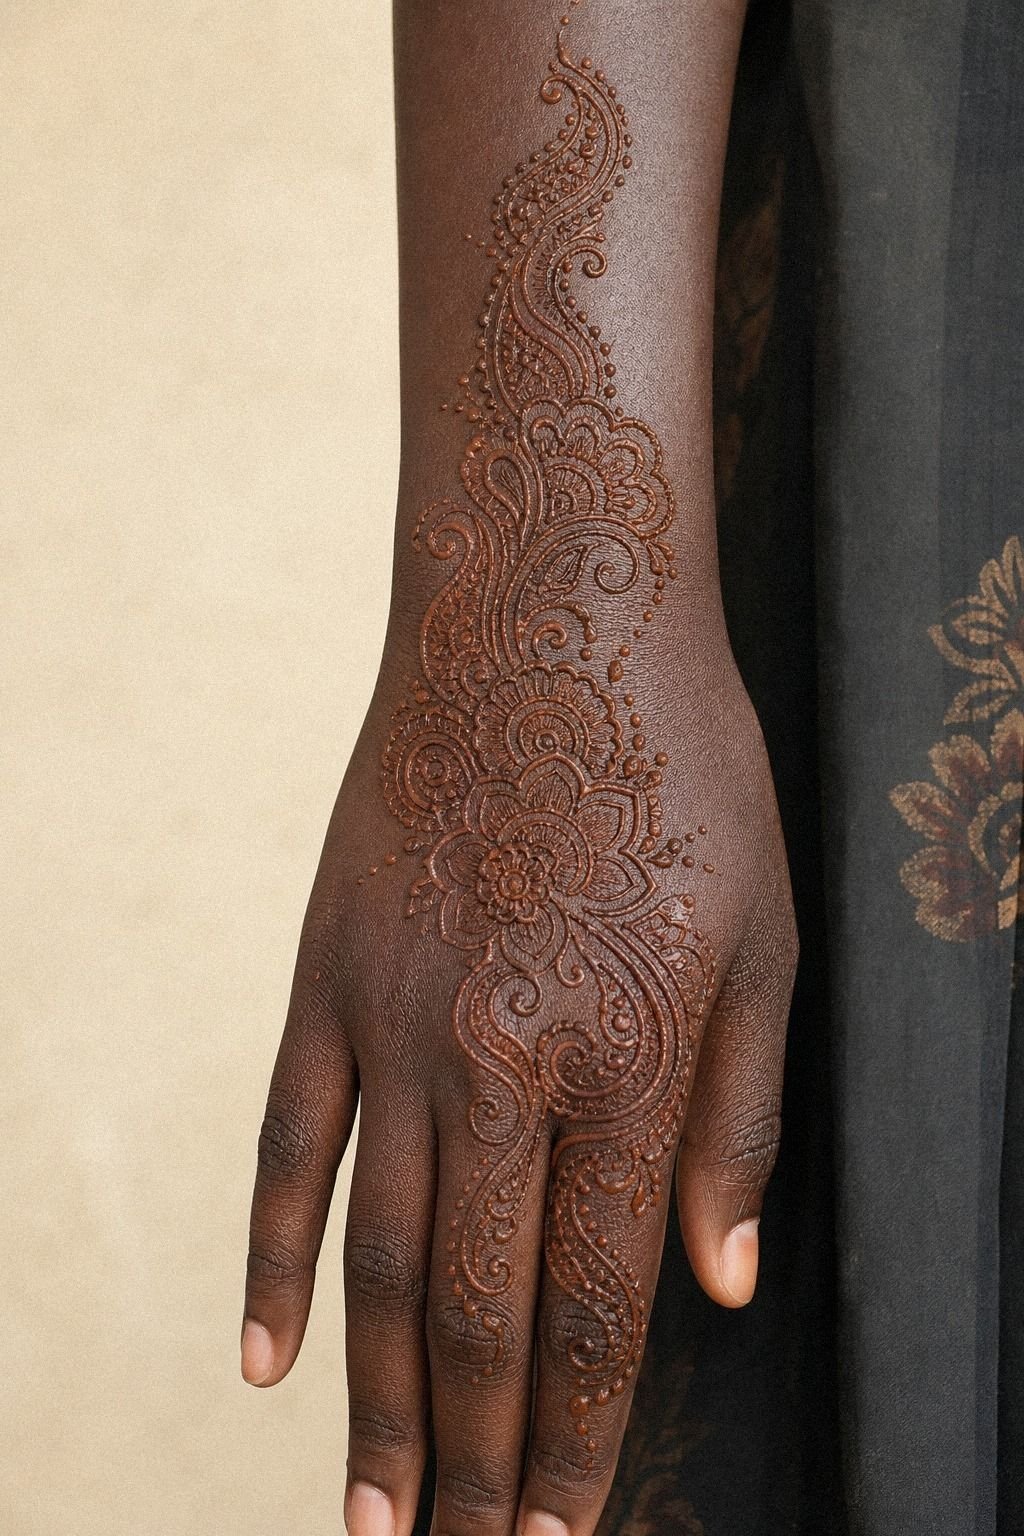
[IMAGE: single paisley Arabic mehndi design placed low on the hand with selective dot shading and open wrist flow]
Anchor this layout with one paisley, not five. On medium olive skin, a palm-and-wrist accent looks strongest when the paisley sits low and the smaller hooks spiral outward with intention. I would apply that shape using brown-red paste lines and a few dot-shaded pockets, because paisley can look muddy fast if every inner curl is filled at the same density.
This is the kind of motif that works for both a simple hand design and a longer wrist piece. But I would not center it on the true palm if you need the stain to remain sharp through handwashing. Move it just off-center, or let it live on the lower wrist where it still reads like mehndi without taking the worst wear.
If paisley is your favorite part of the style, peacock mehndi designs is worth opening too because the feather logic overlaps more than people think.
– Single paisley anchor. Smaller curls. Selective dot shading. – Off-palm placement.
Better hold. Same ornamental feel.
Keep the Finger Lines, Drop the Clutter
[IMAGE: minimal finger line Arabic mehndi design with two central finger lines, tiny side accents, and empty skin between joints]
Keep the finger lines deliberate and spare. This golden tan reference has that neat vertical pull that makes fingers look longer, and it works because the marks do not fight each other. I would map this as minimal cone linework with one central line on two or three fingers, then tiny side details near the first knuckle instead of packing every segment.
Finger mehndi is for people who accept reality. The paste rubs away faster there, the skin gets washed more, and the stain may need refreshing for another occasion.
But for a modern mehndi feel that stays clean, this is a stronger bet than micro-patterns wrapped around every finger. Keep the line length around 1 to 1.5 inches and let empty skin do part of the work.
It’s a smart first-occasion move too, because it gives solid value without paying for a dense full-hand application. For tighter minimalist references, very simple mehndi designs can help you edit yourself.
– Vertical finger lines. Tiny side accents. No stacked clutter. – Realistic expectation.
High-wear placement. Pretty now, refreshing later.
What Happens When Open Skin Leads?
[IMAGE: open-skin Arabic mehndi design flowing from outer ankle onto top of foot with open breaks and dark paste anchors]
Let the open gaps carry as much style as the stain. This feet-and-ankles reference feels fresh because the pattern breathes through deliberate breaks, then reconnects in clean arcs. I would build that same mood with open-skin paste lines and stronger anchors near the ankle bones, because the open sections are what keep the design from turning heavy.
Feet are pretty, but they take abuse from shoes, sun, and friction. So I would simplify one layer more than you think you need.
But that simplification isn’t a downgrade. It’s why the piece stays elegant instead of patchy while the color develops. If you want more examples where open gaps do the styling, 17 modern mehndi designs that translate beautifully into skin is a good next click.
– Open-gap rhythm. Ankle anchors. Fewer fill details. – Foot placement.
Beautiful payoff. Higher rubbing and faster fading.
12Arabic Rose Trail Hand Mehndi
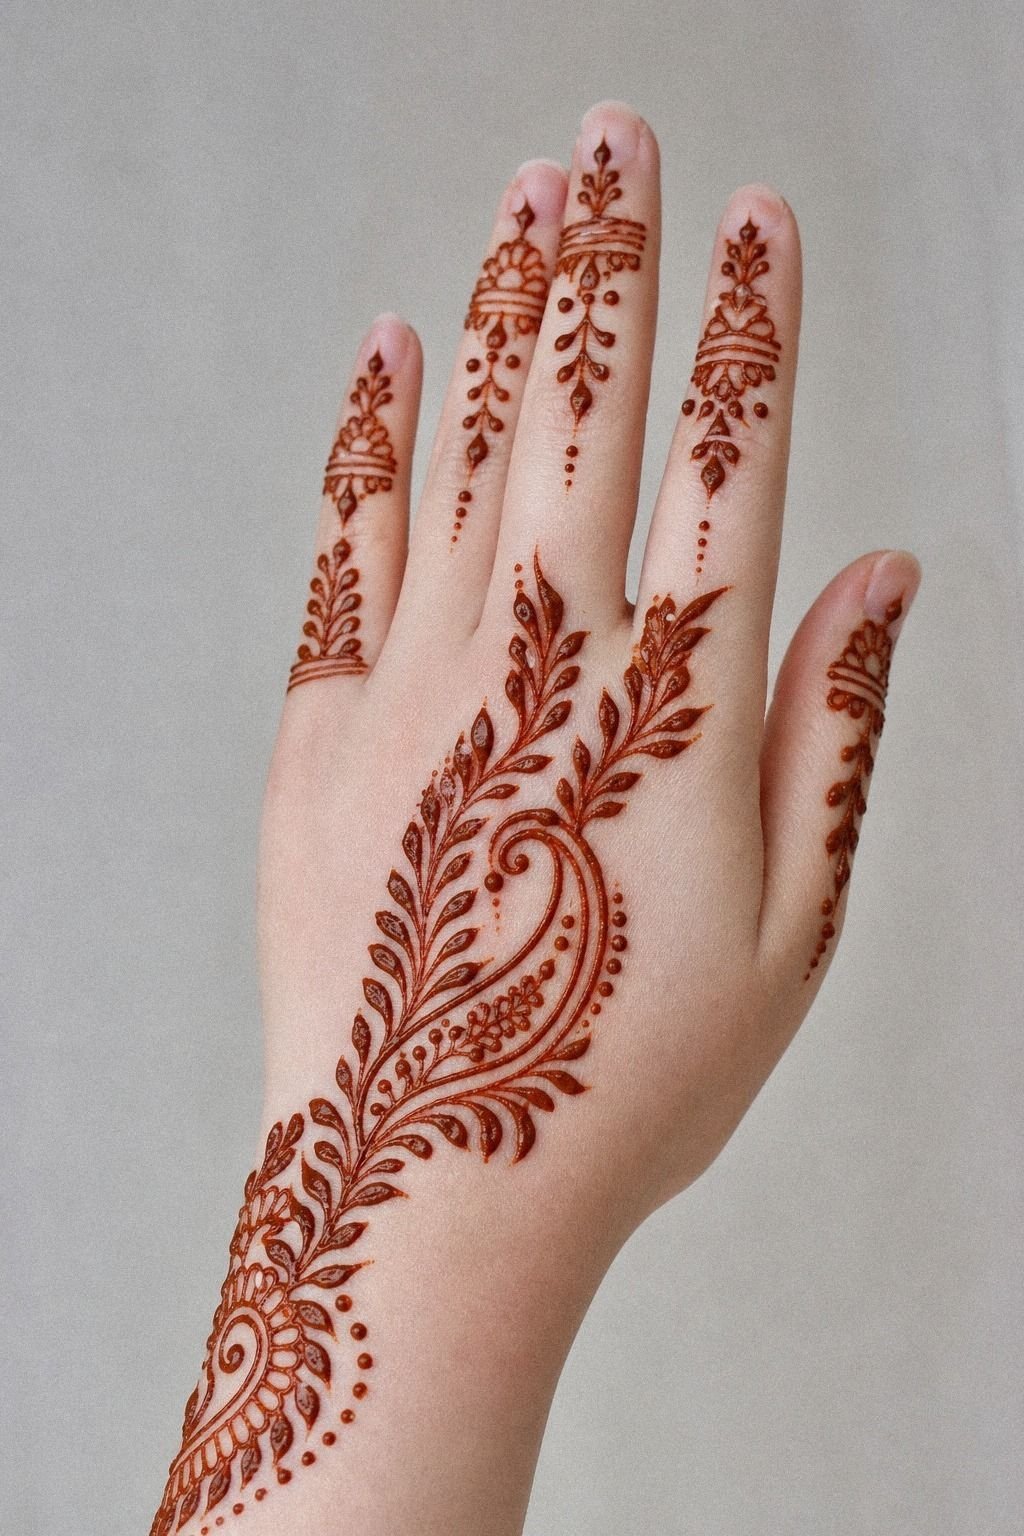
[IMAGE: Arabic rose trail henna design with bold bloom edges, lighter connecting vines, and soft dot shading running from hand toward forearm]
Swap generic petals for a rose trail with real structure. On deep ebony skin, a rose-led mehndi path looks strongest when the bloom edges stay bold and the connecting vines stay lighter. I would apply this with brown-red rose detailing, using soft dot shading in the petals, then keep the stem cleaner so the whole trail does not turn flat after the paste dries.
This is one of those designs that can go either romantic or fierce depending on how you place it. A hand-to-forearm trail feels graceful, while a tighter wrist version reads more like jewelry. I’ve had clients come in wanting tiny rose clusters, and most of them looked better once we gave the main flower a little more size.
For floral-heavy references with similar movement, peacock mehndi designs 2 can spark better composition ideas than a random screenshot pile.
– Rose anchor bloom. Lighter connecting vines. Soft dot shading. – Forearm extension.
Better canvas length. Cleaner petal read at a glance.
Bridal Drama vs Long-Term Clarity
[IMAGE: bridal-inspired Arabic mehndi design edited for skin, selective lace clusters, open breaks across fingers, crisp ornamental paste lines]
Go bridal, but edit hard. This fair cool-pink hand reference feels elevated because the coverage is neat, the finger patterning is controlled, and the hand still has visible breaks between motifs. To turn bridal mehndi into a polished occasion design, I would keep the lace sections selective and rely on ornamental bridal paste lines with only a couple of denser clusters, not wall-to-wall fill.
And this is where a lot of people overdo it. Bridal references can be gorgeous in henna for one event, but the stain still needs enough separation to darken clearly.
The goal is a design that looks intentional on day two, not one that turns into a soft brown patch after the paste flakes away. The strength is in editing, not excess.
For cleaner bridal-adjacent references, simple mehndi designs front hand easy and arabic mehndi designs both help you cut the fluff.
– Selective bridal density. Clear breaks. Controlled fingertip detail. – Temporary translation.
Edit the event look. Keep only the strongest motifs.
14Minimal Arabic Mehndi For Beginners
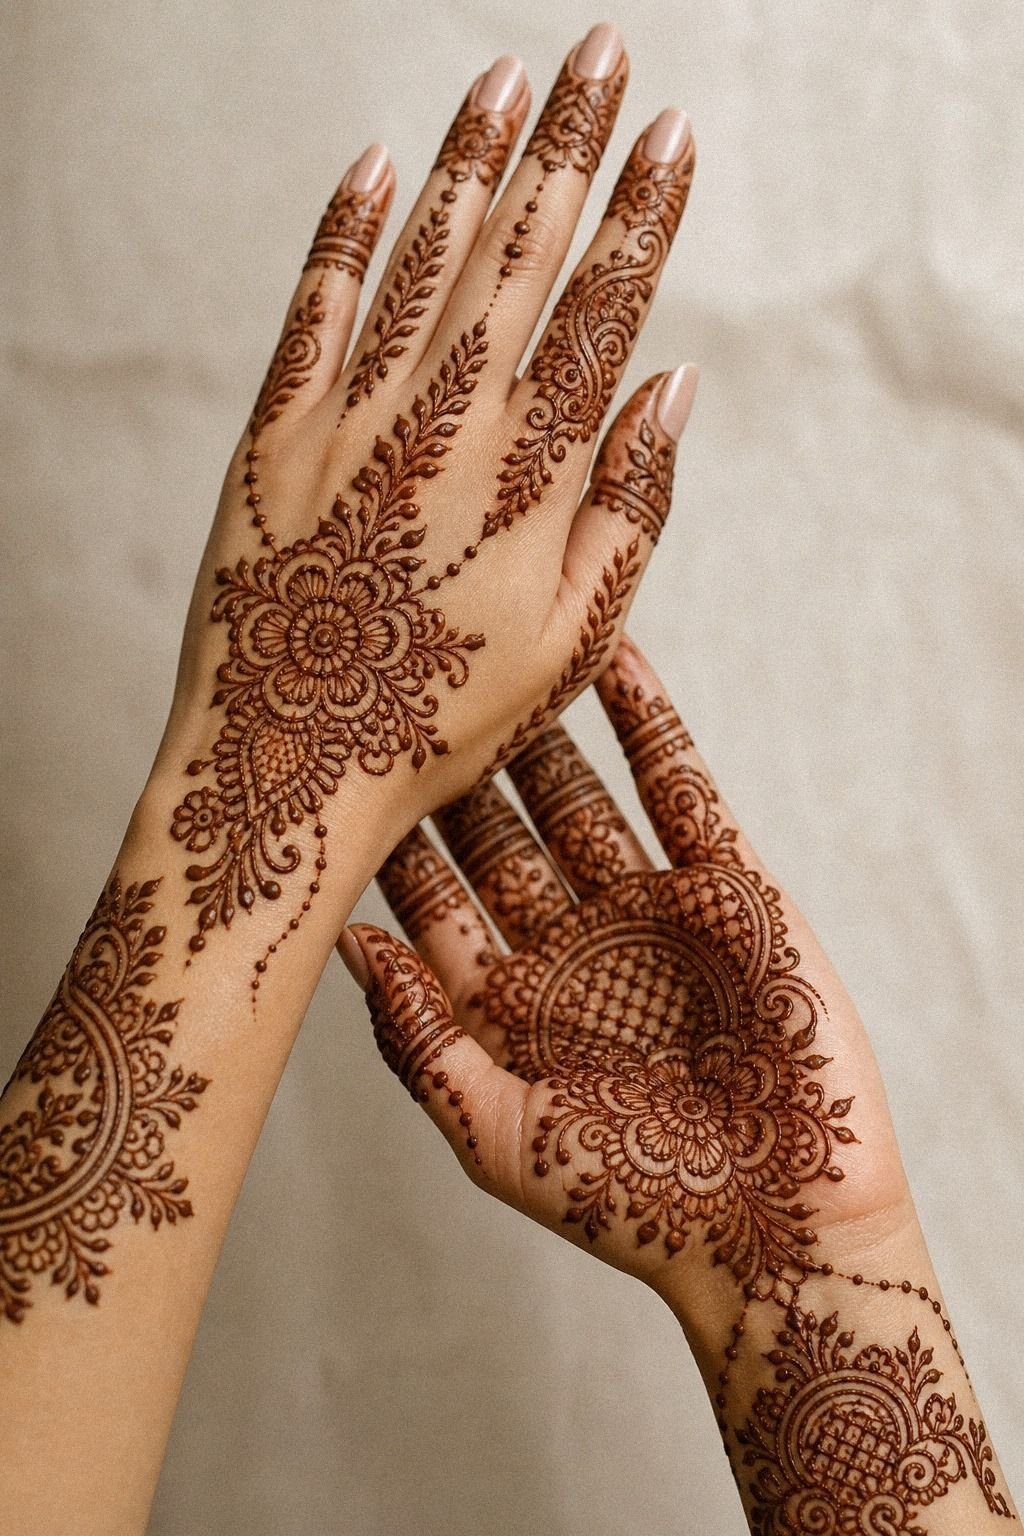
[IMAGE: beginner-friendly Arabic mehndi design with one main motif on the outer forearm, tiny dot accents, and simple ornamental curve]
Begin with one easy motif per hand and stop there. This medium warm ivory reference works because it doesn’t chase complexity. A simple curve, one floral accent, a few dots, done.
If you are new to mehndi, I’d rather see you leave wanting a second design than force a delicate layout that smudges before it has dried.
That is the part beginners need to hear. Smaller is fine, but too tiny is not.
You still need enough size for the curves to stay clean. I would keep the core motif around 2 inches tall and let the supporting marks stay secondary. Then you’ll know what style, price, and drying time feel right on your skin.
If you want a lighter reference pool before you book, very simple mehndi designs and modern mehndi designs are the first two pages I would save.
– One main motif. Tiny dot accents. Clear outer edges. – Beginner placements.
Outer forearm, upper arm, calf. Easier drying and less rubbing.
Why the Open-Flow Rule Works
[IMAGE: comparison board showing open-flow mehndi placements on back of hand, wrist, forearm, and ankle with clear paste spacing]
If you want Arabic mehndi ideas that stay crisp, think about placement, drying time, stain color, and occasion before you obsess over the prettiest screenshot. The short version is simple: hands and feet look striking, but they’re high-wear and usually need cleaner editing.
Forearm, upper arm, calf, and outer ankle give you more forgiveness. That is not boring.
That is smart!
After the paste dries, leave it on as long as practical, ideally one to two hours or longer if the artist recommends it. A light lemon-sugar seal can help keep the paste attached, and the color usually deepens on the second day.
Avoid soaking the area right away, scrape the dried paste away instead of washing it off, and use a little natural oil if the artist suggests it. If you are still comparing placements, 17 modern mehndi designs that translate beautifully into skin and stylish mehndi designs for front hand make the trade-offs easier to see.
The Crisp-Line Rule
[IMAGE: finished ornamental henna close-up showing crisp brown-red lines, smooth stain, and clean separation between leaves and paisley shapes]
I’ve redrawn a lot of mehndi patterns after clients brought me references that were pretty in a screenshot but crowded in paste. Henna gets to fade. The stain is temporary.
That is the whole game.
What makes Arabic mehndi feel modern is not more detail. It’s better editing.
You want one lead motif, one support rhythm, and enough open skin that every curve still looks intentional when the paste dries and the color settles. That matters most on hands, fingers, feet, and ankles because those are high-wear zones. They get washed, rubbed, flexed, sun-hit, and generally put through it every day.
I made this mistake early on with a client who wanted a Pinterest-exact hand piece. The screenshot had tiny lace fill jammed between every leaf and paisley.
It looked sweet on my phone. On skin, not so much.
I drew the design bigger, cut maybe a third of the filler, and gave the vine more separation. She was nervous at first.
Then the paste dried clean, and the stain deepened beautifully on day two. That is the standard.
And here’s the honest part: not every mehndi reference should be applied on the exact same body part. A palm design may work better shifted onto the back of the hand.
A foot wrap might look more graceful as an ankle cuff. A dense bridal map might need to become one hero panel plus a smaller echo.
That is not watering it down. It’s respecting how skin and paste work.
When clients ask me if a full-hand mehndi design is worth it, I don’t dodge the answer. Sometimes it is.
Sometimes it isn’t. If money is tight, I’d put it into one clean back-hand piece or an outer forearm translation before I’d spend the full price on fingers and palm detail that will fade sooner.
That is the honest value call. If you are still deciding between delicate floral work and denser bridal flow, peacock mehndi designs and peacock mehndi designs 2 are solid comparison clicks.
If you are choosing an artist, look for finished stain photos, not just fresh paste. Look for crisp and confident lines, even color, and patterns that still have clear separation after the paste has been removed.
One clean pull, not ten fuzzy ones. That is the standard.
And if an artist says your favorite reference needs editing, that is usually a good sign, not a red flag.
The Questions Worth Answering First
[IMAGE: FAQ support visual with wrist, forearm, hand, finger, and ankle placement sketches for modern Arabic mehndi designs]
How much does a Arabic Mehndi Designs Modern usually cost?
About $20 to $80 is common for a small to medium design from a mehndi artist, while bridal work and event bookings can climb higher. Placement and detail density drive the price more than the trend label, so get a clear quote before booking. If you are budgeting options, modern mehndi designs and very simple mehndi designs are smart starting clicks.
– Simple design. Often around $10 to $35. – Bridal or event booking. Commonly $100 to $300 or more for several people.
Are Arabic Mehndi Designs Modern a good idea for a first mehndi application?
Yes, if you pick a layout with open lines and put it somewhere that isn’t constantly getting blasted by friction. Clean, readable motifs make a first application easier to protect, easier to dry, and usually a better value for your occasion.
– Safer first picks. Wrist, outer forearm, upper arm. – More advanced picks. Fingers, hands, feet.
How do I choose a mehndi artist for Arabic Mehndi Designs Modern?
Look for someone whose portfolio shows solid ornamental work, finished stain photos, and clean placement choices. Finished photos matter most because fresh paste can hide uneven spacing, and you don’t want to pay premium pricing for weak cone control. If you need more design examples to test an artist against, arabic mehndi designs helps.
– Portfolio signs. Crisp lines. Even stain. No smudged edges. – Artist signs.
Clean setup. Good stencil placement. Clear care advice.
Does applying Arabic Mehndi Designs Modern hurt?
The application is generally manageable, though some areas can feel more sensitive when the cone presses repeatedly. On hands, fingers, feet, and ankles, the sensation may be sharper. Fine lines feel lighter and repetitive dotwork can become tiring, so breaks help during a longer application.
– Easier zones. Outer forearm, calf, upper arm. – More sensitive zones. Fingers, hands, feet, sternum, ribs.
How long does a Arabic Mehndi Designs Modern take to dry?
The surface usually takes about one to two hours to dry, depending on the paste, climate, and detail density. Simple aftercare wins every time, so leave the paste on as long as practical, scrape it away gently, and avoid soaking the fresh stain.
– Dry it gently. Lemon-sugar seal. Warm air.
No rubbing. – Protect the stain. Scrape paste away.
Avoid pool water and heavy washing.
What’s the best placement for Arabic Mehndi Designs Modern?
For longevity, I’d start with the wrist, outer forearm, or outer ankle. Those spots still show the ornamental flow without taking the same beating as fingertips or the center of the foot.
Low-wear placements usually keep their color longer and give you the best value for the price. If you are torn between hand drama and easier upkeep, simple mehndi designs front hand easy is worth a quick look.
– Best balance. Wrist and outer forearm. – Best visual drama. Back of hand and ankle.
Where I’d Start First
If I had to pick one, I’d start with the outer forearm translation. It’s easier to protect, easier on your budget, and way more forgiving for fine curves without details rubbing away too quickly. Pin that direction and you’ll save yourself a regretful design later.