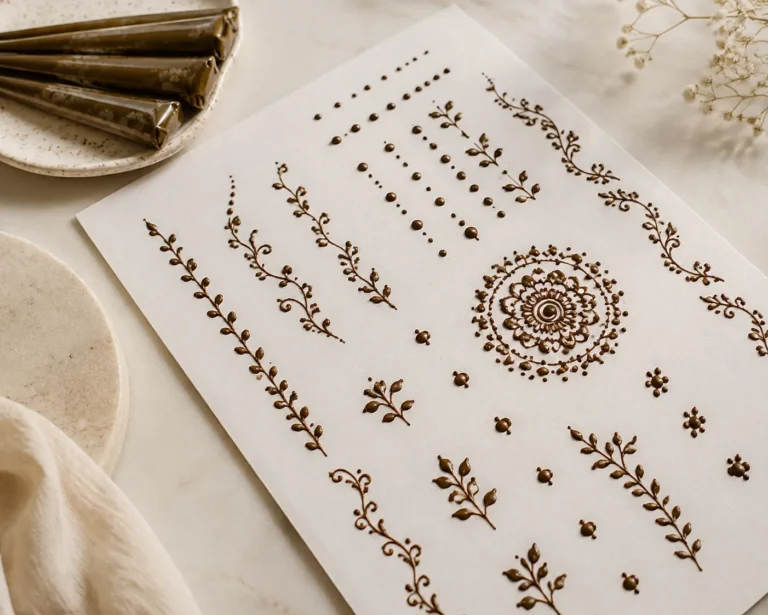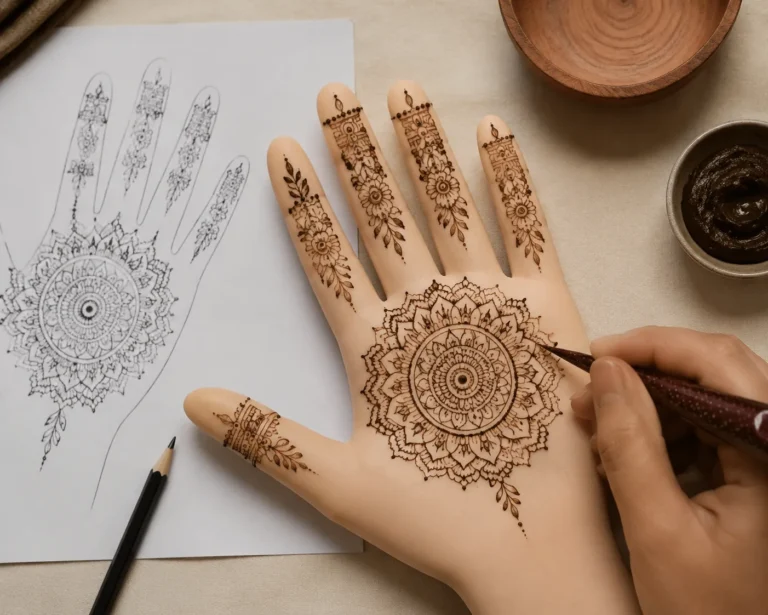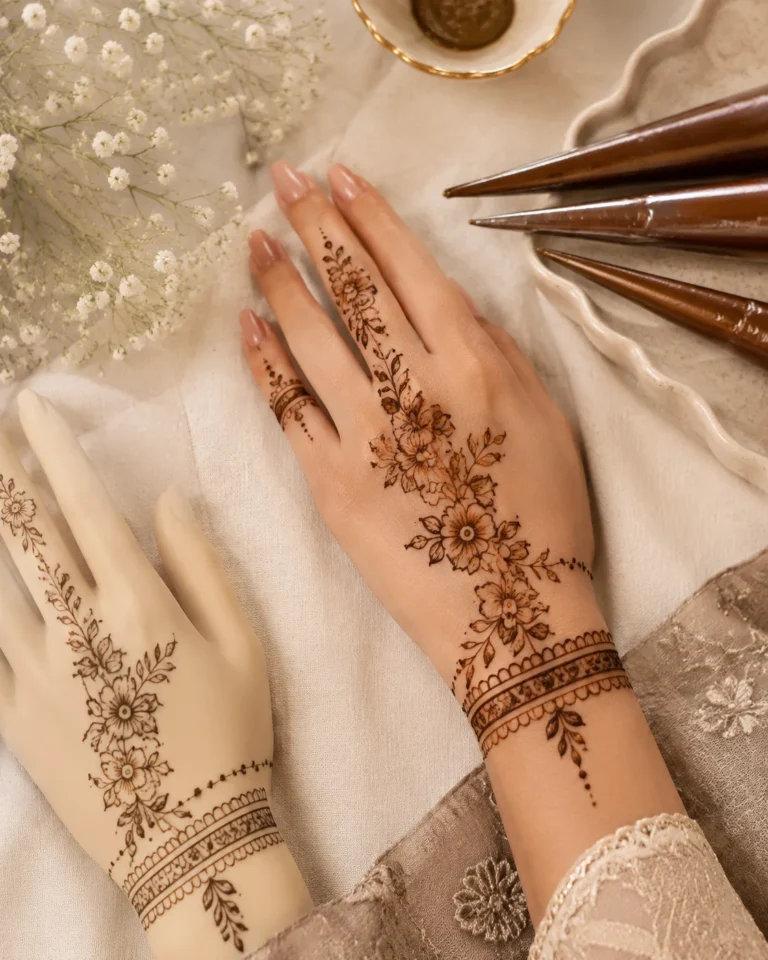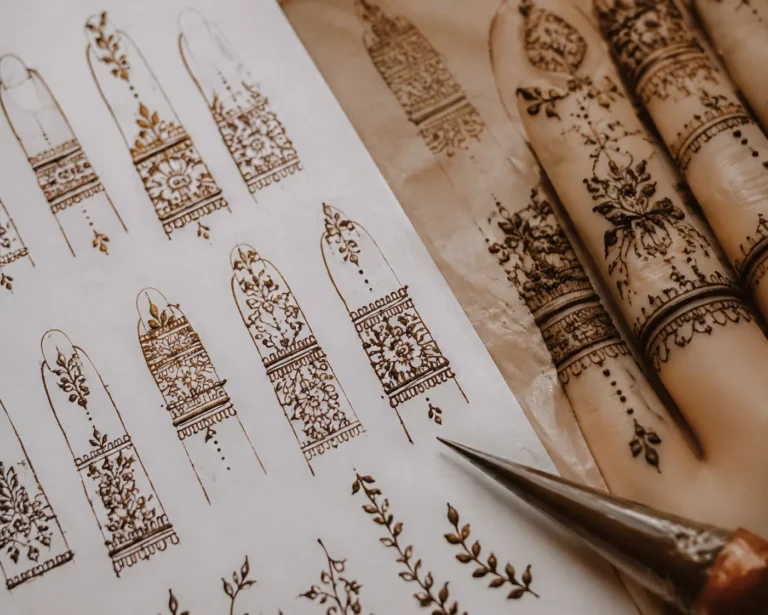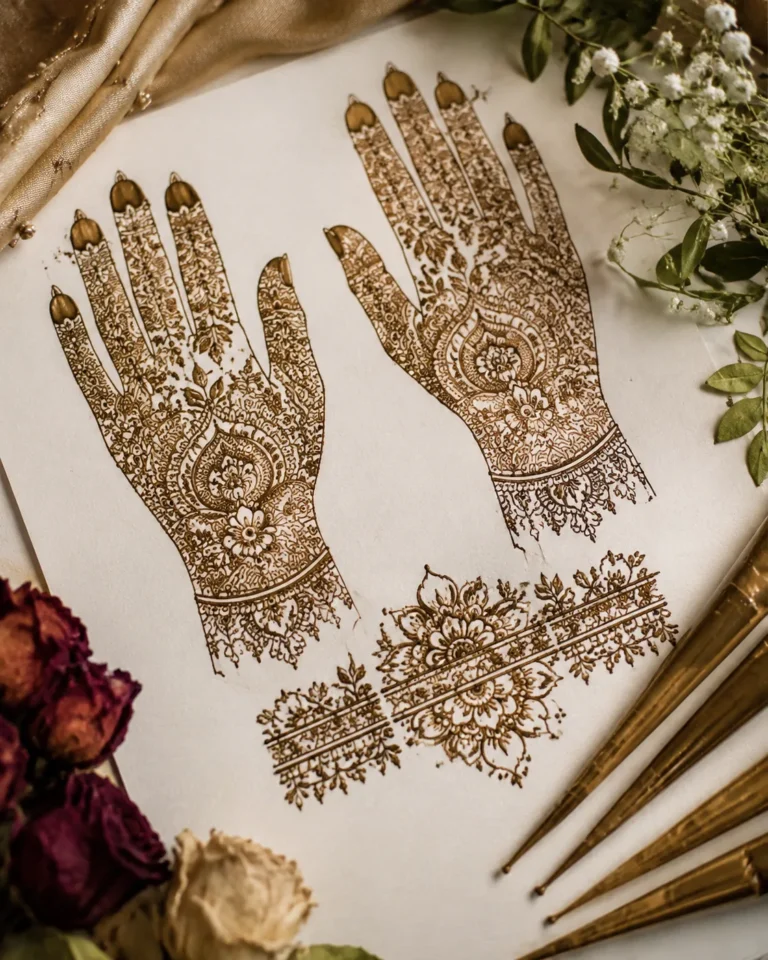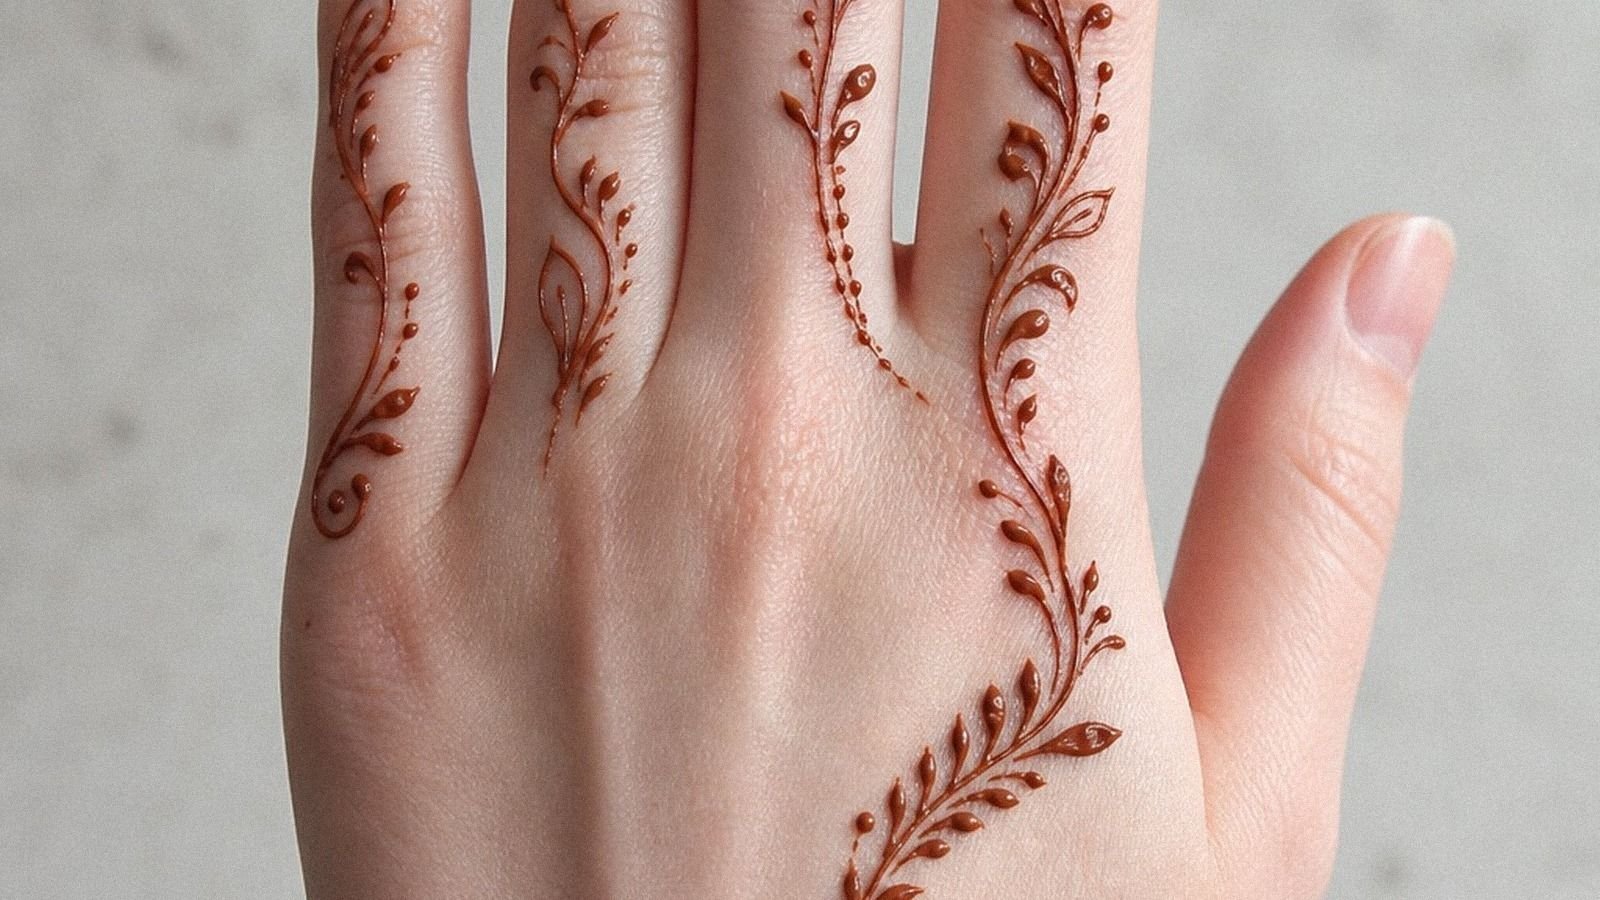
Minimal henna designs are a striking way to try delicate motifs on skin before choosing a lasting style. I almost talked myself into a tiny wrist swirl years ago, then realized the placement was too tight and the pattern would’ve blurred visually once the stain began to fade.
Now I use minimal henna the smart way. You get the softness, movement, and read of a temporary design without locking yourself into one line or placement. Henna is not a tattoo.
If you want something that looks delicate but not empty, these are the designs I keep coming back to.
- Minimal Henna Finger Vine Trails
- Space the Knuckle Dots So They Breathe
- Should a Wrist Bracelet Sit on the Crease?
- Minimal Mehendi Palm Center Motif
- Aesthetic Henna Back Hand Lines
- Try a Tiny Floral Thumb Accent
- Jaipur-Inspired Fine Line Ring Details
- Open Skin Henna Finger Pattern
- Pull an Arabic Side Trail Off-Center
- Clean Henna Fingertip Cap Design
- Lotus Placement: Wrist or Ankle?
- Chain an Anklet Style Instead of Filling the Ankle
- Delicate Mehendi Crescent Palm Accent
1Minimal Henna Finger Vine Trails
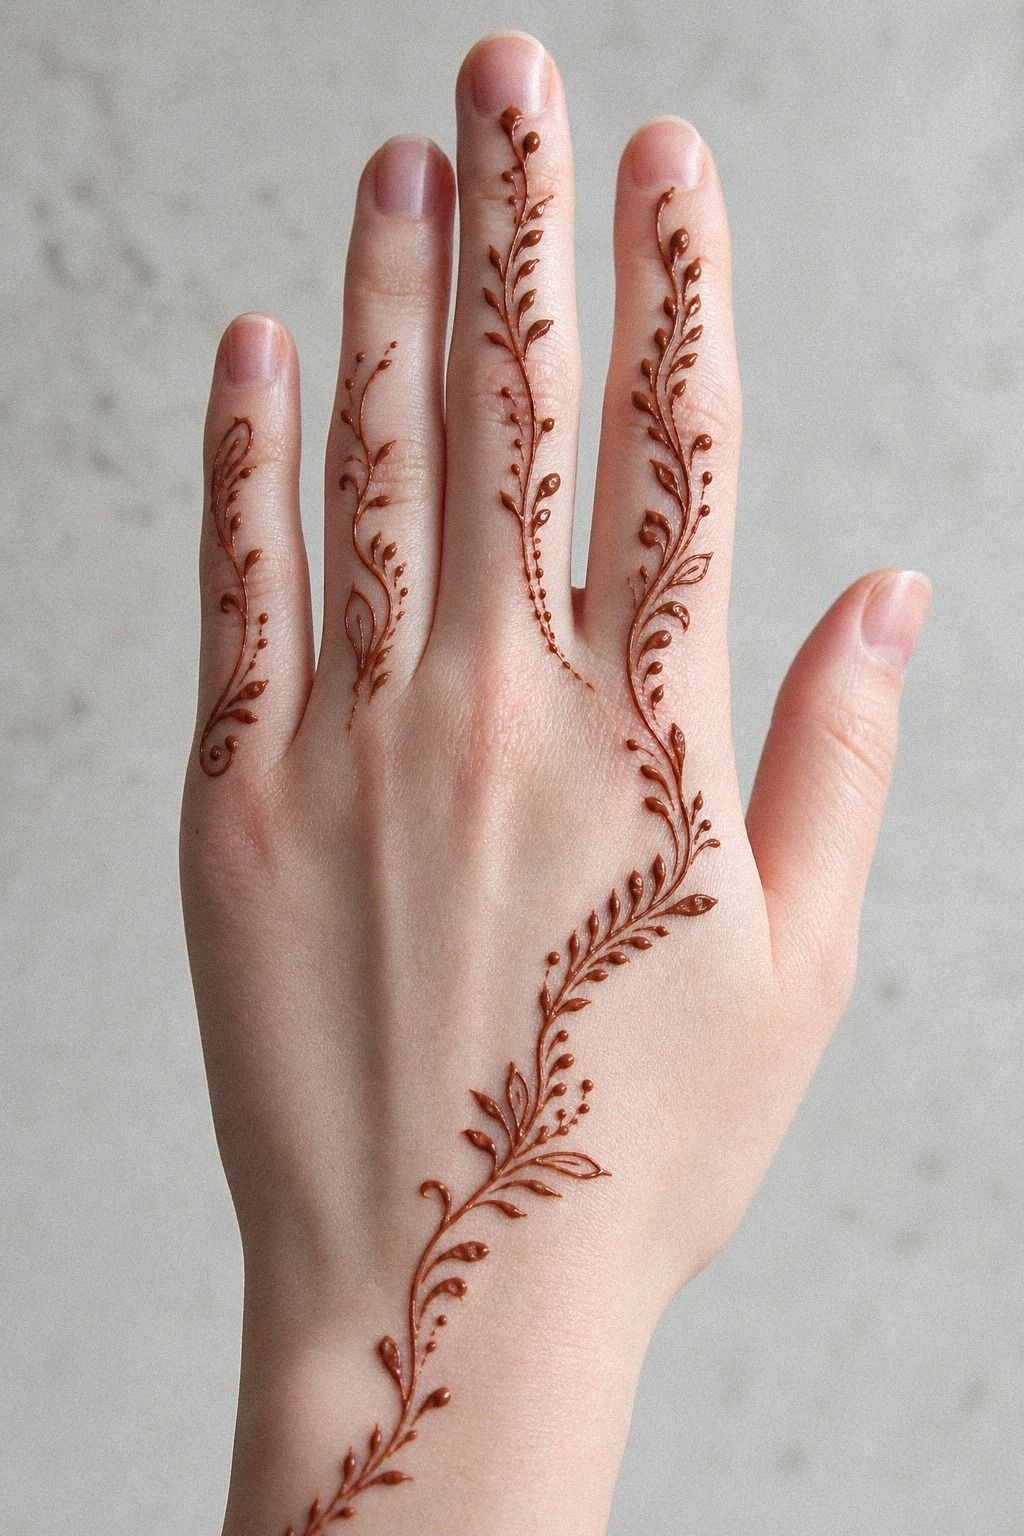
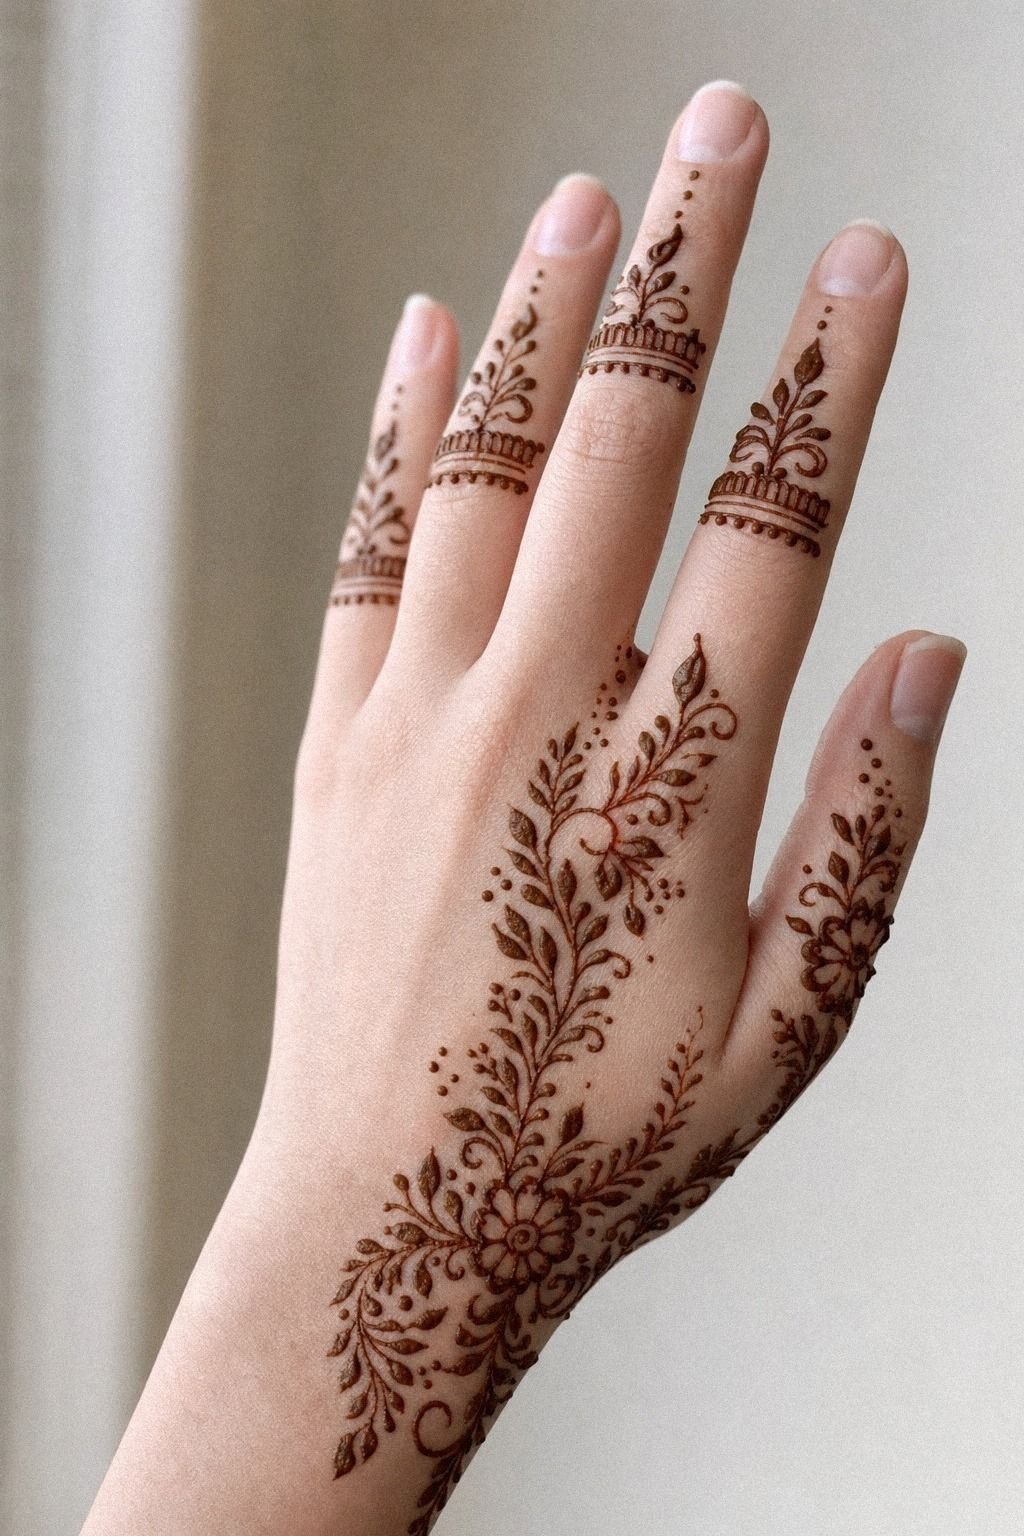
[IMAGE: striking finger vine henna trailing from back of hand onto one finger, soft reddish-brown stain, clean open skin, crisp minimal linework on real skin]
Start with the trail, not the leaf count. A slim henna paste cone pulled from the back of the hand onto one or two fingers keeps the whole thing graceful, and you can still see skin between each vine turn.
I like this on fair cool-pink skin because the reddish-brown stain stays crisp for the first few days if the artist makes one confident pull instead of stacking fuzzy lines. You want the trail to taper near the knuckle, not bunch up where your fingers fold.
But don’t let the vine crawl onto every finger. That’s where daily handwashing wears minimal work down fast, especially if you’re typing all day or washing your hands a lot.
If you want a softer practice version before going fuller, look at simple henna designs for beginners. The move that works is simple: one main trail, a few leaves, and enough open skin that it still reads clean at a glance.
2Space the Knuckle Dots So They Breathe
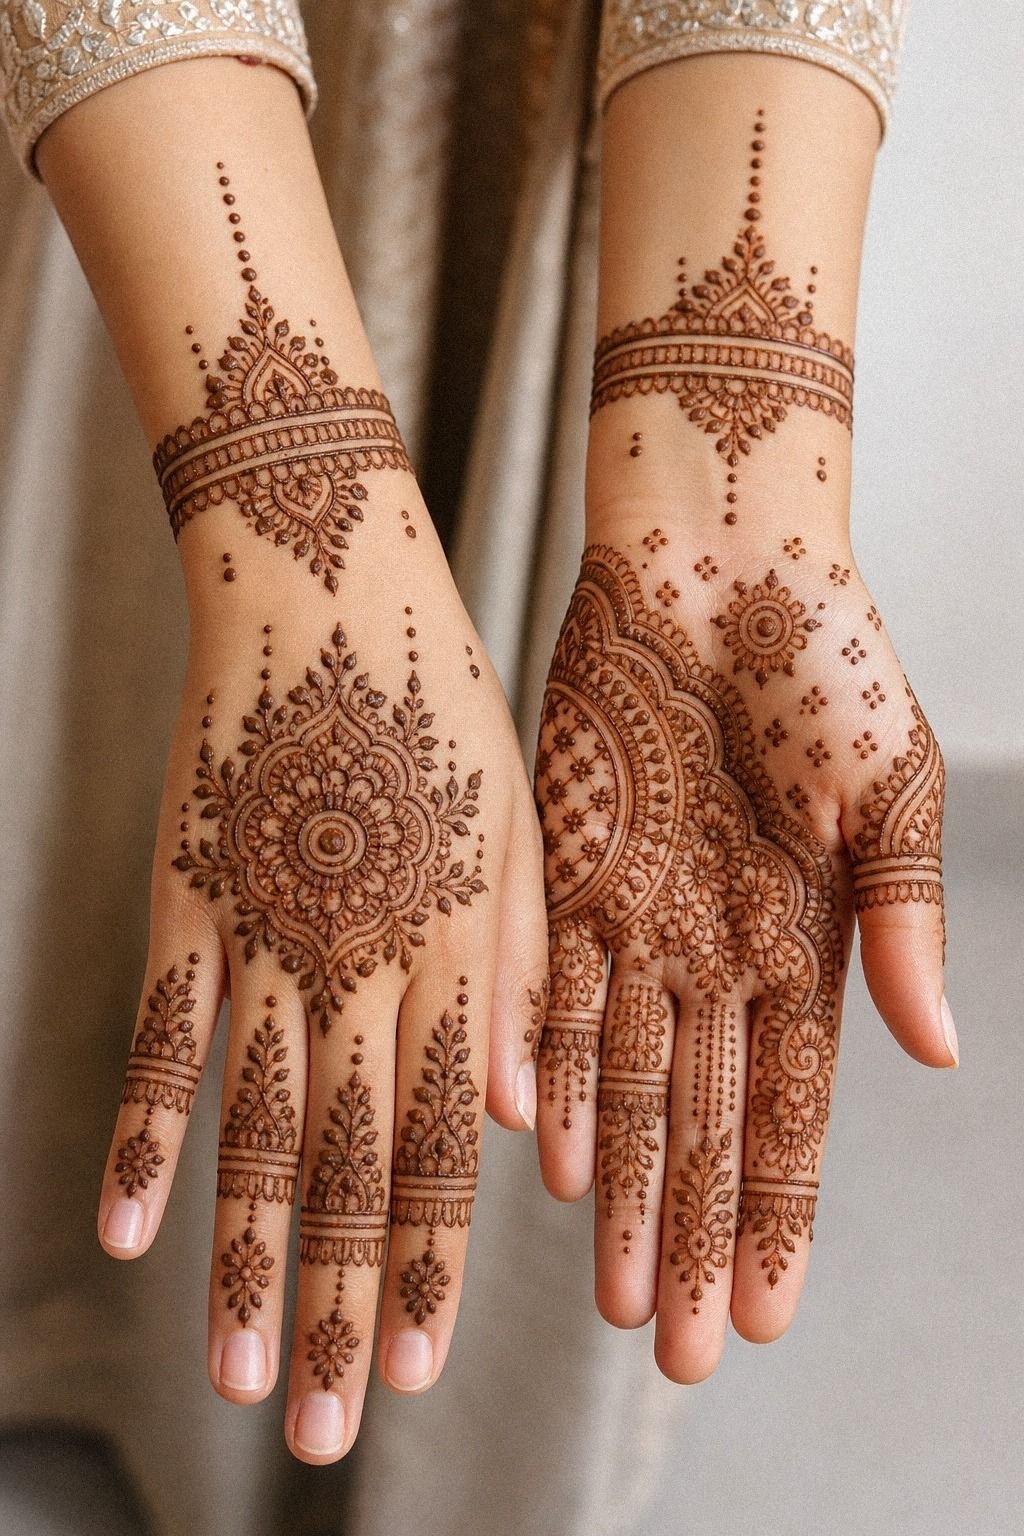
[IMAGE: tiny knuckle dot henna pattern with even spacing, delicate connector line, minimal hand design on warm ivory skin, clean and polished]
Keep the dots even and the pressure light. A row of tiny mehndi cone tips across the knuckles gives you an elegant rhythm without making the hand look heavy.
On medium warm ivory skin, those dots show best when they are paired with one small connector line near the base of the fingers. I wouldn’t stack extra petals here because the knuckle is already a high-motion zone, and busy detail turns muddy fast.
And this is where size matters more than people think. Dots that are too close together lose their sharp separation long before the stain fades.
You can steal the same less-is-more logic from 15 minimal mehendi designs that prove less lands harder. The bold choice is leaving space around the design so the hand still feels expressive.
3Should a Wrist Bracelet Sit on the Crease?
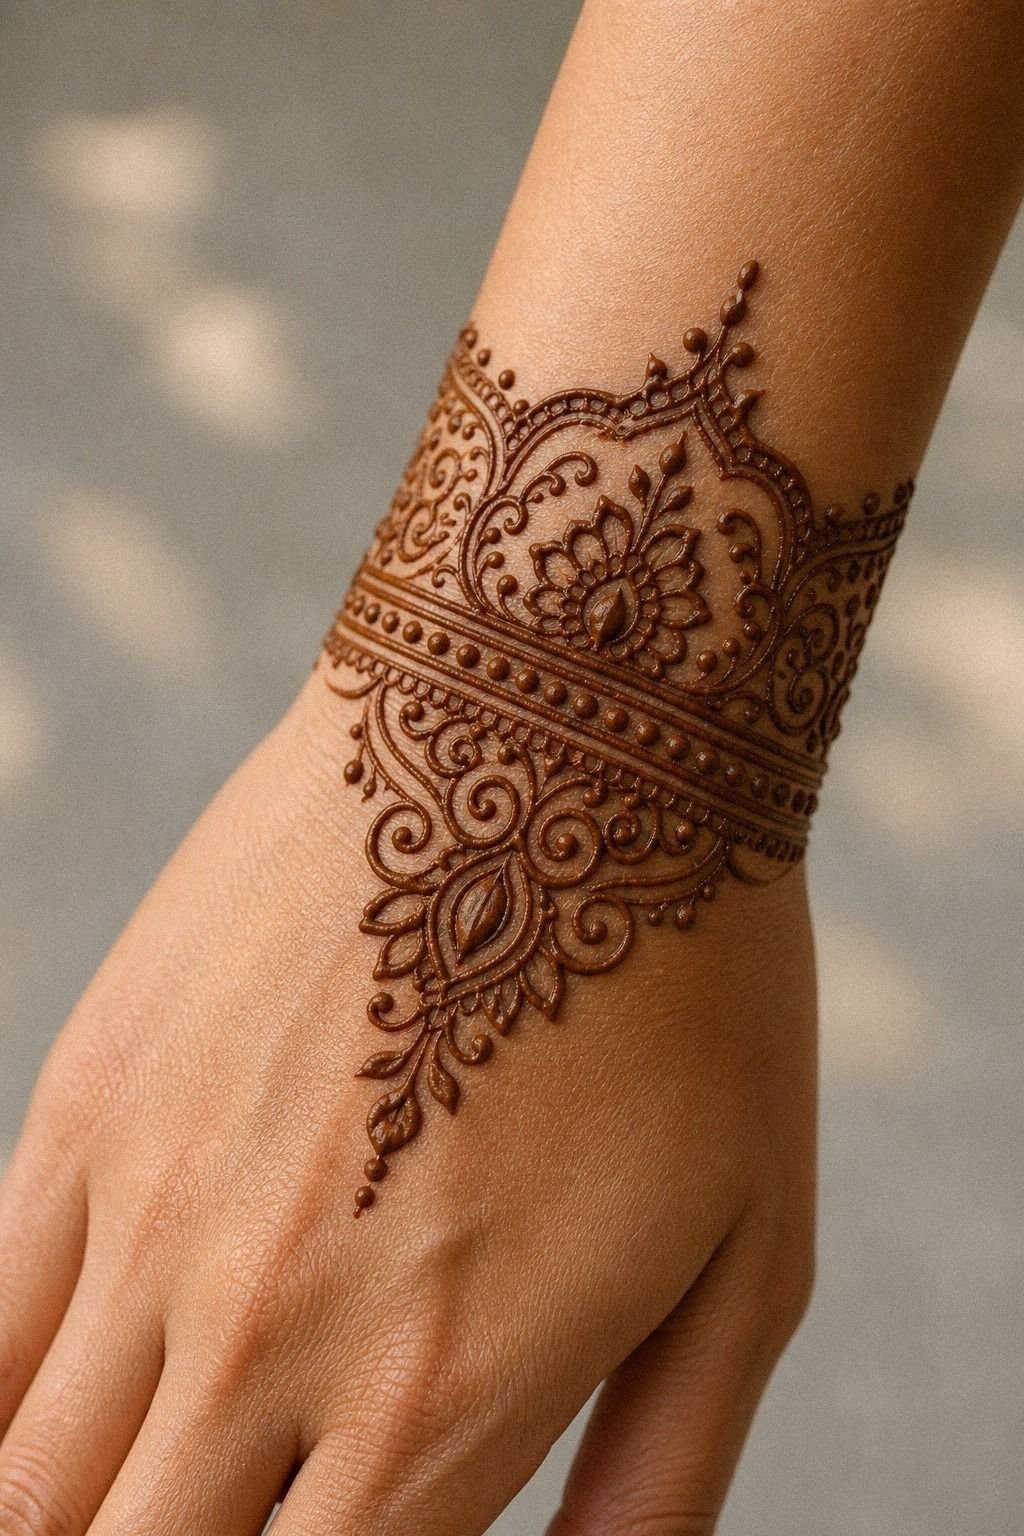
[IMAGE: slim henna wrist bracelet placed just above the wrist crease, elegant chain feel, negative skin showing, delicate but readable]
Wrap the wrist like jewelry, not a cuff. A sleek henna cone chain sitting just above the wrist crease gives you that light bracelet feel without letting the line buckle every time you bend your hand.
I like this best on medium neutral or fair skin when the pattern uses one clean chain, two tiny drops, and a little clear space. If you park the whole thing right in the crease, it’ll look busy fast and the stain won’t read as crisp once your wrist starts moving.
You can borrow the same placement logic from minimal mehendi designs. Keep the wrist crease clear so the delicate, polished shape remains easy to read.
4Minimal Mehendi Palm Center Motif
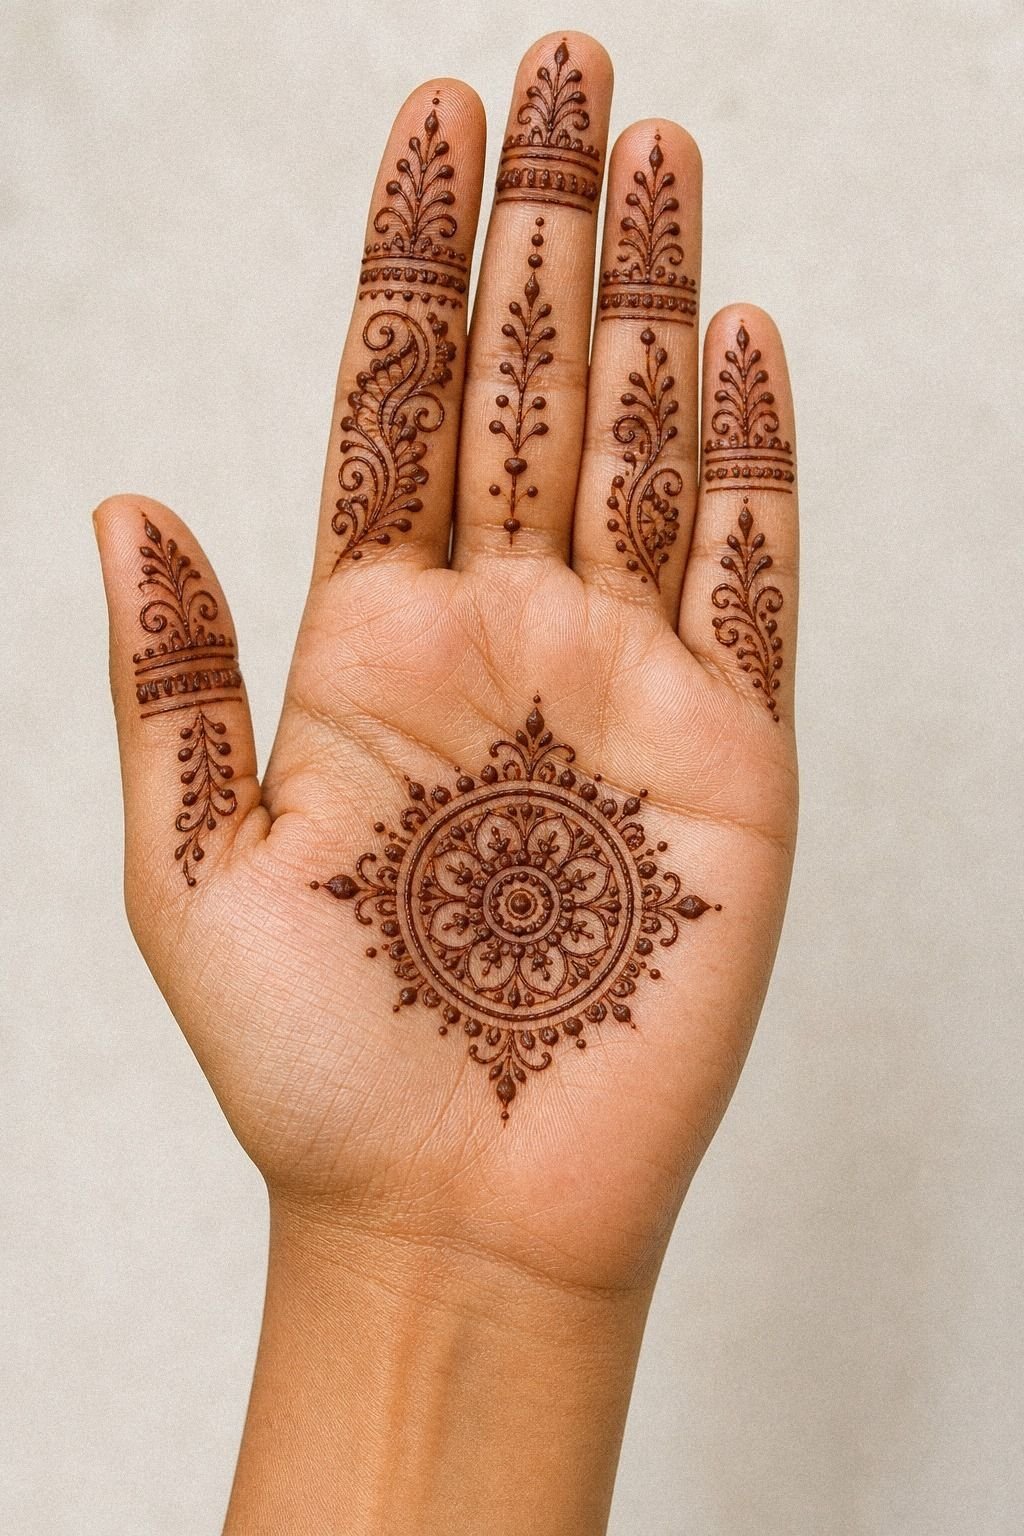
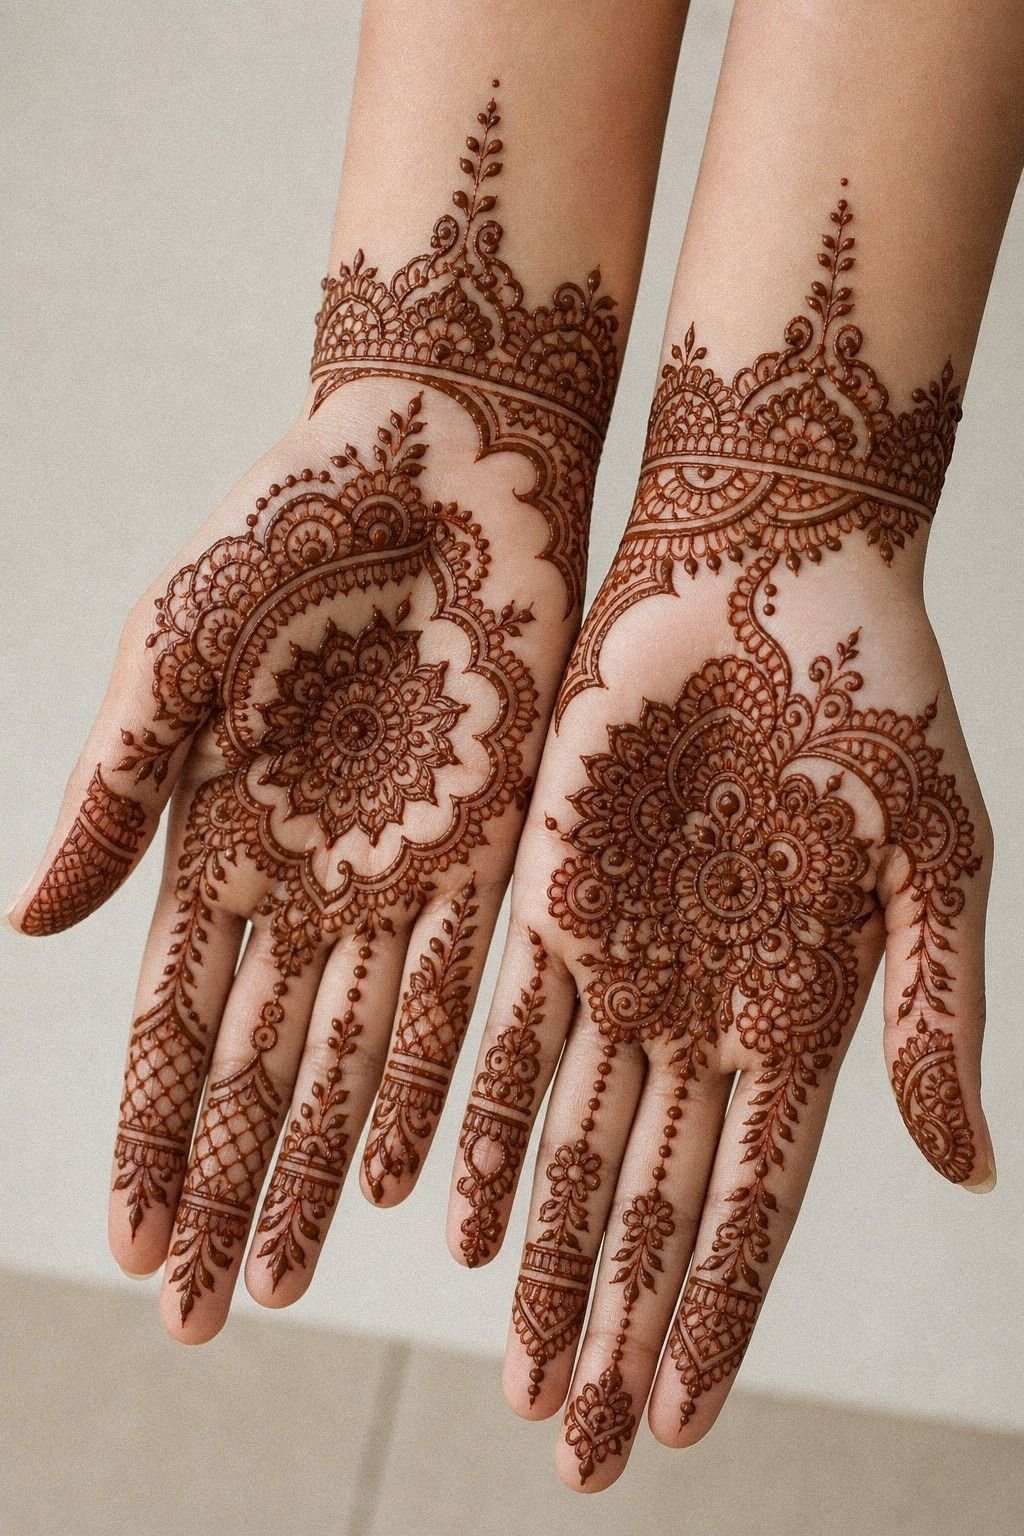
[IMAGE: centered palm henna motif with lotus core and light side marks, balanced open skin, sharp minimal mehndi on golden tan skin]
Anchor the middle and leave the edges alone. A centered eucalyptus-oil henna paste motif in the palm gives you one focal hit while the surrounding skin keeps it from feeling cluttered.
Golden tan skin makes that center symbol pop, especially if the artist uses a lotus, crescent, or mandala core with only a few fine side marks. I wouldn’t chase tiny filler in the empty zones because the whole point is that the eye lands in one place.
This is also a smart test if you’re curious about a bold palm motif but aren’t ready for a more elaborate design. Palm henna can stain beautifully, though frequent washing and friction may make the color fade sooner.
See how other artists simplify this idea in henna mehndi designs. The cleaner you keep the outer edge, the more striking the design feels, even when the drawing itself is simple. That clean read is the whole point!
5Aesthetic Henna Back Hand Lines
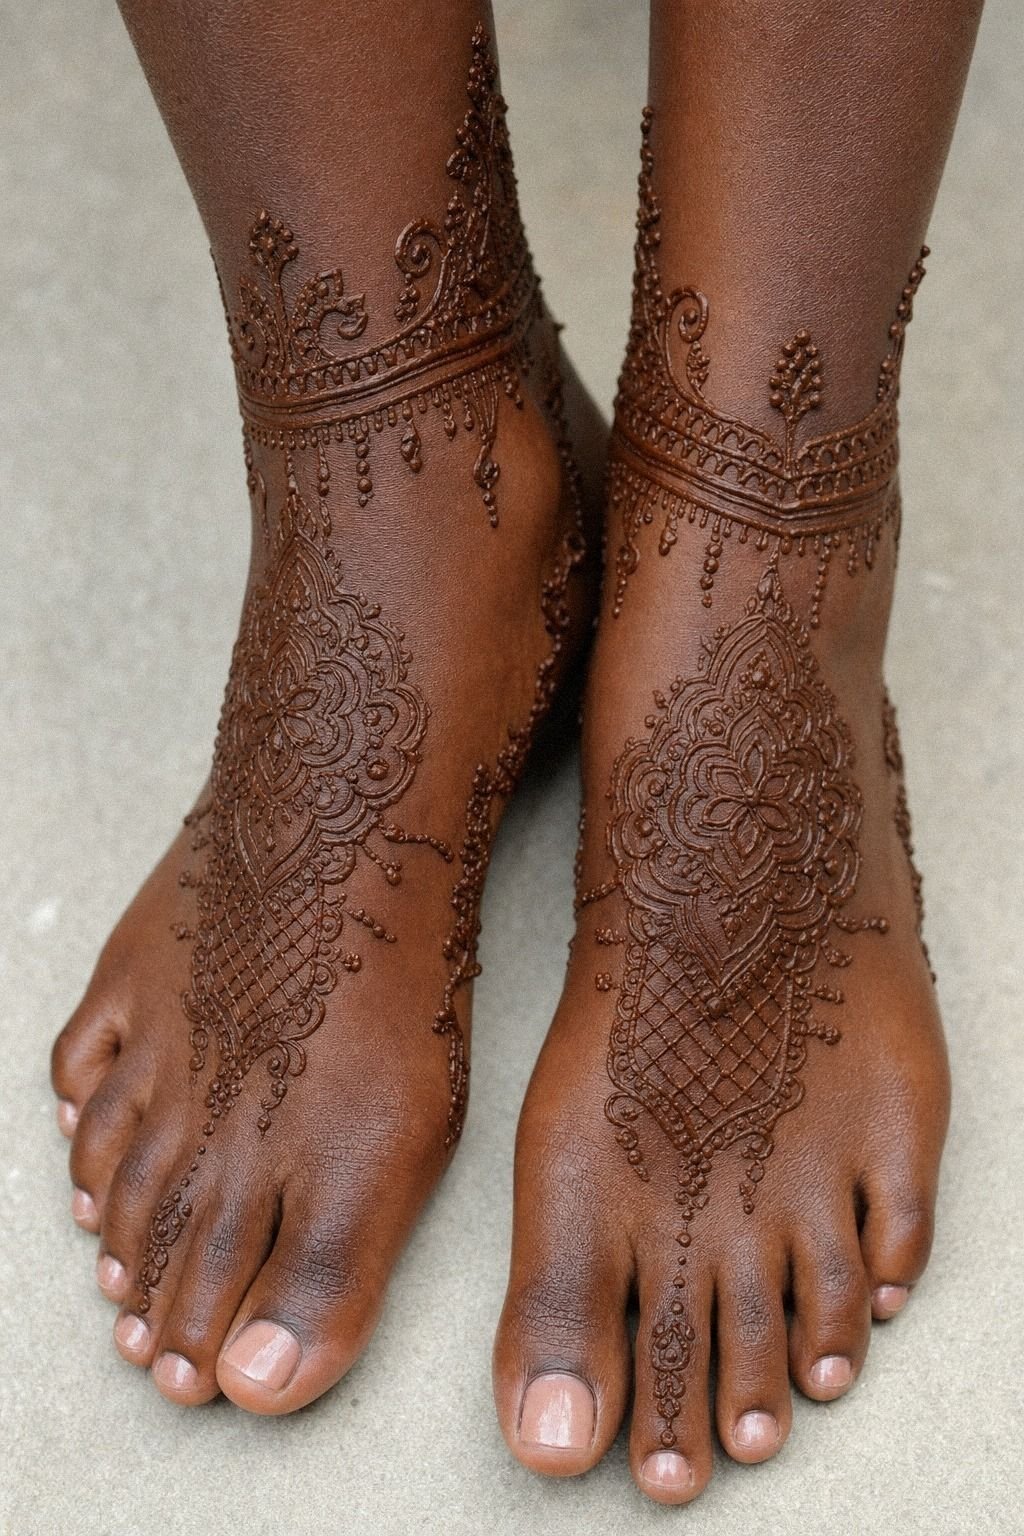
[IMAGE: graceful henna line trail across top of foot and ankle, open spacing, soft reddish stain, minimal botanical flow on deep brown skin]
Let the lines travel with the anatomy. Even though this title says back hand, the image leans foot and ankle, and that matters because a fine lemon-sugar sealed paste line on the top of the foot needs a wider gap than the hand does.
Deep brown skin with warm undertones gives this kind of reddish stain beautiful contrast, but the pattern still needs structure. I like one ankle trail and a few angled lines across the top of the foot instead of a fully netted layout.
But here’s the honest part: feet are a high-friction placement. Sandals, socks, and summer movement can make anything delicate break up faster.
If you like this placement logic, 24 henna designs that reward a steady hand has more ideas with flowing movement. Keep the line count low and the spacing wider than you think you need.
6Try a Tiny Floral Thumb Accent
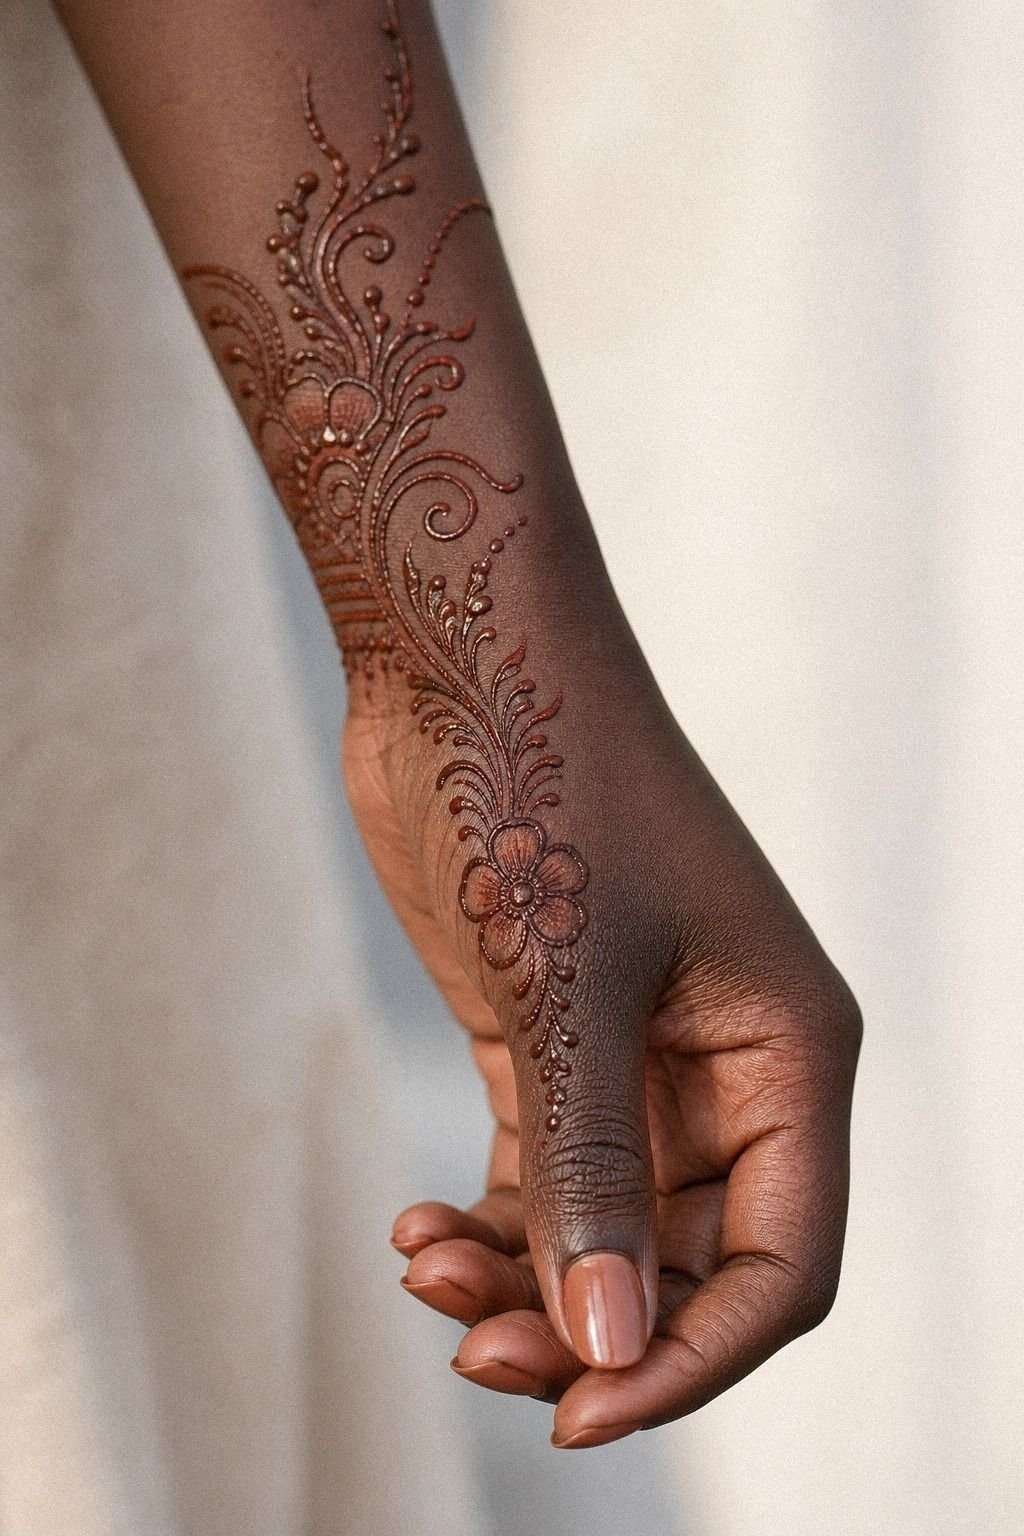
[IMAGE: tiny floral henna accent near thumb base, bold outer petal edge, clean small flower on deep ebony skin, soft negative skin around it]
Use the thumb as the accent, not the whole story. A tiny lavender-free henna paste flower tucked near the thumb base can look playful without going sugary.
On deep ebony skin, I like petals with a slightly bolder outer edge because that contrast helps the flower hold its shape. If every petal is whisper-thin, the design can feel unfinished instead of minimal.
And honestly, the thumb is where a lot of hesitant beginners get scratchy. You want confident curves and one clean center, not ten fuzzy passes.
For softer floral references, 24 simple henna designs to practice before going bold is worth saving. A little floral accent like this also makes a smart placement test near the hand. You’ll know fast if the scale feels right!
7Jaipur-Inspired Fine Line Ring Details
[IMAGE: fine line ring-style henna bands on two fingers, crisp chevrons and dot spacers, jewelry effect with open skin, elegant minimal detail]
Treat each ring detail like real jewelry. A slim henna cone can lay tiny bands, chevrons, and dot spacers around the fingers without turning the hand muddy.
Fair cool-pink skin gives you crisp contrast here, so the design doesn’t need much to show. I prefer one statement finger and one echo detail on the next finger over a full set, because too many rings fight each other.
What keeps this clean is the band spacing. When those gaps disappear, the whole look starts reading flat.
If you love delicate repetition, 15 henna designs that earn their place beyond the festival shows the same idea with more attitude. One statement finger can look iconic when the gaps stay visible.
8Open Skin Henna Finger Pattern
[IMAGE: minimal finger henna pattern built around open skin, repeated clean shapes, polished skin breaks, sharp simple rhythm]
Build the pattern around open skin. The whole point of a natural henna paste design like this is that the untouched skin does half the work.
On medium warm ivory skin, finger patterns with open breaks look polished when the artist repeats one shape and stops before it gets busy. I wouldn’t fill every gap just because blank skin feels scary at first.
Why does this one stay cleaner than a packed finger design? Because your eye can separate the pattern fast, and that clarity is what makes minimal work feel stylish.
For more pared-back pattern ideas, save minimal mehendi designs. Repeat the shapes at a slightly larger scale so future applications do not crowd together.
9Pull an Arabic Side Trail Off-Center
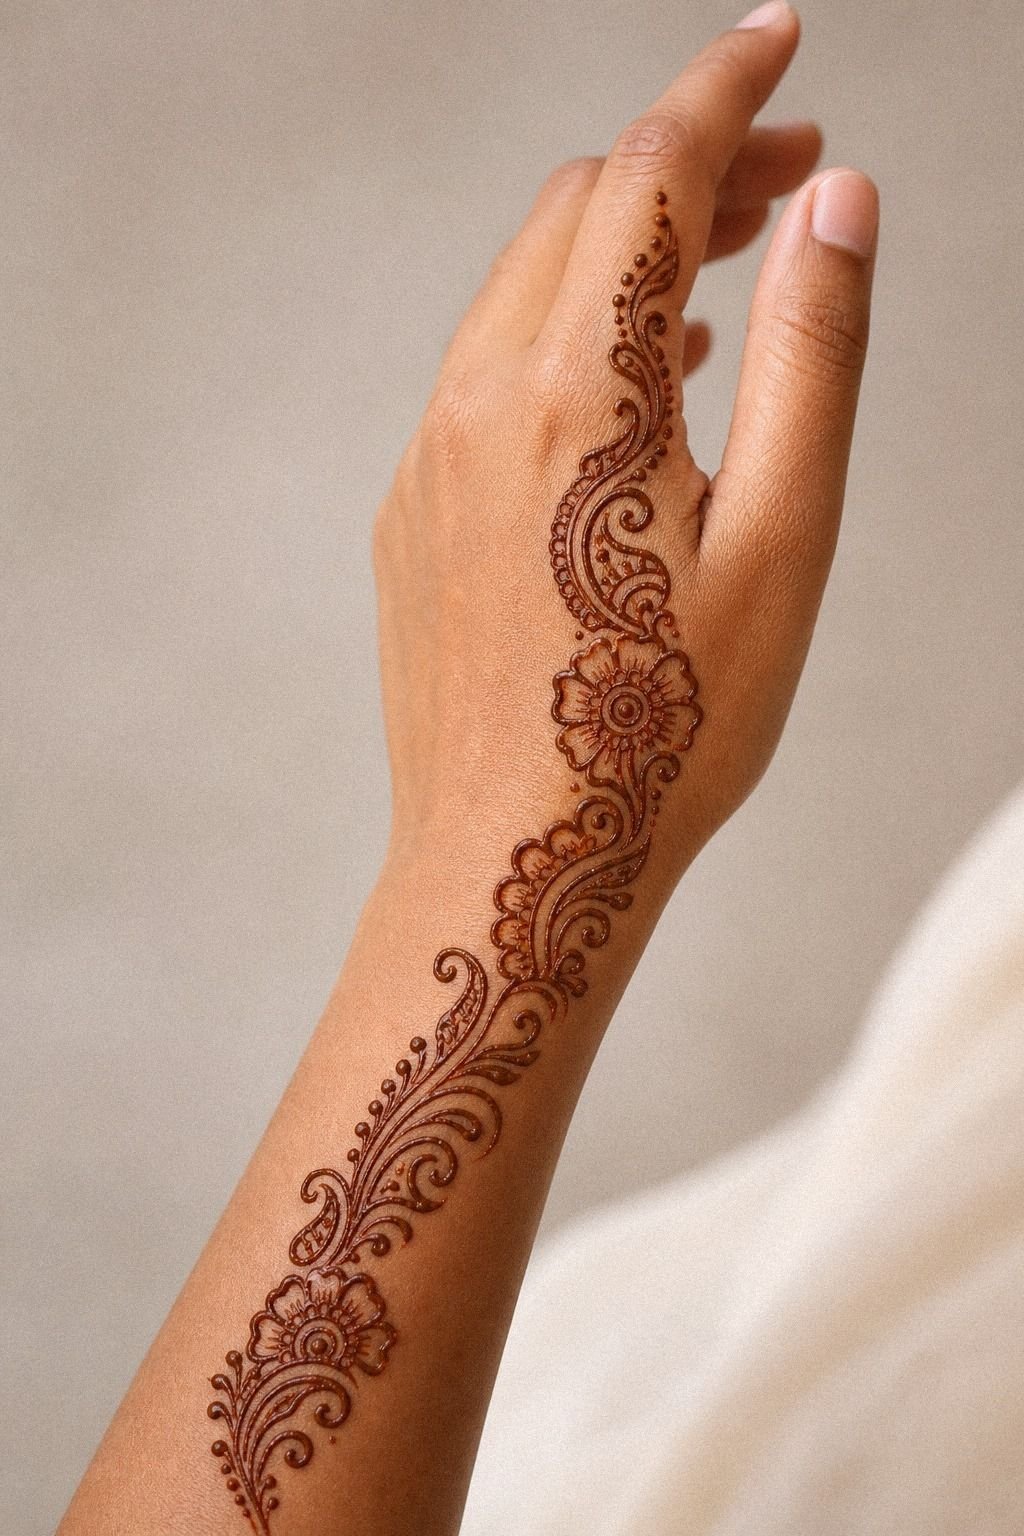
[IMAGE: off-center Arabic henna side trail sweeping diagonally across hand, light floral leaves, clean flow, open spacing, real skin detail]
Pull the trail off-center and let it move. A flowing Arabic henna trail looks strongest when it starts near the wrist edge and sweeps diagonally instead of splitting the hand in half.
That off-center path gives the whole design a more feminine flow, especially on olive or golden skin where the stain shows warm and rich. I’d keep the leaves long, the curves loose, and the gaps generous so the linework still feels graceful instead of fussy.
If you want more motion without a crowded finish, simple henna designs for beginners is a good next reference. The expressive part is the sweep, so let the outer path do the work.
10Clean Henna Fingertip Cap Design
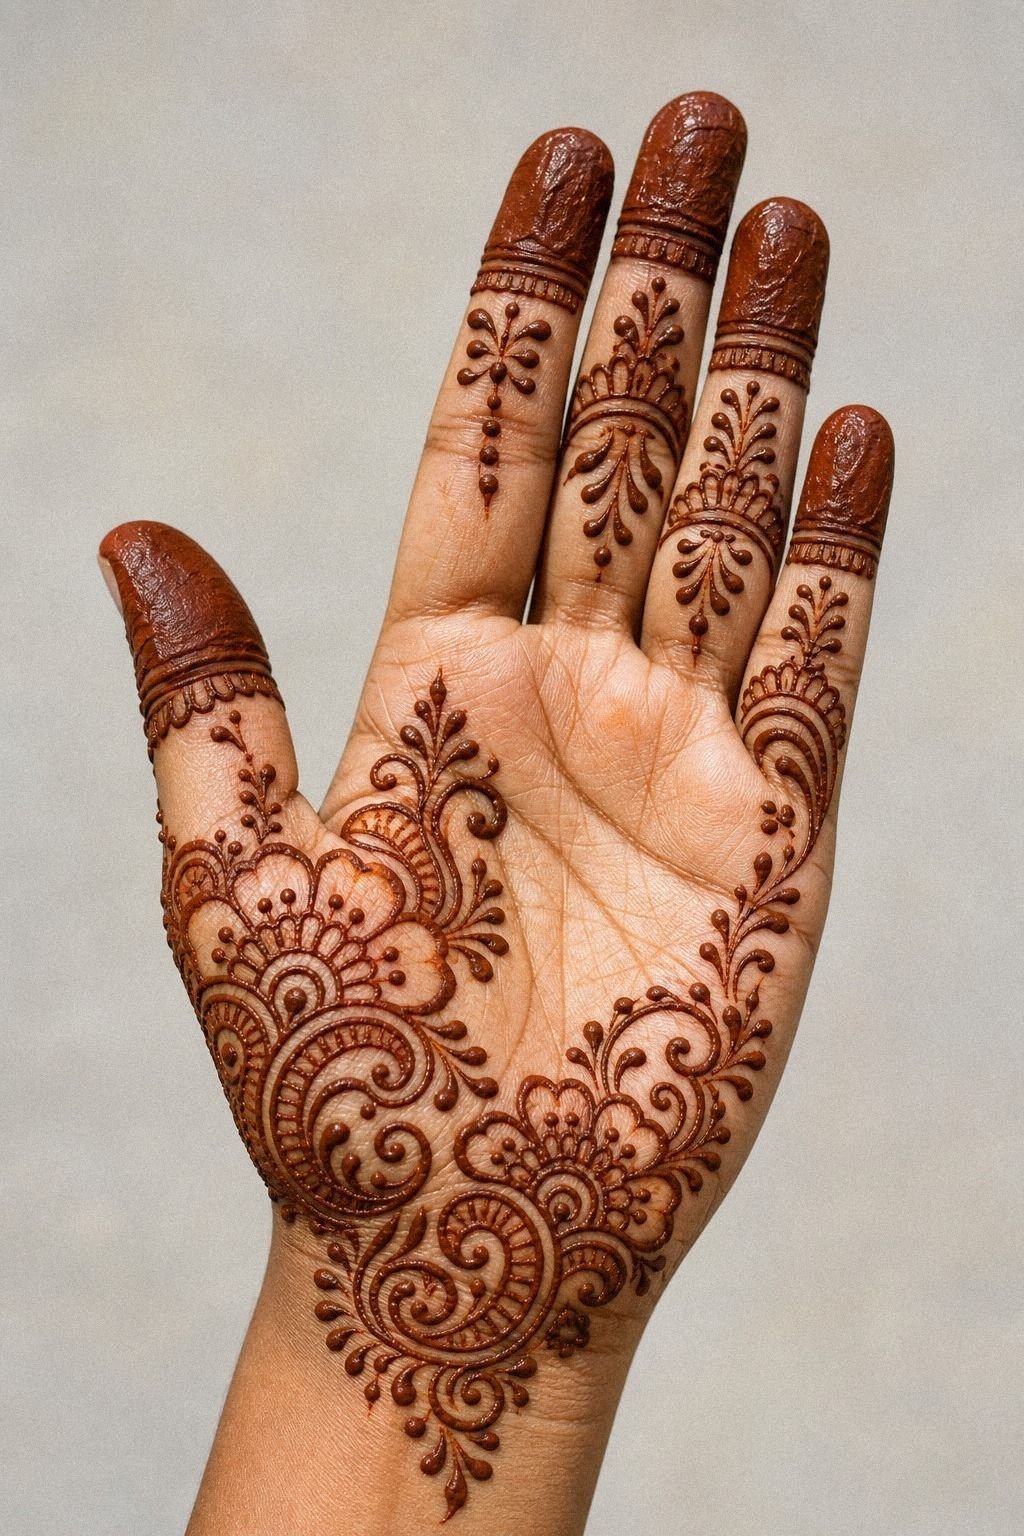
[IMAGE: scalloped fingertip cap henna design with bare finger sections, bold quiet contrast, neat symmetrical staining, minimal hand focus]
Cap the tips, then stop. A smooth fine-nozzle cone fingertip design looks strongest when the cap shape stays consistent and the rest of the finger is left mostly open.
Golden tan skin makes those stained tips stand out fast, especially when the cap edge is scalloped or slightly pointed. I wouldn’t connect every fingertip back into the palm unless you want a much heavier traditional look.
This one is bold in a quiet way! It lands fast! The fingertip caps give you instant structure, and the bare finger sections keep it from looking overloaded.
For more controlled pattern work, 24 henna designs that reward a steady hand is a strong reference set. Keep the fingers clean and let the stain deepen naturally over the next day.
11Lotus Placement: Wrist or Ankle?
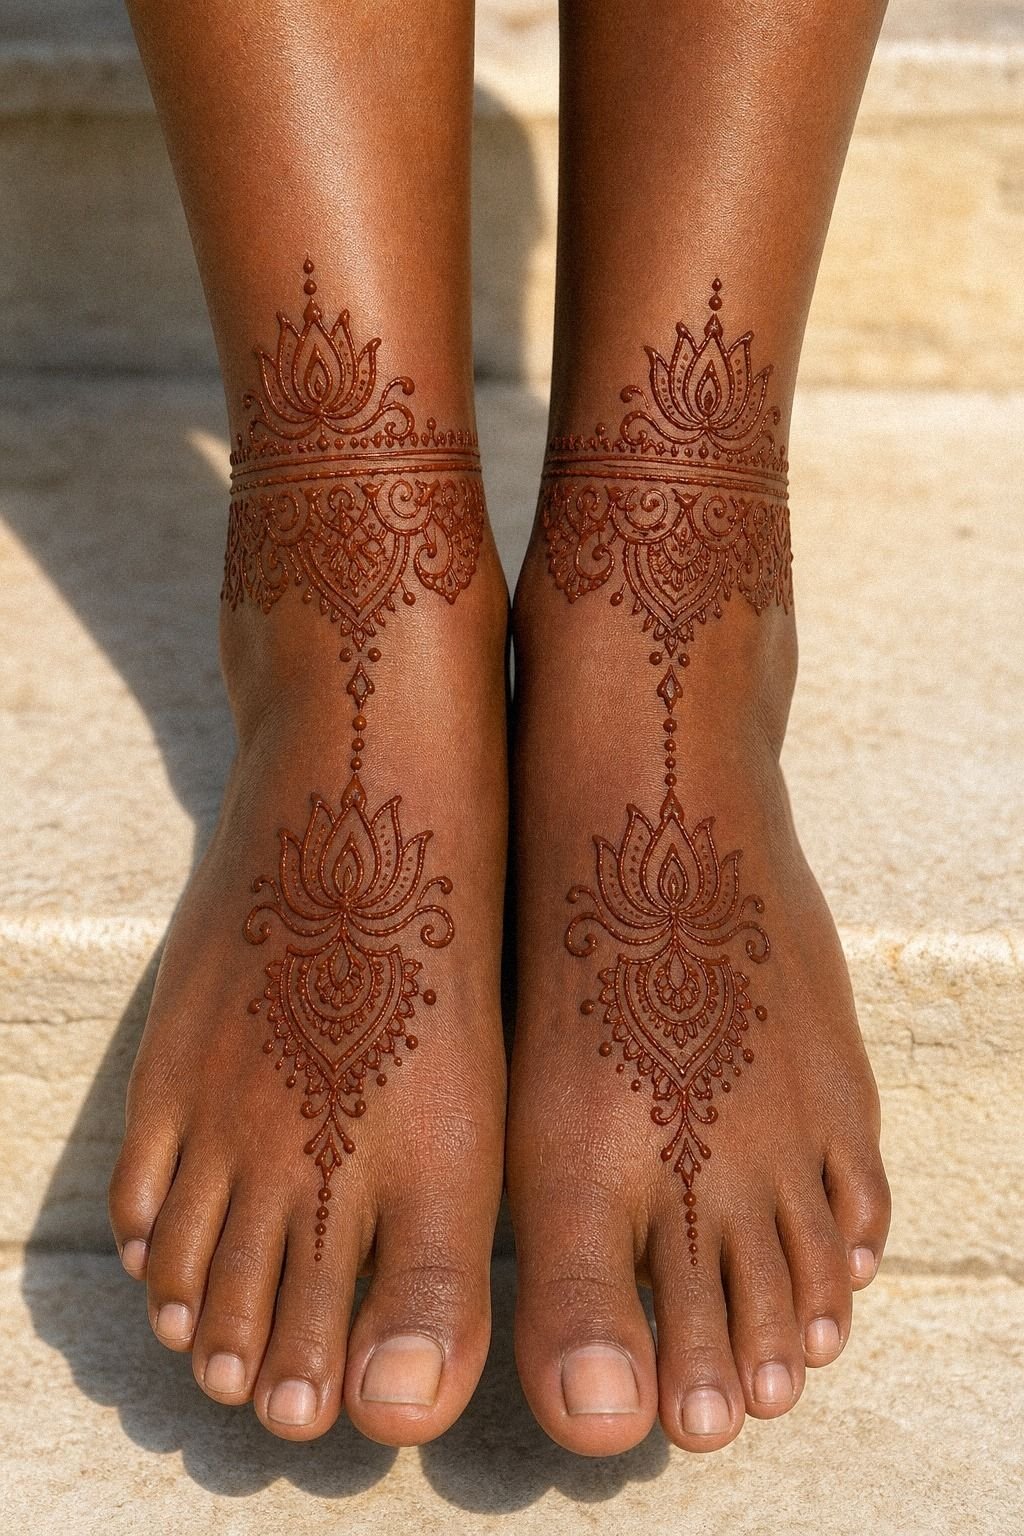
[IMAGE: small lotus henna placed above wrist crease with open petal clearance, soft red-brown stain, simple symbolic placement on real skin]
Place the lotus where the wrist naturally frames it. A petite red-brown henna stain lotus works best when it sits just above the crease instead of directly on it.
The photo leans foot and ankle again, and that same rule holds there too: lotus shapes need enough clearance around the petals or they lose definition. On deep brown skin with warm undertones, a slightly bolder center keeps the flower from feeling too faint.
But don’t center it by ruler if the body says otherwise. A wrist or ankle motif should follow the flow of the bone first.
If you want more simple symbolism, kids henna designs shows how pared-back florals can stay readable. Lotus motifs feel meaningful for weddings, Eid, Diwali, or a quiet personal celebration.
12Chain an Anklet Style Instead of Filling the Ankle
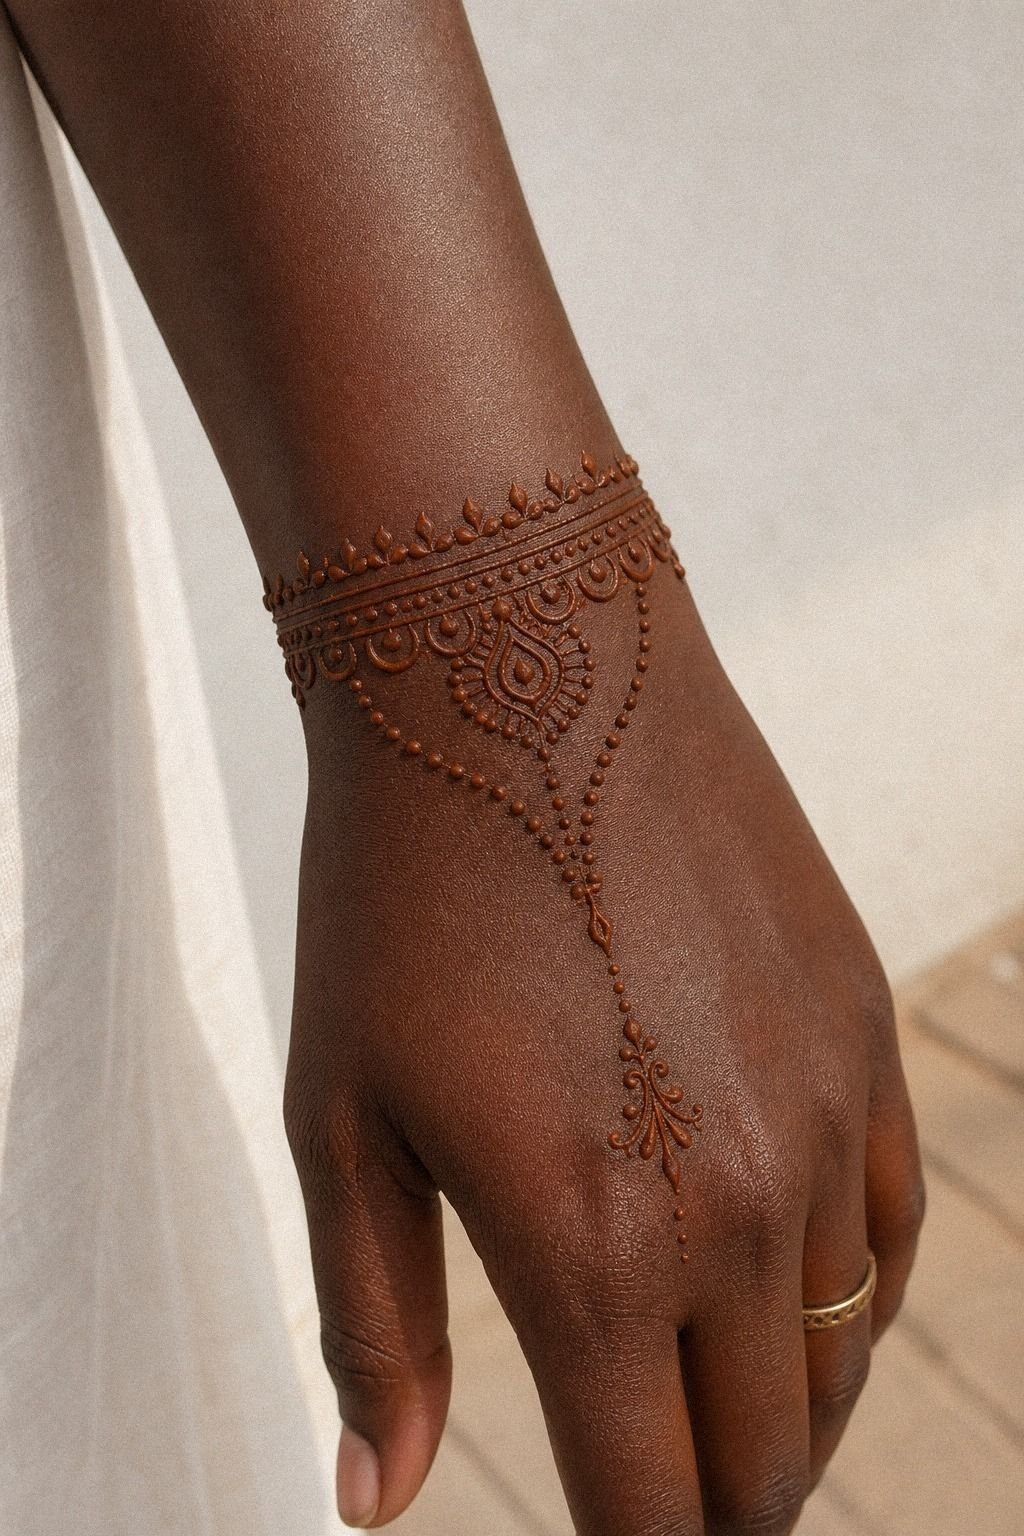
[IMAGE: delicate anklet-style henna chain around ankle with a few hanging details, open spacing, jewelry-like minimal pattern on skin]
Think anklet first, filler never. A clean sifted henna powder mix with one chain line and a few hanging details gives you the feel of jewelry without covering the whole limb.
The image description says forearm and hand on deep ebony skin, but the styling principle still translates. Anklet logic works because the line follows one path, and that restraint is what keeps the design elegant.
And yes, ankle placement decides everything. Ankles look great, but they’re higher-wear than an outer forearm and may fade sooner from socks, shoes, and movement.
For more small-scale flow, 15 minimal mehendi designs that prove less lands harder is a smart next click. Test that 3 to 4 inch scale in henna first so you can judge the balance.
13Delicate Mehendi Crescent Palm Accent
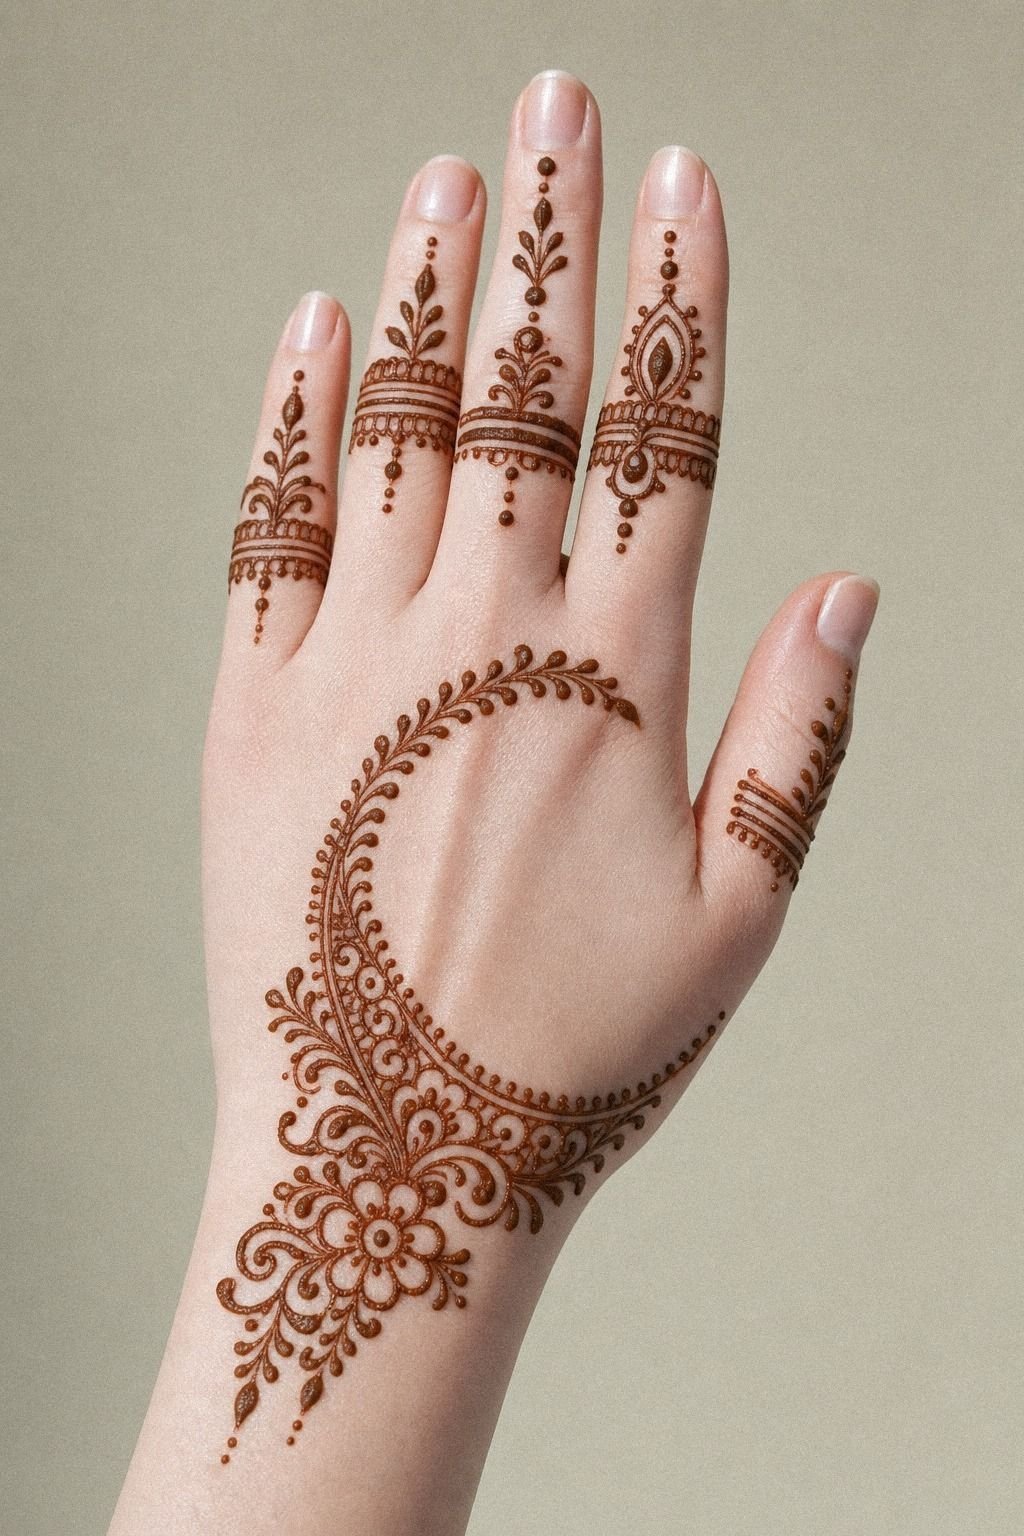
[IMAGE: small crescent henna accent near palm with tiny dot cluster, balanced open skin, crisp symbolic minimal design on fair cool skin]
Use the crescent like punctuation. A small sugar-lemon sealed stain crescent near the palm or back of hand gives you a symbol that feels intentional without eating up all the skin around it.
Fair cool skin makes this look sharp fast, so the crescent should stay slim and slightly open at the tips. I like one tiny dot cluster beside it, but not a full halo, because that extra fuss steals the calm.
This is one of the easiest motifs to test before choosing a lasting design. A 1.5 to 2 inch crescent gives you enough read without forcing detail where it doesn’t belong.
If moon shapes are your thing, henna mehndi designs has stronger traditional references. Keep it delicate, keep it balanced, and let open skin do some of the talking!
The Clean-Line Rule I Use Before Any Minimal Design
When someone brings me a minimal henna reference, I don’t start by counting petals or dots. I start by looking at where the design bends, how often that part of the body rubs, and whether the pattern still makes sense from a few feet away. Henna should look intentional while it is fresh, drying, and darkening, not only in a bright reference photo.
The mistake I see most is fear of emptiness. People keep adding one more dot, one more leaf, one more loop because bare skin feels unfinished.
But open skin is what makes minimal work hit. It gives the eye a place to rest, and it keeps the design from becoming muddy while the stain develops.
If you want fine details on fingers, hands, feet, or inner wrist, you need to earn them with spacing. Those are high-wear zones.
They fade faster and ask for more care.
I also think a lot of people pick the wrong test placement. They try an intricate pattern on the exact spot that receives the most friction, then decide they dislike the concept when really they just disliked the location.
Outer forearm, upper arm, calf, and thigh give you a cleaner read of whether the motif feels personal. Ribs, hands, feet, and sternum may look daring, but frequent movement and rubbing can make the stain fade unevenly.
So here’s my rule: keep the first pass simple, let the paste dry for one to two hours, and watch how the design moves with your hand for a full day before you decide anything. When the paste has dried, gently flake it away instead of washing it off immediately.
Keep the skin away from water for as long as practical, and let the color deepen through the second day. First few days matter. Minimal only looks effortless when the planning was not.
The Hold-Up Scale: Time, Color, Care, and Longevity
If you’re using henna as a test run for a lasting design, these are the numbers I give people most often.
Natural henna usually begins orange, deepens toward reddish-brown over the next day, and gradually fades as the outer skin sheds. Simple shapes with clear spacing will keep their visual read longer than tiny packed detail.
That’s not dramatic. It’s just how the stain develops.
What People Always Want to Know
How much does a Minimal Henna Designs usually cost?
For a small design, most mehndi artists charge around $10 to $25, while more detailed pieces often fall in the $50 to $150 range. Wedding mehndi, travel, and an artist’s experience can raise the price. DIY cones cost less, though a practiced hand usually gives you sharper spacing.
Are Minimal Henna Designs a good idea for a first henna application?
Yes, they are, especially when you choose a low-friction placement like the outer forearm, upper arm, calf, or thigh. Those areas usually keep the stain more even, and you get a better read on whether the motif still feels personal after the color begins to fade.
How do I choose a mehndi artist for Minimal Henna Designs?
Look for clear photos of fully darkened designs, not only fresh paste, and make sure the artist shows crisp patterning on small pieces. I also want to see clean cone control, good spacing, safe natural henna, and an artist who explains drying time and aftercare without making grand promises.
Does Minimal Henna Designs hurt?
Natural henna paste should not hurt. Sensitive zones may feel awkward while the cone moves, and some people dislike the drying sensation, but there should be no needle-like pain. If a product burns, blisters, or smells strongly chemical, remove it and seek medical advice.
How long does a Minimal Henna Designs take to dry and fade?
A small design usually takes one to two hours for the paste to dry. After gentle removal, the color may begin orange, deepen on the second day, and fade naturally over one to three weeks.
Keep water and heavy friction away during the early development period. For more on keeping simple work clean, see minimal mehendi designs.
What’s the best placement for Minimal Henna Designs?
The best spots are the outer forearm and upper wrist if you want visibility with a cleaner stain pattern. If you want the look with less upkeep, I’d skip fingertips and feet first and test the motif on a calmer placement.
Where I’d Start First
If I had to pick one, I’d start with Minimal Henna Finger Vine Trails. It gives you movement without stuffing every knuckle, so you’ll learn fast whether delicate linework suits your hand. Pin that one for later and compare it with minimal mehendi designs.