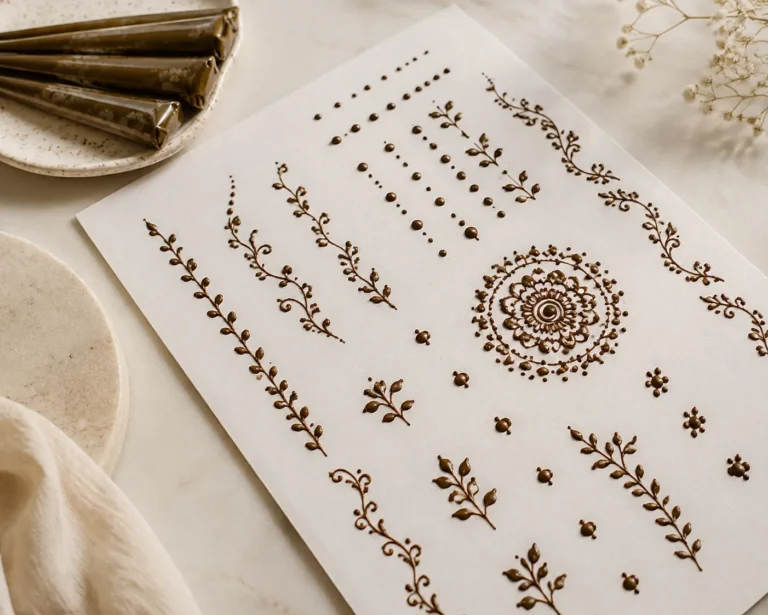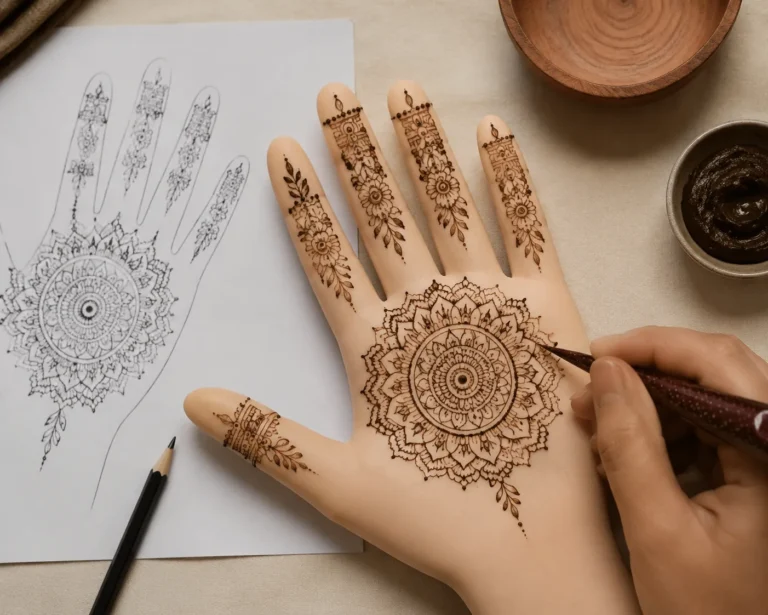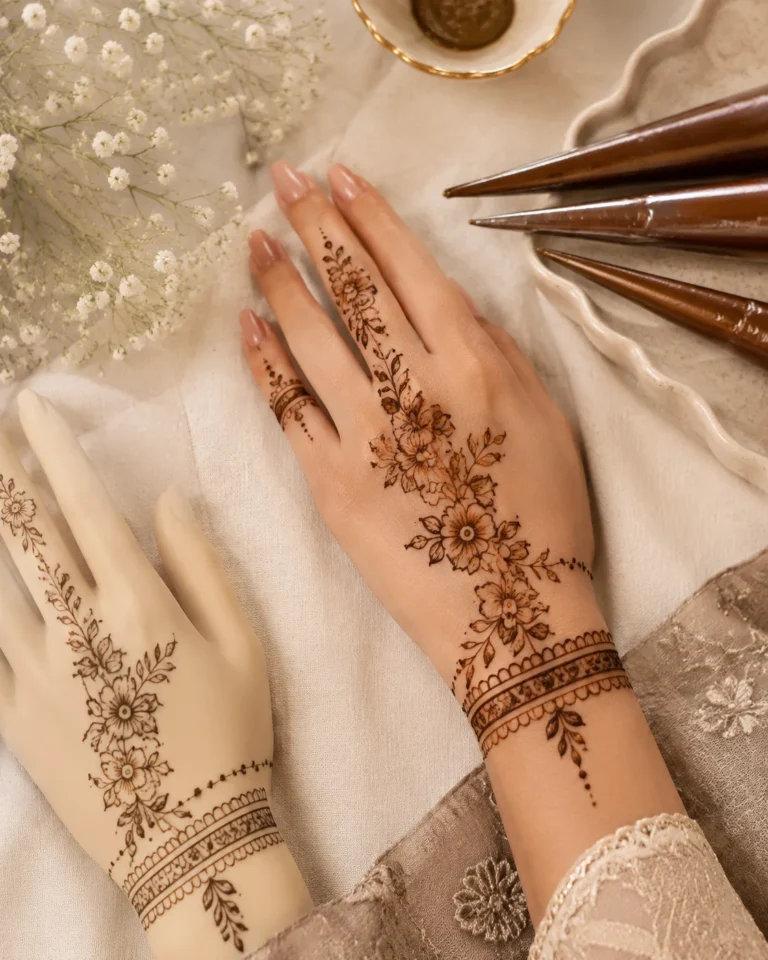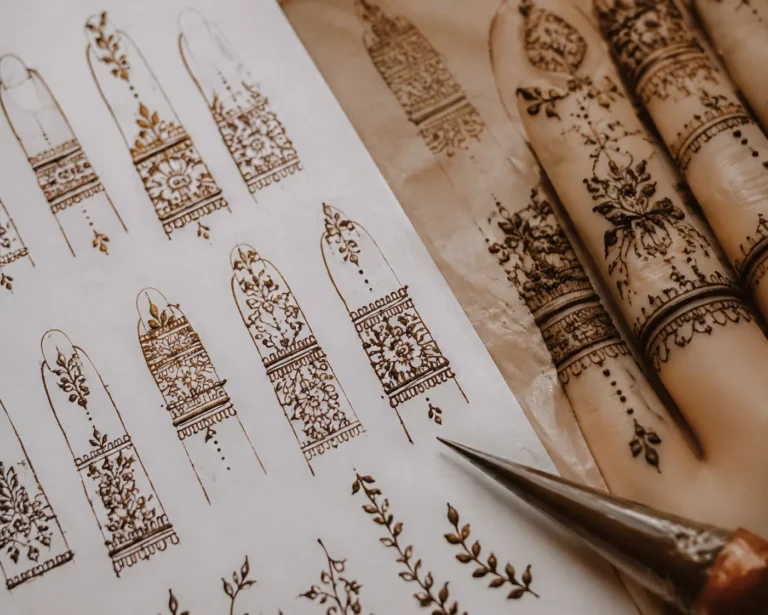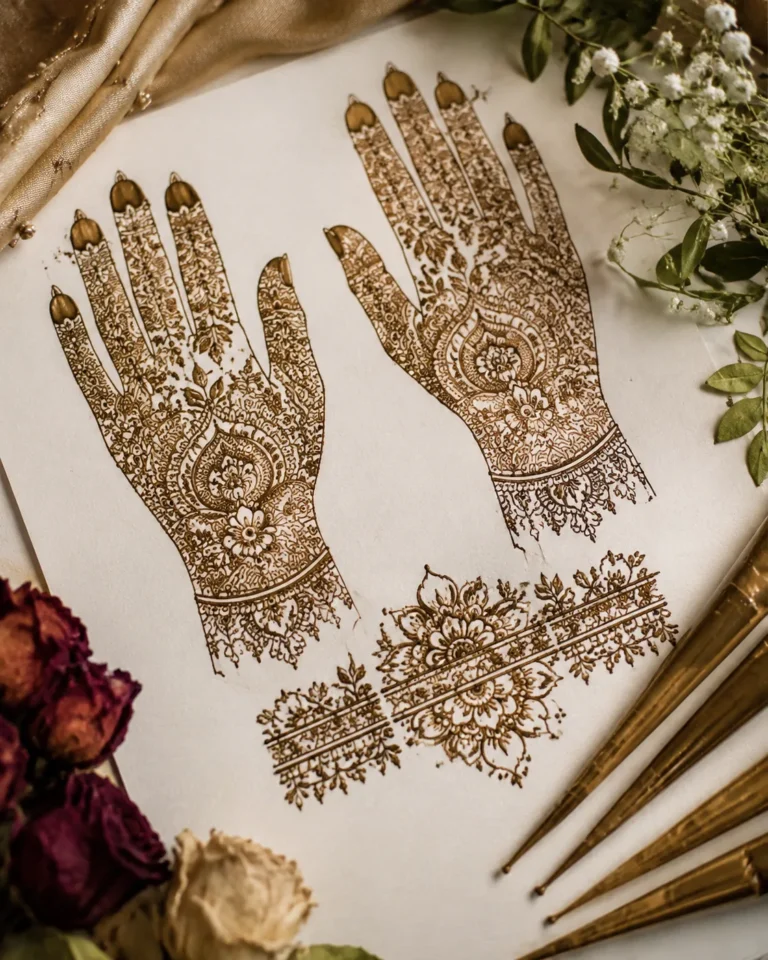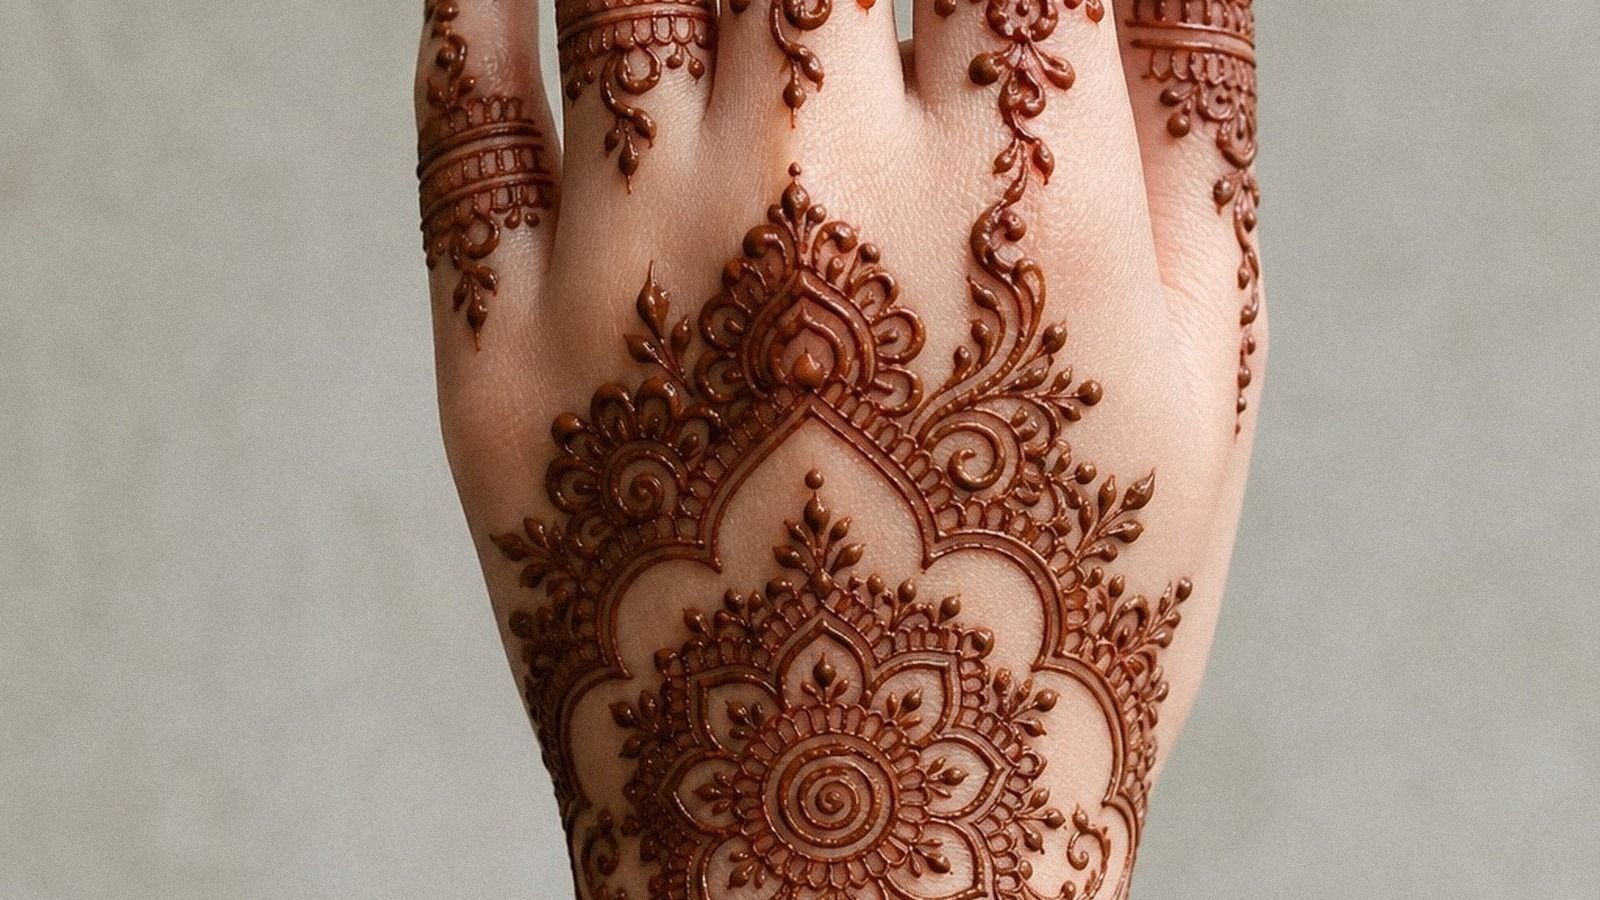
I tried a henna hand design the week I needed something low-stakes but still visible. I wanted clean detail on skin that moves all day, and I liked the idea of a temporary test before choosing anything long-term. Henna is not a tattoo. The good surprise? A simple layout held up better than the busy mockups I almost picked, and that made the trial feel worth it!
Here’s what it looked like before
[IMAGE: Bare hand reference with no stain, no marker map, and natural finger bend lines visible before layout work starts.]
Before I started, my hand was just a patch of skin I’d been saving for the right test run. No stain, no marker guide, no old design ghosting through. If you’re deciding whether a hand design is too much for your first try, that blank start tells you a lot.
You notice shape fast on a hand because every finger bend changes the read. I took a few bare-skin photos first so I could see where a center motif would land, where the wrist naturally narrows, and how much detail would get lost once my hand flexed.
That part matters. If the base map looks crowded before the henna paste even goes down, it will not get cleaner later.
- I Picked A Simple Henna Hand Concept
- I Mapped The Palm Center First
- I Chose Finger Trails With Clean Gaps
- I Drew A Back Hand Floral Vine
- I Added Dotwork Around Each Knuckle
- I Framed Fingertips With Light Henna Caps
- I Built A Minimal Wrist Henna Band
- I Kept Negative Space Through The Palm
- I Tested One Unique Side Hand Accent
- I Checked Paste Thickness Before It Dried
- I Cleaned Smudges Along The Finger Lines
- I Photographed The Finished Henna Hand
1I Picked A Simple Henna Hand Concept
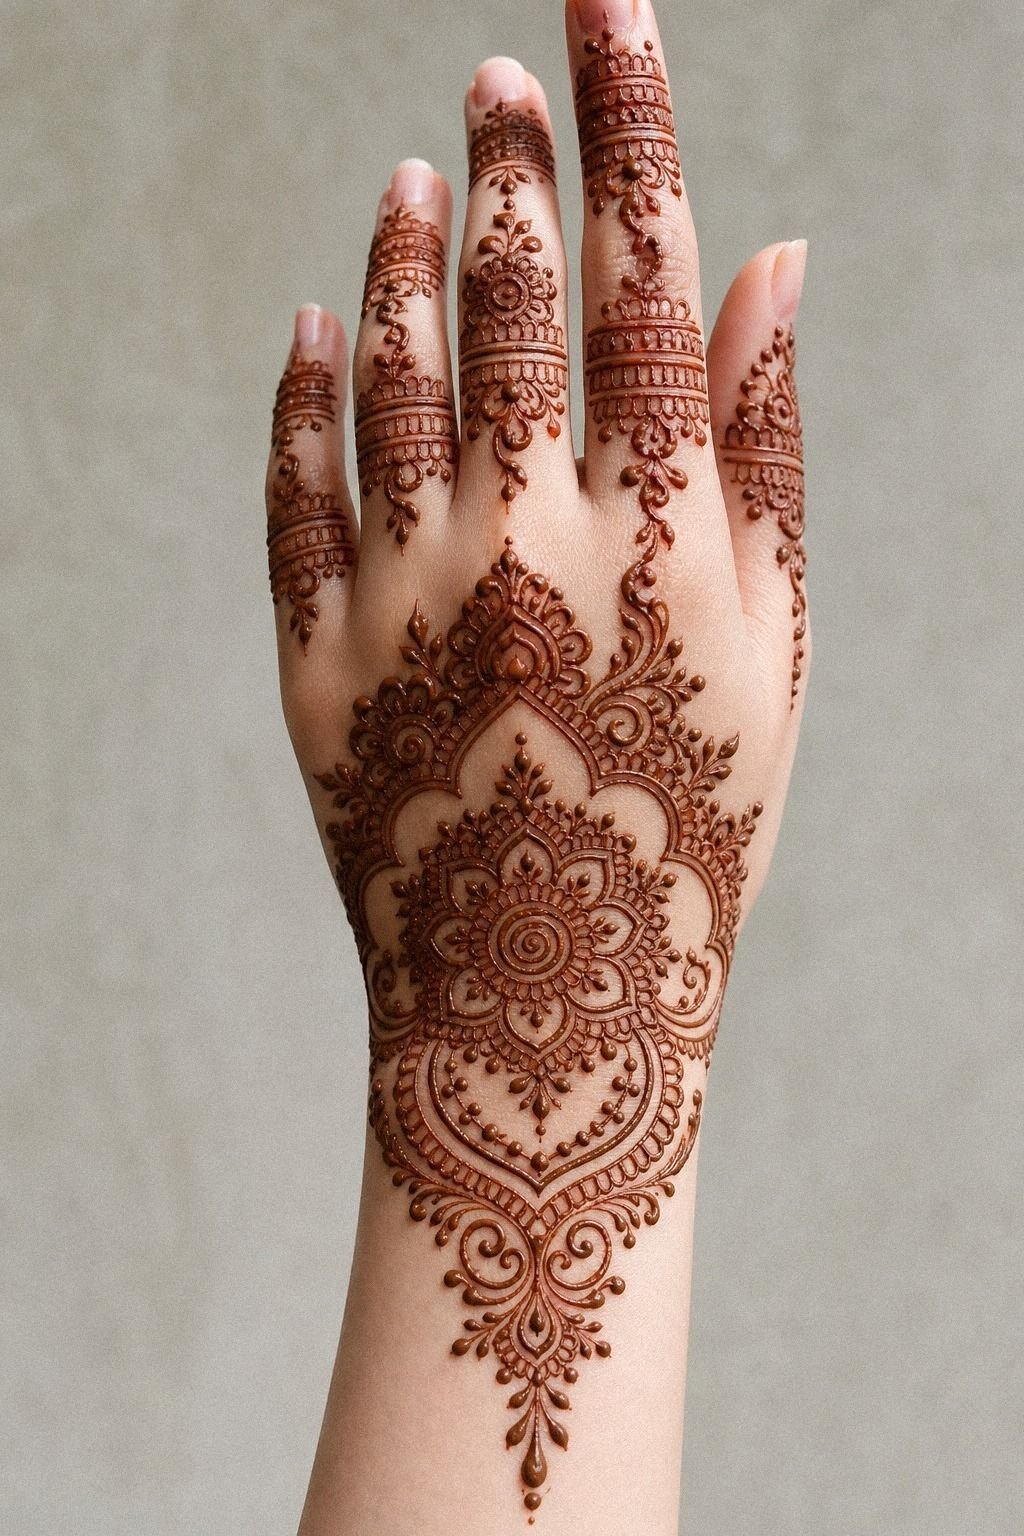
[IMAGE: Simple hand motif with one center flower, two trailing lines, and open skin around the knuckles.]
I started with a minimal henna layout because hand skin doesn’t forgive clutter. You see every wobble on the back of the hand, and you feel every extra ridge once you’re trying to keep the paste from smearing. If you’re new to hand work, a clean center motif with two supporting trails is the safer move.
My first sketch used reddish-brown paste and a flowing floral spine that ran from the hand center toward the middle finger. I cut out two tiny filler shapes before I began because they would have turned muddy once the paste dried. You want crisp reads, not fuzzy business.
If you need reference layouts before you commit, I like these easy henna ideas for testing a long-term design because they show how much cleaner a hand can look when the main shape does the heavy lifting. I also compared the balance against 24 henna designs that reward a steady hand before I locked the final shape.
2I Mapped The Palm Center First
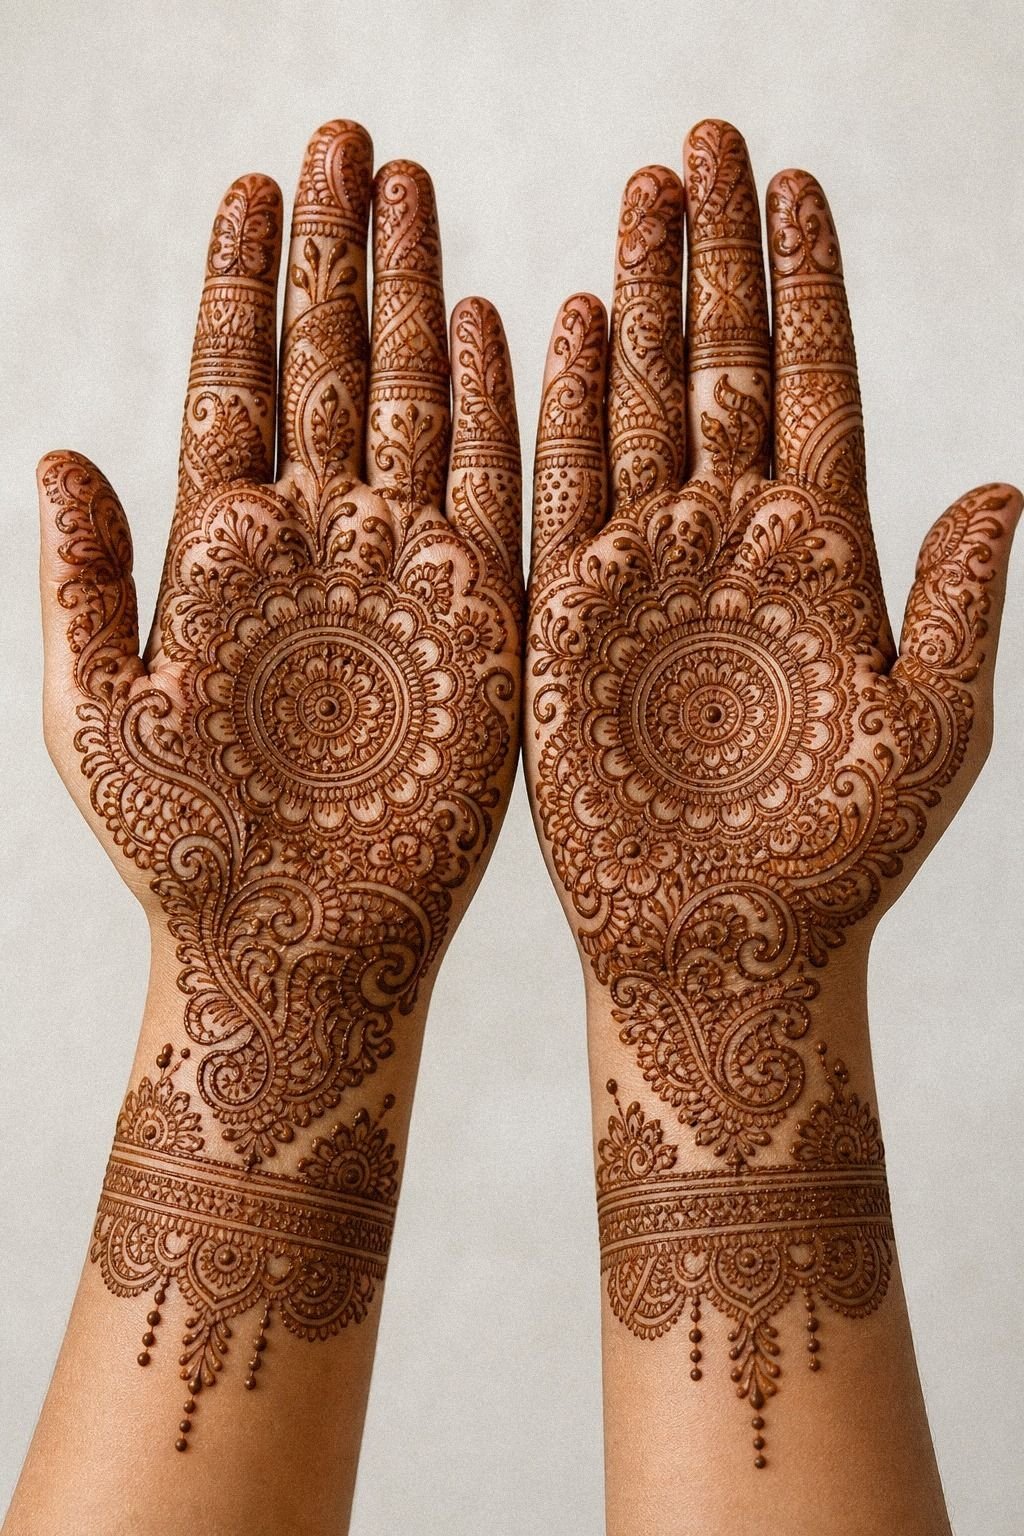
[IMAGE: Palm center mandala sketched first, with a coin-sized anchor and slim loops leaving breathing lanes around it.]
For the second pass, I worked from the palm center outward instead of chasing the fingers first. That kept the whole design balanced on both hands, especially once I started mirroring the lines. If you’re doing palm work, you need an anchor point before you get playful with side petals.
I marked a coin-sized center, about 1.5 inches wide, then built small loops around it so the design had a calm middle instead of a muddy one. I left enough skin showing that the circles could still breathe when I opened my hand flat. You can see the same logic in 24 henna designs that reward a steady hand, and it still holds if you later want to explore a longer-lasting ornamental design.
And if you’re using henna as a placement test for visible body art, easy henna ideas for testing a long-term design helps you sort what reads clean from what only looks good in a tight crop. That kind of trial matters when you are still deciding whether a bold hand placement feels personal.
3I Chose Finger Trails With Clean Gaps
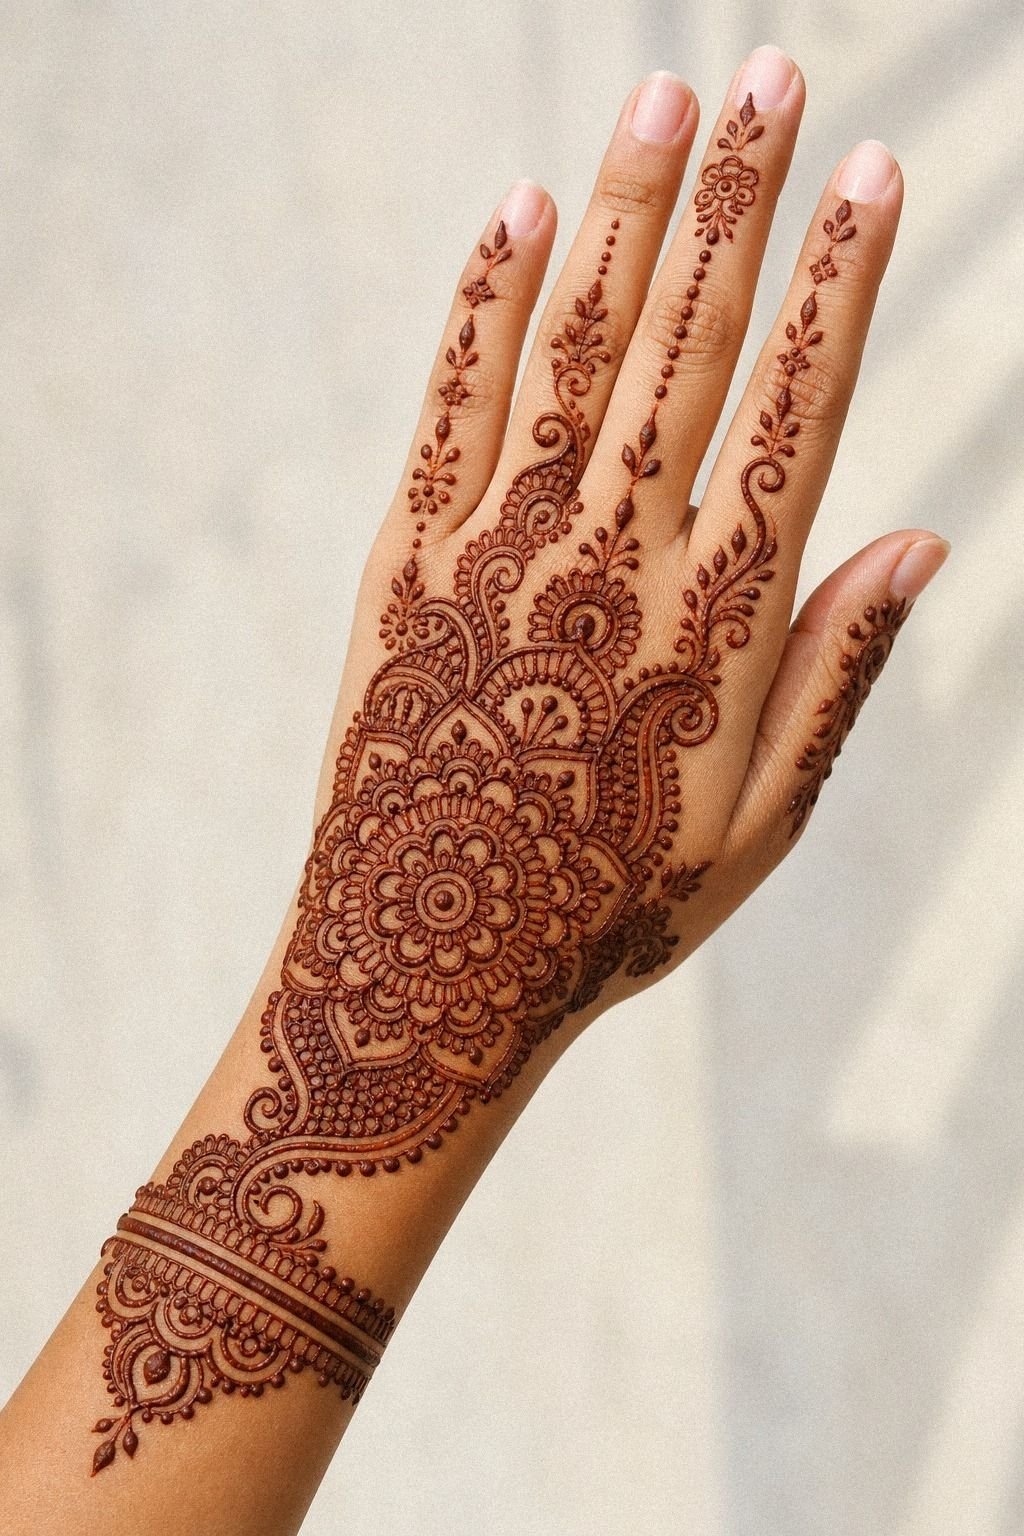
[IMAGE: Finger trail layout running down two fingers only, with slim leaf marks and visible skin breaks at each knuckle.]
Finger work looks sharp when the gaps are as intentional as the linework. I ran delicate finger trails down the index and ring finger and skipped full coverage on the middle finger so your eye had a place to rest. That open skin is what kept the hand from looking chewed up.
I kept each trail narrow, roughly a quarter inch at its widest point, with tiny leaf marks that tapered instead of blobbed. I wiped one line off and redrew it because the first pull sat too close to the knuckle crease. If you want more placement notes before trying a long-term version, the hand placement comfort guide helps you think past the photo and into real wear.
But the bigger lesson was restraint. You do not need every finger dressed the same way, and you definitely do not need to cram detail into the webbing. If you’re unsure where to stop, compare your draft against the henna care guide because active hand zones fade first.
4I Drew A Back Hand Floral Vine
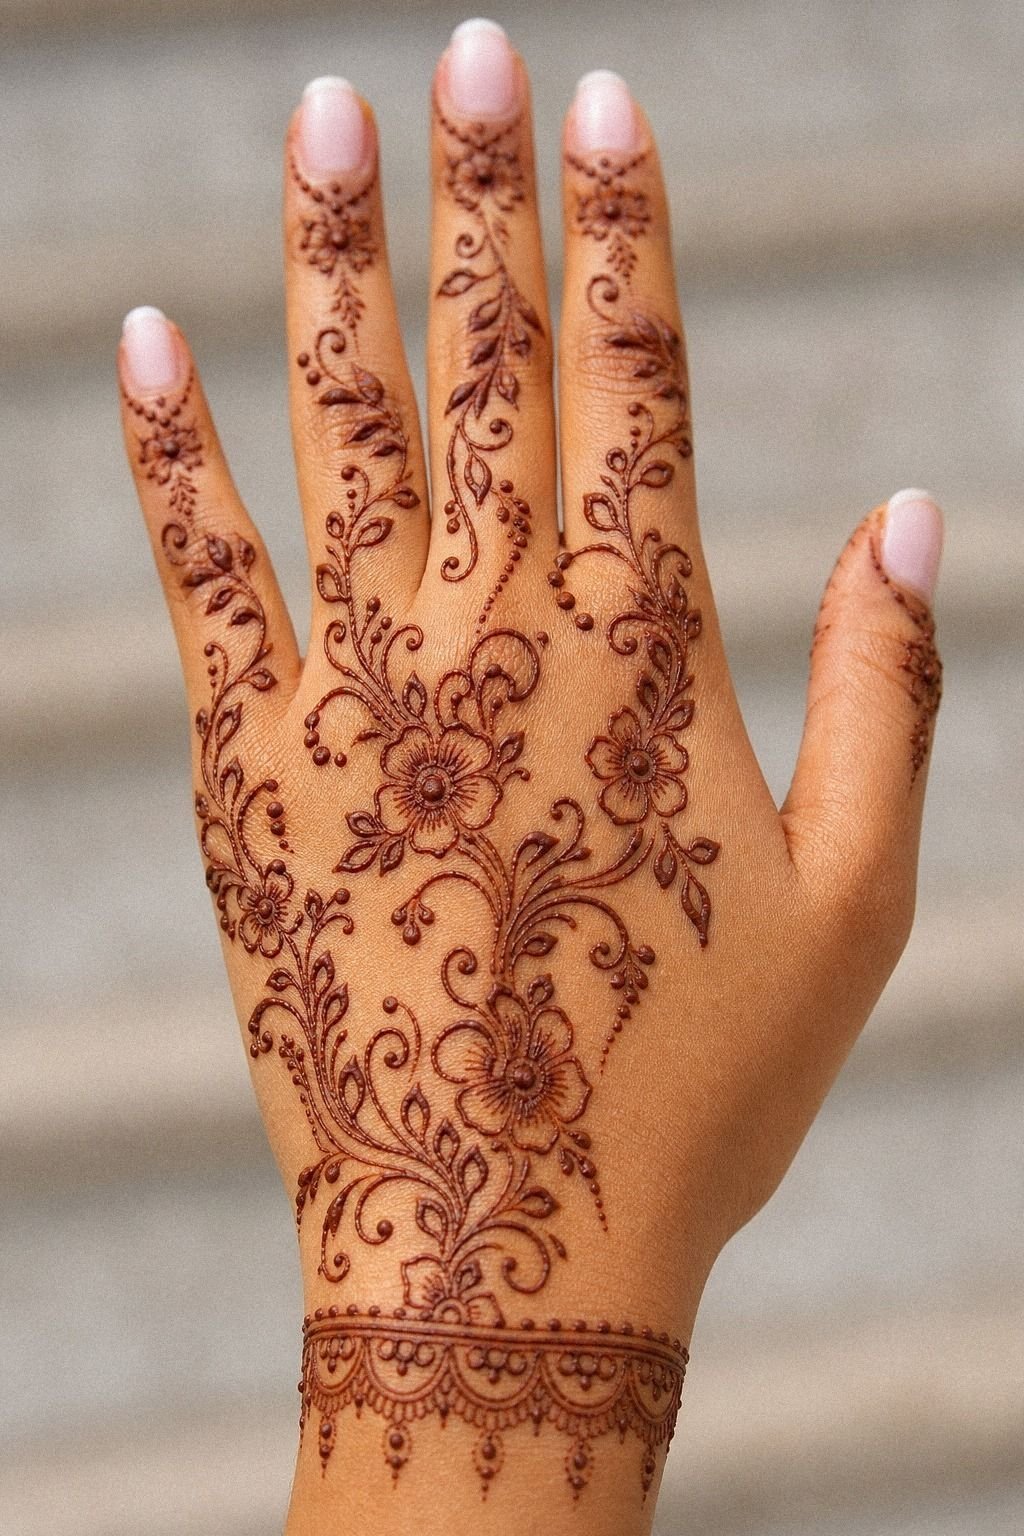
[IMAGE: Back-hand floral vine with one larger bloom near the wrist break and smaller petals climbing toward the fingers.]
This was the point where the design started to feel alive. I drew a graceful floral vine across the hand with one larger bloom near the wrist break, then let smaller petals climb toward the fingers. If you keep the biggest shape low, the whole piece flows better when your hand is relaxed.
The vine mattered more than the flower count. I used soft scallops, tiny leaf tips, and one curved stem that moved diagonally so the design didn’t sit stiff like a sticker.
I did not stack bloom on bloom. Too many petals on a hand read busy fast, even when the stain itself is temporary.
I kept checking the line path against 24 henna designs that reward a steady hand because floral work only looks soft when the structure under it stays solid. That is also why I skipped heavier symbol fills inspired by skeletal hand symbolism for this test piece.
5I Added Dotwork Around Each Knuckle
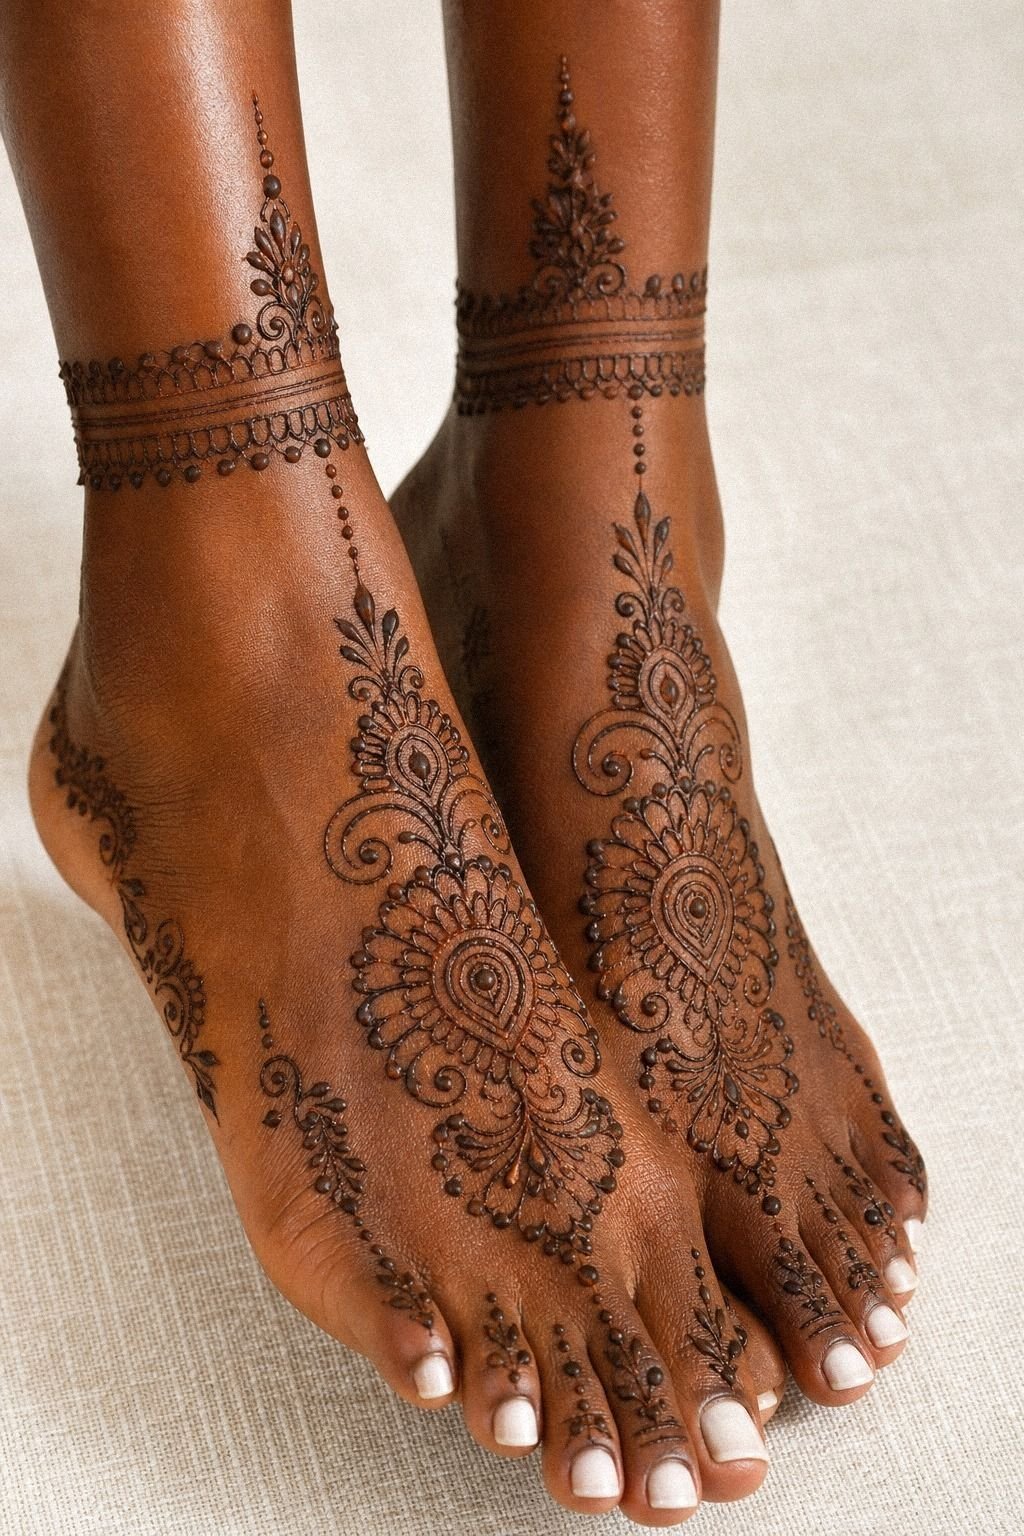
[IMAGE: Henna dotwork wrapped lightly around the knuckles, using tiny staggered dots instead of thick bars.]
Dotwork saved the transitions. I used symbolic henna dotwork around each knuckle to bridge the empty zones without dragging thick bars over a high-movement area. If you’ve ever seen a hand design look heavy at the joints, this is usually why.
The move was scale, not quantity. I kept the dots tiny and staggered them in threes so they framed the bend instead of landing right on top of it. You can borrow that same restraint from minimalist symbolic layouts like three-dot hand symbolism, where the spacing does half the work for you.
And yes, I tested a denser version first. It looked louder, not cleaner. Once I pared it back, the knuckles stopped fighting the floral line and started supporting it!
6I Framed Fingertips With Light Henna Caps
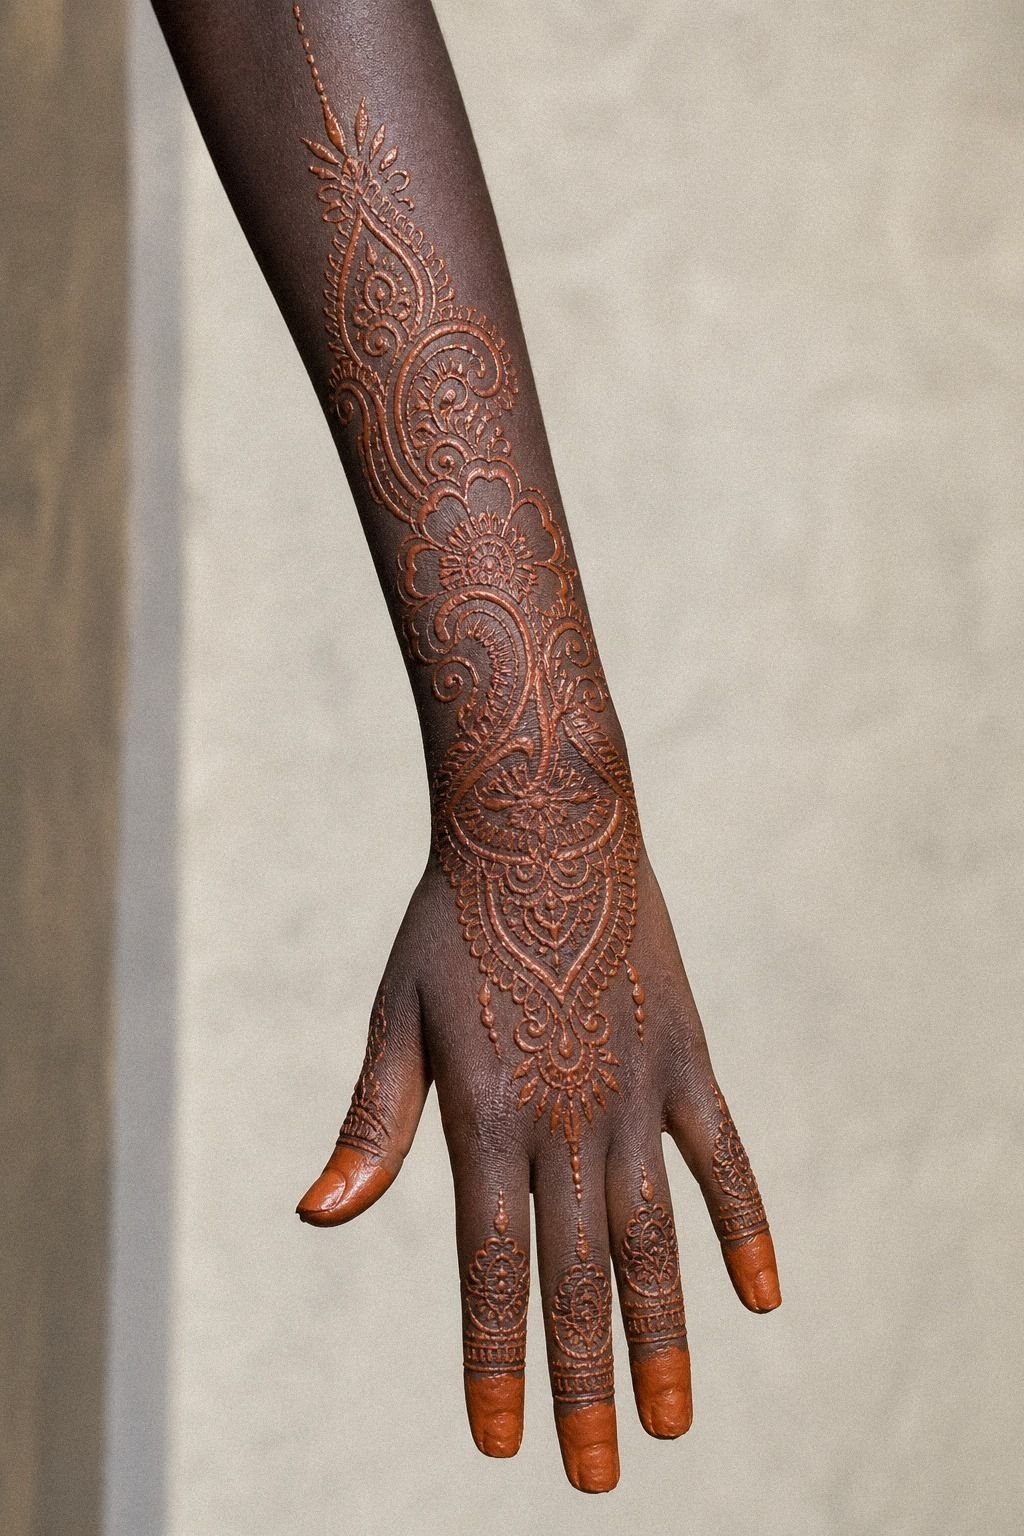
[IMAGE: Fingertip henna caps covering only the top third of each finger, with rounded edges and a soft stain line.]
I almost skipped the fingertip caps because I thought they’d make the design feel too dressed up. Turns out, light caps gave the whole layout a finish line. I used dainty fingertip caps that covered only the top third of each finger, and that choice kept the hand looking graphic instead of packed solid.
On deeper skin, that reddish-brown stain pops hardest when you keep the cap edge clean and rounded. You cannot glob the paste on and hope for a velvety stain. Thick paste cracks ugly.
If you like the look but want a version with even more restraint, these easy henna ideas for testing a long-term design show why light coverage often reads better than full finger fill.
I also checked how the caps looked beside examples in the henna care guide because fingertips wash down faster than the back of the hand. That wear difference is real, and you should plan for it. This is one of the smartest detail upgrades because it looks polished without pushing the application too far.
7I Built A Minimal Wrist Henna Band
[IMAGE: Minimal wrist band with two parallel lines, a slim petal chain, and a clear skin break before the hand motif starts.]
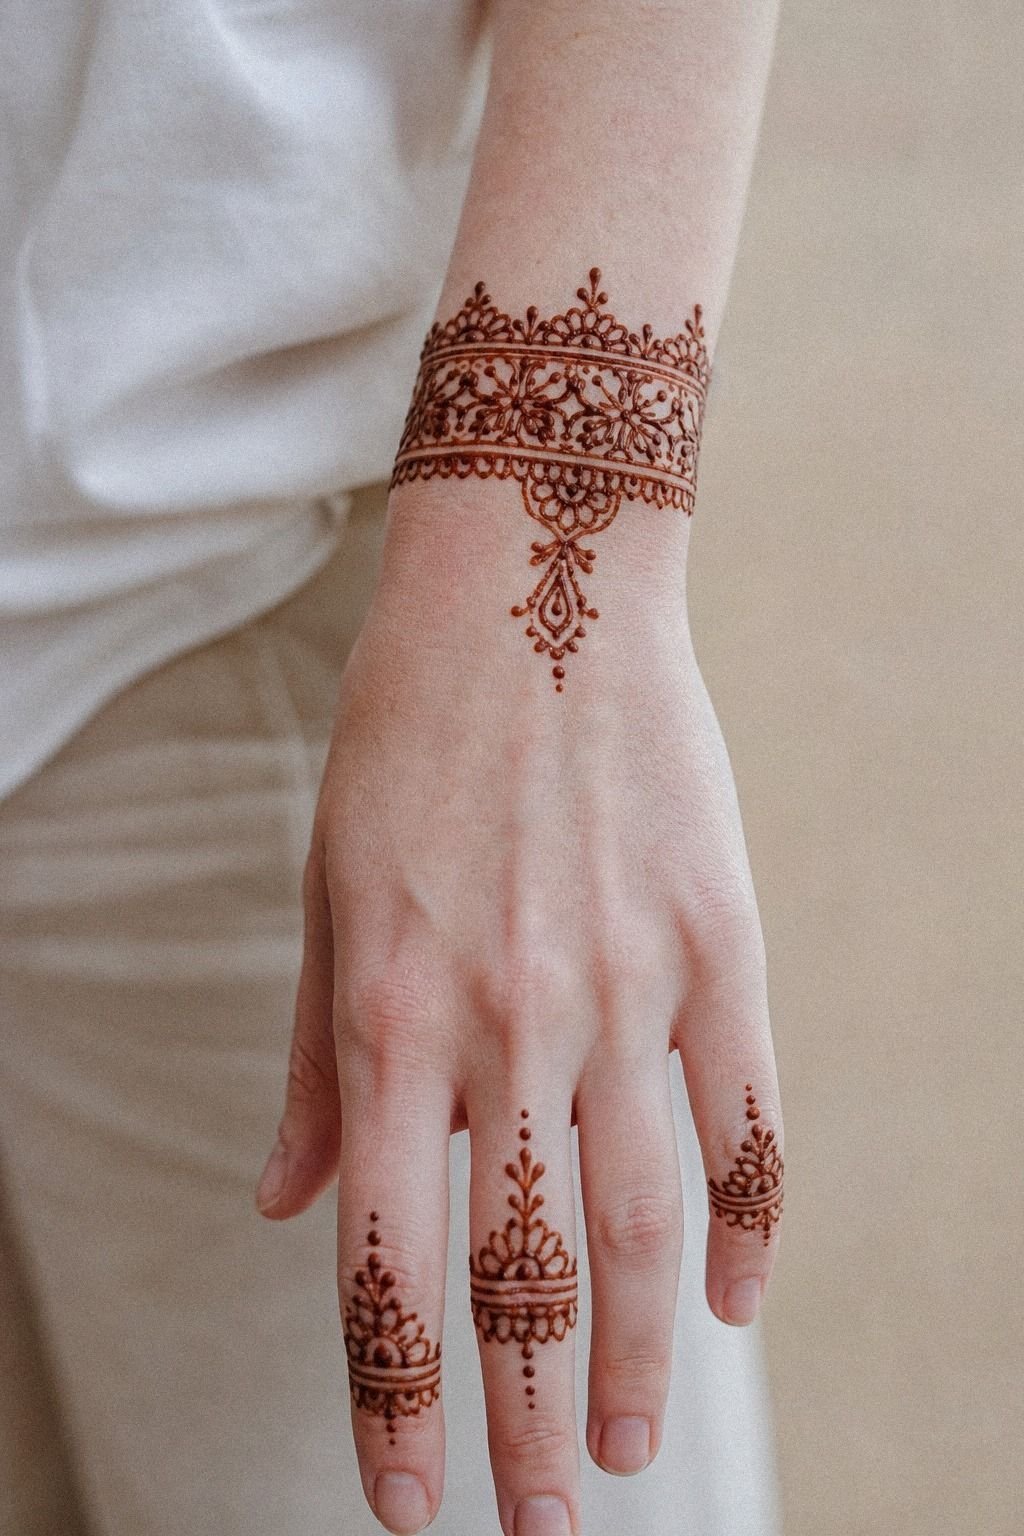
Once the hand was working, I needed a clean stop at the wrist. I built a sleek wrist band with two parallel lines and a small repeating petal chain so the design felt finished without turning into a glove. If your wrist band gets too thick, it starts fighting the hand instead of framing it.
I kept the band under three quarters of an inch tall, which is usually enough to read at a glance without swallowing your wrist shape. I left a little skin break between the band and the hand motif so the whole thing stayed clean in photos. For anyone testing visible placement before a longer-term design, the henna care guide is worth a quick read because hands fade faster when you wash a lot.
If you want a stronger symbolic wrist extension later, three-dot hand symbolism shows how tiny marks can carry weight without turning your whole wrist into high-maintenance detail. That balance matters on skin you use nonstop.
8I Kept Negative Space Through The Palm
[IMAGE: Open-palm channeling with two clear skin lanes running from the center medallion toward the thumb and pinky side.]
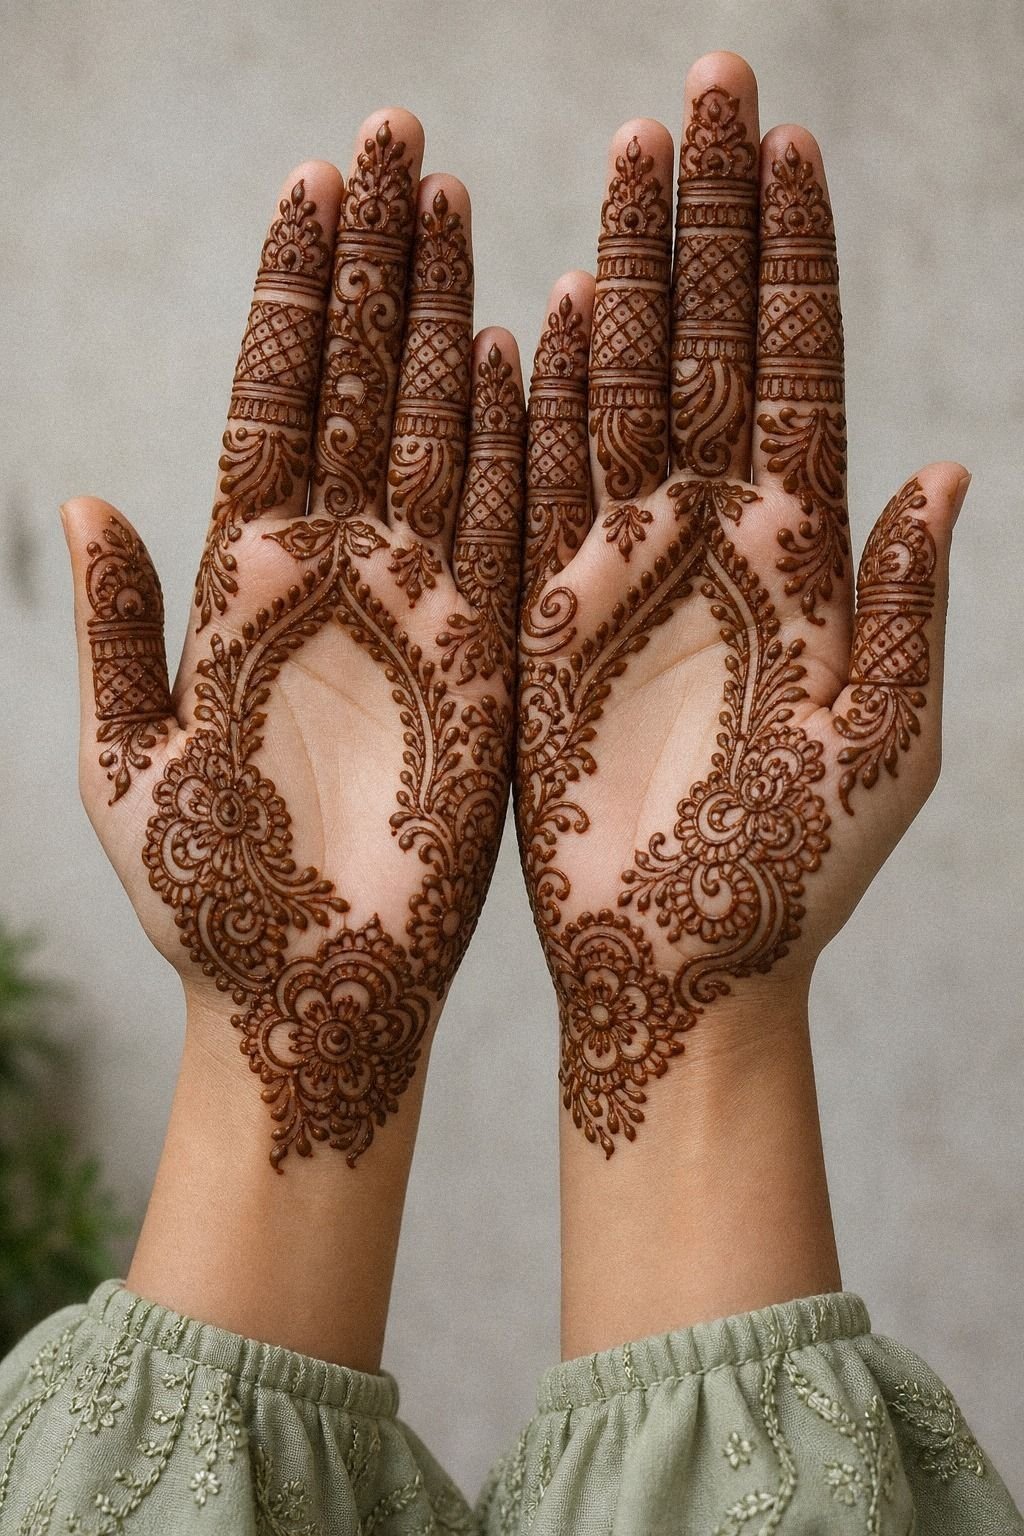
Palm coverage can get muddy fast, so I treated empty skin like part of the design. The open-palm channeling became the thing that made everything else read cleaner. If you fill every channel between the center medallion and the finger trails, you lose the rhythm.
I kept two open lanes running from the palm center toward the thumb pad and pinky side, then tightened the motifs around those gaps instead of across them. I had to fight the urge to keep adding tiny fill marks just because the cone still had paste in it. Why crowd a hand when the clean skin is already doing the work?
If you like busier inspiration, fine, but compare it against 24 henna designs that reward a steady hand before you commit. The most striking palms usually aren’t the fullest ones.
9I Tested One Unique Side Hand Accent
[IMAGE: Side-hand accent placed along the outer edge only, using a slim chain of dots and hooked petals.]
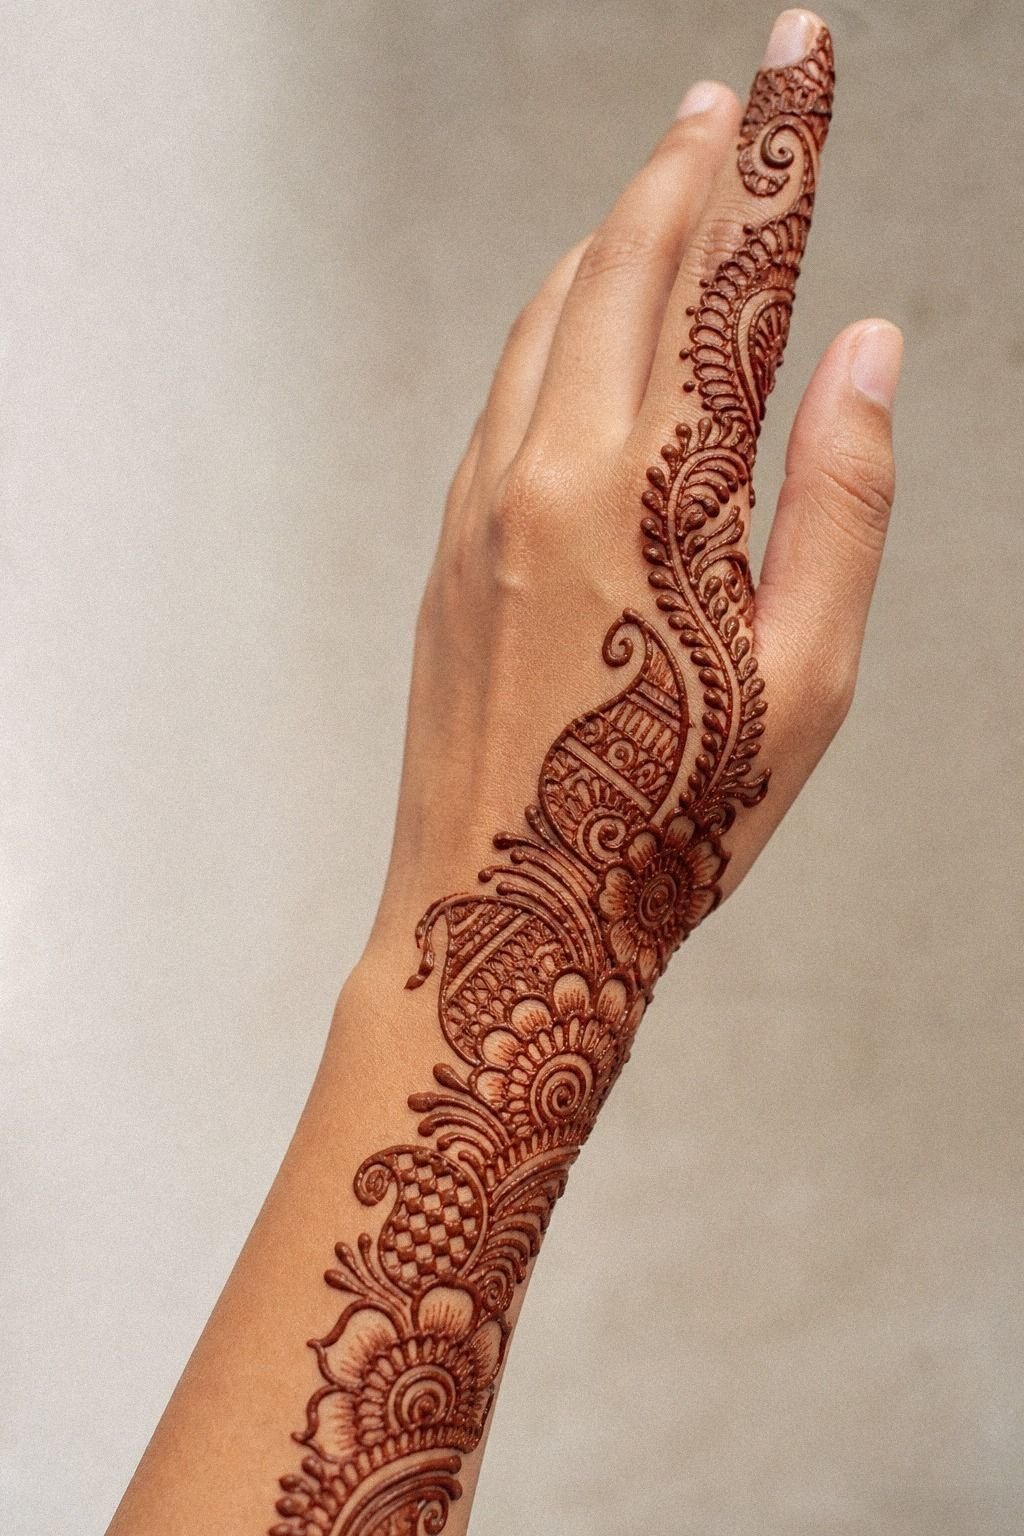
The side accent was my favorite risk. I added edgy side detail along the outer hand edge, just a slim chain of dots and little hooked petals, because I wanted one angle that only showed when I turned my hand. If you’re going visible, that kind of hidden read gives the design personality without blowing it up.
I kept it on one side only. Symmetry would’ve made the whole thing feel formal, and I didn’t want formal.
I wanted a raw, hand-drawn edge that still looked clean in daylight. If you’re comparing symbolic side placements, skeletal hand symbolism shows how edge placement changes the mood of a hand design even before style comes into play.
But I checked it against the hand placement comfort guide too, because the part of your hand you use to grip, carry, and brace is the exact part that tells on awkward placement later.
10I Checked Paste Thickness Before It Dried
[IMAGE: Henna cone line check showing raised paste lines with matched thickness across petals, dots, and fingertip caps.]
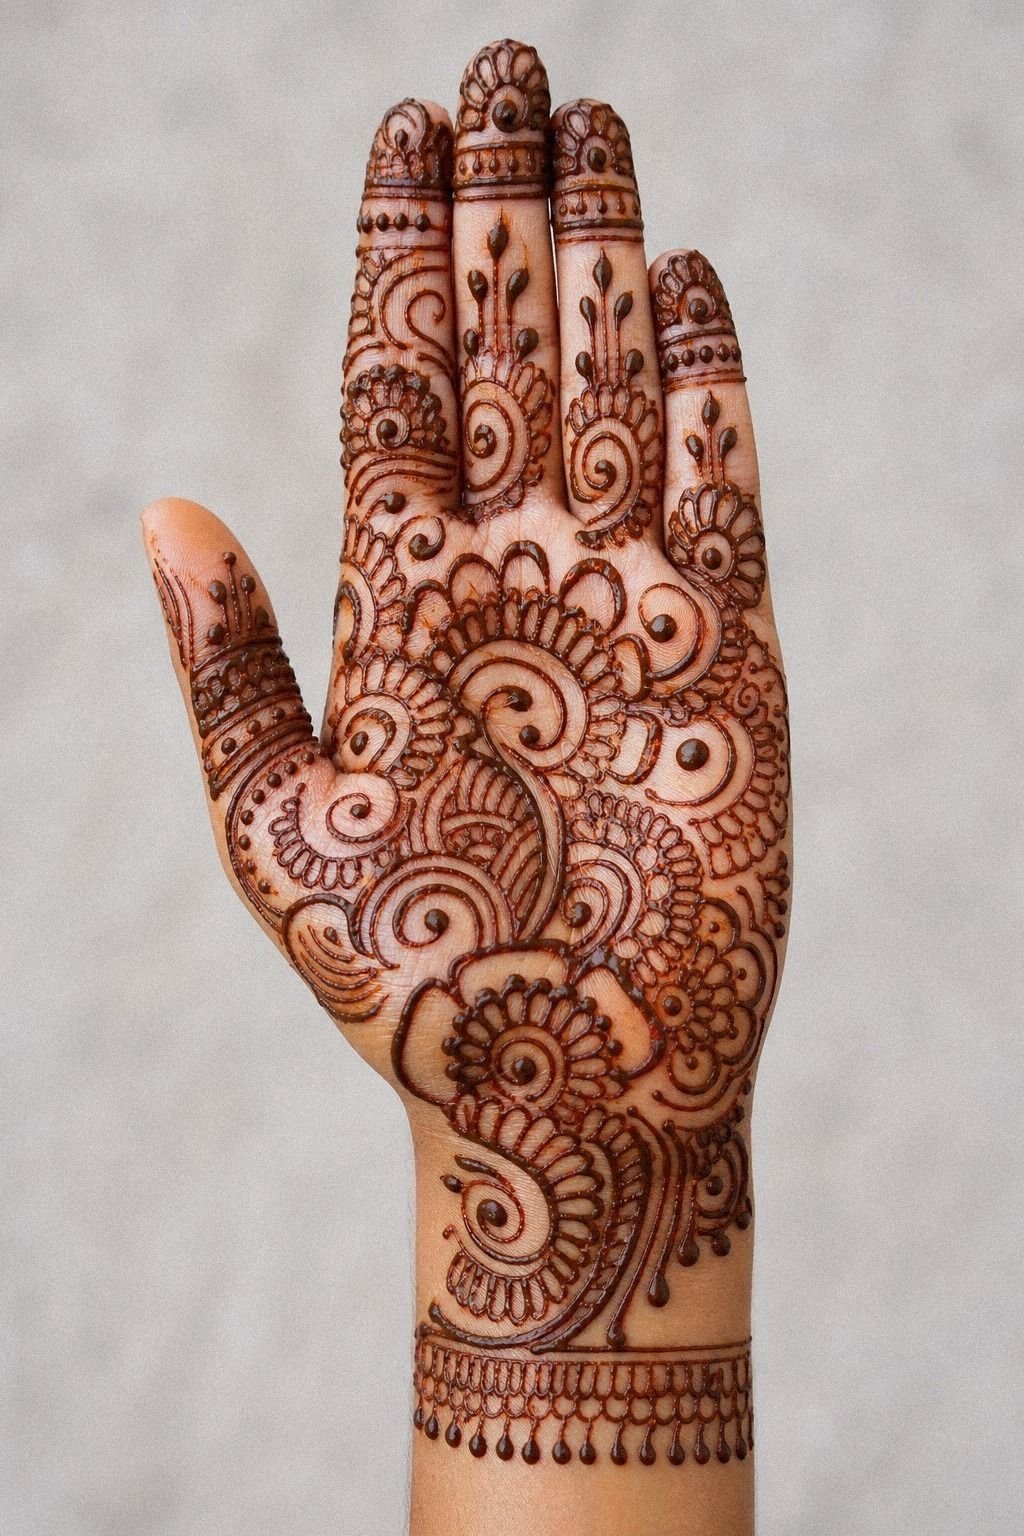
This is the part most people rush, and it shows. Before the paste dried, I checked every crisp cone line for thickness so the floral parts, dots, and fingertip caps all sat in the same visual family. If one line goes chunky while the next one stays hair-thin, your eye catches the wobble right away.
I wanted lines that looked clean from a few feet away, so I nudged down any ridge that sat too high and wiped off one petal that had gone blunt at the tip. I didn’t overwork it.
Once henna starts setting, too much fuss just makes crumbs and drag marks. Give it one calm pass, not ten nervous ones.
If you’re planning a longer-lasting version later, easy henna ideas for testing a long-term design is useful because it helps you notice what shape survives motion, not just what photographs well for ten seconds. That test can save real money later, which makes the trial feel worthwhile.
11I Cleaned Smudges Along The Finger Lines
[IMAGE: Finger line cleanup with a cotton tip refining the outer edges near the finger creases and sidewalls.]
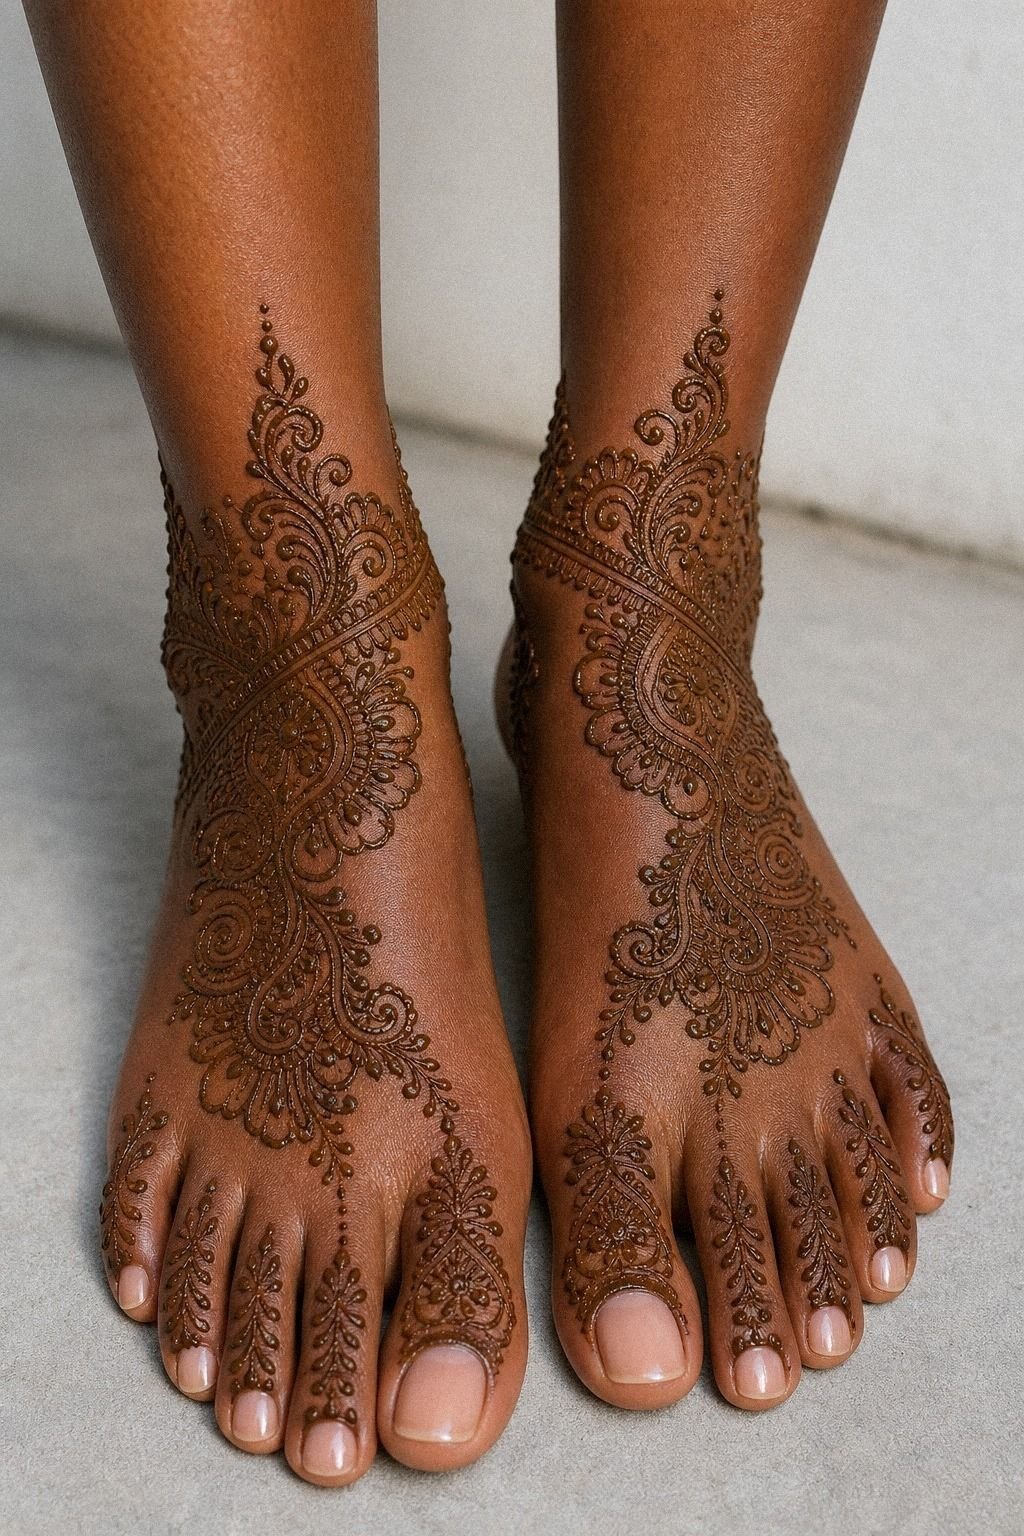
After the paste set a bit, I went back with a fine cotton tip and cleaned the edges along the expressive finger lines. That tiny cleanup step kept the design from looking scratched in, especially near the sides of the fingers where paste likes to catch. If you’re working on feet or hands, this part matters more than people think.
I focused on the outside edges first, then the inner seams near the finger creases because those are the spots that go fuzzy fastest. I left one tiny imperfection alone on purpose. A hand-drawn henna piece should still look hand-drawn.
If you later want the stain to fade faster, both how to remove a henna stain and how to get rid of a henna stain walk through the fade-down options. And if you want it to last as evenly as possible first, the henna care guide covers the soap, sun, and friction part you should not ignore.
12I Photographed The Finished Henna Hand
[IMAGE: Finished henna hand in soft window light, fingers slightly spread so the open lanes and fingertip caps read clearly.]
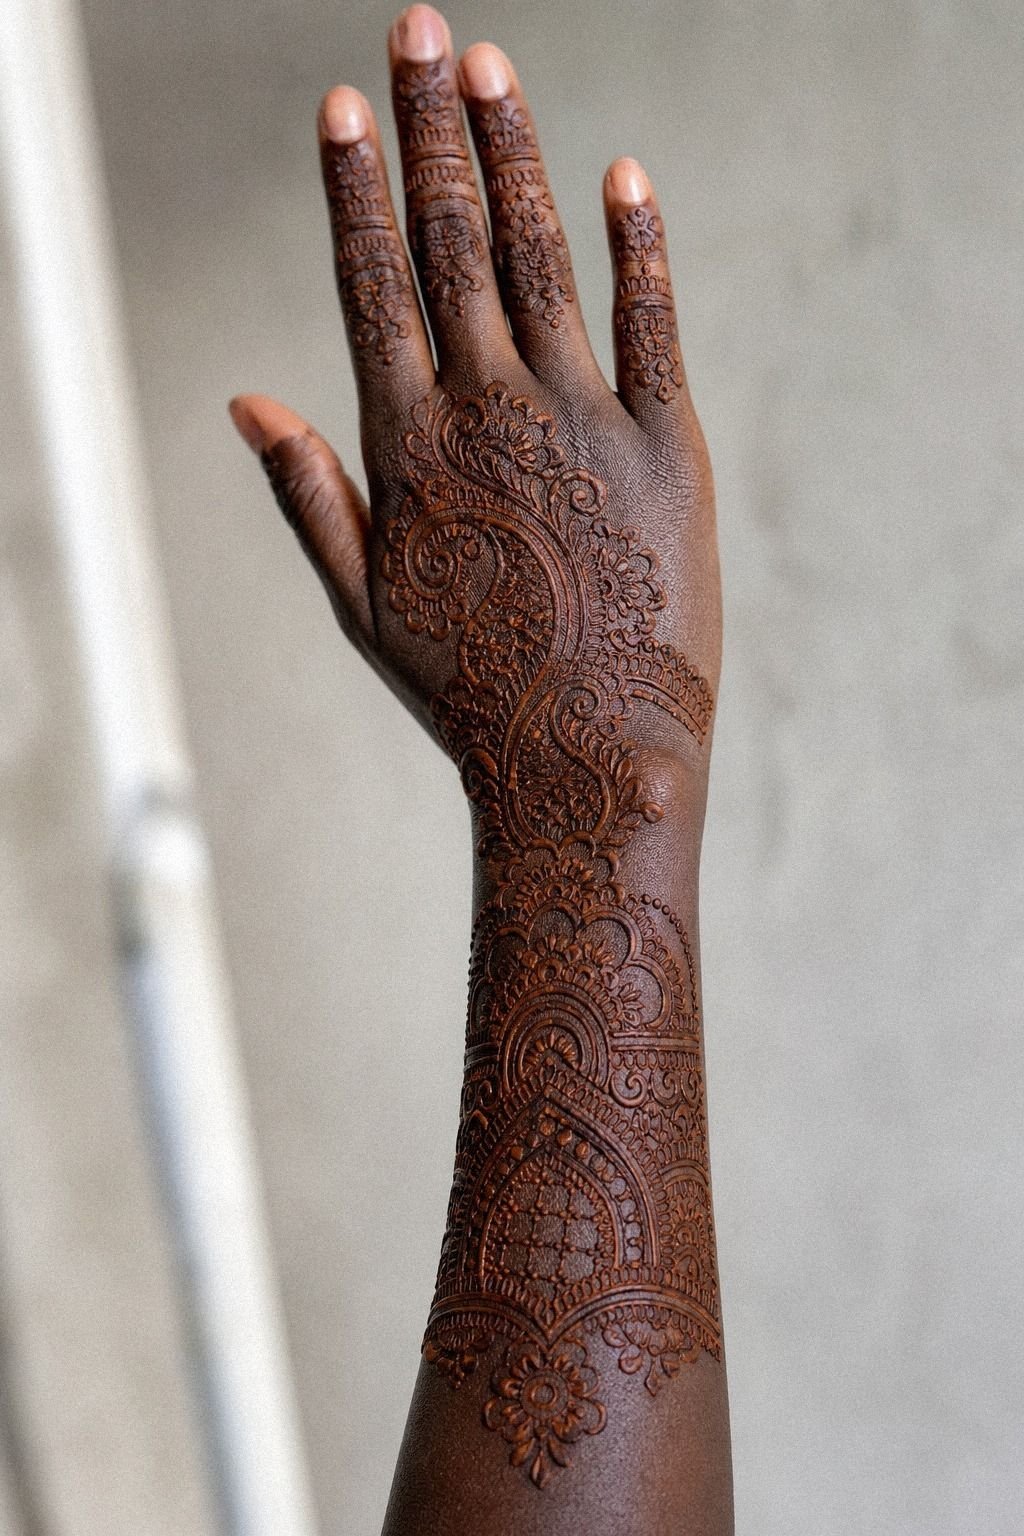
Once the stain had developed, I shot the final look in window light with my hand angled slightly forward. The finished reddish-brown stain looked cleaner than it had on paper because the open lanes and fingertip caps finally balanced each other out. Good sign!
I took photos with fingers relaxed, then slightly spread, because you need to know whether the design still reads when your hand is moving through normal life. I also checked it close up for any soft spots that might bother me if I ever turned the layout into a different long-term design. If a temporary test does not hold up in a few honest photos, it is not ready for a bigger commitment.
And that photo check told me more than the mirror did. You see balance, weight, and awkward gaps faster in a still image than you do while you’re admiring your own hand in motion.
How much is a henna hand really worth?
[IMAGE: Henna application pricing snapshot with one-hand layouts ranging from simple wrist-and-hand work to denser custom coverage.]
Here’s the honest money part. A hand-sized henna application in the US can start around $25 to $60 at the low end, while more detailed custom work or an experienced mehndi artist can land closer to $75 to $150 depending on the design, occasion, artist, and market.
Bridal work, both hands, and dense palm coverage can cost more. If you use henna as a test for visible placement, that small spend can save you from making a rushed call on active skin.
My own design sat in that lower custom range because it was one hand, one wrist band, and no forearm coverage. If you ask for both hands, dense palm fill, and matching finger detail, the time jumps. Time and precision are what you’re really paying for.
If you’re wondering whether the application is worth it, I think the payoff is strong when you are not ready for a long-term hand design yet. You get a visible test, a real wear check, and a better sense of pricing before you commit.
The Two-Lane Hand Rule
[IMAGE: Two-lane hand rule with two open skin channels guiding the eye through the center motif and finger trails.]
The first rule I trust now is simple: leave two clear lanes of open skin somewhere in the design. That one choice gives your eye a path, and it keeps the layout from turning muddy once your hand bends, the paste dries, or the stain starts fading. If you ignore that, you usually end up fixing clutter with even more clutter.
This is also the cleanest fix in the whole article because it costs nothing and adds instant clarity. You are not buying more detail. You are editing harder.
Mehndi Flow Versus Full-Coverage Fill
[IMAGE: Mehndi flow versus full fill comparison, with one airy hand layout beside one dense, overpacked version.]
I also think one side accent beats mirrored detail on a first pass, and I think airy mehndi flow beats full-coverage fill for a visible trial. A single edge motif gives you personality without making the whole hand feel formal or overpacked.
If you’re still learning what kind of visible work feels like you, this rule saves you from overcommitting too early. Clean wins again!
The fuller version can look dramatic in a still photo, sure, but it usually carries more upkeep for a first run. If your goal is to learn what reads clean on skin you wash twenty times a day, the lighter option is worth it.
Why does simple henna win on hands first?
[IMAGE: Palm-Anchor Test showing a center motif holding the whole hand together before any extra filler gets added.]
Here’s the framework I trust now after trying this on moving skin instead of just admiring reference photos on my phone. First, the Palm-Anchor Test: if your center motif cannot hold the hand on its own, the rest of the design is probably filler.
The back of the hand and the palm are working surfaces, not flat paper. Every crease, bend, and rub point changes the line.
That’s why simple henna layouts so often beat the extra-fancy ones people save to their boards.
Second, there is the clean-lane problem. If your hand design doesn’t leave open channels of skin, it won’t read clean once you start flexing, washing, and living in it.
I learned that fast. The first sketch I almost used had too many tiny leaves and not enough central shape, and it would’ve looked muddy the second I opened my hand. Once I stripped it back, everything got clearer.
Third, the one-side accent rule matters more than symmetry on a first run. You do not need detail on every edge for a hand piece to feel finished.
One strong side accent, one clean wrist stop, and fingertip caps that don’t swallow the fingers can be plenty. That’s the version that stays sharper through a one-to-three-week fade.
Tiny overloaded detail is how you end up with soup. Clean contrast is how you get something that still feels meaningful at the end.
And here’s the bigger thing: testing a visible design with henna isn’t just about style. It’s about behavior.
You learn how often your hands hit soap, sun, friction, keyboards, steering wheels, gym handles, and pocket edges. You learn whether you still like seeing a design every hour of the day.
That’s useful data! For a first-timer, I’d rather you spend one careful application on henna than make a rushed long-term decision because a Pinterest crop looked cool. Visible placements are bold, and they ask more from you.
What People Always Want to Know
[IMAGE: Henna FAQ reference sheet showing clean hand placement, developed stain stages, and artist setup basics.]
How much does a henna hand usually cost?
Usually, a henna hand runs about $25 to $150 in the US depending on size, detail, occasion, and artist time. Bridal or festival work can run higher, especially for both hands. If you want a reality check before booking, easy henna ideas for testing a long-term design helps you compare simple versus dense layouts.
– Small application. Around 20 to 45 minutes. – Detailed custom hand work.
Around 45 to 90 minutes. – Visible placement premium. Higher in bigger cities or for an experienced artist.
Is a henna hand a good idea for a first try?
Yes, it is a smart first test because you get visibility without a long-term commitment. You can see how the placement feels on your hand, watch the stain change from orange-brown to deeper brown, and decide whether the shape still feels personal after several days.
– Clear read on skin. Good for line spacing. – Lower-stakes trial. Helpful for first-timers. – Daily-life check.
Washes, friction, and sun exposure.
How do I choose a mehndi artist for a henna hand?
Pick someone whose portfolio shows clean cone work and developed stains, not just fresh paste close-ups. You want crisp lines, tidy spacing, safe ingredients, and an artist who can explain drying time and aftercare clearly.
– Fresh and developed photos. – Specialty match. Ornamental, paisley, mandala, or bridal work. – Clean setup. Fresh cones, clean tools, and sensible skin preparation.
Does a henna hand hurt?
Henna application should not hurt because the paste is placed on top of the skin. You may feel light pressure from the cone tip or mild sensitivity from a scented product, but sharp pain, burning, or blistering is a reason to remove the paste and seek advice.
– Hands and fingers. Usually easy to tolerate. – Palm and wrist areas.
May feel more sensitive to pressure. – Irritation or burning. Remove the paste promptly.
How long does a henna hand take to fade?
The stain usually deepens during the first two days, then gradually fades over one to three weeks. Palms and fingertips can wear faster because they meet more soap, friction, and water. For gentle care, henna care guide covers the basics.
– Gentle wash. Use mild, unscented soap. – Light moisture.
Avoid heavy rubbing while the stain develops. – No pools or hard sun. Chlorine and friction can speed fading.
What’s the best placement for a henna hand?
The back of the hand is usually the best test spot because you can see the design clearly and judge the flow fast. If you’re thinking long term, easy henna ideas for testing a long-term design helps you compare back-of-hand reads against finger-heavy versions.
– Back of hand. Best visibility. – Wrist edge. Good extension point. – Fingers and palms.
Higher wear and more upkeep.
Where I’d Start First
[IMAGE: Palm center first move with the center motif solving balance before dots, filler, or full finger coverage get added.]
If I had to pick one, I’d start with the palm center. It forces you to solve balance before filler, and that one decision keeps the whole hand from turning muddy later. Pin this layout for later and keep the finger detail lighter than you think.