My traditional insect tattoo was a week-after-30 decision, and I nearly made it too small. I gave the moth room, used black first, and it still reads clean years later. That’s the whole point.
I Chose a Traditional Moth Tattoo
I landed on a moth because it gave me symmetry without looking precious. You can spot the wings from across the room, but the body keeps it grounded. I wanted a death’s-head moth shape with fat black borders, not a tiny specimen drawing that would turn to soup.
Your insect doesn’t need a dramatic backstory to deserve skin. Mine had one, but I’d still pick a moth over a busy butterfly because those broad wings hold color and leave your artist room for solid contrast. Bold will hold!
I Matched the Insect to My Story
A traditional bug tattoo should feel personal before it feels trendy. I wrote down what I wanted the piece to carry, then stripped that list to one clear image.
You can do the same: change, protection, persistence, grief, curiosity. Pick one lane.
I didn’t ask for Pinterest-exact. I brought references for wing shape, black packing, and mood, then let the artist redraw it. Your tattoo will look more like it belongs on you when you give an artist a direction instead of a photocopy.
I Compared Classic Bug Tattoo Designs
Beetles, moths, cicadas, bees, and flies all work, but they don’t wear the same. A stag beetle has hard, graphic armor.
A cicada gives you longer wings and a quieter silhouette. You’ll want to compare the big outer shape before you fall for tiny interior details.
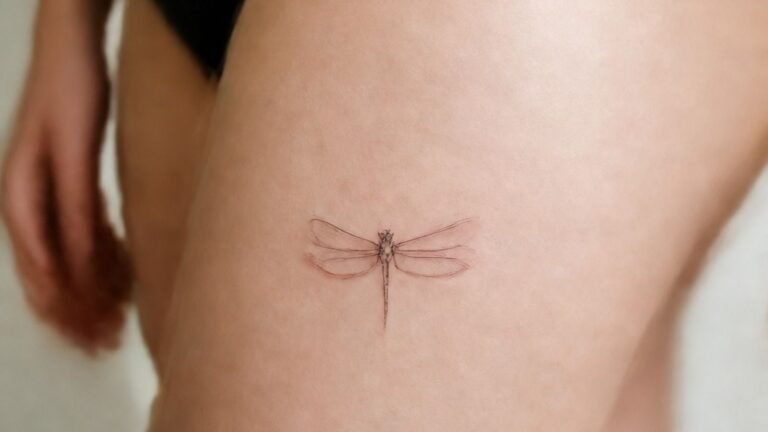
I’d skip a super-detailed dragonfly at wrist size. It’s elegant on paper, but thin wing cells get chewed up fast in a high-wear zone. For more old-school reference points, look through this traditional tattoo artwork guide.
I Picked Bold Traditional Linework
The Two-Weight Rule made the tattoo work. I asked for a heavier outer contour, then lighter interior marks so the wings wouldn’t heal flat. Your eye needs that hierarchy, especially if you want an insect tattoo design that still reads from a few feet away.
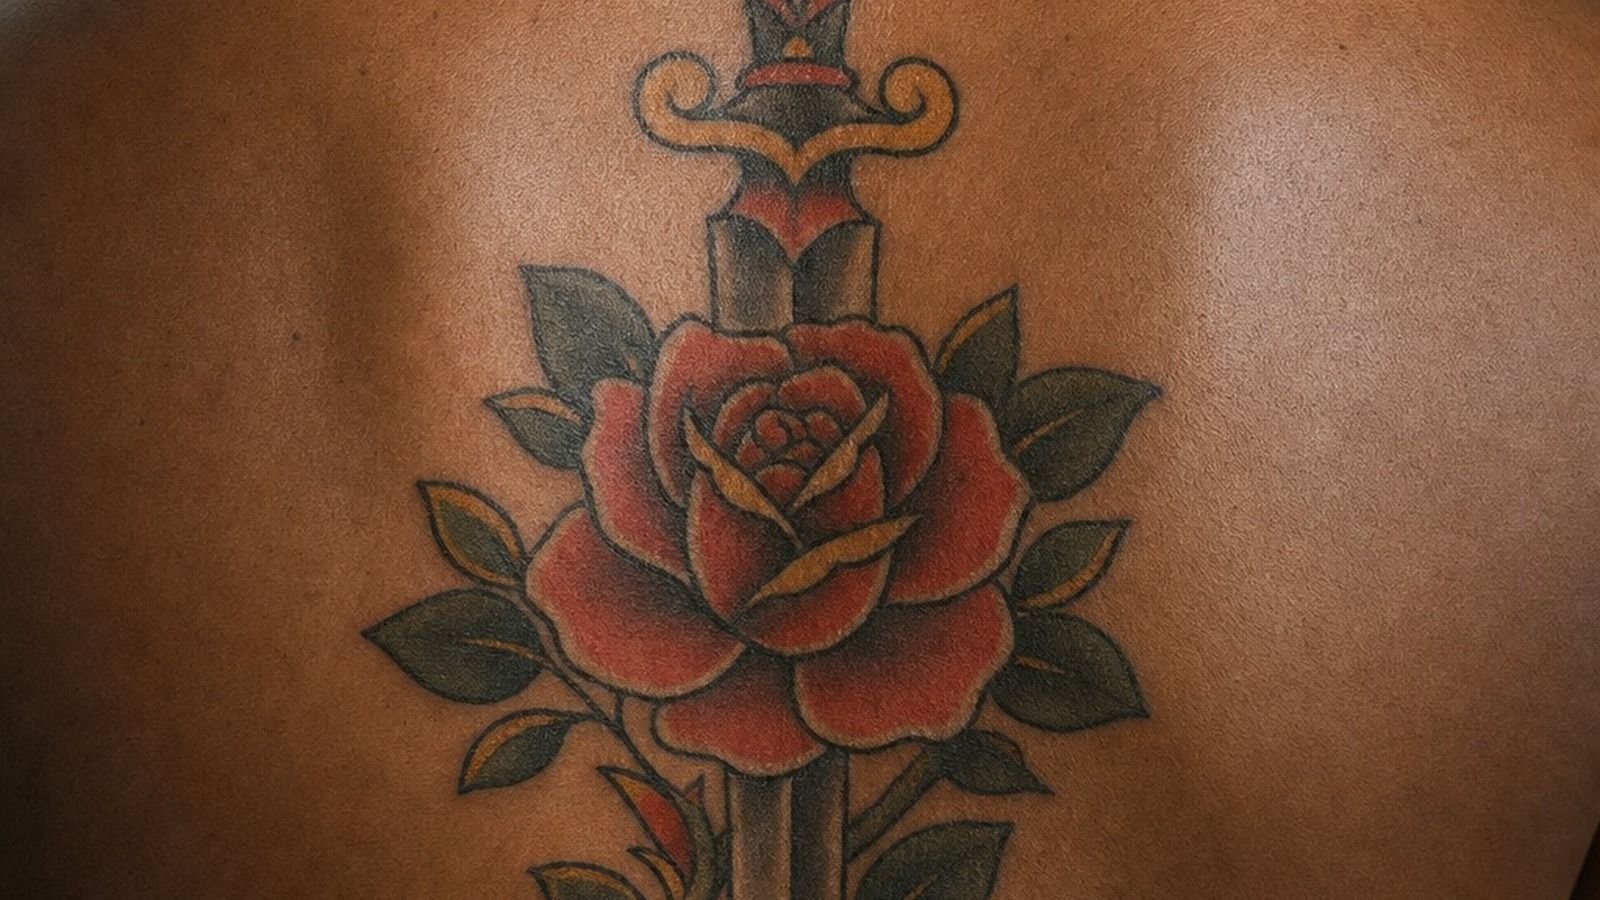
Crispy and confident lines matter more than ornamental fussing. A good artist makes one clean pull, not ten fuzzy ones. I chose black outline ink with simple dot details, because a traditional tattoo should be bold, warm, and built for real skin movement.
I Studied Traditional Insect Stencils
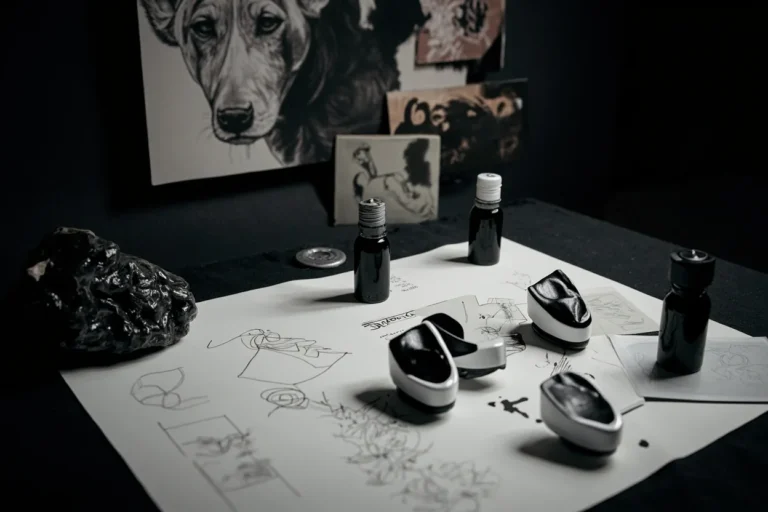
Stencil time showed me what the drawing needed. On aged paper, the moth looked balanced.
On my arm, one wing sat too close to the ditch. You should always judge a purple stencil where the tattoo will live, not centered on a flat screen.
I moved the body a little and widened the wing tips. Small change, big difference.
Your artist should be happy to reposition a stencil twice, even three times, before the machine starts. Browse a traditional tattoo stencils guide if you’re still sorting your references.
I Tested the Design at Full Size
I printed the moth at full size before booking, because a 2-inch design looked timid on my upper arm. At about 4 inches wide, the wings could breathe and the black could stay clean. You don’t need the biggest tattoo in the shop, but you do need enough skin for the idea.
That size gave my artist room for solid black fill and soft red accents. If you’re choosing a first tattoo, I’d rather see you go slightly larger on a low-wear upper arm than force a tiny masterpiece onto your wrist. It ages nicer.
I Selected Blackwork and Limited Color
Black is your best friend for longevity. I used it as the skeleton, then added a limited hit of red and muted gold so the moth stayed dramatic without becoming a sticker. You can use color as spice, but your outline has to do the heavy lifting.
I’d skip rainbow wings for this style. Red tattoo pigment against black has a classic punch, while too many colors can make the design feel busy after the skin settles. The clean blackwork version on an ankle is especially solid if you’re ready for touch-ups later.
I Checked the Insect’s Symbolic Meaning
A moth can mean attraction to light, rebirth, grief, or just a love of strange little night creatures. Your meaning doesn’t have to survive a courtroom cross-examination. Mine was private, and that made the tattoo feel more intimate than a literal quote ever could.
Still, I checked the symbolism before committing. You should too, especially with a cicada tattoo or scarab, since those symbols carry long histories. A simple insect with your own reason behind it will feel more honest than borrowed symbolism you can’t explain.
I Placed the Tattoo on My Forearm
The forearm is a strong placement for traditional insect tattoo ideas because you can see it, photograph it, and keep the design upright. I considered it, but chose upper arm for less sun exposure and a calmer healing stretch. You’ll feel the difference in daily wear.
If you want visibility, a forearm moth tattoo gives you a clean vertical canvas. Keep the wings clear of the wrist crease so they don’t fold into each other. For another classic framing element, see these traditional tattoo stars.
I Adjusted the Wings for Skin Movement
Flat flash doesn’t stay flat once it’s wrapped around a body. My artist opened the wings a little so the moth didn’t pinch inward when I bent my arm. You should ask your artist to check the design standing, sitting, and moving.
The Flow-First Rule is simple: put the body on the long line, then let the wings follow the muscle. A curved wing stencil will look less rigid than a perfectly mirrored drawing forced over a joint. That extra adjustment keeps the piece soft and readable.
I Reviewed Pain Around the Elbow
I didn’t put the moth over my elbow, and I’m glad. Elbows, ribs, sternum, hands, and feet are spicy because the skin is thin and bone sits close. You can handle them, but you shouldn’t pretend they feel like an outer calf.
Lines feel sharper. Shading is a dull burn. Color packing is usually the spiciest part.
If you’re nervous, choose a outer forearm placement or thigh first, eat a real meal, and tap out for five rather than pass out on your artist.
I Chose a Trustworthy Tattoo Artist
I chose an artist by healed work, not just fresh photos. Fresh tattoos are bright and flattering by default. You need to see whether their black stays solid, whether their lines stay crisp, and whether their traditional pieces look consistent across different skin tones.
Ask to see healed tattoo photos and check that the artist regularly tattoos bold traditional work. A clean studio, clear consent process, and a portfolio with strong linework beat a giant follower count every time. Your skin isn’t the place to gamble.
I Asked for Stronger Traditional Shading
I wanted shading that could soften the insect without drowning it. My artist used grey wash and pepper shading around the wing bases, then pushed contrast into the black areas. You should ask for shadows that support the outline, not misty shading everywhere.
A grey wash moth heals velvety when it’s applied with restraint. I’d skip dense micro-realism texture inside traditional wings because it competes with the clean shape. The black should stay bold, the shading should stay subtle, and the insect should still read fast.
I Approved the Final Insect Flash
The final drawing had fewer details than my first reference. Good.
I removed a second skull, extra stars, and a banner that made the moth feel crowded. You don’t need every meaningful thing squeezed into one tattoo.
The Three-Shape Check saved it: body, wings, and one accent. Mine used a small red flower beneath the moth, which gave the composition a base without turning it into a pile of symbols. If you love banners, this traditional tattoo banner guide helps you use one with purpose.
I Prepared My Skin Before Tattooing
The night before, I drank water, ate properly, and left the area alone. No sunburn, no heavy exfoliating, no showing up dehydrated on an empty stomach. Your artist needs calm, healthy skin, not a patch you’ve irritated for three days.
Wear loose clothes that expose the placement without rubbing it afterward. I brought a snack, water, and a clean cotton shirt for the ride home. And yes, sleep matters.
You’ll sit better when your body isn’t running on coffee and bad decisions.
I Sat Through the Full Tattoo Session
My 4-inch upper-arm moth took a few focused hours, with a break when the color packing got spicy. Your session length depends on placement, detail, and the artist’s pace, but don’t rush them. Slow, clean work beats fast, scratchy work.
I watched the black go in first, then the shading, then the red. The magnum needle work felt heavier than the outline, but it made the color saturated in one solid pass.
But if your skin starts feeling wrecked, speak up. A short break is normal.
I Followed My Artist’s Aftercare Instructions
First few days, it’s an open wound. Treat it like that. I washed mine with gentle unscented soap, patted it dry, and used a thin layer of fragrance-free ointment.
You don’t need to suffocate a tattoo to take care of it.
Skip pools, hot tubs, hard gym friction, and direct sun while it heals. It’ll peel like a sunburn, and you can’t pick the flakes without risking color loss. For more linework context before your next piece, read the traditional tattoo outline guide.
I Watched the Insect Tattoo Heal
Surface healing usually takes around 2 to 3 weeks. Complete settling takes closer to 2 to 3 months, when that shiny silver-skin stage fades and the tattoo looks like it belongs in the skin. You’ll see it shift, and that’s normal.
Mine looked dull for a few days, then the black came back crisp. A healed wrist tattoo will usually need more sun care than an upper-arm piece, so use sunscreen after healing.
Sun fades tattoos. No debate.
I Judged the Finished Traditional Insect Tattoo
Years later, I judge it by one thing: can I still read the moth in a mirror without squinting? Yes.
The black stayed solid, the wings stayed clear, and the small red accent didn’t take over. That’s a win.
You should judge your finished tattoo the same way. Does it fit your body?
Does it hold its contrast? Does it still feel like you?
A traditional moth tattoo doesn’t need to be delicate to be meaningful. It just needs to be built right.
How much it cost
Traditional insect tattoos usually start around the shop minimum, roughly $50 to $100 in the US, then move to about $100 to $250 per hour depending on artist and region. Mine was priced as a few-hour custom piece, but you should get your artist’s quote after the stencil is final.
Don’t bargain-shop a traditional piece. A cheap tattoo can become an expensive cover-up, and a clean artist will tell you when your idea needs more size or simpler detail.
What I Learned About Making an Insect Tattoo Last
I’ve seen people treat tattoo longevity like luck. It isn’t.
Your artist’s linework, the amount of contrast, your placement, and the way you treat the tattoo afterward all matter. I chose a moth because it gave me broad black shapes and a clear silhouette, then I placed it where clothing and sun wouldn’t grind it down every day.
That’s not glamorous, but it’s why the tattoo still feels bold instead of blurry.
I also learned that “small” and “simple” aren’t the same thing. You can have a small tattoo with a strong silhouette.
You can also have a larger tattoo full of fussy details that heal into visual soup. I went back and forth on adding more decoration, then cut it. The empty skin around the moth does half the work.
And your artist should be part of that decision. If they tell you to bump a wrist piece up the forearm so it breathes, listen.
If they recommend black over a fourth color, they’re probably protecting the tattoo, not limiting your creativity. The best traditional insect tattoos look calm because somebody made hard choices before the needle touched skin.
The Questions Worth Answering First
How much does a Traditional Insect Tattoo usually cost?
Most traditional insect tattoos cost about $100 to $300 for a small-to-medium design, though a shop minimum may run $50 to $100 and hourly artists often charge $100 to $250. Clear pricing starts with the final size. Placement, color, and artist demand change the quote.
Are Traditional Insect Tattoo a good idea for a first tattoo?
Yes, they’re a solid first tattoo when you keep the shape clear and choose a tolerable placement. Bold linework ages well on an outer arm, thigh, or calf. You’ll have a design that feels personal without forcing tiny detail into a small patch of skin.
How do I choose a tattoo artist for Traditional Insect Tattoo?
Look for healed traditional work, not only fresh reels. Consistent black saturation and confident outlines matter most. You should also check studio cleanliness, booking communication, and whether the artist’s portfolio includes flash or customs close to your insect tattoo ideas.
How much do Traditional Insect Tattoo hurt?
Pain depends on placement. Outer arm, shoulder, calf, and thigh are usually more manageable than ribs, feet, hands, sternum, or elbows. Lines feel sharp, shading feels like a dull burn, and you can always ask for a short water break.
How long does a Traditional Insect Tattoo take to heal?
Surface healing takes about 2 to 3 weeks, while full recovery can take 2 to 3 months. Gentle aftercare protects the color. Wash with unscented soap, moisturize lightly, and avoid pools, picking, friction, and direct sun while the tattoo is fresh.
What’s the best placement for Traditional Insect Tattoo?
Upper arm and outer forearm are strong picks because the shape has room and the lines tend to age well. Low-wear skin gives you better longevity. If you want a smaller classic companion tattoo, these traditional tattoo numbers can pair cleanly nearby.
Where I’d Start First
If I had to pick one, I’d start with a bold moth on the upper arm. You can’t fix cramped wings with good intentions once they’re tattooed. Pin the idea, then bring your artist references for vibe, not a copy request.