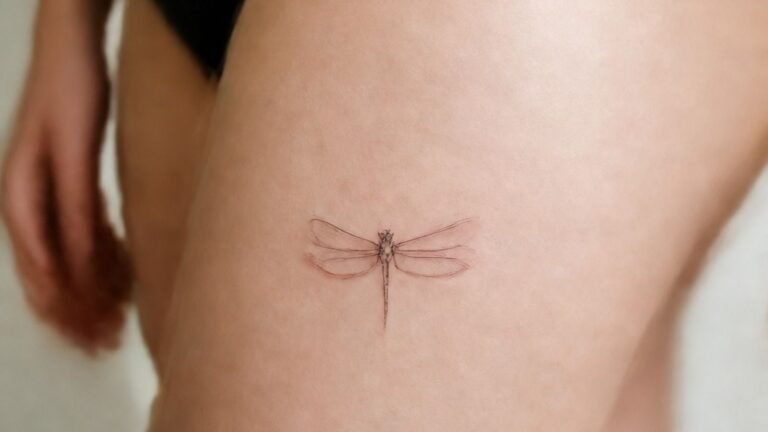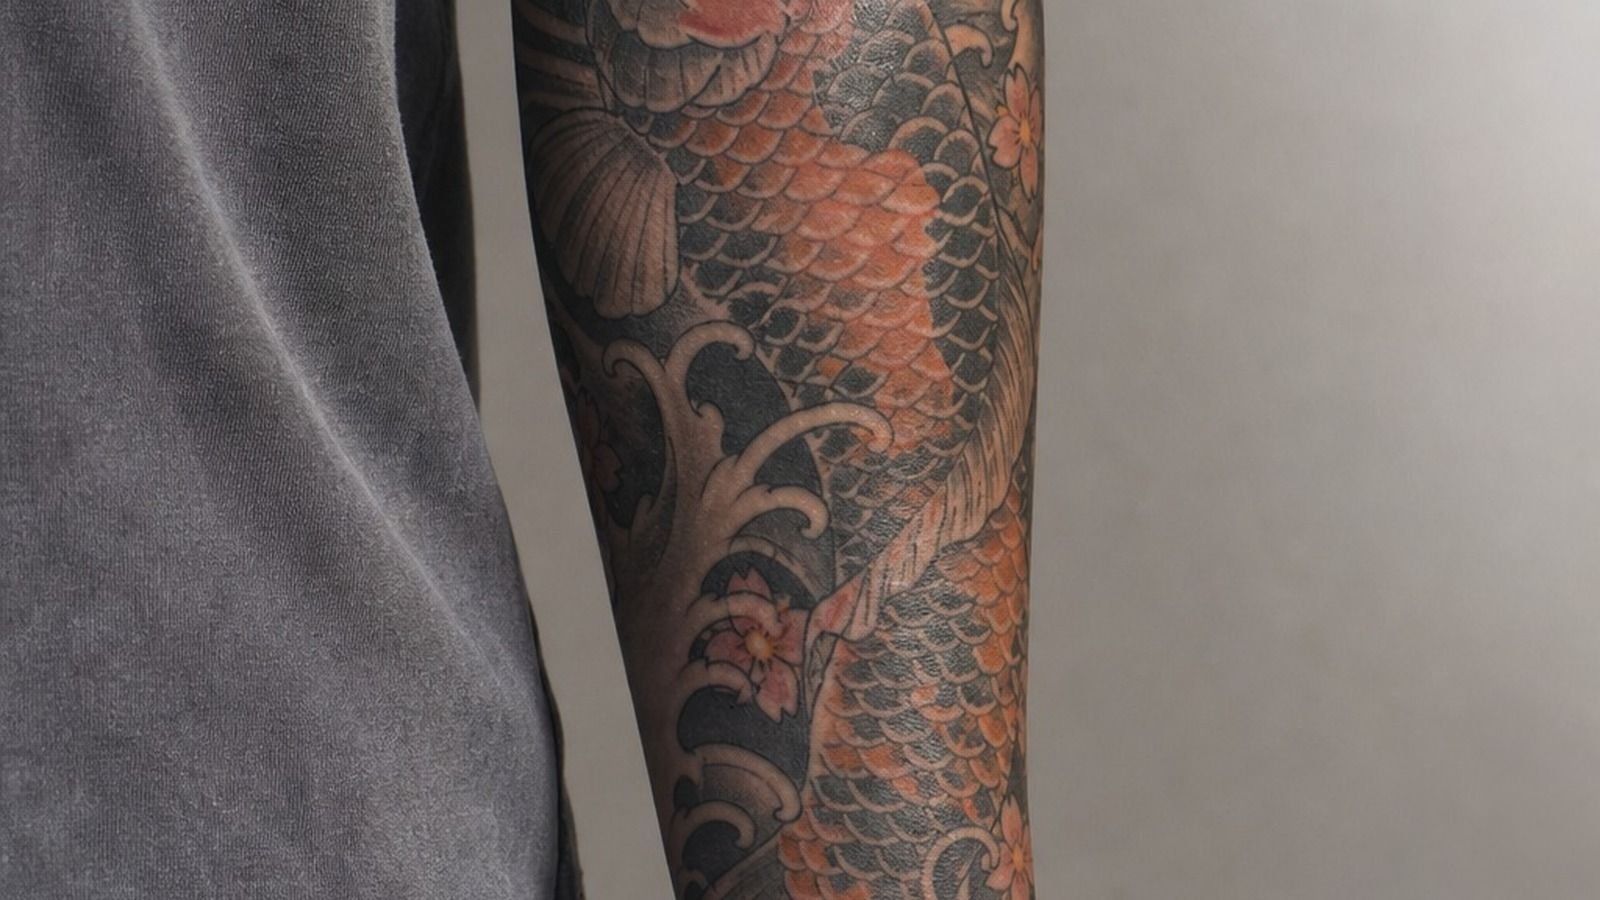
Traditional Japanese tattoos age cleanly when you pick the right motif, scale, and placement before the machine ever turns on. I’ve watched clients fall in love with a dragon reference online and then force it onto skin that can’t carry the flow. That’s where clean irezumi turns muddy. You can dodge that almost every time by building the piece in the right order, and yes, the planning matters more than the picture. This is the guide I’d hand a friend sitting in my consult chair: nineteen traditional Japanese tattoo ideas that actually hold, with the linework weight, the placement truth, and the session math behind each one.
Is a Traditional Japanese Tattoo Worth the Commitment?
Short answer: yes, if you’re honest about the time and skin you’re about to commit. Traditional Japanese tattooing, often called irezumi, is built for collectors. The motif language goes back centuries, the body flow is engineered into the design, and the pieces are meant to age as one connected body of work, not as a one-off sticker on a shoulder.
That scale is also the cost. A full back or sleeve runs 8 to 15 hours per section and often multiple appointments, sometimes over a year.
What makes it worth it: bold black linework that holds, a subject vocabulary that already knows how to flow across the deltoid, the spine, the ribs, and the thigh, and a design tradition that respects negative skin instead of filling it. What makes it not worth it: a fast Pinterest mock-up that doesn’t understand the body, a tiny reference shrunk to fit a wrist, or a client who isn’t ready to think in hours and sessions, not minutes.
If you’re not ready for that, start with one motif on a low-wear zone like the outer arm or the upper back. Earn the rest.
What Does a Traditional Japanese Tattoo Cost in the US?
A traditional Japanese tattoo in the US usually runs from a shop minimum of about $80 to $150 for a small motif, up to several thousand dollars for a full back or full sleeve. Most reputable irezumi artists charge between $150 and $300 per hour, and a real back piece or sleeve often totals $2,500 to $8,000+ depending on the artist, the region, and how much background flow you’re adding. Higher-end specialists, especially those who trained in Japan, can run higher.
The honest cost map so you know where the money goes:
A few honest notes from the chair. Big Japanese work almost never happens in a single session.
Plan for at least two, often three to four, with breaks for healing. Touch-ups are normal, not a failure. And if a quote feels low for a back piece, the artist is either early in their career or underbidding.
The right call is to budget honestly and then let the artist pace the work. The piece lasts longer than the bill.
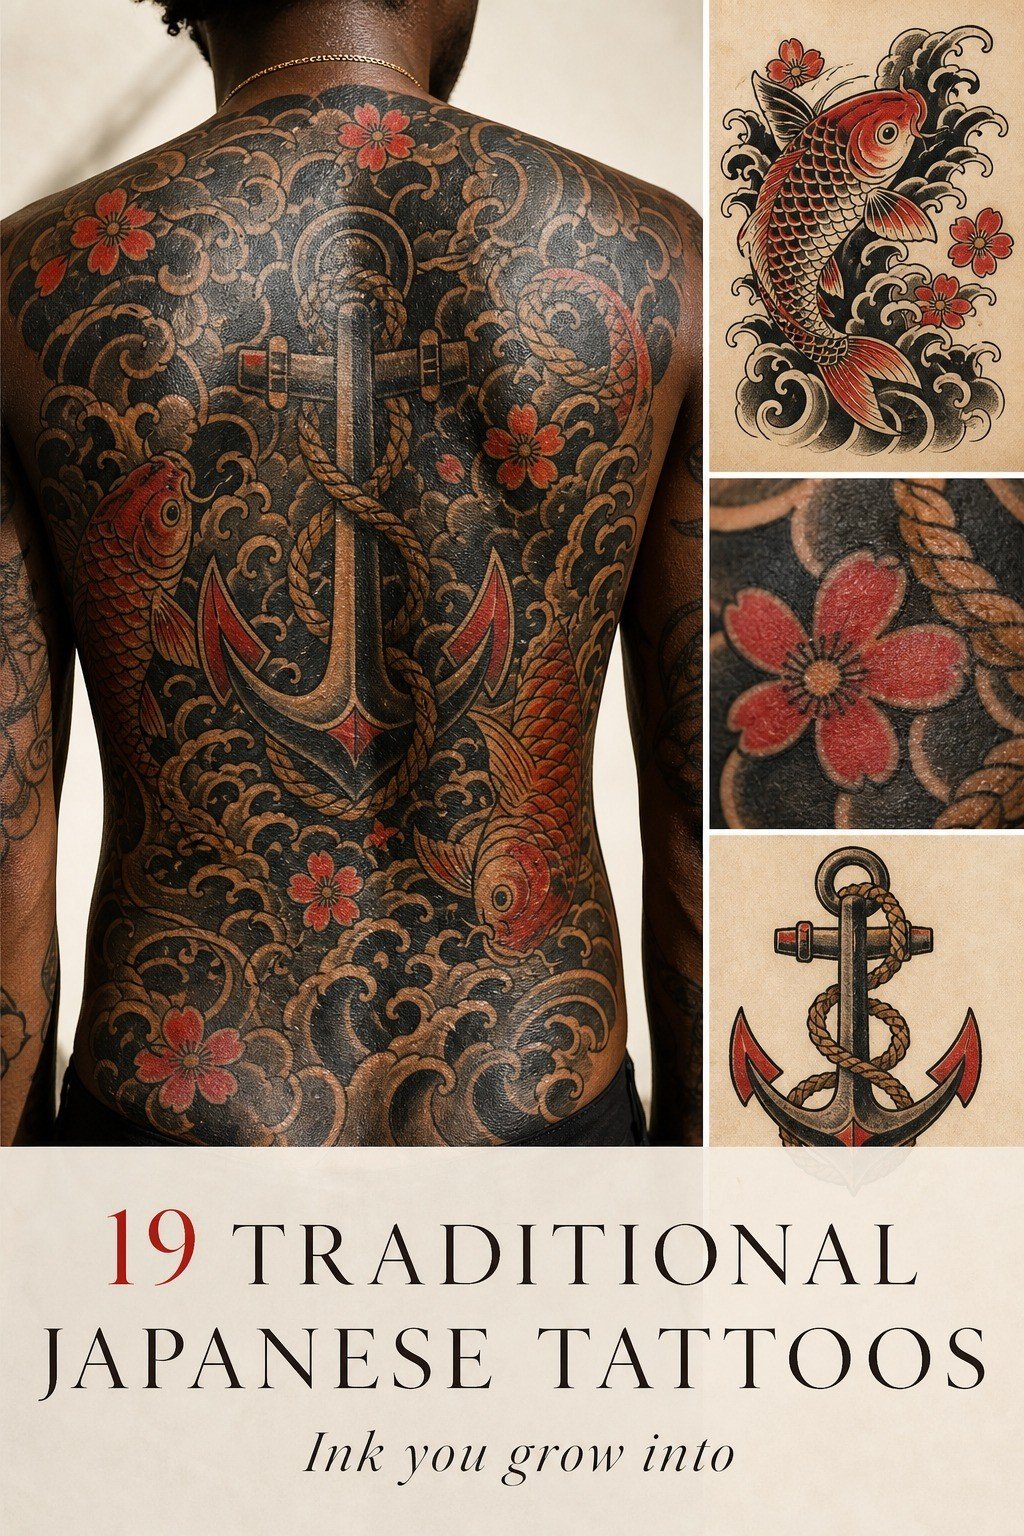
- Anchor a Full Back in Classic Irezumi
- Pick a Dragon Motif for Strength and Flow
- Build a Koi Sleeve for Perseverance
- Plan a Hannya Mask on the Forearm
- Place a Tiger Across the Shoulder Cap
- Keep Waves and Wind Bars Moving Around the Body
- Use Peonies to Balance Fierce Imagery
- Anchor a Phoenix with Bold Black First
- Compare Tebori Texture with Machine Shading
- Ask About Traditional Color Rules Before Stencil Day
- Match Mythology Symbols to Personal Meaning
- Build a Half Sleeve Around Wind Bars
- Reserve Enough Skin for Background Flow
- Study Neo Traditional Japanese Tattoo References
- Check Artist Experience with Irezumi Composition
- Budget for the Whole Multi-Session Build
- Prepare for Elbow, Knee, and Rib Pain
- Heal Dense Color with Aftercare Discipline
- Review Stencil Placement Before the First Line
1Anchor a Full Back in Classic Irezumi
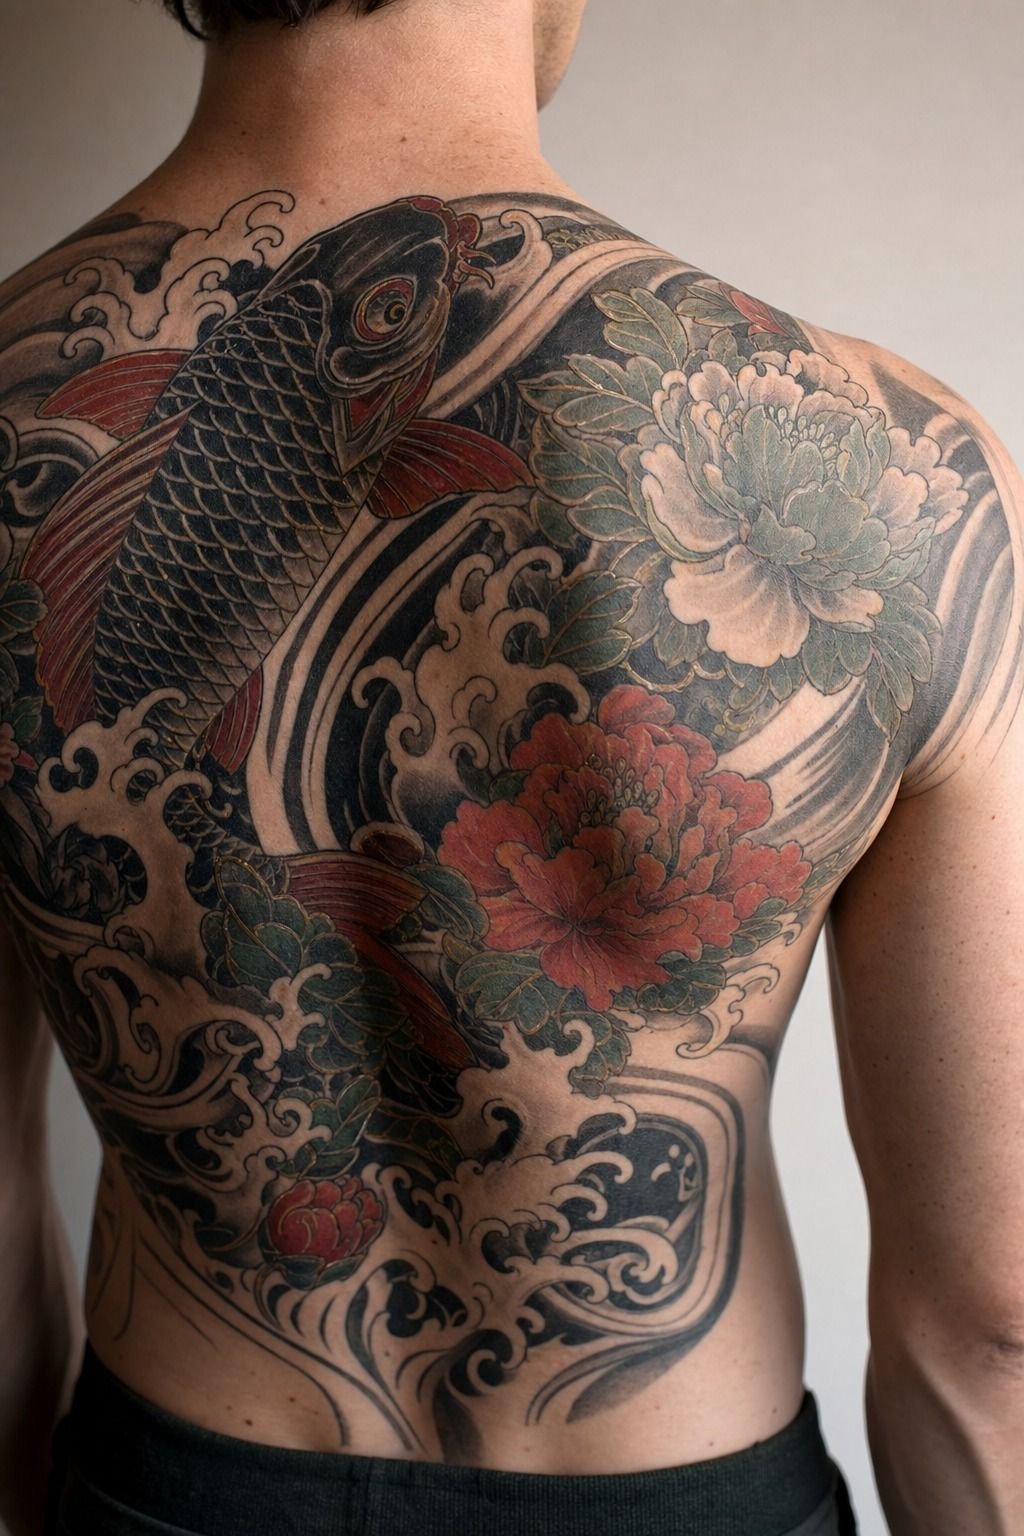
A full back in classic irezumi is the heaviest piece of ink most collectors will ever book, and the most rewarding when it’s done right. The composition usually centers a spine break with a single hero subject (a dragon, a koi, a peony cluster) and runs wind bars, waves, or clouds out toward the shoulders and hips. From 8 to 15 inches of vertical height is normal, and total hours can run 25 to 40 across multiple sessions.
What holds a back piece together is restraint. A good irezumi artist protects negative skin on the scapula and the lower back so the eye has somewhere to rest, and the silhouette still reads from across the room.
The back ages beautifully because you don’t sit on it, you don’t flex it constantly, and clothing covers it most of the day. If you’re starting in the Japanese lane, this is the blueprint to study first. For the wider art direction behind full-body suits, the irezumi Japanese traditional tattoo guide walks through how peonies, koi, and samurai anchor larger compositions.
I’d treat the back as a graduate project, not a first tattoo. Earn it on a sleeve first.
2Pick a Dragon Motif for Strength and Flow
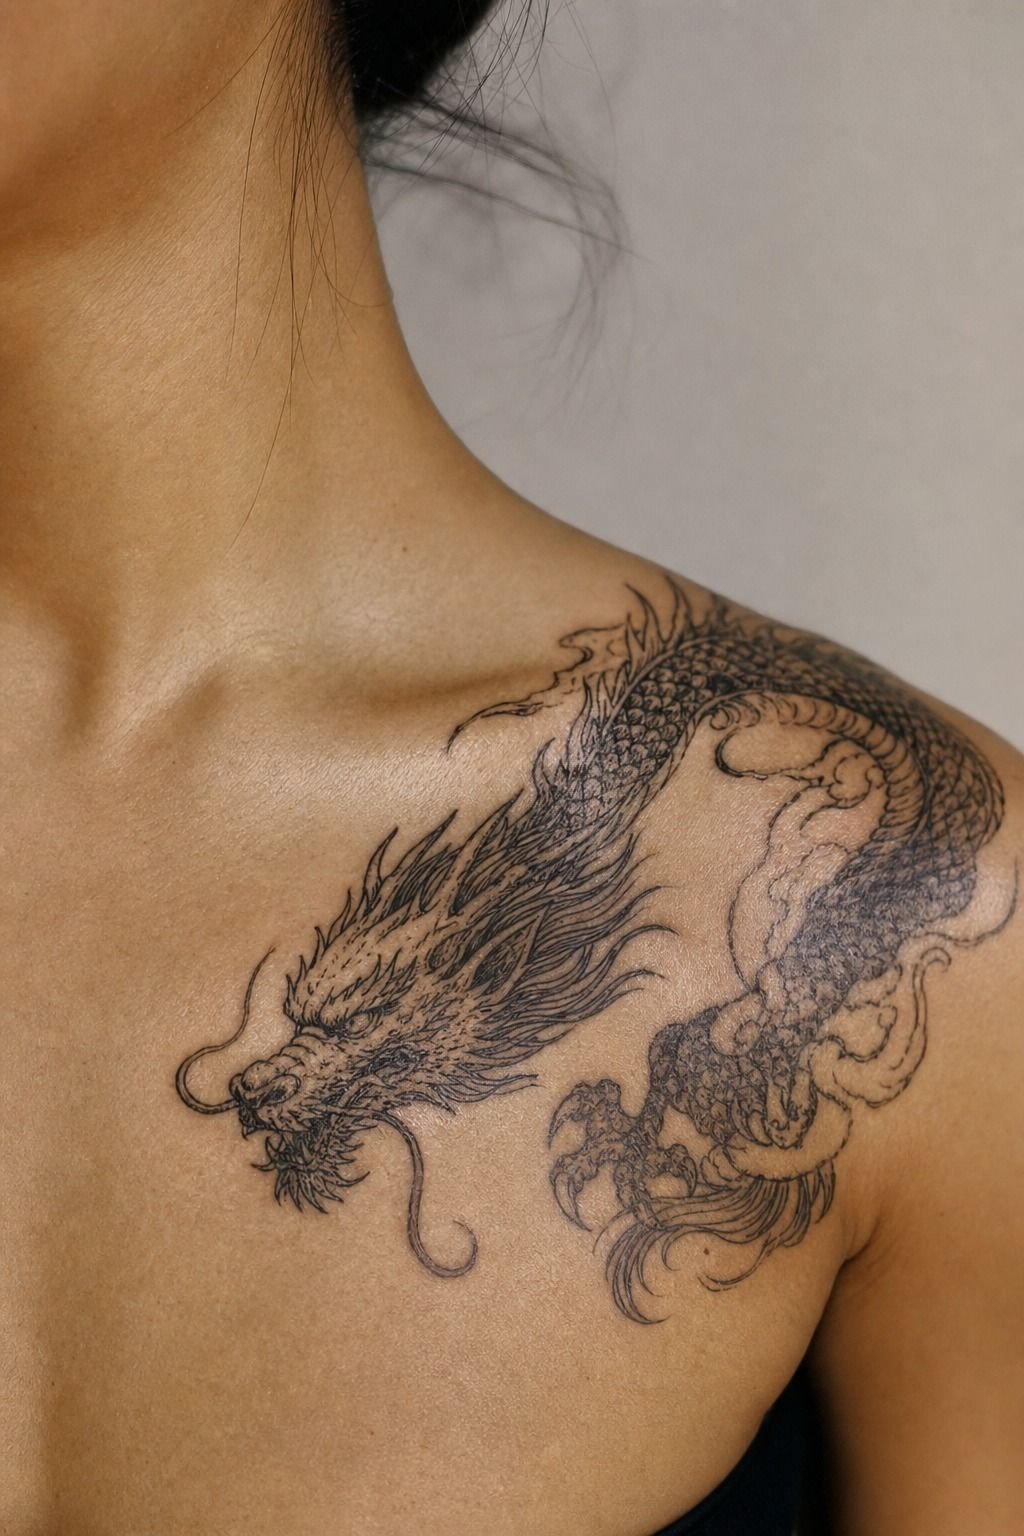
A dragon is the irezumi motif people ask for most and understand least. Done right, a dragon wraps the upper arm, climbs the shoulder, or arches across the back, and the body movement does most of the storytelling. Done wrong, it ends up as a stiff head with a tail trailing behind it.
The difference is flow direction, and that decision happens on paper, not in the chair.
I tell clients to study a few real dragon sleeves before booking. Look for a clear head, a body curve that follows the muscle, a claw or paw that grounds the piece, and a wind or cloud line that lets the tail breathe. A dragon on the outer arm with the head near the shoulder and the body wrapping toward the elbow ages better than a dragon trapped on a 4-inch patch.
Linework weight should be a 7RL or 9RL outline, not single needle, because fine line dragons turn gray by year three. If you’re torn between a dragon and a phoenix for the same placement, the japanese artwork tattoo guide breaks down how each subject sits on real bodies. Honest take: pick the dragon if you want movement.
Pick the phoenix if you want stillness.
3Build a Koi Sleeve for Perseverance
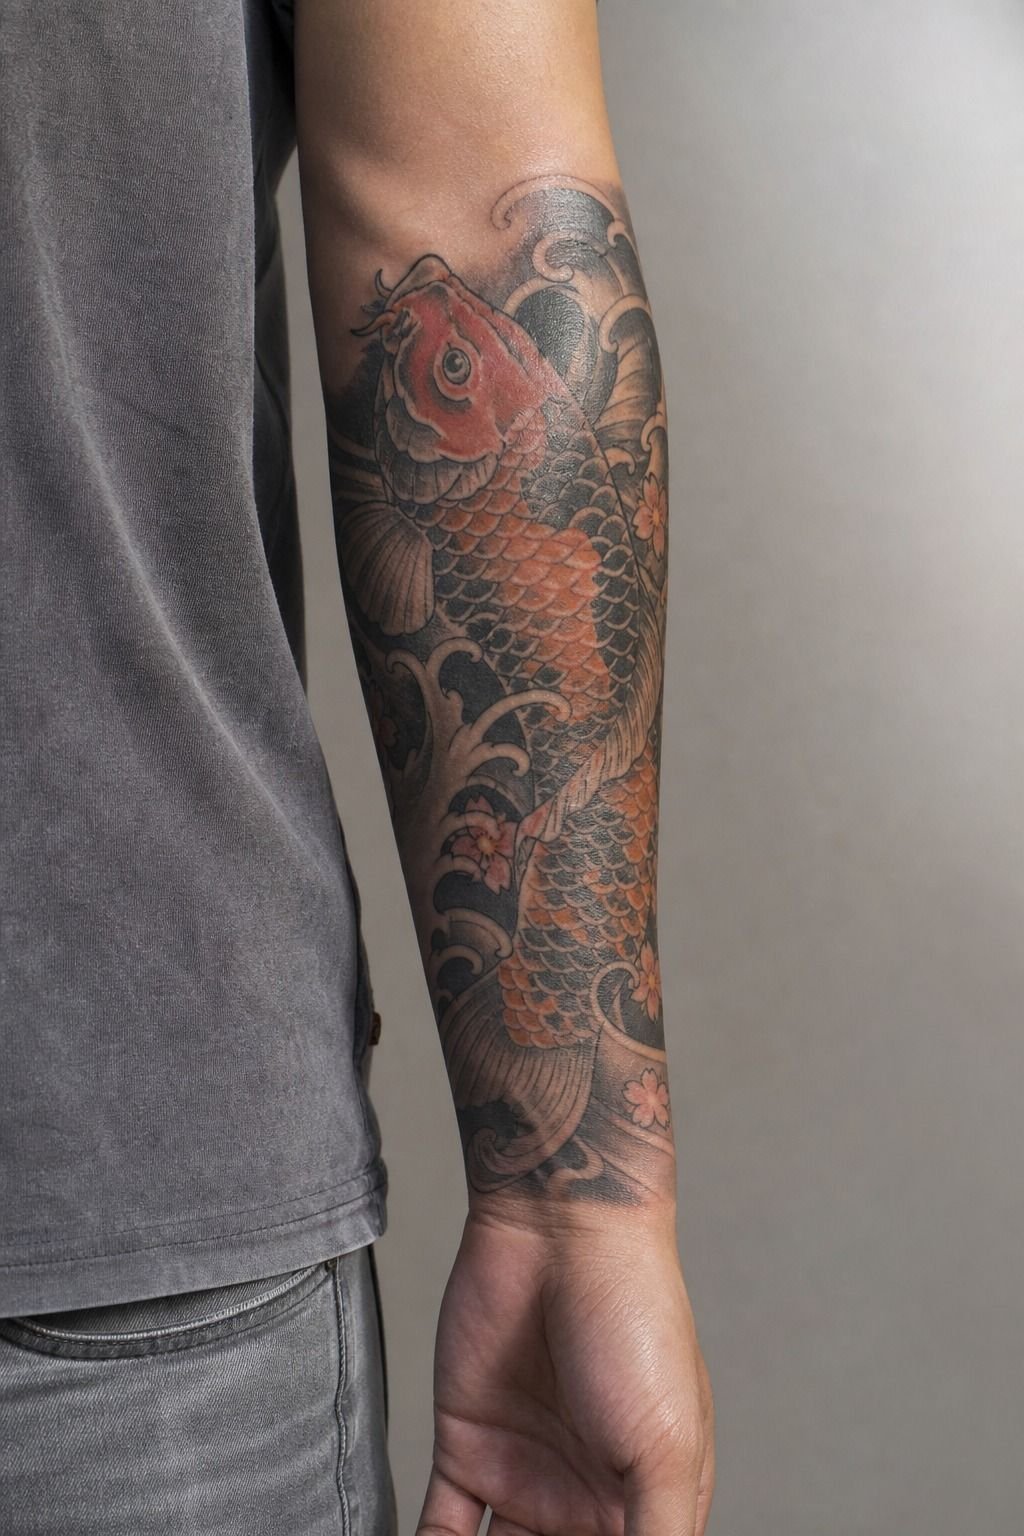
A koi sleeve is the workhorse Japanese tattoo, and there’s a reason it keeps showing up. Koi move naturally down a forearm, the body shape already gives you rhythm, and the symbol of perseverance reads at a glance without needing an explanation. On medium olive skin in natural daylight, a healed koi sleeve has a softness that bold black alone can’t fake with fresh ink.
It’s a real tattoo, not a Pinterest sketch.
A few rules I push on every koi sleeve. The fish should run 7 to 9 inches for the main body on a forearm, with fins wide enough to open instead of cramming. Decide direction early: koi swimming upstream feel like push and grit, koi dropping downstream feel calmer and more reflective.
Add water bars or a supporting lotus only if the arm still has clean breathing lanes, never to fill empty space. Sessions run 3 to 5 hours each, usually two appointments, and the total cost lands in the $1,500 to $3,500 range. For a deeper look at how koi and chrysanthemum pair in larger irezumi work, the neo trad Japanese tattoo guide is a useful parallel.
Build the koi long, build it directional, and let the arm do some of the work for you.
4Plan a Hannya Mask on the Forearm
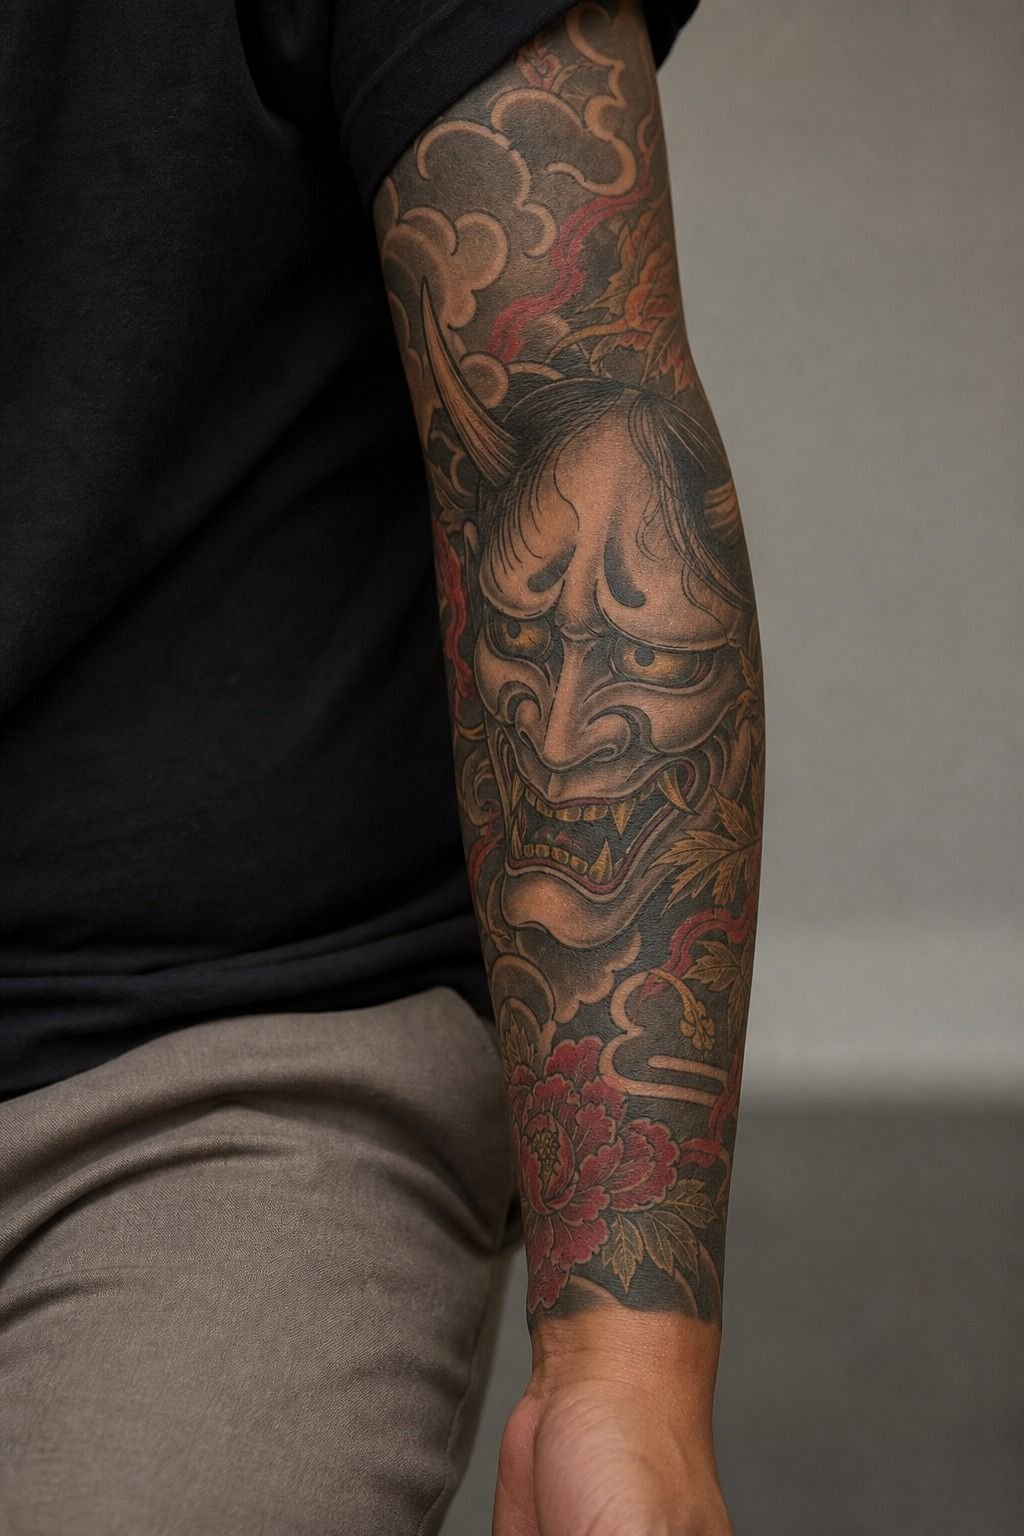
A hannya mask is the Japanese subject for clients who want emotion to hit fast. The mask reads angry, haunted, and intense before anyone notices the smaller details, and that immediate read is exactly the point. On the forearm, you get a clean vertical run for the horns, the brows, and the mouth, which is where this design lives or dies.
I would keep the main shapes exaggerated and the side details controlled, especially if your skin is on the drier side and you already know tiny edges don’t heal as crispy. Forearm hannya work usually runs 4 to 6 inches, and a session runs 2.5 to 4 hours.
Don’t let the reference photo bully you into making it too small. If the teeth, the wrinkles, and the hair all fight in the same lane, the face goes muddy.
Bigger almost always wins here, and that extra size is a cheaper call than paying for a touch-up too soon. For more on how a hannya ties into a wider collector build, the Japanese warrior tattoo guide is the right read.
Bold face, bold outline, give it room.
5Place a Tiger Across the Shoulder Cap
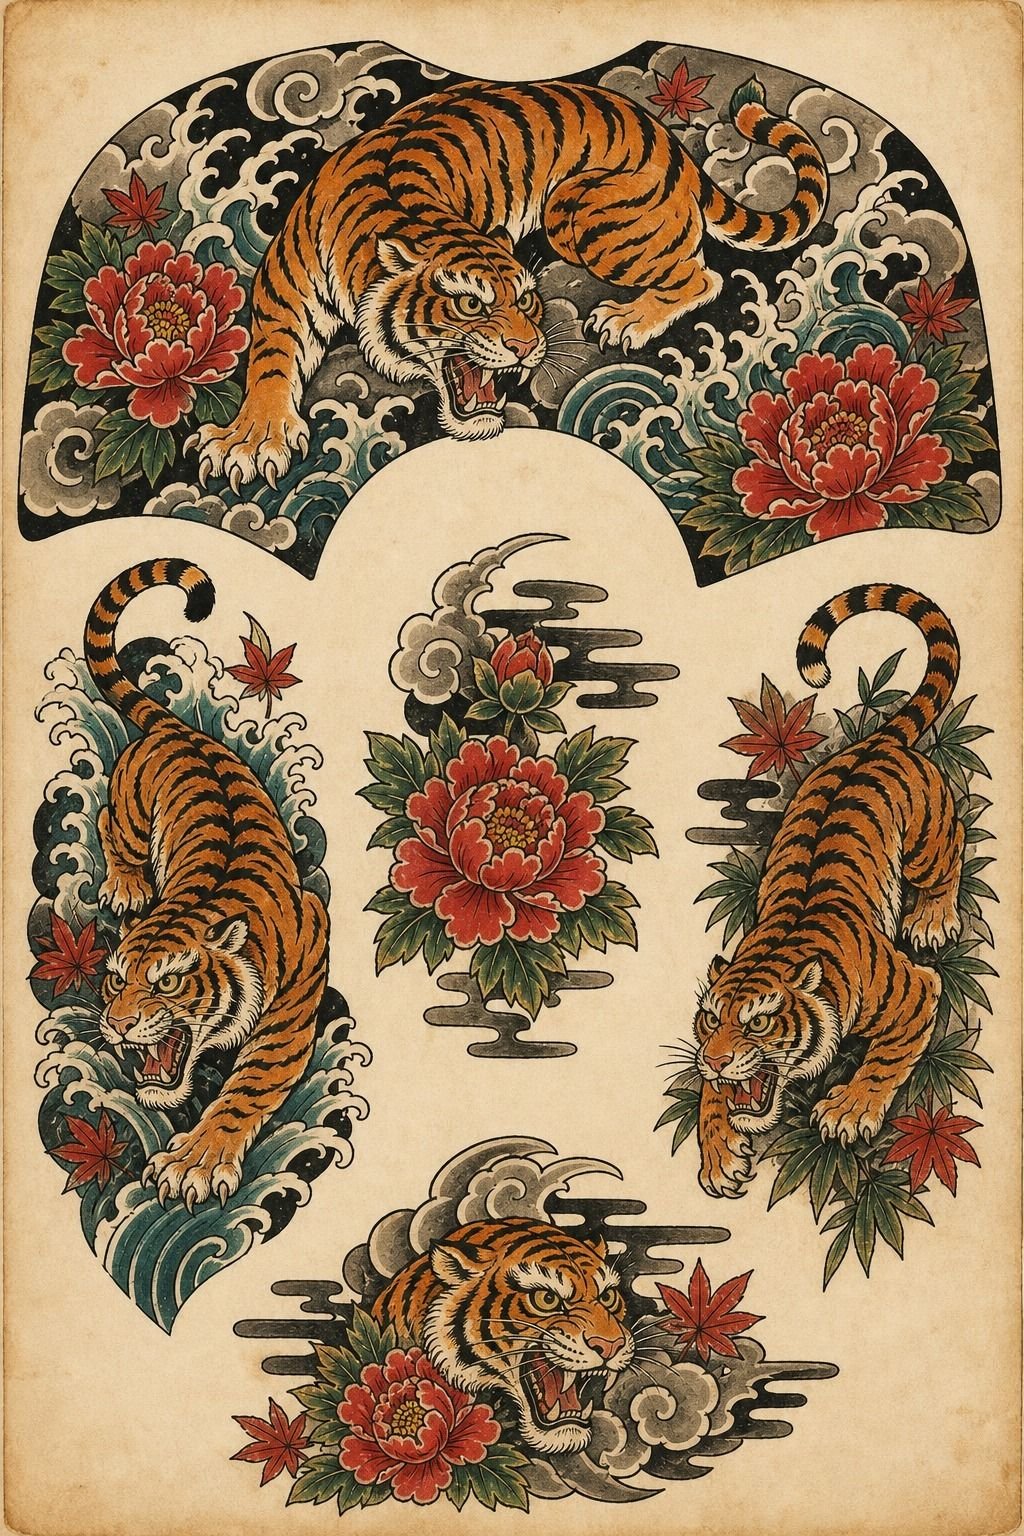
A tiger across the shoulder cap is one of the most rewarding Japanese placements because the deltoid gives the design a natural round frame. The head sits at the top of the curve, the body wraps the front, and the tail trails toward the back.
It’s the placement that makes the design feel like it belongs to the body, not pasted on top of it. And a healed tiger across the shoulder is one of those pieces that reads from across the room in ten years.
The technical move I’d push. Use a 7RL or 9RL outline with pepper shading in the orange fields, not solid color packing, because a packed tiger goes heavy fast on this much canvas. Fewer stripes with real punch beat thirty skinny ones that heal flat.
Sessions run 3 to 5 hours, often split across two appointments. The tiger also ages well because the shoulder rarely sees direct sun, and clothing covers it most of the day.
For other flash-based motifs that follow the same “edit hard” logic, the traditional ship flash tattoos read is a useful parallel. The tiger is a statement piece. Treat it like one.
6Keep Waves and Wind Bars Moving Around the Body
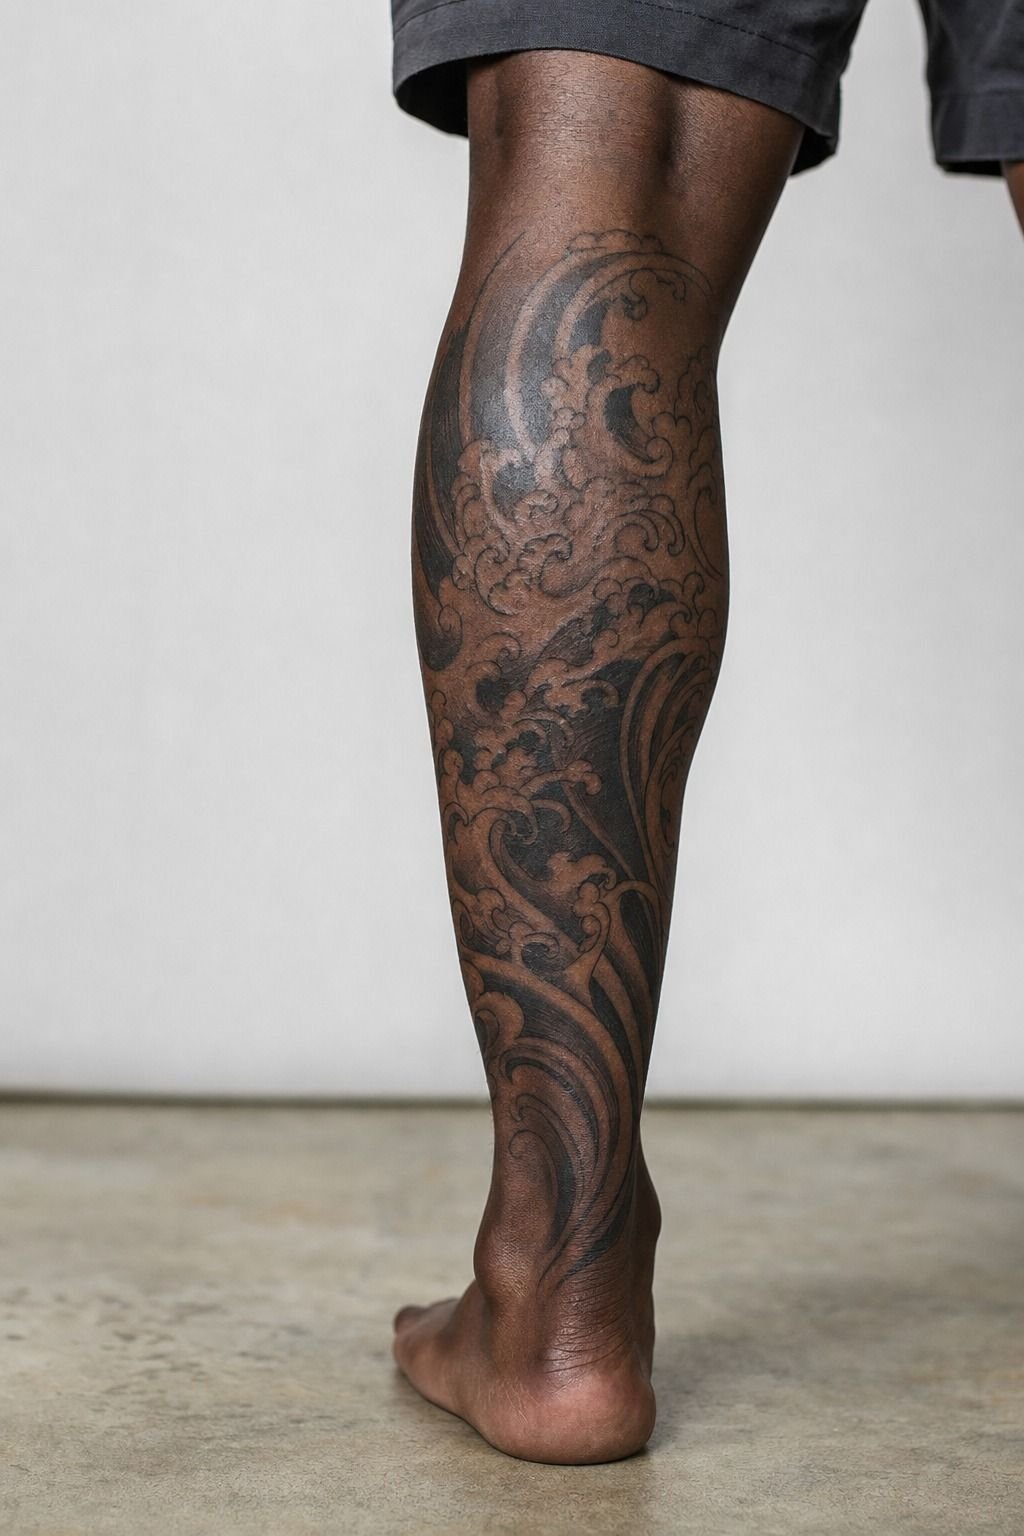
Waves and wind bars are the connective tissue in most large Japanese work, and they are not filler. They tie the hero subject to the open skin around it, and they let the eye travel across the body instead of stopping at a single icon. Done well, a wave line carries you from shoulder to elbow, or from hip to knee, and the design reads as one piece, not a collection of moments.
The honest rule I’d give anyone planning a back or sleeve. Build the wave and wind bar layer first on paper, before the hero subject.
Place the main motif inside the rhythm you’ve already drawn, and protect at least 1 to 2 inches of open skin between the background and the focal image. That’s what gives irezumi its breath.
If you cram the negative space, the whole piece feels tight and the linework fights itself. If you want to study how master artists pace the background, the great Japanese tattoos guide walks through real full-body suits.
The background is the design. Most clients don’t see that until year two of healing.
7Use Peonies to Balance Fierce Imagery
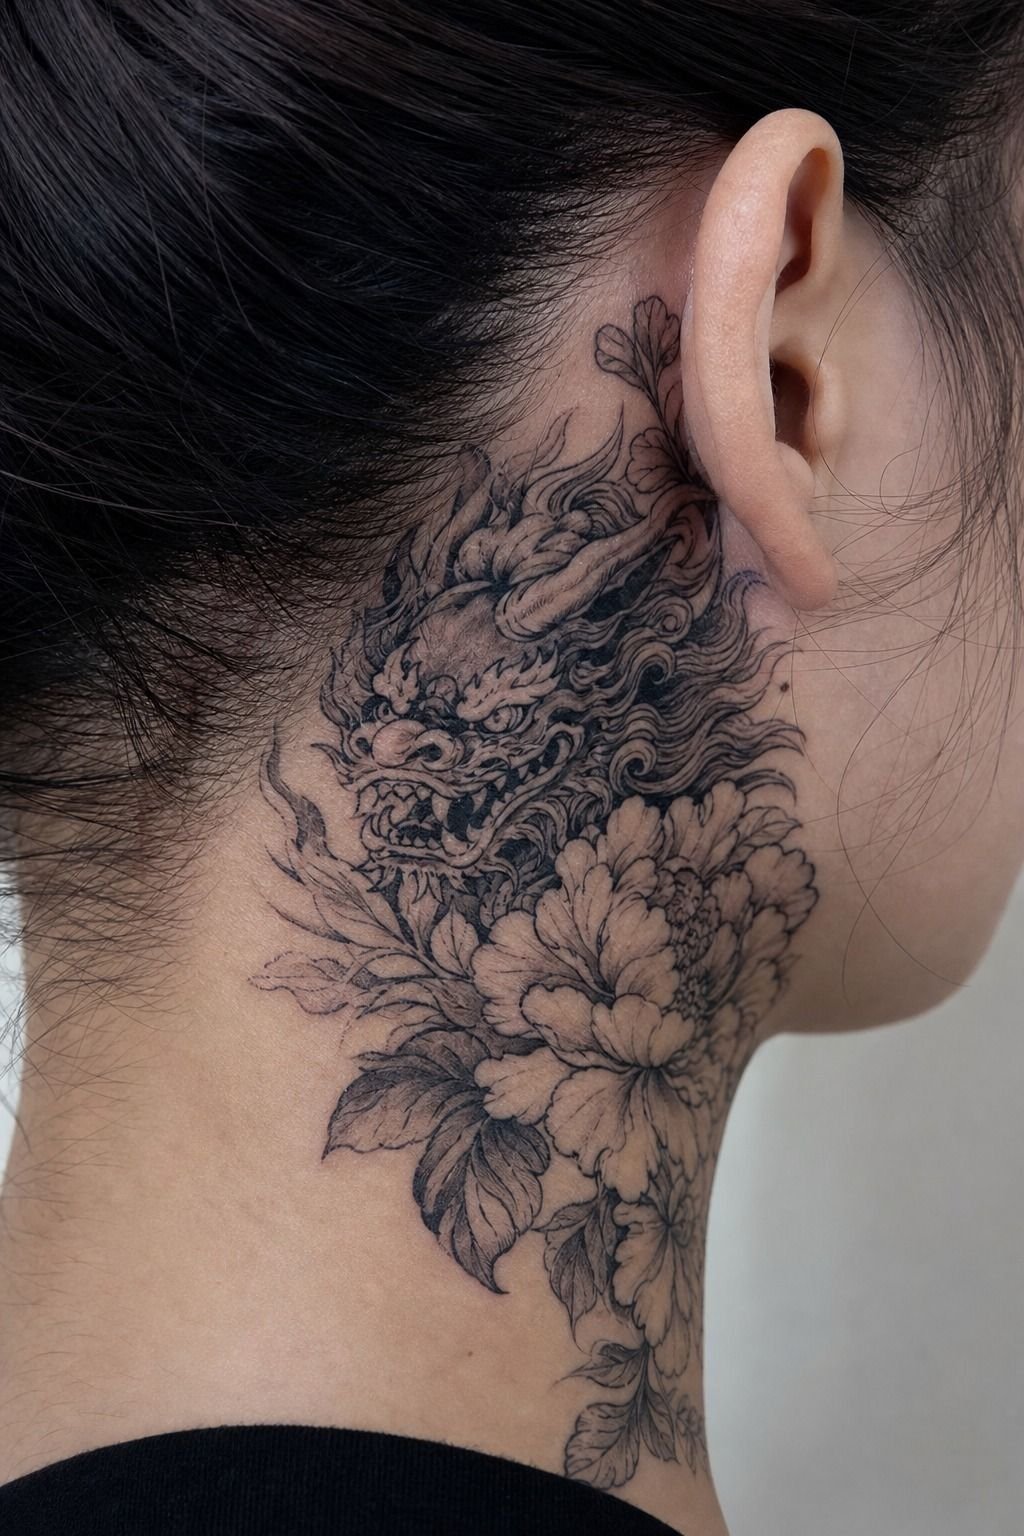
Peonies are the soft counterweight to a fierce hero subject, and they’re not decorative filler. A bold peony gives a dragon, a tiger, or a hannya somewhere graceful to land, and the whole tattoo feels intentional instead of crowded. In traditional irezumi, peonies often anchor the lower body of a back piece, the inside of a thigh panel, or the negative space around a forearm koi.
I would keep the petals broad and the centers dark, not frilly and overdrawn. A peony that tries to be a botanical illustration heals into a smudge. A peony that respects the silhouette stays readable for years.
Peonies also scale better than cherry blossoms in irezumi because the layered petals give the artist shadow pockets to fill with grey wash, which is what makes a healed peony look expensive without trying. On a forearm, a peony cluster runs 3 to 5 inches and works as a standalone piece or as the opening of a sleeve.
For more on layered flower tattoos that age well, the Japanese temple tattoo meaning post is a useful read. The peony is the polite loud piece in irezumi.
Loud enough to hold the page, polite enough not to fight the dragon.
8Anchor a Phoenix with Bold Black First
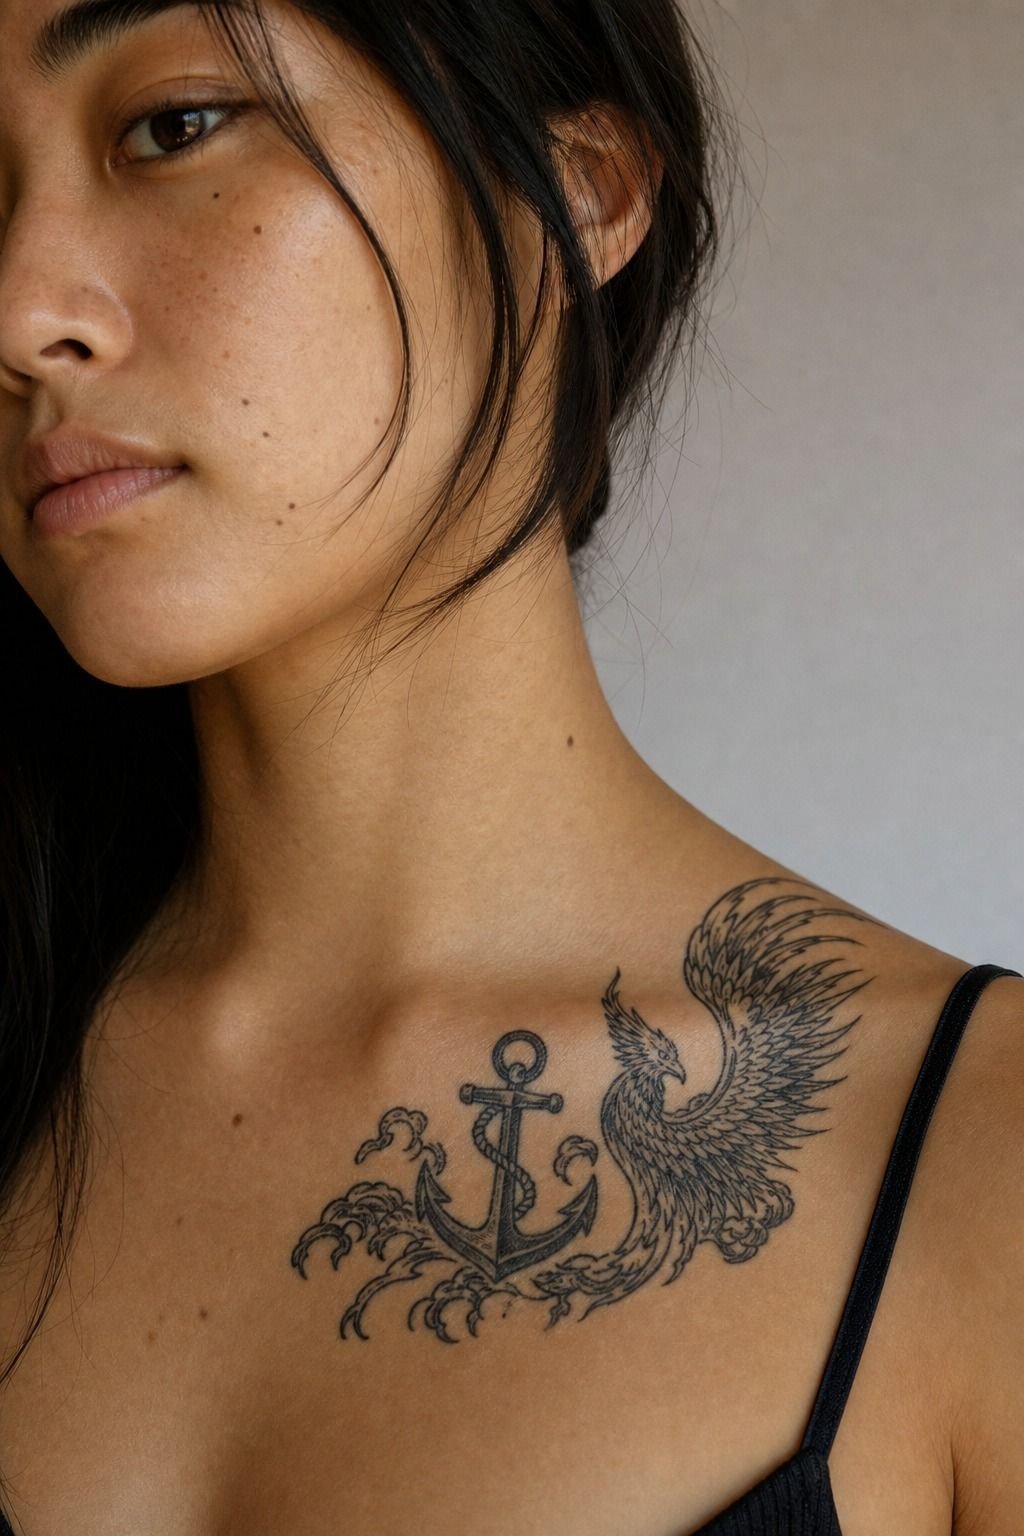
A phoenix tattoo lives or dies on the outline. A healed phoenix on a collarbone with medium warm ivory skin proves that solid black linework is what keeps feather shapes from dissolving into fuzz. Color is spice.
Black is your best friend for longevity. The phoenix wants a bold contour that frames the wing, the head, and the body before any feather texture starts.
On the collarbone specifically, I’d push the linework to a 5RL or 7RL outline, not single needle, because fine line doesn’t hold well on this much bone and flex. The phoenix is also one of the few Japanese subjects that pairs well with restrained color: a soft red or amber wash on the wing tail, not full saturation, ages cleanest.
The collarbone is a visible placement, the skin is thin, and the bone underneath means pain is real but tolerable for a 2 to 4 hour session. For more on how traditional subjects depend on a firm outline, the traditional American old school tattoo guide is a useful parallel.
Anchor the line first, then earn the detail.
9Compare Tebori Texture with Machine Shading
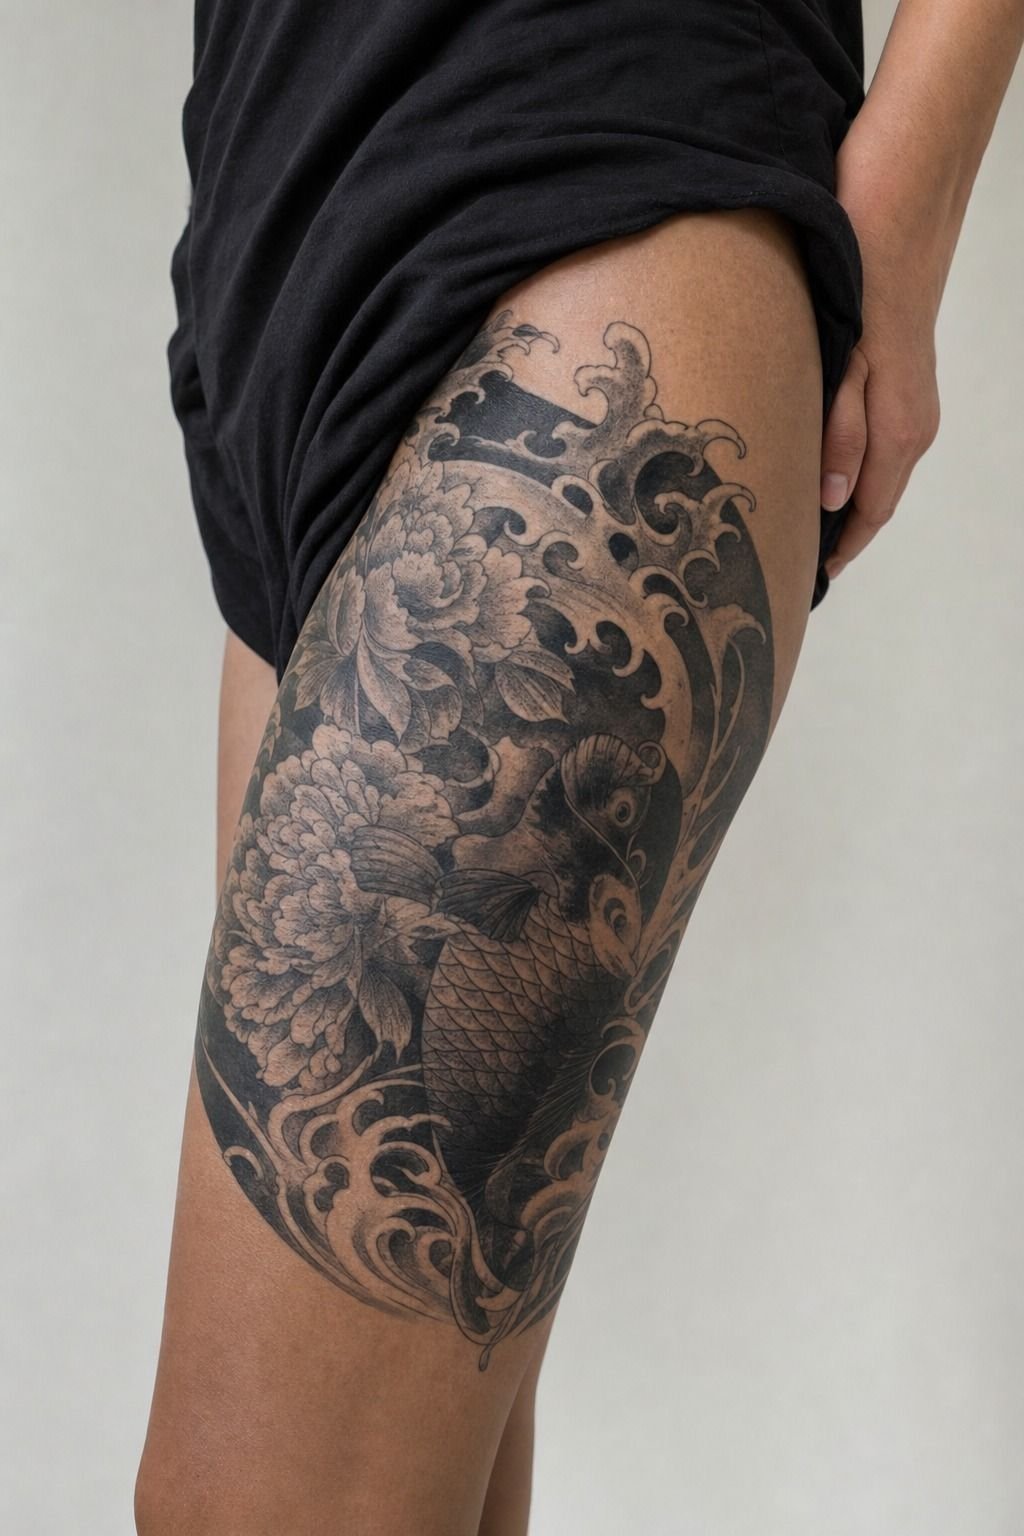
Tebori is the traditional Japanese hand-poke method, and it produces a softer, more painterly texture than machine work. The ink goes in with a bamboo or metal rod and a small bundle of needles, no motor, and the result has a depth and a slight unevenness that machine tattooing can’t quite replicate.
Most Western clients asking for tebori are working with a small number of artists who actually trained in the method, and the price reflects the slower pace. A tebori sleeve often runs 20% to 50% above a comparable machine piece.
The honest comparison. Tebori tends to feel softer in large fields of color and grey wash, with a slight hand-drawn texture.
Machine work can hit sharper contrast fast, pull crisper lines, and pack denser black. Neither approach is automatically better.
What matters is whether your artist can explain why one method fits your skin, your budget, and your design better than the other. If you’re sorting artists by method, the Japanese tattoo artists guide is the right starting filter.
The right answer is the one your artist can defend, not the one with the better Instagram reel.
10Ask About Traditional Color Rules Before Stencil Day
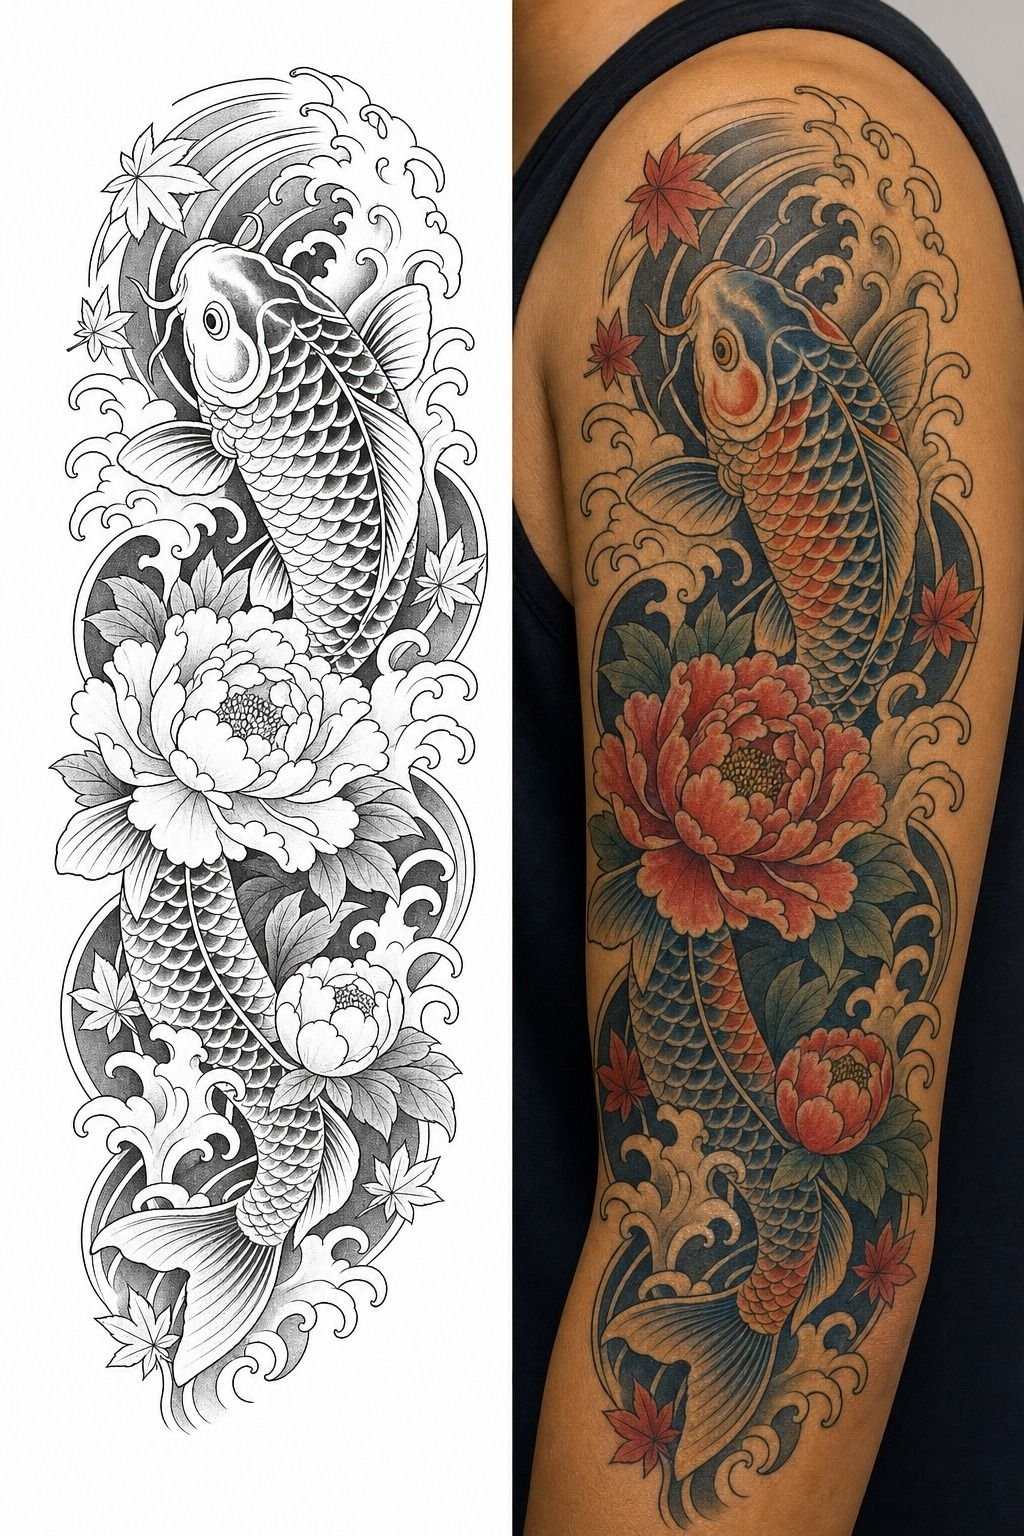
Traditional Japanese color isn’t just “red, blue, green.” The palette has a long history, and serious irezumi artists have rules about when to use saturated red, when to lean on sumi black and grey wash, and when to leave skin negative. Ask about color rules before the stencil goes on, not while your artist is gloving up. The worst time to discover that your artist only works in black and grey is after the linework is done.
A few real things to ask. Does the artist use natural pigments or modern ink, and do they have a preference? Will the design work as black and grey if you decide color isn’t right for your skin tone or your maintenance appetite?
How will the red or orange in a tiger or koi age on the placement you’re choosing? The red and orange pigments in Japanese work are gorgeous on day one and need real sun protection to stay bright past year three.
For clients with sensitive skin or with careers that involve heavy sun, black and grey irezumi often ages cleaner. The choice isn’t between good and bad.
It’s between which one you’ll commit to maintaining. Ask now, and don’t be shy about pushing back!
11Match Mythology Symbols to Personal Meaning
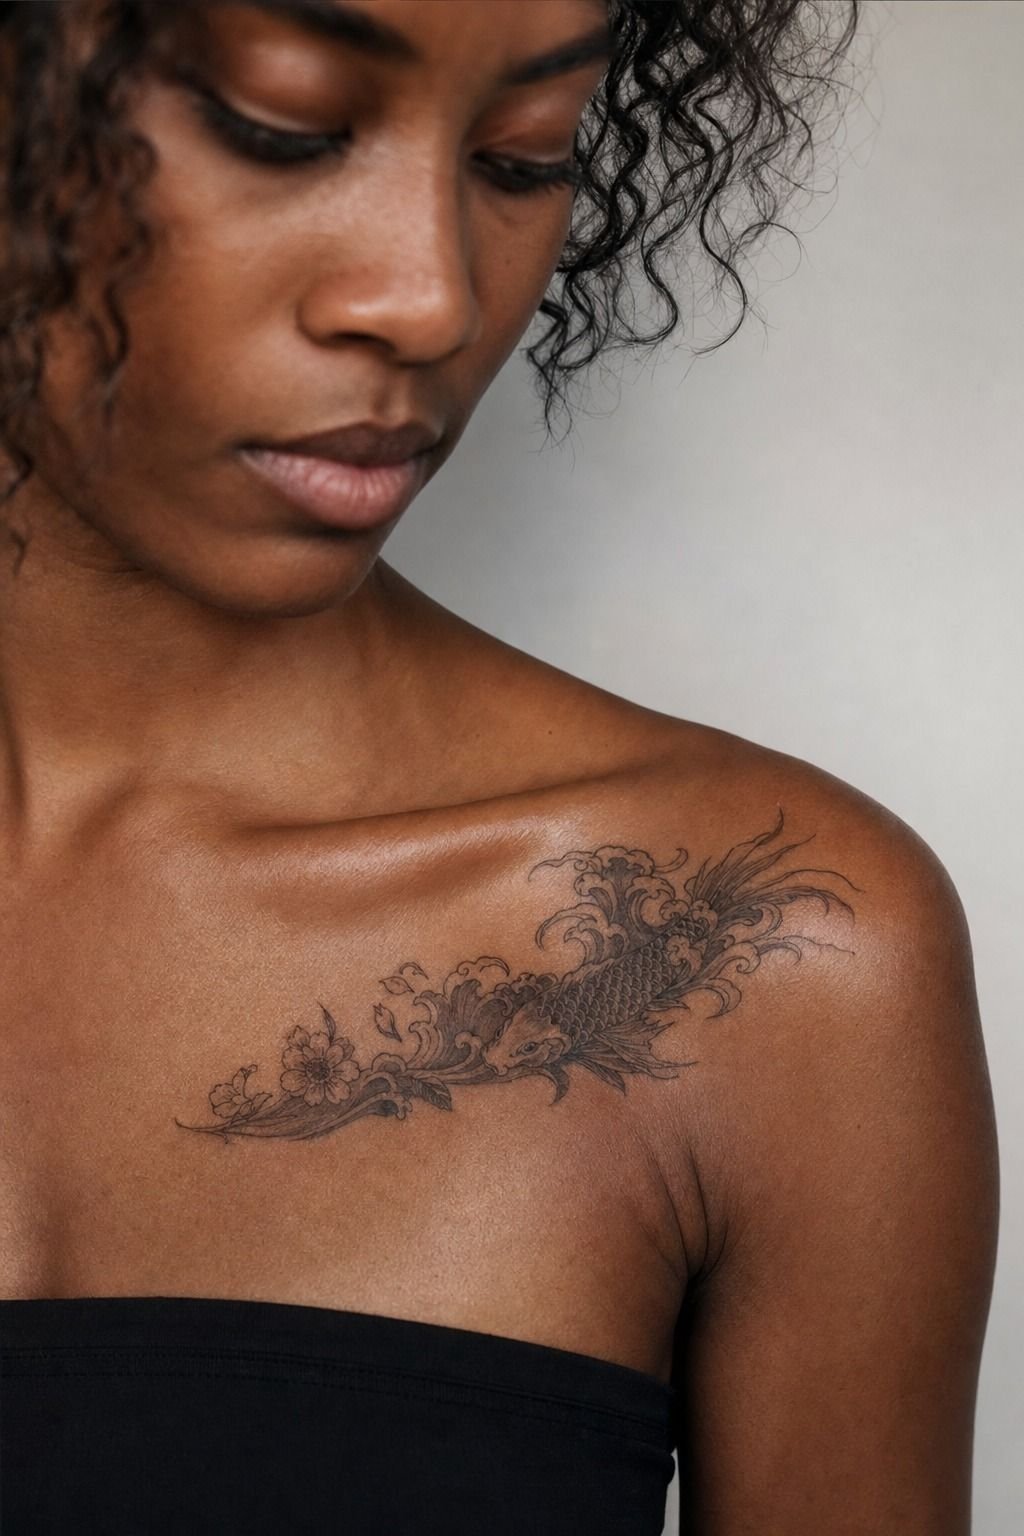
Japanese tattoo drawings can look incredible on a collarbone or a back panel, but if you don’t know why you chose the creature, the mask, or the flower, the piece gets shallow fast. Symbolism matters more than people think.
A dragon can speak to protection, force, and wisdom. A phoenix can point to renewal. A hannya can hold anger, jealousy, grief, or a warning about losing yourself.
A koi reads as perseverance, transformation, and a refusal to stay where the current puts you. A peony carries grace, wealth, and a softer kind of power.
On deep brown skin with a warm undertone, a collarbone piece pops when the symbolism matches a shape that fits your body, not somebody else’s screenshot. Don’t stack five meanings into one small piece.
One clean story beats a cluttered thesis. The right move is to pick one symbol, learn the cultural history behind it (with a serious Japanese source, not just a Pinterest caption), and let the artist build the composition around that single anchor.
For more on how layered symbolism ages across placements, the tattoo styles explained post is a useful read. The piece you live with for decades deserves more than a vibe.
It deserves a meaning you can defend.
12Build a Half Sleeve Around Wind Bars
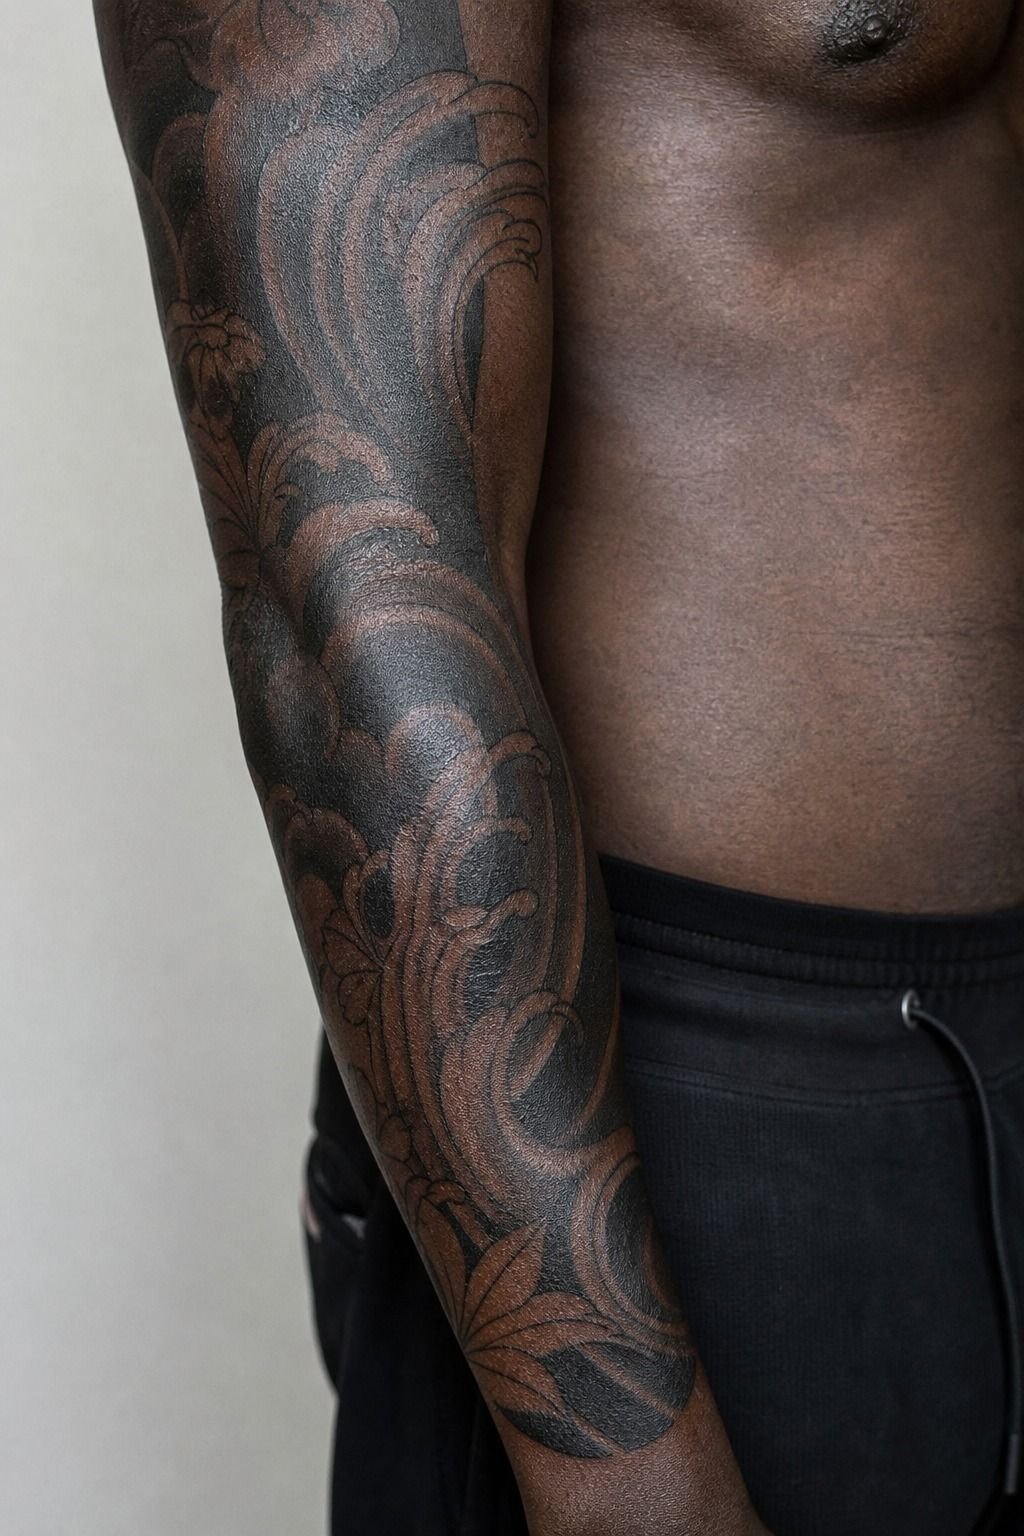
A half sleeve built around wind bars is the move I’d push on a client who wants movement without visual noise. Wind bars are the diagonal black lines that read as wind or air in irezumi, and they give the eye direction across the arm without competing with the hero subject. A half sleeve here usually runs from the shoulder to the elbow, with a peony, a koi, or a tiger as the focal point and the wind bars tying it together.
The honest rule. The wind bars should run at least 3 to 4 inches long, in solid black, with breathing space between them.
Tiny wind bars turn gray fast and look like dust on the arm. Bigger wind bars read as confident structure.
Sessions typically run 4 to 6 hours across two appointments, with the focal subject done in the first pass and the wind bars filled in the second. A half sleeve on the upper arm ages well because the placement is low-wear and the deltoid curve gives the bars natural direction. If you want to see how wind bars connect into larger irezumi compositions, the irezumi tattoo guide walks through real examples.
Build the rhythm first. Add the hero second.
Let the wind do the work!
13Reserve Enough Skin for Background Flow
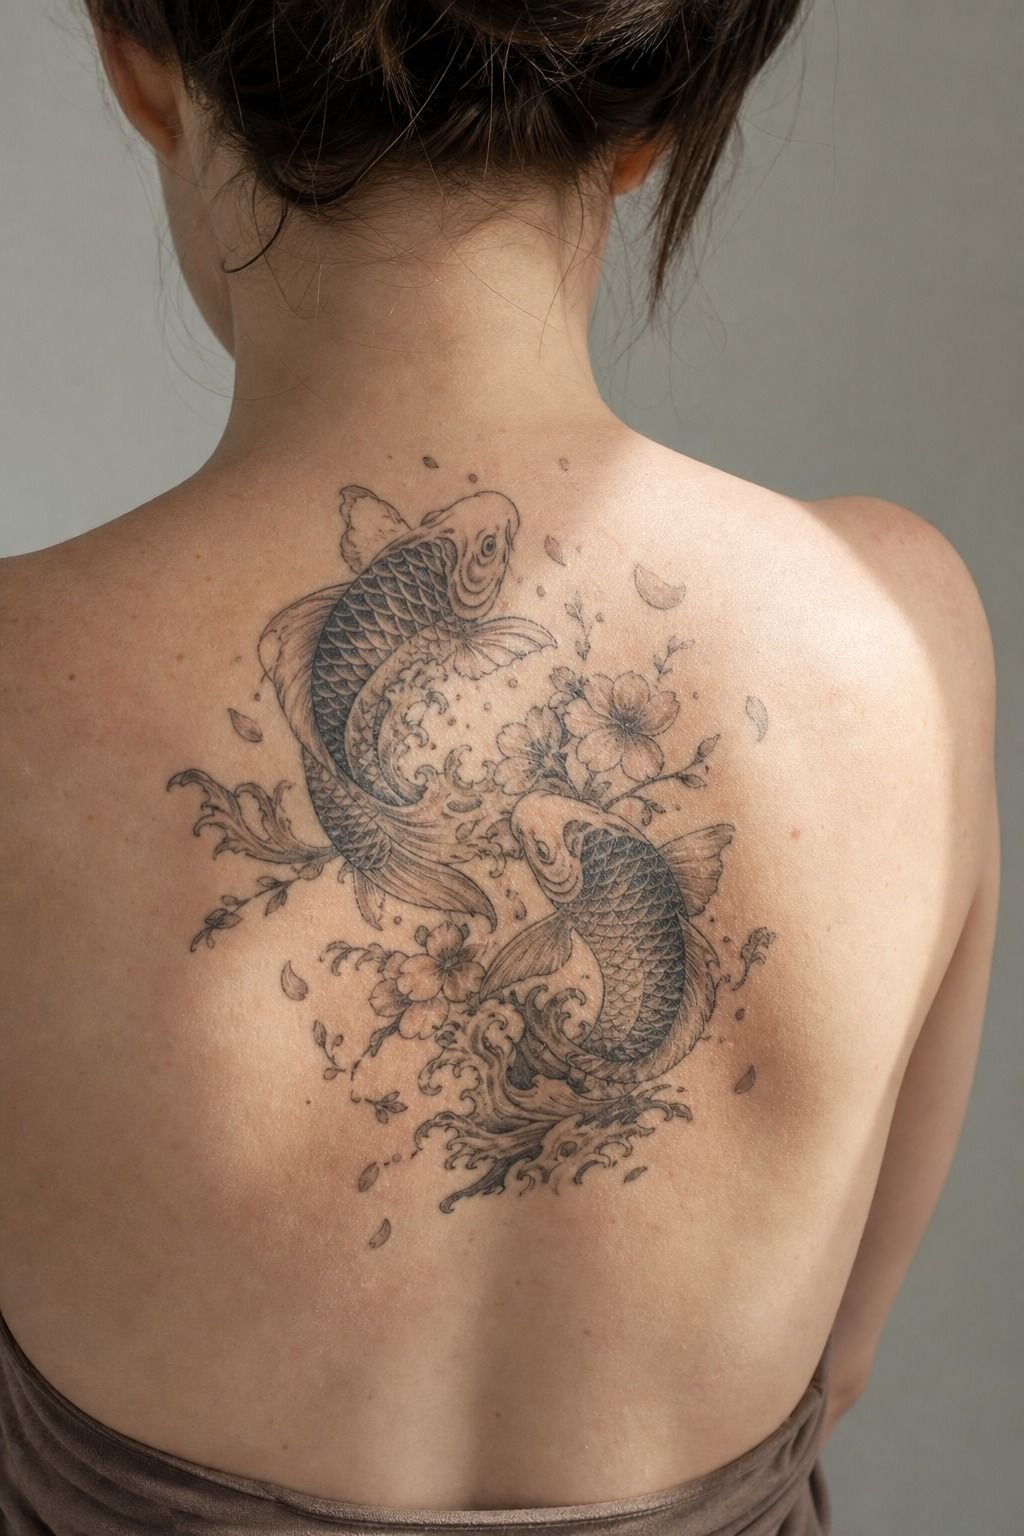
Background flow in Japanese work depends on open skin breaks, not on more smoke, more petals, or more waves. If every inch gets filled, the piece loses shape and the eye can’t rest. A healed upper-back tattoo on fair cool-pink skin makes this obvious because the shoulders need big directional moves, not packed noise.
You should be able to spot the main body, the secondary support, and the background rhythm from a couple of feet away.
I have watched clients beg for “just one more thing” in the background, and that’s usually the moment the composition gets heavy. The discipline is to leave at least 2 to 3 inches of negative space around the focal subject, especially on the scapula and the lower back, and let the wind bars and waves carry the rest.
If you’re working with an artist who fills every space by default, that’s a flag. Real irezumi specialists edit.
They know what to leave out. For more on how experienced artists protect that breathing lane, the neo traditional tattoo artists guide shows the same restraint in a different style lane.
The empty skin is part of the design. Respect it.
14Study Neo Traditional Japanese Tattoo References
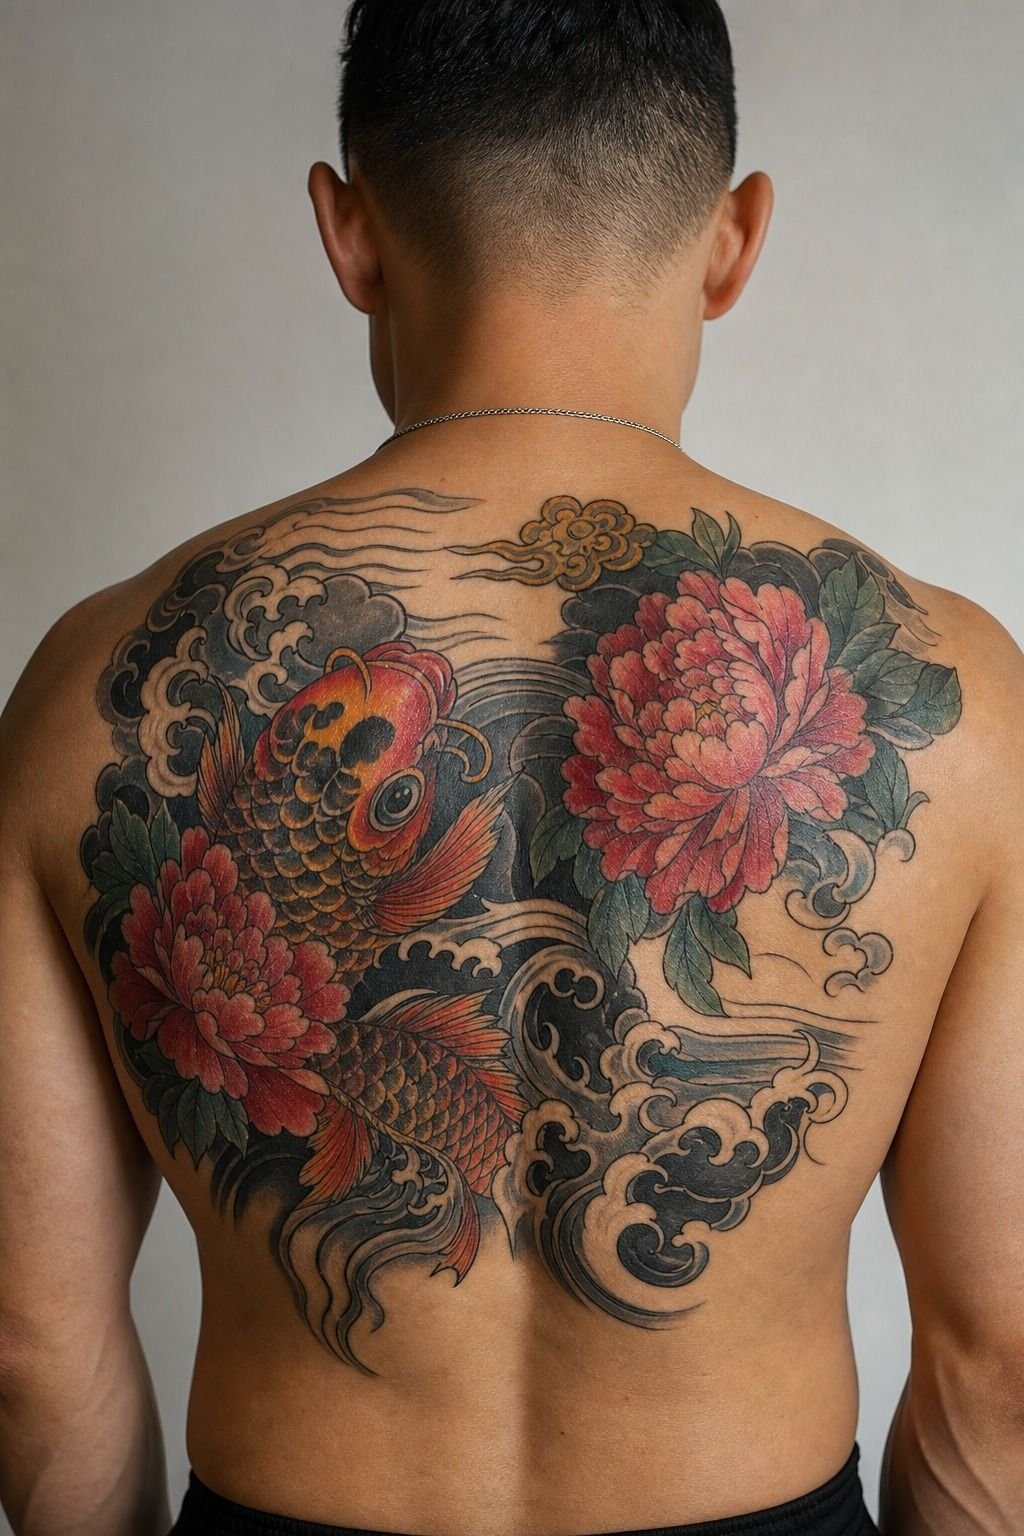
Neo traditional Japanese tattoos aren’t a compromise. They’re the lane for clients who love Japanese subjects but want a louder graphic read, sharper color, or a slightly more illustrative line weight than classic irezumi.
The linework tends to be a touch thicker, the color a touch brighter, and the subject silhouette a touch more stylized. Done well, neo traditional Japanese holds the same way classic irezumi does, with a different visual register.
The honest call. If you love the subject vocabulary of Japan but you want a tattoo that reads more like a poster and less like a scroll, neo traditional is a fair lane.
The trade-off is that the linework has to carry a little more weight to age clean, and the color will fade faster than a black and grey irezumi piece. Pick an artist who specializes in the style, not someone who does neo traditional work as a side project.
Their healed portfolio tells you more than any reference image. For more on how neo traditional styles age across placements, the traditional ship flash tattoos read applies in a different way.
Same editing discipline, different visual register. Pick the lane that fits how you want to wear the piece.
15Check Artist Experience with Irezumi Composition
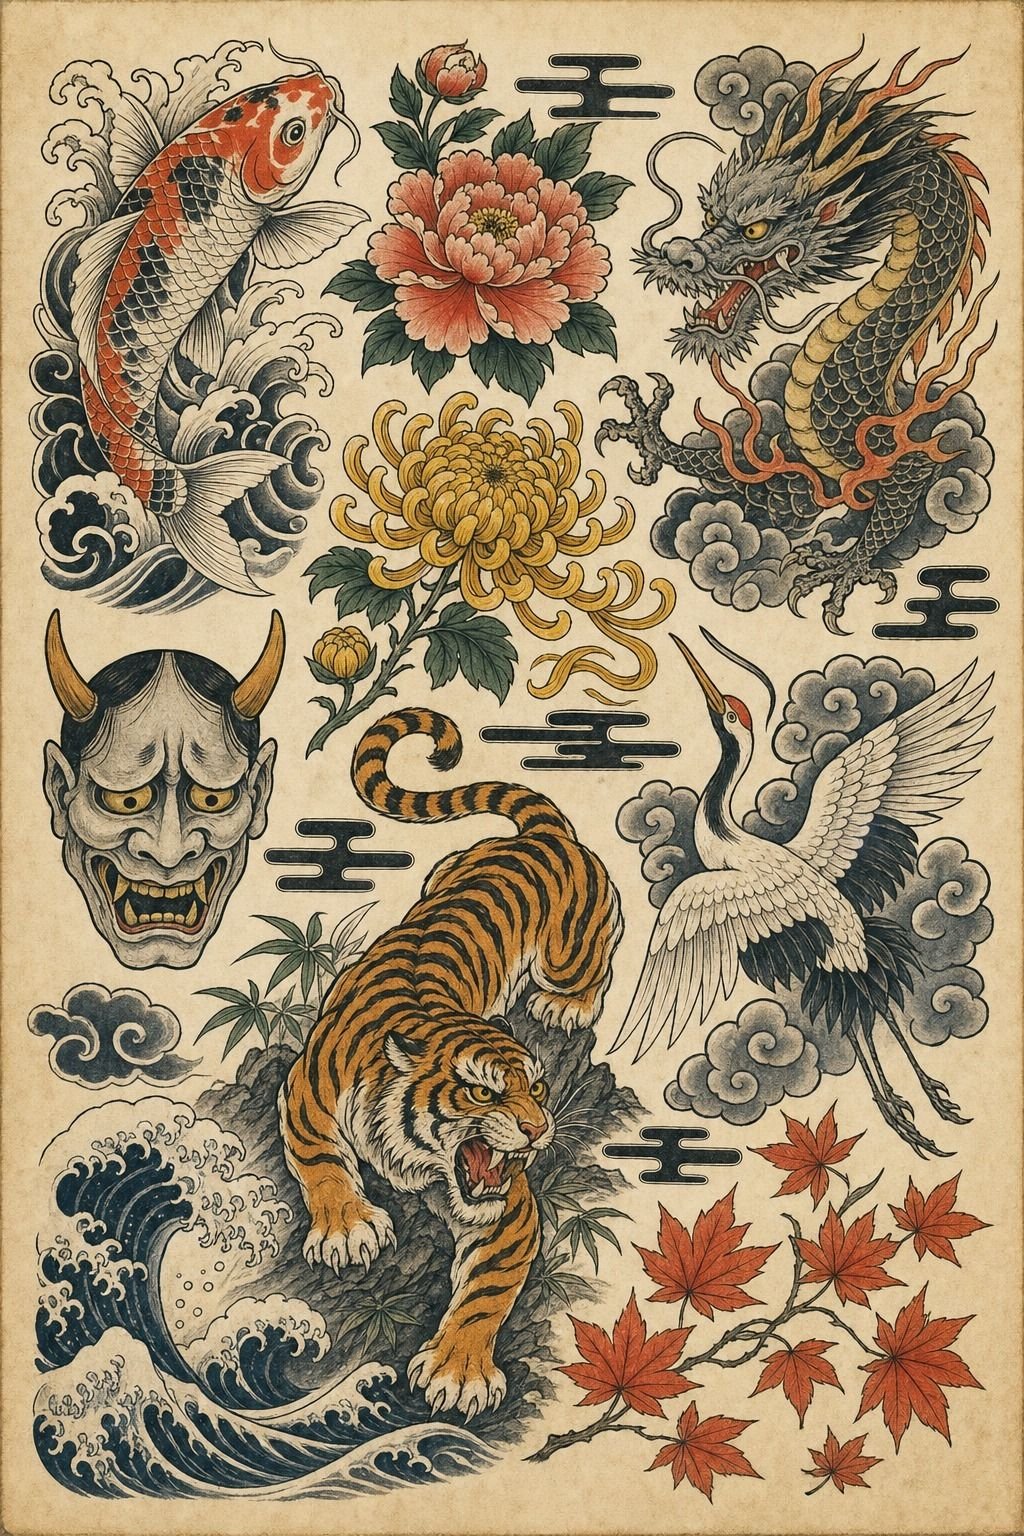
Flash sheets tell you a lot, but healed sleeves, backs, and body wraps tell you more about irezumi experience than any polished feed caption ever will. You are hiring somebody to steer flow across a body, not just draw one cool tiger face. The portfolio question that matters most isn’t “do you do Japanese work?” It’s “show me a healed back piece on a body that looks like mine.”
Ask the artist these things at the consult. Can I see healed photos at six months and one year? How do you place the background first, and how do you decide what stays negative?
Do you redraw for my anatomy, or do you resize old flash? And what would you leave out, because that answer tells you if they have restraint. A scratcher says yes to everything.
A real Japanese specialist edits. For a starting list of the right portfolio to study, the Japanese tattoo artists guide earns a bookmark.
The right artist is the one whose healed work makes you want to keep going back.
16Budget for the Whole Multi-Session Build
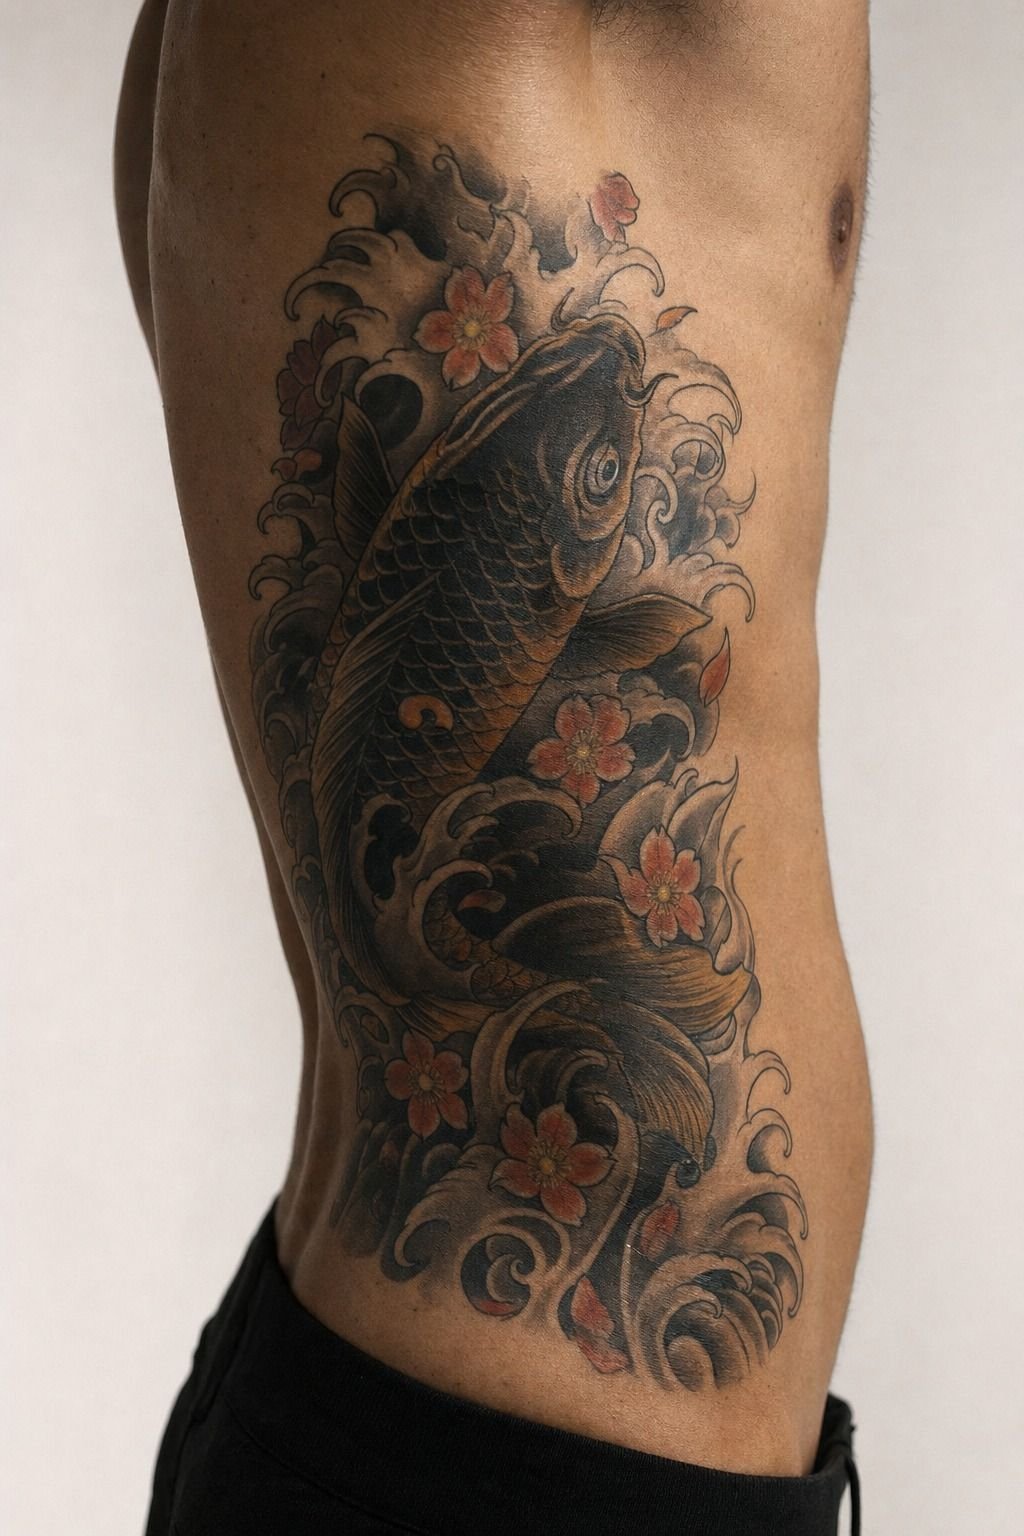
Budget for the whole road, not just the first appointment. A traditional Japanese sleeve or back piece is built in 3 to 6 sessions for most clients, sometimes more if you’re adding koi, waves, and wind bars to a large back panel. Each session costs between $600 and $1,500 depending on the artist and the hours, and the full project can easily run $3,000 to $8,000+ for a sleeve, more for a full back.
Most artists take a deposit of 20% to 30% at booking, which usually comes off the final session.
A few honest rules I push on every multi-session client. Don’t book sessions back to back.
You need 3 to 4 weeks of healing between long sessions, sometimes 6 weeks for a sensitive placement. Build in a touch-up budget of 5% to 10% for a small fix at month 6 or 12, even with a great artist. And don’t skip the last session because the tattoo “looks done” at 90%.
The last 10% is usually the background, the wind bars, or the wind-up on the tail, and skipping it leaves the piece visually incomplete. If you want a more detailed cost breakdown by placement, the unique tattoo ideas post covers how session math changes by size. The piece is a build.
Plan the whole build.
17Prepare for Elbow, Knee, and Rib Pain
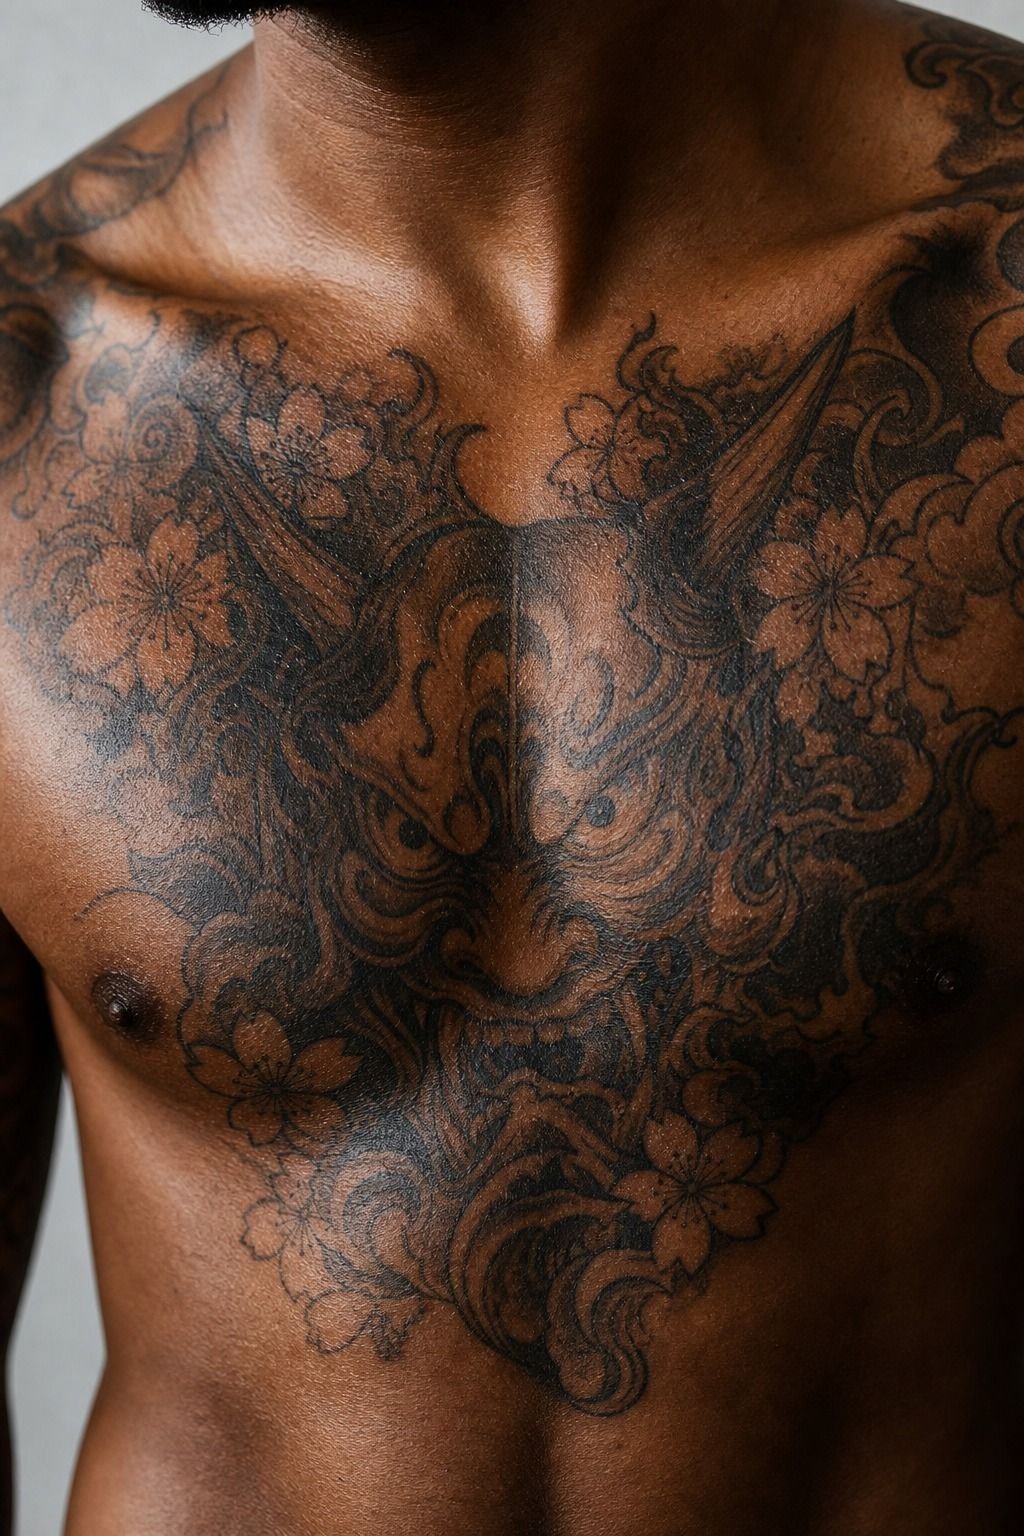
Elbows, knees, and ribs are the high-pain zones that even experienced collectors respect. The skin is thin, the bone is close, the vibration is sharp, and the recovery can feel chewed up if you push the session too long.
Lines feel sharper there. Shading feels like a hot scrape.
Color packing is usually the spiciest part of any session. Honest pain map, tattooed on real skin:
If you’re nervous about pain tolerance, book a 1-hour session first on the placement you’re most worried about. Don’t test your pain tolerance on a 4-hour back piece.
Tap out for five minutes rather than pass out on me. Most of my long-session clients use that break move every time.
For more on the long-term cost of a session you couldn’t finish, the fine line tattoo needles longevity placement guide walks through how incomplete sessions affect healed linework. Plan the session, plan the breaks, plan the food before you walk in.
18Heal Dense Color with Aftercare Discipline
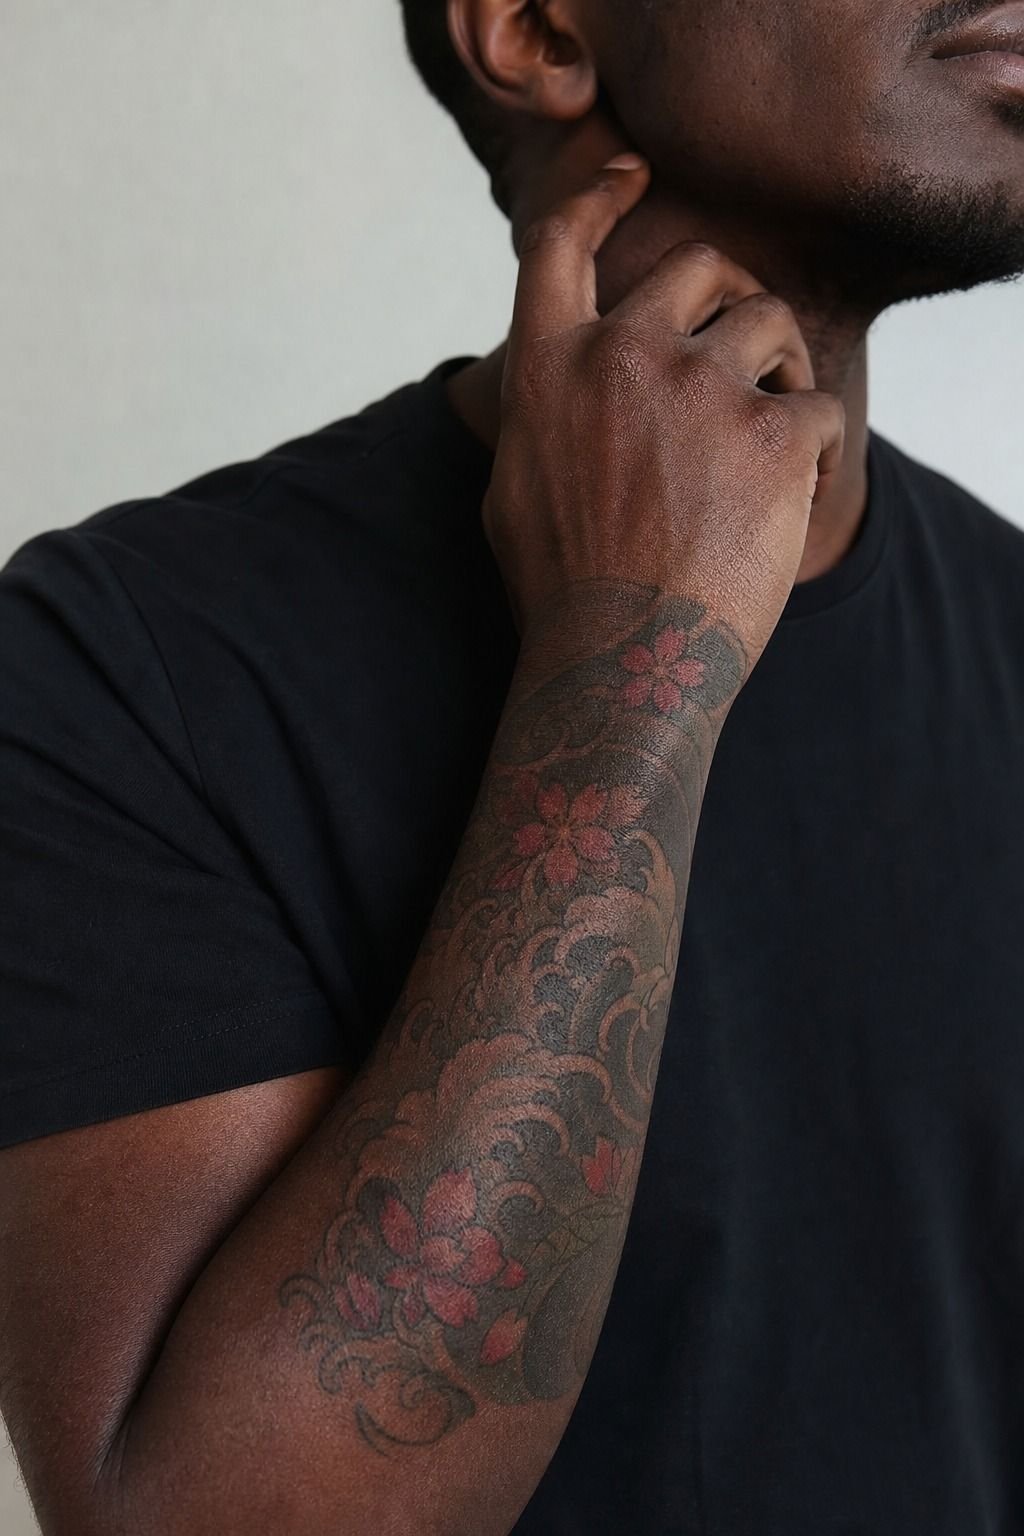
Heal dense color like it is fresh damage, because for the first few days it is. A healed wrist on deep ebony skin can look rich and soft when the color was packed clean and the skin was not overworked.
That clean result starts with aftercare discipline, not luck. First few days, treat the tattoo like an open wound. Wash with gentle unscented soap, pat dry, and use a thin layer of aftercare ointment so the skin stays comfortable without suffocating it.
Don’t glob it on. Don’t wrap it in plastic for hours.
Then the peeling starts. It’ll flake like a sunburn. Don’t pick it.
Don’t hit it with hard gym friction. Don’t soak it in pools or hot tubs.
Don’t take a beach vacation the week after. Surface healing takes about 2 to 4 weeks. Full settling, where the ink sits into the deeper layer and the color tones down to its real shade, takes 2 to 3 months.
Don’t judge your Japanese piece at week two. Judge it at month three. For more placement-aware healing talk, the tattoo aftercare guide covers the daily routine in detail.
And once the peel passes, keep UV off it because sun is still the fastest way to dull a bright Japanese palette. Skip the sunscreen step and you’ll pay for it in year three.
Do not panic when silver skin shows up. That shiny phase is normal on dense color and on blackwork, and heavy rubbing there will dull the finish fast.
If you’re worried about a specific stage of healing, the how to heal a tattoo faster read is a useful backup. The artist controls the linework.
You control the heal. Both matter.
19Review Stencil Placement Before the First Line
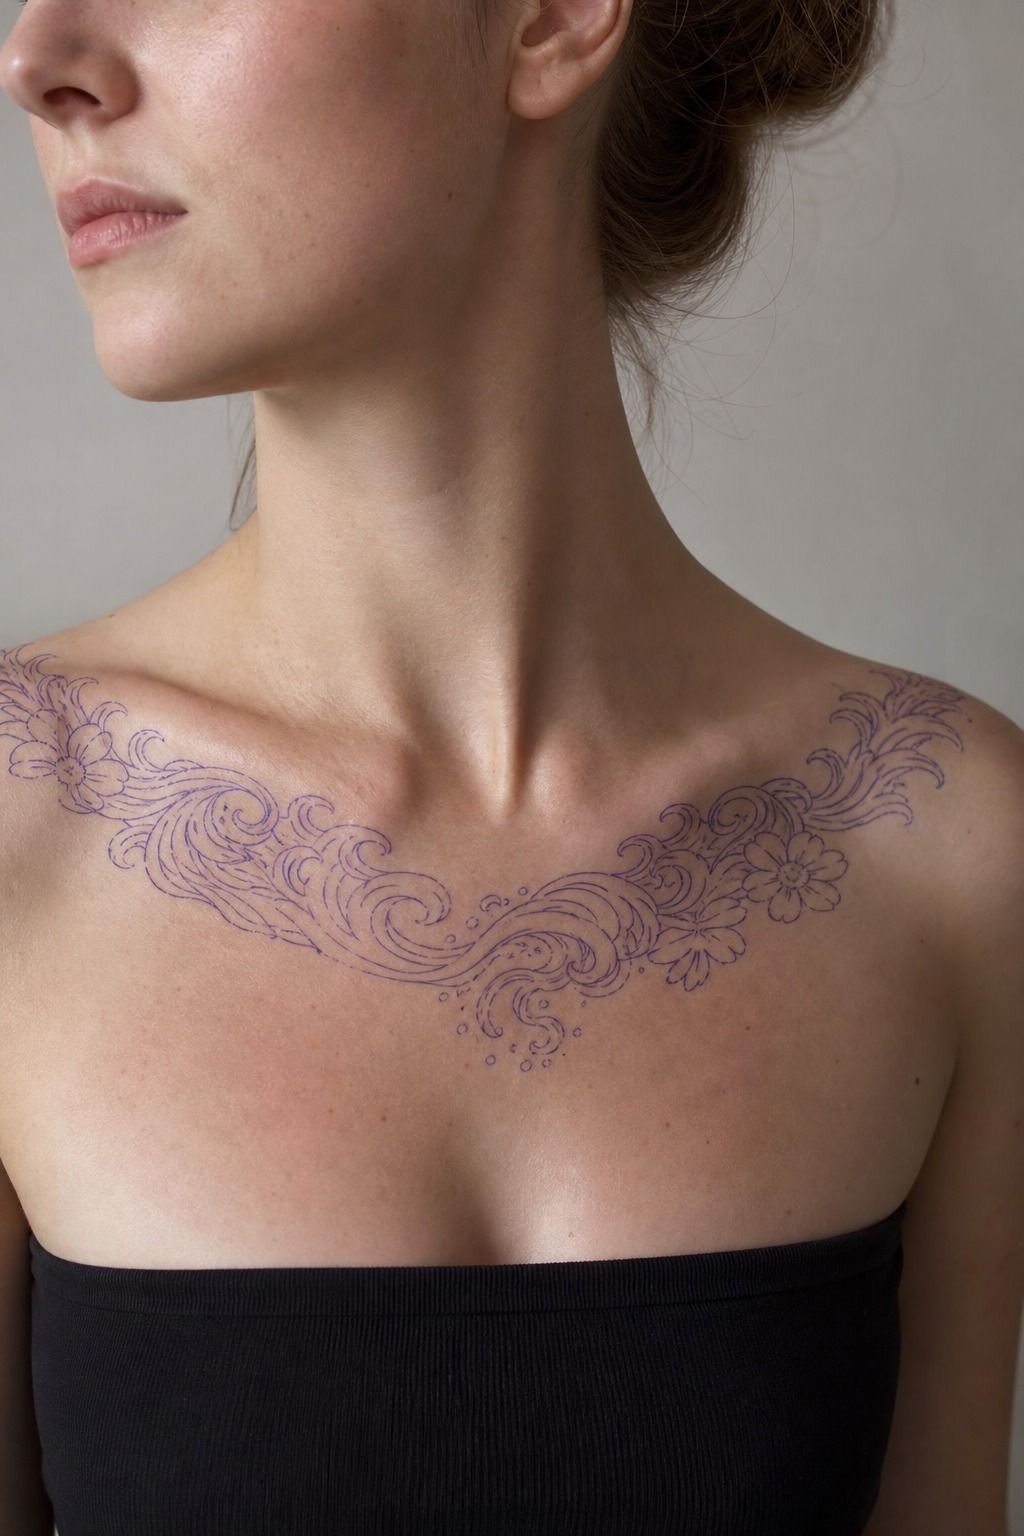
Review the stencil like it is the last easy moment to fix anything, because it is. Once the first line goes in, tiny placement mistakes get expensive and stubborn.
You will want to check how the head turns, where the background opens, and whether the silhouette still reads when you twist or relax. If the tattoo only looks right when your arm is held in one stiff pose, it is not placed right yet.
A few real checks I do at every consult. Walk around the studio for two minutes with the stencil on.
Sit down, stand up, lift your arm, rotate your wrist. If anything feels off after movement, say so before the artist commits. Look at the design in a mirror, not just straight on, because real life is angles, not a phone photo. And ask the artist where the stencil transfer will sit on the body at every major muscle group, especially the shoulder and the elbow.
For more on the placement logic behind clean Japanese work, the Japanese tattoo ideas post is a useful reference. The stencil is your last free edit. Use it, every single time!
The Black-First Rule I Use Before Every Large Irezumi
I am Marco, and this is the part I care about most when somebody asks me why one Japanese tattoo ages clean and another goes soft too fast. The answer usually is not better symbolism or better taste. It is black-first structure.
I start with black, flow, and body rhythm before I even let myself get excited about color or tiny texture. If those first calls are wrong, no amount of clever detail saves the piece later.
I learned this the hard way early on. I used to think adding more would make a dragon feel richer. More scales.
More smoke. More little cuts in the mane. Then I watched healed work prove me wrong.
The strongest pieces were the ones with restraint, the ones where the body could still breathe, where the eye knew exactly where to land first. That was a useful slap in the face.
So when you’re choosing traditional Japanese tattoos, I want you to think like a composer, not a collector of cool fragments. Ask what the headline shape is.
Ask where the dark anchor sits. Ask where the eye rests after it hits the face, claw, or flower center.
And if the artist can’t explain that clearly, slow way down. Good irezumi isn’t random stacking.
It’s pacing, and pacing is what reads from across the room ten years in!
There is also an honest money piece here. A lot of clients want back-piece drama on forearm skin, or thigh-piece texture on a collarbone strip.
I get it. The references are seductive. But skin has limits, and good artists respect them.
Bad ones tell you yes because yes is easy. I’d rather disappoint you for one minute at the consult than leave you with a tattoo that heals muddy for twenty years.
That is my rule. Black first.
Flow first. Ego last.
What People Always Want to Know
How much does a traditional Japanese tattoo usually cost?
A traditional Japanese tattoo usually runs from a shop minimum of about $80 to $150 for a small motif, up to several thousand dollars for a sleeve or back. Most irezumi artists charge between $150 and $300 per hour.
A single motif (koi, hannya, peony) often lands at $300 to $900, a forearm or half sleeve around $1,500 to $3,500, and a full back or full sleeve $2,500 to $8,000+ depending on detail and region. If you want to plan the session math more carefully, the unique tattoo ideas post has the full breakdown.
Are traditional Japanese tattoos a good idea for a first tattoo?
Yes, if you keep the first piece small and the placement smart. A single peony, koi, or hannya on the outer arm or shoulder is a manageable first irezumi tattoo.
The upside is strong long-term readability with bold black linework. Start with a design that uses solid black linework and enough size to stay crispy.
Skip the full back or full sleeve for your first piece, no matter how seductive the reference looks. Earn the bigger build.
How do I choose a tattoo artist for traditional Japanese tattoos?
Choose the artist by healed portfolio, clean linework, and real Japanese composition experience, not by flashy fresh photos. The payoff is better aging on skin.
Ask to see healed sleeves and backs, ask how they place background first, and ask what they would leave out. A scratcher says yes to everything. A real irezumi specialist edits.
Start your shortlist with the Japanese tattoo artists guide and compare bodies that look like yours.
How much do traditional Japanese tattoos hurt?
Pain depends on placement. Ribs, sternum, hands, feet, elbows, and knees are usually spicier, while forearm, thigh, calf, and shoulder are easier to sit through. Lines feel sharper than shading.
Color packing is the spiciest part. The useful move is to match your design size to what you can realistically tolerate. Build the piece for a 2 to 4 hour window, with breaks.
For more on pain planning across placements, the where tattoos hurt less read is a useful gut check.
How long does a traditional Japanese tattoo take to heal?
Surface healing takes about 2 to 4 weeks, but deeper settling can take 2 to 3 months for dense color and large blackwork fields. Wash gently with unscented soap, moisturize lightly with a thin ointment layer, and stay out of pools and strong sun while the piece is still fresh.
Don’t pick the flakes. Don’t judge the color at week two. Judge it at month three.
For more healing examples by placement, the tattoo aftercare guide covers the daily routine in detail.
What’s the best placement for a traditional Japanese tattoo?
For clean aging, I lean toward the outer arm, shoulder, thigh, calf, and upper back because they give you more surface, take less sun, and usually handle wear better. The benefit is clearer long-term shape. High-wear zones like hands and feet are still doable, but they need more maintenance and accept touch-ups as part of the deal.
If you want a fuller placement comparison, the Japanese tattoo ideas post walks through how each zone ages.
Start With the Placement, Not the Motif
If I had to pick one step, I’d start with the placement, not the dragon or the koi. Most irezumi pieces fail because the client picked the motif first, then tried to fit it onto skin that couldn’t carry the flow.
Pick a low-wear zone that matches the size of the piece you actually want. Let the artist build a composition that respects that zone.
Then pick the motif that fits the shape, not the other way around. When you do that, the tattoo stops being a Pinterest screenshot and starts being a real piece of work on a real body.
When you’re ready to look at the right kind of portfolio, the Japanese tattoo artists guide is where I send every friend who asks.